After an introduction to Patagonia in Pucón and Puerto Varas, we’ve reached the final chapter of our adventure in southern Chile: a trek through Torres del Paine National Park! Even before embarking on our round-the-world trip, this trek was at the very top of my bucket list. One single photo—those iconic granite towers—was all it took during our trip preparations to convince me that I had to witness this breathtaking landscape in person. And honestly? It exceeded every one of my expectations. As you’ll read below, not everything went according to plan. The park’s notoriously unpredictable weather made the trek more challenging than anticipated. So, if you’re planning to visit, it’s best to be well-prepared and ready for anything.
What’s in store: a 10-day adventure with Ben’s sister and her partner, uncertain weather, campsite cuisine, epic sore muscles, and jaw-dropping landscapes! To help you prepare, I’ve put together a guide on how to make the most of a trek through Torres del Paine National Park. Happy reading!
- Video of our O Circuit Trek
- Must-see highlights of Torres del Paine
- The best time to visit Torres del Paine
- How to get to Torres del Paine National Park
- Staying Puerto Natales
- Differences between the W trek and the O trek
- Which way to hike the W and O trek
- Our O Trek (and W) itinerary
- Camping & refuges in Torres del Paine
- Food during the trek
- Staying in hotels or cabins inside the park
- Exploring Torres del Paine by camper van or RV
- Day hikes in Torres del Paine National Park
- Other activities in the park
- Weather in Torres del Paine National Park
- Essential gear for trekking in Torres del Paine
- Budgeting for Torres del Paine
- Final tips
- Our experience of 10 days of trekking
We originally did this trek in December 2014, but this article has been completely updated in November 2024. Due to changes in park regulations and based on what we’ve seen and read, we’re honestly not sure we would do this trek again today. Prices have skyrocketed, and everything must be booked well in advance! Torres del Paine remains a magnificent and iconic destination, but trust us—Patagonia has plenty of other gems to explore! So don’t be discouraged if the trek is fully booked, there are solutions! You can also consider alternative adventures in less crowded parks like Vicente Pérez Rosales, Huerquehue, or even across the border in Bariloche or Perito Moreno. If you notice any price changes or have additional tips, feel free to share them in the comments!
Video of our O Circuit Trek
We’ve put together a short video compilation of our trek to give you a quick glimpse of the park. Enjoy!
And if you like our videos, don’t forget to follow our YouTube channel.
Must-see highlights of Torres del Paine
Torres del Paine National Park spans over 2,000 square kilometers in the heart of Chilean Patagonia. While the Torres (towers) are the massif’s most famous landmark, the diverse landscapes, unique wildlife, and breathtaking vistas make this place truly special for nature lovers. Here are our top highlights, whether you’re trekking or just doing day hikes.
Mirador de Las Torres
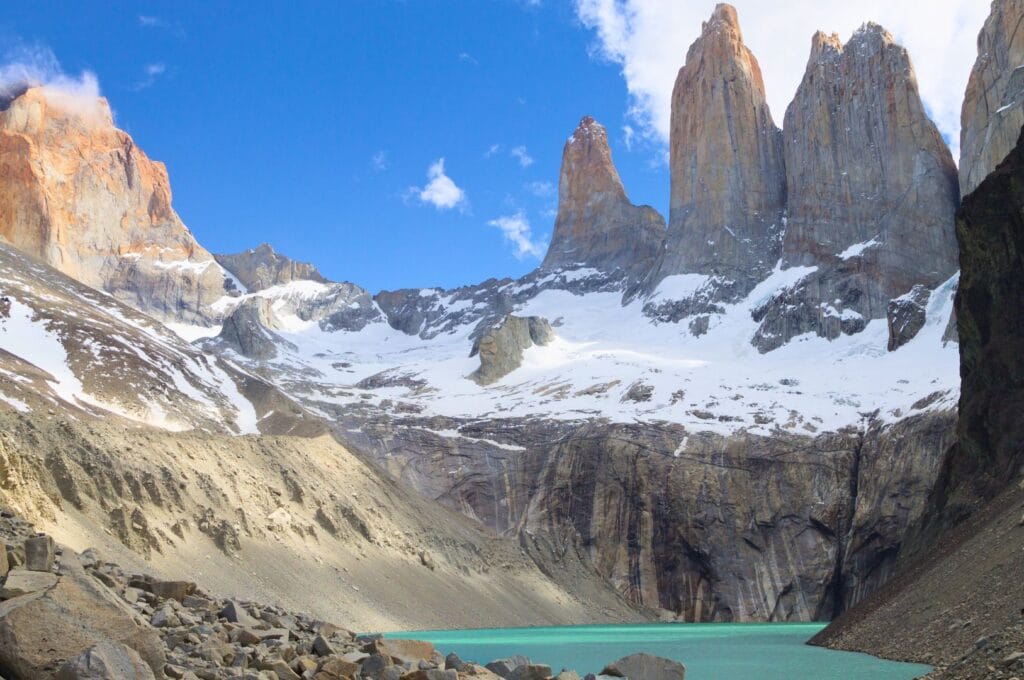
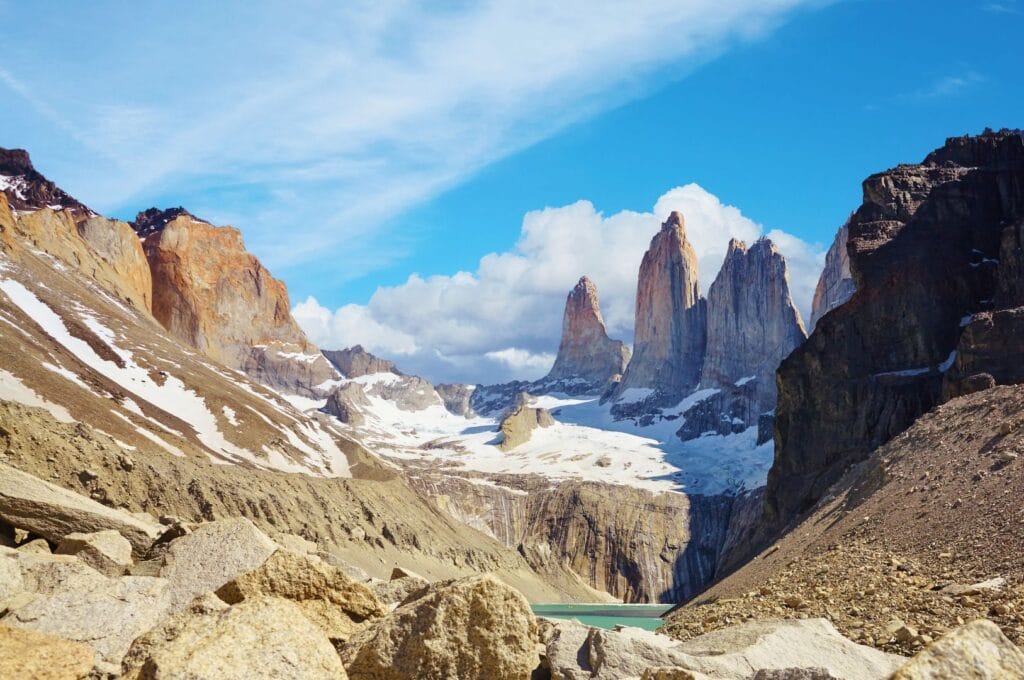
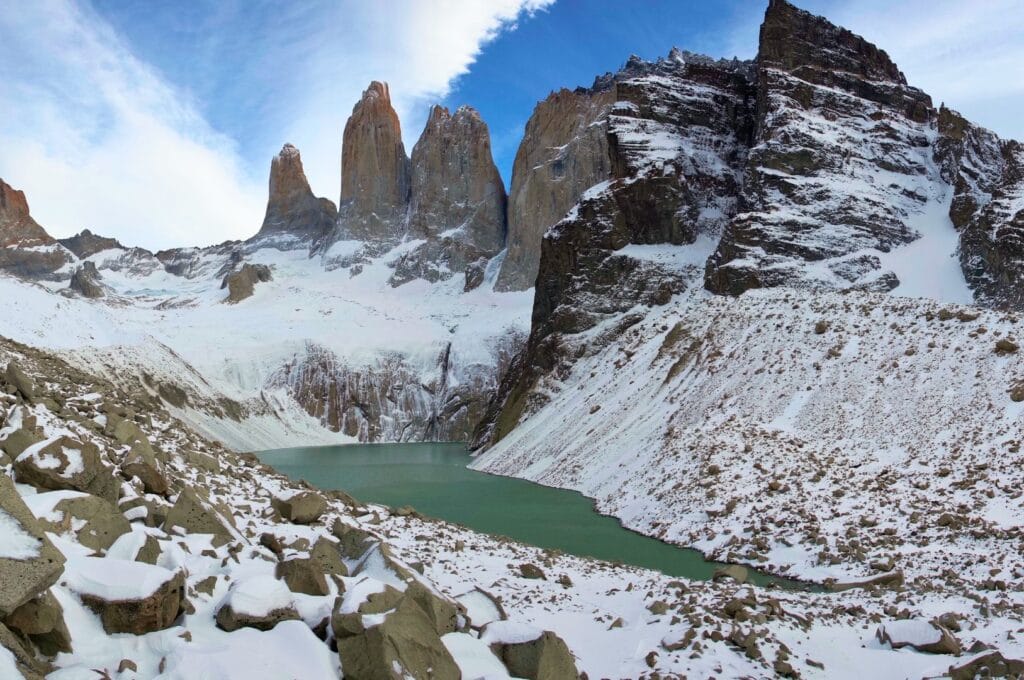
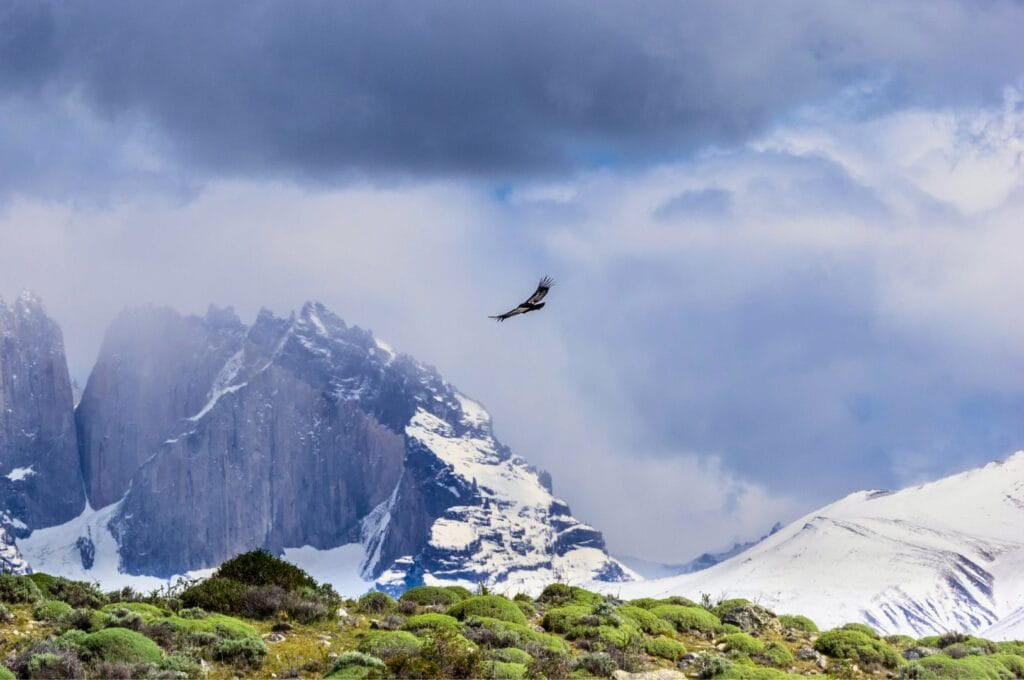
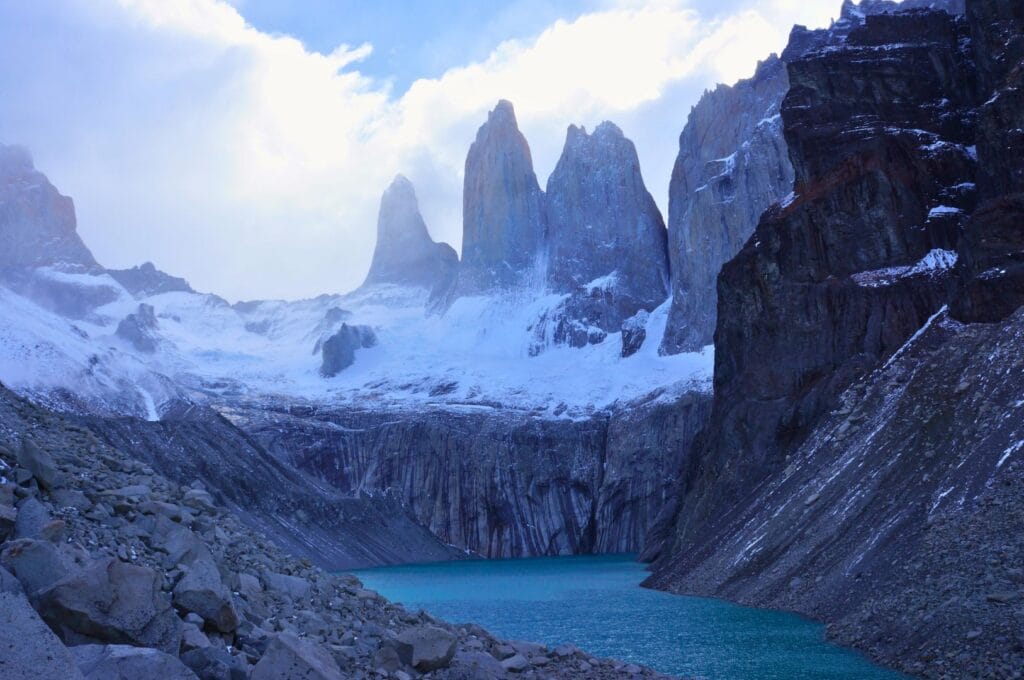
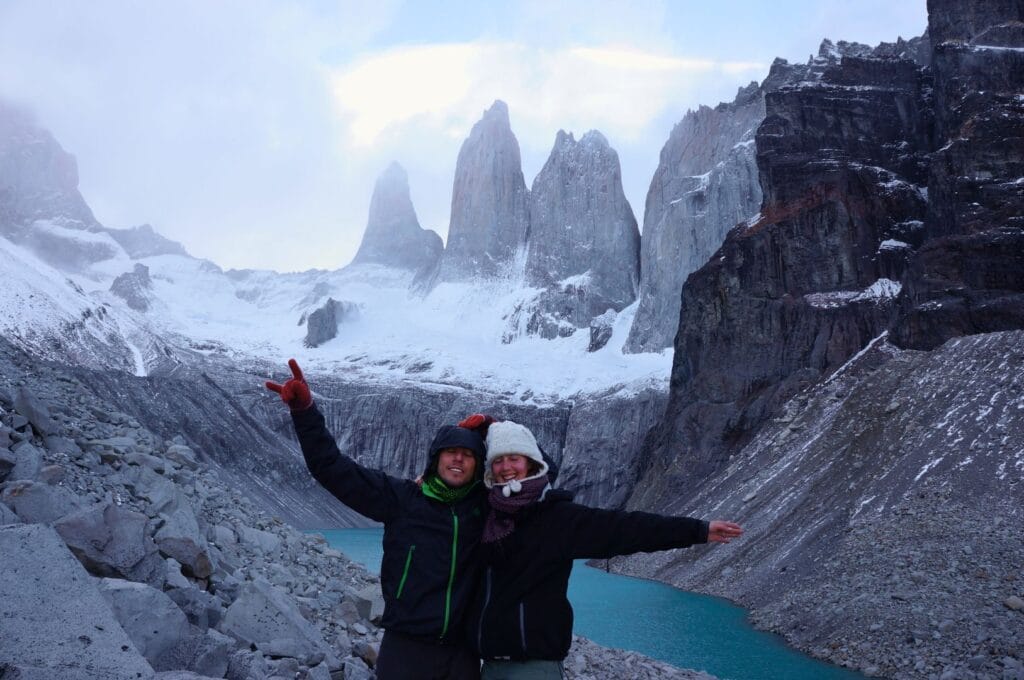
When people think of Patagonia, the first image that comes to mind is often the iconic trio of granite towers—Las Torres del Paine—rising above the turquoise waters of Lake Torres deep in the Ascencio Valley at the base of the Andes Mountains. The towers, known as Torre Norte, Torre Central, and Torre Sur, stand at 2,260 m, 2,460 m, and 2,501 m respectively.
To experience the best view, head to Mirador Las Torres (Base Torres), a 1.5-hour hike from Chileno camping. We visited both in the evening and at sunrise to catch the first rays of light illuminating the towers. Unfortunately, cloudy weather thwarted our sunrise hopes, but seeing them in the evening was already a magical experience. One key piece of advice for your trip: weather is everything!
Cuernos del Paine
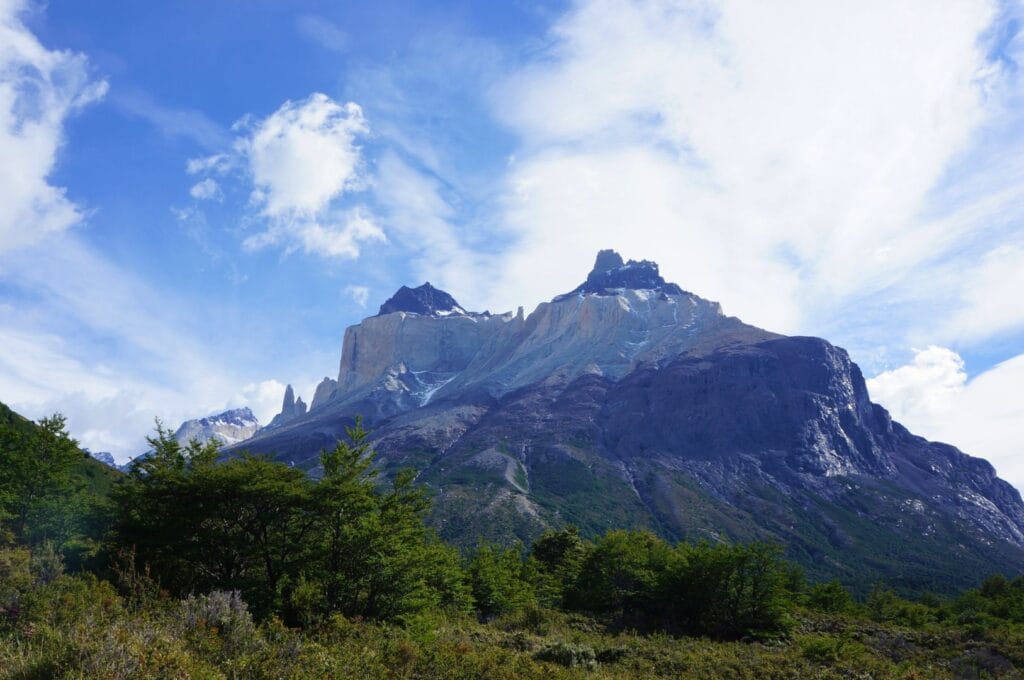
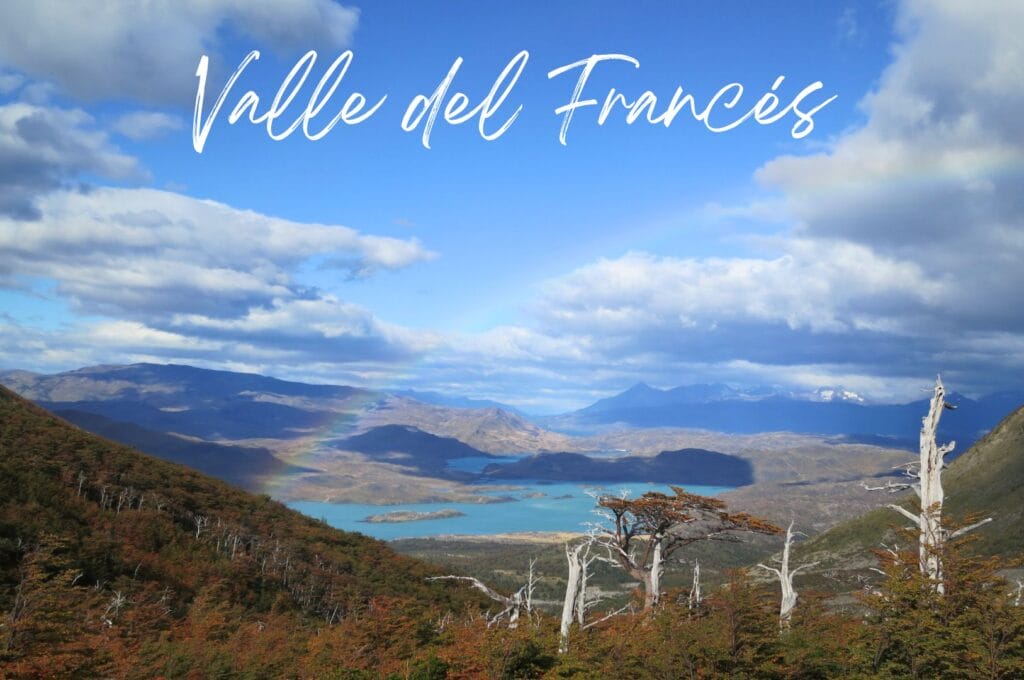
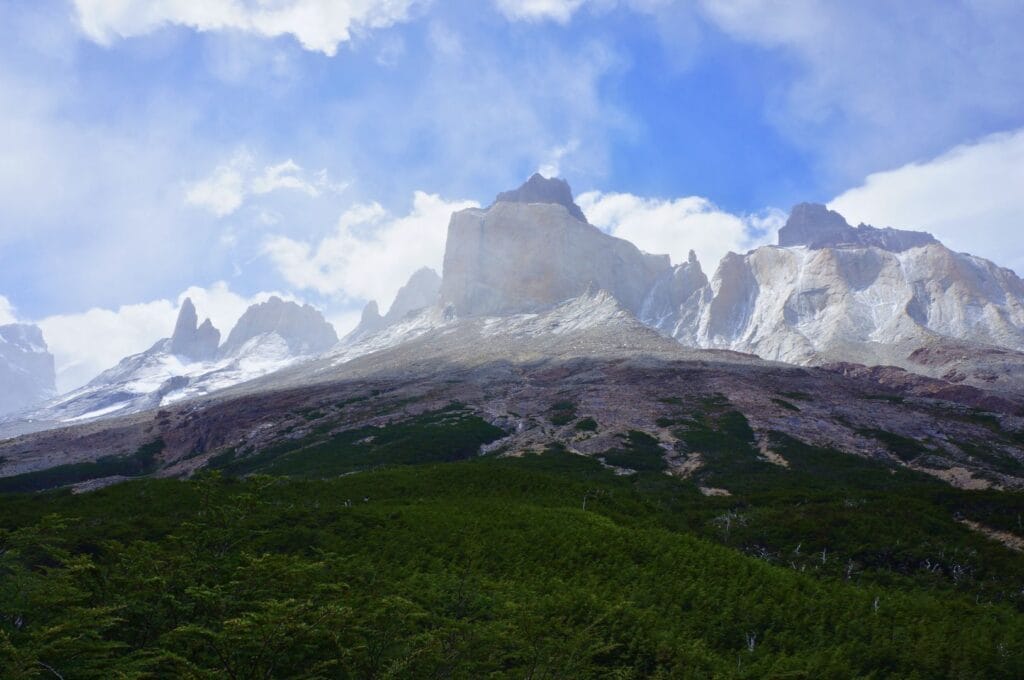
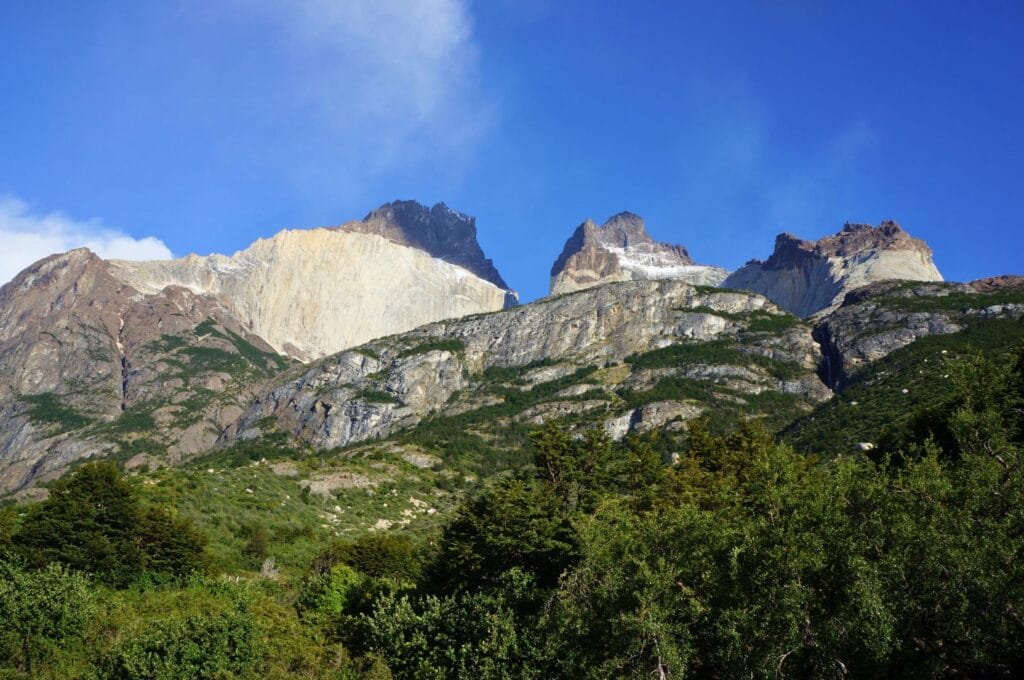
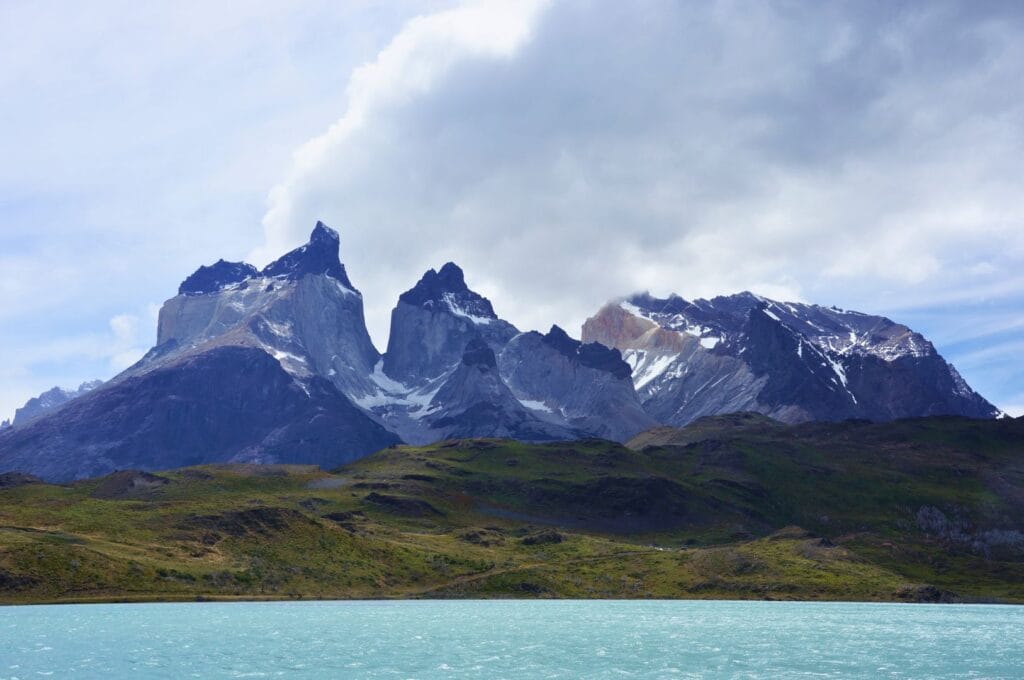
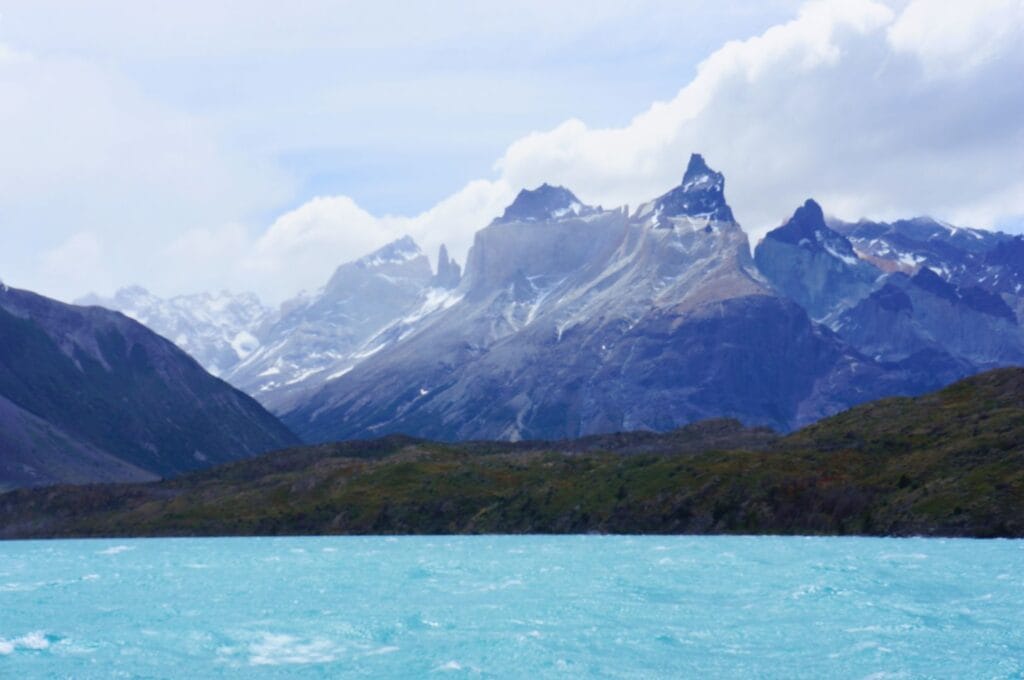
In my opinion, the Cuernos del Paine (Horns of Paine) are the park’s most striking mountains, with their contrasting black summits and lighter gray bases. You can admire these dramatic peaks, Cuerno Este and Cuerno Principal, from various spots, but some of the best views are from Refugio Los Cuernos or along the trail leading to the Valle del Francés. In short, whether you do the W or the O and even a day hike, you’ll go through there!
Mirador Británico and Valle del Francés
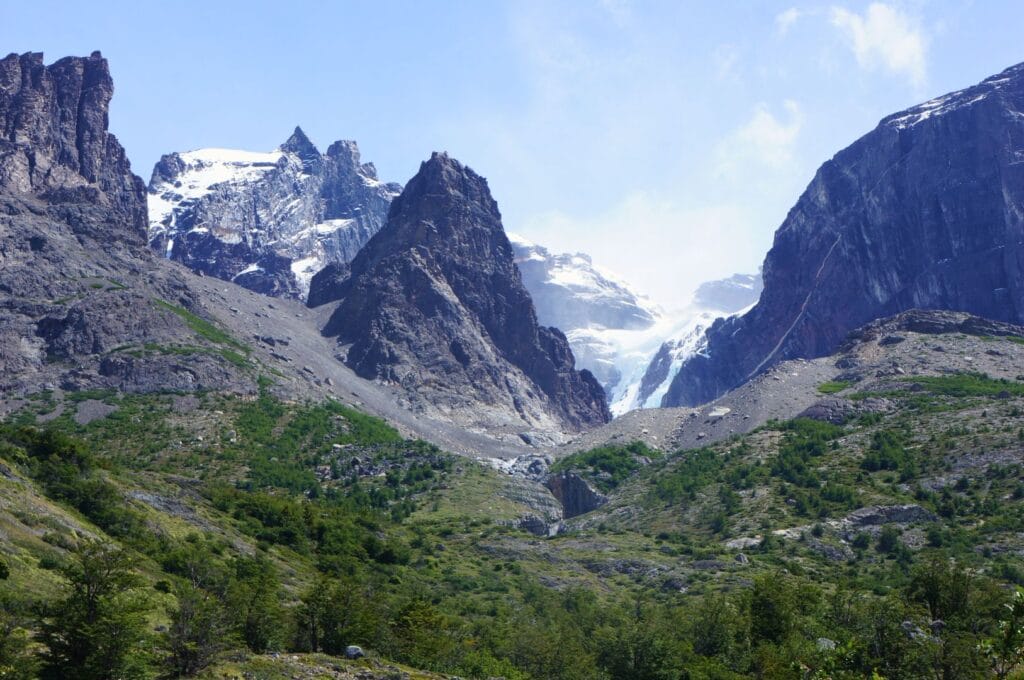
From the Mirador Británico at the end of the Valle del Francés, you’ll feel surrounded by an amphitheater of jagged granite peaks—a breathtaking sight you simply cannot miss!
Glacier Grey
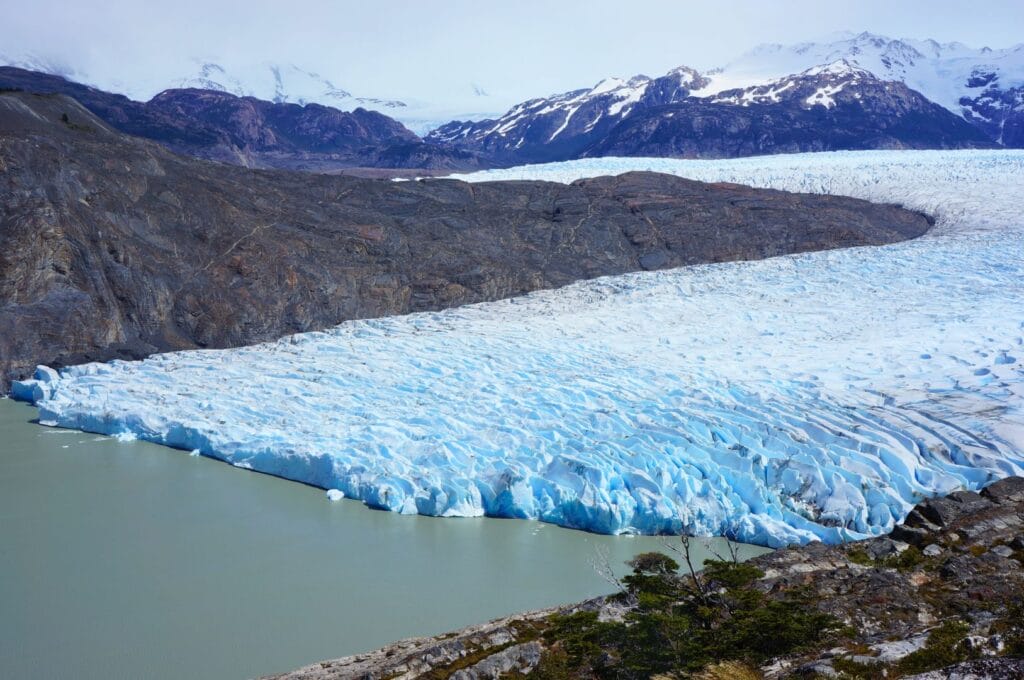
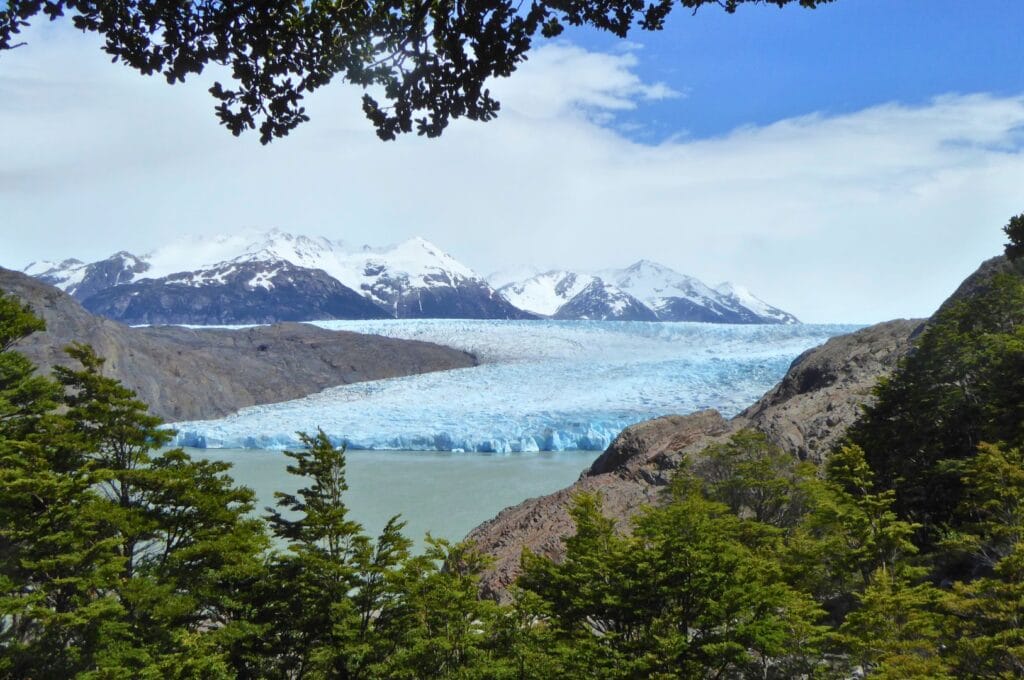
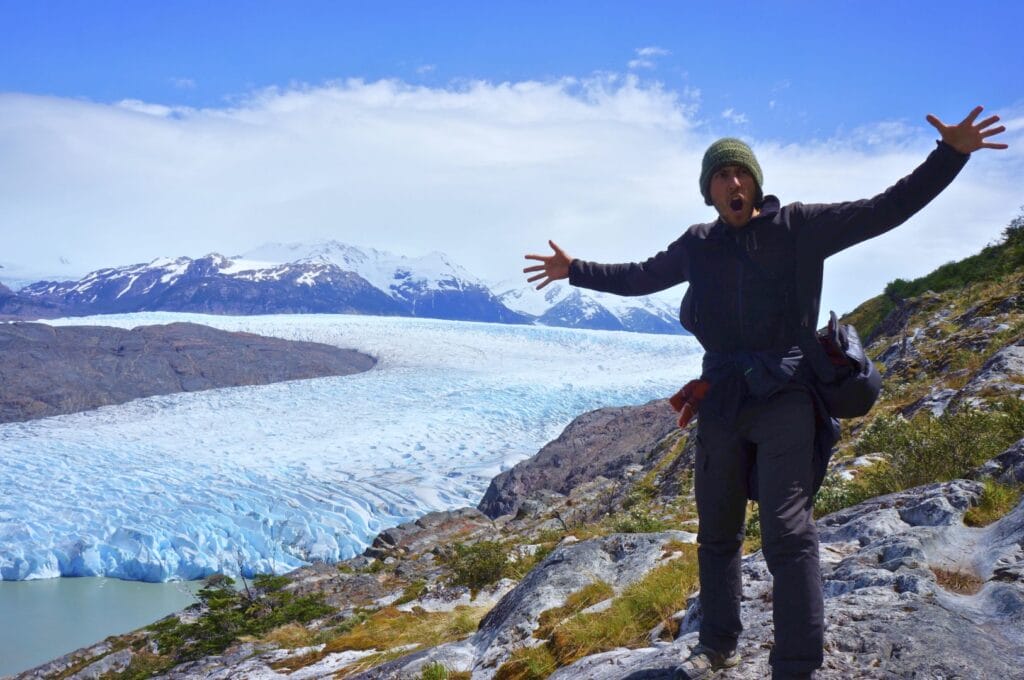
The immense Grey Glacier will leave you speechless. A stunning viewpoint can be found between Paine Grande and Refugio Grey, but the best view, in our opinion, is located 4 km past Refugio Grey, after crossing three suspension bridges en route to John Gardner Pass. If you’re doing the full O Circuit, you’ll pass this spot. If you’re on the W Circuit, it’s an 8 km round trip, but trust us—it’s worth every step!
John Gardner Pass
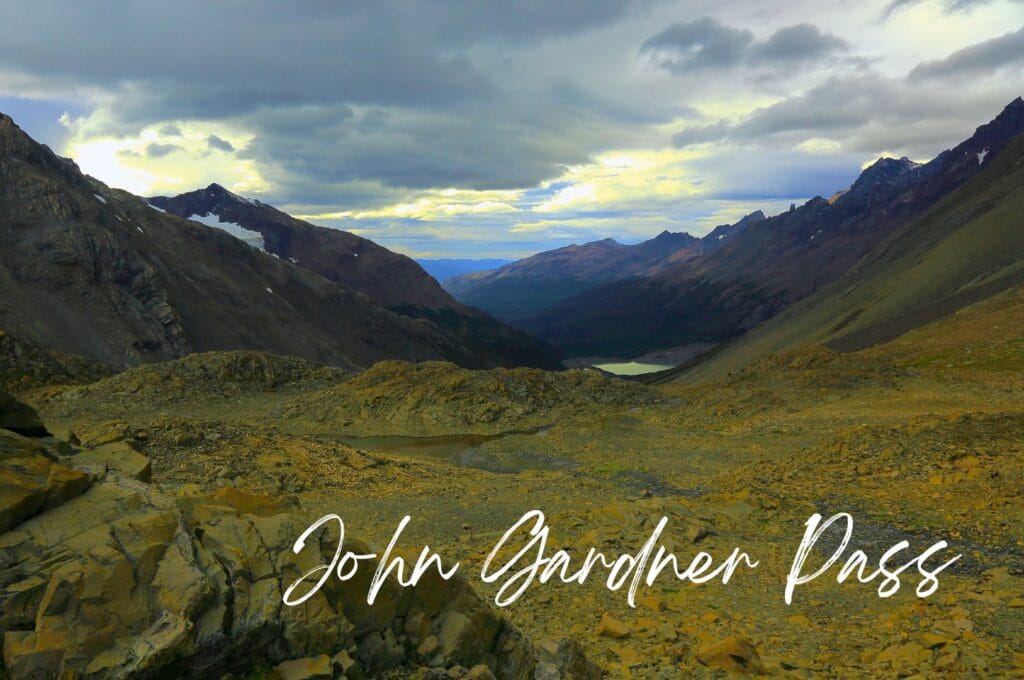
Unfortunately, we couldn’t cross the John Gardner Pass because it was closed due to the weather. On clear days, this pass offers unparalleled views of Grey Glacier and the surrounding mountains. If conditions allow, O Circuit trekkers will traverse this 1,183 m pass. For W Circuit trekkers, consider adding an extra day by spending two nights at Grey campsite and doing a 20 km round-trip hike with 1,400 m of elevation gain.
Refugio Dickson
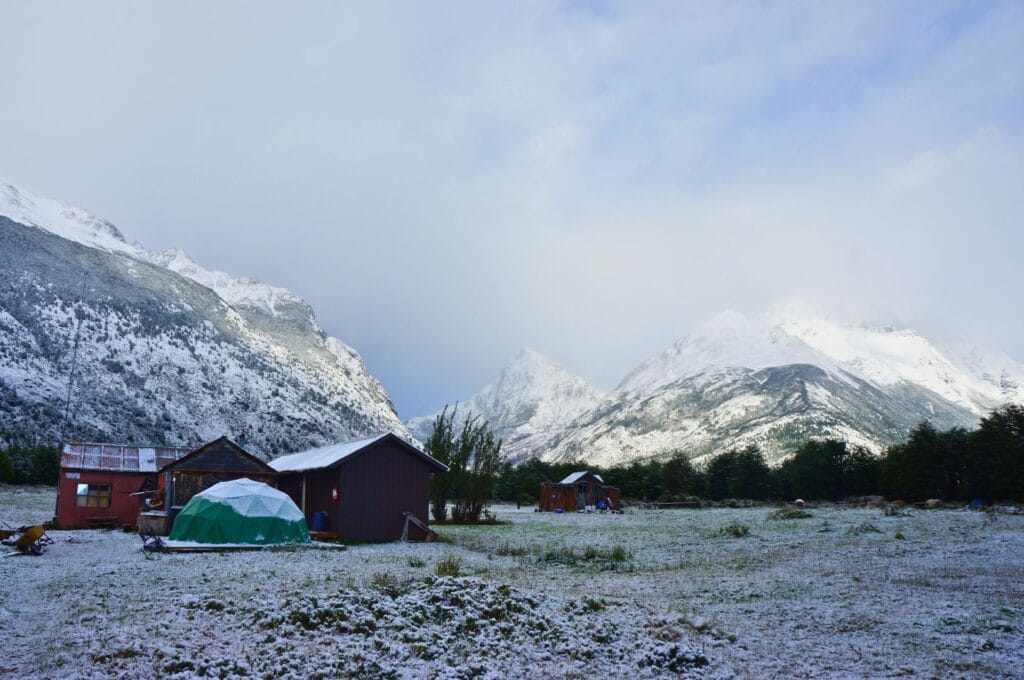
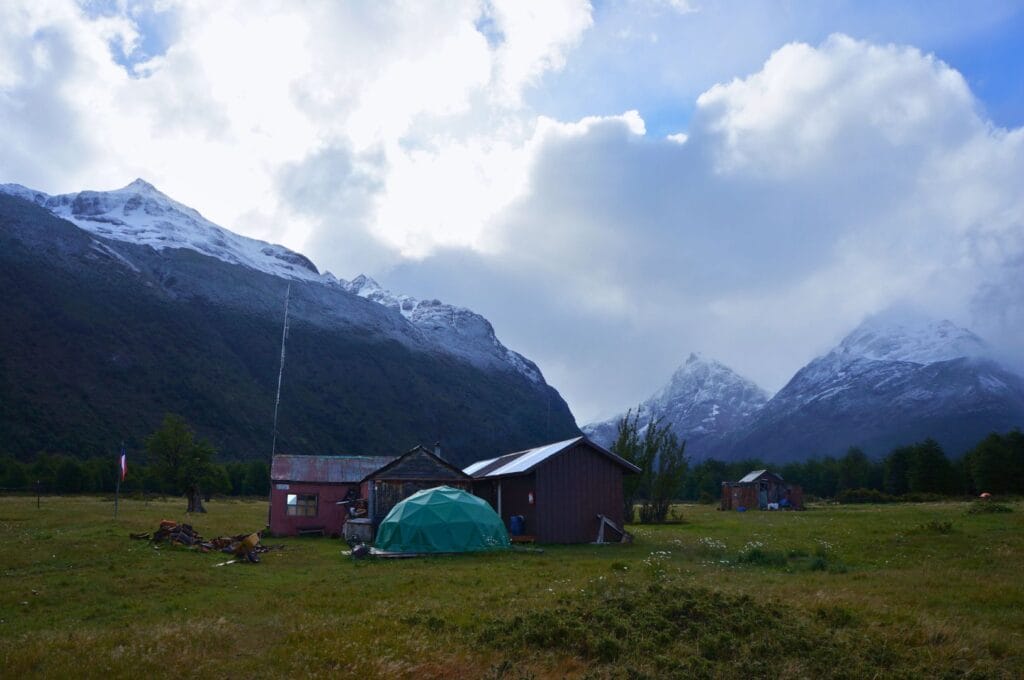
Located at the far end of the park, Refugio Dickson is a peaceful oasis surrounded by stunning views of the mountains, Lake Dickson, and the Paine River. We were lucky enough to experience it with a fresh snowfall, making the landscape even more magical. You’ll only pass through here if you do the O trek.
Catamaran on Lake Pehoé
Our final day in the park was capped off with a ride on the catamaran across Lake Pehoé. Though the weather had been cloudy, the skies miraculously cleared, revealing one of the most stunning panoramas we’ve ever seen! Los Cuernos, Cerro Paine Grande, the turquoise waters… For me, it’s simply one of the most beautiful panoramas I’ve ever seen in my life! 🙂
You’ll take the catamaran if you:
- Plan to do a day hike;
- Start or finish the W Circuit at Paine Grande;
- Begin and end the O Circuit.
The 30-minute boat ride costs 26,000 Chilean pesos (around 30 dollars). Be sure to check the boat schedule and consider booking in advance if your plans are set.

The best time to visit Torres del Paine
In summer
The park is open year-round, BUT the best time to visit the Torres is from October to March, with peak tourist season occurring between December, early January, and February. Thanks to milder temperatures and long daylight hours, we recommend planning your trip for the end or beginning of the year.
In autumn
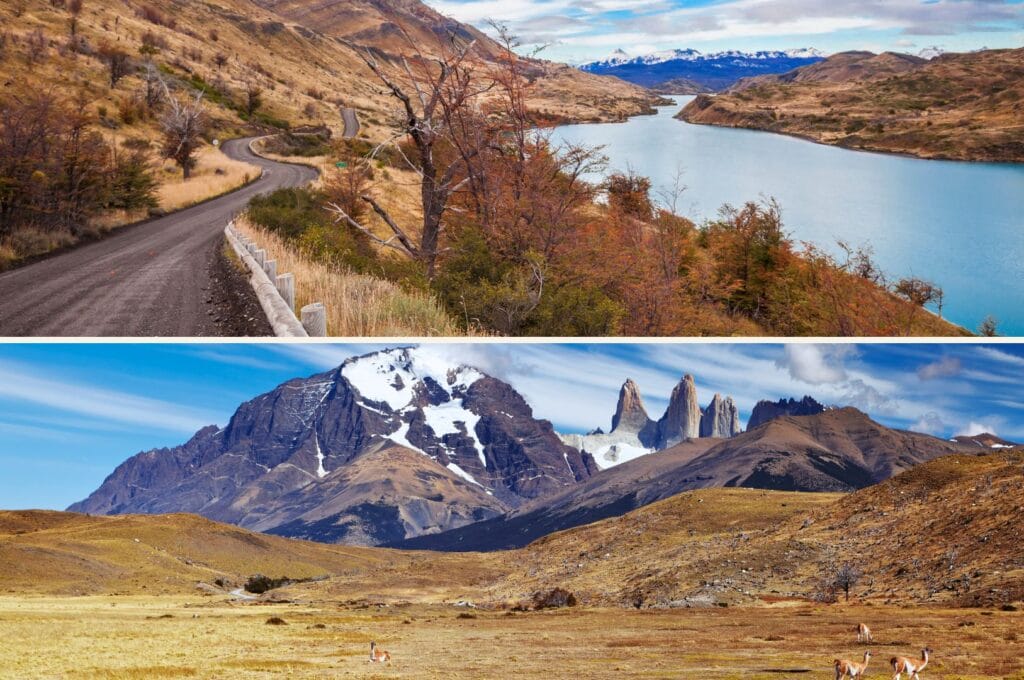
From March to May, autumn descends on Patagonia, and the park transforms into a canvas of fiery colors. There are fewer visitors, prices drop, and the scenery is absolutely stunning! If you’re not a fan of crowds, this might be the perfect time to visit.
In winter
During winter, the park is almost deserted, despite offering breathtaking snow-covered landscapes. However, from May to September, most trails are inaccessible. The O Circuit is closed, and a guide is mandatory to hike the W Circuit and for day hikes, especially to Base Torres. But always check the trail conditions (and click on Informe diario) before setting out.
Most infrastructure (refugios, campsites, and hotels) closes for the season. Only Explora and Lago Grey hotels remain open during winter. As for campsites and refuges, Vertice Patagonia’s Paine Grande is typically the only one available.
Access to the park by bus becomes more challenging, and public transportation is scarce or even nonexistent depending on the weather. Your best options are guided tours or renting a car to enter the park. Note that catamaran services between Pehoé and Pudeto stop operating from late April to early September.
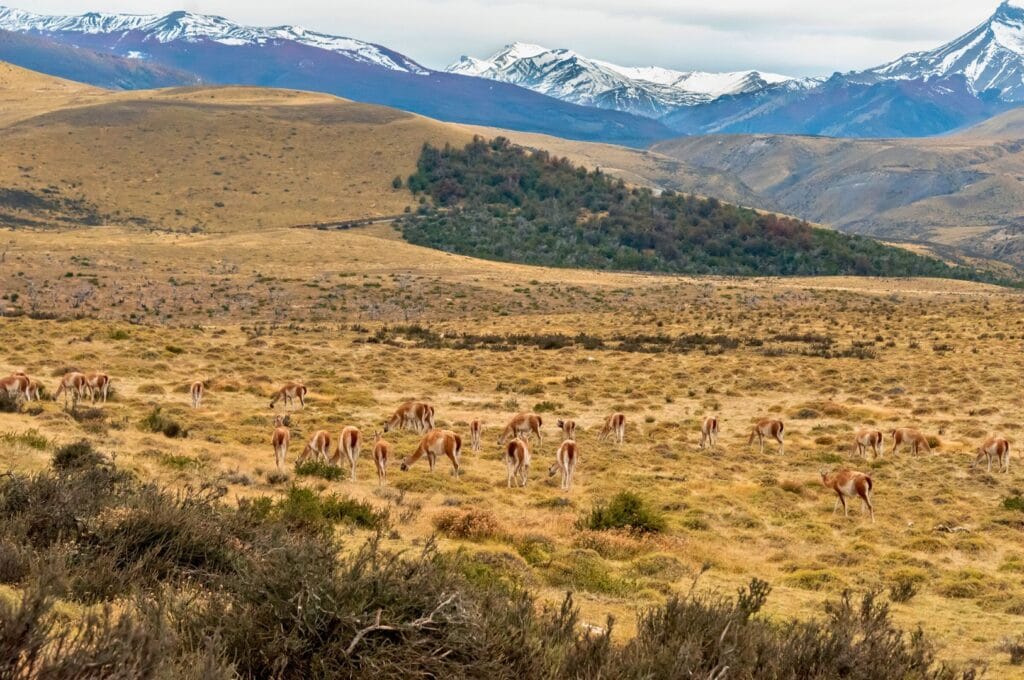
On the bright side, winter generally brings lower prices! Another advantage of visiting Torres del Paine in winter is the weather. Yes, temperatures are colder, but the climate is more stable compared to summer, when you can experience all four seasons in one day, along with strong winds. Additionally, with fewer people on the trails, your chances of spotting wildlife—various bird species, pumas, and guanacos—are much higher.
The coldest months are June and July. If you want to make the most of your winter visit, we recommend going in May or August/September.

How to get to Torres del Paine National Park
The park is located in southern Patagonia, in Chile’s Magallanes and Chilean Antarctic Region. To reach it, you’ll first need to get to the nearby town of Puerto Natales, the gateway to the park.
Getting to Puerto Natales
From Santiago
The fastest way from the Chilean capital city is by plane to Punta Arenas (a 3.5-hour flight costing around 100,000 CLP) or to Puerto Montt (a 2-hour flight for at least 40,000 CLP).
If you prefer traveling by bus, you’ll first need to reach Puerto Montt (a 13-hour journey costing around 17,000 CLP). There are no direct buses from Santiago to Puerto Natales.
From Puerto Montt
If you’re in Puerto Varas, take a short bus ride to Puerto Montt (tickets start at 3,300 CLP for a 20–40 minute trip). From there, you have two options:
- By ferry: Though not the cheapest option, it’s certainly the most unique! Navimag operates a ferry from Puerto Montt to Puerto Natales. The journey takes three days and includes meals, activities (like yoga and bingo), and accommodation. Prices for the cheapest cabins start at $500. Clearly, it’s not really for backpackers, but if you’d like to experience a maritime journey off the beaten track, why not? Find all the information you need on the official Navimag ferry website. Please note that the company only operates between October and March, and there are several departures each month.
- By plane: A flight from Puerto Montt to Puerto Natales is quicker and more affordable, taking about 2 hours, with tickets starting at 80,000 CLP per person.
From Punta Arenas (and Ushuaia)
If you’re coming from southern Patagonia in Argentina, such as Ushuaia, you’ll need to take a bus + ferry combo for an 11-hour journey to Punta Arenas. There are no direct buses or flights between Ushuaia and Puerto Natales. From Punta Arenas, it’s a 3-hour bus ride to Puerto Natales, costing about 60,000 CLP in total.
Alternatively, you can rent a car in Punta Arenas and explore both Torres del Paine and Chilean Patagonia at your own pace.
From El Calafate
To reach the Torres del Paine from El Calafate, your options are limited, as there is no direct line…
You can take a bus to Puerto Natales. The only companies operating buses from El Calafate and Puerto Natales are Bus Sur, Marga and Zaahj. Seats on Marga are a little more expensive, as they offer cama (+ meal) and semi-cama options for a ticket costing around 47,000 pesos. At Bus Sur, you’ll get a standard bus for 39,000 pesos per person. Most buses run during the day, in the morning and afternoon. Allow 5-6 hours for the journey. Compare prices here.
Another option is to rent a car in El Calafate and drive 4 hours along Patagonian roads to reach the park. Otherwise, you can take a 1-day tour to see the highlights of the park, or take a cab (but beware of the hefty bill at the end).
How to get to Torres del Paine from Puerto Natales
By bus
Since Torres del Paine is one of Chile’s top attractions, you’ll find an impressive number of buses shuttling between Puerto Natales and the national park. However, we highly recommend booking your tickets in advance, especially if you have a specific departure time in mind. You can find schedules and prices online. Unlike in the past when fares varied greatly, ticket prices are now standardized. Bus Sur operates the most routes between the park and Puerto Natales, but you’ll also find buses from Zaahj. The first buses leave as early as 6:45 a.m., and the journey takes between 2 to 3.5 hours, depending on your stop.
The one-way fare from Puerto Natales is 14,000 CLP per person to the following destinations:
- Laguna Amarga: From here, take a shuttle (cash only, 5,000 CLP per person) to reach Camping Central in 10-15 minutes, the starting point for the O and W treks from the east.
- Pudeto: This stop allows you to catch the catamaran to Paine Grande, ideal for starting the O or W trek from west to east.
- Camping Pehoé: A convenient base for day hikes in the area.
- CONAF Visitor Center (south of the park): Near Lago del Toro and close to Weber Bridge, another excellent starting point for day hikes.
Bus Sur also offers routes from Puerto Natales bus station to Hotel Lago Grey, located south of Laguna Grey. Be careful not to confuse this with Paine Grande or Refugio Grey! We refer you to the map of campsites and refuges to help you find your way. The fare for this longer route is 25,000 CLP per person, with a travel time of 4.5 hours. From Hotel Lago Grey, you can take a catamaran to the Grey Glacier or explore nearby trails like the Ferrier Viewpoint or the Río Pingo trail.
Return bus schedules are more limited:
- 10:30 a.m. from Pudeto and 11:00 a.m. from Laguna Amarga, arriving in Puerto Natales around 1:00 p.m.
- 1:30 p.m. from Hotel Lago Grey, 2:15 p.m. from Camping Pehoé, 2:30 p.m. from Pudeto, and 3:00 p.m. from Laguna Amarga, arriving in Puerto Natales at 5:05 p.m.
- 5:30 p.m. from Hotel Lago Grey, 6:15 p.m. from Camping Pehoé, 7:30 p.m. from Pudeto, and 8:15 p.m. from Laguna Amarga, arriving in Puerto Natales by 9:30 p.m.
By car
If you’re looking for flexibility, renting a car is by far the best option to explore the park at your own pace. While not all roads are paved, the dirt roads are well-maintained and offer beautiful scenic drives.
There are three main entrances to the park, accessible by road:
- Laguna Amarga (East): Located at the end of route Y-156, this entrance leads to the main visitor center and the starting points for the O, W, and the hike to the Torres del Paine.
- Lago Sarmiento (Southeast): At the end of route Y-150, this entrance provides access to Pudeto, Pehoé passing by scenic viewpoints.
- Serrano Entrance (South): Situated at the end of route Y-290, this entrance connects to Camping Pehoé via Y-150 and goes to the edge of Grey Lake.
The drive from Puerto Natales to the park’s visitor center (near Camping Central) is approximately 121 km and takes about 1 hour and 45 minutes. If you’re heading to the Serrano Entrance, expect a 1.5-hour drive over 83 km.
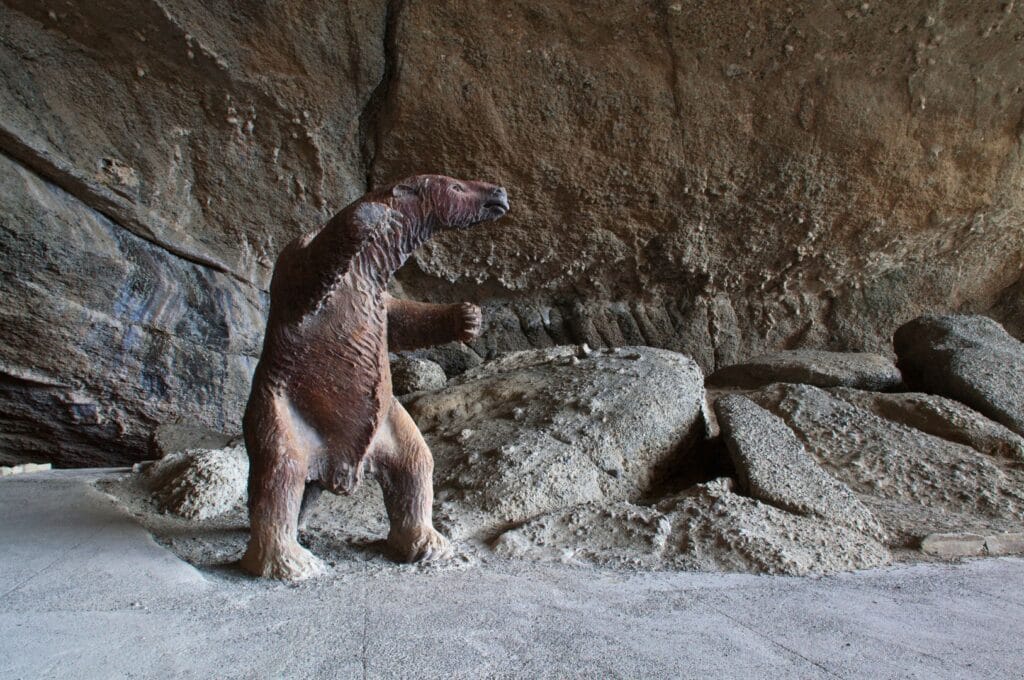
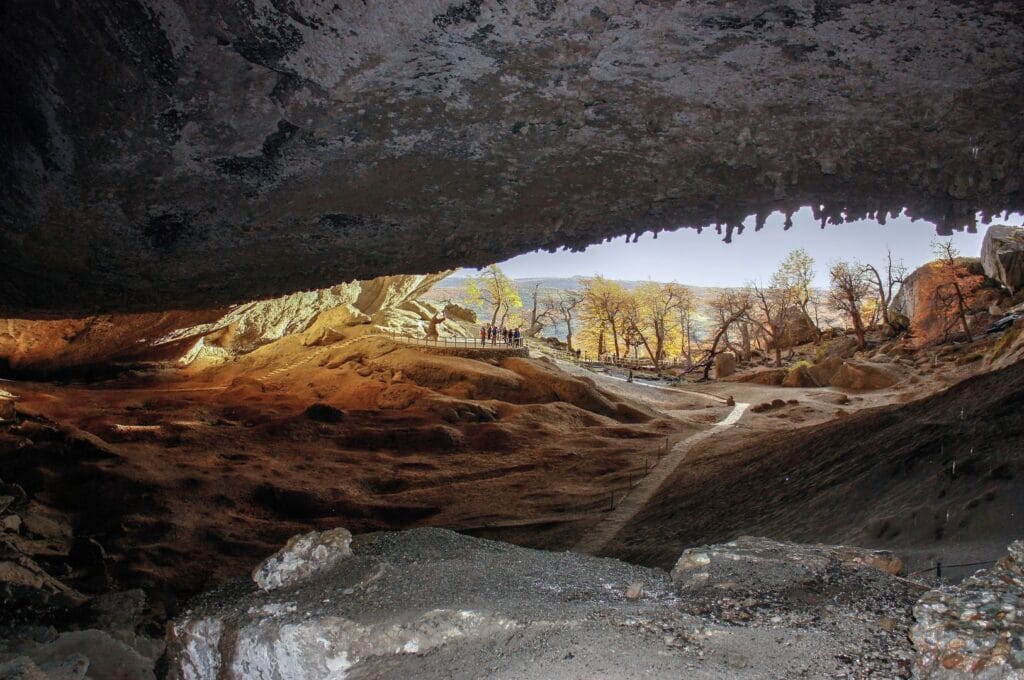
You might come across recommendations to stop on your way to Torres del Paine by the Cueva del Milodón (Milodón Cave), a large cave located 17 km north of Puerto Natales and just 2 km off the main road (Route Y-290). While it’s a popular tourist attraction, the 11,000 CLP entrance fee might feel a bit steep, especially considering the overall cost of visiting Torres del Paine. If you’re interested, you can find more information on the cave’s official website. Otherwise, it might be worth skipping to focus on the park itself.
If you’re not planning a multi-day trek and have your own vehicle, we highly recommend staying just outside the park. This allows you the freedom to explore while saving money on accommodation. We recommend the Pehoé, Laguna Azul, Río Serrano or Goiien House campsites and refuges.
With a guided tour
Not a fan of organizing every detail or trekking for days? No problem! Several guided tours are well worth it:
- This tour of one-day hike to the iconic Mirador Las Torres from Puerto Natales.
- A fully inclusive trek of the W Circuit.
- A day tour covering all the park’s must-see highlights from Puerto Natales.
- A guided hike to some of the park’s best viewpoints.
For more options, we recommend checking GetYourGuide for a selection of tours.
This article contains affiliate links to partner sites. When you use our links to book accommodation, a car, or an activity, you don’t pay anything extra, but we get a small commission. This helps us to offer you free, independent, and ad-free content. Thank you for your support!
Staying Puerto Natales
Staying in Puerto Natales for a few nights and doing day trips to Torres del Paine is a great way to explore the park without breaking the bank.
During our visit to Puerto Natales, we stayed at three different hostels due to the limited availability during the high season. If you’re looking for affordable dorms or private rooms, we suggest booking in advance through Hostelworld or Booking.
Our top hostel recommendations:
- Puma House: An unbeatable value for the price. They also rent gear if you’re not fully equipped for the park.
- Hostel 53 Sur: If Puma House is fully booked, this is another great option with reasonable rates for dorm beds.
If you’re looking for something a bit more charming with private double rooms, we recommend Upcycling Hostel and Casa Luna Natales, both offer beautifully designed rooms and excellent locations, and include breakfast at a reasonable price.
To travel light, consider leaving any unnecessary belongings at your accommodation in Puerto Natales. Most hotels and hostels offer storage lockers for hikers.
Differences between the W trek and the O trek
The first question everyone asks before embarking on a long hike in Torres del Paine is: “Should I do the W Trek or the O Circuit, the full loop?“.
While these are the two classic routes, you are not obligated to do either! You can simply visit the iconic Torres and return to Puerto Natales, the park’s gateway, or opt for a day hike to admire Glacier Grey. However, by completing the W Trek, you’ll experience all the park’s main attractions. If you choose the O Circuit, you’ll venture into the park’s more remote corners! Keep in mind that the O Circuit is twice as long and slightly more challenging than the W. At the end of this article, we’ve included a breakdown of the costs associated with both treks.
Both treks can be completed independently by staying at designated camping sites. A guide is not required to explore the park, except in winter.
Before diving into the details, let us point out that the main difficulty of treks and hikes is the weather! The elevation gains aren’t extreme, even though good physical condition is required, and the trails are in excellent condition. However, over 8-10 days on the O Circuit, the constant wind and occasional rain—or even snow—can gradually wear you down. Nothing is worse than packing up wet gear every morning and retreating to a damp tent at night. You can check out our overview of the park’s weather here.
Map of the W and O treks
Here’s a map of Torres del Paine National Park highlighting key landmarks to help you follow along with the explanations below. The W Trek is marked in orange, while the O Circuit is in red. Ignore the red arrows—you can complete the treks in either direction. Click the image below to download a larger version of the map.
We’ve also created a simplified version with the essentials at a glance. Detailed maps of the treks and day hikes can be found throughout the rest of the article.
W trek
The W is the park’s most popular trek since it is shorter than the O Circuit. Expect to see many hikers on the trails and at the campgrounds!
W circuit map
To download the GPS route for offline use on your phone, click here.
W in 5 days
The W Trek is the quintessential Patagonia experience, named after the W-shaped trail it follows. It typically takes 5 days, covering 74 km with nearly 3,000 meters of elevation gain. You can start from either end: the Las Torres Hotel/Central Campground or the Paine Grande Refuge.
Let’s say you do it from east to west:
- Day 0: Arrival at Chileno Campground from Puerto Natales (bus + shuttle), then a 5.7 km hike (409 m ascent, 137 m descent).
- Day 1: Hike to the Las Torres viewpoint at sunrise. Overnight at Los Cuernos or Francés Campground (21 km to Los Cuernos: 1,080 m ascent; 1,410 m descent; or 24.3 km to Francés: 1,288 m ascent; 1,526 m descent).
- Day 2: Walk through the Valle del Francés to the Británico and Francés viewpoints, then overnight at Paine Grande Campground (23.5 km from Los Cuernos, 1032 m elevation gain, 1067 m elevation loss or 20 km from Francés, 828 m elevation gain, 948 m elevation loss).
- Day 3: Trek to Grey Glacier (11 km, 442 m ascent, 407 m descent or 17 km, 787 m ascent, 757 m descent if you visit the suspension bridges), overnight at Grey Campground.
- Day 4: Return to Paine Grande (11 km, 442 m ascent, 407 m descent), then take the catamaran to Pudeto and catch the bus back to Puerto Natales.
If you prefer to hike west to east, take a bus to Pudeto (14,000 CLP), then a catamaran to Paine Grande (26,000 CLP) from where you’ll head for the Grey Glacier and its eponymous refuge.
In total, this trek spans 5 days of hiking and 4 nights within the park.
For a detailed schedule, see our itinerary, and for information on campsites, see our camping guide.
W in 3 or 4 days
You can complete the W Trek in 4 days and 3 nights by combining days 3 and 4. Pay close attention to the boat and bus schedules. In this case, leave your backpack at the campsite to go to the glacier, as you’ll be staying there for 2 nights. Alternatively, to shorten the trek, arrive at the Torres directly on day 1 by the first bus from Puerto Natales, without spending the night there to see the sunrise.
For a more condensed option, you can complete the W in 3 days and 2 nights by skipping day 3 and bypassing the Grey Glacier. However, we highly recommend making the effort to see this breathtaking site!
Note: Your itinerary will depend on the availability of campsites and refuges. The earlier you book, the more likely you are to have 4 consecutive nights available and thus to follow the itinerary you want.
If organizing everything seems overwhelming, we recommend this guided tour that covers the W Trek in 3 days. Everything is included: a guide, meals, transportation, and accommodations. All you need to do is hike and enjoy!
The O Circuit – the full loop
To fully explore Torres del Paine, the O Circuit (also called Macizo Paine) is the best option. This 8-10-day loop circles the entire park, including the famous W trek. We chose this trail because we wanted to have time to enjoy the area and see the less touristy sides of the park. Let’s face it, the W trek is really crowded! And as soon as we pass the last campsites of the W to head towards the O, there are fewer trekkers.
Map of O Circuit
To download the GPS track, even offline, click here.
O in 8 days
The Torres del Paine O trek is in fact a loop that includes the W trek plus an entire 50 km section that skirts around the entire mountain range from behind to return to the starting point. In all, the trek covers 120 km and 5160 m of ascent! You’ll need at least 8 days to complete the whole loop, and you’ll need to be flexible. The trick is that, depending on the weather, you may have to cut a day short or get stuck before the Paso John Gardner, as it may be closed…
Physically speaking, circuit O is “easy”: an average of 15 km per day, with relatively few ascents and descents, so it’s nothing like what we did at Machu Picchu. But the weather conditions make this walk really tough on mental health!
Let’s take the same case to explain the O steps. Let’s say you do it counter-clockwise:
- Day 0: Arrival at Chileno Campground from Puerto Natales (5.7 km, 409 m ascent, 137 m descent)
- Day 1: Hike to the Las Torres viewpoint at sunrise, then to Serón Campground (27.2 km, 1162 m elevation gain, 1400 m elevation loss)
- Day 2: Trek to Dickson Campground (18.3 km, 558 m ascent, 521 m descent)
- Day 3: Hike to Los Perros Campground (11.3 km, 511 m ascent, 161 m descent)
- Day 4: Cross the John Gardner Pass to Grey Campground (16 km, 1061 m elevation gain, 1544 m elevation loss)
- Day 5: Walk to Paine Grande Campground (11 km, 442 m ascent, 407 m descent)
- Day 6: Explore the Valle del Francés to miradors Francés and Británico, overnight at Los Cuernos Campground (23.5 km, 1074 m elevation gain, 1046 m elevation loss)
- Day 7: Return to Central Campground (13.5 km, 482 m ascent, 423 descent), then take the bus back to Puerto Natales.
To do it the other way round, clockwise, follow the stages of trek W above and add days 6, 5, 4, 3, and 2 of trek O. Some also start the circuit from Paine Grande, after taking the bus to Pudeto and then the catamaran to the Paine Grande campsite/refuge. The difference is that you will enjoy the view from the boat on Lake Pehoé, but it adds extra costs.
Completing the O in fewer days
It’s possible to save 1 or 2 days by doing longer stages, but it’s hard to get away with less than 8 days in all! Like the W, you can take the first bus from Puerto Natales to Torres del Paine Park on the morning of Day 1: you’ll save 1 night but won’t see the sunrise.
Tip if you arrive in the morning: you can leave your backpack in one of the accommodations managed by Las Torres: camping Central or refugio Central. You’ll pick it up again after the ascent to the Torres when you go to the Serón campsite.
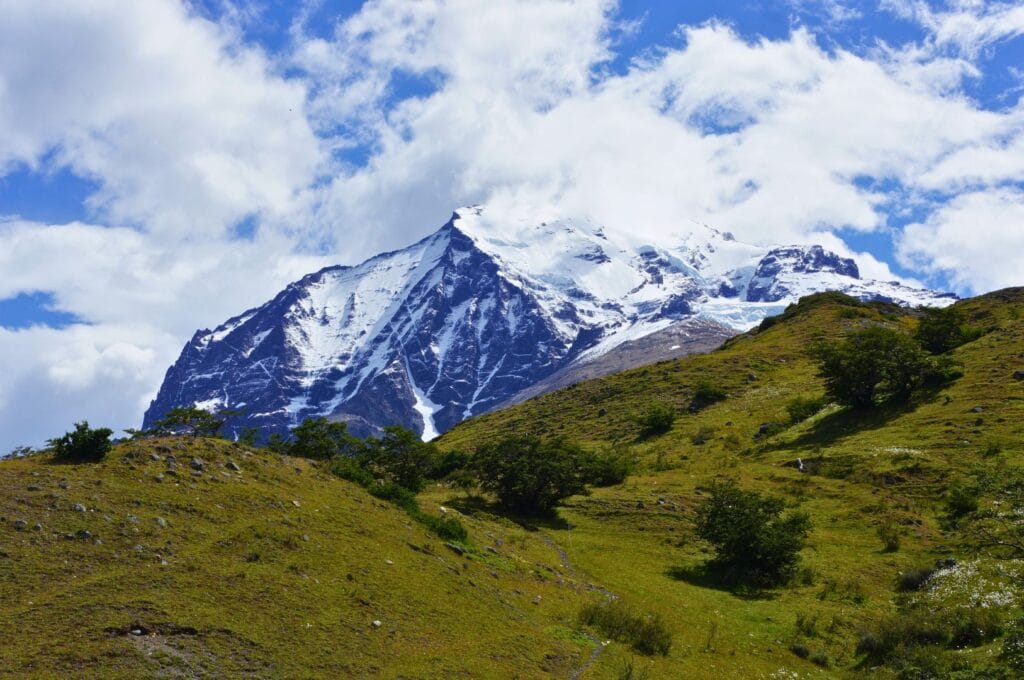
Which way to hike the W and O trek
Previously, you could do the O and W treks in any direction, just by following the weather. Now, as you have to book your nights in the park in advance, you have to rely on the weather god. Well, it’s not the same if you decide to stay several nights in the same place. In that case, check the weather forecast every day: if the weather looks good on the first day, go straight to the Central sector to see the famous towers. Otherwise, keep your fingers crossed that the sky will rise during your stay!
Otherwise, it doesn’t matter whether you do the W or the W from east to west or west to east. You’ll still have to make a return trip through the steepest parts of the park: the Torres del Paine and Valle del Francés.
Once again, it will also depend on the availability of camping facilities.
Our O Trek (and W) itinerary
Here’s the story of our O trek! You’ll see below how our itinerary was disrupted by the weather. As a result, our stages don’t exactly match the classic stages for the O and W treks. Starting from day 3, we’ll share what we did and what we recommend.
Day 0: Arrival in Puerto Natales and trek prep
We arrived in Puerto Natales two days before departure. The day before, after a small reunion drink with Sabine and Yannick, we dedicated the day to organizing the trek: buying bus tickets, planning camping meals, and shopping for provisions.
We explain this in the food management, but buy all your provisions in Puerto Natales, you’ll have more choices and it’ll be cheaper!
Day 1: Central – Serón
At 7:30 a.m., we boarded the bus in Puerto Natales. The sky was slightly overcast, but we were optimistic. By 9:30 a.m., we reached the park entrance and began hiking under cloudy skies but in high spirits. However, just 10 minutes into the hike, the rain started pouring—and not just a drizzle! Yannick quickly pulled out his new poncho, bought the day before, only for it to be shredded by the wind within 15 minutes. First fail of the trek—haha!
After 19 km, we arrived soaking wet at Serón Campsite for our first night in the tent. It was also our first experience testing the questionable wind resistance of our tent. The tent poles buckled, and the damp fabric whipped our faces throughout the night. A perfect first night!
From Central to Serón:
- 13.5 km from Central Campsite (19 km if starting from Laguna Amarga)
- 345 m ascent
- 316 m descent
Day 2: Serón – Dickson
We woke up the next morning to—you guessed it—more rain. We continued our journey toward Dickson Refuge, alternating between cloudy skies and light showers. For the first time on the trek, we encountered powerful gusts of wind that forced us to sit down to avoid being blown over!
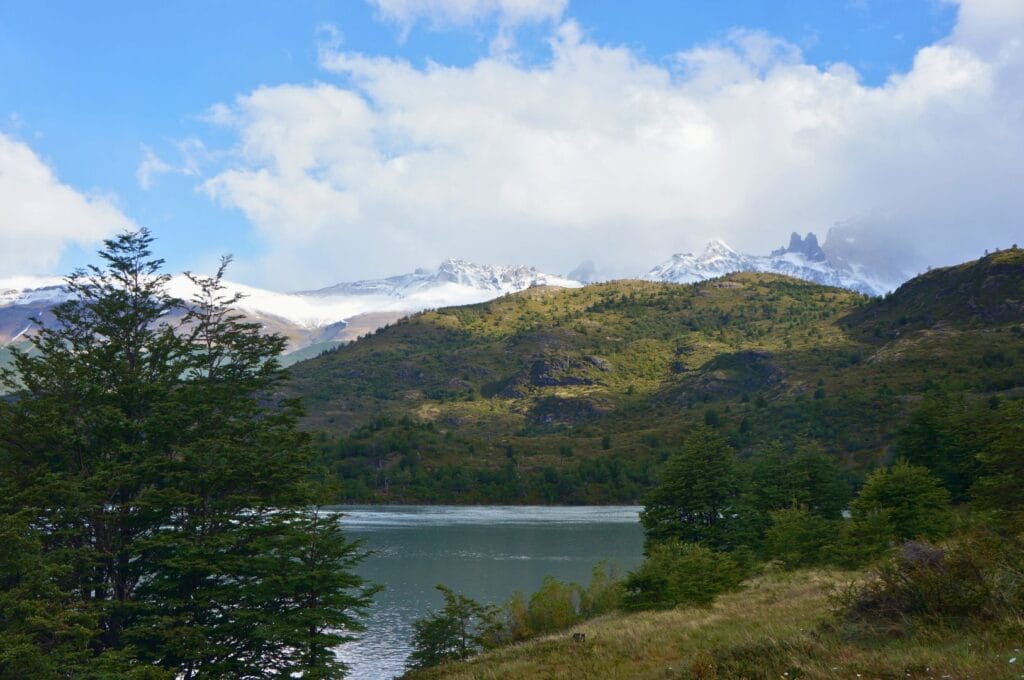
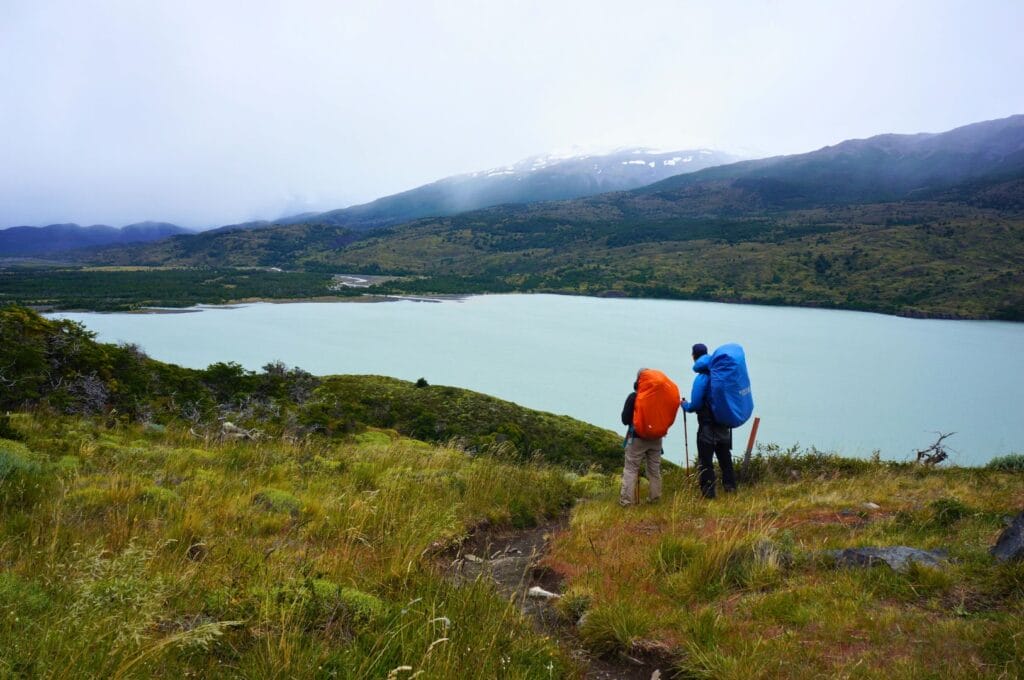
Upon reaching Dickson, I was already questioning whether these 10 days of trekking were a good idea. Thankfully, the day ended with a few sunny breaks, allowing us to take some beautiful photos of the area.
The second night was less windy but freezing cold! Ben kept inching closer during the night to avoid touching the frozen walls of the tent. And for good reason—when we emerged from our sleeping bags in the morning, everything was covered in a blanket of snow. Welcome to summer in Patagonia!
From Serón to Dickson:
- 18.3 km
- 558 m ascent
- 521 m descent
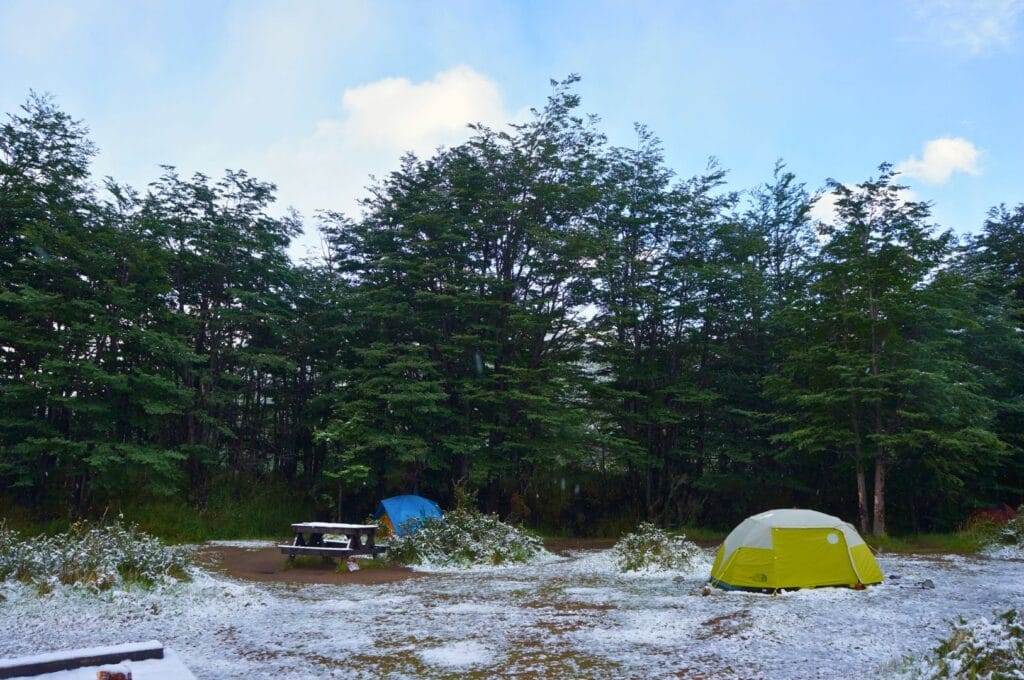
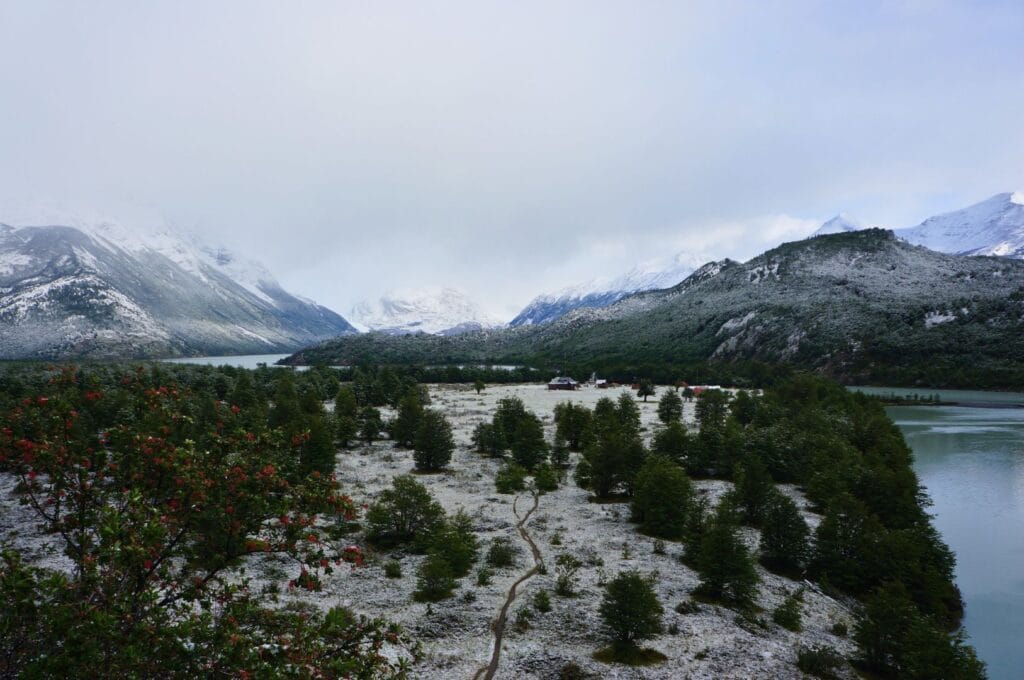
Day 3: Route change due to weather
Our original plan for day 3 was to reach Los Perros Campsite and prepare for the John Gardner Pass the next day. However, the rangers at Dickson informed us over breakfast that the pass was closed for at least two more days due to over 40 cm of fresh snow at the summit.
With more snow in the forecast and no waterproof shoes or pants, we decided to turn back and abandon the O circuit. Instead, we planned to hike the W trek and attempt to reach the pass from the other side later. So, we returned to Serón Campsite for our third night before starting the W trek!
Here are the details of what we should have done for the rest of the trek. To get from Dickson to Los Perros on day 3, it’s pretty easy:
- 11.3 km
- 511 m elevation gain
- 161 m elevation loss
This short day is not too much to take into the next day. Day 4 marks the crossing of the John Gardner Pass, the toughest part of the O trek!
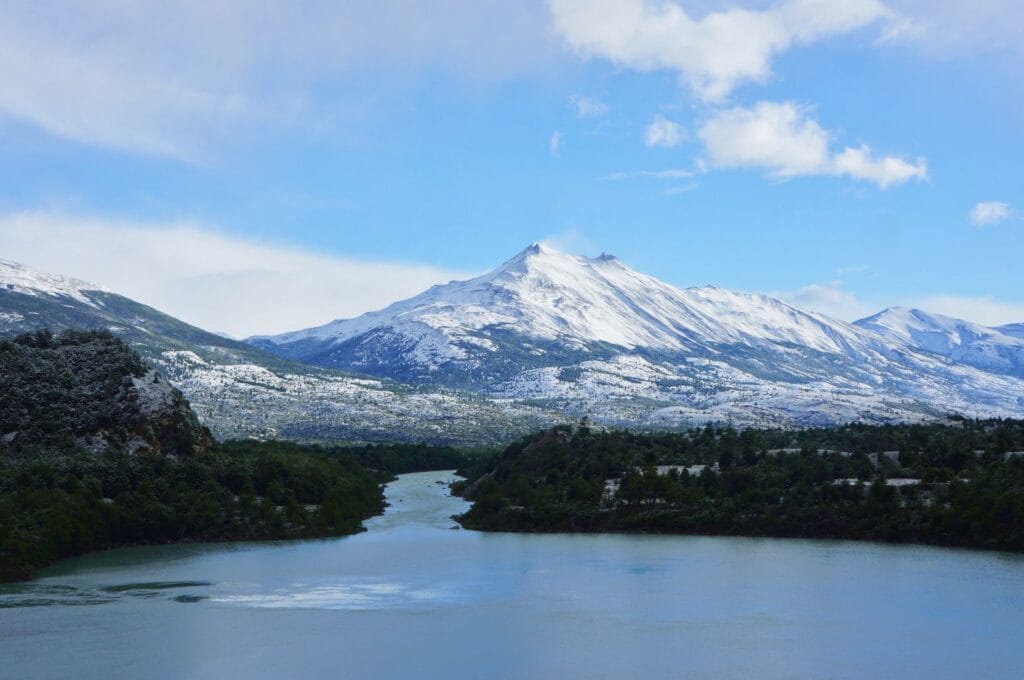
Day 4: Chileno and Torres
Day 4 promises to be a busy one, so we break camp early from Serón and set off in the direction of Hotel Las Torres. Arriving there before noon, we have plenty of time to start the climb up to the Chileno campsite where we’ll spend the next night.
The climb was quicker than expected, but Chileno Campsite was far from inspiring. Once again, the weather took a turn, switching from rain to snow. Lovely! After setting up the tent, the snow continued, but the sky began to clear. We quickly devoured a chocolate bar for energy and headed up—this time without our backpacks—to the Torres del Paine viewpoint. The final kilometer was steep, but we powered through.
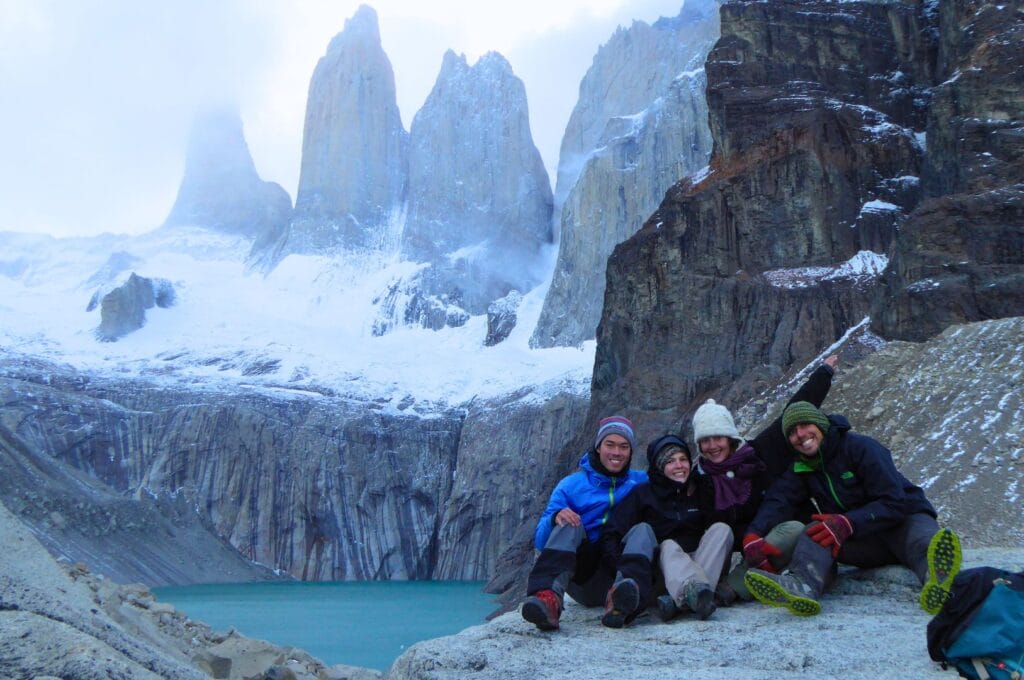
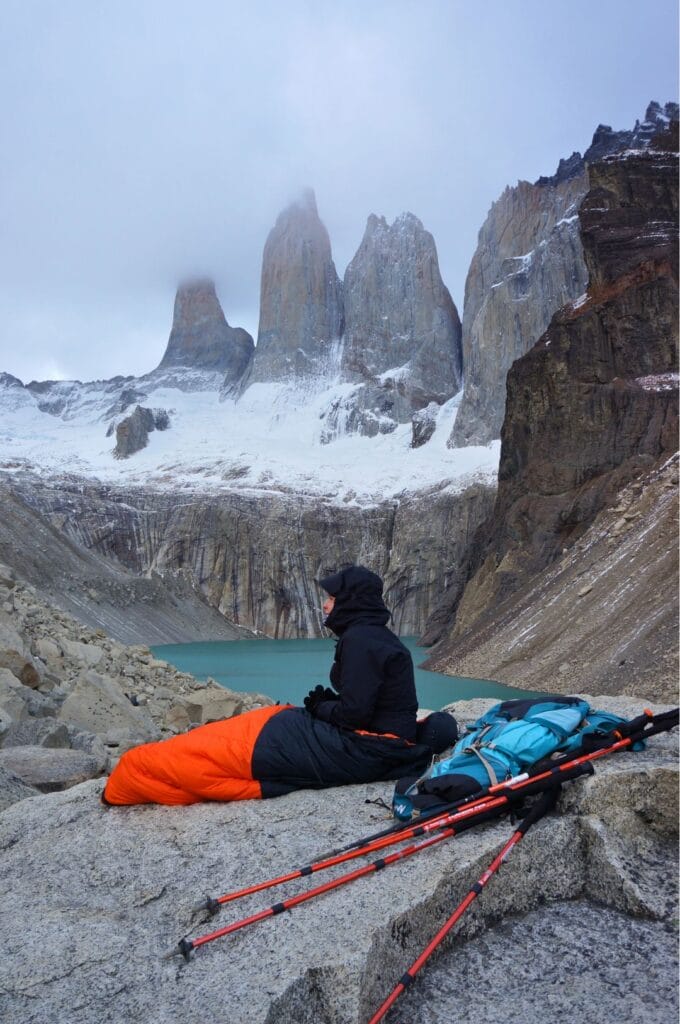
Our efforts were rewarded with a clear sky and a stunning view of the iconic towers. You should know that these little rascals tend to hide behind the clouds. Many tourists climb without seeing them. We are lucky and don’t miss a thing: the sight was absolutely breathtaking!
Day 4: what we should have done if we’d continued on the O:
Between Los Perros and Grey via John Gardner Pass:
- 16 km
- 1061 m ascent
- 1544 m descent
And what we actually did:
Serón – Torres – Chileno: it’s sporty, but can be done if you set off early. The most difficult parts are the climb to Chileno and the ascent to the Las Torres viewpoint. This is the classic section for the clockwise O trek.
- 27.3 km
- 1399 m ascent
- 1158 m descent
If it’s too difficult, sleep at the Chileno campsite (19 km, 726 m ascent, 487 m descent) and do the sunrise the following day. But if the weather’s fine when you get to camp, take the opportunity to see the towers. The next morning, the weather may well change!
Day 5: Sunrise at the Torres & rest
The next morning, our alarm went off at 2 a.m.! Our mission: to witness the sunrise over the iconic granite towers. Wrapped in our sleeping bags, we made our way up the rocky path by headlamp and settled in to wait for the sun. Alas, the mischievous sun never made an appearance…
Back at the campsite, the skies cleared, and the day promised to be a beautiful one. The rough weather of the past days had taken its toll, so we decided to take it easy with a light hike and a well-deserved nap in the sun. On this fifth day, we simply descended to Central Camp, pitched our tents, and spent the afternoon playing cards.
Day 5: what we should have done if we’d continued on the O:
Grey – Paine Grande
- 11 km
- 405 m elevation gain
- 440 m elevation loss
Day 6: Chileno – Los Cuernos
In the following three days, we tackled the W trek. The first leg from the hotel to Los Cuernos Camp was the uncontested winner in the category of “crazy wind that glues you to the ground!” Hats were lost, falls were frequent, and we clung to our trekking poles and the arms of our dear, tender, heavier gentlemen. Sabine and I nearly took off like kites! And if anyone dares to say we aren’t light as feathers, they’ll hear from us! 😉
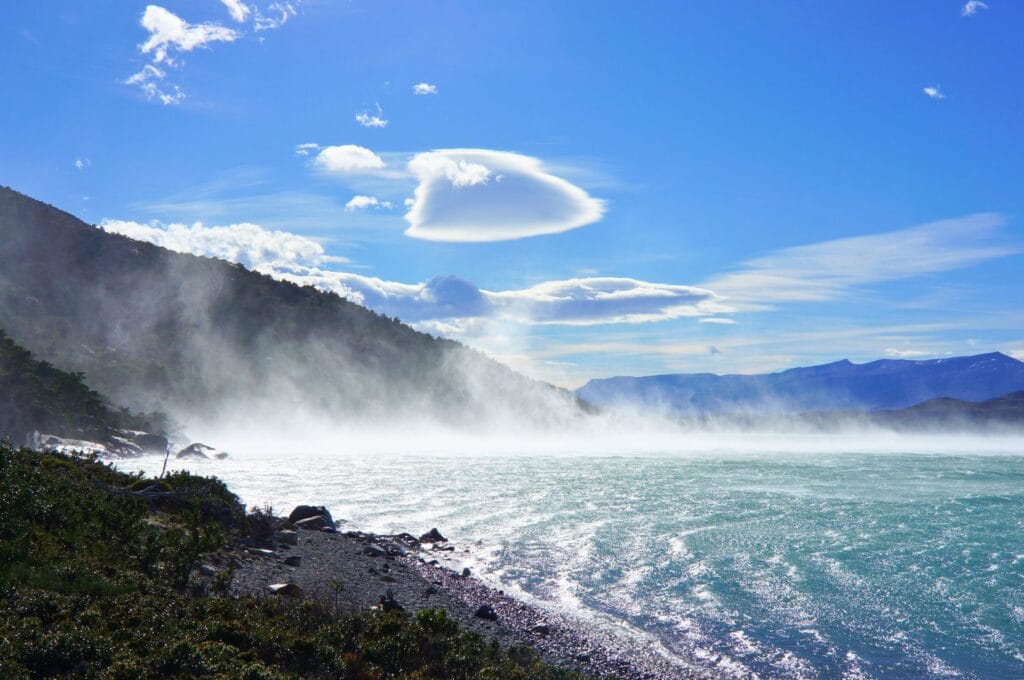
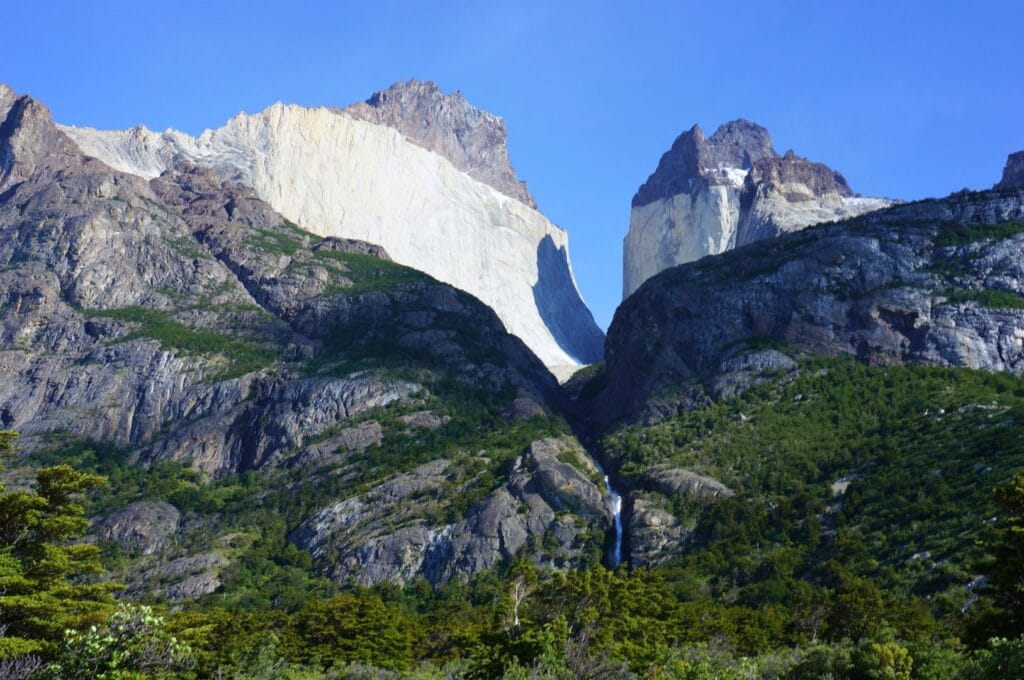
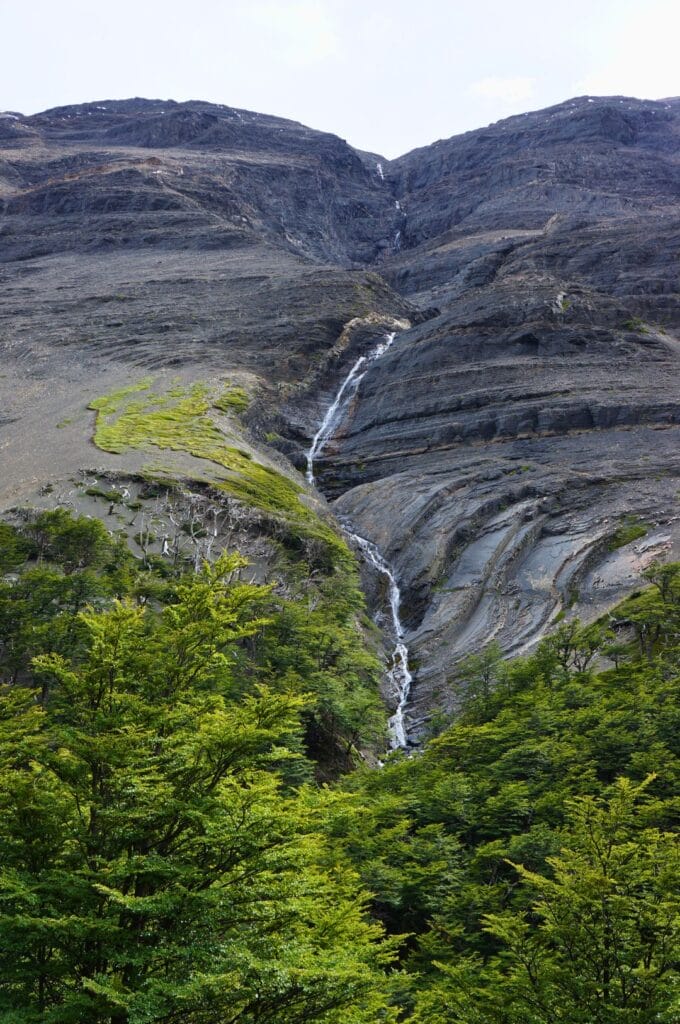
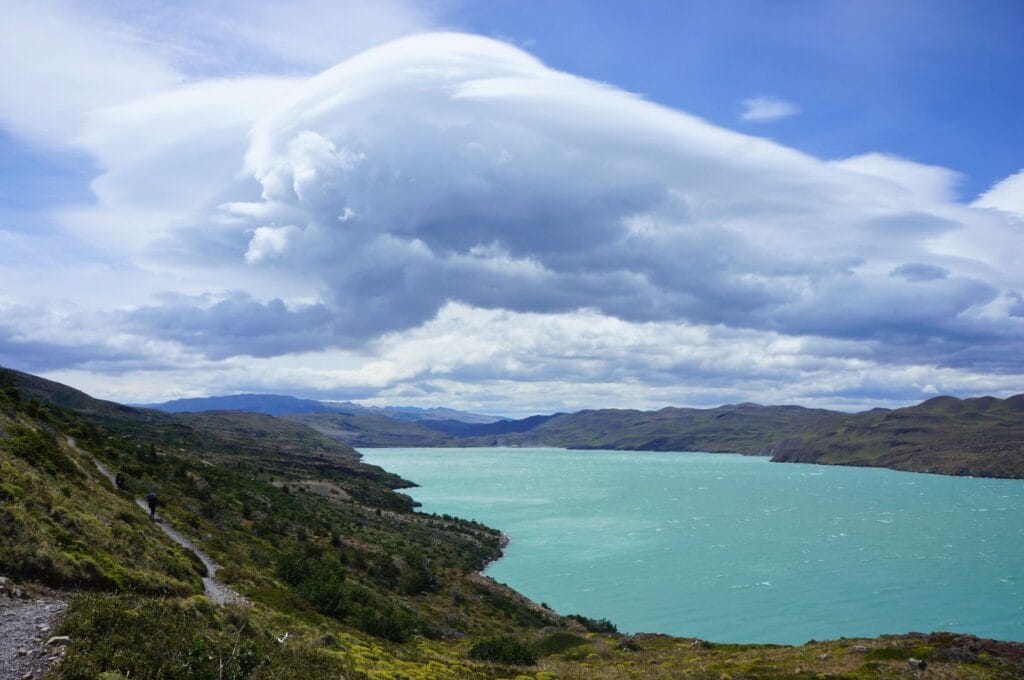
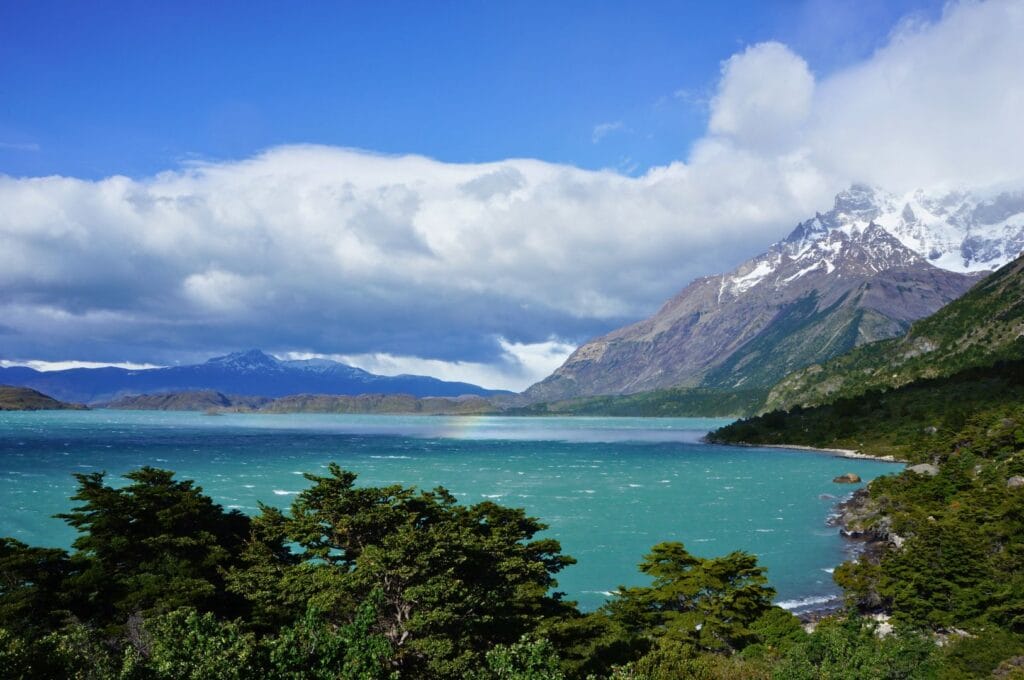
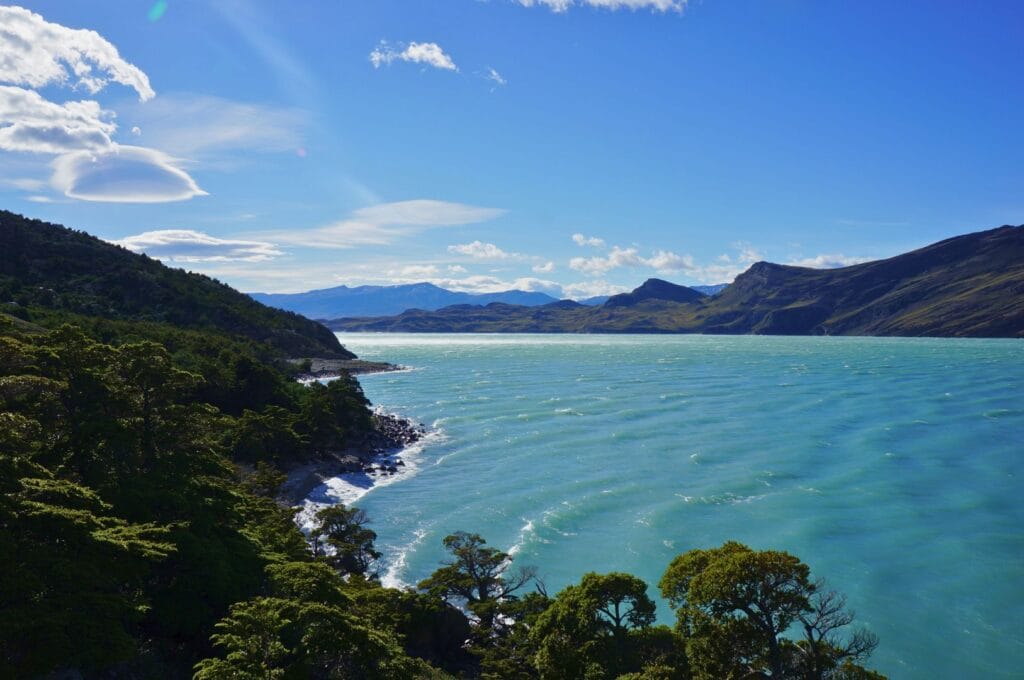
The scenery on this stretch is magnificent. The wind is certainly a big hindrance, especially when it comes from the front, but it also creates some damn fine effects on Lago Nordenskjöld. The water is swept to the surface and mini-tornadoes can be seen forming. These are then blown onto the shore, offering rain-hungry hikers a free shower option. For those of us who haven’t had enough water in the past few days, it’s perfect timing!
Day 6: what we should have done if we’d continued on the O:
Paine Grande – Los Cuernos via the French Valley (Valle del Francés)
- 23.5 km
- 1074 m ascent
- 1046 m descent
What we did:
Chileno – Torres – Los Cuernos
- 22 km
- 1168 m ascent
- 1500 m descent
If you did the Torres the day before, the Chileno – Los Cuernos section is 13.6 km with 495 m of ascent and 825 m of descent.
Day 7: Valle del Francés
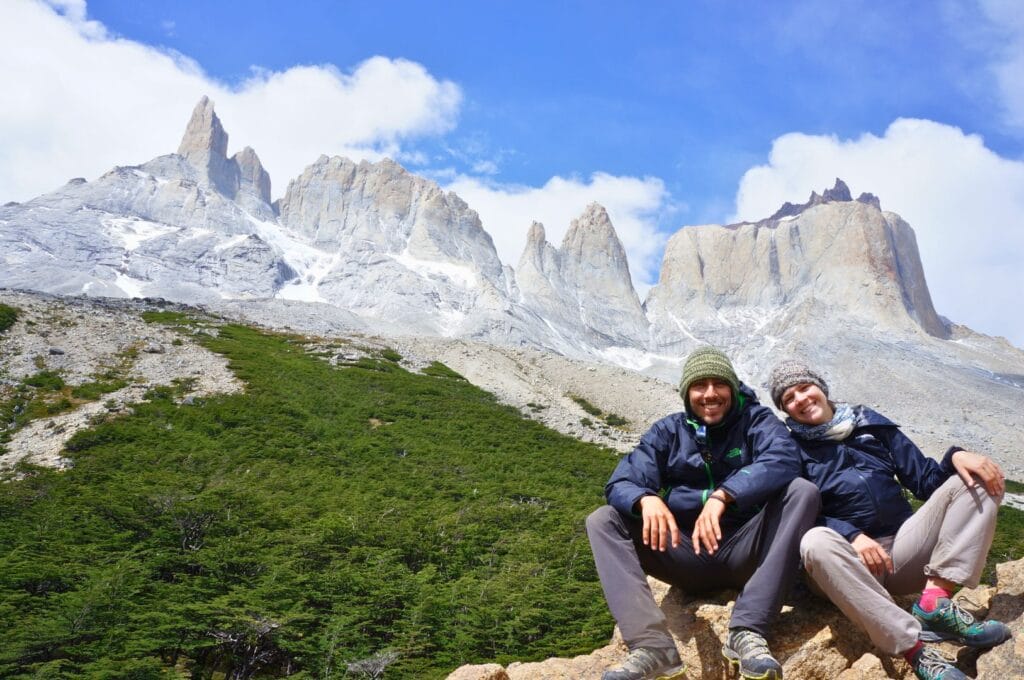
Luckily, as we began our climb into the French Valley, the wind swept away the clouds, gifting us with a nearly clear sky and stunning views of the Torres del Paine massif. Don’t miss the viewpoints at Mirador Británico and the Glacier del Francés.
Day 7: what we should have done if we’d continued on the O:
Los Cuernos – Chileno + Las Torres viewpoint
- 22 km
- 1461 m ascent
- 1158 m descent
It’s up to you to decide whether the weather is ideal for climbing to the tower lookout. At worst, you can do it the next morning!
What we actually did:
Los Cuernos – Valle del Francés – Paine Grande
- 23.5 km
- 1032 m ascent
- 1067 m descent
Tip: leave your backpack at the Campamento Italiano at the entrance to the valley! You’ll be lighter and more efficient on the climb ;).
On our side, we didn’t go all the way to Paine Grande because the Italiano campsite was open at the time, which allowed us to split the Los Cuernos – Paine Grande route in half. We advise you to continue to Paine Grande rather than retracing your steps to the Francés and Los Cuernos camps. The trail mainly descends.
If, however, you wish to do as we did, stay 2 nights at Los Cuernos! Looking at the map, you might wonder why 2 nights at Los Cuernos instead of getting a bit closer to the valley by staying at the Francés campsite. Simply because the staff there is much friendlier and the terrain is great! In Francés, everything is sloped… By choosing to make the round trip from Los Cuernos in the French Valley, you will walk 20.4 km with a positive elevation gain of 1060 m and the same amount of negative. In other words, you gain 3 km compared to going directly to Paine Grande… In short, it’s up to you!
Day 8: Christmas at Refuge Grey
On December 24th, we set off towards our final destination: the Grey Glacier! 19 km lay ahead, but today, no one complained about facing the headwinds that day—we had reserved spots at the Christmas buffet at Grey Refuge!
No beds, though. Our budget would’ve never survived that! But the thought of a warm meal, wine, and a cozy evening kept us going.

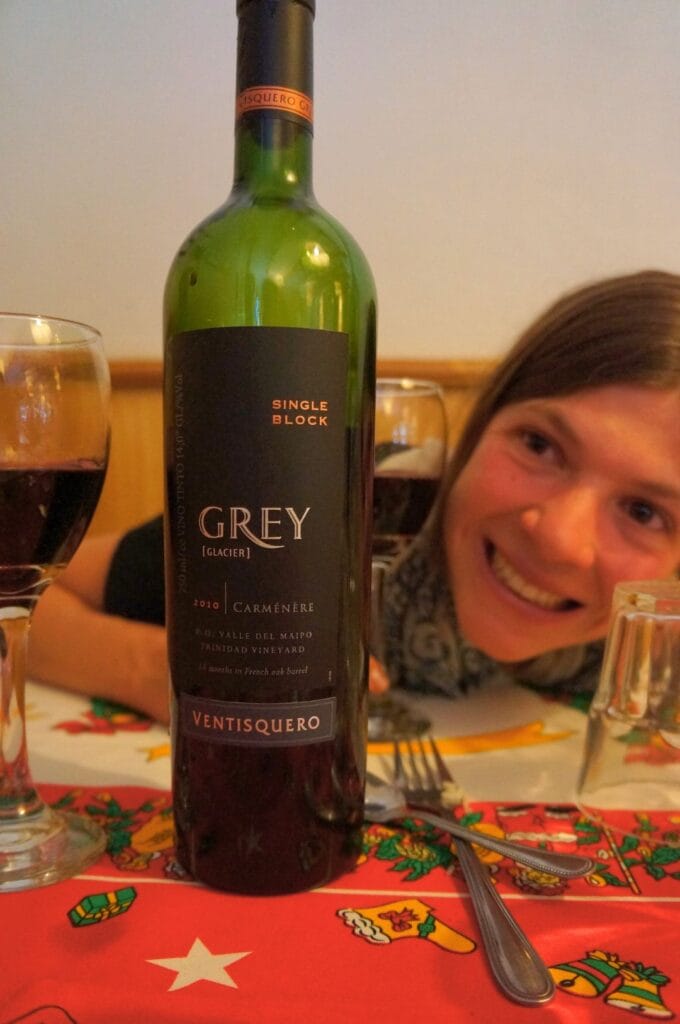
The evening cost us 150 euros per couple. Ouch! But believe us, it was worth every penny. We enjoyed ourselves, drank a lot and laughed a lot too. But then, like Cinderella and her carriage, we had to find our pumpkin, er, camping tent at midnight, just as the refuge was closing its doors.
Day 8: what we should have done if we’d continued on the O:
Chileno + Las Torres viewpoint – Central + return to Puerto Natales
- 14.3 km
- 824 m elevation gain
- 1083 m elevation loss
What we did:
Paine Grande – Grey + viewpoints
- 20.4 km
- 1123 m ascent
- 1089 m descent
It’s a big day because of the steep passage to the viewpoints on the Grey Glacier, beyond the refuge and the suspension bridges. You can stop at the Grey campsite and do the viewpoints the next day before heading back down to Paine Grande.
You may do as we did – starting from Francés or Los Cuernos – depending on your itinerary and accommodation availabilities. The Los Cuernos-Grey section is a good 22 km long, with 796 m of ascent and 805 m of descent.
Day 9: Grey Glacier panorama
On December 25th, no gifts awaited us in our hiking boots—Santa must have struggled with the Patagonian winds! But the weather was much kinder. We hiked towards John Gardner Pass- yes, the one we had to give up on day 3. This time, we attack it from the other side to get a better view of the glacier, and what a panorama it is! Several suspension bridges along the way offer stunning vistas, though they may challenge those with a fear of heights.
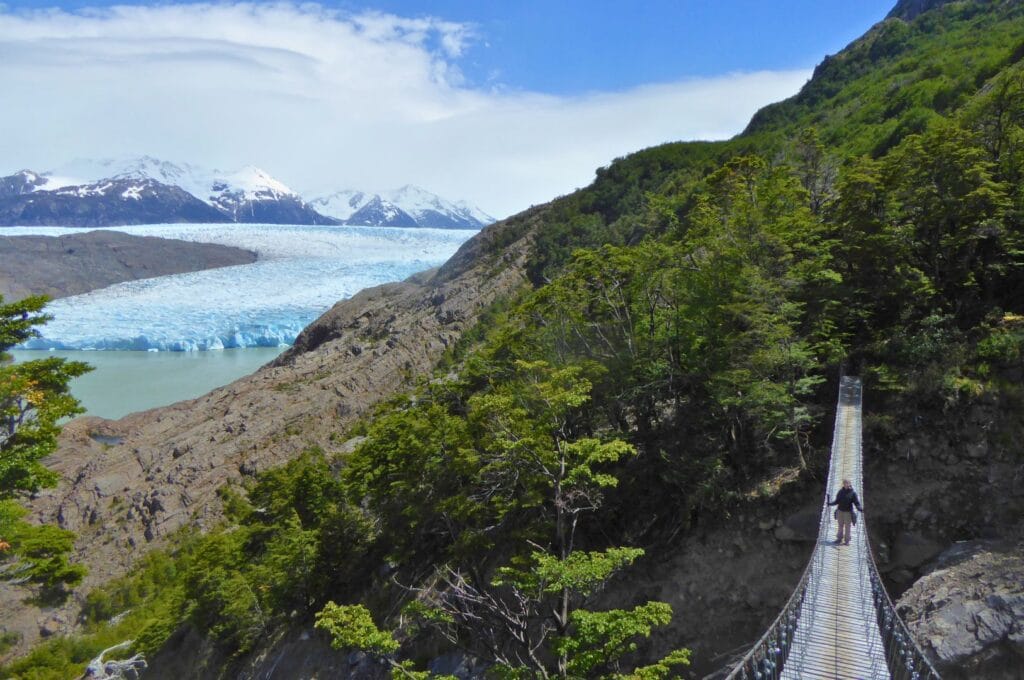
By 2 p.m., the rain begins to threaten, and we decide to turn back towards the Grey campsite to spend our last night in a tent on the O trek, which has turned into a W!
Day 9:
Grey – Paine Grande without the viewpoints to the suspension bridges
- 11 km
- 442 m ascent
- 407 m decent
This last day’s walk is a quiet one, perfect for a gentle end to the trek, whether you’re on the O or the W. From the Grey campsite to Paine Grande, via the viewpoints beyond the refuge, you’ll cover the same distance as we did: 17.6 km for 795 m of ascent and 822 m of descent. In the latter case, leave your bags at the Grey campsite and pick them up on the way.
Day 10: Return to Puerto Natales
On the final day, we bid farewell to Glacier Grey and hiked back to Paine Grande. From there, we boarded the catamaran to Estancia Pudeto, where our bus awaited to take us back to Puerto Natales.
Camping & refuges in Torres del Paine
Wild camping is strictly forbidden in Torres del Paine Park since fires have broken out in the past due to the negligence of some campers. To sleep, you can choose between camping spots (with your own equipment or by renting locally), a bed in a refuge, or a night in a hotel if you want to treat yourself. Further on, we detail the solutions available if you’re traveling in a van or RV.
The W trek can be done without camping, sleeping only in refuges. For the O trek, you’ll need to camp for at least 2 nights. Are you planning to do day hikes without going back and forth between Torres del Paine and Puerto Natales? Then you can also camp or sleep in a refuge for 1 night or more.
There are no longer any free campsites… Unfortunately, the popularity of the Torres has outstripped the low rates of a few years ago.
Should I book a night at a campsite or a refuge?
In recent years, some trekkers have been able to take advantage of vacant places at campsites without booking in advance. I’m not taking any chances now… If you’re planning to hike the trails of the W or O treks, book in advance, especially if you’re coming during the high season, between December and February! For the big sectors like Grey, Paine Grande and Central, you should be fine without booking IN THEORY.
There’s no more room at the campsites? We mentioned earlier the solution of sleeping in Puerto Natales and commuting each day. A last-minute solution safer than going to the big campsites on the spur of the moment is to camp at Pehoé campsite and do sections of the W trek by day. In our opinion, this is the best plan for walking the Torres del Paine trails without booking accommodation and without unpleasant surprises on arrival. As a last resort off the beaten track, sleep at the Laguna Azul campsite! You’ll have a superb view of the Torres and, as it’s little or not mentioned on the maps, you’ll be almost alone in the world!
Otherwise, the best thing to do is book your nights as soon as the companies open their bookings, around April/May.
How to book the campsites
To book campsites and refuges on the W and O treks, you’ll need to visit the websites of the 2 companies that manage all accommodation on the route: Las Torres and Vertice Patagonia.
If everything is fully booked or if you have only secured part of your reservations, don’t hesitate to check the Torres Hike website, which consolidates availability for both Las Torres and Vertice Patagonia. The prices are practically the same, but it saves you time by allowing you to match your dates and availability across both companies, helping you finalize your itinerary. We tested this in December, and while some spots were fully booked on the companies’ websites, they were still available on Torres Hike.
Reservations generally open around May for the upcoming summer season. The specific W refuges and campsites open from October, and for O, the opening is later, around November, due to the climate.
Since there is no signal within the park (and Wi-Fi is paid), make sure to download your reservation receipts for both campsites and refuges. Rangers may request proof of your bookings, and some sectors require it. Several hikers have been denied entry to the park because they did not have documentation for their overnight stays.
Map of campsites and refuges in Torres del Paine National Park
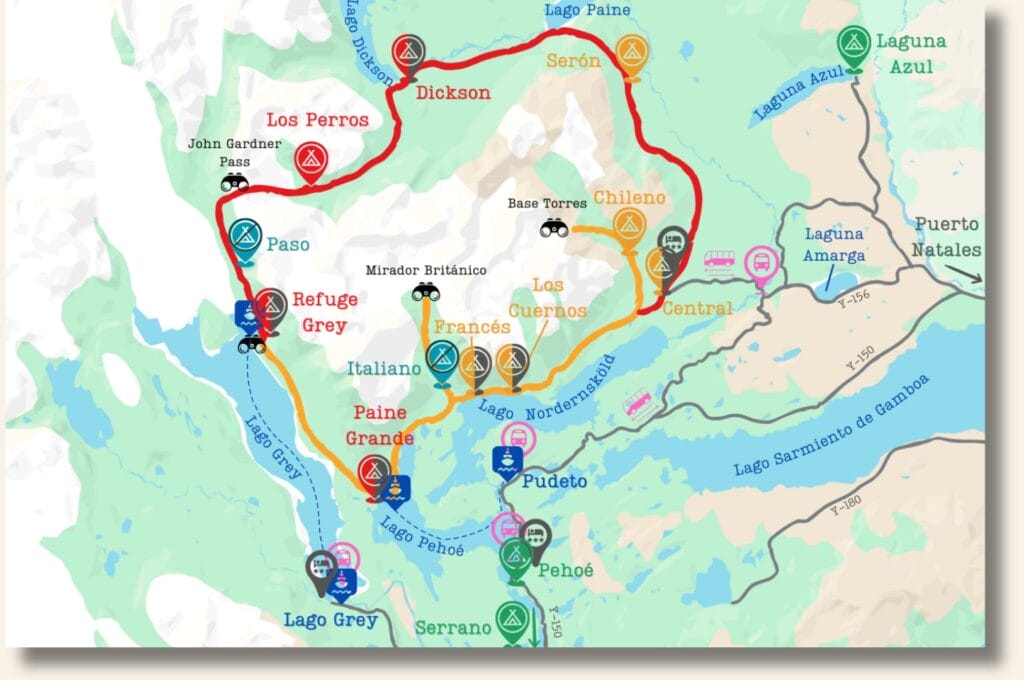
You will find 4 types of campsites and refuges in Torres del Paine National Park:
- Campsites/refuges managed by Las Torres, marked in orange on the map.
- Those managed by Vertice Patagonia, are in red.
- Independent campsites, in green.
- Those managed by CONAF, in turquoise blue.
The two-tone pins represent campsites that also offer a refuge.
For these four types, we provide details on which to choose based on your trekking or hiking preferences, as well as the prices. At the end of this section, we will discuss other accommodation options in the park that are slightly more affordable. To go further, we break down the total budget for a stay in the park.
Las Torres campsites and refuges (formerly Fantástico Sur)
As shown on the map above, Las Torres manages all accommodations in the eastern and southeastern areas of the national park, offering campsites, refuges for “smaller” budgets, cabins, and the renowned Hotel Las Torres for higher budgets. If you plan to stay overnight in the park and complete at least part of the W Trek or visit the Torres, chances are you’ll choose one of their establishments. You can check availability here.
These are the most expensive campsites in the park, and Las Torres manages five of them:
- Central (campsite and refuge, for all treks);
- Chileno (camping only, for all treks);
- Los Cuernos (campsite and refuge, for all treks);
- Francés (campsite and refuge, for all treks);
- Serón (camping, for the O trek).
In terms of amenities, everything is top-notch! There are hot showers everywhere, and cooking areas (except at Chileno). We have no complaints in that regard. However, the prices are quite steep, if you ask me:
- $35 per night per person to set up your tent on a platform during the low season (April to October), and $40 during the high season (November to March).
- $90 per person per night to camp using a rented tent and sleeping pad ($95 in high season), with the tent already set up on an elevated platform – this is the Premium Camping Simple.
- $120 per person per night to camp with a fully equipped setup, including a tent already installed on a platform, sleeping bag, mattress, pillow, and a welcome drink voucher ($130 in high season). This is the Premium Camping Fully Equipped.
For refuge stays, prices are also exorbitant: expect to pay $160 per bed in a mixed dormitory of six people ($180 in high season). It’s quite steep, even if it offers more comfort!
These campsites also offer gear rentals if needed:
- Tent: $50 ($55 in high season)
- Sleeping bag: $30 ($35)
- Sleeping pad: $11 ($12)
Central
Central Sur, formerly known as Camping Las Torres, is located at the junction of the O and W circuits. Whatever your plans in the park, you’ll likely pass through here—it’s the gateway to all treks and hikes! From here, you can start your journey to the Torres del Paine or head to the next campsite, Chileno, to get a bit closer.
At Central, you’ll find hot showers, a restaurant, Wi-Fi (for a fee), and cooking areas. Our tip: leave your heavy backpacks at the refuge to hike more comfortably to the granite towers!
Chileno
Chileno is the closest campsite to the Torres del Paine. There is no refuge here, just spots to pitch your tent (or rent an overpriced tent) and leave at night to catch the sunrise over the majestic towers.
Note: Cooking stoves are prohibited here due to the high fire risk. You’ll need to share a single stove with other campers on a small table in the restaurant/bar area. To make things easier, plan your meals in advance or bring sandwiches to avoid the costly meals sold on-site. Hot water is available for dehydrated meals. Oh, and the staff is quite unpleasant! This is certainly not the best place to stay in the park… but sometimes you have no choice.

Los Cuernos
Los Cuernos campsite and refuge are situated between Torres del Paine and the Valle del Francés, near the Francés campsite, with a view of Lake Nordenskjöld. This is probably the most “welcoming” spot among all Las Torres accommodations. On-site, you’ll find hot showers and shared bathrooms, a restaurant and bar in the refuge, a cooking area, and a small shop, all with the stunning Cuernos del Paine as a backdrop!
Francés
Francés campsite and refuge are ideal for exploring the Valle del Francés, with the trailhead only 1 km from the campgrounds. The panoramic view of Lake Nordenskjöld is incredibly scenic. The refuge consists of dome-shaped cabins (8-bed dormitories), resembling an observatory. There is a restaurant, hot showers, shared bathrooms, and a small cooking area.
However, the campsite is on a slope with no stairs, and the refuge/restaurant is far from the camping spots, making it less convenient. If we had to choose, we’d probably camp at Los Cuernos instead, even though it adds 3 km to the next day’s hike.
Tip: Francés does not allow you to leave your backpacks during your trek into the Valle del Francés. However, the former Italiano campsite, although closed, serves as a free bag drop-off point.
Serón
It seems that Serón has declined in quality, both in terms of service and accommodation. Still, it offers everything you need: a dining area, cooking space, a bar, paid Wi-Fi, and hot showers. Skipping Serón to go straight to Dickson on the O trail would mean covering 31 km in one go with 800 meters of elevation gain. The choice is yours, but recent feedback hasn’t been promising.
Vertice Patagonia campsites and refuges
Vertice Patagonia manages all accommodations in the western part of the park:
- Dickson (campsite and refuge, for the O Trek)
- Los Perros (campsite only, for the O Trek)
- Grey (campsite and refuge, for all treks)
- Paine Grande (campsite and refuge, for all treks)
The main difference between Las Torres and Vertice Patagonia is the price, which is much more reasonable! $11 (8,500 CLP) per person per night to pitch your tent. Additionally, Vertice campsites are better managed and more friendly. To book or check availability, visit their website.
As for the refuge, here too you’ll save money by sleeping on the west rather than the east side of the park! It’s still 2 to 3 times cheaper, even if it’s still high! If you have your sleeping bag, a single bed in a dormitory costs $43 (33,500 CLP). For more comfort in a bunk bed with sheets, pillow and blanket, you’ll pay $100 (83,000 CLP).
As the Paine Grande campground and refuge are larger and busier, prices are a little higher than at the others: $13 (CLP 9,500) per night per person to pitch a tent, $65 (CLP 49,000) for a single bed and $100 (CLP 83,000) for a bunk bed.
All Vertice Patagonia accommodations offer camping equipment for rent:
- $44 (41,000 CLP) for a 4-season tent for 2 people;
- $28 (26,000 CLP) for a sleeping bag;
- $12 (12,000 CLP) for a sleeping pad.
Dickson
For us, Dickson Camp is the best campsite in the park and it was one of the highlights of the O trek! It’s well-managed, with shared bathrooms and hot showers. It has a capacity of 100 spots. On-site, there is a refuge with 26 beds, a restaurant, a small store, a bar, and a sheltered cooking area. In short, we completely fell in love with the place! Note that this is one of the spots in the park without Wi-Fi.
Los Perros
Los Perros Camp will also be one of your stops on the O circuit, between Dickson and Grey. It’s the most remote campsite in Torres del Paine, so the facilities are basic, but the staff is excellent. With a capacity of 100 tent spaces, it offers shared bathrooms, cold showers, a cooking shelter, and a small shop. Like Dickson, there is no Wi-Fi available.
Grey
Next to Grey Glacier, this campsite has everything you need for a comfortable stay! The campground can host 150 people, and the refuge offers 60 beds with a lounge and terrace. You’ll have access to shared bathrooms with hot water, a sheltered cooking area, a restaurant, a bar, a small store, and Wi-Fi (charged). We loved staying at Grey Refuge! We spent Christmas there, and it was fantastic. The common room with a bar is a great place to relax with a warm beer after a day of trekking—very cozy!
Note: The camping spots are quite exposed to the wind, so make sure you bring equipment to secure your tent properly.
Paine Grande
A key hub for trekkers on both the O and W circuits, as well as for day hikes to Grey Glacier, Paine Grande features a campground with 260 spots, a refuge with 100 beds (both private and dormitory-style), shared bathrooms with hot water, a sheltered cooking area, a restaurant, a bar, a store, and a café, plus Wi-Fi (charged). Paine Grande is also the only Vertice Patagonia site where you can store your backpack for 4,000 CLP per bag—a handy service if you’re planning a day trip to Grey Glacier.
CONAF campsites and refuges
CONAF, the Chilean National Forest Corporation, used to manage the free campsites Italiano and Paso. While they have been closed for several years, Italiano Refuge is still used as a free storage point for backpacks before heading into the French Valley. Both sites still have operational toilets if needed :).
Camping Lago Pehoé
When other accommodations are fully booked, Lago Pehoé Camp is a great alternative. It almost always has availability, even at the last minute, and is considered one of the best campsites in the park. Prices are higher than what you might be used to, but they remain reasonable. Expect to pay 18,000 CLP per person for a tent spot (49 spaces available) or 130,000 CLP for a dome for two people, which includes mattresses, sleeping bags, and comforters. They also offer equipment rentals: 28,000 CLP for a tent and 18,000 CLP for a sleeping bag. Facilities include bathrooms with hot water, sheltered areas for tents, barbecues, a small market, and a restaurant.
Lago Pehoé is a perfect base for day trips, whether to Paine Grande and Grey Glacier via the catamaran from Pudeto (6.4 km between Pehoé and Pudeto) or to Torres del Paine, taking a shuttle from Pehoé to Laguna Amarga.
If you have a car, access is straightforward as the road passes right by the campsite. By public transport, take one of the buses from Puerto Natales to Torres del Paine and get off at the Lago Pehoé stop (approximately a 3-hour trip).
Camping Laguna Azul
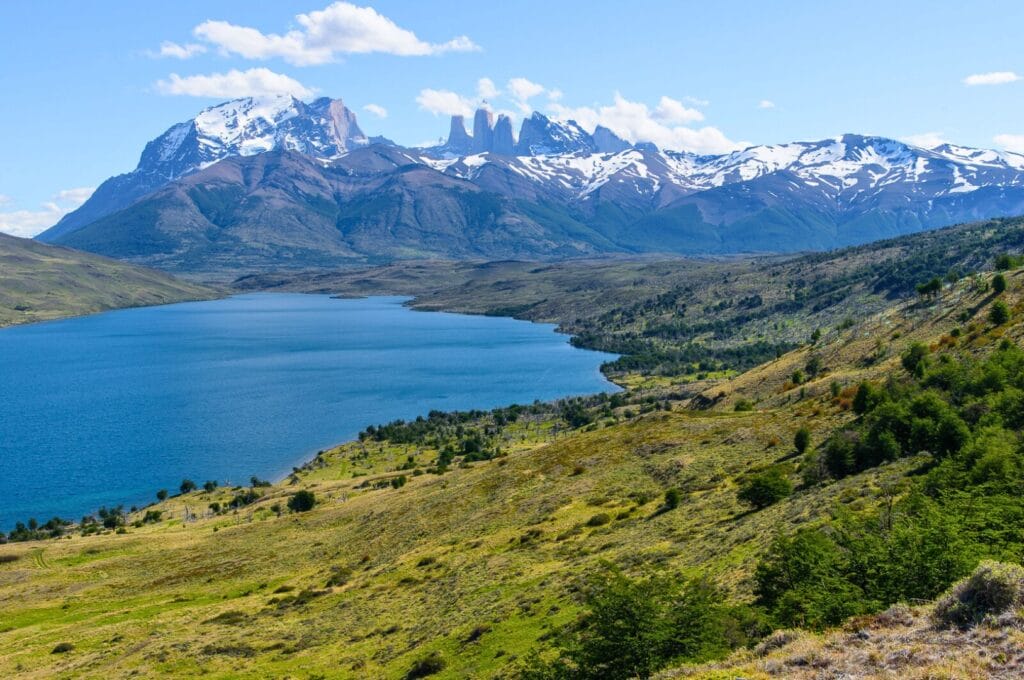
Off the beaten path, Laguna Azul Camp is located on the park’s northeastern edge, next to the stunning Laguna Azul. If you’re looking to explore Torres del Paine away from the crowds, this is your spot. No public transport reaches here, so you’ll need your own vehicle to cover the 17 km between Laguna Azul and Laguna Amarga. Hitchhiking works well in Chile, so you can always give it a try if you’re on foot! Furthermore, the views of the Torres del Paine peaks and the lagoon are breathtaking! So, yes, you’re not at the foot of the granite towers, but it’s wild and the panorama is incredible.
A 9.7 km hiking trail connects the campsite to a viewpoint overlooking Laguna Cebolla and other parts of the park. You’ll also have the chance to see more wildlife here, including guanacos, armadillos, and various bird species, thanks to the lower number of visitors.
The site offers rental equipment (tent, mattress, sleeping bag) and has a small restaurant. For reservations, contact them directly, as their website does not support online booking.
Camping Río Serrano
Another forgotten Torres del Paine campsite is Serrano, located at the southernmost tip of the national park. It’s only accessible if you have a vehicle. It has 32 places for campers and 4 places for motorhomes or vans, all with bathrooms with hot water and protected shelters for cooking. For greater comfort, you can sleep in domes or mini yurts, similar to those at the Francés refuge. There’s also a restaurant and this is the only place in the park where you can get free wi-fi! Sleeping accommodation is still expensive, but less so than at Vertice and Las Torres. For more information, visit their website (in Spanish only) or book a dome.
Goiien House
Not technically inside the park, Goiien House (also known as Laguna Amarga Refuge) is just 1 km from Laguna Amarga, the bus stop that drops travelers off dropped off to reach the Central sector, either on foot or by shuttle. It’s a budget-friendly option if you plan to explore different sections of Torres del Paine without spending too much. Prices vary according to the period, but for a bed in a dormitory with breakfast included, you can get away with between 60,000 and 78,000 pesos per person. On-site, you also have access to a restaurant. In any case, the entire hostel is well-maintained and it’s not bad as a last resort to enjoy the Torres without selling your kidney when the basic campsites and refuges are full.
Food during the trek
Where to buy groceries
You can find everything you need inside the park, and it’s even possible to trek without bringing any food, as daily supplies are available. However, we don’t recommend this due to the high prices and limited quality of meals. It’s better to stock up at a supermarket like Unimarc in Puerto Natales as prices are so exaggerated in the park! We were told that food costs 30-40% more in the park. In fact, it’s actually closer to 300-400%!
What to pack
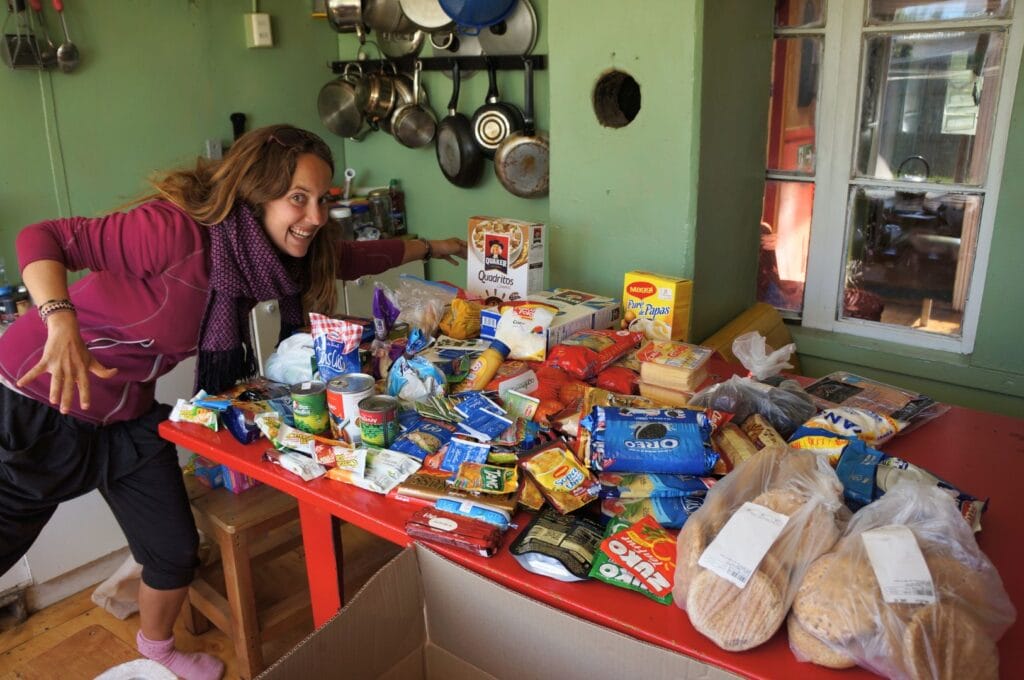
If you’re not sure what to buy in the way of food, for the evening, opt for foods that can be simply prepared in boiling water (polenta, couscous, instant noodles, dehydrated soups, mashed potatoes) and add a few tins of canned food for the evening (tomato sauce…). Except for Los Perros, all campsites offer free boiling water. Breakfast is usually oats with powdered milk, sugar, cinnamon and dried fruit. It’s delicious and very nourishing. For lunch, we usually have bread and wraps filled with ham, cheese, tuna, avocado or other ingredients that lend themselves well to making sandwiches. If you like hot drinks, take along some tea or instant coffee.
If carrying all your food seems daunting, basic supplies like pasta, canned goods, and snacks are available at the refuges. However, campsites without refuges generally don’t sell food.
Refuge meals
If you prefer to eat hot meals on-site, that’s possible. This option will lighten your backpack. But it’s not cheap! If you have to rent your equipment every night, your budget is likely to explode… Do it maybe 1 time, but honestly, it’s not worth it. We treated ourselves to this at Christmas, when they offer a special meal to mark the occasion, but under normal circumstances, on a budget, we’d have skipped it :).
Las Torres
Meal prices are the same at all Las Torres establishments. At each location, you can also purchase snacks if you find yourself running low. However, be aware that food prices in the shops and restaurants across the five sectors are higher than in the rest of the park…
Expect to pay $110 for a full board (dinner, breakfast, and a packed lunch) or $80 for a half board (dinner and breakfast). If you prefer à la carte, breakfast is $30, a packed lunch costs $35 ($55 if you eat on-site), and dinner is $55. Note that on-site lunches are only available in the Central sector.
In short, you’ll save a good amount by stocking up on supplies before camping in the Las Torres-managed sectors!
Vertice Patagonia
All Vertice campsites and refuges have a restaurant and bar offering sandwiches, cakes, beer, coffee, and more—except at Los Perros. Meal prices are almost the same as in Las Torres. Full board (dinner, breakfast, and a packed or on-site lunch) costs $95 (88,000 CLP). For half board (dinner and breakfast), it’s $65 (60,000 CLP). Individually, breakfast costs $29 (27,000 CLP), a lunch box or on-site lunch is $30 (28,000 CLP), and dinner is $46 (43,000 CLP).
The food shops in the three Vertice refuges are better stocked than those in Las Torres. At Paine Grande, we even found fresh vegetables during our visit!

Watch out for mice! When camping, be mindful of your provisions. In some areas, mice won’t hesitate to invade if you leave a food bag within their reach. Secure your food high inside your tent or hang it from a tree branch—ideally away from the trunk to avoid any surprises.
Staying in hotels or cabins inside the park
The park has several hotels, but as you might expect, they’re not cheap! Staying in a proper hotel room can be a great option if you want to avoid camping and start your hike fresh at sunrise from the main entrance to the Torres. Otherwise, we don’t highly recommend it due to the high costs, even if the rooms and views are often spectacular. In this section, we also give you more distant but less expensive establishments.
In the Central sector, you’ll notice the domes of Ecocamp Patagonia, which offers full board packages (breakfast, lunch, and dinner). For a more upscale experience, there’s the well-known Hotel Las Torres, located right next to the hiking trails. It’s one of the most expensive hotels in the park. Unfortunately, it’s far from a budget-friendly option for backpackers like us! The hotel has a restaurant and bar and offers double rooms with dinner and breakfast included.
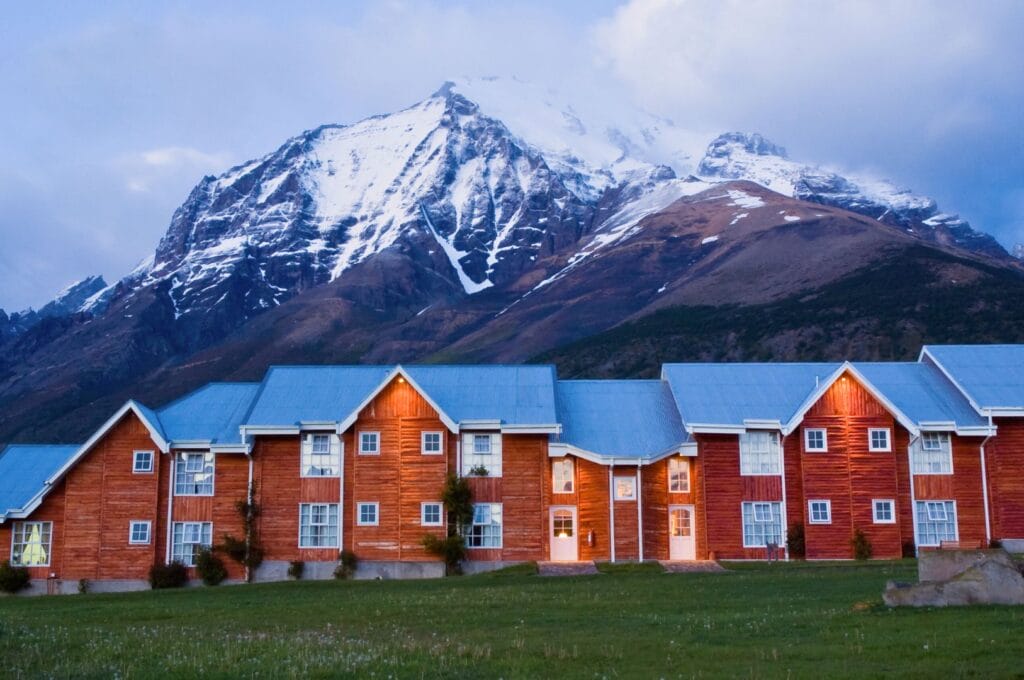
In the southern sectors, prices tend to be lower compared to the accommodations along the W and O circuits. Near Serrano Campground, Morrena Lodge offers charming double rooms with breakfast included at a reasonable rate. Nearby, Cabañas Lago Tyndall provides individual cabins for rent, perfect for groups. The cabins come with multiple single beds, a kitchen, and a private bathroom—priced similarly to dorm rooms in the park. If Pehoé Campground is full, the Hostería Pehoé nearby has a bar and restaurant. During the off-season, their rates are quite reasonable for the location.
In the Grey sector, south of Grey Lake, Hotel Lago Grey is the only accommodation option. For a slightly cheaper stay, head north toward the Grey Glacier and spend the night at Grey Refuge.

Exploring Torres del Paine by camper van or RV
If you’ve made it this far, congrats! You’ve probably noticed that park regulations are quite strict—camper vans and RVs included. Overnight parking spots within the park are very limited. Officially, you’re required to park near a restroom facility. However, after some research, we found a few places where overnight parking is possible:
- Pehoé campground and the parking lot near the bridge leading to Hostería Pehoé
- The parking lot at Pudeto, near the catamarans
- Laguna Azul campground
- Río Serrano campground
- The parking lot at the visitor center
- The parking area at Laguna Amarga, where buses stop
Note: Sleeping in your car is generally tolerated if you’re trying to save on accommodation for the night.
There are no gas stations inside the park. The nearest station is in Puerto Natales, so be sure to fill up before entering the park and keep an eye on your fuel gauge to avoid running out!
Day hikes in Torres del Paine National Park
Many visitors assume you need to do a multi-day trek to see the Torres del Paine park’s best sights. However, it’s entirely possible to visit the main highlights in one or more day hikes—or even explore sections of the W and O circuits. If we were to do it again, we might opt for day hikes: fewer reservations, lower costs, and less hassle.
Whether you start from Puerto Natales or a nearby lodge, and whether you rent a car or take one of the buses to the park’s various entry points, here’s everything you need to know to experience the wonders of Chilean Patagonia in just one day.
Here’s a map showing all the trails below.
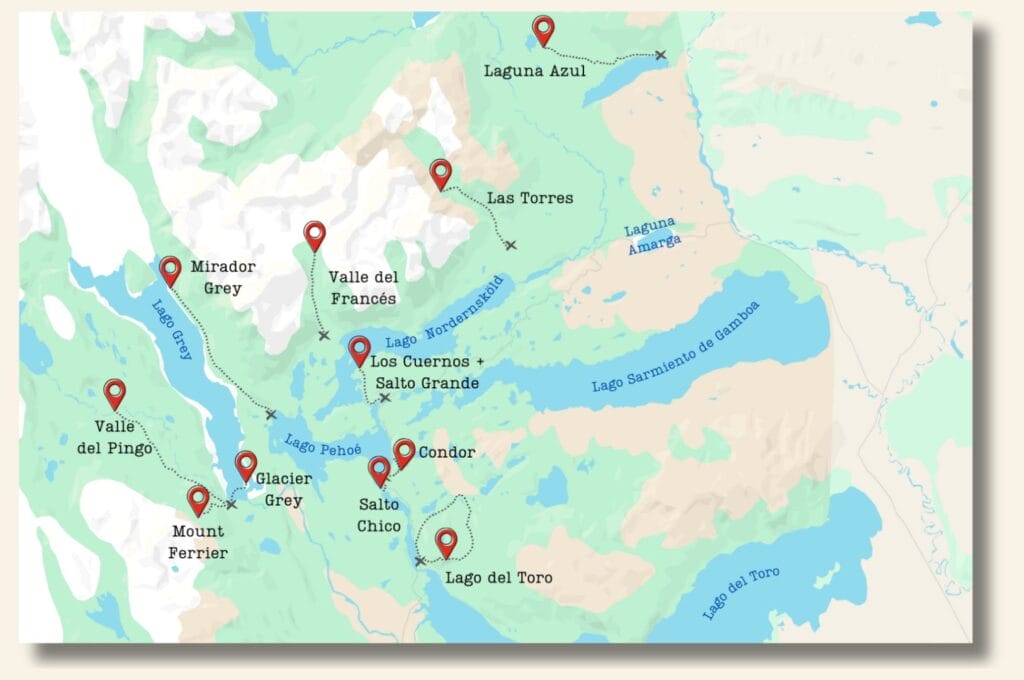
Mirador Las Torres in 1 day
Among day hikers, 99% aim to visit the Torres del Paine viewpoint in a single day. Organizing this isn’t as complicated as it might seem. It largely depends on where you’re starting from and whether you plan to stay overnight in the park.
From Puerto Natales
The first buses leave the city at 6:45 a.m. and arrive at Laguna Amarga around 8:45 a.m. From there, take a shuttle (5,000 CLP per person) to the visitor center in the Central sector. You can walk this 6 km stretch, but it will take time. From the visitor center, it’s a 20 km hike with 1,220 m of elevation gain.
Here’s the trail you can download here to take it offline.
The round trip takes about 7.5–8 hours. If you start hiking at 9:30 a.m., you should return to the Central sector by 5:30 p.m. From there, catch a shuttle back to Laguna Amarga and take one of the buses (departing every half hour, with the last around 8:20 p.m.) back to the city. So you’ve got plenty of time to make the round trip to the Torres from Puerto Natales. Advice: stay up there for a little while if the weather isn’t clear. The weather can change drastically in a matter of minutes!
If you have a car, you’ll get to the visitor center faster than by bus. Parking fees are included with your park entry ticket. The park services open at 8:30 a.m., but you can access the Central sector without any problem. We advise you to leave Puerto Natales early to be among the first at the visitor center and thus on the trail that leads to the Torres.
Tip: If you’d prefer a guided experience, consider this one-day tour from Puerto Natales.
From another part of the park
By staying 1 night in the park, you have the advantage of already being on site.
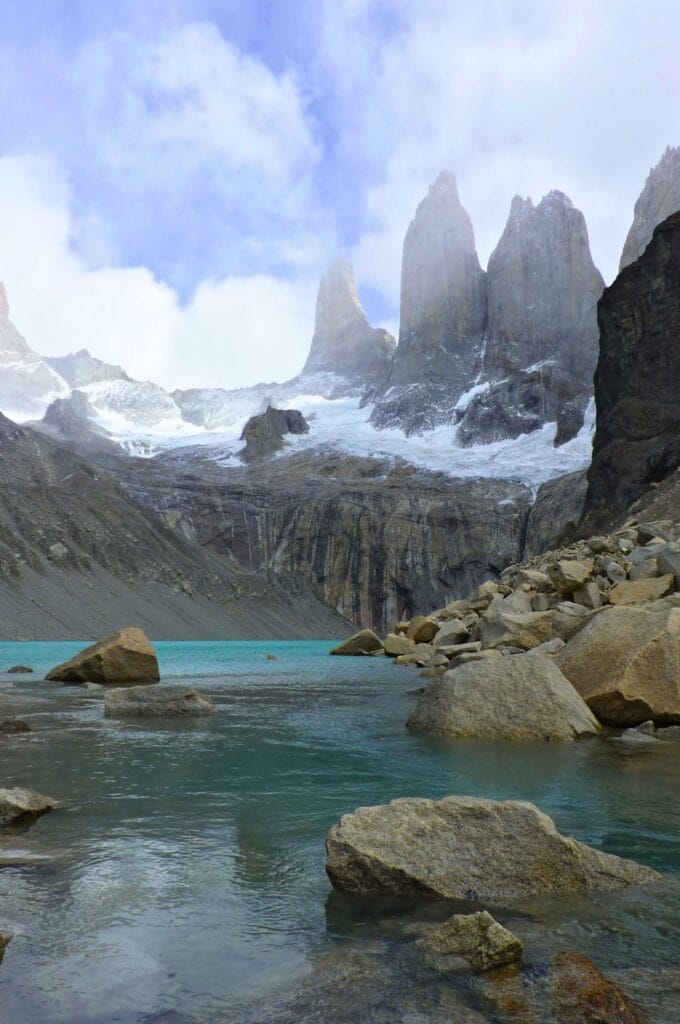
If you have a car, you’ll have no problem leaving during the night and parking at the Visitor Center to begin the night hike to the granite towers and Torres Lake for an incredible sunrise if the weather is with you.
If you’re dependent on public transport and are sleeping somewhere other than the Central sector, it’s going to be a bit tricky to get there by dawn. From the Pehoé and Paine Grande campsites, you’ll have to wait for the first bus to arrive in the early afternoon. In short, it’s not enough time to get to the base of the Torres. In these cases, you’ll have to pay for a second night to see the sunrise: either in Chileno or in the Central sector.
Mirador Grey
The Glacier Grey is a highlight of the O and W treks, comparable to Argentina’s Perito Moreno Glacier. If it’s your first glacier, it’s a must-see!
There are three possible routes, whether you’re driving or using public transport.
Round trip from Pudeto
Park at Pudeto or take the first bus at 6:45 a.m. Depending on your mode of transport, you’ll arrive just in time for the first catamaran at 8:30 a.m. or the second at 10:30 a.m. Check the boat schedule carefully to cross Lake Pehoé to Paine Grande. The 30-minute ride costs 26,000 CLP and offers spectacular views of the Cuernos del Paine.
Once at Paine Grande, hike to Mirador Grey (24 km round trip, 920 m elevation gain) before taking the boat back from Paine Grande (the last one is at 6:40 p.m.) in the other direction to the Pudeto parking lot. The final bus back to Puerto Natales departs from Pudeto at 7:40 p.m. With 8 hours and 40 minutes to complete the hike, it’s manageable even with public transport.
Download the trail map here for offline use!
From Pudeto and back to Lago Grey
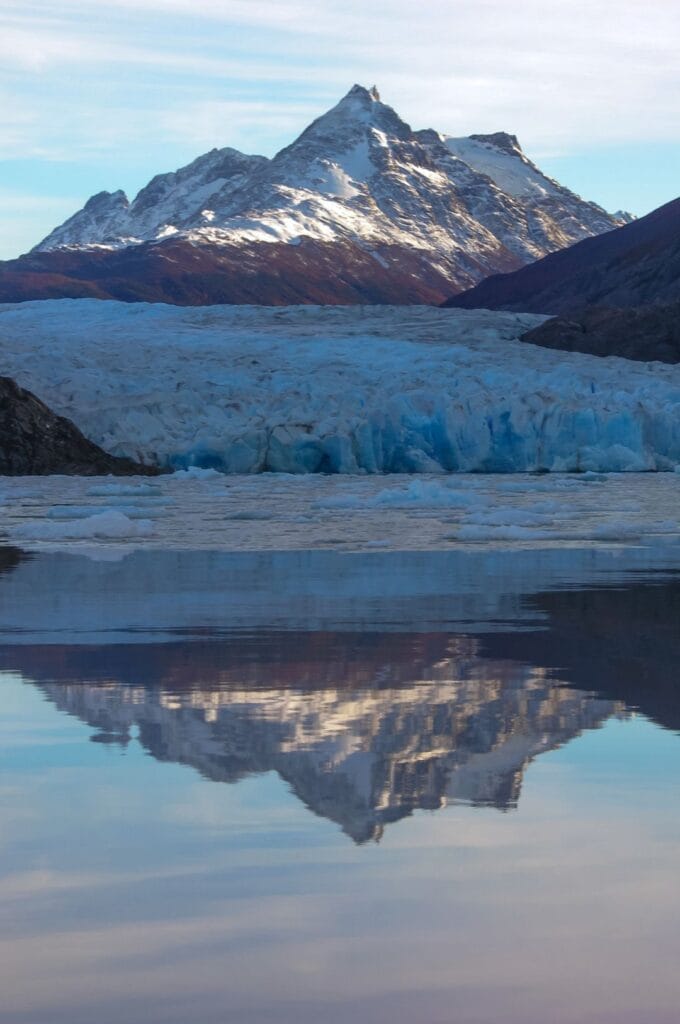
An alternative option is to start from Pudeto, take the catamaran, and hike from Paine Grande to the Refuge Grey and the viewpoint. The difference for the return trip is that you’ll navigate across Grey Lake, arriving on the opposite side near Lago Grey Hotel. Once on land, whether you arrive by car or bus, you can catch the bus from Grey, which will stop at Pudeto (and continue to Puerto Natales) to retrieve your vehicle. Without a car, you can either return to the city or stay in one of the park’s sectors serviced by the bus.
It can be a great option to enjoy Grey Lake if you have little time on-site and the budget for it. The boat ride costs 100,000 CLP per adult and 50,000 CLP per child and includes a welcome drink.
For more details, visit the company’s website.
Round trip from Lago Grey
Another option is to park at Lago Grey Hotel or take the bus, and then board a boat on Grey Lake. The boat will stop at the refuge, allowing you to enjoy the glacier view and the Grey viewpoint before returning to the hotel. The round-trip costs 110,000 CLP per adult and 55,000 CLP per child, and the journey lasts approximately 2 hours and 45 minutes. If you prefer minimal walking, this is a great option.
Depending on your itinerary, you can also visit the Grey Glacier viewpoint detailed below or explore one of the trails from the hotel, such as the Pingo Trail or the Mount Ferrier hike.
Grey Glacier viewpoint
This short and pleasant walk offers a stunning panorama of Grey Lake, the glacier, and the surrounding peaks of Paine Grande and Catedral. The trail starts at Lago Grey Hotel, located at the southern end of the lake. You can access it by car or bus, with a stop at Grey. After a 2.4 km walk, you’ll reach a platform on a peninsula, offering breathtaking views with minimal elevation gain.
Valle del Francés
The Valle del Francés is a highlight of both the W and O treks, but good news—you can visit it as a day trip without camping!

To reach the Británico viewpoint at the end of the valley, take the catamaran from Pudeto to Paine Grande. From there, it’s a 13 km hike to the final viewpoint, making it a 27 km round trip with 1,048 m of elevation gain. The first 8 km are relatively easy, while the last 5 km are steeper as you ascend into the heart of the valley. You’ll have plenty of time to complete the round trip before catching the last boat back to Pudeto.
Here’s the downloadable trail for the hike.
Mirador Cuernos and Salto Grande waterfall
Another great spot to explore is the Mirador Cuernos and Salto Grande Waterfall. Both can be accessed from Pudeto, whether you arrive by car or bus. From the trailhead, it’s a 3.2 km walk to the Mirador Cuernos, offering stunning views of the turquoise waters of Lake Nordenskjöld and the impressive Cuernos del Paine. The elevation gain is modest, about 160 m round trip, making it a perfect morning hike.
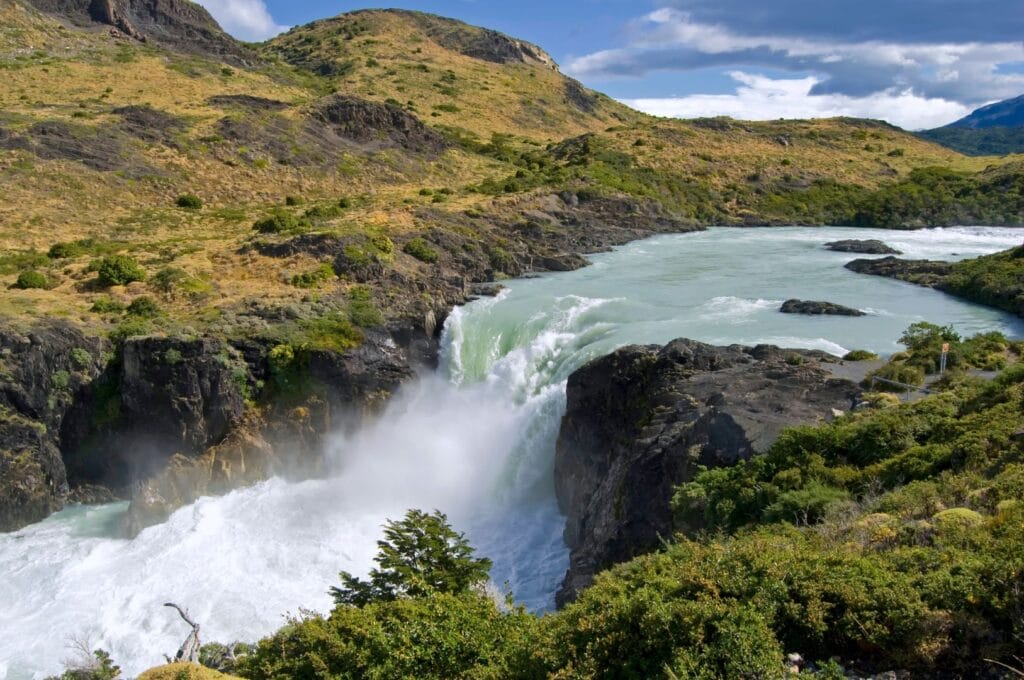
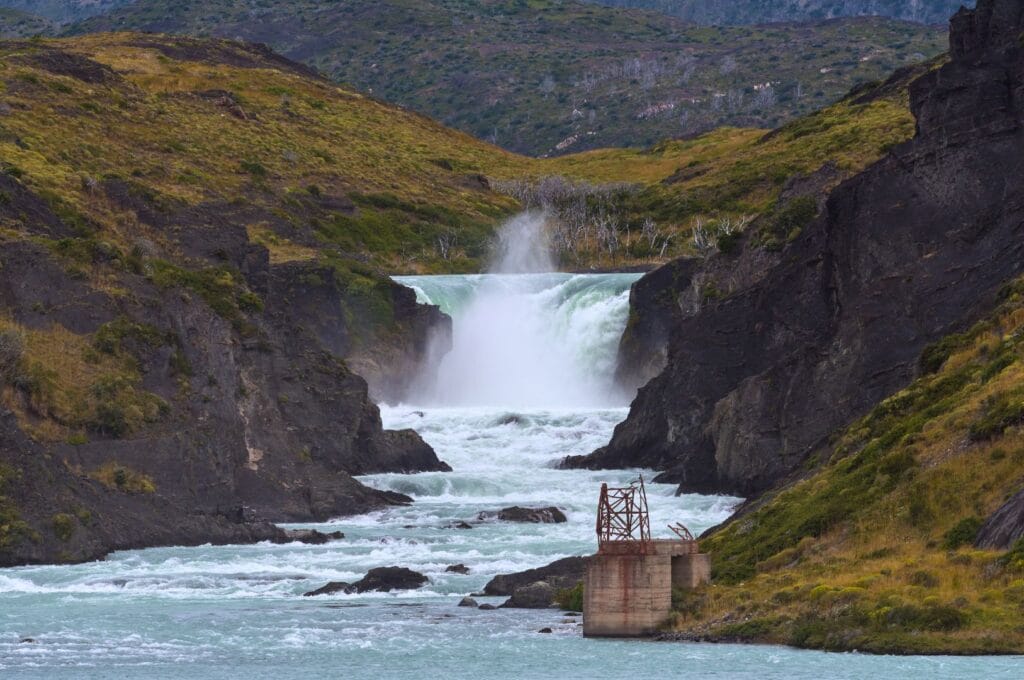
Afterward, head back and take the trail to Salto Grande. Several platforms along the path provide close-up views of the waterfall, where Lake Pehoé pours into Lake Nordenskjöld. Finally, return to Pudeto by walking 1.5 km to head towards the following points.
Miradors Pehoé, Condor and Salto Chico waterfall
We leave Lago Nordenskjöld for Lago Pehoé and its campsite. You can walk the 5.2 km to the first viewpoint or take the bus from Pudeto and get off at the campsite (but beware of timetables) or hitchhike.
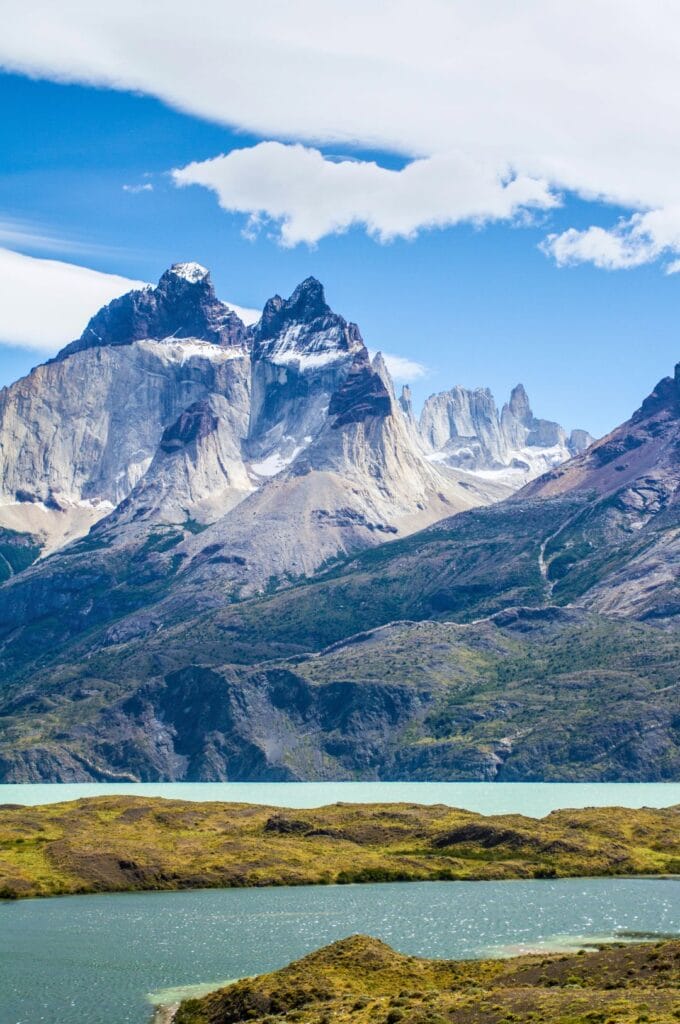
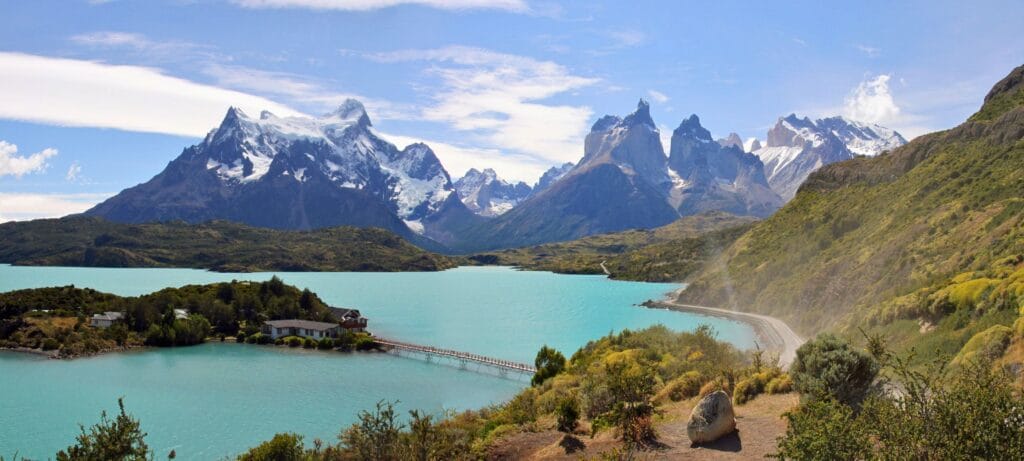
Along the way, stop at Mirador Lago Pehoé to enjoy a stunning view of the lake with the mountains in the background.
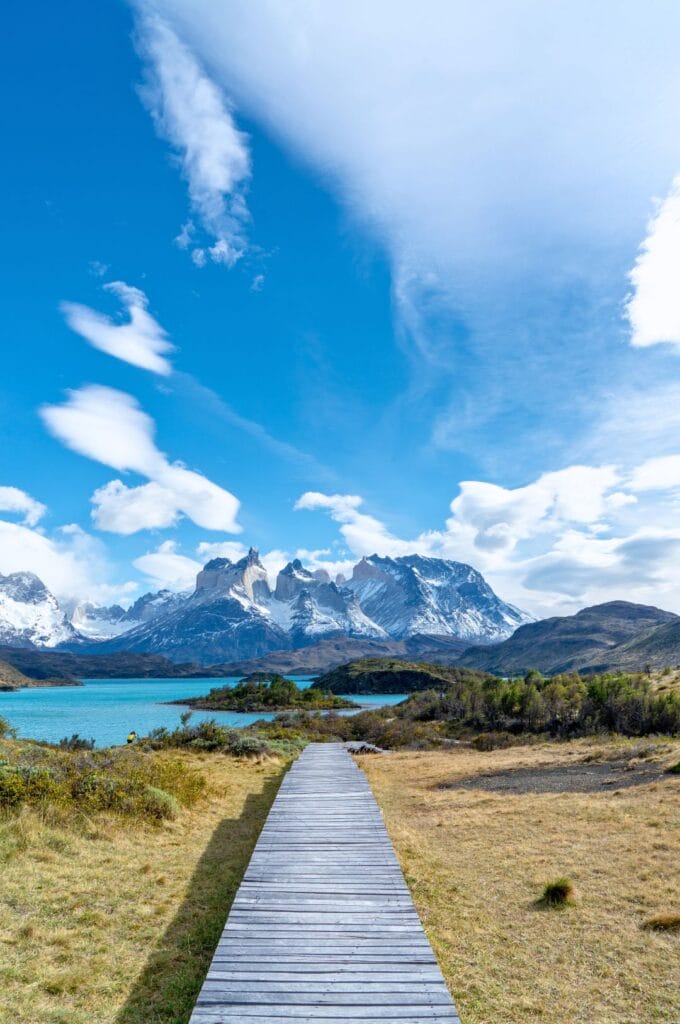
If you’re up for more hiking, the trail to Mirador Condor is highly recommended. The trailhead is located at a small parking lot near Hostería Pehoé. It’s a 1.2 km hike with 192 m of elevation gain. Once at the top, you’ll be rewarded with a 360° panoramic view of the park and the Paine Massif. If you have time for only one additional hike beyond the Torres, this should be it! As its name suggests, you might have the chance to see condors in the sky. We warn you, the wind blows strongly up there! No need to retrace your steps, continue on the trail and you will reach the Pehoé campsite. Behind, you will find a sort of beach to get another viewpoint of the Cuernos.
Next, head 1.5 km south to reach Mirador Salto Chico. Wooden steps near Explora Patagonia Hotel lead to a stunning viewpoint at the edge of Lake Pehoé, where you can admire the reflection of the Cuernos in the blue waters and the Salto Chico waterfalls.
Lago del Toro
Further south, the trail to Mirador Lago Toro is reserved for experienced hikers. The terrain changes frequently due to the weather, and some sections can be exposed. The view, however, is spectacular, with vistas of the surrounding peaks, Lake Toro, and nearby lagoons. Tip: Hike the 15.4 km loop counterclockwise. The first 2 km are steep, making it easier to ascend than descend. Be prepared for strong winds!
To access the trail, if you are coming from the north, park near the Weber Bridge on the left side, just after the Río Grande sign, or at the CONAF ranger station (bus stop at Administración), about 2 km further south. Download the GPS track for offline navigation.
Laguna Azul
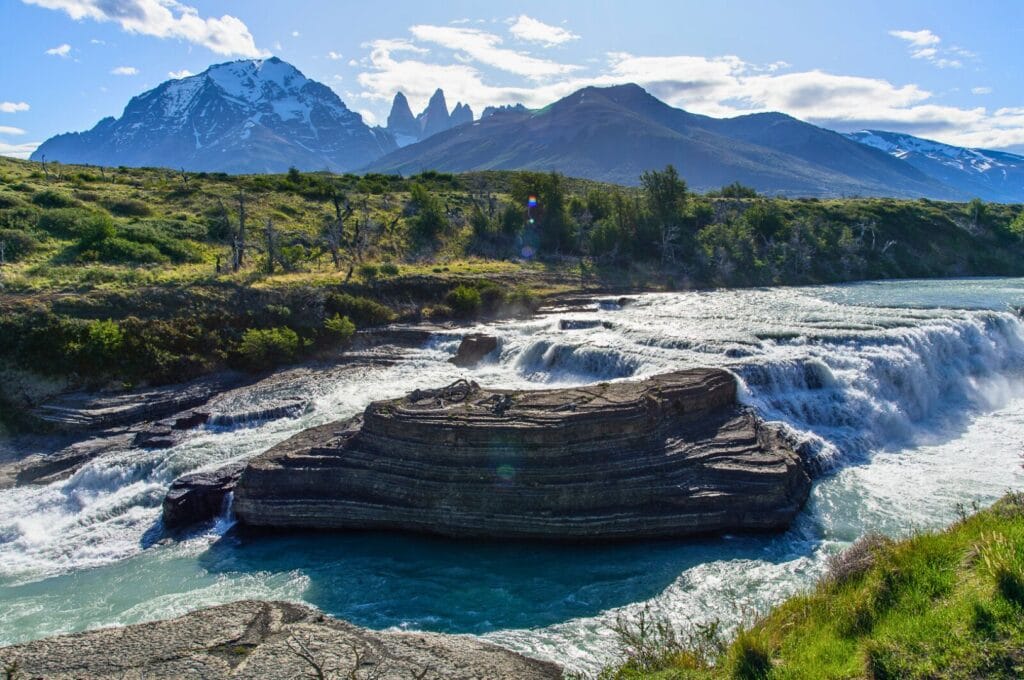
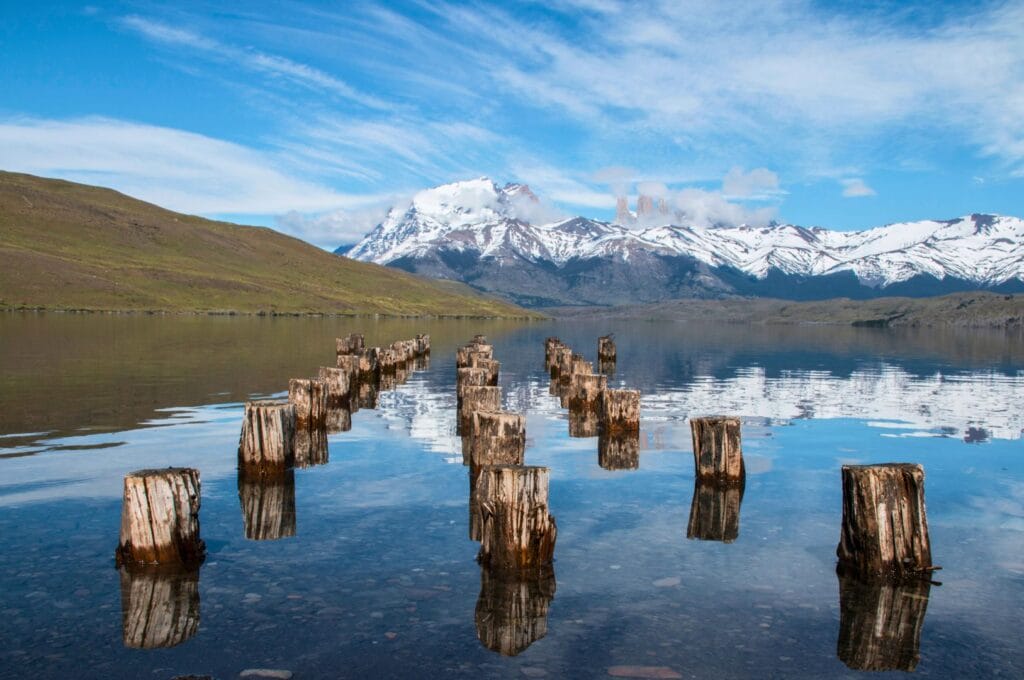
This is both a point of interest and a beautiful long hike off the beaten path! The Laguna Azul is located in the northeast of the park, we have already mentioned its camping. To get there, there’s no choice, you need a vehicle to cover the 19 km between the Amarga and Azul lagoons… Hitchhiking works too, but you might have to wait a bit since it’s not the most well-known spot. Tip: To get there, take the Y-166 road and stop along the way at the beautiful del Paine falls.
From the lagoon’s edge, you’ll see the Torres peaks rising above the massif, next to Mount Almirante Nieto. Since this area is less frequented, you might spot guanacos roaming freely.
For a longer adventure, take the trail connecting Laguna Azul to Laguna Cebolla. The hike covers 19.4 km with 470 m of elevation gain, making it ideal for a half-day excursion.
Valle del Pingo
The Pingo Valley trail is one of the park’s lesser-known hikes. From the parking area near Lago Grey Hotel, follow the well-marked path along the Río Pingo, which flows into Grey Lake. The trail is relatively easy, with 750 m of elevation gain over a 21 km round trip. As the path winds through the valley and forest, the wind becomes less of a concern. Highlights include scenic viewpoints, a hidden waterfall, and the tranquility of a rarely visited trail ;).
Mount Ferrier
Shorter but steeper than the Pingo Trail, the hike to Mount Ferrier offers a 360° panoramic view of Grey Lake, Grey Glacier, the Paine Massif, Lake Pehoé, and Lake Nordenskjöld. The hike takes about 1.5 to 2 hours to reach the summit, but the effort is well worth it. Dress appropriately, as the winds are fierce and snow is common at the top!
Other activities in the park
Hiking and trekking are the main activities in Torres del Paine National Park, but did you know you can also go horseback riding or kayaking in this stunning environment?
For a horseback tour, we recommend contacting Hotel Las Torres in the central sector. They offer several options, including a half-day excursion. If you’re starting from Puerto Natales, we suggest this tour to experience a different side of Chilean Patagonia.
Regarding water activities, kayaking on the Pingo and Grey rivers and Grey Lake is a great way to explore the park. The best agency is Bigfoot Patagonia, which is located next to the Grey Refuge. And if you enjoy sporty excursions, opt for a half-day glacier hike with a guide. Check their website for more information.
Weather in Torres del Paine National Park
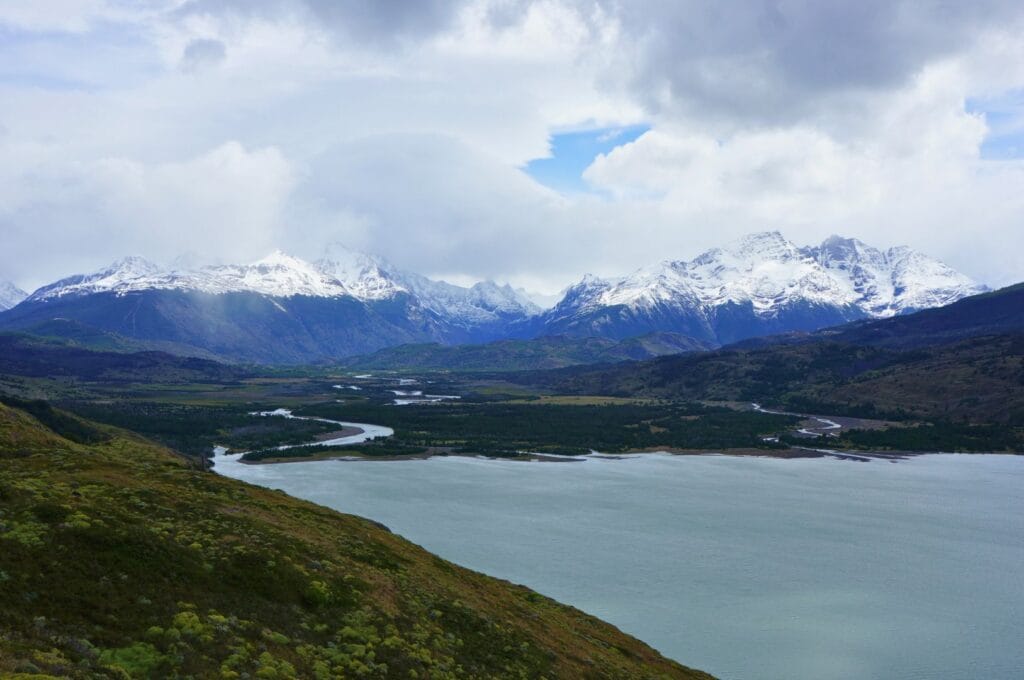
Alright, time to be honest. As travel bloggers, we love taking pictures, and if you’ve looked at our photos, you might think: “Wow, they had amazing weather for their trek!”.
Unpredictable weather
Well… let’s just say that in Patagonia, the weather changes faster than it takes to say it! Let’s be clear: the weather is the biggest challenge for treks in Torres del Paine. We were warned that it’s pointless to check the forecast because it changes constantly. We took note of this advice, but we never imagined it would be this unpredictable! During our 10 days in the park, we experienced everything except hail: temperatures ranged from -5°C to 20°C, with plenty of rain, snow, strong winds, and yes, a bit of sunshine too. Crazy, right?
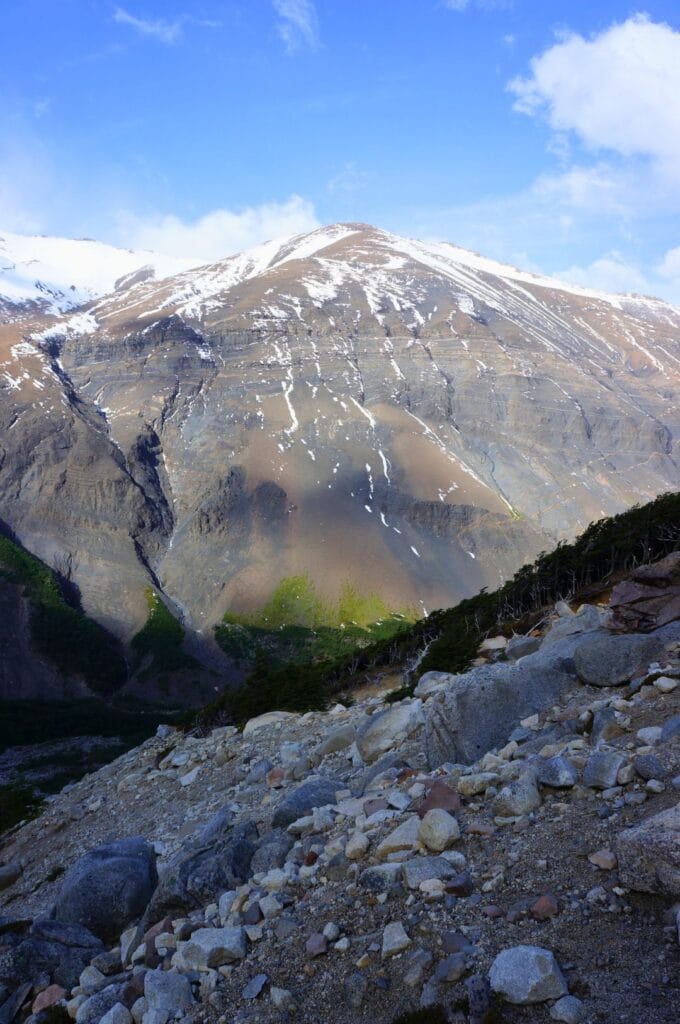
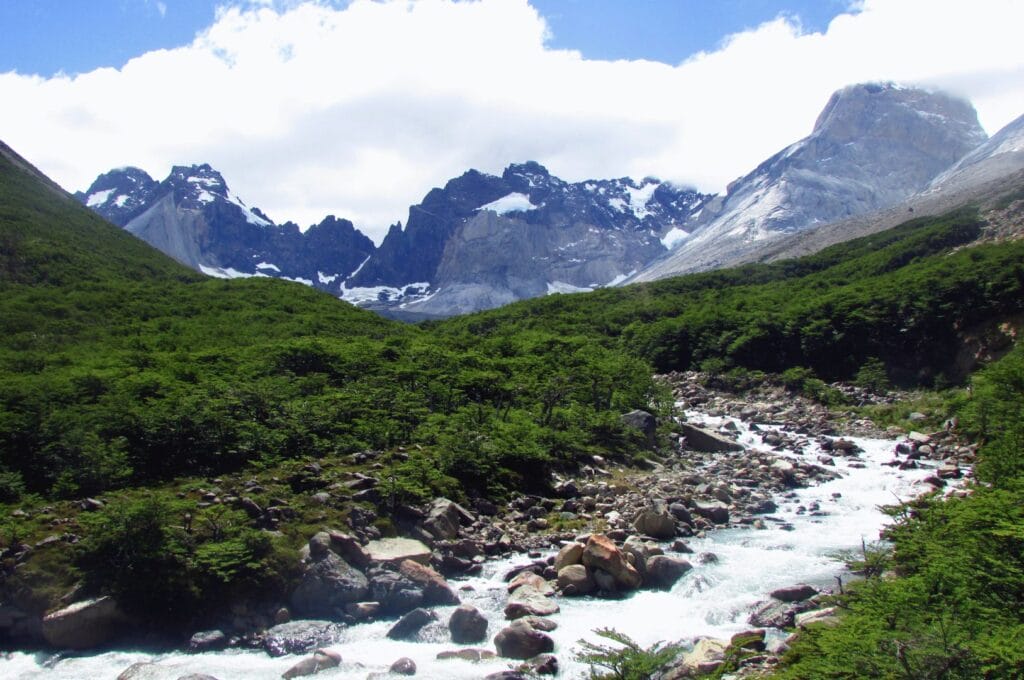
So yes, you’ll get clear skies eventually, but we won’t lie—those moments might be rare. We hiked many days in the rain and even climbed the summit of Las Torres in the snow! Out of the 10 days, we had maybe 20 minutes where we could walk in a t-shirt. And I think my beanie practically fused with my hair because I wore it so often!
Our advice? Don’t rely too much on the weather forecast. It can change every 30 minutes. The best approach is to go prepared, enjoy the good moments, and adapt to the rest. For example, the night we climbed to see Las Torres, it was snowing. Yet when we reached the viewpoint, the clouds cleared, and we were able to admire the majestic granite towers—a magical moment!
Moral of the story: Never get discouraged by the weather. It can shift in just five minutes. As one guide told us: “No hay mal tiempo, solo hay mala ropa”—There’s no bad weather, only bad clothing! Hence the importance of the gear, which we will detail further on.
Wind
One of the reasons for the constantly changing weather is the wind—your biggest adversary during the trek. Don’t take the signs warning of high winds lightly. We had consistent winds with gusts exceeding 100 km/h! Believe me, it can knock you off your feet. But when it’s at your back, you’ll feel like Usain Bolt, flying through the trail :)! To get an overview, watch our trek video ;).
Essential gear for trekking in Torres del Paine
So, I had already thoroughly detailed the essential gear for an independent trek recently. I’m not going to rewrite the same thing here but just add to the camping gear and emphasize one or two essential things to have with you in Torres del Paine National Park.
Backpack
Are you bringing your sleeping bag, tent, and mattress, or are you doing the O circuit? A 50-liter backpack is perfect for holding all your gear, clothes, and food. If you choose campsites with equipment included, opt for a 30-liter bag instead. Don’t forget to bring a daypack that you will use for shorter hikes to the viewpoints Las Torres, Britaníco, or Grey when your main pack will be waiting for you at the campsite.
Camping gear
Do you have your own camping gear? Perfect, you’ll save money! If you are not equipped, you can rent the equipment in Puerto Natales at reasonable rates in specialized stores (Rental Natales) or hostels (Puma House for instance). The last option is to rent everything on-site, in the park campsites, whether you are doing the O or W trek, or if you are staying 1 or 2 nights in the park. The problem is it costs relatively more if you add the rental price to the campsite fee. Often, it’s better to take the pre-assembled elevated tent or even a bed in a dormitory than to rent everything on-site. It’s up to you to calculate the costs and decide whether you’re willing to carry the gear every day…

Tent
As you might guess, the main challenge with a tent is the wind. Ideally, you should have a high-quality, aerodynamic tent. But with gusts exceeding 100 km/h, even the best tent won’t guarantee peace of mind. It’s best to find a sheltered campsite, away from the wind. Many campsites have spots in wooded areas, offering protection from both wind and rain. These spots fill up quickly during peak season, so arriving early will give you a better chance of securing one.
Stove
A stove is essential if you plan to cook daily, helping you save a lot of money. If a stove is the only thing missing from your gear, check out the rental options in Puerto Natales, as many specialized shops rent them out.
Before buying a gas canister, look around in hotels, hostels in Puerto Natales, or even in the camp kitchens at Central or Paine Grande sectors. Often, departing hikers leave half-full canisters behind.
Trekking poles
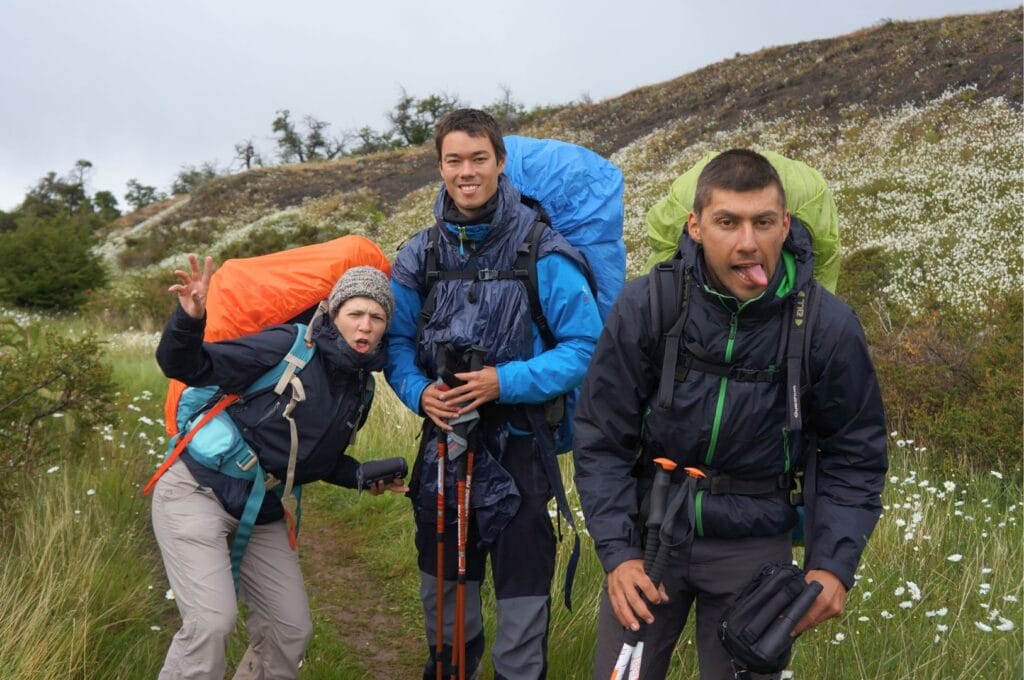
With strong winds constantly threatening to unbalance you, trekking poles are practically a necessity, especially if you’re carrying all your gear. They’ll help reduce the strain on your legs and keep you steady.
Footwear
We completed the W trek with waterproof trail shoes, which were sufficient. However, if you’re planning to tackle the full O circuit, we recommend high-top waterproof hiking boots. The primary reason is the John Gardner Pass, situated at 1,200 meters, which is often snow-covered. In our case, the pass was closed due to over 40 cm of fresh snow! Gaiters can also be a good addition to keep your feet dry.
Crampons
If you’re doing the O circuit, you’ll almost certainly need crampons, especially for the tricky John Gardner Pass. If you don’t own any, you can easily rent them from specialized shops in Puerto Natales. For the W trek, you can leave the crampons behind.
Clothing
The layer clothing system remains the best approach for Torres del Paine. Make sure your outer layer is completely waterproof and windproof—you’ll need it! Essentials include leggings, a hat, and gloves to protect yourself from the cold and wind.
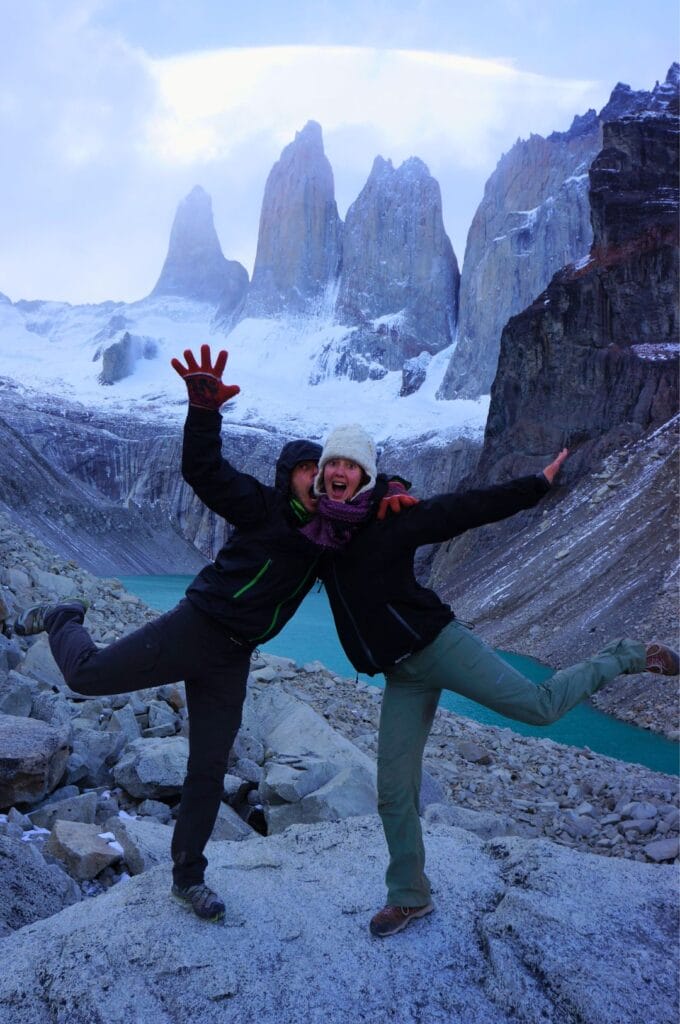
Otherwise, another little tip, bring with you a walking outfit that will always be the same, whether you walk for 1 or 10 days, and an outfit for sleeping. It’s super important to have dry clothes to sleep in. To do this, leggings, a small sweater, and a pair of socks will do the trick since the sleeping bag should be enough to keep you warm. And if the idea of walking for 10 days in the same clothes disgusts you, just think that you can clean your walking clothes from time to time with water in a river or at a campsite. With the wind, the clothes dry very quickly.
Note that bath towels are not provided in the park shelters, so bring your own! Also, if you are sensitive to noise, bring earplugs with you; they are lightweight and will prevent you from having a bad night due to the wind or other campers.
Budgeting for Torres del Paine
Well, that’s all well and good, but how much does it cost? Since prices have increased significantly, here’s a brief overview of the budget for visiting the Torres.
Park entrance fees
So, the rates for entering the park vary depending on the length of your stay on the premises. You must book online at least 24 hours before your arrival at the park.
If you stay more than 3 days at Torres del Paine, the entrance ticket costs 44,500 Chilean pesos for adults over 18 years old, and children over 13 years old.
For a stay of less than 3 days, an adult ticket (18 years and older) costs 31,200 pesos, the rate for children between 13 and 17 years and for those 60 years and older is 16,000 pesos. For children under 12, it is free regardless of the duration.
There is no prior verification at the exit, but if you are checked for a shorter duration while staying longer, you risk a fine and expulsion from the park… So we don’t really recommend it to you ;).
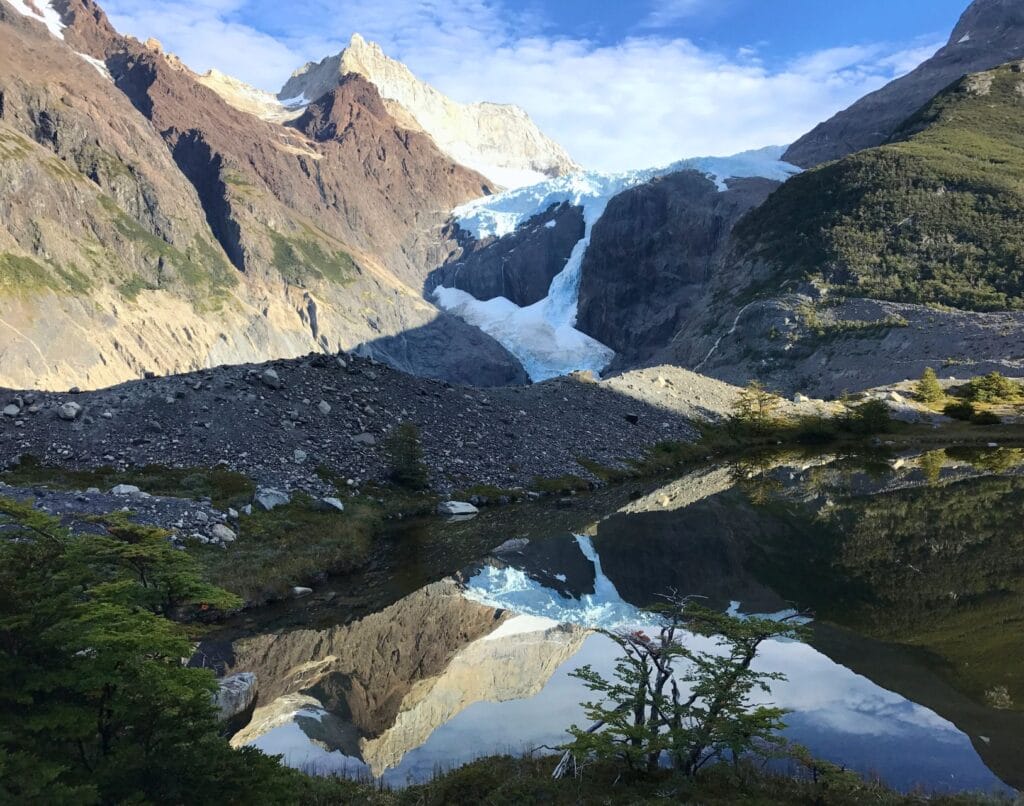
Transportation costs
Here are the rates for the different means of transportation to get to the park and move around there:
- Bus from Puerto Natales to Torres del Paine: 14,000 CLP per person (all stops except Lago Grey, which costs 25,000 CLP).
- Shuttle from Laguna Amarga to Central Sector (trek starting point): 5,000 CLP per person.
- Catamaran between Pudeto and Paine Grande: 26,000 CLP per trip (or USD 30).
- Boat on Lake Grey to approach the glacier: 110,000 CLP round-trip or 100,000 CLP one-way.
Camping and refuge costs
There, it all depends on the trek you are doing and the package you have chosen. As mentioned at the beginning of the article, the W trek is more expensive per night on average than the O trek since the former passes through more camps in Las Torres, which are the most expensive in the park.
For the W trek, if you choose the basic camping (you bring all your gear), the 4 nights will cost you 131 dollars per person. By renting only the tent and the sleeping pad, you’ll end up paying 352 dollars each. In an all-inclusive package (equipment + food provided), the W trek costs… 880 dollars!
Carrying all the equipment, the O trek camps cost 166 dollars per person. By bringing only your sleeping bag, the nights cost you 499 dollars each. With the all-inclusive package, the price of the O trek is… 1368 dollars!
To give you an idea, 4 nights at the Pehoé campsite will cost you 72 dollars each…
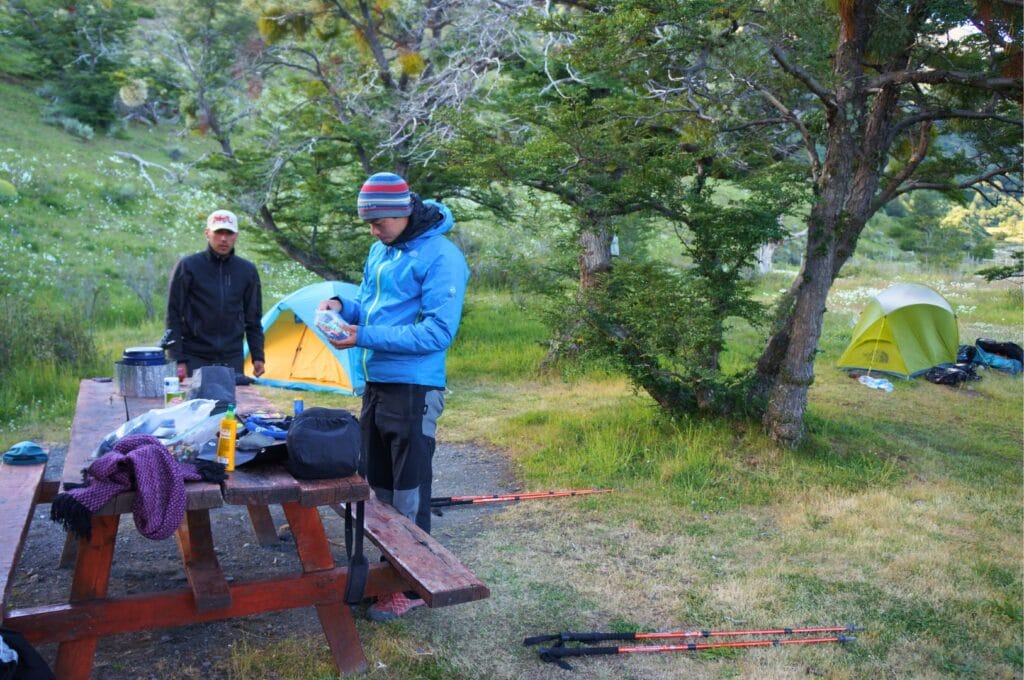
Food costs
For this expense category, it is difficult to establish an average since not everyone eats the same thing… Therefore, we will compare buying provisions in Puerto Natales and eating in the park to make it clear.
All our supplies bought in Puerto Natales for Trek O cost us 70,000 pesos for 2. On-site, between the beers and the Christmas meal, we spent 128,500 pesos in the shelters. In total, the food budget for our 10-day trek is 198,500 pesos (203 dollars), which is 10 dollars per day per person. In an all-inclusive package, the average is more like 110 dollars per person, including snacks!
In short, buy and bring everything you can carry from Puerto Natales and save your money for the bus/catamaran, park entrance, and campgrounds.
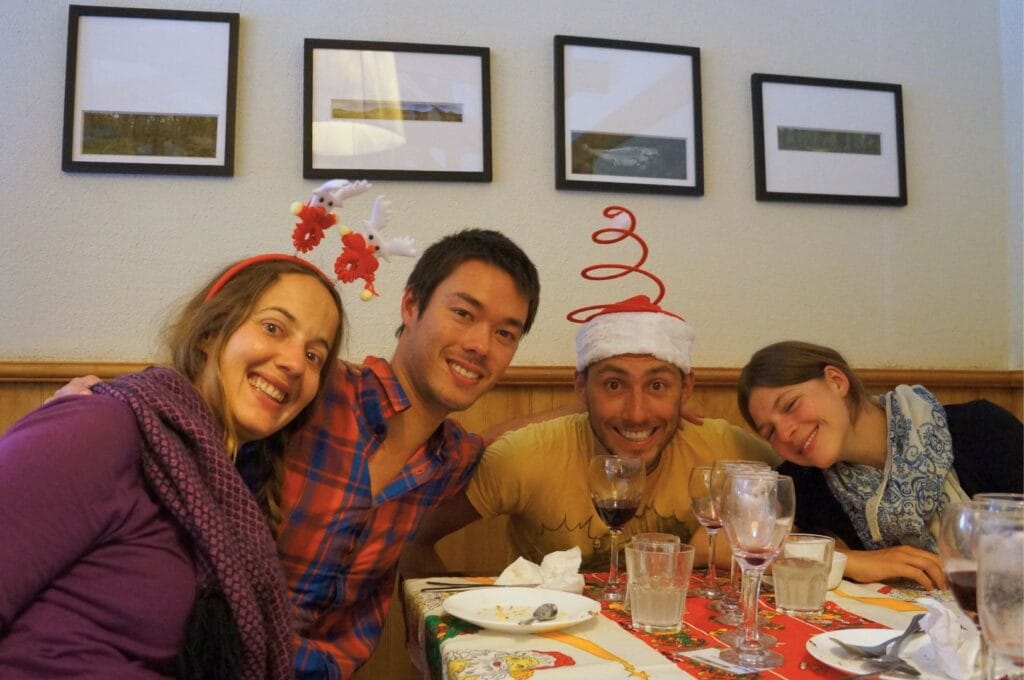
Total budget
It’s time to take out your wallet! At the time, our 10-day trek in Torres del Paine cost us 350,000 Chilean pesos for two, which is 18 dollars per day per person.
Today, for the O trek, in total, you will have to spend at least 334 dollars each, which is 41.8 dollars per day.
For the W trek, by paying the minimum each time, it will cost you 261 dollars per person, which is a daily budget of 65 dollars.
Finally, for 1 day in the park on the Las Torres trail with 1 night in Puerto Natales, the excursion organized by you costs 93 dollars.
When they tell you that prices have gone crazy… The difference is significant with the prices practiced today and honestly, I think we would do it differently if we ever returned to Patagonia. Torres del Paine and a small budget don’t go well together…
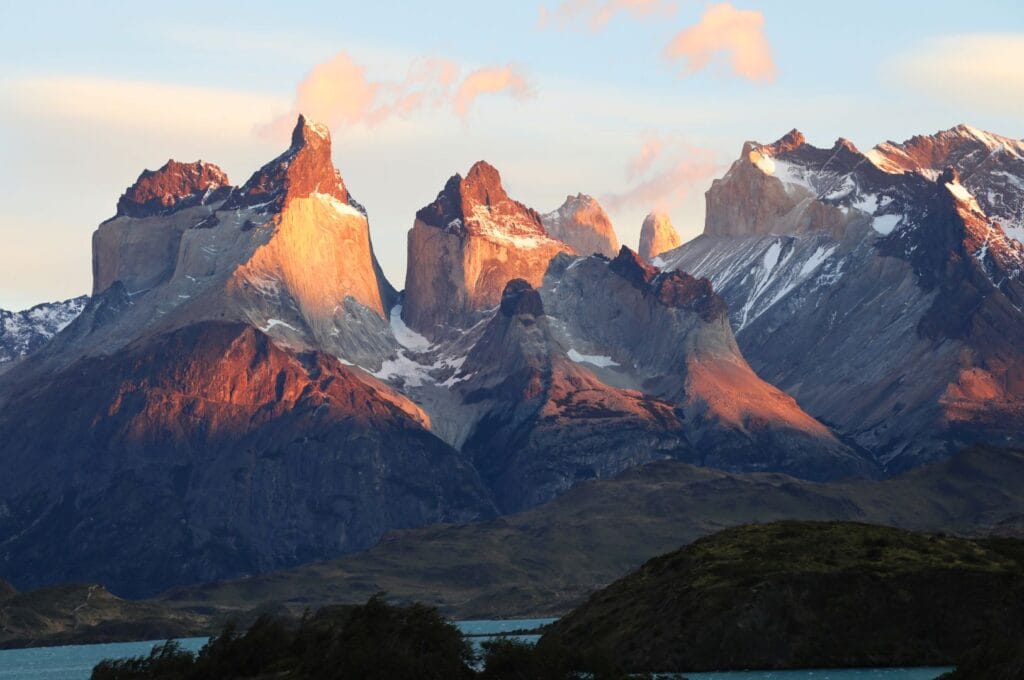
Final tips
- The park is open from 8:30 a.m. to 8 p.m., but you can access it at any time of the day. The visitor center or the CONAF offices are just closed outside of these hours.
- There is no signal in the park, but the shelters and campsites often offer Wi-Fi for a few thousand pesos. The only places where you will have free Wi-Fi are the restaurant at the Río Serrano campsite and in the park hotels. For this reason, download your maps and reservations well so you have everything at hand ;).
- If you sleep in a campsite or a hut, there is no trash can. Make sure to leave no trace behind and take your trash with you.
- The check-in for campsites is often after 1:30 p.m. and the check-out is at 9 a.m.
- Make sure to have enough cash: there are no ATMs in the park, so withdraw money in Puerto Natales to have enough currency on site. They usually accept cards everywhere, except for the shuttle from Laguna Amarga.
- The water from the streams and taps is drinkable, you can replenish your supply every day without having to carry liters and liters of water or buy it at each campsite. Plan for about 2 liters per day per person.
- The schedules of the catamarans on Lake Pehoé are synchronized with those of the bus arriving at Pudeto. So no panic, you won’t miss the connection to Paine Grande ;).

Our experience of 10 days of trekking
The Torres del Paine National Park is a little gem in Chile to discover. But be aware that it is probably the most touristy place in the country along with San Pedro de Atacama. You will be many on the hiking trails, even on the big loop, and the prices in the park are totally disproportionate. Because of this, we would organize our stay differently even though it remains a wonder of nature to see once in a lifetime.
Otherwise, I repeat one last time, be prepared for bad weather conditions. The wind is the only constant in the national park, and it can go from rain to beautiful weather in a matter of minutes ;).
And there you go, we think we’ve covered this big topic and we hope this article has helped you! Have you done a long hike like this? Are you tempted by the W or O trek? Do you have a question? Don’t hesitate to leave us a comment! On our side, we invite you to visit the page that gathers all the information to prepare your backpacking trip to Chile, which concludes the chapter on this country. See you on the other side of the border, in Bariloche or Salta!
Pin it
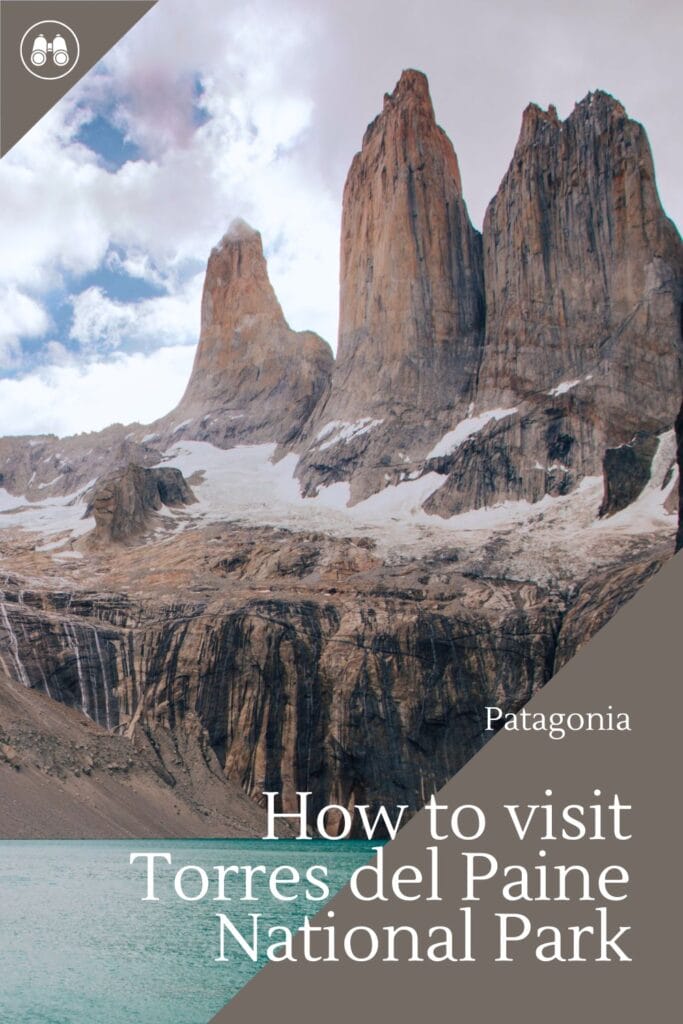
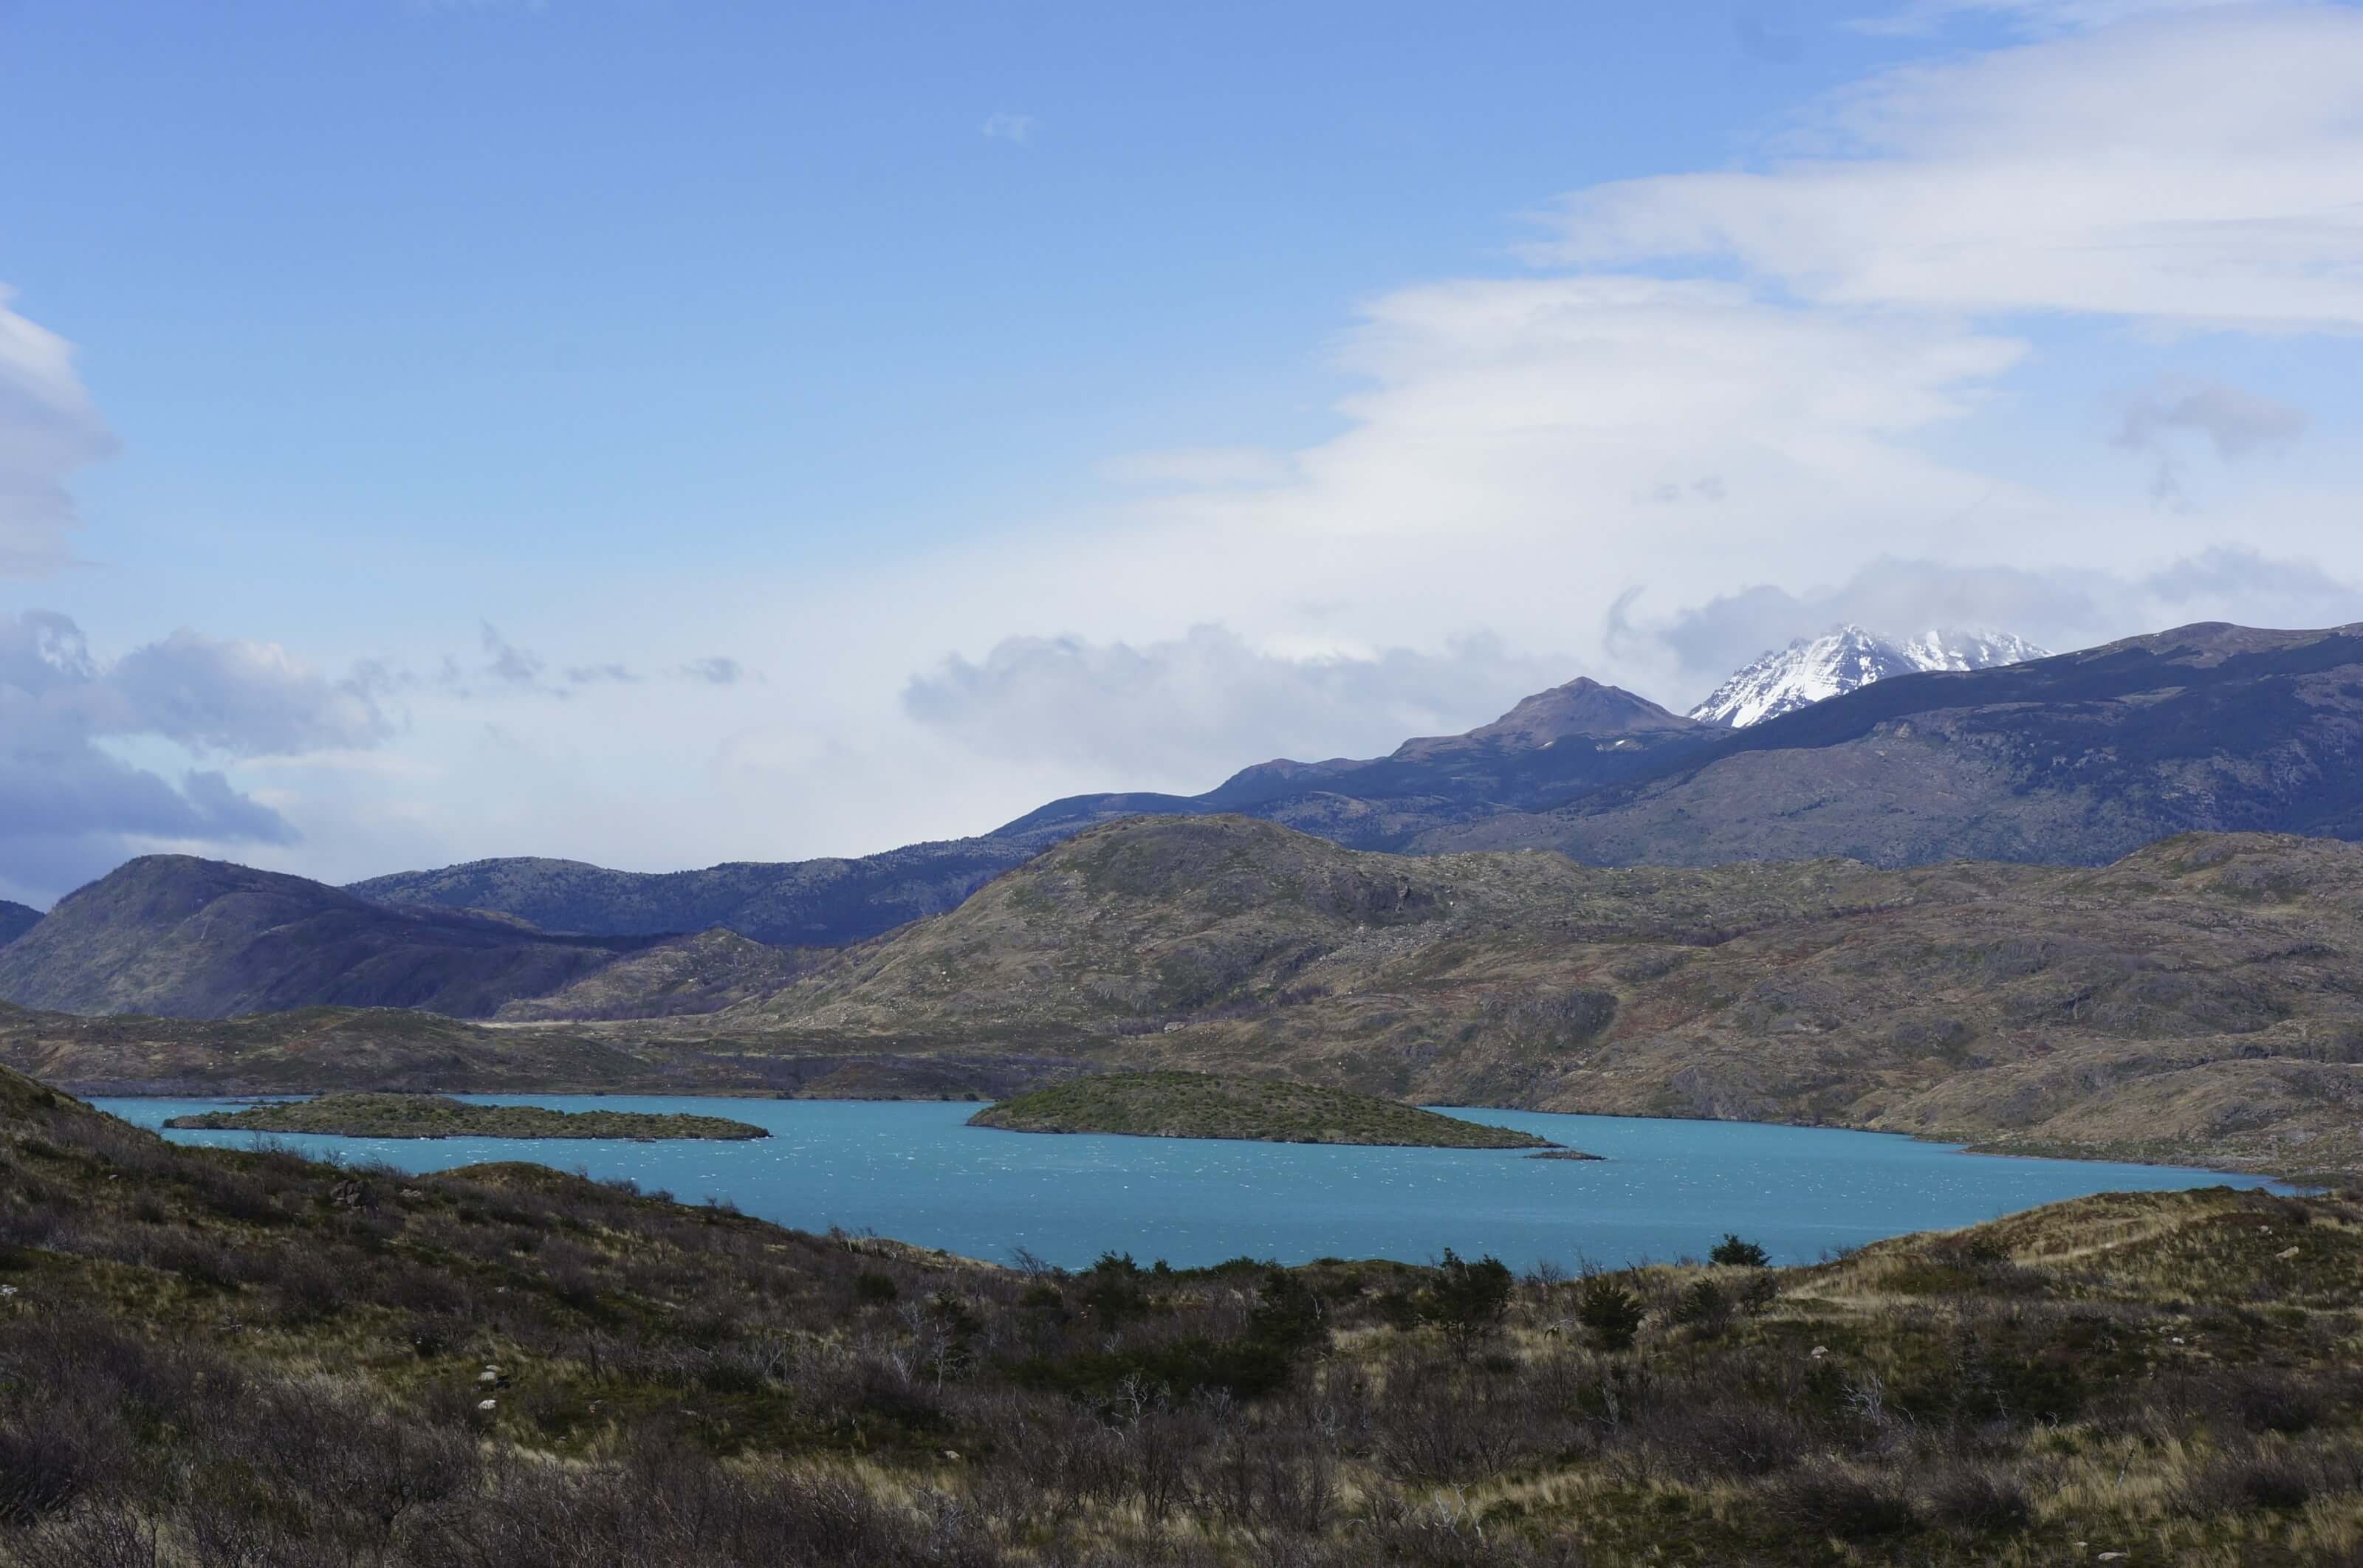
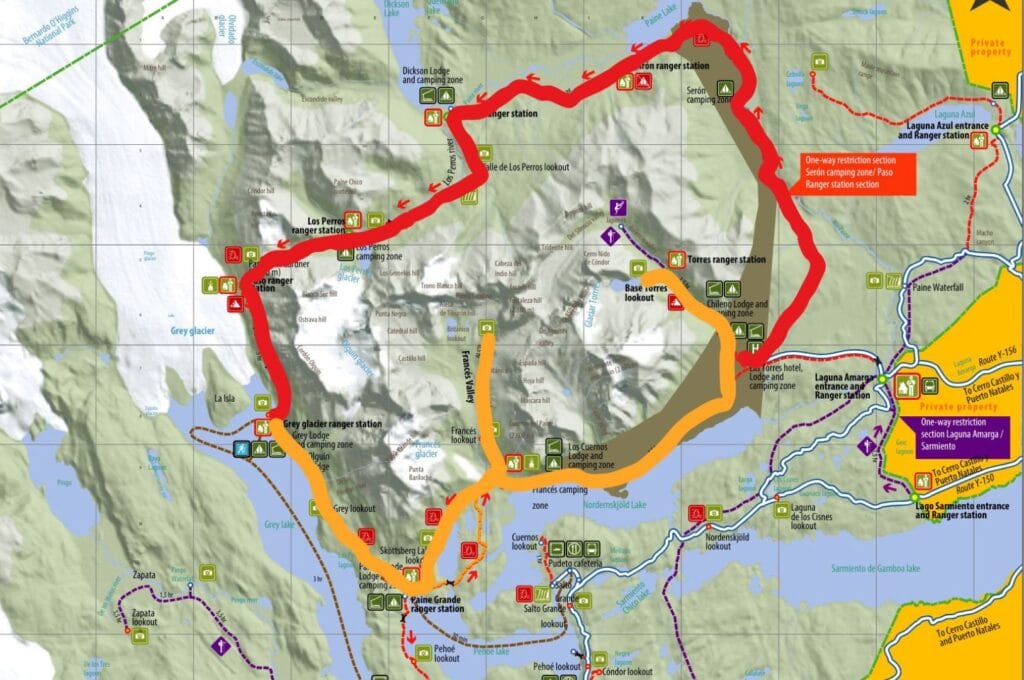
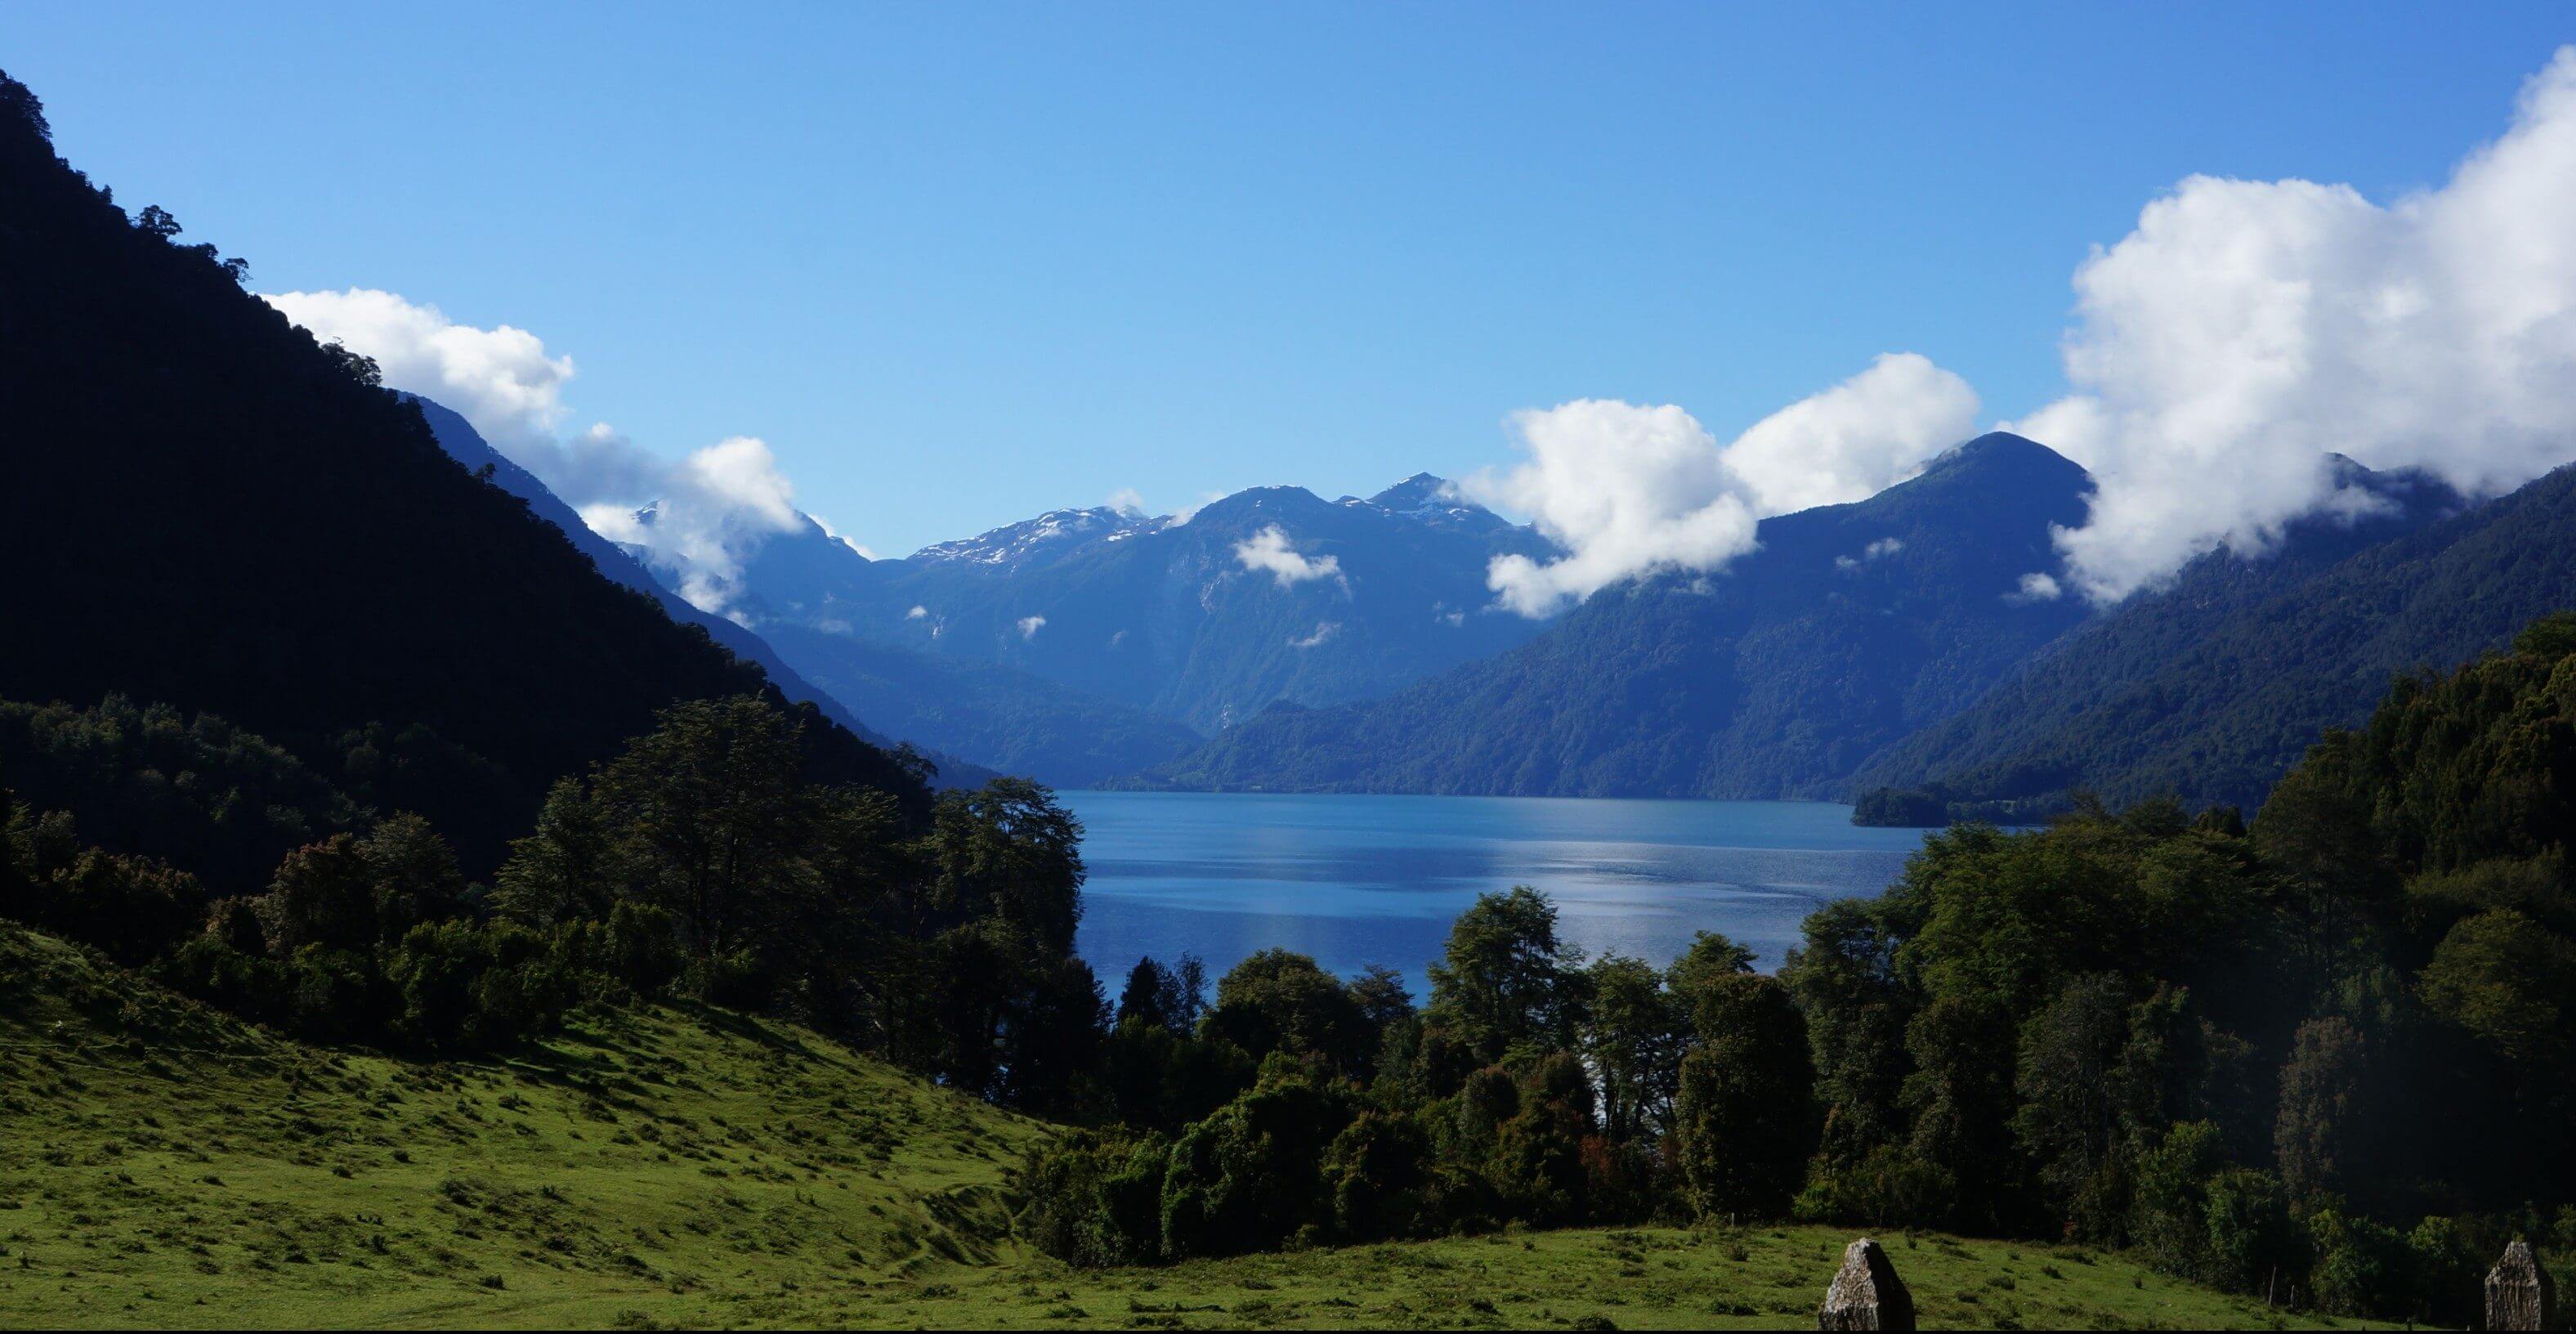
Join the discussion