Ski touring (also known as backcountry skiing) is a sport that I’ve always wanted to do, but never really got into until we moved to the mountains. It’s an activity that gives you access to untamed mountain areas, and provides incredible sensations on both the way up and down. As an avid skier and trekker, it’s pretty much the perfect sport… and who knows why I didn’t get into it sooner 😉 .
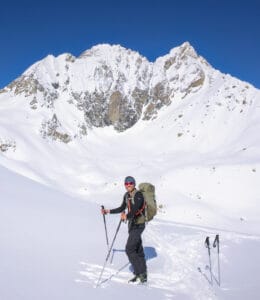
But ski touring is also a rather difficult activity to access, as it requires a lot of gear, mountain/snow knowledge and a certain level of ski aptitude. It’s also an intrinsically dangerous sport, because of the terrain (high mountains, glaciers), the avalanche risk, the weather that can change so quickly…
In this humble guide, I simply want to share with you my experience since I started ski touring… hoping that it will be of use to anyone who wants to take up the sport seriously!
Please note that I am by no means an expert in ski touring. The sole purpose of this article is to share my personal experience and research with you, hoping that it may inspire and/or help you in your own practice. But don’t hesitate to challenge / question what I’m going to talk about below… and correct me if necessary 😉
- What is ski touring exactly?
- Why do I love ski touring so much?
- What you need to know before you start ski touring
- Safety: learning about avalanches and alpine terrain
- The essential gear for ski touring
- Safety gear
- How to choose your touring skis?
- The different types of bindings
- the ski touring boots
- The different types of climbing skins
- Ski touring poles
- Ski knives (or crampons)
- A backpack in particular?
- The right clothes for ski touring
- Other essentials
- Things that are not essential but which may become so depending on your level of practice
- How do you choose your first ski touring routes?
- Just a few other tips
- A few references to take you further
What is ski touring exactly?
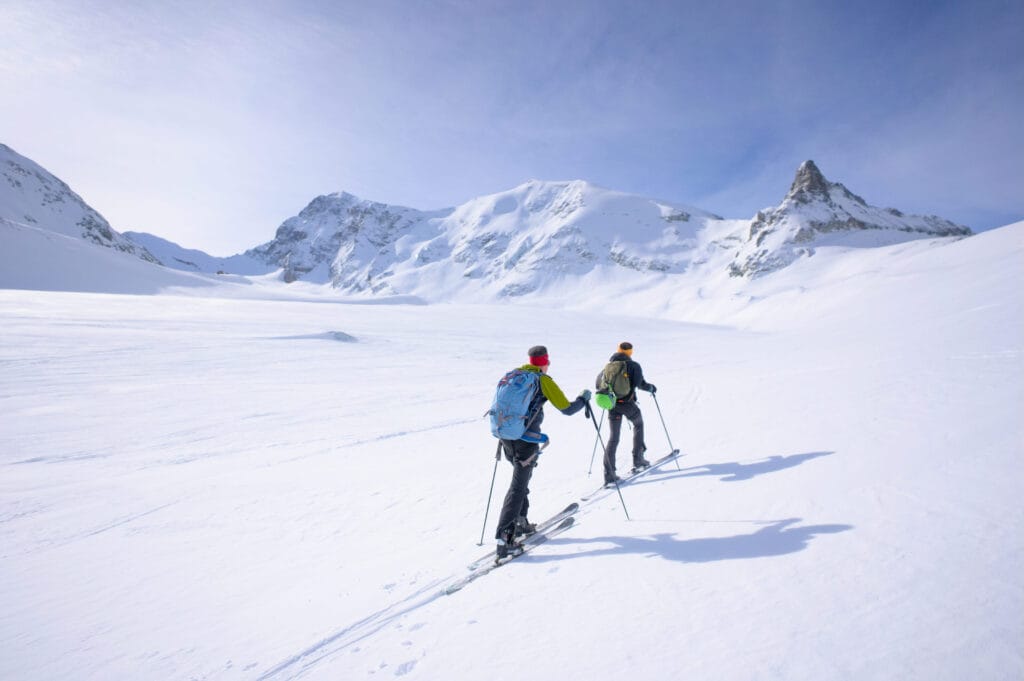
It’s just the winter version of hiking 😉 … except that you can ski downhill instead of walking. So ski touring is “simply” hiking in the mountains in winter with special skis and boots.
Unlike traditional skiing, ski touring involves using climbing skins that stick to the base of the skis so that they don’t slide backwards on the way up. We also use special bindings and boots that allow the heel to be free on the way up and to ski as usual on the way down.
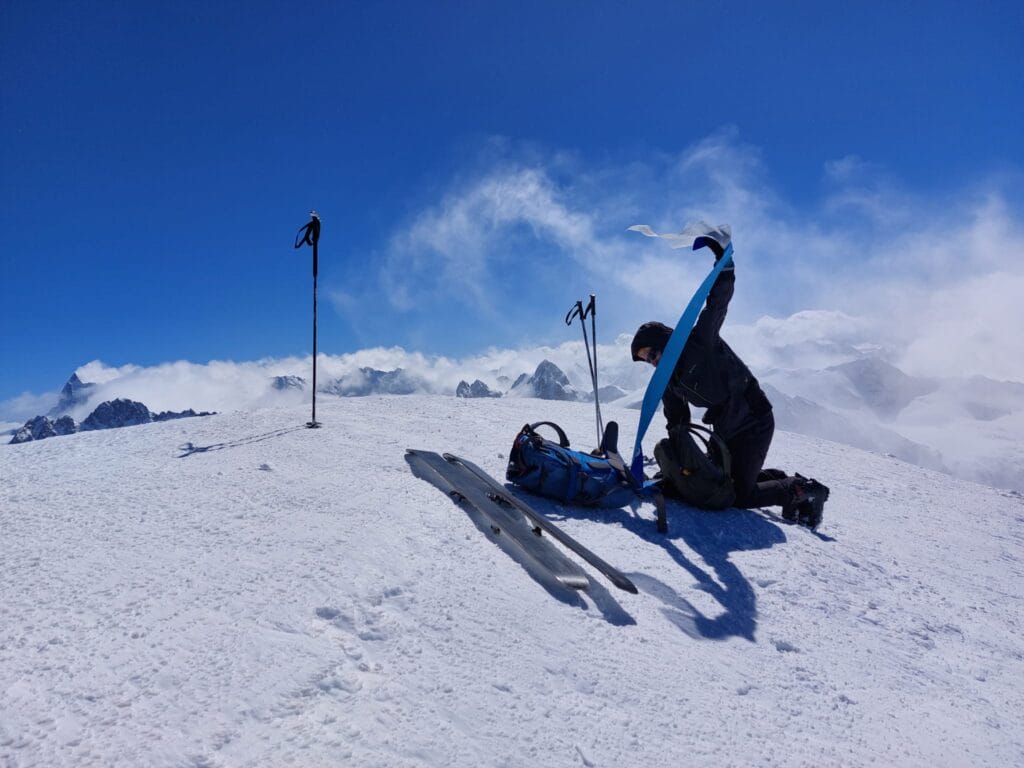
ski touring VS free touring
As with hiking in summer (which saw the birth of trail running), there are different types of ski touring. To give you an idea, there are ski touring races (such as the Patrouille des Glaciers or the Pierra Manta) where ” ski tourers ” literally sprint to the top of mountains with super-light gear.
But in general, there are 2 main types of practices: ski touring and free touring:
- Ski touring: Ski touring is all about the mountains, and the aim is generally to reach a summit (or a pass, a hut, etc.) far from any ski lifts. The descent is then only part of the activity, and you’ll find just as much satisfaction in being in a wild mountain environment as in skiing down the powder. Since a good part of the time is spent going up, the equipment chosen is generally rather light (skis, boots, bindings) to facilitate the ascent, which partly compromises the experience on the way down.
- Free touring: In the other hand, free touring really focuses on the way down, and the idea is to minimize the time spent going up, taking advantage of the ski lifts, for example. The aim is then to get away from the slopes and make the most of the descent. In this case, we’ll opt for heavier gear (wider skis, more comfortable boots and bindings) to enjoy the descent as much as possible.
As for myself, I’d say that in my current practice, I certainly fall somewhere between the two. I don’t necessarily try to minimize the climbs, but I admit that the descent counts as much as the climb in my eyes. So my gear is a bit in-between, with skis that are wide enough but not too heavy either to have fun in the powder (but I’ll come back to that a bit later in the gear section).
Why do I love ski touring so much?
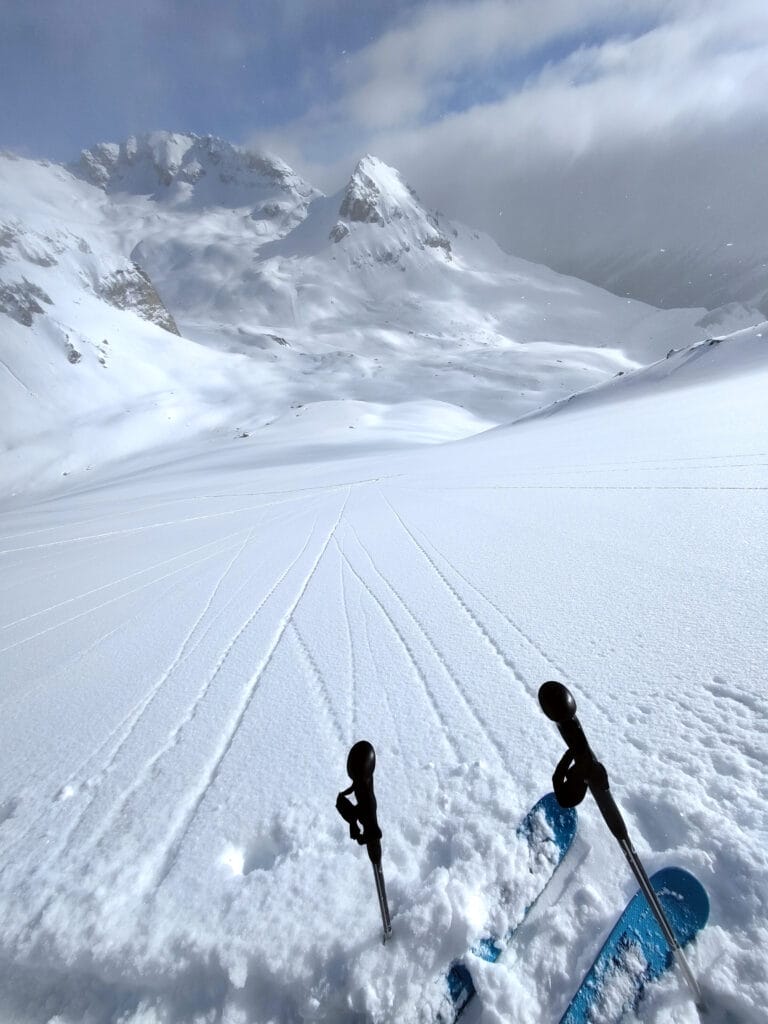
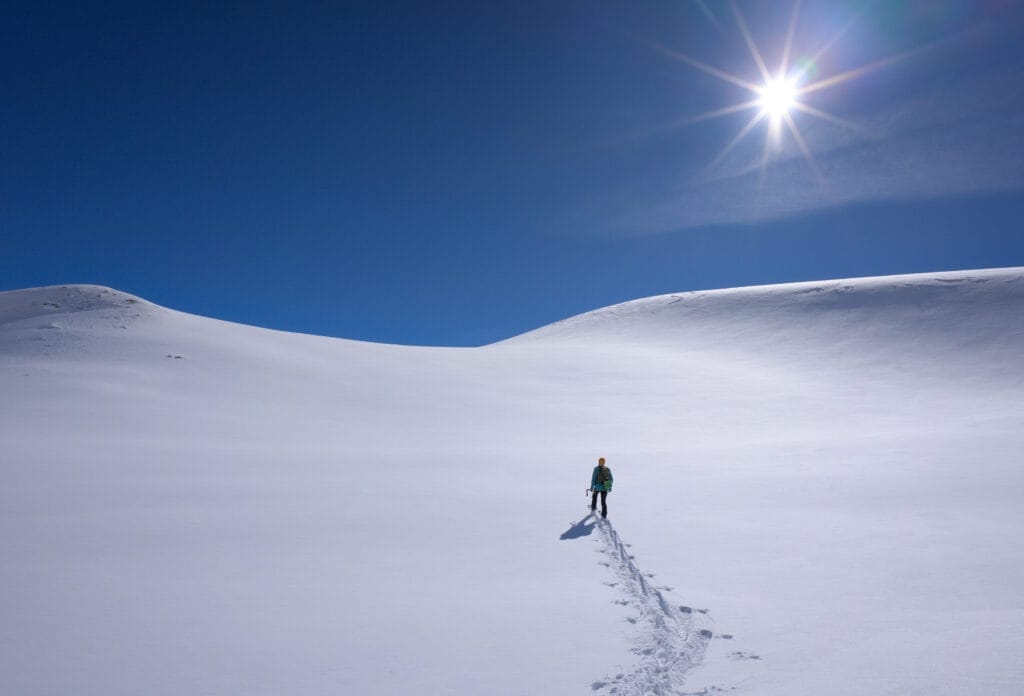
For me, ski touring is all about freedom (and if you’ve been following us for a while, you’ve probably noticed that freedom is a recurring topic for us ;). ). It’s an activity that lets you reach places that are otherwise inaccessible in winter, far from the ski resorts, and enjoy the mountains in total peace and quiet! And what a blast it is to make your tracks in the powder on the way down…
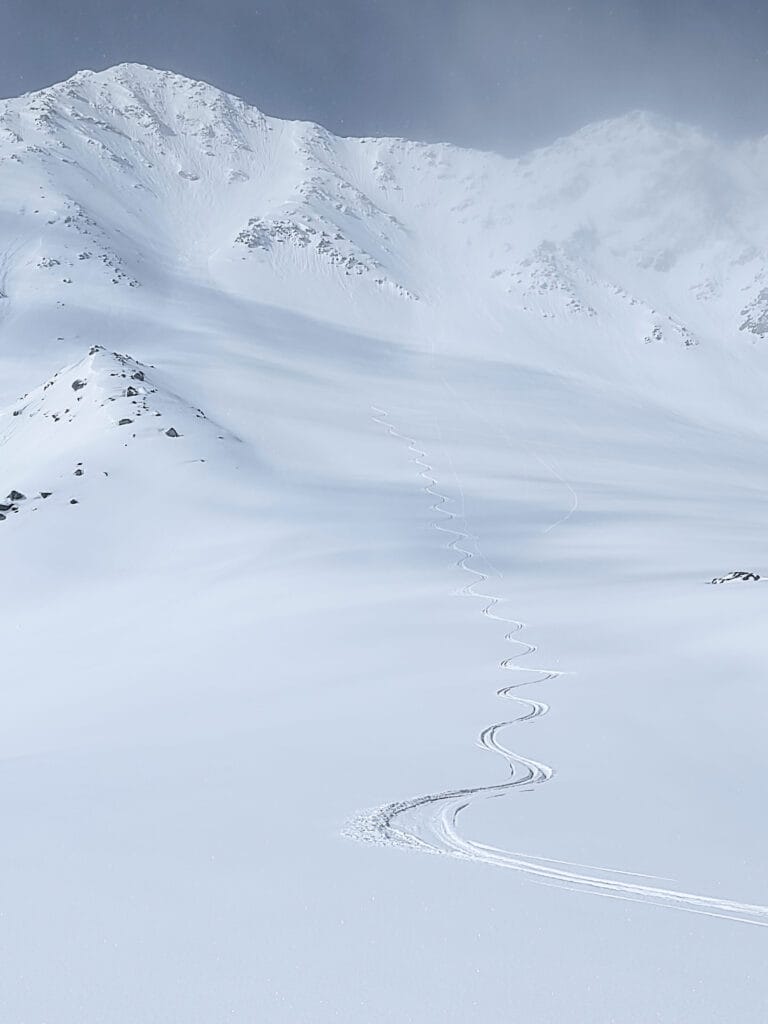
Although I’m still a regular alpine skier, for me ski touring represents a more sustainable way of exploring the mountains, where no infrastructure is required. It’s a slower approach, where you need to take the time to prepare your adventure, to know what you’re capable of in order to minimize the risks. When I leave my trail in the powder after reaching a summit on my own, the pleasure and satisfaction I feel is just incredible!
What you need to know before you start ski touring
Even if backcountry skiing is not an activity confined to an elite group of seasoned mountaineers, it does require a minimum level of physical fitness and skiing technique.
Endurance
You don’t need to be capable of running a marathon to try ski touring, but you do need a minimum of endurance. Obviously, this will depend on the level of difficulty of the routes you initially choose… But as ski touring consists of going up to a certain point and skiing back down, you need to have the cardio for it.
To give you an idea of what this is like, we can compare it to the effort of an uphill hike, but with the added weight of skis on your legs (and sometimes the added technical difficulty required to avoid sliding backwards or making kick turn when you’re a beginner).
Ski level
The idea when you head out ski touring is to get off the slopes and enjoy the fresh snow on the way down (although you can of course stay on the ski slopes at first). But it’s also often the case that you’ll have to ski in less than ideal conditions (hard or icy snow) out there… Don’t think you’ll always have great powder!
So I’d say that before getting started, you should be able to ski with control on all types of groomed runs. And if you’ve already had the chance to try off-piste skiing in different conditions, that’s always a plus (but not necessarily essential… you’ve got to start somewhere).
Safety: learning about avalanches and alpine terrain
With the growing popularity of ski touring, more and more people are doing it right next to ski resorts. In some places, there are even “ski touring parks”, i.e. safe, signposted itineraries for ski touring.
But if you want to take up ski touring, it’s certainly because you want to climb snow-covered peaks, to leave your mark on a virgin powder fields. And to do this as safely as possible, you’ll need to acquire some basic knowledge of avalanches and high alpine terrain.
That’s neither the purpose of this article, nor do I have the expertise to discuss this matter in detail… But it’s important to learn about mountain safety, for example by taking an avalanche course with a professional guide. There are also online courses such as the one offered by WEMountain (20% off with the code safewithalpiness) and entire books on how to reduce the risk of avalanches.
You need to be aware that ski touring is a sport that involves risks… the most common is the risk of avalanche, but there’s also the risk of falling, ledges, weather conditions that can change extremely rapidly in the mountains and so on (there are deaths every year after all). So it’s very important to have as much knowledge as possible, to know your equipment, and to plan all aspects of your excursion well in advance (itinerary, avalanche risk, weather, gear, people in the group, etc.).
In my opinion, it’s important to gain experience gradually by touring with more experienced people (friends or professional guides) before embarking on more challenging routes. As far as I’m concerned, since we moved to the Val d’Hérens, I’ve been lucky enough to meet several people who are far more experienced than I am, and who often take me out there. Thanks to them, I’m learning a lot and have a better idea of what I can and can’t do on my own.
The essential gear for ski touring
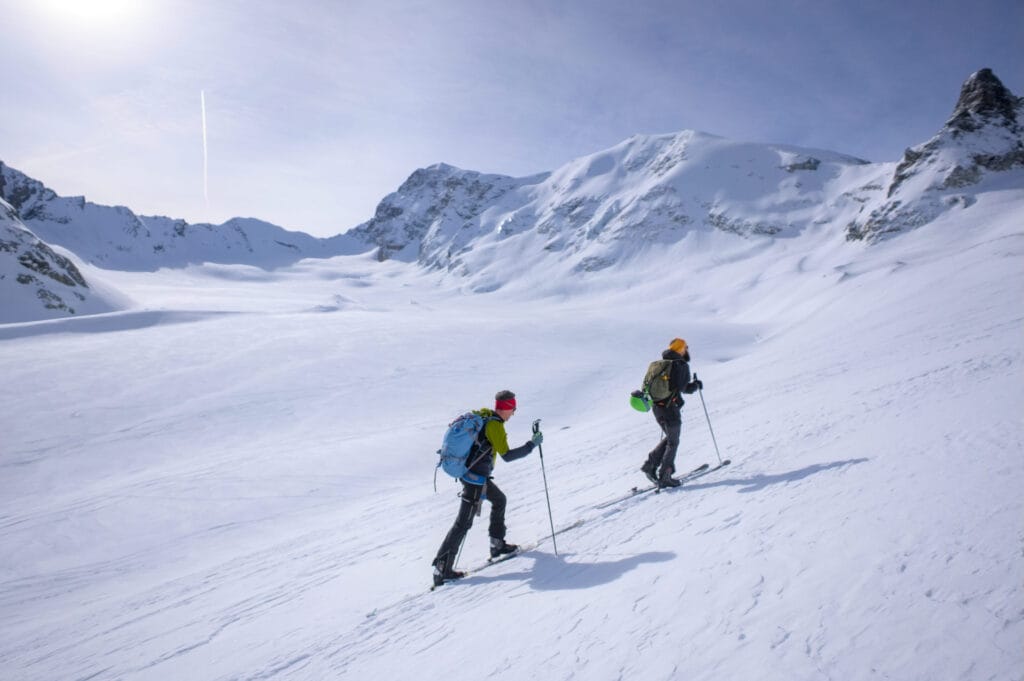
So yes, ski touring is a “free” activity (by which I mean that no one will ask you to pay for climbing to the top of a mountain)… But you need to be aware that the equipment you need for ski touring is quite extensive.
I think that’s a pretty important entry barrier! If you decide to buy all your ski touring gear new, you’re going to spend quite a bit of money, and it’s not always easy to find second-hand gear. And I’m not even talking about renting the equipment to try it out for a day… rental alone usually costs 70-80 chfs a day (skis, skins, poles, boots, safety gear).
In short, there’s no magic method! Fabienne and I have been scouting for good gear on facebook marketplace (2nd hand) and on the website Snowleader, which often offers very good prices. But most of the items listed below are essential for ski touring, and you’ll need to get them for yourself…
Safety gear
avalanche beacon, shovel, probe
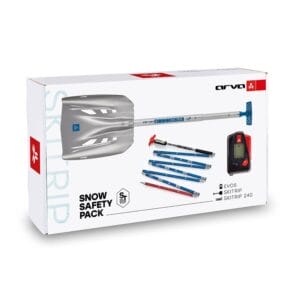
Let’s start with safety equipment. There are 3 really essential items: the avalanche beacon (such as the Arva, Barryvox or Ortovox), the shovel and the probe, which should always be in your backpack when you go ski touring.
- The avalanche beacon: It doesn’t matter which device you choose (Arva, Barryvox, Ortovox, Pieps…), as long as you know how to use it. Nowadays, most avalanche transceivers have a range of 50+ meters, a display with lots of information to make searching easier, a multi-victim search mode…
- Shovel and probe: The important thing here is to have sturdy, lightweight equipment, hoping that you’ll never have to use it. But if you ever do, it’s best to have a shovel that’s not too small and a probe that’s big enough (typically between 2.4 and 3.2m).
These 3 elements are often purchased as a pack and cost between €250 and €400, depending on the time of year and the offer.
But as I said earlier, it doesn’t matter the brand of your avalanche beacon, the important thing is that you always have it with you when you go out and that you know how to use it properly in case of need (hence the importance of taking an avalanche course).
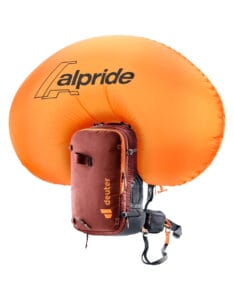
Airbag backpacks
Airbag backpacks are becoming increasingly popular as the only safety equipment that reduces the risk of being buried in an avalanche. However, there are a number of reasons why their use is not yet widespread:
- The airbag offers no guarantee against avalanches, but at best an improved chance of survival.
- The risk compensation effect: Does having an airbag on your back encourage a skier to take more risks when riding? It’s hard to say, but it’s a phenomenon that has been demonstrated time and again in other fields.
- Airbag-equipped backpacks are bigger and heavier. In a sport where we try to minimize the weight of our gear, this is a real disadvantage.
- Airbag-equipped backpacks are very expensive (between €500 and €1,200).
I highly recommend reading this blog post to make up your own mind on the subject.
Personally, I haven’t yet taken the airbag plunge, but I’m thinking about it. I think I’m somewhere between ski touring and freeriding, so there are pros and cons. But if you’ve got the budget and you’re more into freeriding, the airbag backpack is probably a worthwhile purchase.
How to choose your touring skis?
After the safety gear, let’s move on to the fun part: choosing the right skis for your mountain adventures. As with classic skiing, the skis you choose for touring will strongly depend on your ski touring style. Let’s just say that if you’re planning to sprint up the mountains as fast as possible, you won’t be using the same gear as if your aim is to have as much fun as possible in the powder.
Here are the main considerations you’ll need to take into account when making your choice:
The weight
As you can imagine, the ideal is to carry the least weight possible when going up… And since ski touring involves a good deal of uphill work, this is an important point to bear in mind. On the other hand, the lighter the ski (i.e. smaller and thinner in general… although this also depends on the components used), the more you’ll have to compromise on stability and floatability on the way down. The weight of a pair of skis can vary from less than 2 kgs for ultra-light skis (or even less than 1.5 kgs for competition skis) to more than 3.5 kgs for big freetouring skis.
But if, like most people, you think you’ll only have one pair of skis for touring (some people have 2-3 pairs depending on conditions and itineraries), I’d recommend staying under 2.5-3 kgs. You’ll find skis with good downhill behaviour that are still relatively light.
The size
If you’re a freerider, you’ll certainly have seen people with super-wide skis 10-15 cm taller than them… In ski touring, however, you have to think a little about the way up, and very long skis do have a few disadvantages:
- The longer the skis, the harder the kick turns (if you’re wondering, kick turns are the technical turns you need to make as the slope gets steeper).
- Long skis are more difficult to handle in technical terrain, such as steep, narrow couloirs (both up and down).
- The longer the skis, the heavier they are in general 😉
So if you’re more of a freetouring type, I’d still recommend sticking to skis that are a few centimetres taller than you (+5 cms max). But if you want skis that are a little easier to handle on climbs or on technical terrain, go for skis that are a little shorter (-5 cms, -10 cms max).
Waist and tip/tail width
The waist and tip or tail width will influence the ski’s surface area and therefore its portance in powder. So the wider the ski, the more it will give you the sensation of floating in the powder. It will also enable you to make big curves, have greater stability and more speed… Overall, wide skis are a little easier to ski technically than narrower skis in powder, but they’re not made for small turns 😉 .
But as with length, a wider ski is generally heavier… and less maneuverable on technical terrain. So here too, unless you can afford several pairs of skis, it’s a question of compromise.
I personally tend to go for fairly wide skis (98mm at the waist, 120mm at the rear and 129mm at the front), but as they’re no longer new, they’re pretty heavy (3.4 kgs). But now there are freetouring skis with similar dimensions that weigh well under 3 kgs. The advantage is that if I change skis one day, I’ll feel like I’m flying on the way up 😉

I know it’s not always easy to make sense of all the different ski specs… Especially as it’s difficult to test except by renting gear (which is expensive) or by doing a ski test (but these events are too rare for my taste). But when in doubt (and if you’re looking for a versatile pair of touring skis), you can go for something a little less wide than mine.
The rocker
The rocker of a ski is a term used to describe the way the ski rises at the front or tail. Traditionally, a slope ski will have a slight rocker only at the front (5% to 15%) to ease turns while maintaining maximum edge grip underfoot and at the back of the ski.
Freeride skis, on the other hand, generally have a more pronounced rocker at the front and a (often slightly softer) rocker at the back, which increases the skis’ flotability and stability in powder.
In general, for ski touring, you’ll choose a rocker that’s intermediate to that for piste skiing or freeriding, i.e. a progressive rocker at the front and little or no rocker at the tail. The problem with a rocker that’s too pronounced is that you’ll lose grip when going up, as you’ll have less edge in contact with the snow. This can be a real problem in hard snow conditions or on more technical terrain.

The curvature radius
A ski’s curvature radius is the element that revolutionized downhill skiing with the emergence of carving. If you’re carving on a slope, the curvature radius is an essential element that will define the type of contour you’ll be able to make (the shorter the radius, the more you’ll be able to make small slalom-type turns).
On the other hand, in powder snow, the curvature radius of the ski has less influence as it is difficult to push on the edge of the ski to turn in fresh snow 😉 .
So for ski touring, you’ll want a wider radius of curvature (15-20m) to maximize grip when climbing, with maximum contact between the ski edge and the snow.
Ski stiffness (or flex, or tonicity)
Ski stiffness is also more important on the slopes than for touring. On the slopes, depending on your level of skiing and your weight, you’ll want a stiffer ski that gives you maximum energy when coming out of a curve. For freeride, you’ll want a ski that’s a bit softer.
For backcountry, ski stiffness can be a criteria, but not for the same reasons. You’ll choose a softer ski if you’re a freerider who skis mainly in powder. On the other hand, you’ll choose a stiffer ski if you’re a more alpine skier on more technical terrain, for better grip and greater safety.
Conclusion for skis
As you can see by now, there are no easy answers when it comes to choosing touring skis. Your choice will depend on your type of skiing (whether you prefer uphill, freeride or speed), your itinerary types (whether you prefer accessible touring or technical mountaineering), your endurance (if you have the cardio, you may be able to climb with more weight 😉 ), your level of skiing and, of course, your budget.
But if you want to buy a versatile pair of skis that can go just about anywhere, opt for a ski that’s maybe 5 cm shorter than you, 90 mm at the waist, progressive rocker at the tip (not necessarily rocker at the tail), a radius between 16 m and 18 m and a weight of around 2.5 kgs for the pair.
To buy skis, I personally bought several pairs on facebook marketplace in 2nd hand… by searching well and being patient, I already managed to find whole sets of skis + bindings + skins + boots for 500 – 600€.
If you’re looking for new gear, it’s hard to beat Snowleader, which offers very good stuff (skis + bindings + skins, but without boots) from €500-600.
The different types of bindings
If you were already lost when it came to choosing skis, you’re likely to be just as lost when you discover the number and types of bindings available for ski touring. But you’ll see that ultimately it’s not that complicated, it’s all a question of compromise between binding weight and release performance (when the binding will open in a fall, for example) / energy transfer between boot and ski.
Note: I’m not even going to talk about frame bindings (basically, normal ski bindings attached to a frame that pivots at the front) because they’re very heavy and becoming obsolete. So I’ll focus on the different types of pin bindings.
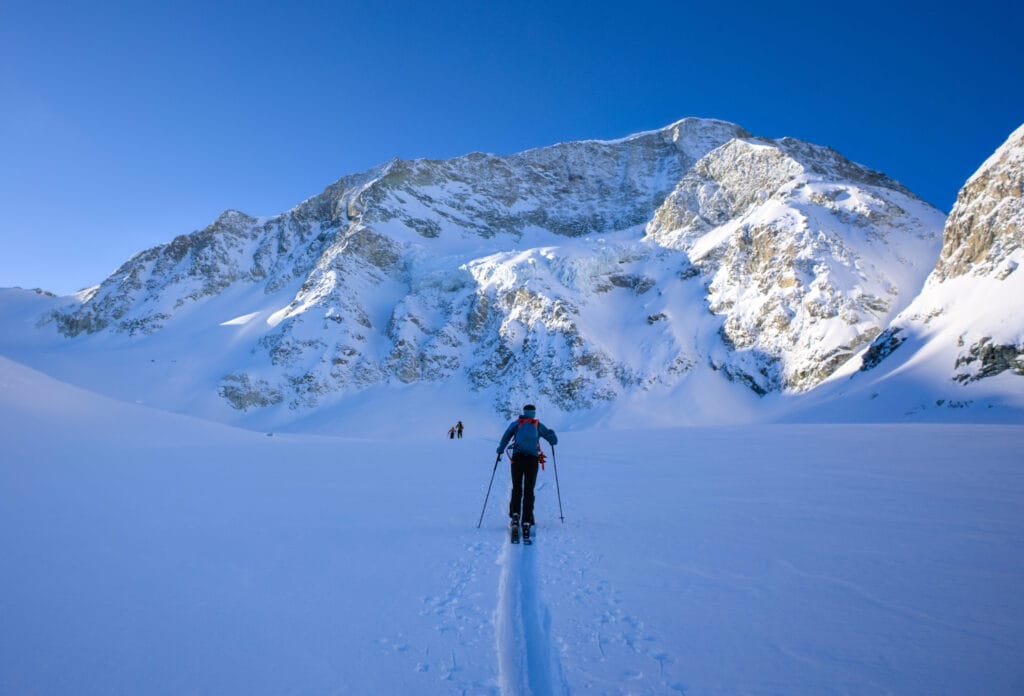
The pin binding system has revolutionized ski touring, considerably reducing the weight of the bindings and improving uphill performance. I’d say we can divide this type of binding into 3 sub-categories:
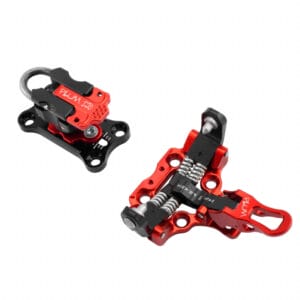
Racing bindings
These bindings are lightweight and sometimes don’t even have a system for adjusting the tail release (fixed weight)… They generally weigh less than 300g per pair and are really used in ski mountaineering competitions. This is certainly not the type of binding to choose if you’re new to ski touring.
Examples: ATK Trofeo, Plum race
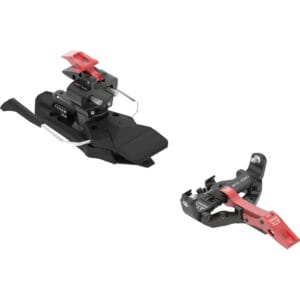
Classical pin bindings
These are the most widely used bindings, and are equipped with a release adjustment system (lateral and vertical) at the tail. They often offer 3 level of heel lift (for greater comfort when climbing) and a little more elasticity for better sensations when going down. These bindings generally weigh between 300g and 700g per pair, which is still very light for going up. On the other hand, if you’re used to classic alpine ski bindings with frames, the sensations are a little different.
Because I’m a fairly aggressive skier, I always have a bit of a hard time trusting these bindings, and I sometimes mount the toe pin to make sure I don’t lose them (which is obviously not recommended, because if you fall, you won’t lose your skis and you could get injured).
Examples: Dynafit speed turn, ATK Crest
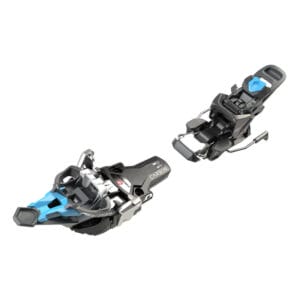
Free touring bindings
Free touring bindings offer greater elasticity than conventional bindings, to better absorb shocks on the way down and prevent accidental release. At the same time, they offer greater safety, with front and rear release adjustments and better force transmission. Of course, all these advantages come at a price: bindings generally weigh between 1 and 2 kg per pair, which makes a big difference when going uphill.
I’d say this type of binding is best suited for tourers who are primarily interested in powder skiing, or for people who want to use their skis both for touring and for powder days around the slopes.
Examples: Fritschi Tecton, Marker Kingpin
Stopper or leash?
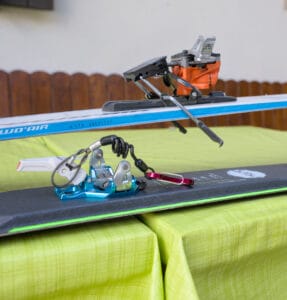
Personally, I recommend bindings with stoppers (brakes) rather than leashes, because in case of an avalanche (with straps), you might be dragged to the bottom by your skis. On the other hand, straps are lighter and ensure you don’t lose a ski in steep terrain… So, as always in ski touring, each solution has its advantages and disadvantages.
Conclusion on bindings
Finally, there are many different types/brands of bindings, with some models falling neatly into one category or another, and others falling somewhere in between.
For my part, I started out with fairly light classic bindings… But I’m thinking more and more that I should go for bindings that are a bit more targeted at free touring, to get better sensations on the way down and increased safety.
Finally, if you’re not sure what type of bindings to choose, just be consistent with your skis. There’s no point putting 300 gr bindings on free touring skis and vice versa.
the ski touring boots
As with bindings, ski touring boots can generally be divided into 3 categories: lightweight race-oriented boots, classic touring boots and freerando boots.
Here are the features to look out for when choosing your ski touring boots:
- Weight: It makes sense… the lighter they are, the less weight you’ll have to carry to the top of the mountains. However, with lightness also comes some compromises in rigidity and general stability.
- The shaft rotation: This is the maximum angle of inclination between the front and rear positions when the shoe is in touring mode. The greater the angle, the smoother the stride when going uphill. In general, climbing-oriented shoes will have greater shaft rotation angle (65 to 75 degrees) than free touring-oriented shoes (55 to 65 degrees).
- The rigidity index (or Flex): The higher the Flex value (between 60 and 140), the stiffer the boot… which is an important downhill feature for transferring energy from the foot to the skis.
- Attachment system (foot support): Lightweight boots have fewer straps (usually just one with a BOA tightening system) to save weight, while freetouring boots will have up to 4 straps to ensure the best support on the way down.
Lightweight boots
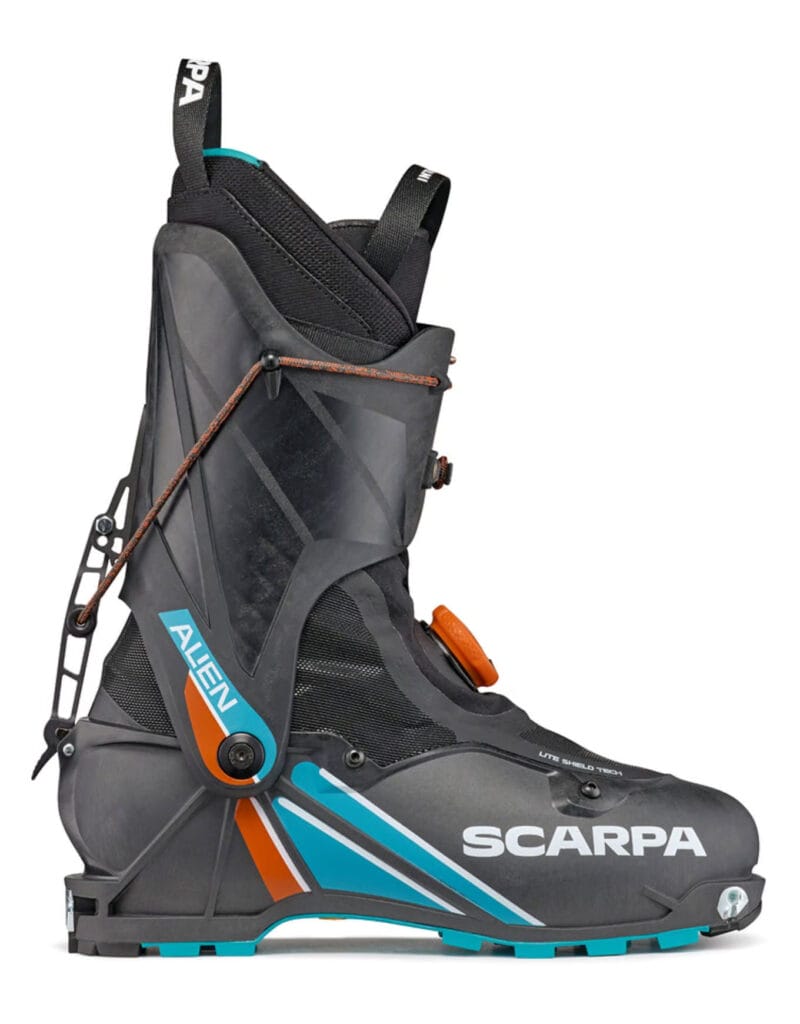
This type of boot is really designed for people who prioritize uphill performance over downhill. They generally weigh less than 2 kgs per pair, and offer plenty of rotation angle, which doesn’t come without compromises in terms of rigidity and foot support.
Examples: Scarpa Alien, Scarpa F1 lt, Diabello Quantum Evo
Classical boots
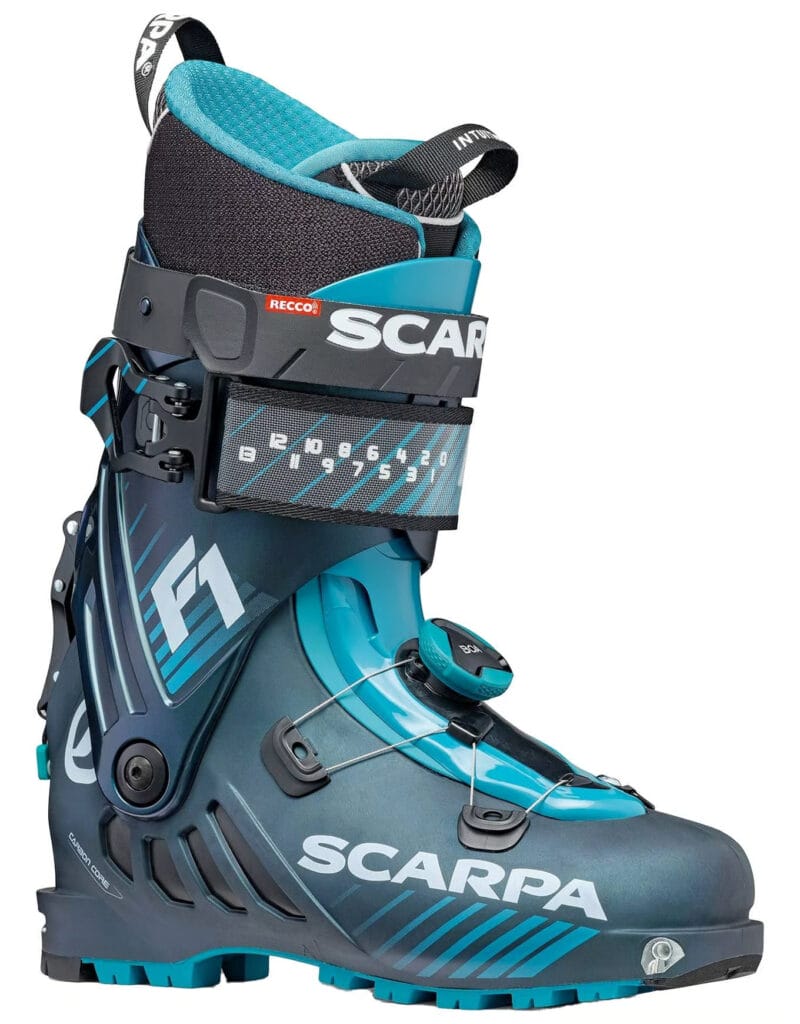
Classic touring boots are becoming more versatile, offering greater comfort and rigidity (without becoming ski boots) without sacrificing lightness. They weigh between 2 and 2.5 kgs, which is still a decent weight for uphill touring.
Examples: Scarpa F1, Atomic backland pro
Free touring boots
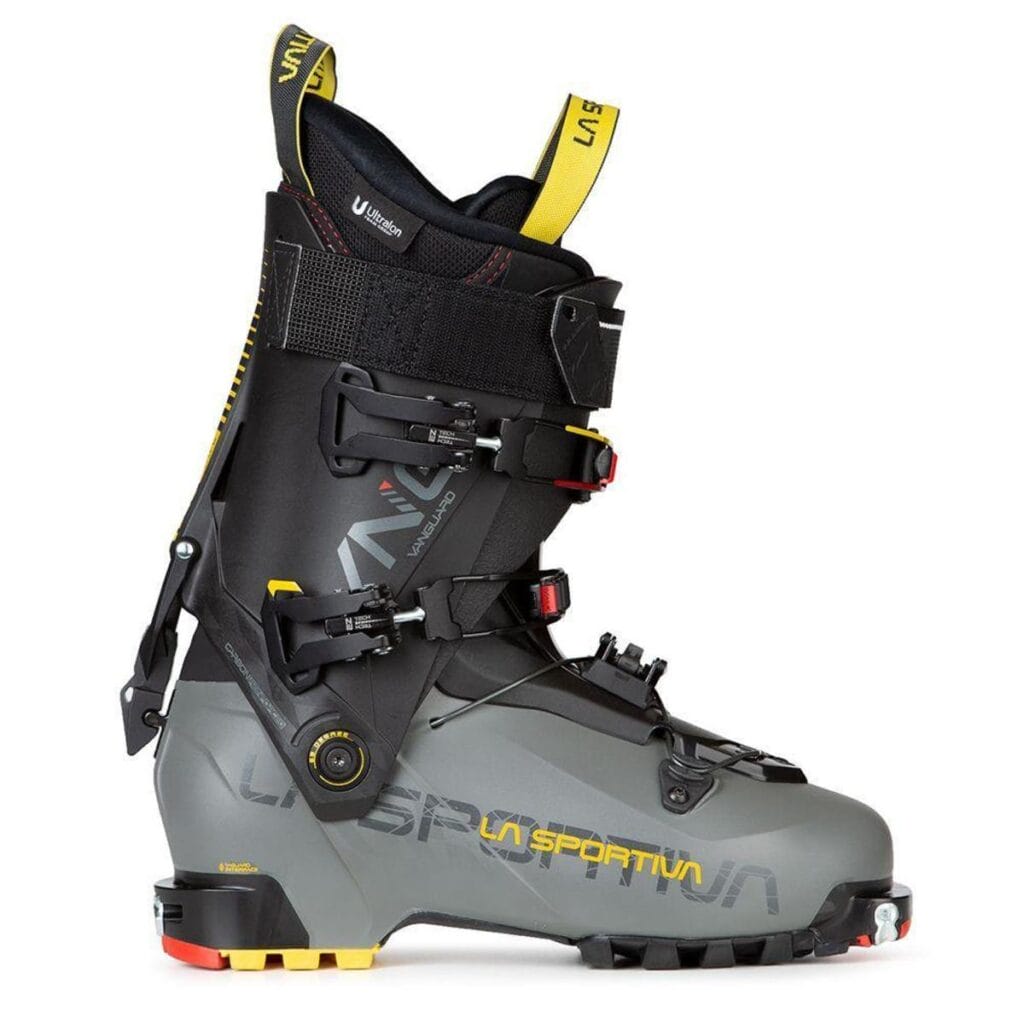
Free touring boots are clearly downhill-oriented, and offer a level of support/stiffness close to normal ski boots. They have 3 to 4 straps for excellent support and can weigh from 2.5 to over 3 kgs per pair (although I wouldn’t recommend going over 3 kgs to avoid being outgunned by your touring buddies).
Examples: La Sportiva Vanguard, Scott Cosmos pro
Where to buy your ski touring boots?
So it’s a tough question to answer, and will depend on your budget and preferences… As you’ll have noticed by clicking on the links above, ski touring boots cost as much as the skis themselves.
If you don’t have a budget limit, that’s cool for you, but as far as I’m concerned, I’ve often bought second-hand boots. This involves a lot of research, travelling to try them on and also I’ve always had blisters/pains during the 1st outings (because they weren’t exactly fitted to my feet)… But it saved me a lot of money.
Alternatively, you can buy your shoes online. Prices are often very attractive, and you’ll have the widest choice of boots. However, you won’t be able to try on your shoes beforehand (well, you can always send them back, but that’s not the point), nor will you be able to do a full bootfit. But you can thermoform your own boots at home in your oven 😉 .
Finally, you can buy your shoes in a specialized store. This is usually the most expensive option, but you’ll benefit from the advice of a (usually competent) seller, and you’ll be able to try on different pairs of boots (as there are huge differences between brands for a given size). What’s more, you can have your boots thermoformed on the spot (usually free of charge), and even have a complete bootfit. Some stores are equipped with scanners that can analyze the shape of your feet to create customized insoles, inject foam to fill gaps in the shoe, etc… (these services are not usually included in the price 😉 )
The different types of climbing skins
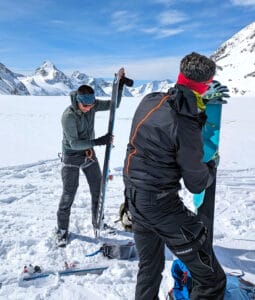
For skins, there are 3 things you need to pay attention to:
the velvet (or fur)
As you can imagine, a long time ago, animal skins were still used for ski touring. Today, of course, this is no longer the case, and we have either synthetic skins, mohair (wool made from Angora goat hair) or a mix of the two.
- Synthetic skins: These generally offer the best grip but less glide than mohair skins, and are generally the best choice for beginners (even if you don’t see many of them on the market any more). They are also more durable than mohair skins.
- Mohair skins: In contrast, mohair skins offer the best glide but less grip, making them the choice of more experienced, race-oriented tourers.
- Mixed skins: These are the most popular skins on the market, and generally have a ratio of 1/3 synthetic and 2/3 mohair. But each manufacturer has its own secret recipe for offering the best glide / grip / weight ratio (because, as you may have noticed, weight is a critical factor in ski touring lol).
The two most recognized manufacturers in this field are Colltex and Pomoca (2 Swiss companies 😉 ). In fact, most brands offering skins stamped with their colors subcontract them directly to one of these two companies.
the adhesive side
There are 2 types of adhesive system:
- The classic glue: This is a special, cold-resistant glue (well, each brand has its own glue) which is still the most commonly used way of attaching skins to the base of your skis. It’s a reliable system that’s been used for years, but requires a little maintenance. You need to store the skins with the protective net and be careful not to dirty the glue. And with years of use, you may need to re-glue some or all of your skins.
- Silicone skins: This is a new glueless system that works according to the molecular suction principle. The advantage over conventional glue is that it’s maintenance-free and simply washes off with water. However, they’re still being perfected, and I’ve read a lot of feedback from people complaining about silicone under their skis (or skins that come off too easily). The best-known brand developing these type of climbing skins is Gecko.
So in my opinion, if you’re not sure which system to choose, simply go for the proven classic glue, which is the most widely used solution.
the hook system
Alongside the glue, the skins always have a front and sometimes a tail attachment system.
At the front, the most classic attachment is a clamp system that hooks onto the rounded part of the tip and is compatible with most skis. There’s also a rubber turnbuckle system for split tips, but these attachments are more commonly found on racing skis, as they allow skins to be removed without removing the skis, thus saving time.
If you don’t compete, it’s becoming increasingly common to have a tensioning system with a tail hook. This ensures that the skins don’t gradually come off on the way up, and that you don’t get snow between the skins and the skis (which can be a real problem if you have to take off and put on the skins several times during the same tour). The disadvantage is that these clips weigh a few grams more (although you won’t save the most weight on these clips), and will prevent you from removing the skins with your skis on.
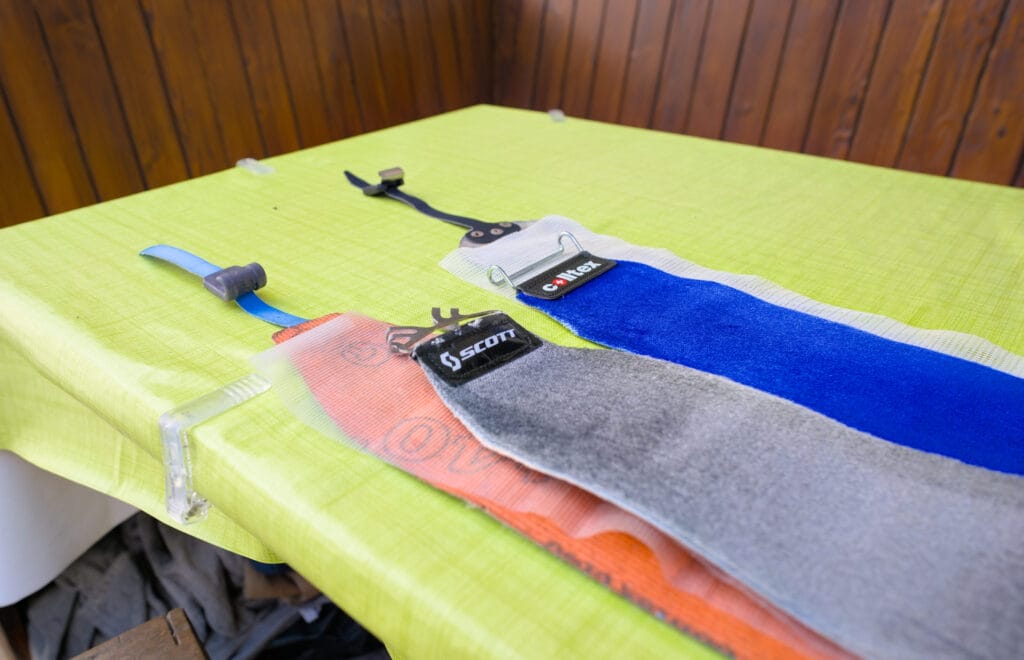
But personally, if you don’t compete, I’d recommend skins with attachments on both sides. That way, you won’t end up with the backs of the skins coming off during kick turns or if the glue starts to stick a bit less.
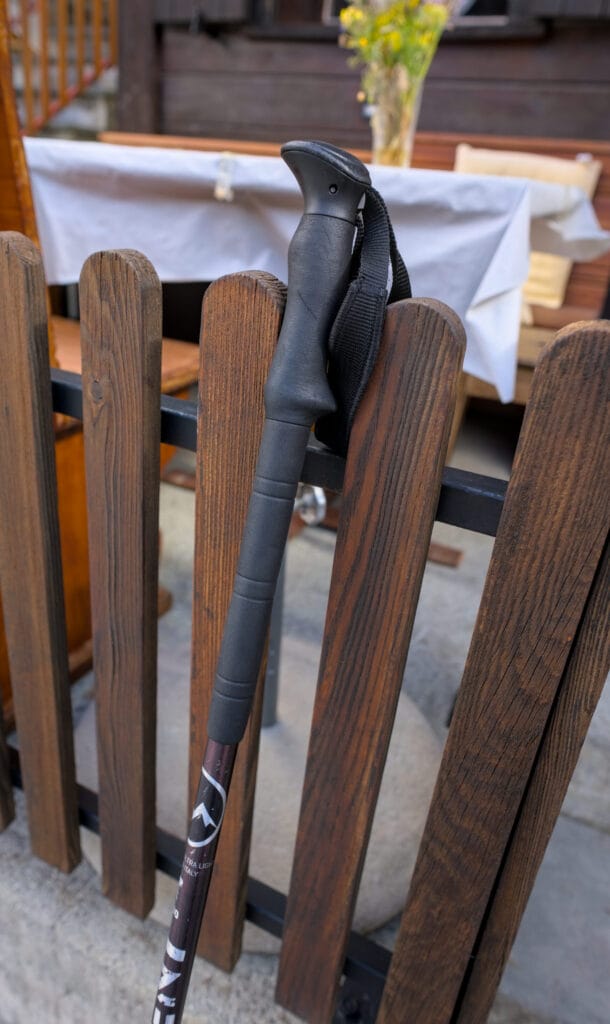
Ski touring poles
When it comes to ski touring poles, it’s really not that complicated… Even if there are a few important differences from conventional hiking poles:
- The long grip: The grip is the foam part that covers the top of the pole. For ski touring poles, it’s generally longer because it makes it easier to adjust the height in each hand when you’re on a slope, for example.
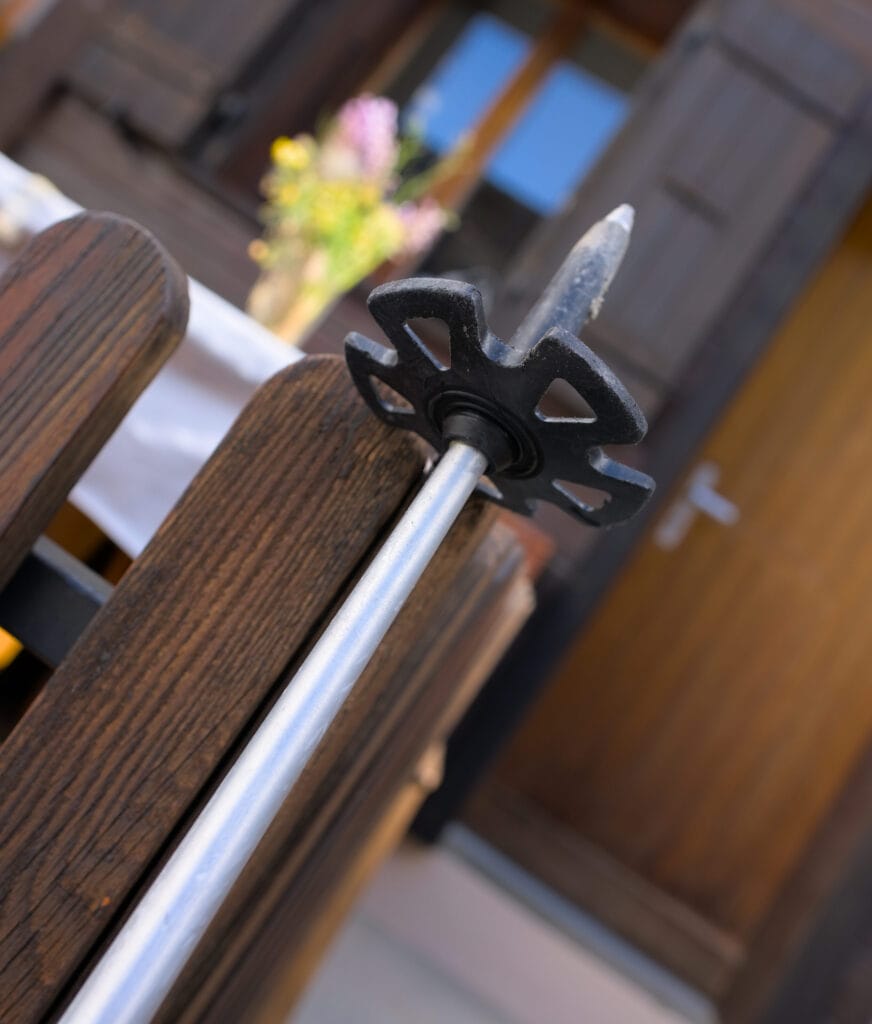
- Powder baskets: If you want to be able to press down on your poles without sinking too deep in powder snow, you’ll need wide baskets specially designed for powder.
- Telescopic, folding or single-stranded: Single-stranded poles are generally a little lighter and sturdier… whereas telescopic and folding poles are more versatile (adjustable size) and fit more easily on the backpack for carrying. It’s up to you to decide what’s most important to you 😉 .
- Weight: As with the rest of the gear, this is always an important point… But of course, super-light carbon poles cost a lot more than aluminum poles 🙂 .
Ski knives (or crampons)
What we call “knives” in ski touring are the equivalent of crampons for mountaineers. They are a kind of metal teeth that hook onto the bindings (under the boots) and dig into the snow as you walk.
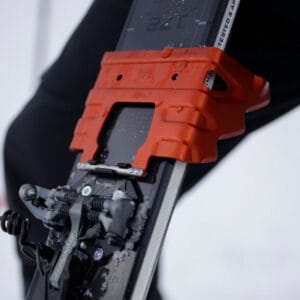
In my opinion, knives are an essential item of ski touring gear, and I recommend you always carry them in your backpack. They are particularly useful in spring when the snow melts during the day and freezes overnight, creating a crust on which skins struggle to stick. They are also essential in certain conditions when the snow has been blown away, or on icy traverses where a fall could be dangerous or even deadly.
When choosing your knives, you simply need to take care to choose a model that is compatible with your bindings (usually the same brand) and that is wide enough for your skis (wider than your ski width at the waist).
Finally, when using your knives, don’t use the highest position (if you have one) of your bindings, as this will prevent the knives from getting into the snow properly, and you won’t get the stability/safety you’re looking for.
A backpack in particular?
As you’ll have guessed while reading this post, the ideal backpack will depend very much on your ski touring style 😉 (which is also the case for hiking in summer). So if you’re out for a fast and easy tour, if you’re going on a multi-day expedition, or if you’re more of a freeride enthusiast, you certainly won’t have the same bag.
The essentials
There are a few essential items for a ski touring backpack:
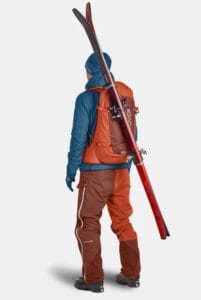
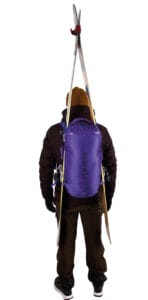
- A ski carrying system. The 2 most common systems are side-carrying (or triangle-carrying with an attachment to connect the top of the skis) or diagonal-carrying. The triangle system distributes the weight of the skis a little more evenly on the back (interesting if you have big free touring skis), while the diagonal system lets you attach your skis without removing your pack. In fact, many bags offer both carrying systems.
- Enough straps for poles, ice axe, rope… Depending on your ski touring level, you’ll need to carry more or less gear with you.
- A net for the helmet: Many backpacks now have a removable net system for the helmet (to reduce the weight of the bag when you’re not using it).
- Storage compartments: Of course you can have special partitions for safety gear, crampons and so on… But compartments also mean more weight and less flexibility, so keep it simple.
- Accessibility: When ski touring, you want quick access to the entire contents of your pack without having to pull out half your gear.
- Weight: As always in ski touring, you need to pay attention to the weight of your gear. It’s obviously a matter of compromise with its features, but don’t end up with a backpack that already weighs over 1.5 kgs empty.
The volume
For day trips, you certainly don’t need a backpack larger than 25-30 liters, whereas if you’re going on a multi-day trip with nights in a hut, you’ll certainly need a little more space (35-45 liters). But unless you’re going on a self-sufficient adventure with a tent, I’d recommend that you reduce the quantity of your stuff before buying a bigger bag.
Airbag or not?
So far, I’ve rather seen people using Airbag backpacks on big powder days freeriding close to ski resorts. For ski touring, the extra weight of the airbag (airbag-equipped backpacks generally weigh around 3 kg empty) means that they are less suited to those who do a lot of uphill skiing. And then there’s the price barrier, which slows down the widespread adoption of these bags.
The right clothes for ski touring
I find it hard to choose what to wear when I’m out ski touring, as you’re often confronted with huge variations in temperature, weather conditions and effort between ascents and descents. The best way to do this is to have a multi-layer system that you can easily remove or add clothes depending on conditions.
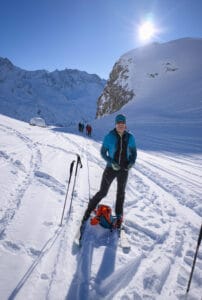
Overall, I really like this layer system because it’s so versatile and can be used for so many different sports activities. If you choose your layers carefully, you’ll be able to use them for ski touring in winter, downhill skiing, hiking in summer, etc… All you need to do is adapt the number of layers to the situation.
Breathable 1st layer
The purpose of this first layer is to regulate body humidity. These 1st layers are often made from merino wool, which absorbs humidity very well and doesn’t smell as bad as synthetic fabrics after an effort.
As far as I’m concerned, I usually choose between a T-shirt or a long-sleeved undershirt, depending on the temperature. On the other hand, I only put an under-layer on my legs when it’s really cold.
2nd thermal layer(s)
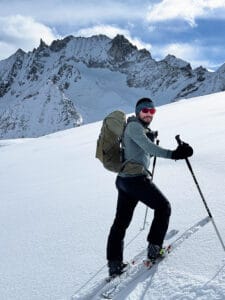
This is the layer(s) that will keyour body warm. If it’s really cold, it’ll usually be 2 layers, often a softshell, fleece or down jacket. But when temperatures are milder, a single thermal layer is more than enough.
As for me, when it’s cold I like to put a softshell over my first layer and add a little down jacket on top. I often set off like that early in the morning… then with the effort and the sun rising, I often take off the down jacket on the way up.
But preferences for these thermal layers vary from person to person, and eventually you’ll find the combination that suits you best as you go along.
The protective outer layer
The last layer is responsible for keeping you dry and protecting you from the wind. It’s perhaps the most important layer, because it’s your best ally when the weather turns nasty. But, ironically, it’s also the layer that will be at the bottom of your bag most of the time 😉 .
As for me, I always have a light (3-400 gr) Gore-Tex Paclite Hardshell at the bottom of my pack, which I take out when the weather turns bad or when I’m skiing down. In my opinion, you don’t need a very thick Gore-Tex, but at least something waterproof and windproof for bad wheather conditions 🙂
Ski touring pants
The legs don’t need as much insulation as the upper body. In ski touring, the legs are already working all the time (both on the way up and on the way down)… so they need to breathe, which is why it’s important to have a breathable fabric and ventilation openings. If it’s cold, you can always add a first layer underneath.
So far, I haven’t invested in a pair of ski touring pants, and I’m still using an old pair of ski pants (probably 25 years old) that are pretty light… But I must admit that I often sweat and regret not having built-in ventilation zippers. So I’ll certainly be looking for softshell pants that are a little breathable (but water-repellent) with vents for next season.
ski touring gloves
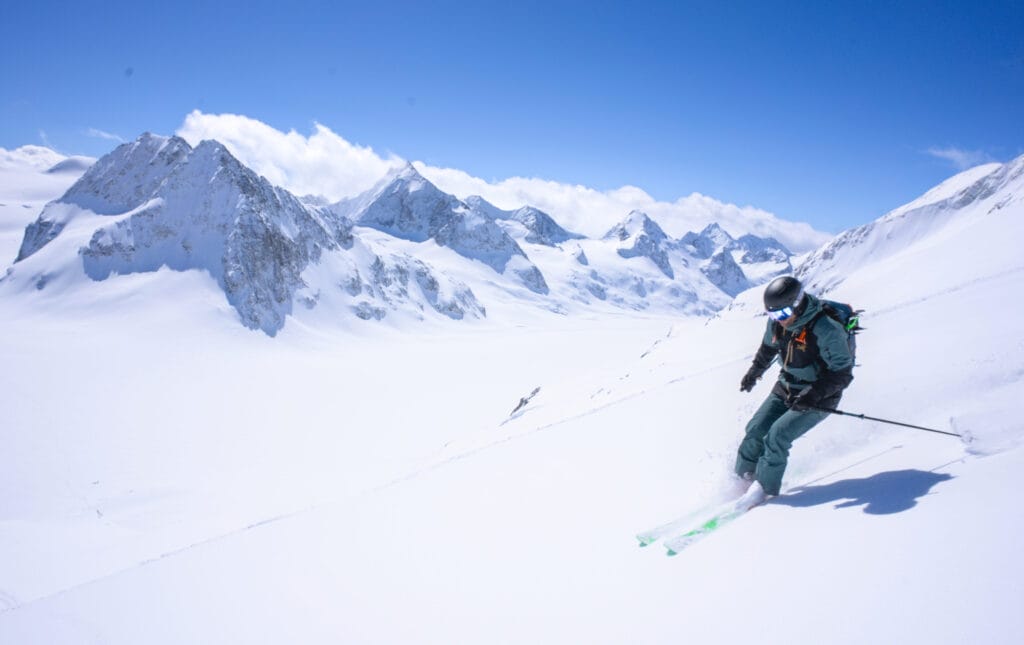
It’s not easy to find gloves that are breathable and not too hot on the way up, that allow you to do things without taking them off (taking off/putting on skins, looking at your map on your phone/watch etc…) and that protect you from the cold during breaks and on the way down.
Up to now, I’ve always used 2 pairs of gloves:
- lightweight gloves for the climb
- a pair of gloves or mittens that I can add on top for the descent or if it’s very cold
I’ve seen that there are now glove that are fairly light but that integrate a mitten that can be folded over the fingers if necessary. A system that seems interesting for its versatility and that I’m keen to try out next season.
Other essentials
Finally, we’re going to finish off with the last items you absolutely must have in your backpack when you go ski touring (well… in my opinion):
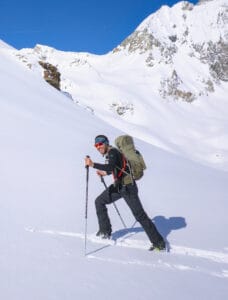
- Sunscreen: Needless to say, the sun really strong in the mountains, so you’d better protect your skin. Especially as the sun’s rays reflect on the snow, and I’ve already had sunburn under my arms lol.
- Sunglasses: It’s very important to protect your eyes from the sun in the mountains. To do this, you need a pair of sunglasses with category 3 or higher glasses that cover your eyes well, even on the sides. For the moment, I have a pair of goggles for the way up and my ski mask for the way down… but there are also multi-purpose goggles that can be used for both the way up and down. I really like the Pit Viper goggles, which I find really stylish and perfectly suited for ski touring (like the Synthesizer models). Maybe one day…
- a helmet: while helmets are now widely adopted for downhill skiing, this is not really the case for ski touring… And yet it’s equally relevant, since the risk of falling on the descent is all the greater off-piste, and depending on where you’re touring, there’s also the risk of falling rocks on the ascent. Ideally, you need a helmet that’s certified for both skiing and mountaineering, that’s not as heavy as an alpine ski helmet, and that offers good ventilation on the way up. This kind of helmet does exist, but for now I put my downhill helmet in my rucksack and generally only wear it on the way down.
- a neckband: This is the item I find most practical when ski touring. On the way up, I put it around my head to absorb sweat and keep my ears warm (without getting too hot). On the way down, either it’s warm enough and I leave it on my head under the helmet, or I use it as a neckband and put a hat under the helmet (I only take a hat with me if it’s really cold).
- food and drink: Depending on your planned itinerary, of course, but when I go backcountry skiing I try to stop every 45 minutes for a drink and every 1.5 hours for a snack.
- basic first aid kit: it’s always good to have 2-3 plasters (normal or for blisters), a bandage, some disinfectant… they don’t weigh much in the bag and can be very useful.
- a survival blanket: same logic as for first-aid kit, it weighs just 60g and could buy you some precious time in the unlikely event of a major problem.
So when I told you that ski touring is a sport that requires a lot of gear (so far, apart from airbag backpacks, all the gear I’ve mentioned is essential for ski touring)… I wasn’t lying 😉
Things that are not essential but which may become so depending on your level of practice
If you’re about to embark on more ambitious alpine adventures involving glacier traverses, steep slopes, abseiling… you’ll obviously need to take the necessary equipment with you. As this article is aimed more at beginners, I won’t go into too much detail, but here’s a non-exhaustive list to give you an idea:
- crampons: for ice and exposed terrain
- an ice axe: for climbing (or going down) exposed couloirs
- a harness: for belaying on glaciers or exposed terrain
- a light rope
- carabiners, ice screws, clamps: for belaying in various types of terrain (ice, rock)
- …
How do you choose your first ski touring routes?
It’s not always easy to choose your first ski touring outings… The inherent risks of this sport, such as avalanches, can be intimidating at first (and rightly so), and it’s all about gaining confidence without overdoing it.
Of course, the ideal is to have a more advanced adventure partner who can help you gain experience and teach you how to prepare your own outings. In fact, whenever possible, it’s always best to go ski touring with a minimum of two people. That way, if anything goes wrong, there’s always at least one person who can help out.
But of course, you don’t necessarily have a more experienced partner at hand… In that case, here are a few suggestions to get you started:
- In ski areas or touring parks: A good way to get started with ski touring in complete safety is to go out around ski areas or in touring parks. These areas are generally well-protected, and all you have to do is follow a signposted itinerary with the difficulty level indicated at the start. Of course, this is not the purpose of ski touring, but it’s a good way of building experience and improving technique.
- Searching for itineraries on community sites: There are several of these, such as skitour.fr or skitourenguru.ch, which group together hundreds of itineraries and classify them according to various criteria (such as difficulty, avalanche risk, etc.). They can give you ideas for outings that aren’t too difficult and close to where you live. In fact, these sites use different ski touring grading systems to describe itinerary difficulty. If you don’t know how these rating systems work, we’ve written a full article on the subject here.
- By taking an introduction course with a professional guide: And for that, you don’t necessarily need to spend a fortune for a private guide 😉
But obviously in the long term, the idea is that you feel comfortable enough to prepare your outings yourself. This topic alone would deserve an entire post… But with experience, depending on the weather and avalanche risk, you’ll be able to plan your itineraries using handy applications such as Fatmap , whiterisk (for Switzerland) or CampToCamp… These will help you visualize your itinerary and identify potentially risky areas.
Just a few other tips
Work on your kick turns
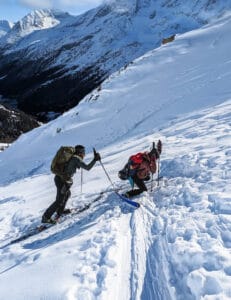
There aren’t many technical moves in ski touring, but the kick turn (by which we mean the uphill turn) is probably the one you’re going to use the most. When you’re a beginner, this is not necessarily a very intuitive move, and it can clearly cause problems.
I’d recommend watching a few videos online to get an idea, and then getting enough practice in areas that aren’t too steep to begin with. It happens quite often in ski touring that you have to make a kick turn in a place where falling is not allowed (exposed slope where you could slide quite far)… And you don’t want to find yourself in this kind of spot if you’re not confident in your turning technique.
Technique to avoid sliding backwards
It may seem simple at first glance, but the sliding step technique can also turn out to be less easy than expected. The main difficulty I’ve observed is sliding backwards as the slope gets steeper. In my experience, this is often because the body weight is too far forward on the skis. The key is to stay as straight as possible and even shorten your steps to keep your center of gravity as close to the center of the skis as possible.
As with kick turns, it’s a sensation that you acquire with experience… which is why it’s a good idea to start with outings that don’t venture onto excessively steep slopes.
Know when to give up and listen to your partners
If you’re not feeling it, if you don’t feel comfortable on an excursion, if the weather’s changing, if you’ve identified avalanche risks, etc., just don’t hesitate to give up! The decision to give up, while not necessarily an easy one, is an integral part of ski touring and mountain sports in general.
Ski touring is a dangerous sport that kills people every year, regardless of their level of experience and knowledge. So don’t be afraid to share your doubts with your companions and, if necessary, to give up without pushing yourself too close to your limits.
In such cases, it’s always a good idea to have a plan B… This can help you to decide to give up without feeling that you’ve failed, since you’ll then be able to fall back on another, more achievable goal.
A few references to take you further
Since we’re now living in ski touring paradise, we’ll certainly start sharing a lot of info on this topic on the blog. But in the meantime, if you want to go a little further, here are a few references.
And that’s all for now! While writing this post, I really tried to include all the information I would have liked to have found when I took up ski touring. And I sincerely hope that this guide will prove useful to you and that it will motivate you to take up ski touring too.
But as I said at the beginning, I’m by no means an expert, so please feel free to correct me or add any information you think might be useful in the comments section below. Thanks in advance!
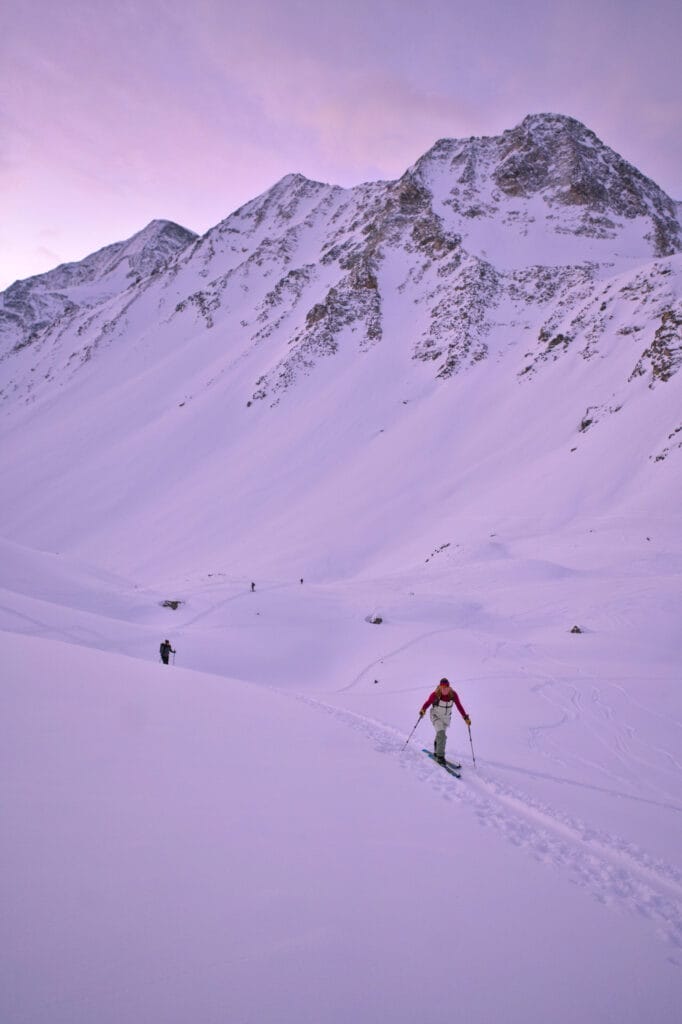
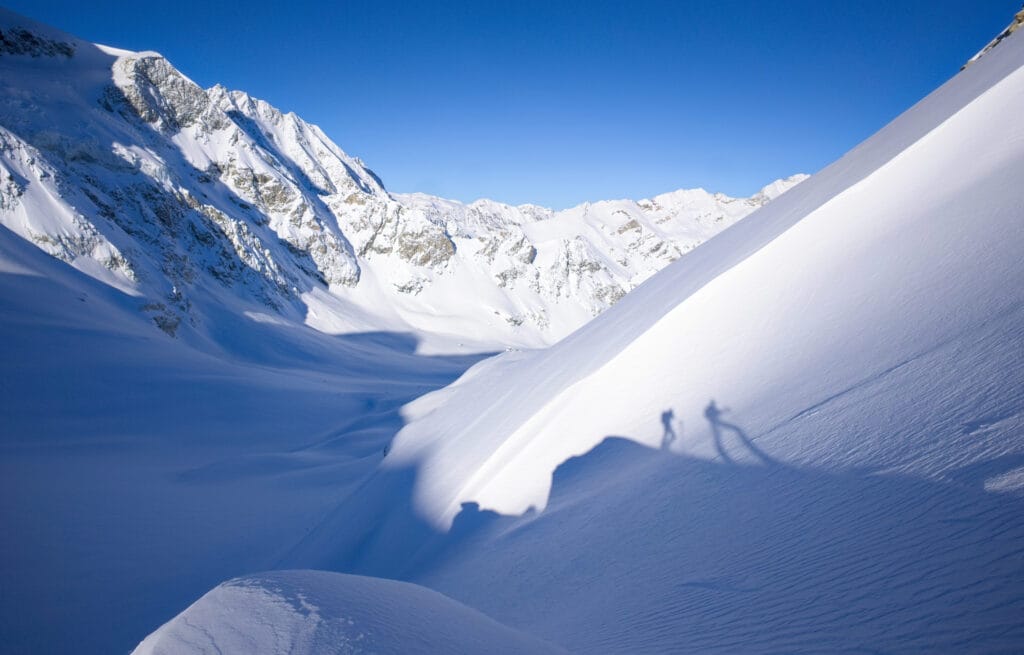
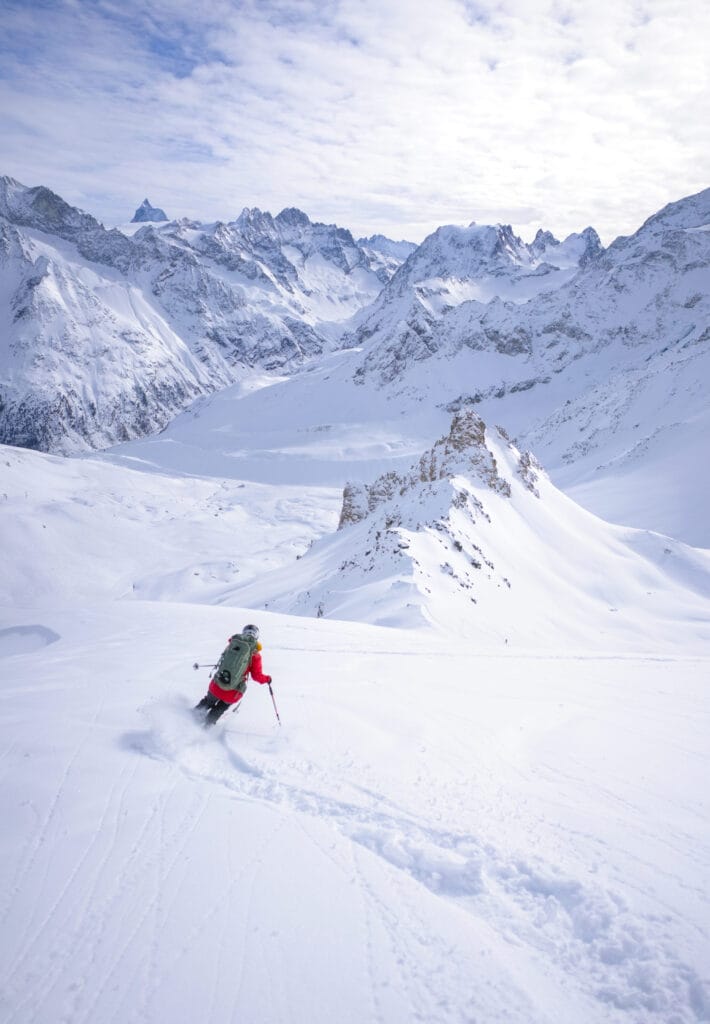
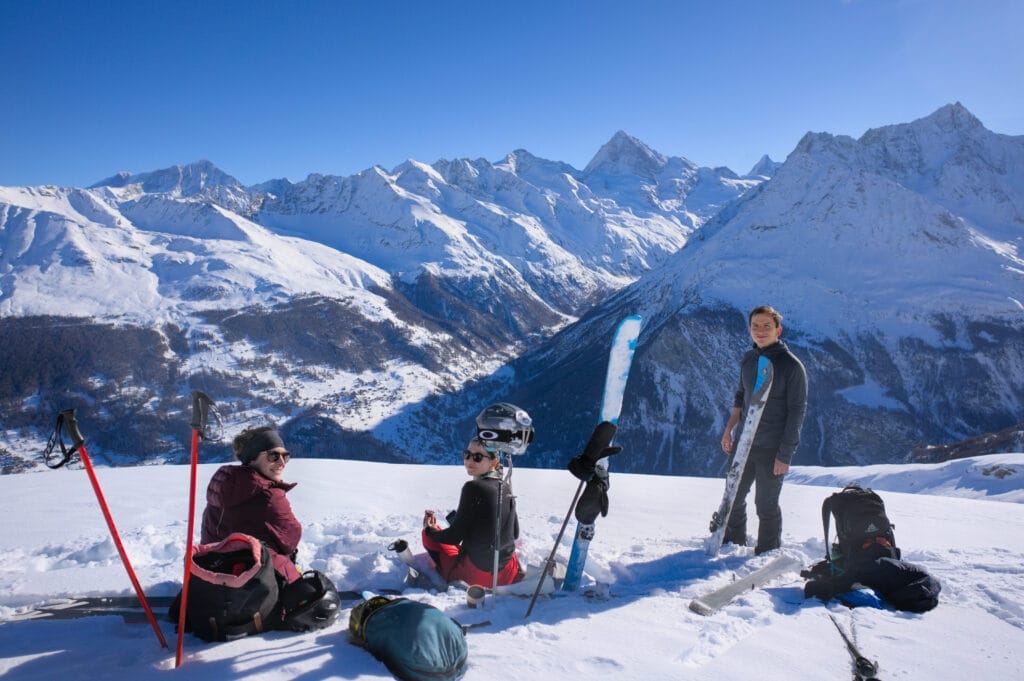
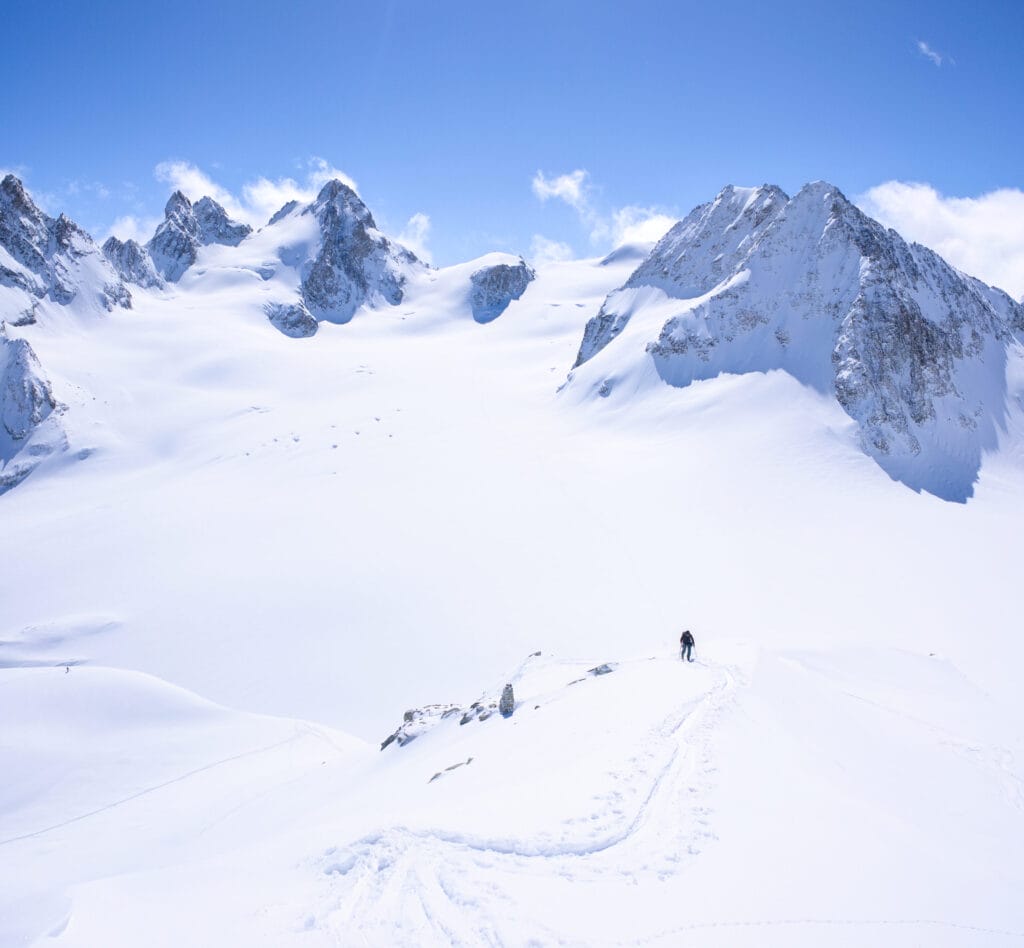
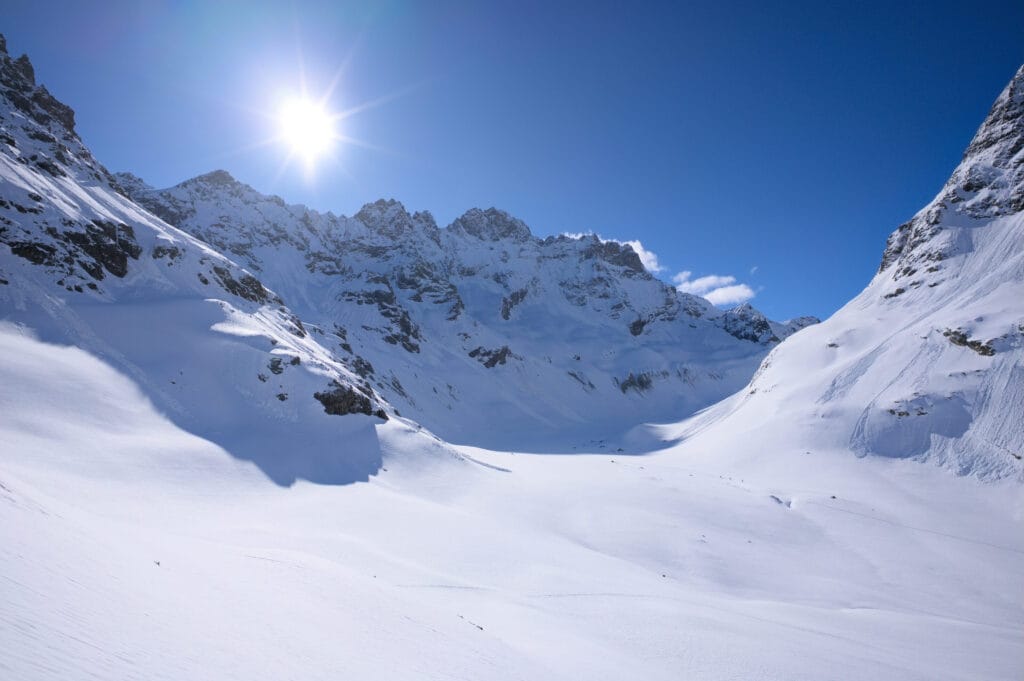
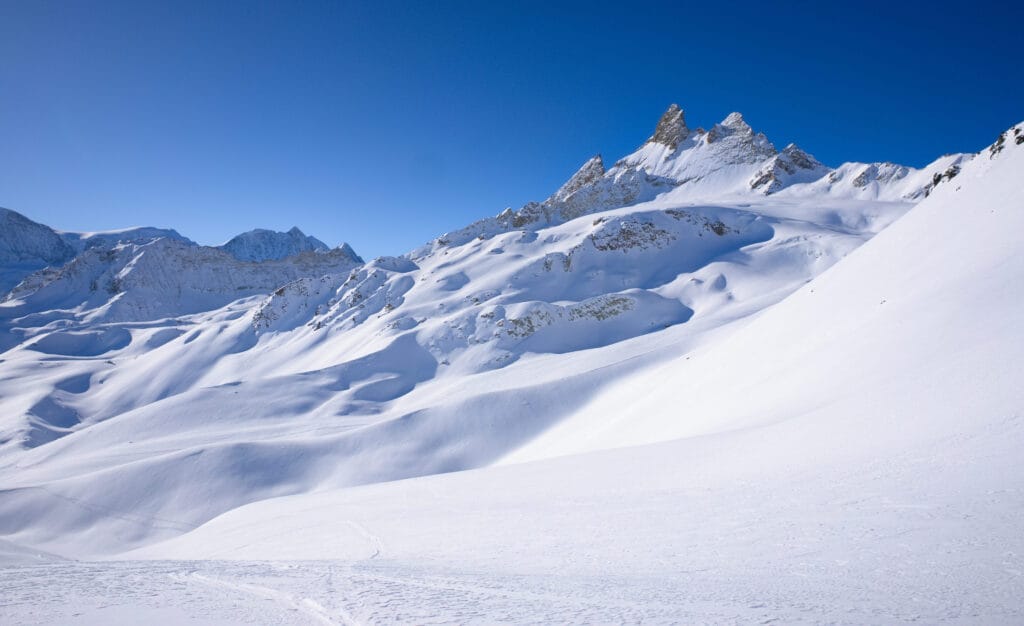
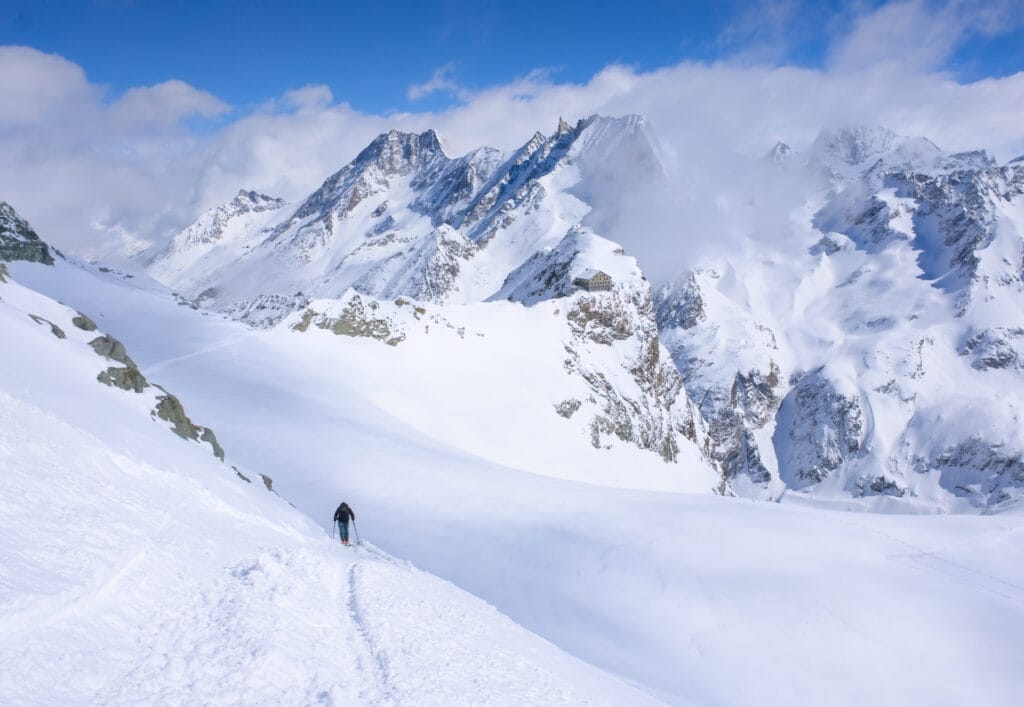
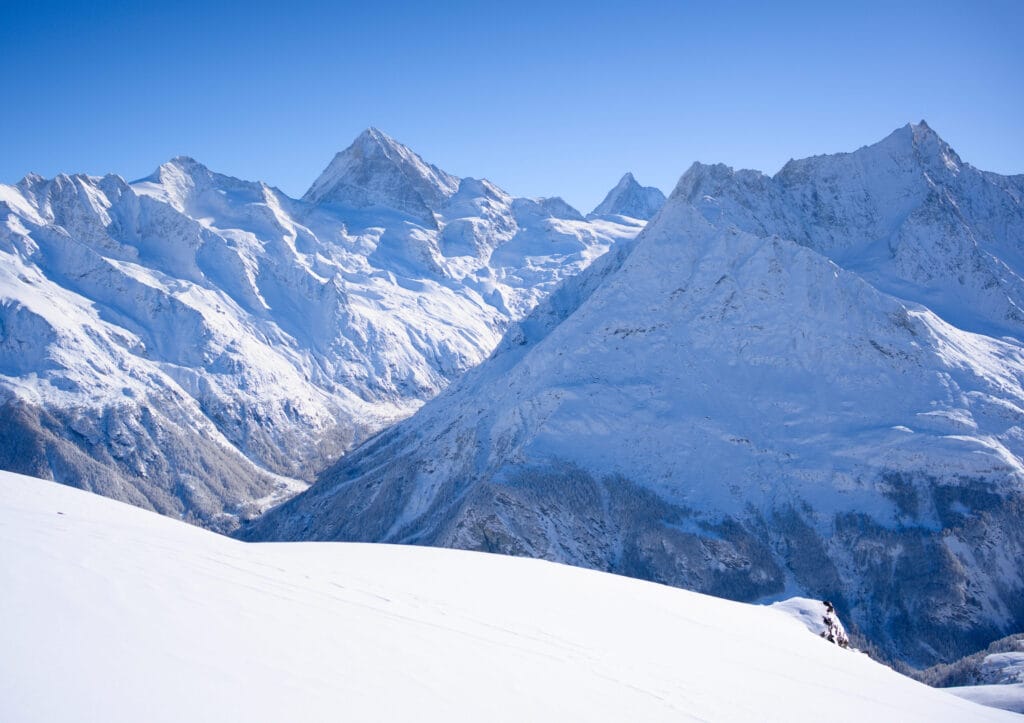
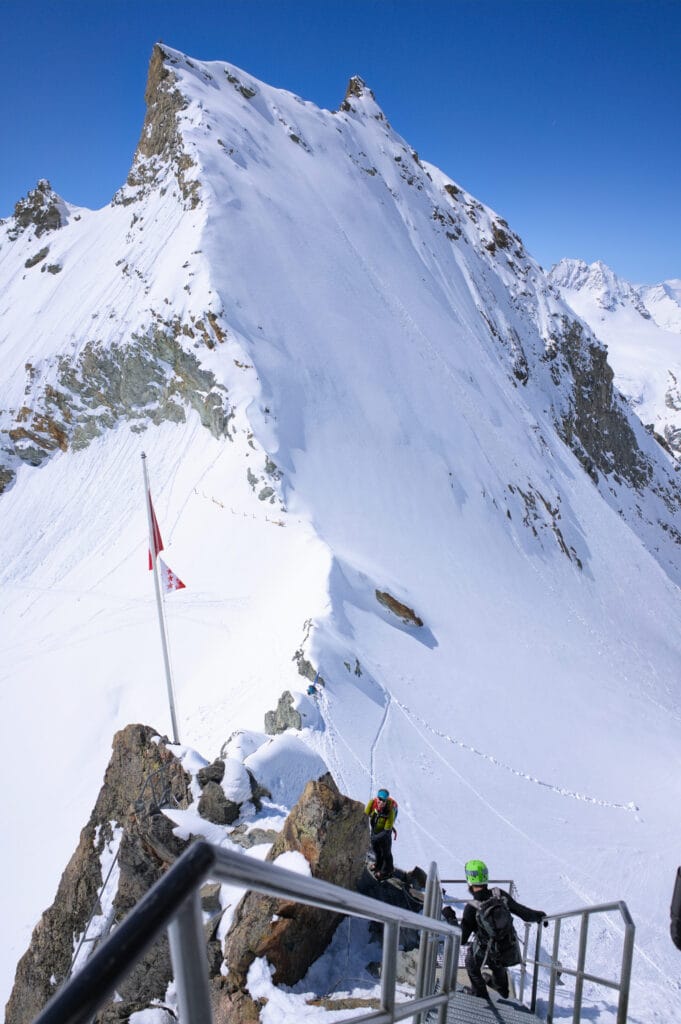
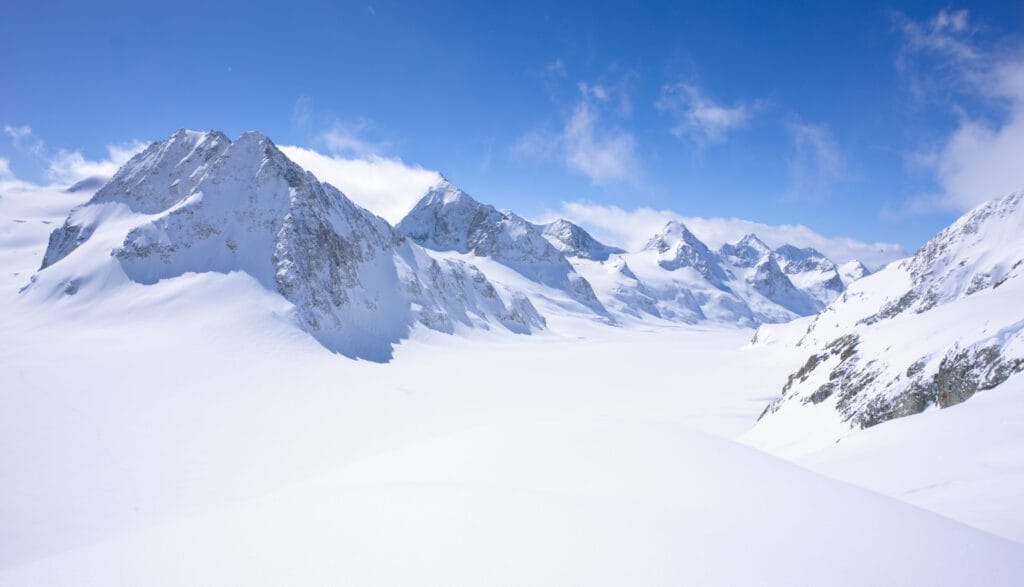
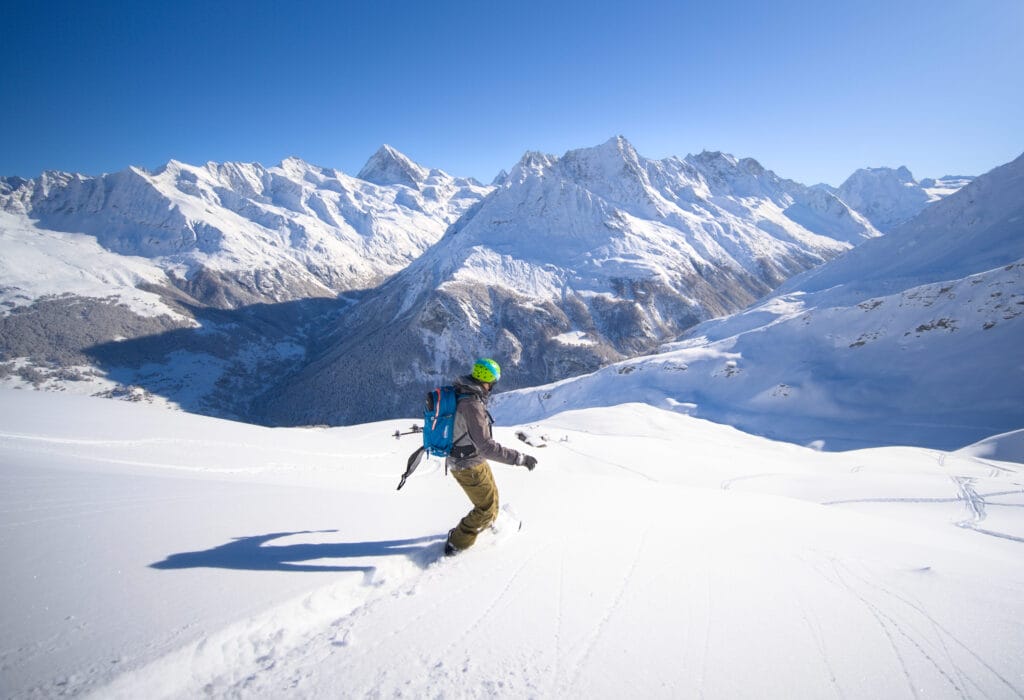
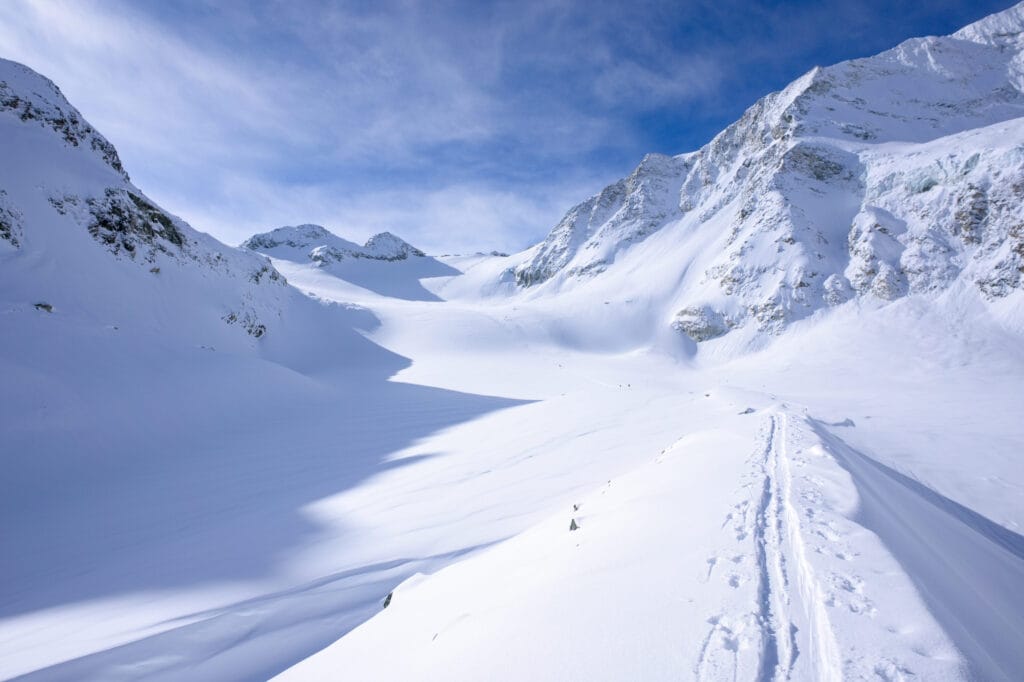
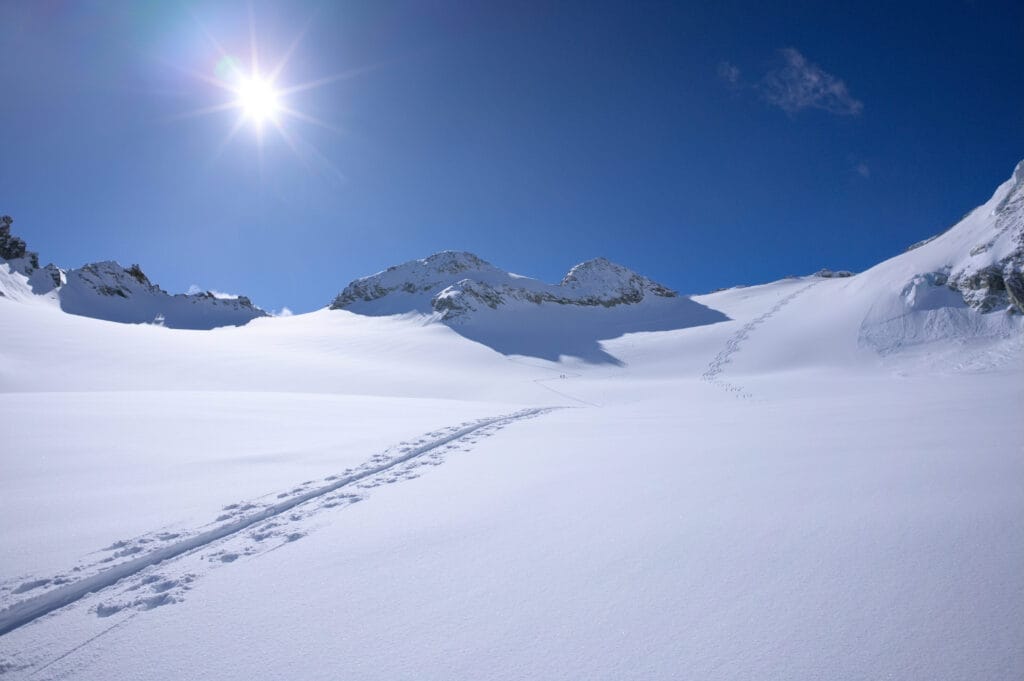
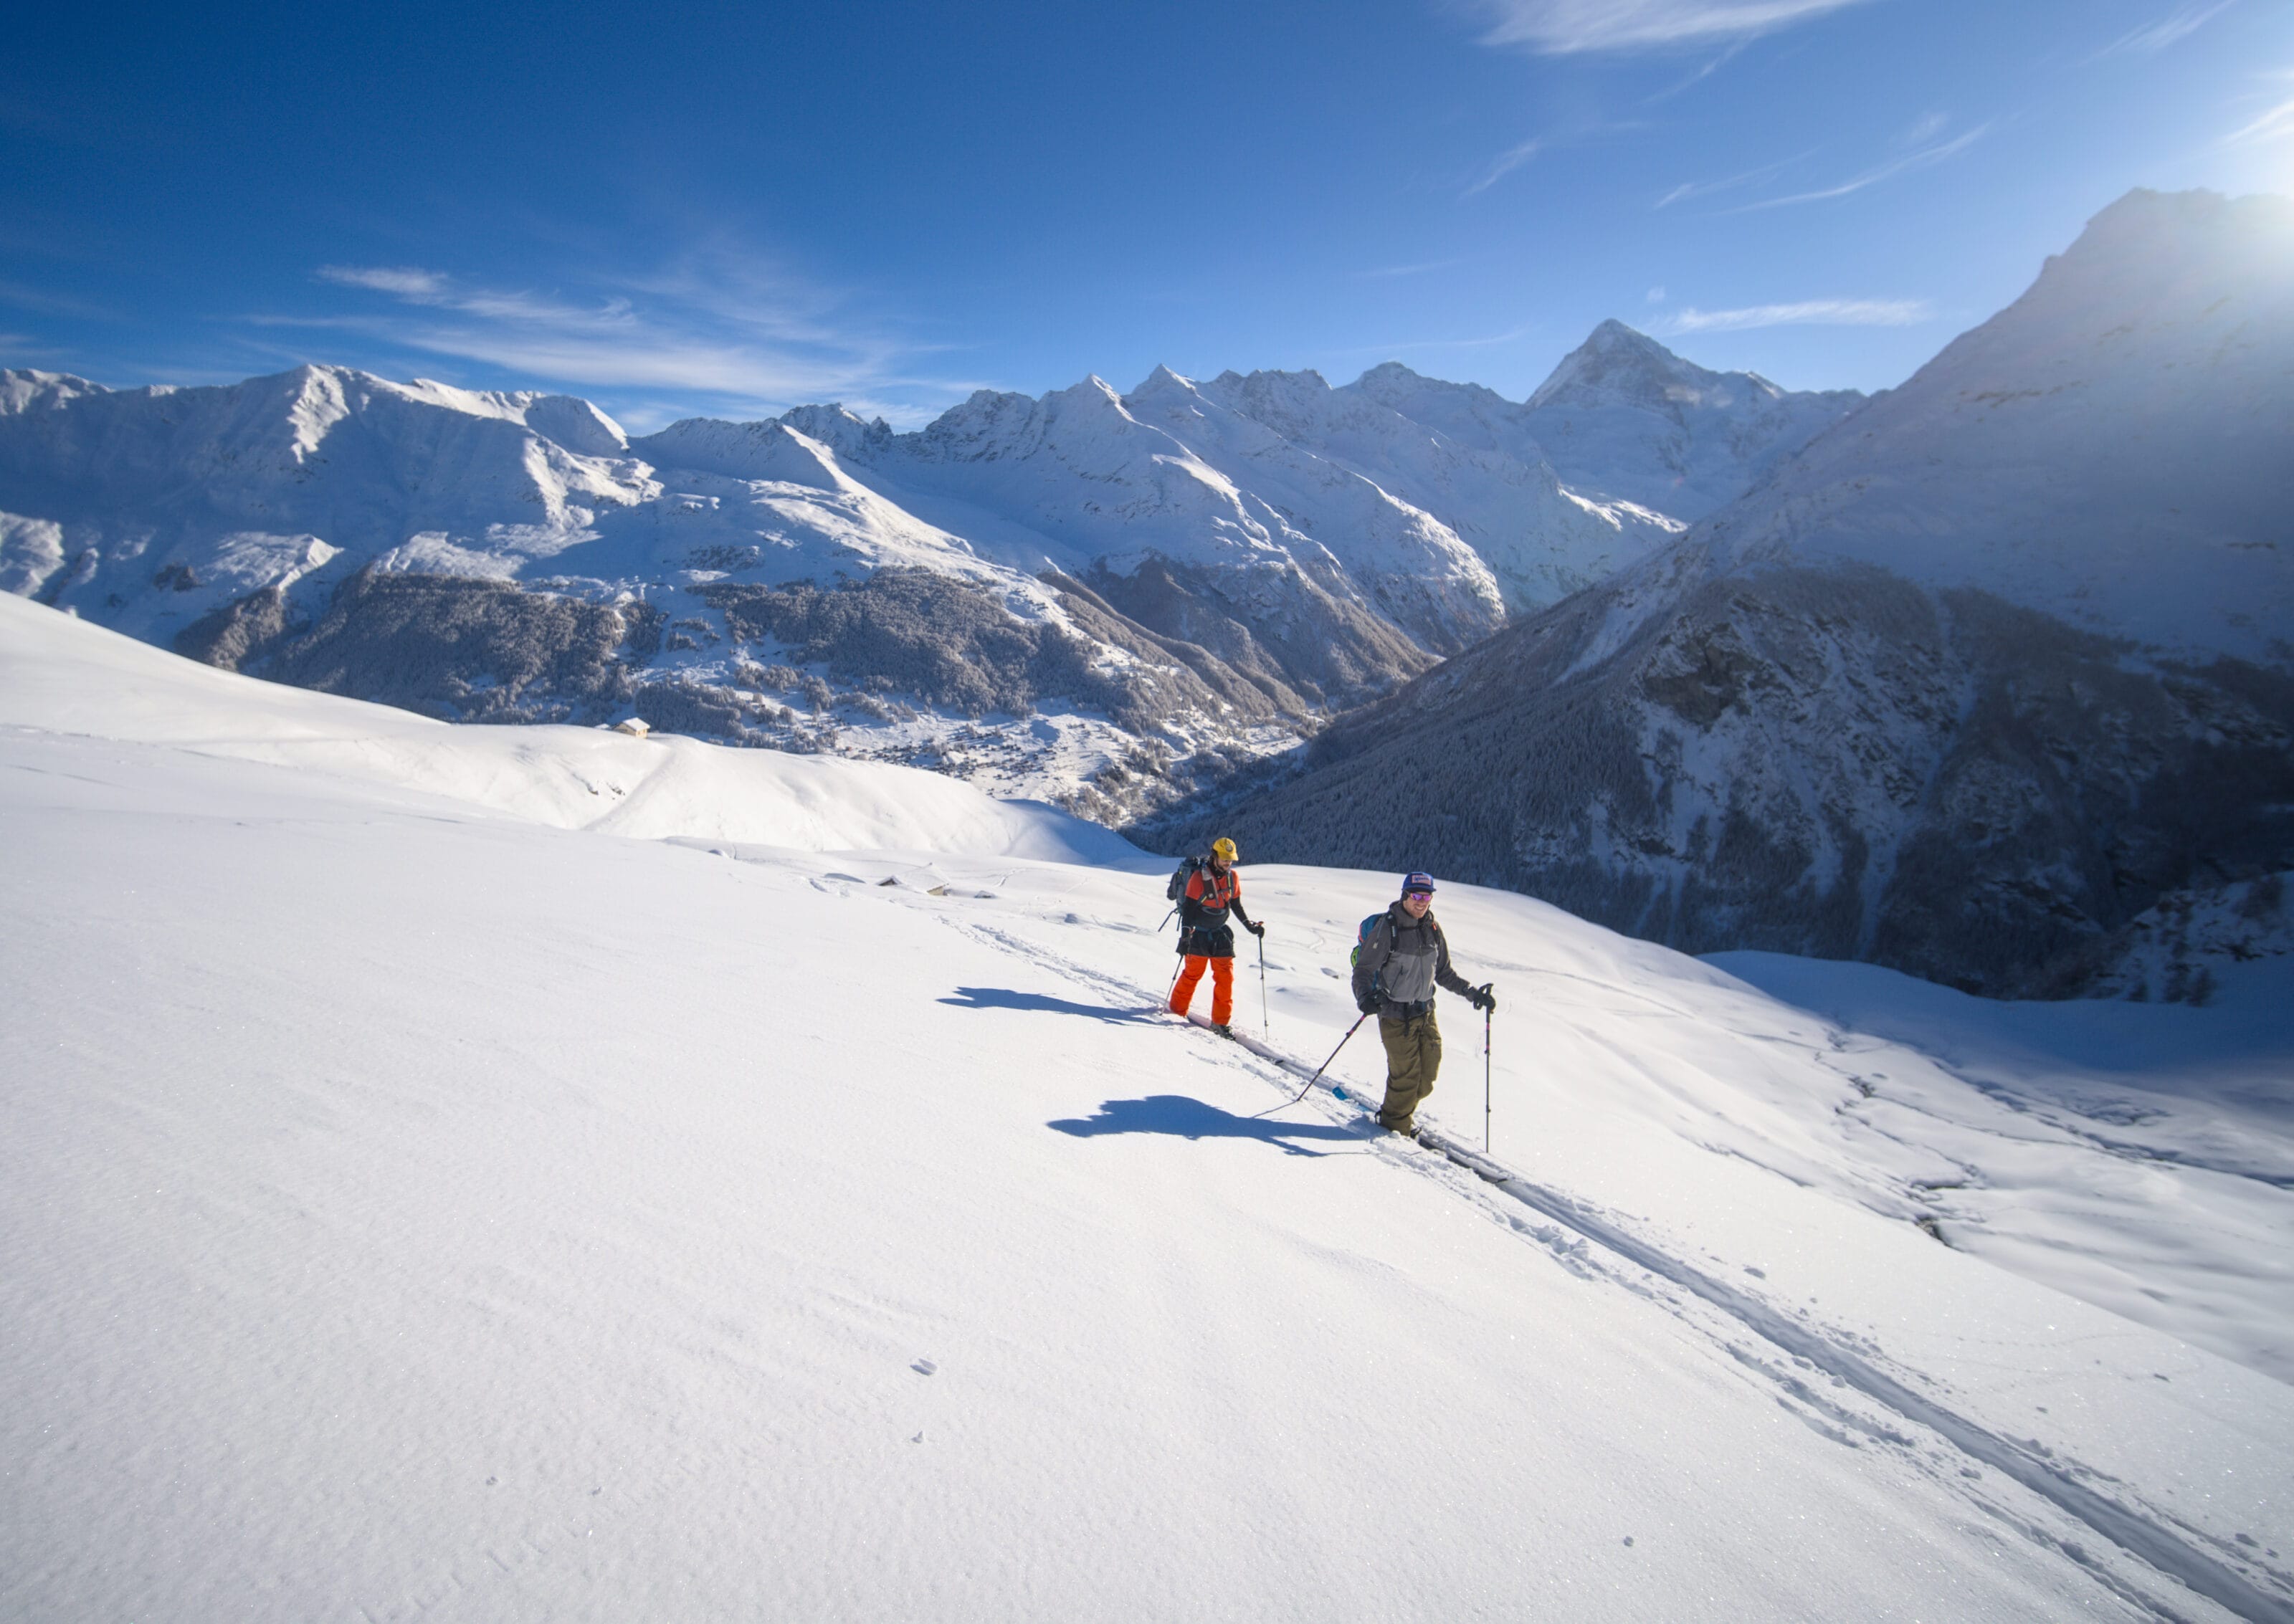
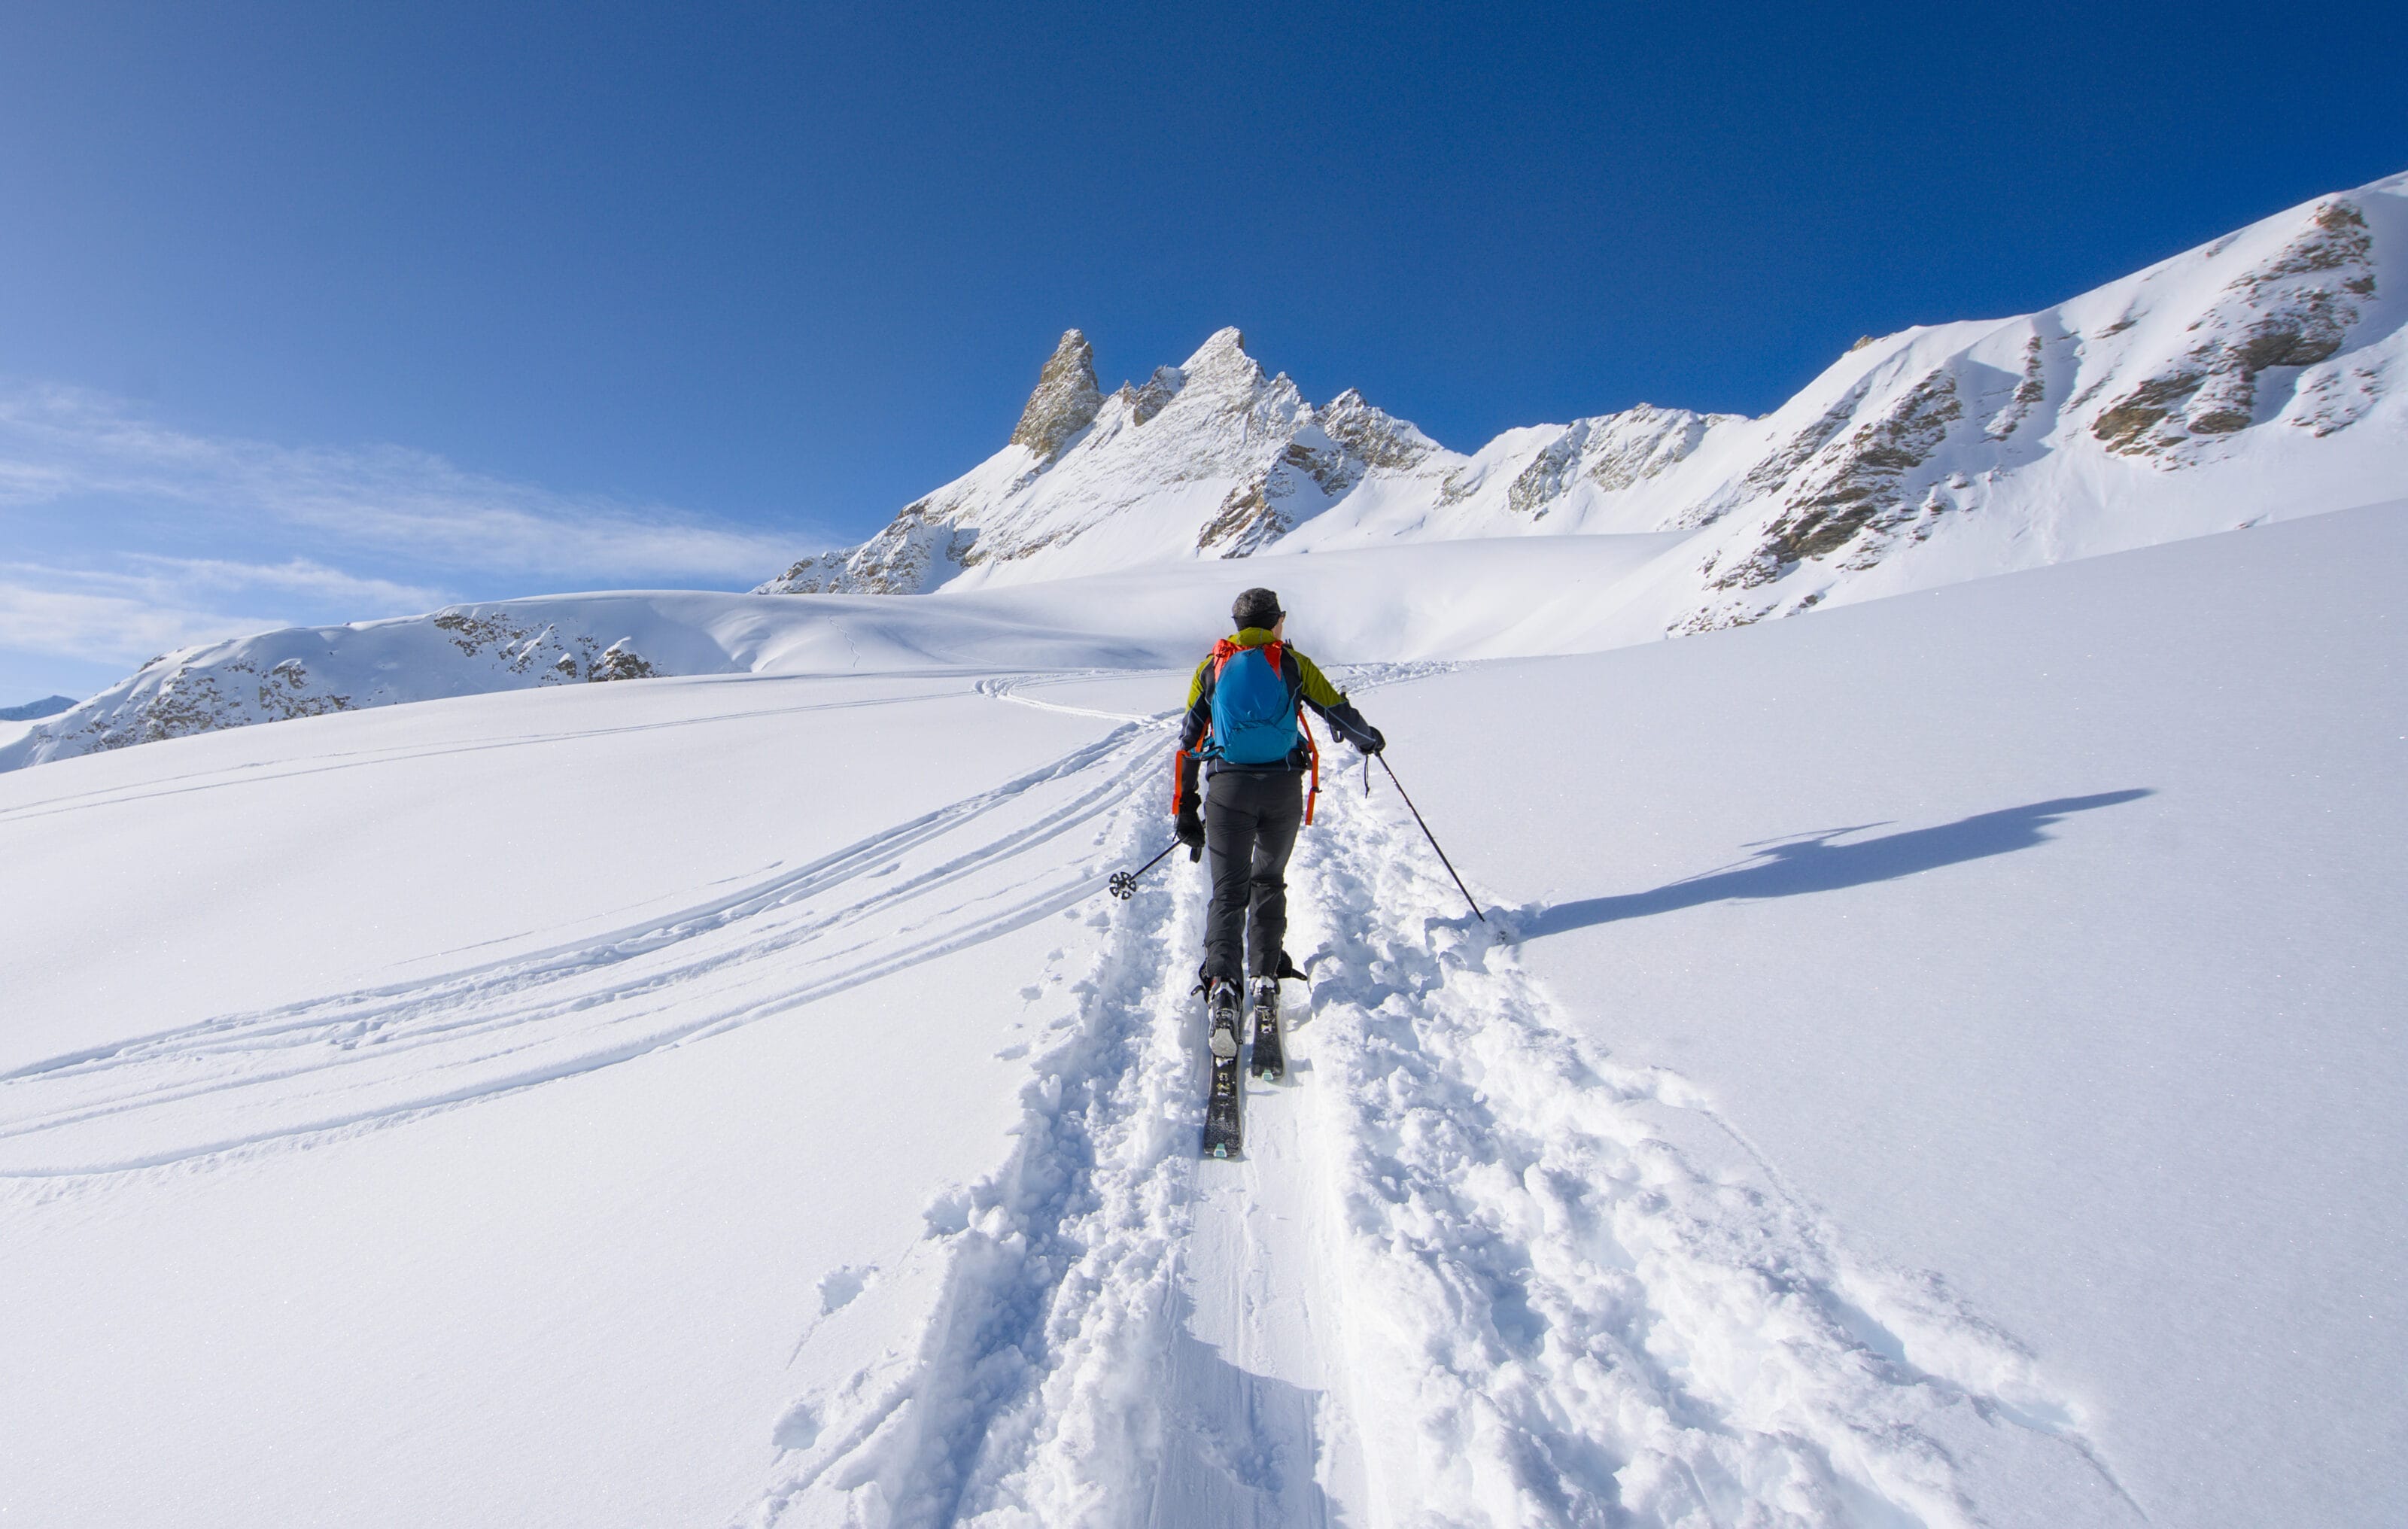
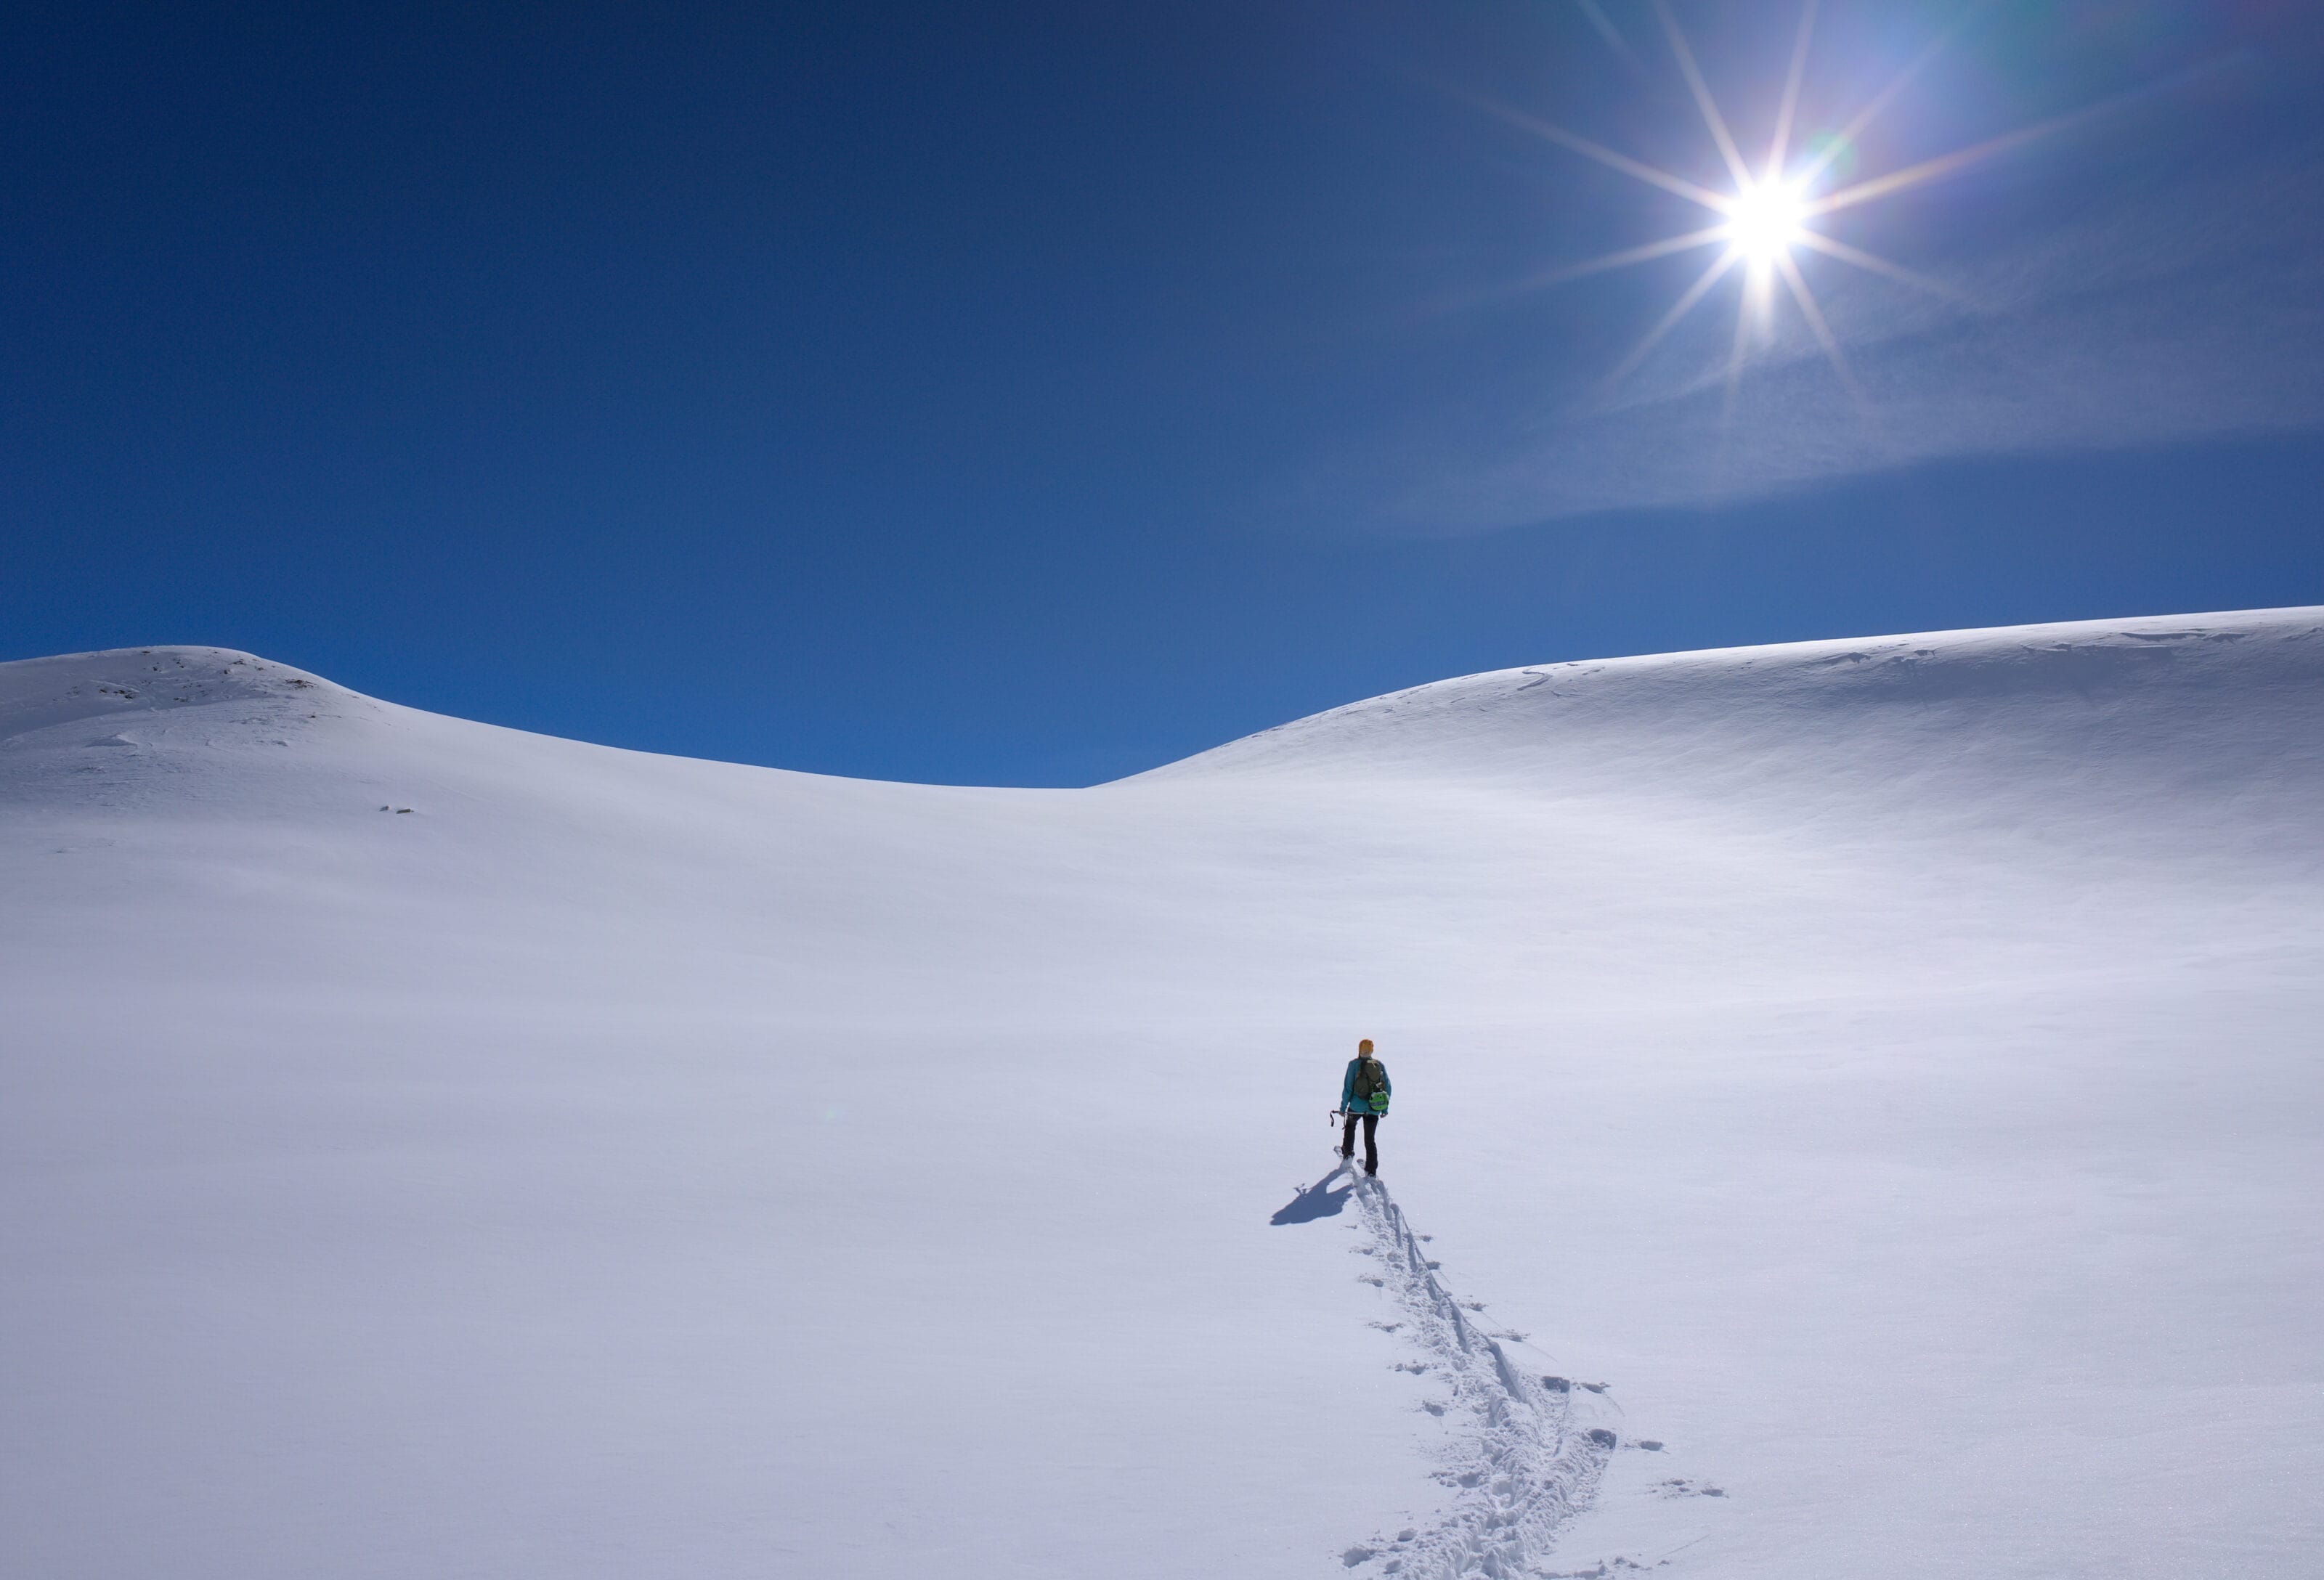
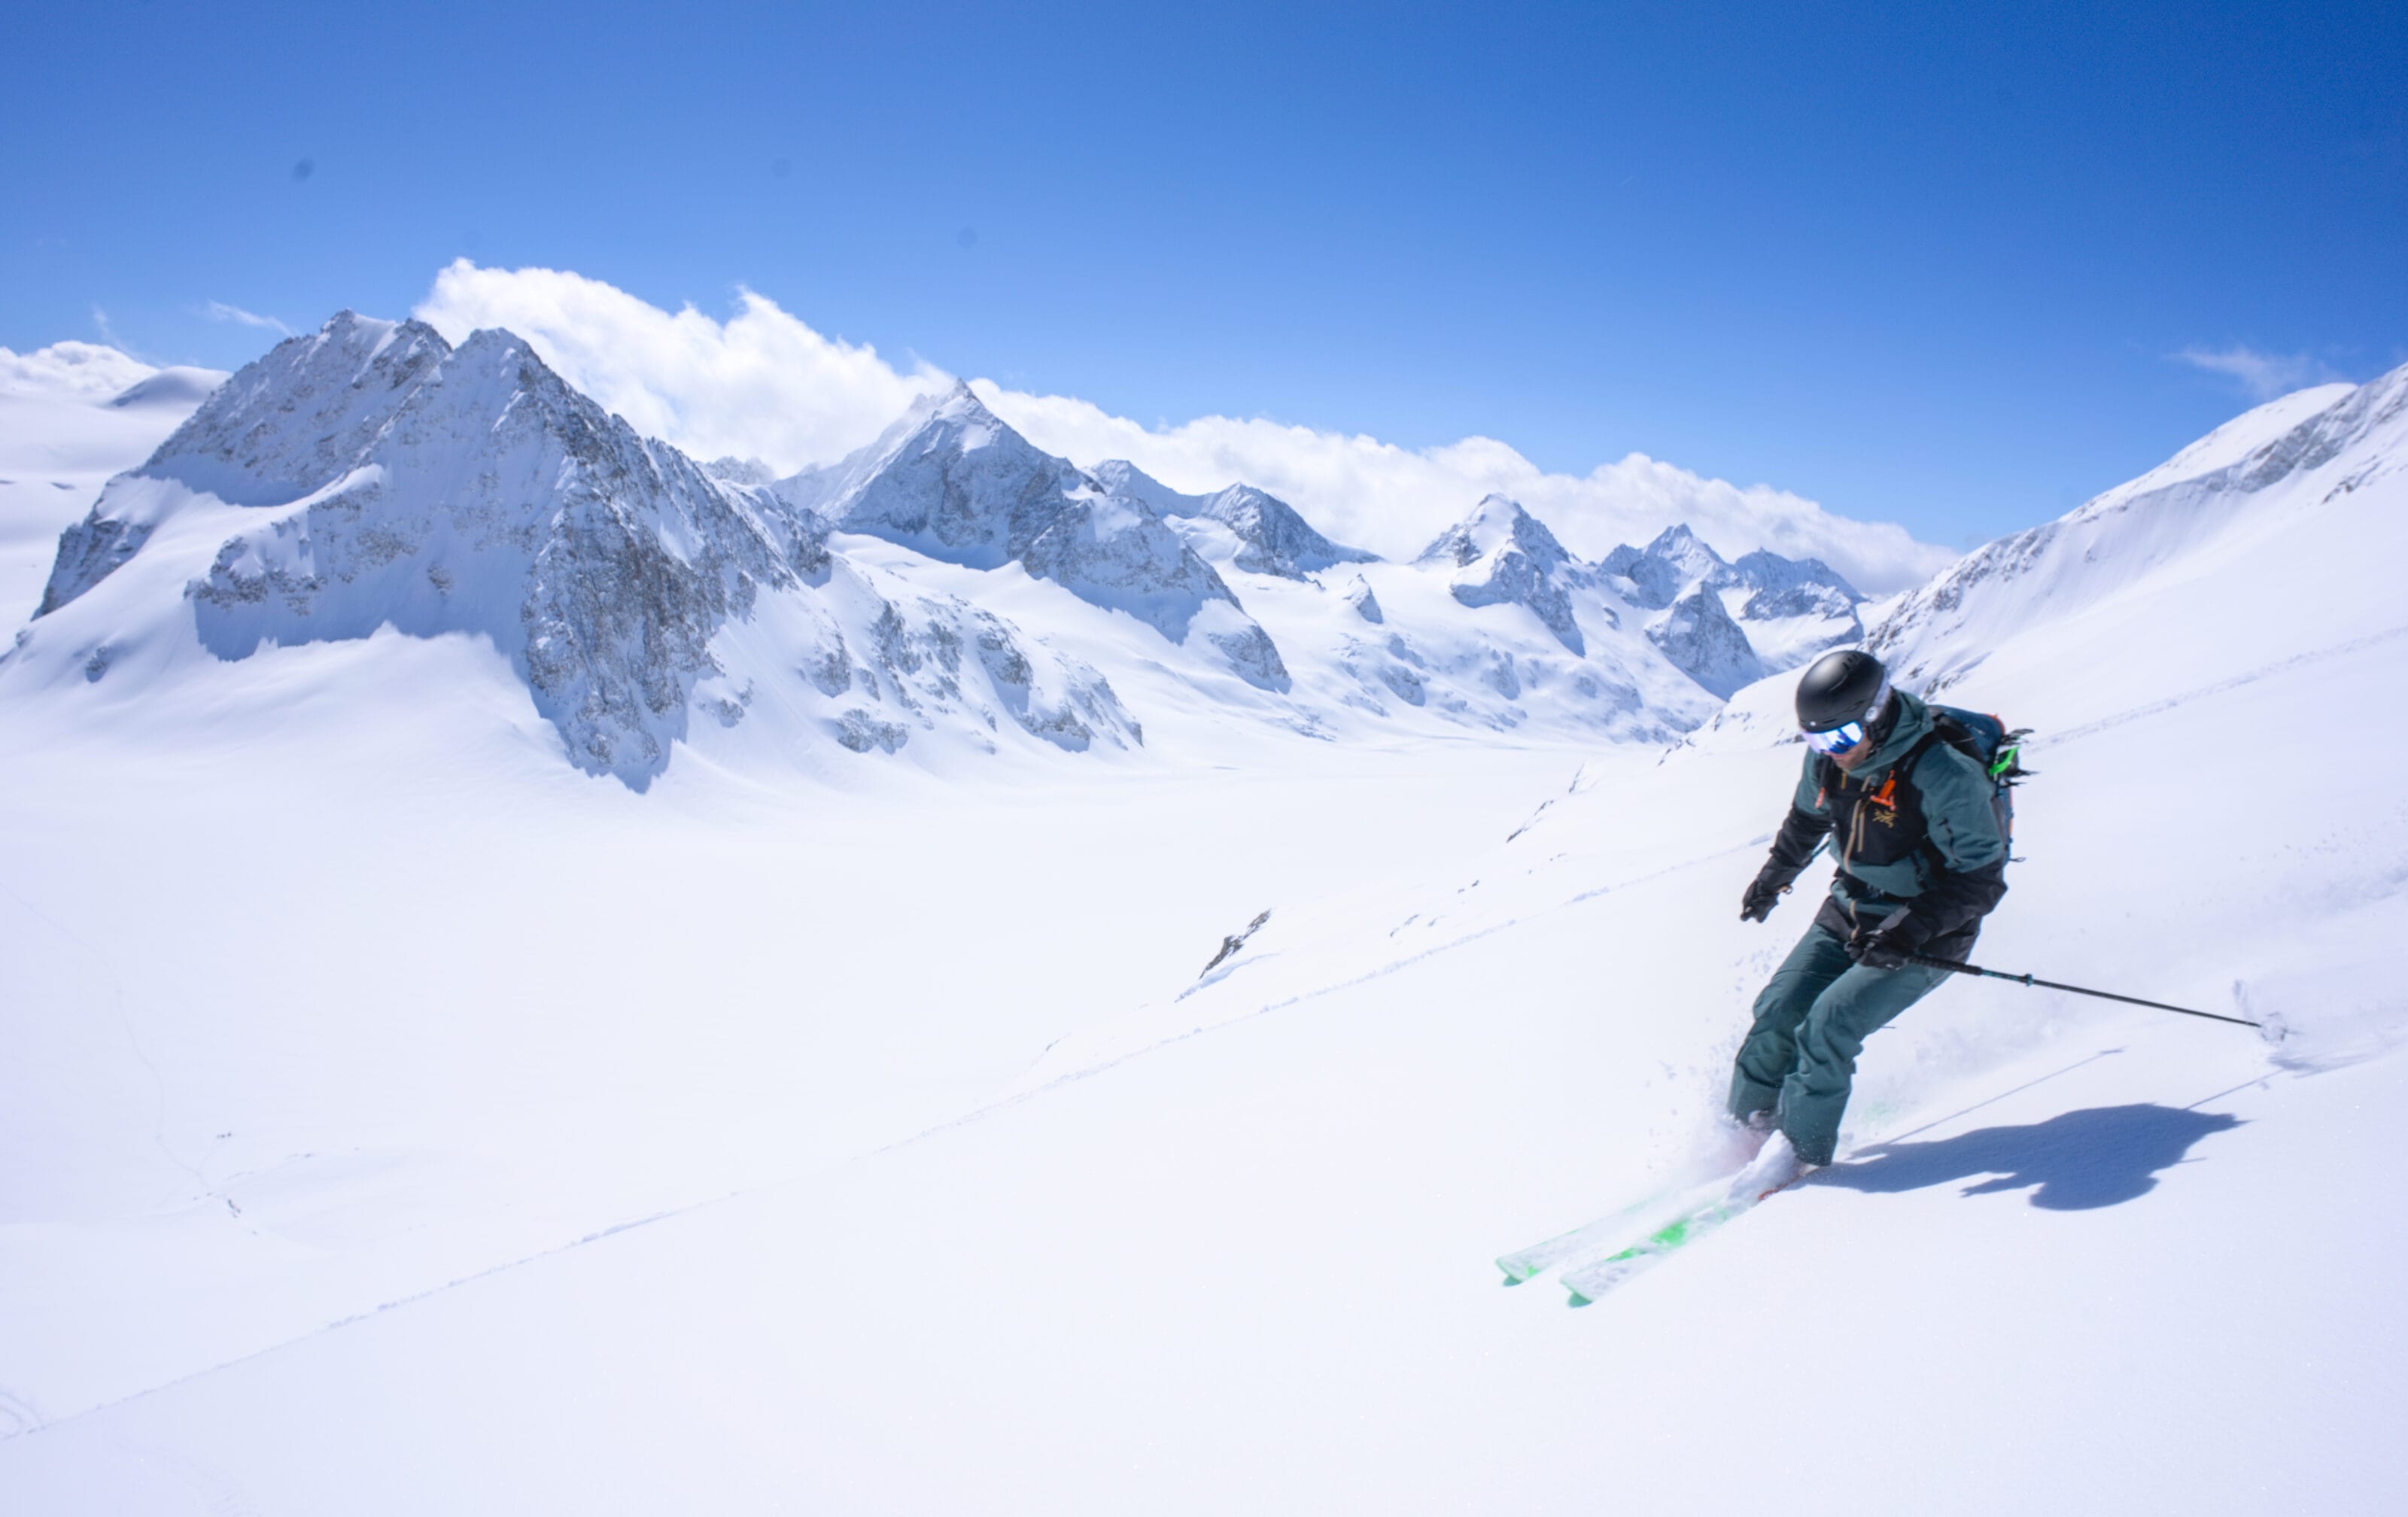
and I’ll finish off with a few pictures of my winter adventures to get you in the mood 😉
Pin it on Pinterest


Join the discussion