For Benoit, coming close to the Andes, one of the most impressive mountain ranges in the world, was a bit like an old dream! Lucky for us, the Andes are practically present throughout South America! So, without much persuasion on his part, he managed to convince me to take a detour to Huaraz after our trip to northern Peru and its pre-Inca civilizations. On the agenda for this stay, the amazing 4-day Santa Cruz trek in the Cordillera Blanca! Ready to hit the trails with us?
- Description of the trek in a few figures
- Video of our Santa Cruz trek
- Map of the Santa Cruz trek
- Hiring a guide or doing the Santa Cruz trek solo, independently?
- Which agency to choose for your trek?
- What is included in the trek price with an agency?
- Hiking independently: things to know
- Necessary equipment for the Santa Cruz trek
- Day 1 of the Santa Cruz trek: Vaquería – Paria
- Day 2 of the Santa Cruz trek: Paria – Punta Union Pass – Taullipampa
- Day 3 of the Santa Cruz trek: Taullipampa – Laguna Arhuaycocha – Llamacorral
- Day 4: end of the Santa Cruz trek and return to Huaraz
- Soroche: watch out for altitude sickness in Peru!
We took this trip in 2014, but the article was completely revised and updated in January 2024. If you see any price changes or have additional information that might be relevant, please feel free to leave us a comment!
Description of the trek in a few figures
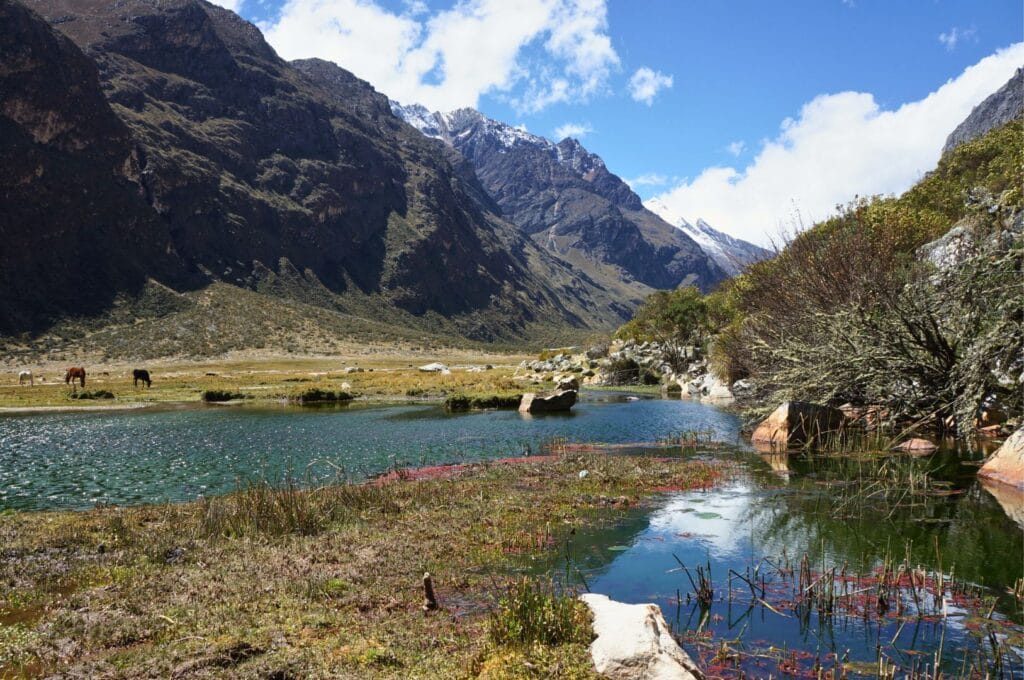
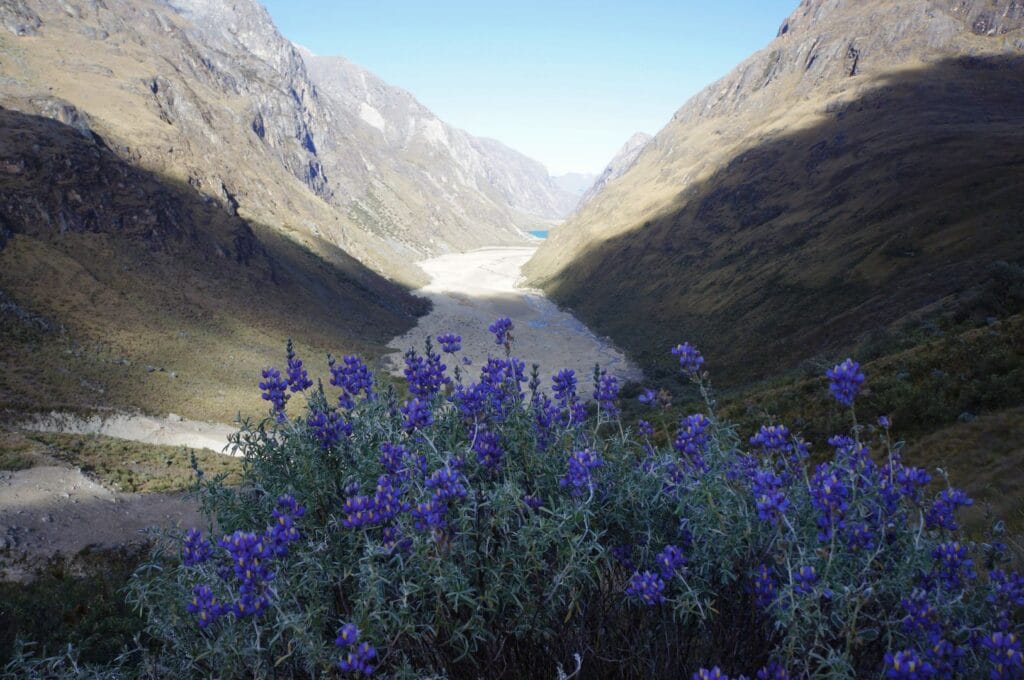
To do the Santa Cruz trek, we leave northern Peru for the center: heading to the charming city of Huaraz! This is where Huascarán National Park extends, encompassing the Cordillera Blanca, a part of the Andes known for its numerous treks and hikes. In this article, we provide you with a detailed guide for Santa Cruz, and we have dedicated another article to other hikes around Huaraz.
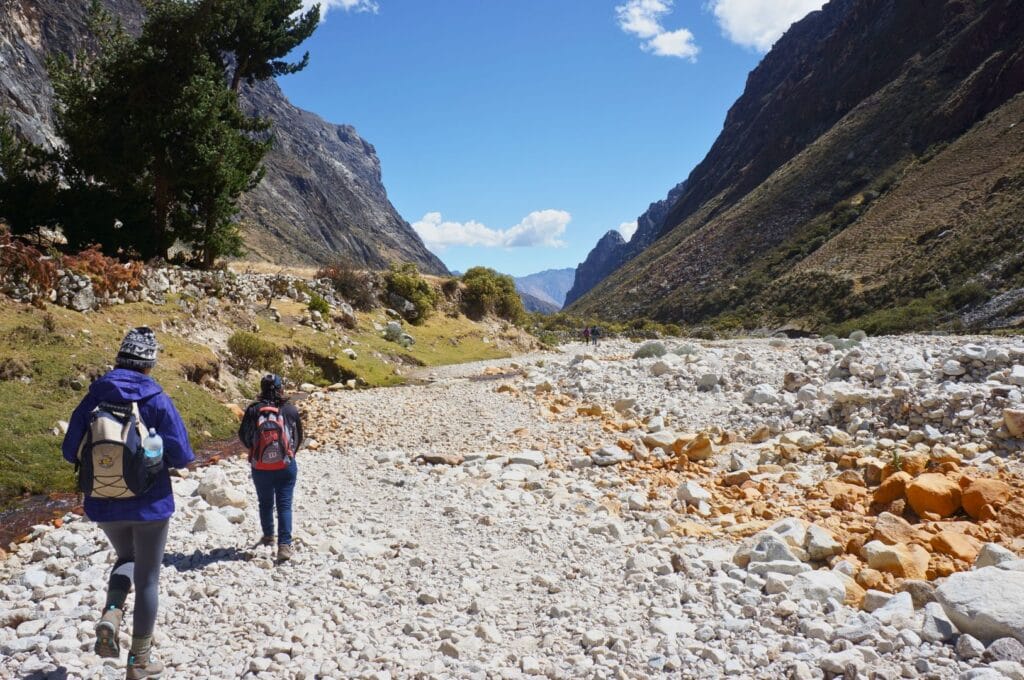
The Santa Cruz trek is:
- a total distance of 54.4 km over 3 or 4 days between Vaquería and Cashapampa;
- a total positive elevation gain of 2460 m, with the crossing of the Punta Union Pass at 4750 meters altitude;
- a total negative elevation loss of 3210 m;
- a medium difficulty. In fact, there’s no need to be an experienced hiker to do this trek, but good overall physical condition is recommended. It is especially important to be well acclimatized to the altitude before starting! To illustrate, it nearly cost the life of one of our trek companions, and we discuss this crucial point in this article.
The best time of year to hike Santa Cruz is from May to October, during the dry season. However, expect a few more people on the trails during this period, as opposed to the quieter rainy season.
Video of our Santa Cruz trek
To whet your appetite, here is our video of the Santa Cruz trek. Don’t forget to follow our YouTube channel if you haven’t already!
Map of the Santa Cruz trek
Here is the route and details of the Santa Cruz trek. To do the trek solo, you can download the complete hiking map here.
Hiring a guide or doing the Santa Cruz trek solo, independently?
In Huaraz, many agencies offer organized trek tours, but it is also possible to do it on your own. Are you undecided? We review the advantages and disadvantages of taking an organized trek with a guide.
The guide
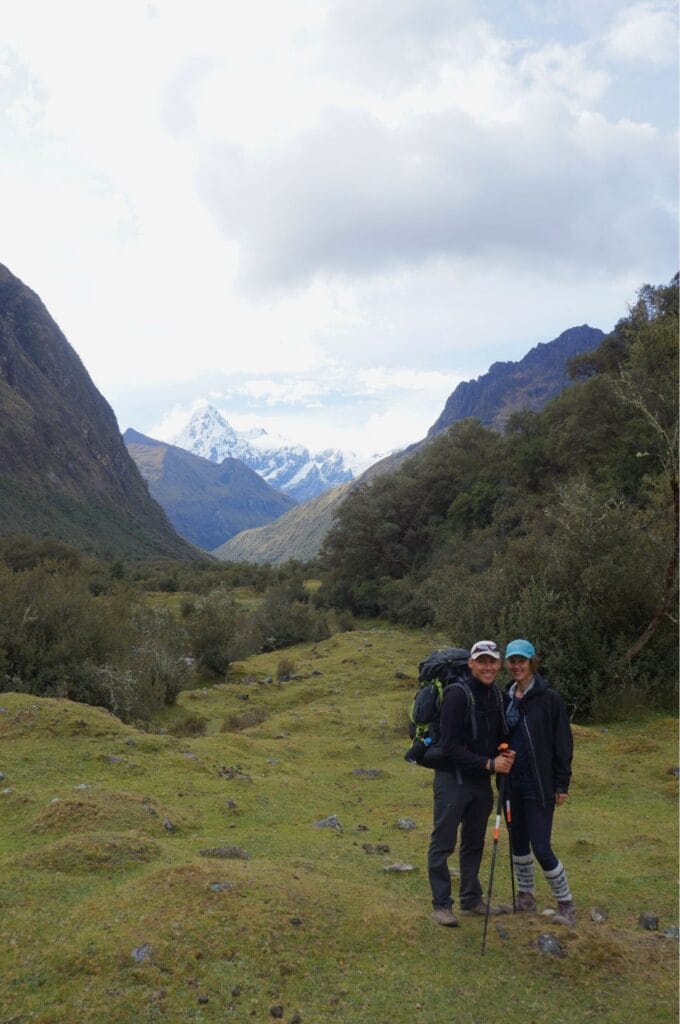
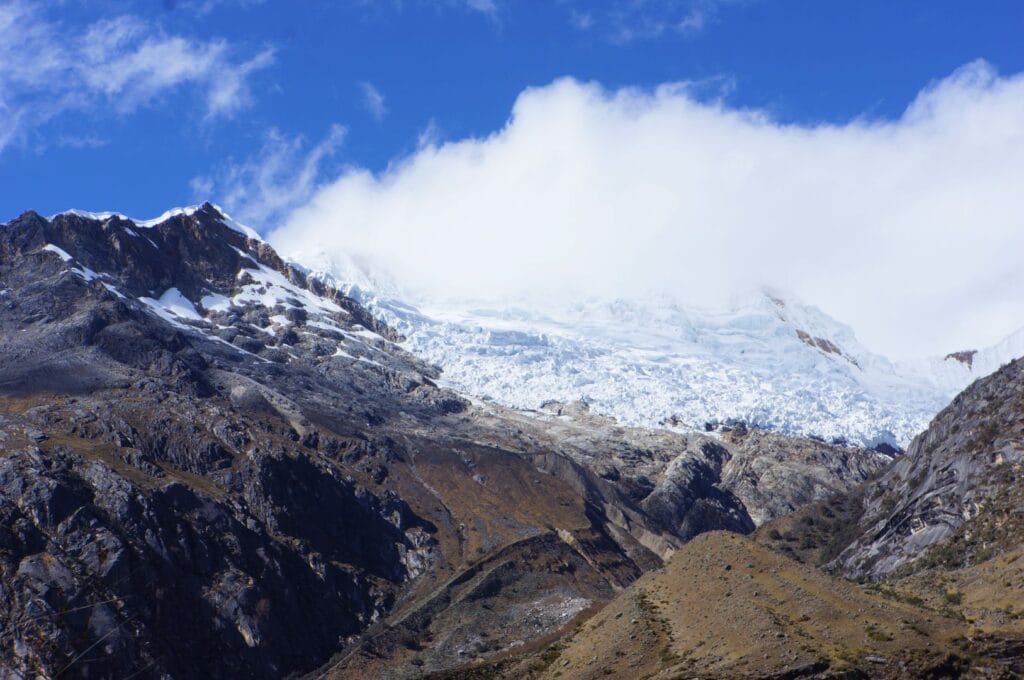
Let’s be honest, the guide is not very necessary… The trail is well marked, it’s almost impossible to get lost. But it’s still nice to have someone with you to provide information about different plants or name the impressive peaks of the Cordillera Blanca (Mount Santa Cruz at 6259 m altitude, Chacraraju at 6129 m, and Quitaraju at 6036 m for the highest ones!).
The group
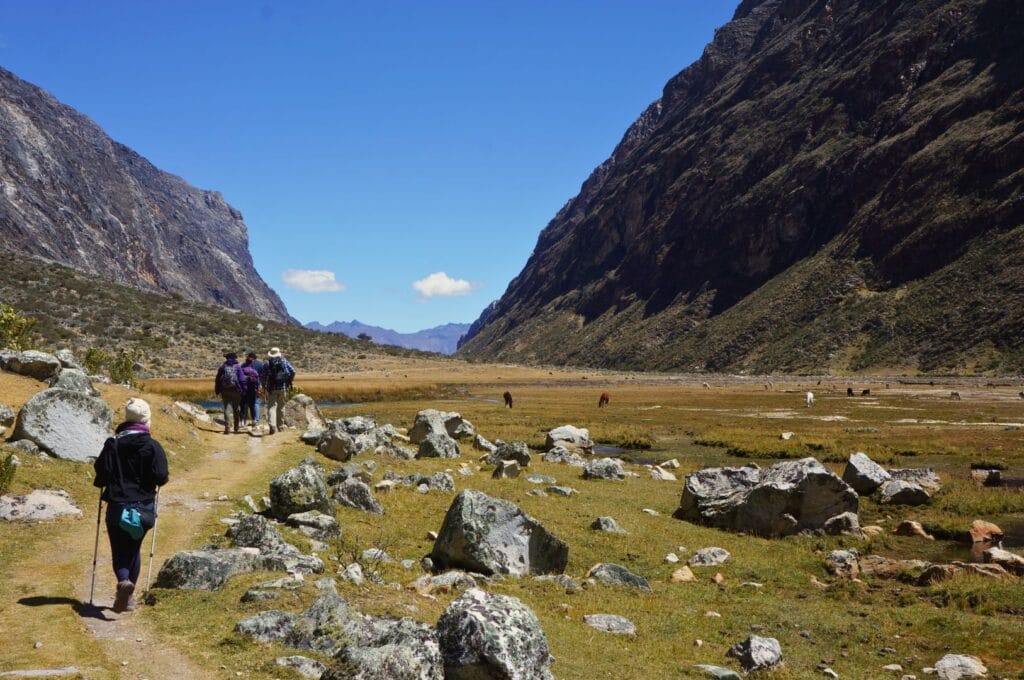
With an agency, you will be in a group ranging from 8 to 14 people. The pace is set by the guide, and breaks are fixed. But then, if, like us, you are lucky enough to be in a nice group, then the evenings and walking days will pass by quickly! And the trek is certainly popular, but nothing like the treks leading to Machu Picchu. We encountered roughly about ten people per day, even in high season!
Safety
In a guided group, you will inevitably have access to oxygen in case of problems with altitude, or you will be rescued quickly (they always provide a mule or a rescue horse).
Food
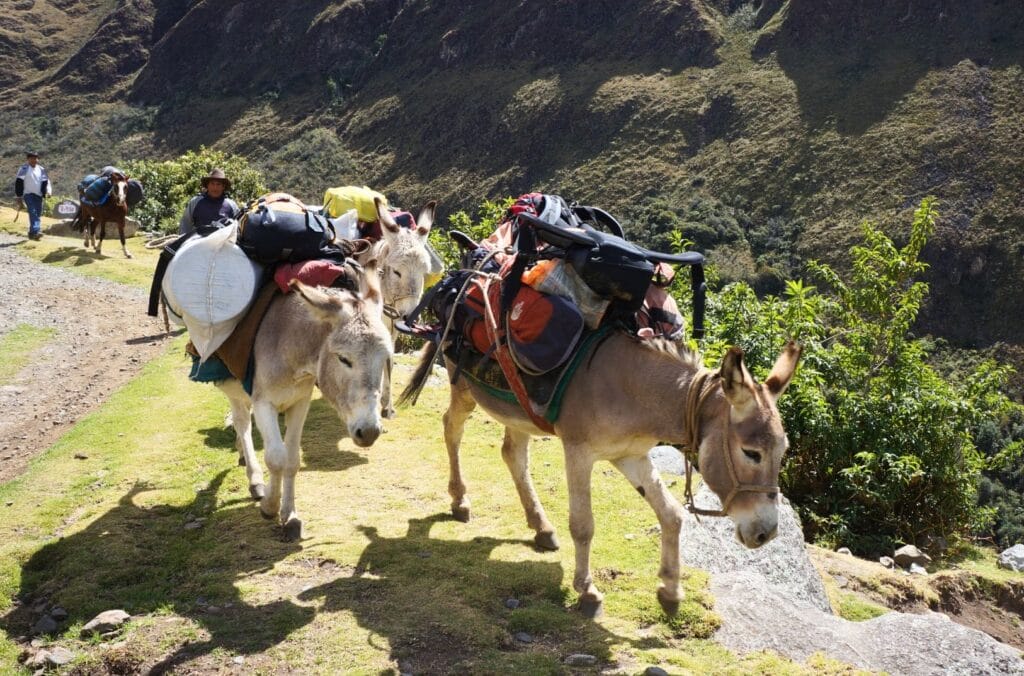
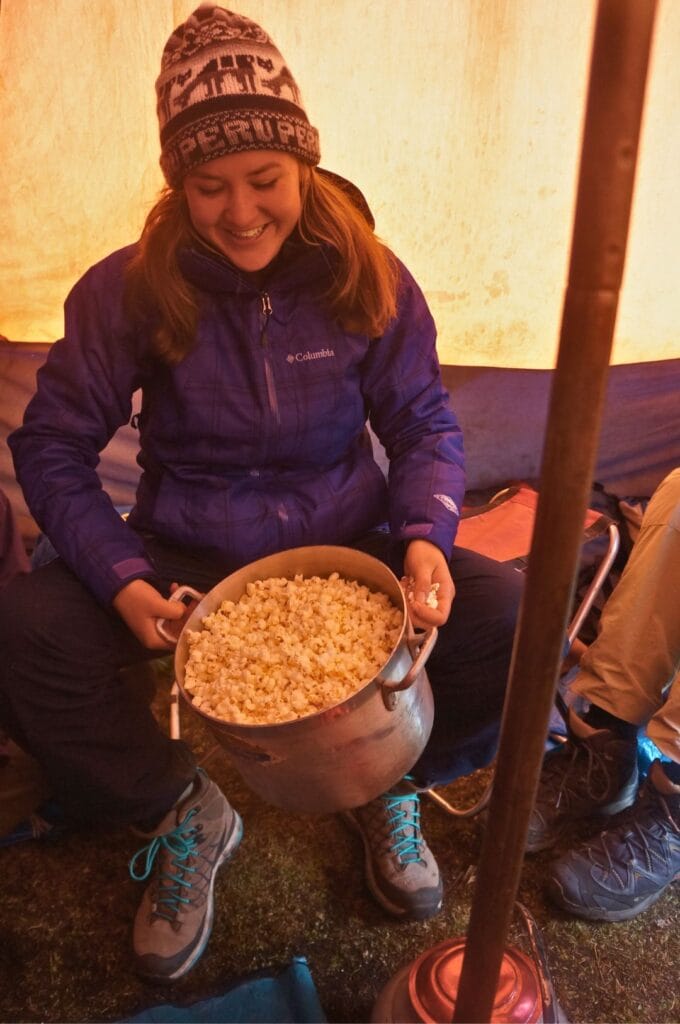
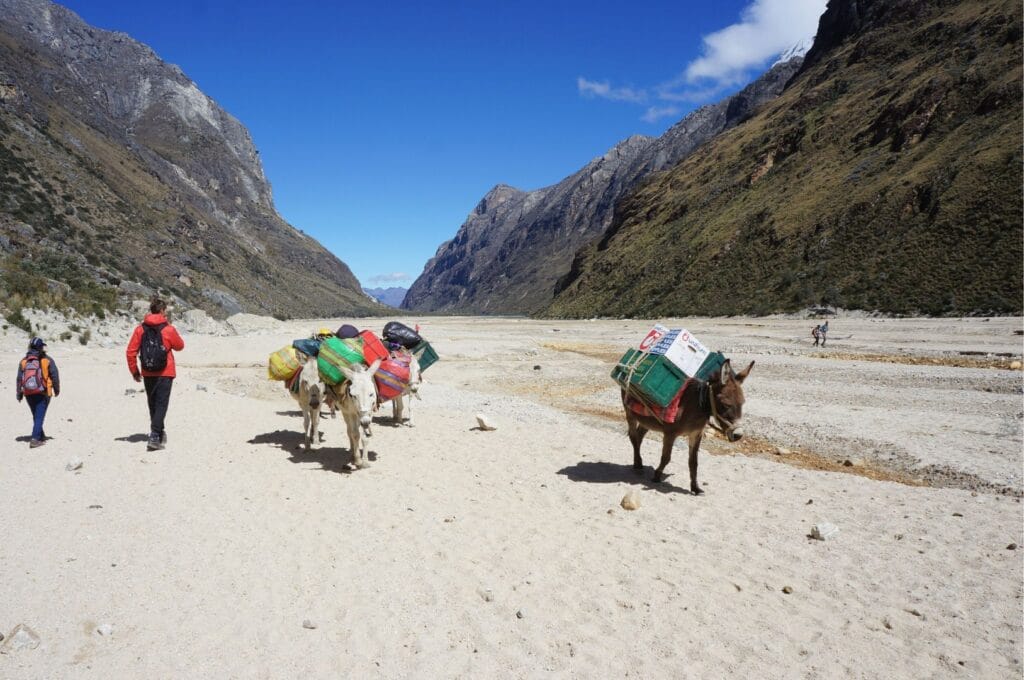
With a tour, you carry nothing, and you eat like kings thanks to the chef who accompanies you! On the menu for a day: pancakes in the morning; sandwiches, fruits, and biscuits for lunch; and in the evening, soup as an appetizer followed by a main course. To give you an idea of the dishes during the trek, we had breaded cutlets with potatoes and rice on the first night, sautéed beef with vegetables the next night, and spaghetti with tuna to finish these three nights. In short, it’s the luxury version of camping food, and everything is transported by mules!
Disadvantages of a tour with a guide
Freedom
With a guide, you will certainly have to keep up with the group’s pace but also camp in designated areas. Independently, you can easily move a bit further than planned on the route and camp away from other campers. Also, you will hardly find an agency offering the Santa Cruz in 3 days…
Price
This is probably the argument that will make you hesitate. At the time, we paid the all-inclusive Santa Cruz trek for 80 euros, so you’ll understand that the price was almost unbeatable! We had calculated that doing it without a guide, we might have saved 20 euros, at most. But that was several years ago, and the cost has increased… You will see that agencies are very (too?) competitive once you’re there. So don’t bother booking any trek in advance. Count between 200 and 530 dollars approximately per person (yes, it’s a wide range) for 4 days and 3 nights!
Our choice
At the time, we had absolutely no experience with independent trekking, and it seemed completely relevant and safe to do it with an agency. We do not regret this choice because it was clearly the most reassuring and easy solution at the time. If we were to do it again today, there is no doubt that we would do this trek solo. The route is easy, the distances reasonable, and our equipment much more suitable than that of the agencies.
In short, if you have no experience in independent hiking or camping and want to do a first trek, then going through an agency is a good idea. But if you are traveling with your equipment and have some trekking experience, we recommend doing it solo.
Which agency to choose for your trek?
In the center of Huaraz, many agencies share the trekking market in the White Cordillera. We went through the Andean Sky agency. We can’t say whether we recommend it or not. The guide and the food were great, while the equipment (tent and sleeping bag) was a bit limited. But in any case, know that paying more does not necessarily mean getting better! In our group, some people paid more than twice what we did, and as you might have guessed, they had the same meals and the same service! For agencies that seem serious, we can mention: Mountain Bikes Adventures, AndinoTrek, Akilpo or Peru Top Treks.
What is included in the trek price with an agency?
Almost everything! Camping gear, food (4 lunches, 3 dinners, and 3 breakfasts, as well as snacks), transportation from the hotel to Huaraz and back, mules, emergency equipment just in case (which was beneficial for the Brazilian in our group), all of this is included in the package.
What is not included:
- the price of the entrance ticket to Huascarán National Park: you can buy it at the park entrance, in Huaraz, Vaquería, or Cashapampa; it costs 60 soles. Check in the package because it is sometimes included in the price.
- tips for the guide, muleteers, and cooks (not mandatory, not really expected, but given the work they do and what they earn, it is welcome!).
- extra snacks: the food and snacks provided by the agencies during the trek were more than sufficient and frankly good. So don’t burden yourself with excessive snacks. If you like to snack while walking, take some dried fruits, for example, but nothing more.
- travel insurance (read our comparison here).
If you want to hike the Santa Cruz trail (or one of its variations, including a summit climb, for example) with a certified guide, we recommend using the Explore Share platform. For over 10 years, they have been connecting adventurers with certified local guides. With them, you’ll be in good hands.
Hiking independently: things to know
Route & trek direction
The Santa Cruz trek can be done in both directions, between Vaquería and Cashapampa. The Cashapampa ➡️ Vaquería direction is a bit more demanding since you start the trek with a steep ascent! Also, on the way back, the collectivos (minibusses) departing from Vaquería to Yungay are few in the afternoon. In short, for these reasons, we recommend doing it in the Vaquería ➡️ Cashapampa direction.
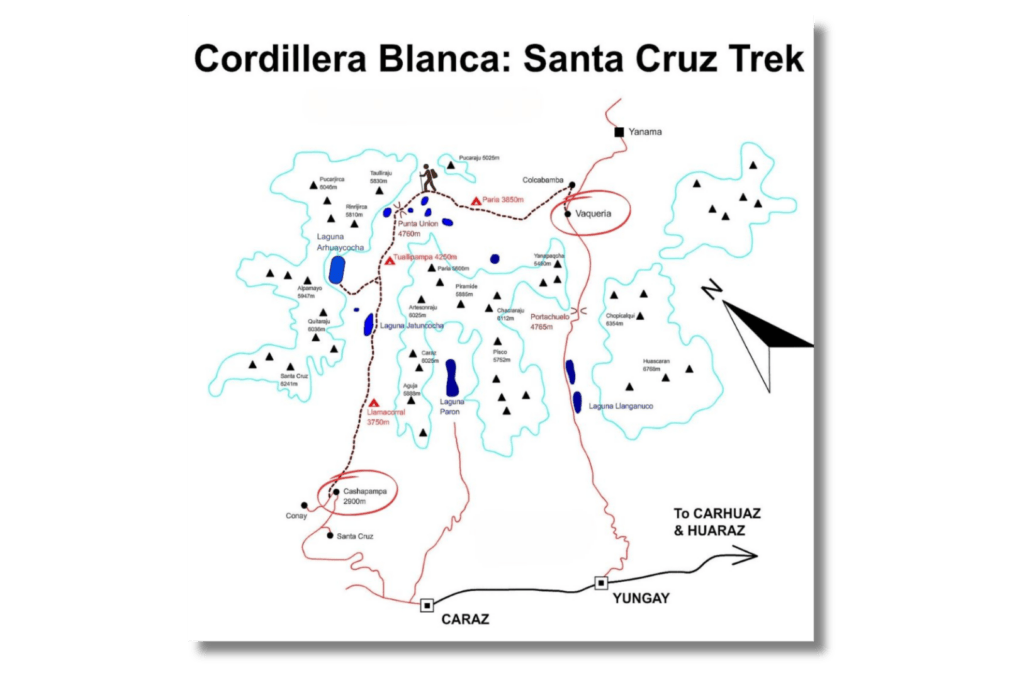
To orient yourself, the trail is marked, but we recommend keeping GPS maps on your phone just in case. You can download the complete hiking map here.
3 or 4 days?
Well, we can’t answer this question for you, but we’ll try to give you some tips to make your choice. In 4 days, you have more time to walk, no stress to “hurry,” and it allows you to take a detour of 7 km to the incredible Laguna Arhuaycocha and enjoy it fully. But know that it is still possible to do the Santa Cruz in 3 days, with or without the detour, it will just be much more athletic ;).
In 3 days, you won’t be sleeping at the Taullipampa campsite, but at the Jatunquisuar, between the Alpamayo viewpoint and the Jatuncocha lagoon. Basically, you’re pairing days 2 and 3 of the 4-day itinerary.
Campsites
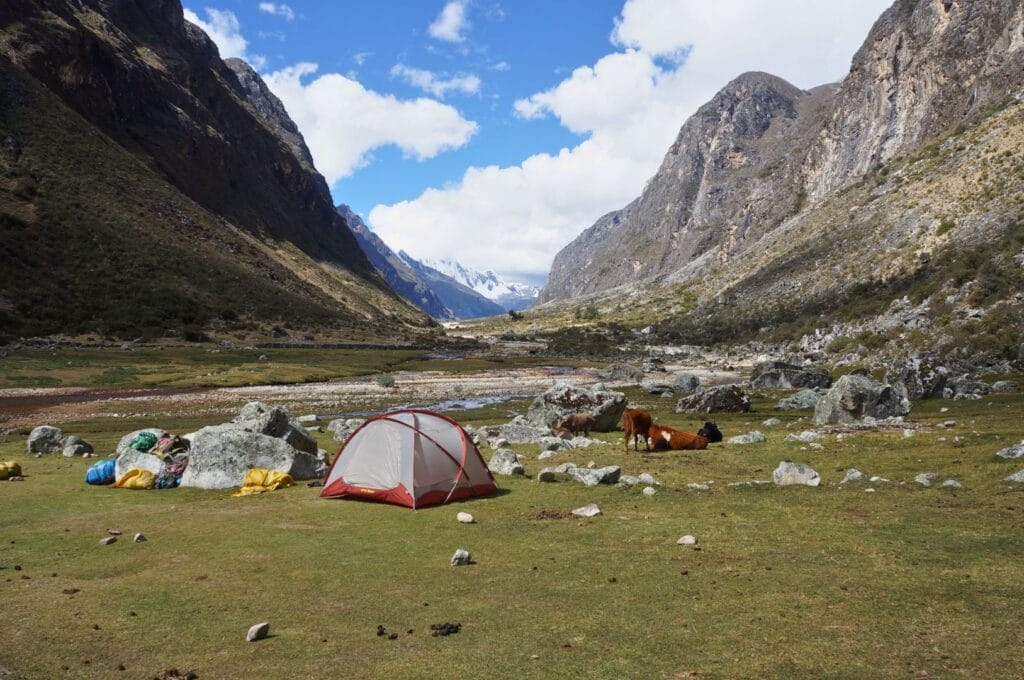
You will find several campsites along the trail, and wild camping is allowed without any problems in Huascarán Park. Just know that fires are prohibited!
Hotels near the trek starting point
In Huaraz, you have plenty of choices for accommodation, and we discuss this topic in the dedicated article.
Around Vaquería, here is our selection of accommodations:
- Huascarán Inn: this small hotel is well located and has all the necessary comforts for you to rest after the trek.
- Alpamayo Casa Hotel – Restaurante: this charming hotel is perfect for relaxation with its garden and spa! Breakfast is included.
- Runaway Eco Hotel: this peaceful hotel with a pool has the particularity of hosting furry and feathery companions ;).
Tip: Another option is to do Laguna 69 the day before the trek, and sleep nearby to avoid having to travel the entire route the next day.
Around Cashapampa, here is our selection of accommodations:
- IntiRumi Inn: this peaceful haven awaits you to recharge before continuing your journey, enjoying the magnificent garden and on-site restaurant.
- Yoly’s House: for a small price, a room at Yoly’s offers the essentials to make you feel at home.
- Apart La Merced: for more privacy, this fully equipped apartment is perfect. In addition to being well located, a night costs barely more than a hotel.
Advice: Take the same accommodation for your first post-trek night! You’ll be glad to take a hot shower, rest, and not deal with logistics to retrieve the rest of your belongings. Jumping on any night bus to continue your Peruvian journey may not be a good idea; rest instead ;).
Transport to the trek starting point

To reach the trek starting points, Vaquería, or Cashapampa, there are minibusses, collectivos. It’s easy and practical, no matter where you start.
If your starting point is Vaquería: collectivo between Huaraz and Yungay for 8 soles, then another between Yungay and Vaquería for 30 soles (3 hours). For the return, at Cashapampa, you will find collectivos heading to Caraz (1.5 hours) or Yungay for 20 soles, then another to return to Huaraz for 10 soles (hitchhiking works quite well in Peru too).
If your starting point is Cashapampa: it’s the same principle. Take a minibus between Huaraz and Caraz or Yungay for 10 soles, then a second one to Cashapampa for 20 soles (or hitchhike).
The price of Santa Cruz trekking independently
Including food, transportation, a night in Huaraz, the entrance to the national park, and assuming you already have all the necessary camping equipment, the solo trek will cost you around 230 soles per person (about 60 US dollars).
This article contains affiliate links to partner sites. When you use our links to book accommodation, a car, or an activity, you don’t pay anything extra, but we get a small commission. This helps us to offer you free, independent, and ad-free content. Thank you for your support!
Necessary equipment for the Santa Cruz trek
With an organized tour
This list is not exhaustive; adapt it according to the trekking company you choose.
- Warm clothes for 4 days (essential down jacket, fleece and waterproof layer!): at 4700 m, it can get seriously cold, and evenings/mornings are genuinely chilly! It’s not uncommon for the thermometer to show -10 °C, so dress accordingly.
- Hiking poles.
- A filtering bottle (you will follow a river the entire way, so no problem with resupply).
- Good hiking shoes.
- Headlamp.
- Sunscreen.
As the equipment provided by agencies is variable, we would advise having a small sleeping bag with you in addition to those provided to gain a few degrees and avoid bad odors!
Bivouac
If you have no camping equipment, rental and equipment purchases are possible in Huaraz. Prices vary, but to give you an idea, you should expect to pay 60 soles per person per day. Be sure to check your gear!
To the above list, you will need to add to your backpack:
- a tent;
- a stove (since fires are prohibited, prefer gasoline or gas stoves);
- cooking equipment;
- food for 4 days that you can buy in Huaraz (find our food advice for treks here);
- a sleeping mat;
- a sleeping bag suitable for cold temperatures;
- a sleeping bag liner or silk sheet;
- a first aid kit.
For more details, we invite you to read our complete bivouac guide and equipment for long hikes.
Note: you can leave all your remaining belongings at your hotel in Huaraz to pick them up upon your return, whether you go independently or with an organized tour.
Day 1 of the Santa Cruz trek: Vaquería – Paria
Journey from Huaraz to Vaquería
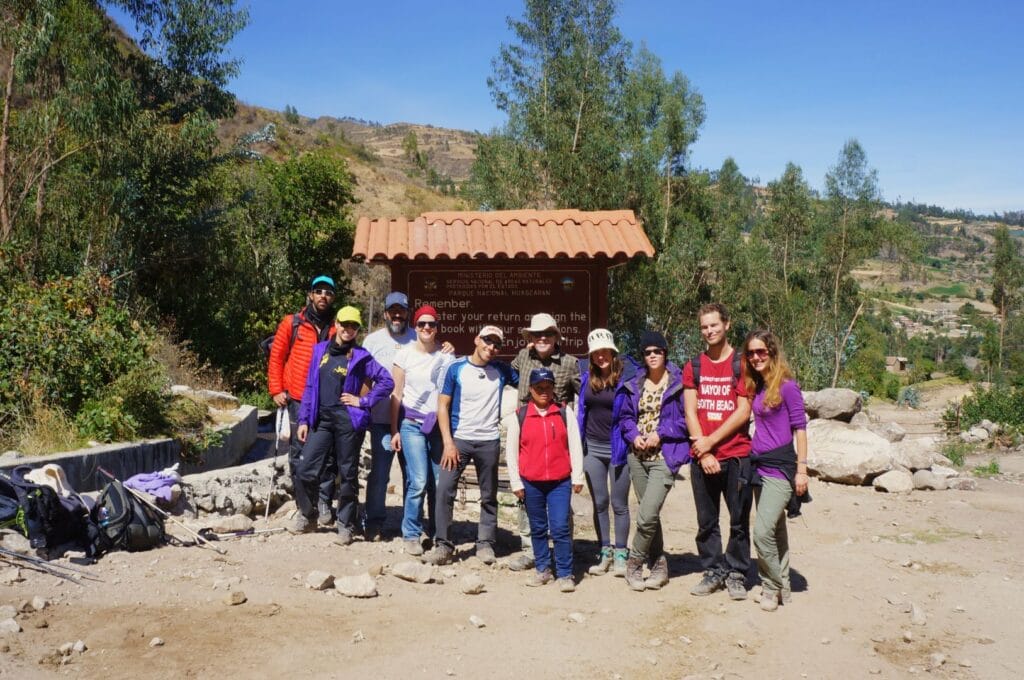
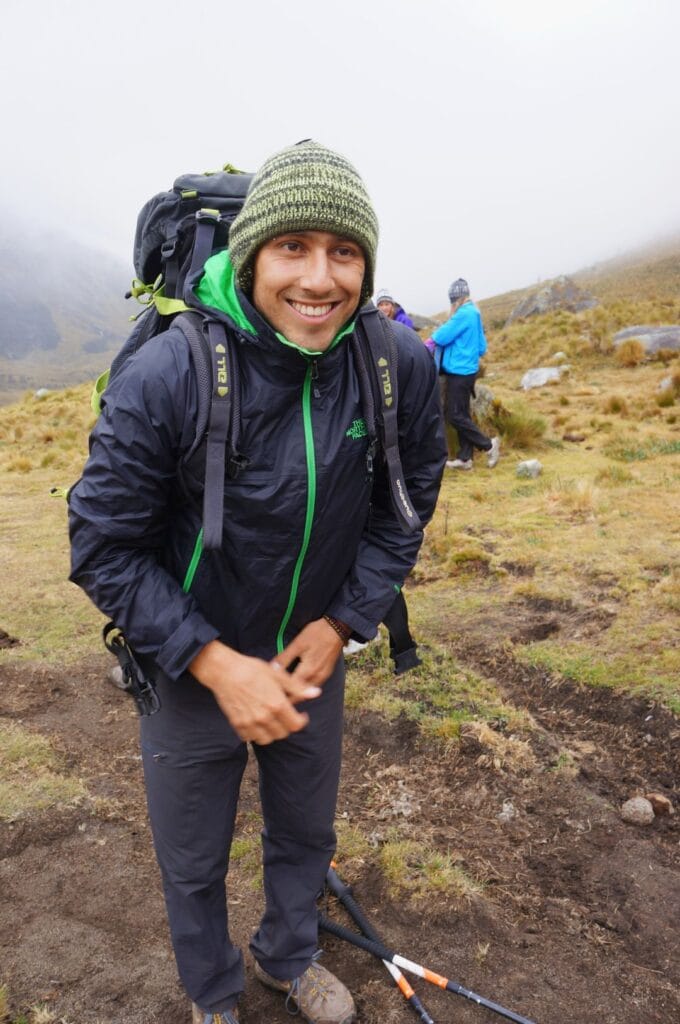
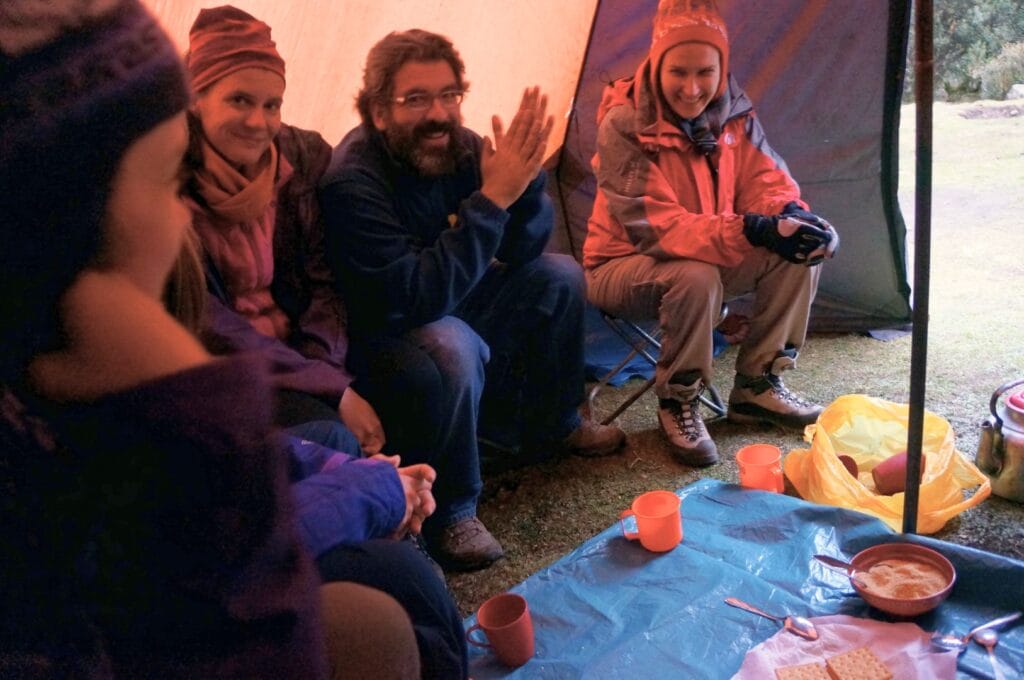
6 a.m., the minibus picks us up in front of our hotel in Huaraz, and we get to know our companions for the next few days. Our joyful group consists of a Norwegian, an Australian, a Swiss, a Slovak, a Russian and her Peruvian husband, a German father and daughter, a Brazilian couple, a Finnish couple, and us, two little Swiss!
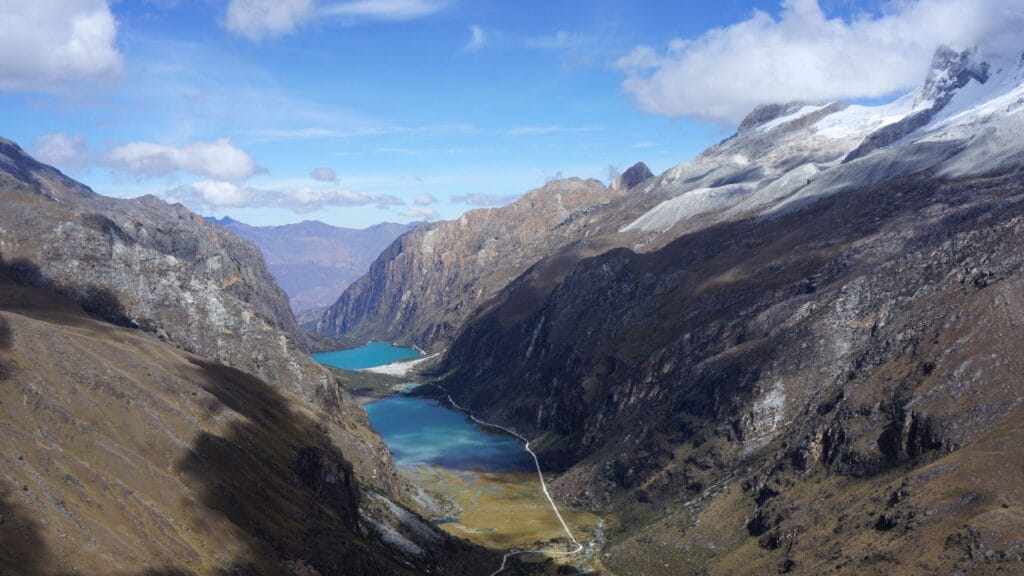
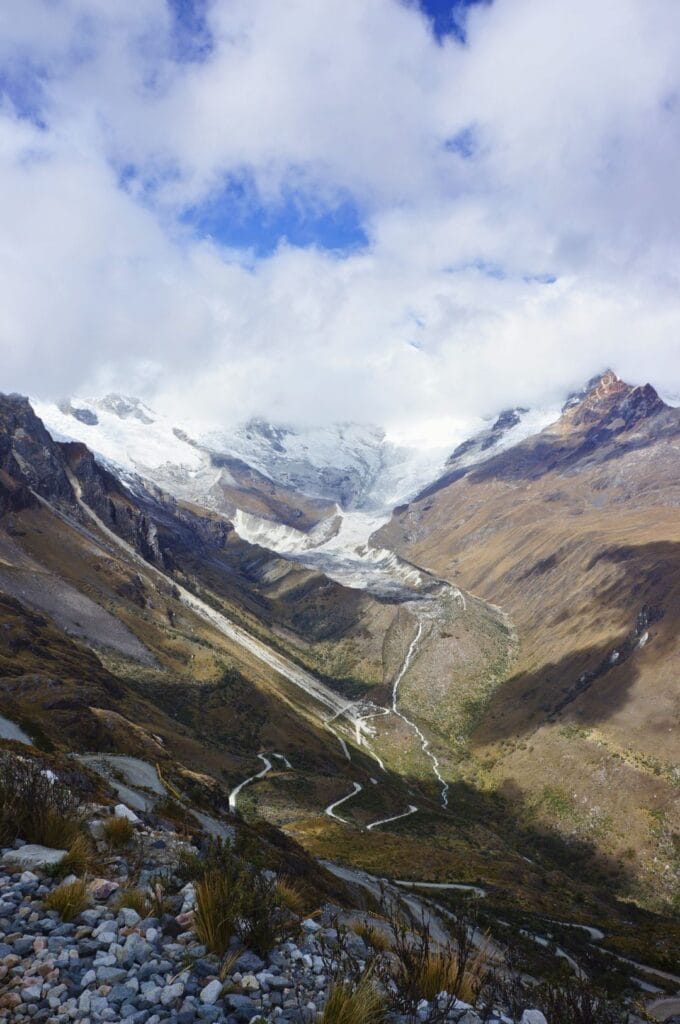
After 4 and a half hours of travel, we arrive at Vaquería, located at 3600 meters above sea level, and start the trek. This first day is quite easy; we start by crossing small villages and climb slowly up to 3850 m, where our first camp of this trip is located.
Arrival at the Paria campsite
Upon arrival, the muleteers, who preceded us during the walk, had already set up all the tents and were waiting for us with a good hot tea and biscuits. Classy!
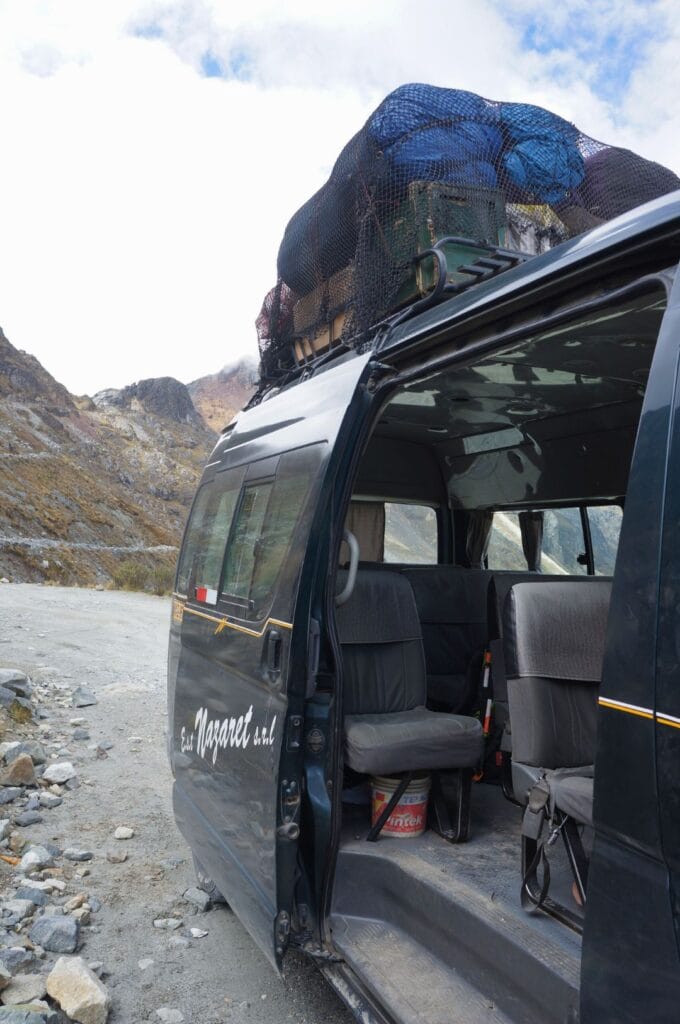
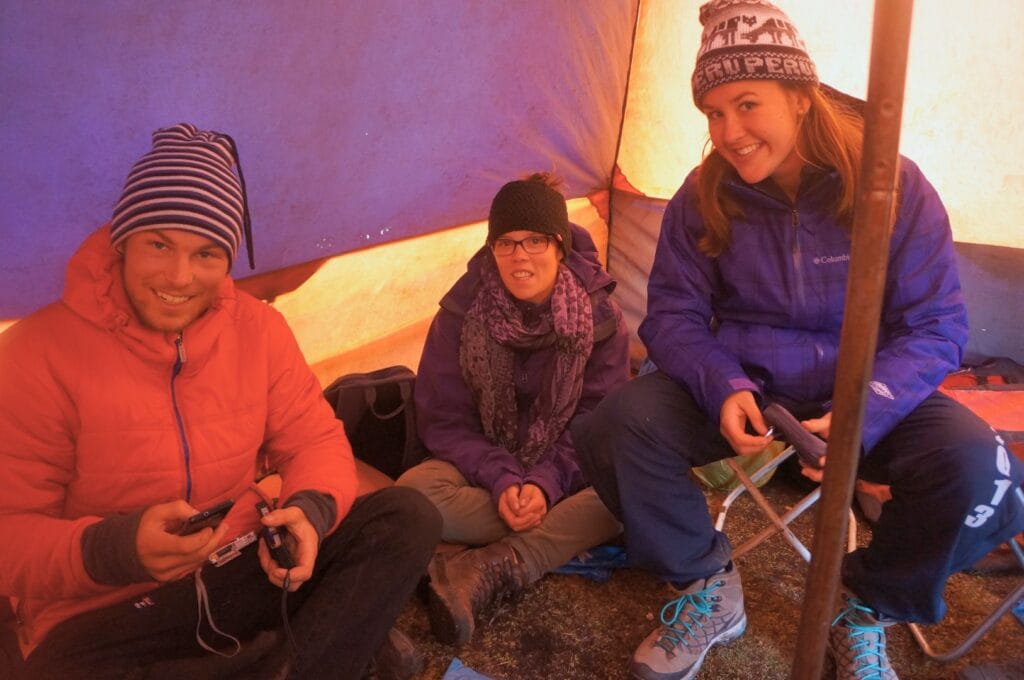
Where it’s less classy is when we discovered the gear… 5 tents for 14 people. Ouch! Let’s say we had to squeeze a bit! But the icing on the cake is the sleeping bags… Never mind the fact that they all smell like mules and have probably never seen a laundry, two of the sleeping bags are small duvets with a comfort temperature of 17 °C! Considering that the temperature easily drops below 0 °C at night, it’s borderline. Of course, when it came to assigning sleeping bags, Benoit got the smelliest one, and I got one of these thermal wonders at 17 °C. Fortunately, I have good clothes! Also, as we drew the short straw for tent allocation, we slept all snuggled up in a small tent with our Norwegian friend!
We stopped at the Paria campsite, but solo, you can camp a little further for more solitude and/or get ahead for the second day, which is quite challenging!
- From Vaquería to Paria
- 10,2 km
- 475 m of positive elevation gain
Download the map of the first day here.
Day 2 of the Santa Cruz trek: Paria – Punta Union Pass – Taullipampa
This second day promises to be the most physical: 1000 m of positive elevation gain, followed by 550 m of negative elevation gain.
When I wake up, I hear the rain falling on our tent… Let me tell you right away, it doesn’t motivate me to get out of my sleeping bag. Luckily, the rain stopped as soon as we started walking, but that was not the end of the journey…
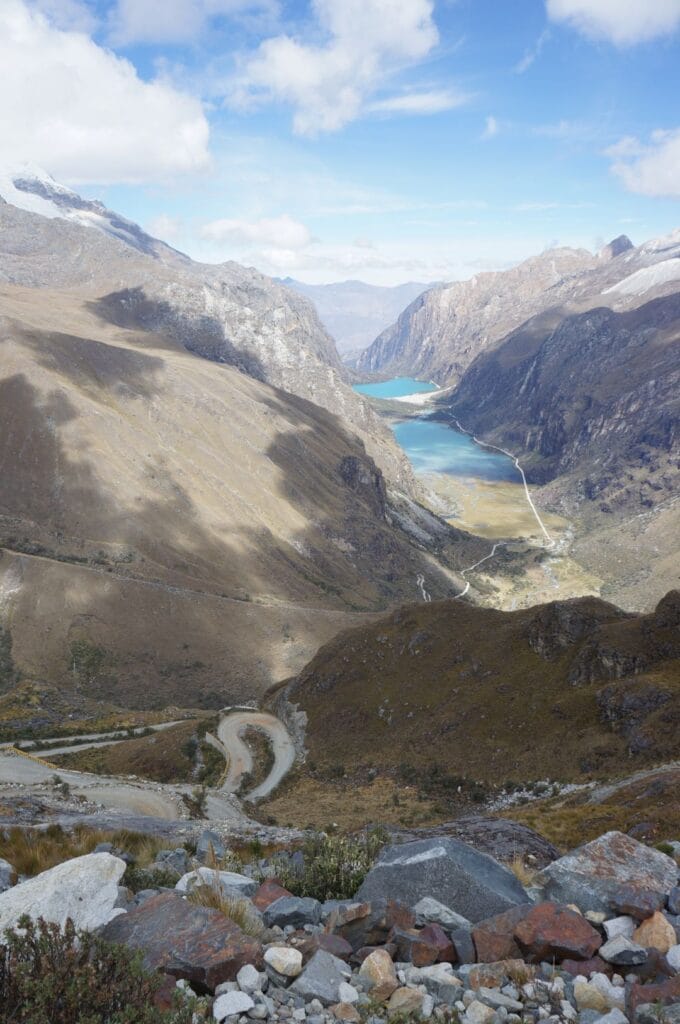
Honestly, I expect a tough climb, but the slope is still quite gentle. In the end, there is a good alternation between ascents and flat sections. So, we arrive at 4300 m around 10 a.m. without too much trouble.
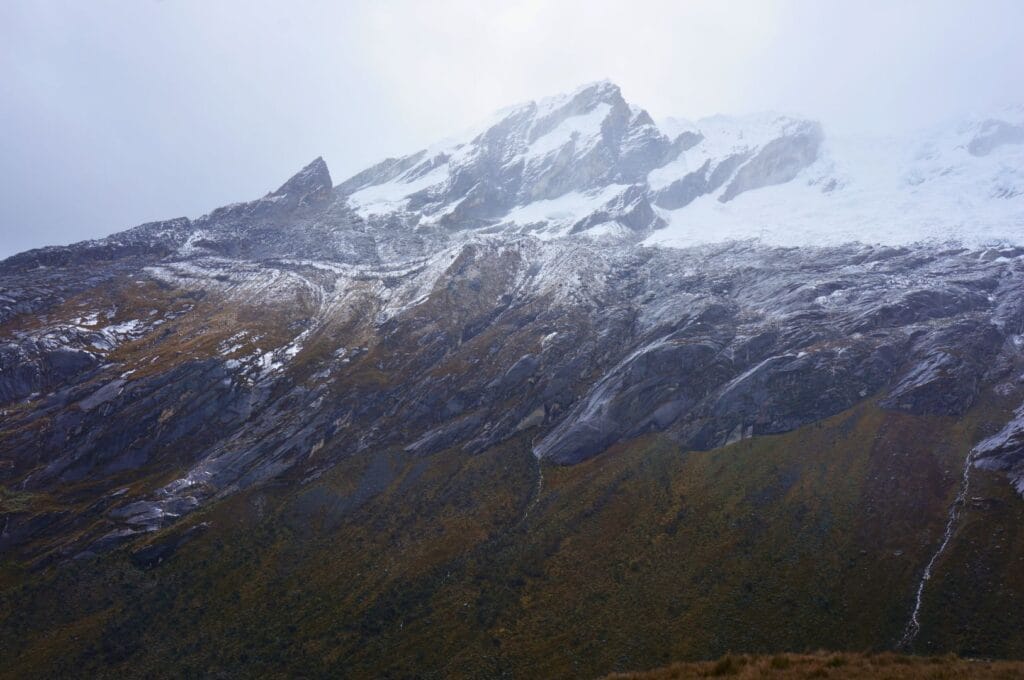
Arrival at Punta Union Pass
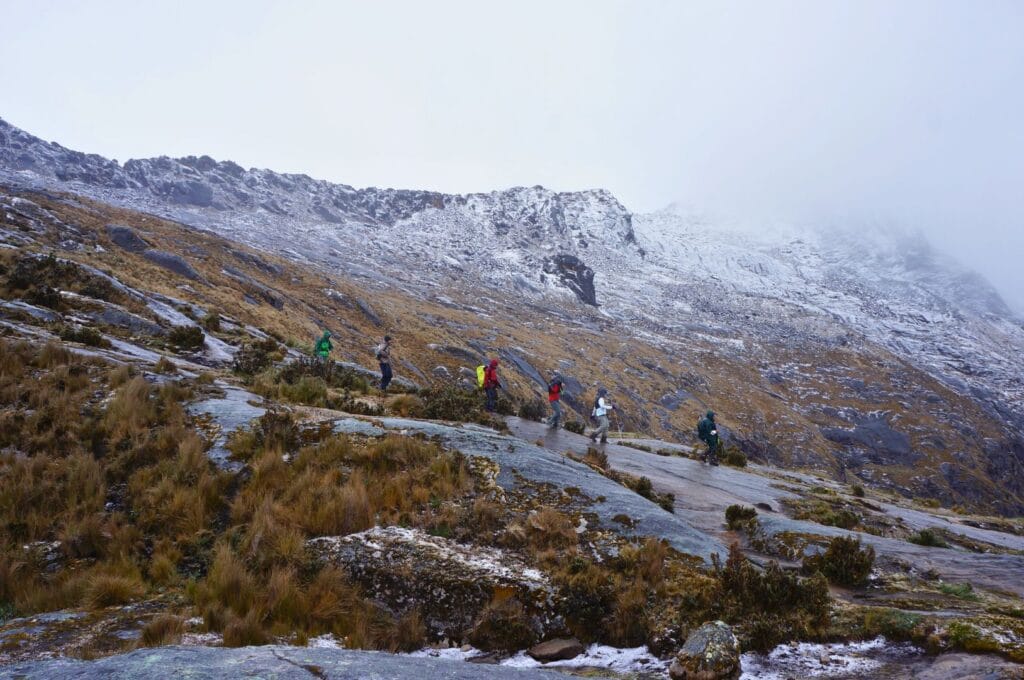
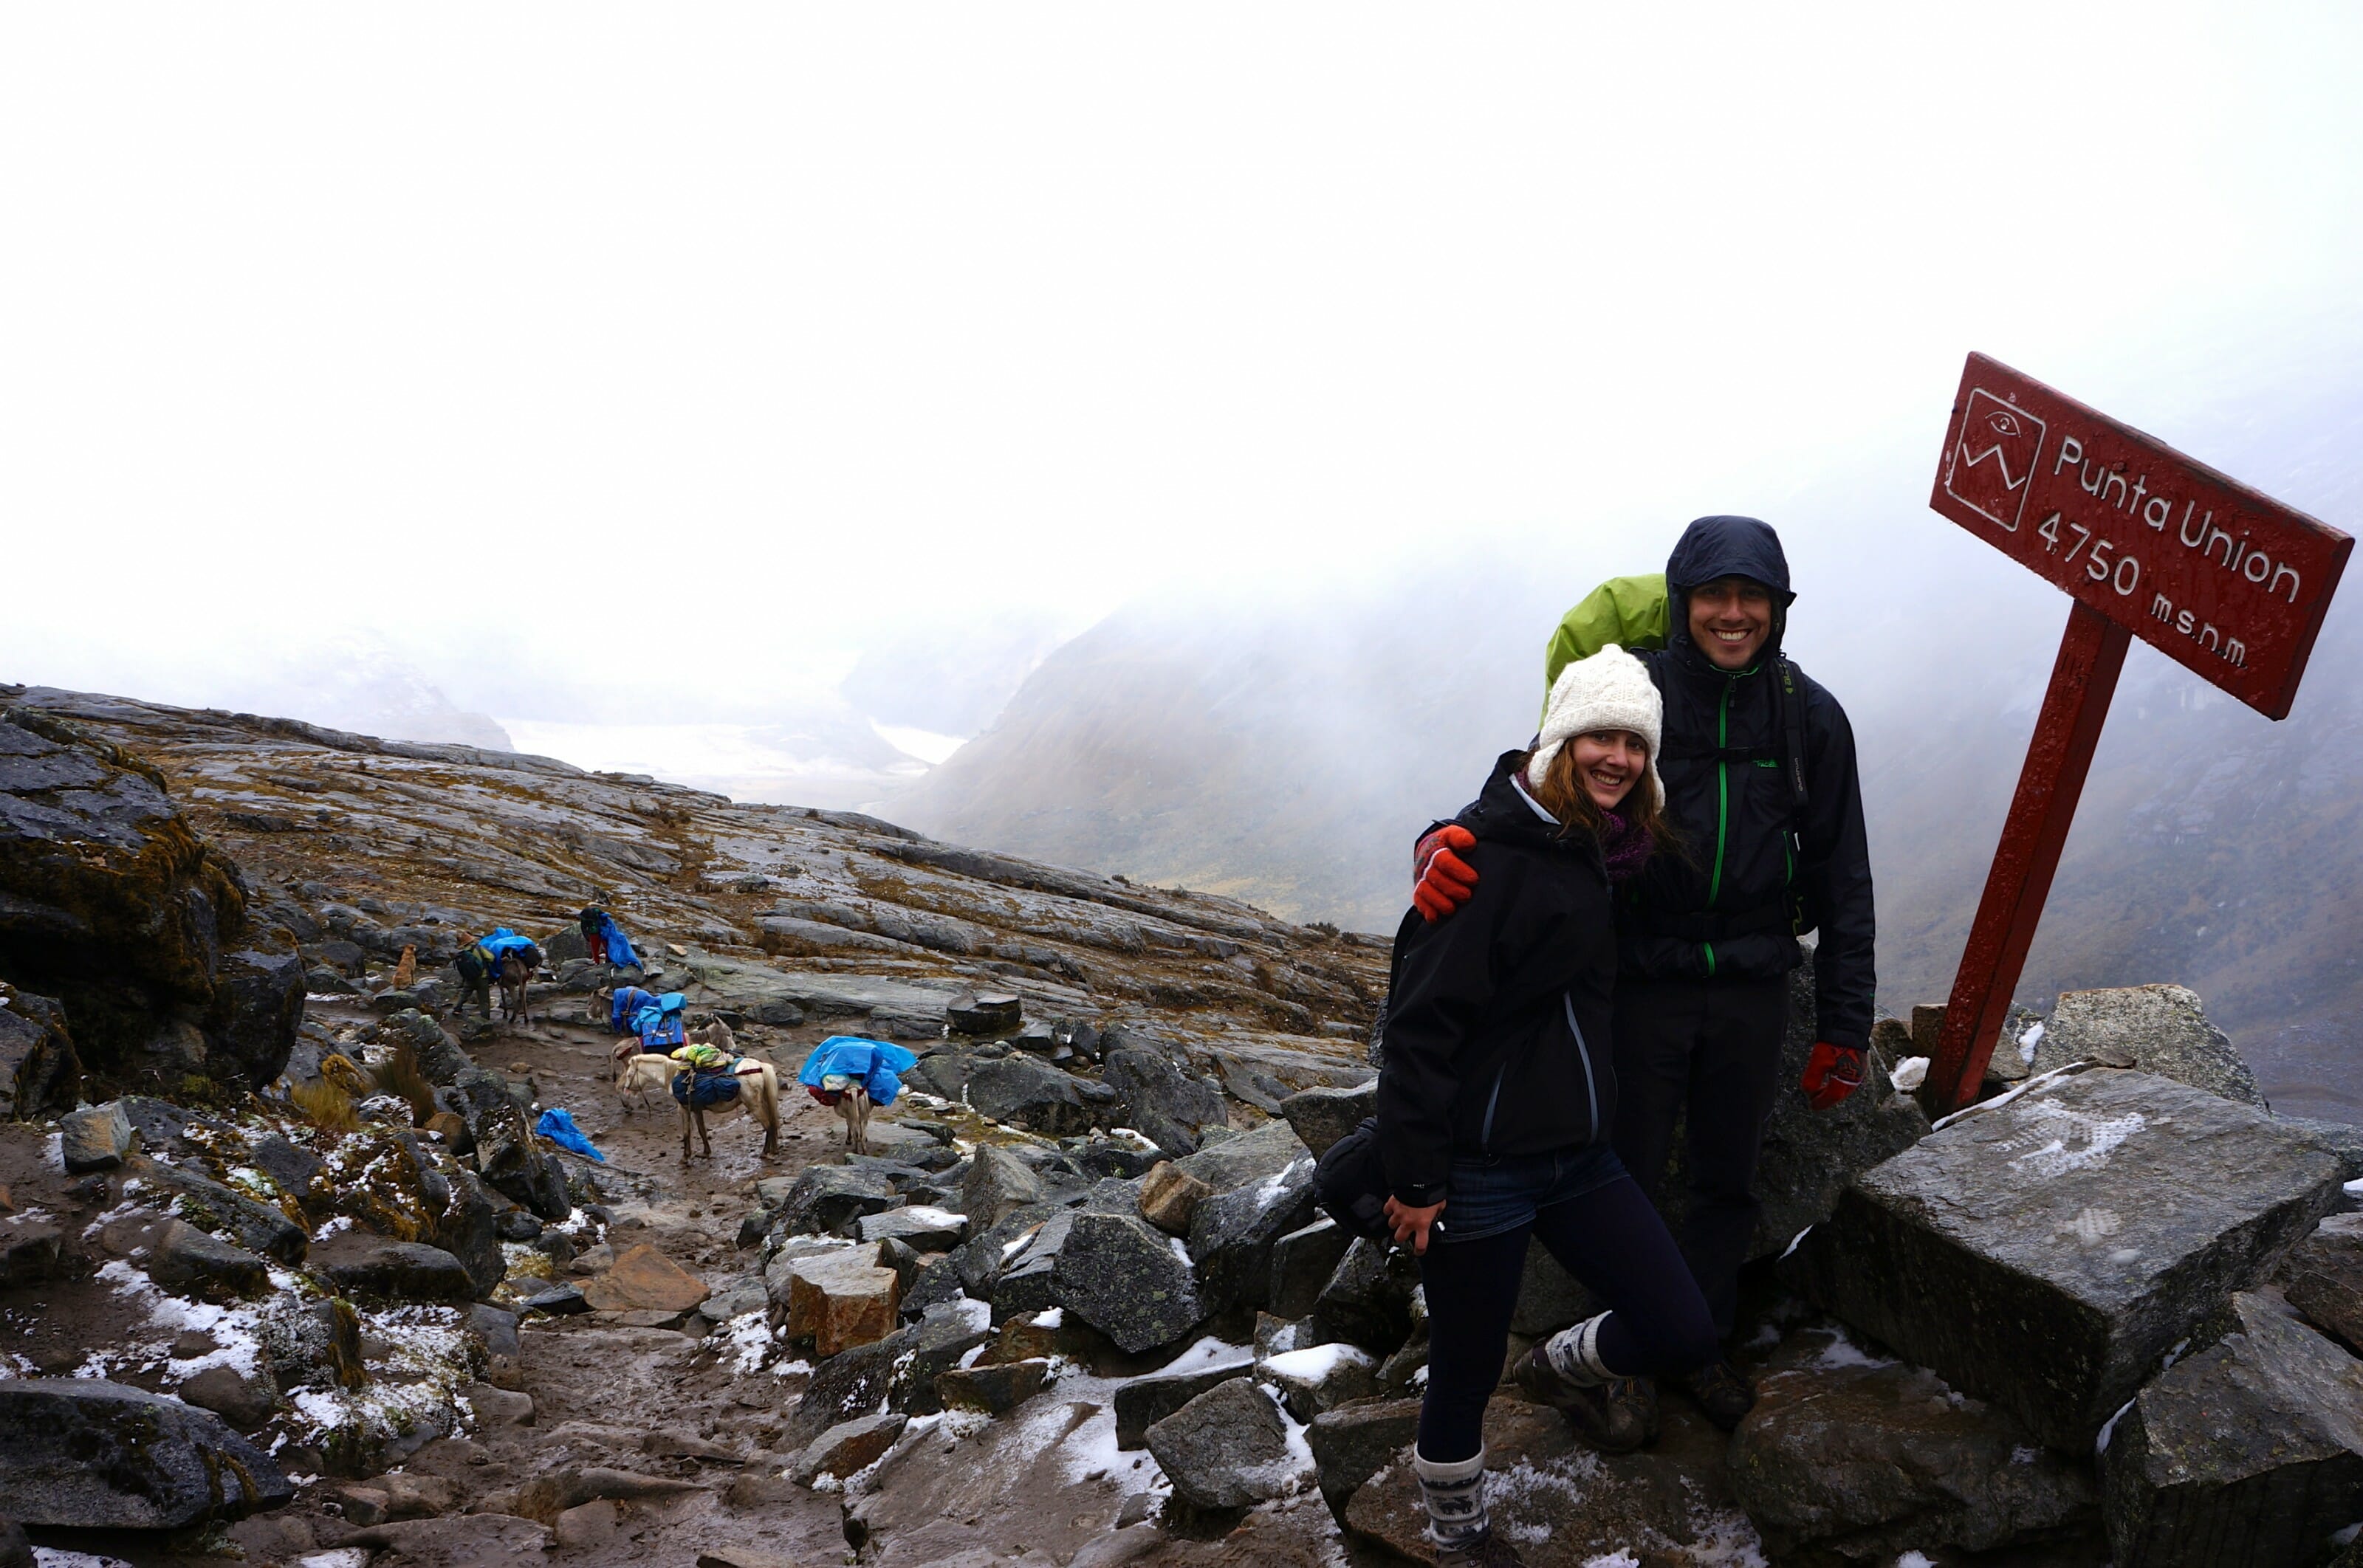
This is where it starts to get a bit tricky. The rain regains its dominance, turning into snow as we climb. So, in the mist and under the snowflakes, we reach the Punta Union Pass at 4750 m just after noon. We are frozen, and the descent on the other side is quite quick. We are not really in the mood to stop for lunch in the snow…
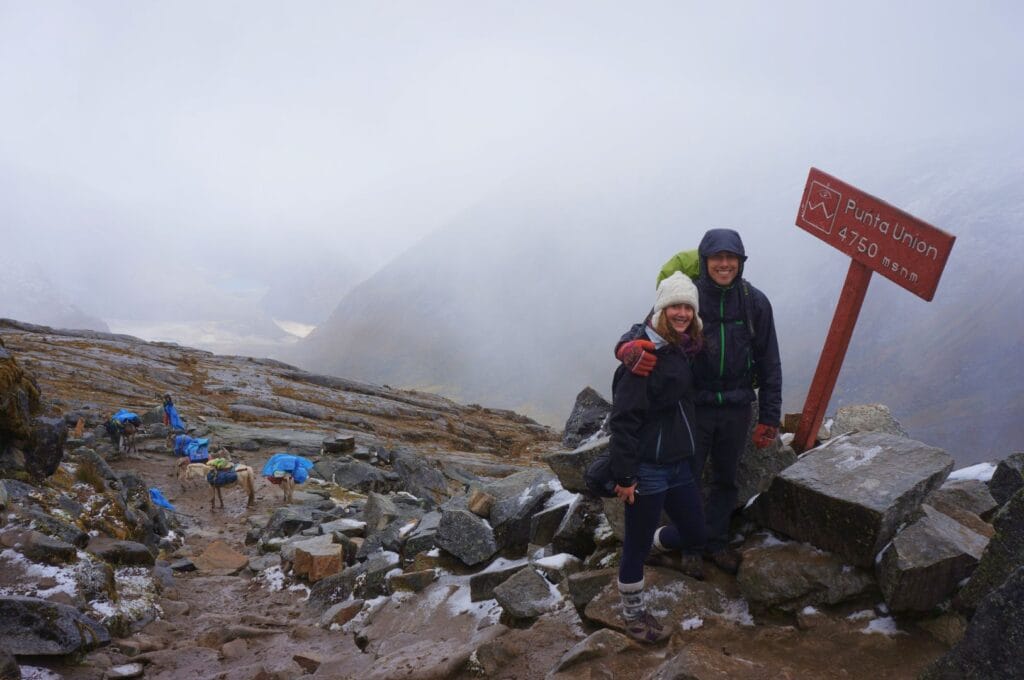
The positive point? With the cold, the climb seems much less tough! Later on, we met other travelers who told us they had sweated a lot during the climb and suffered from the sun. At this point, it’s clear that we couldn’t complain!
End of the day and night in a tent at Taullipampa
Arrived at the campsite around 3 p.m., this time I hurried to be the first to choose my sleeping bag for the night and avoid ending up with the same one as the day before! But here’s the sad fact, the muleteers didn’t really protect the gear during the hike where rain and snow prevailed. So, all the sleeping bags still smell like mules, but as a bonus, they are all quite damp. Not ideal for sleeping at 4200 m altitude!
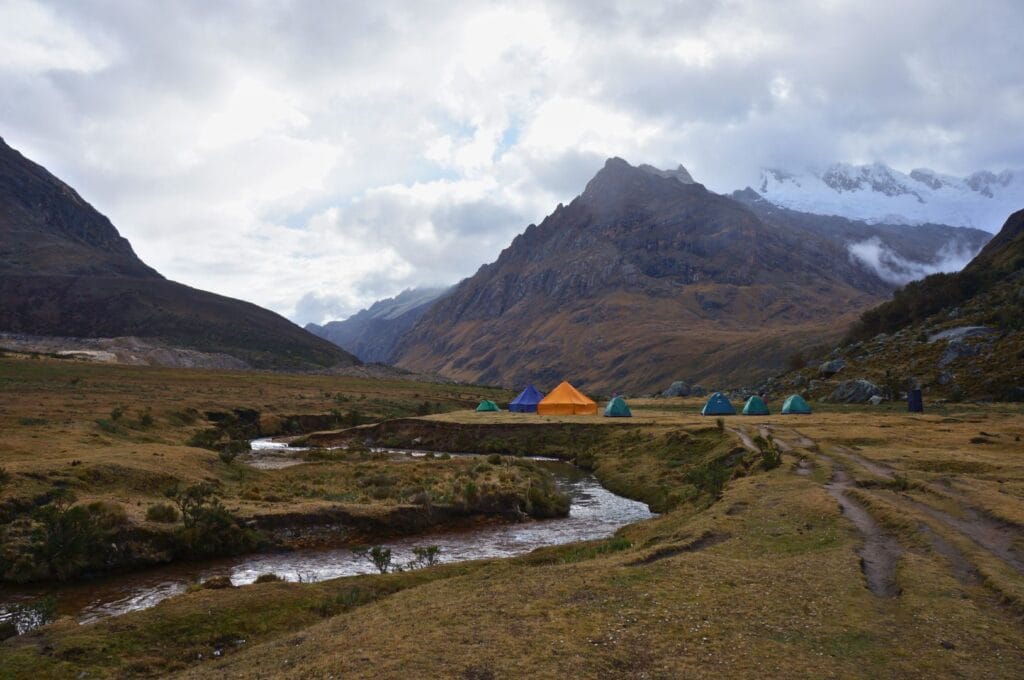
That night was probably one of the coldest of my life! Between my damp sleeping bag and the outside temperature easily dropping below 0, let me tell you it was freezing! Even the proximity of Benoit and our Norwegian friend couldn’t keep me warm. 😉
- From Paria to Taullipampa via Punta Union Pass
- 11,8 km
- 989 m of positive elevation gain
Download the GPS track here.
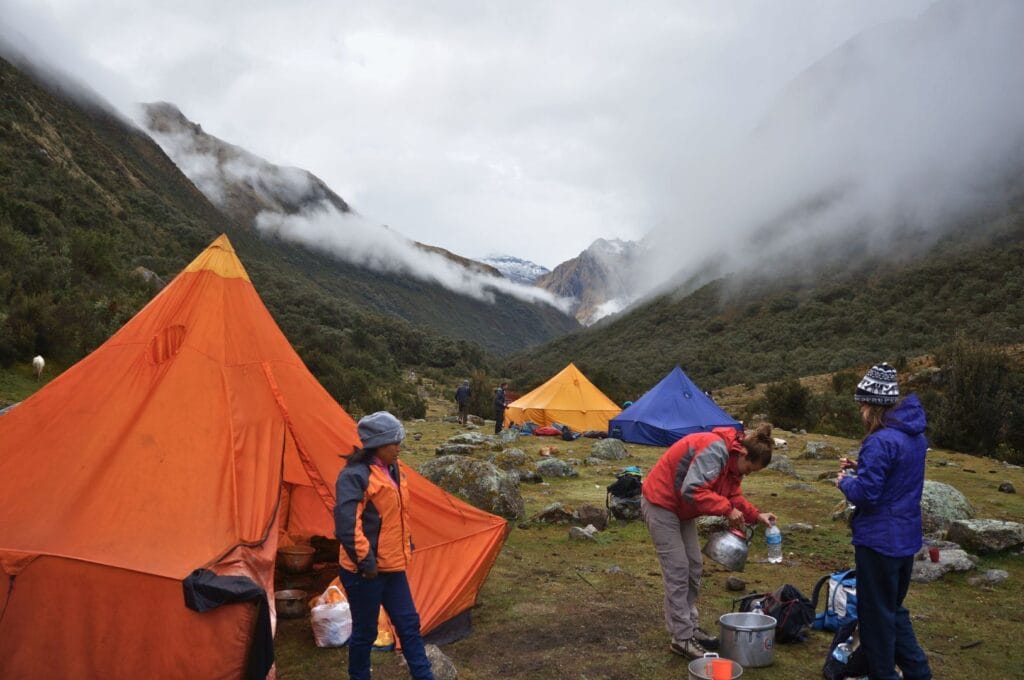
Day 3 of the Santa Cruz trek: Taullipampa – Laguna Arhuaycocha – Llamacorral
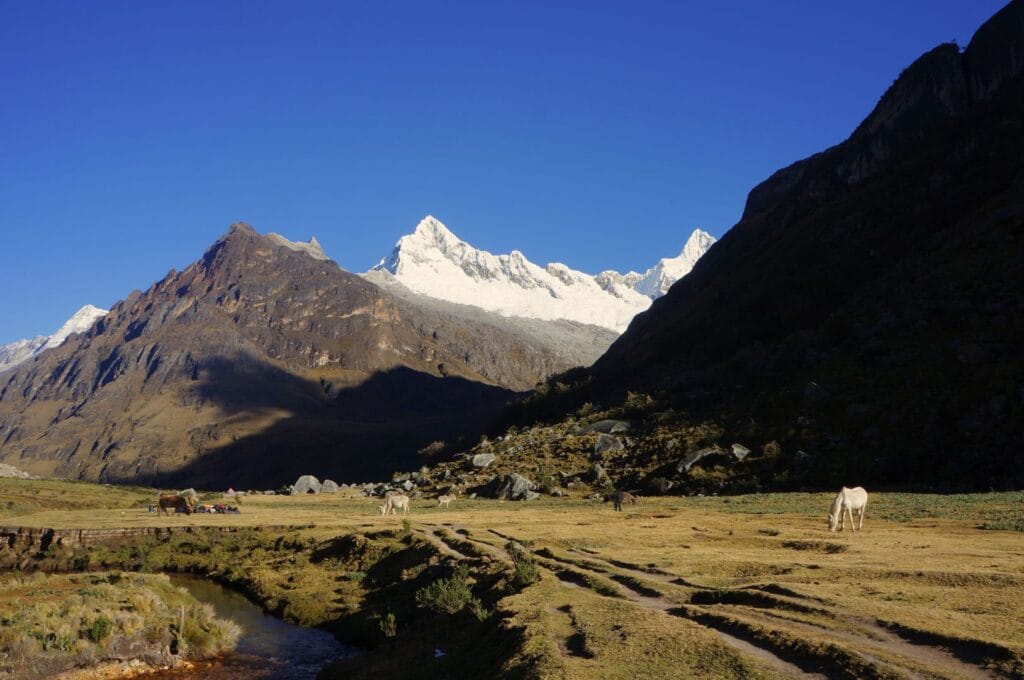
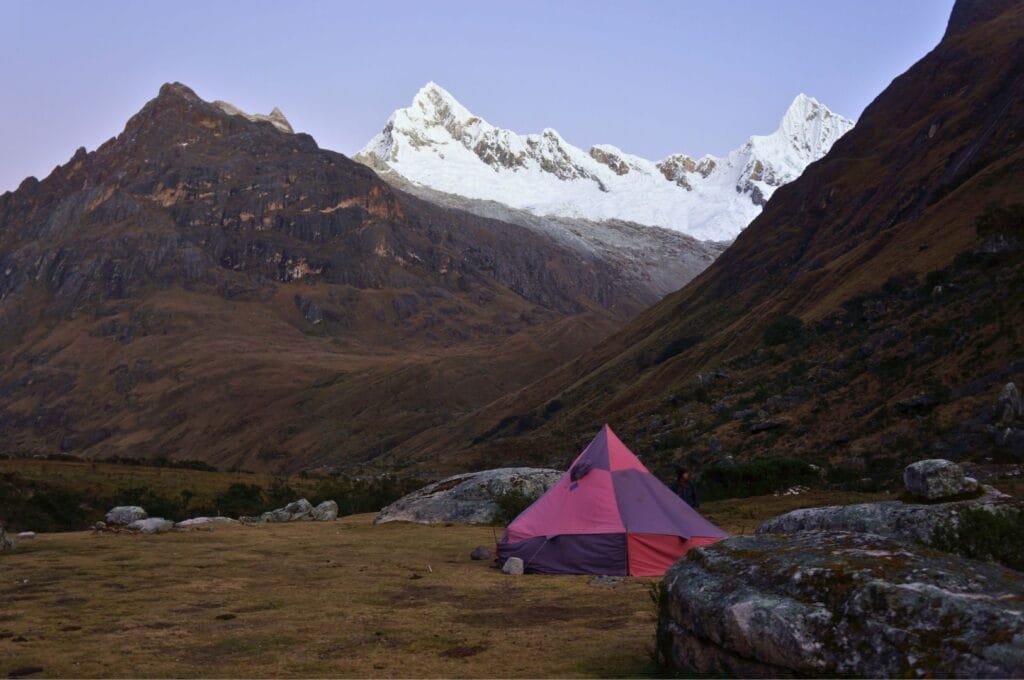
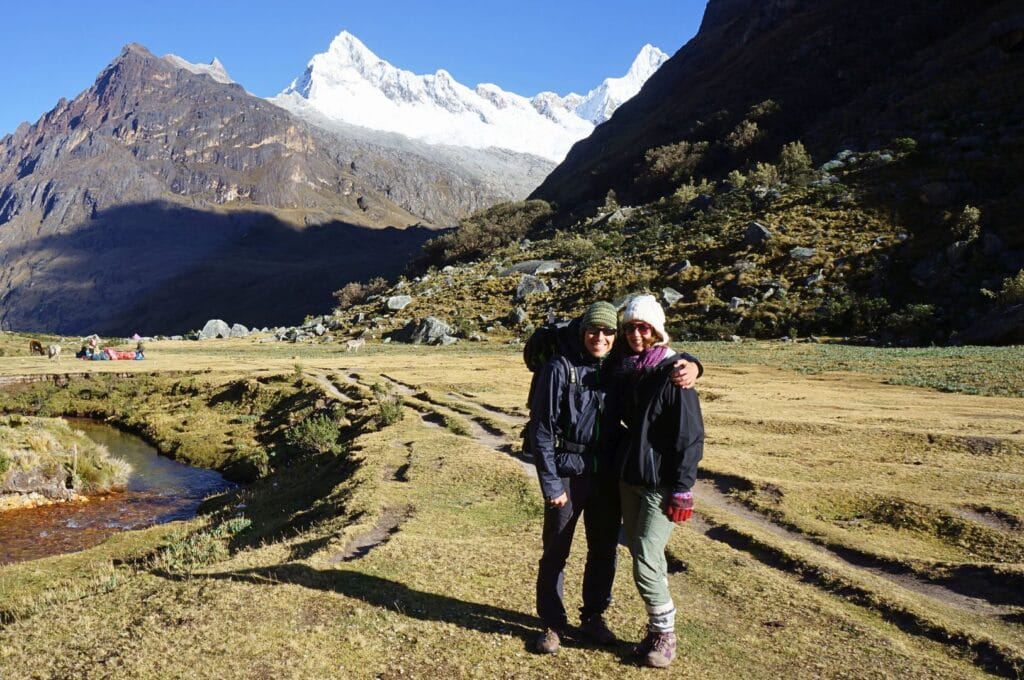
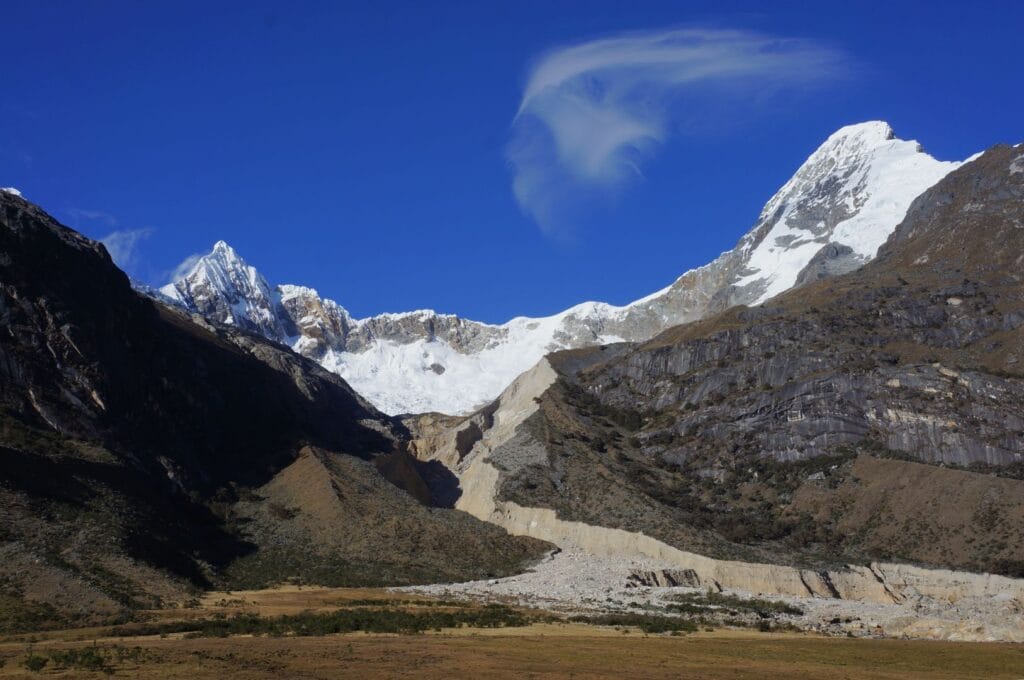
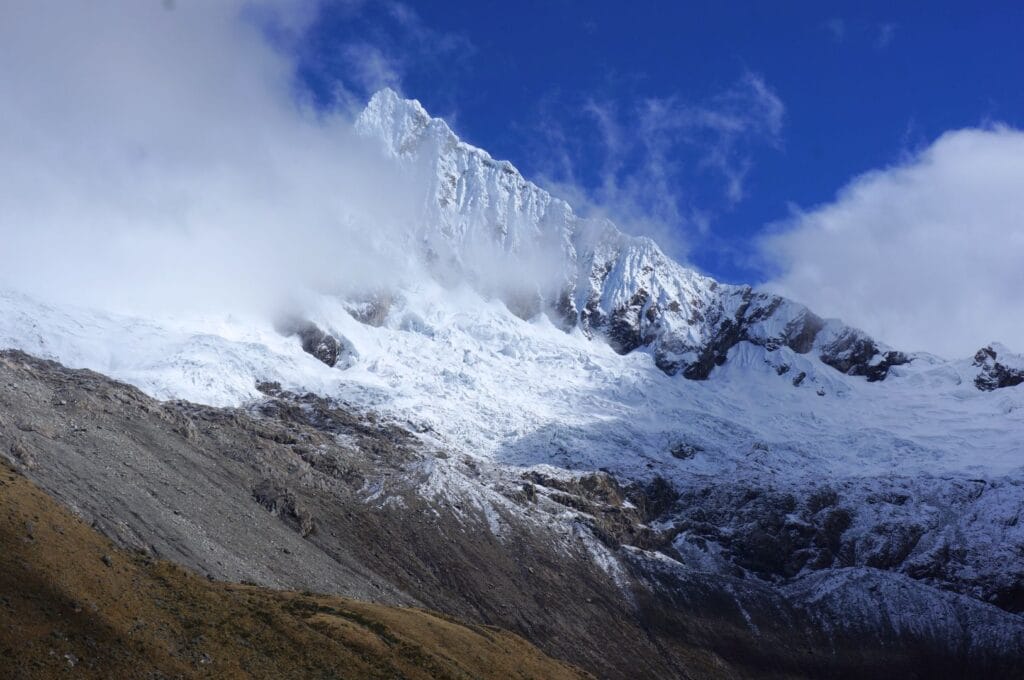
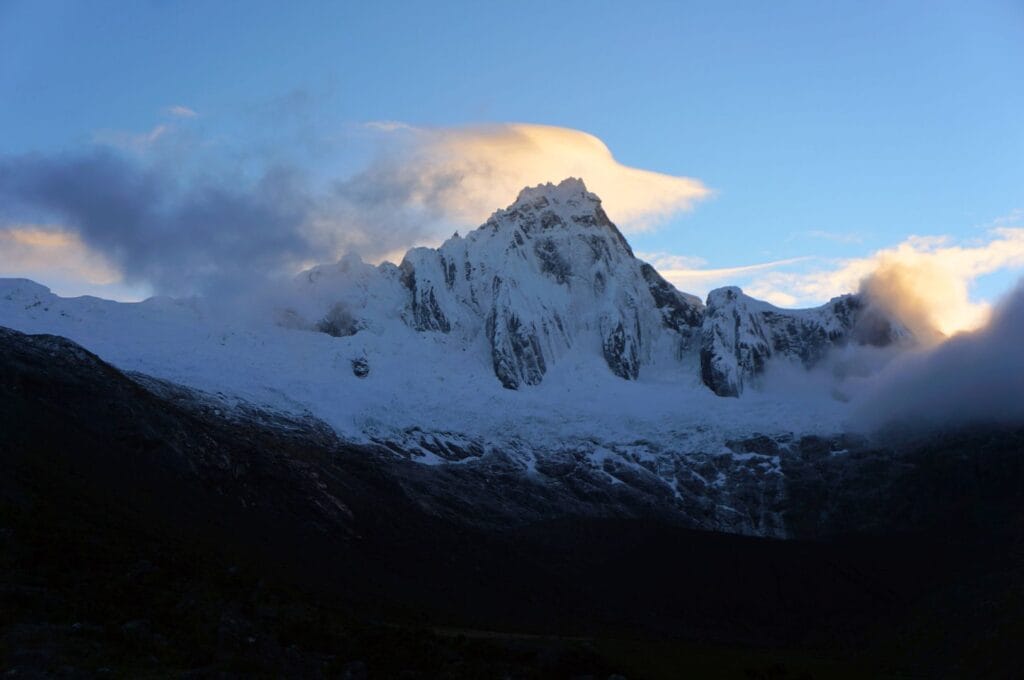
I woke up this third morning totally frozen. My feet and hands are almost irrecoverable, despite the good hot coffee and the hearty breakfast. Anyway, in these cases, there aren’t 36 solutions, you have to start walking again! And oh joy and happiness, the sun decides to join the party! Before leaving the campsite, we can even admire Mount Artesonraju, the Paramount mountain! What? Yes, yes, the one that appears at the beginning of movies! Well, it’s in the Huascarán National Park, and we camped at its foot… Promise, it’s the right one but from the other side!
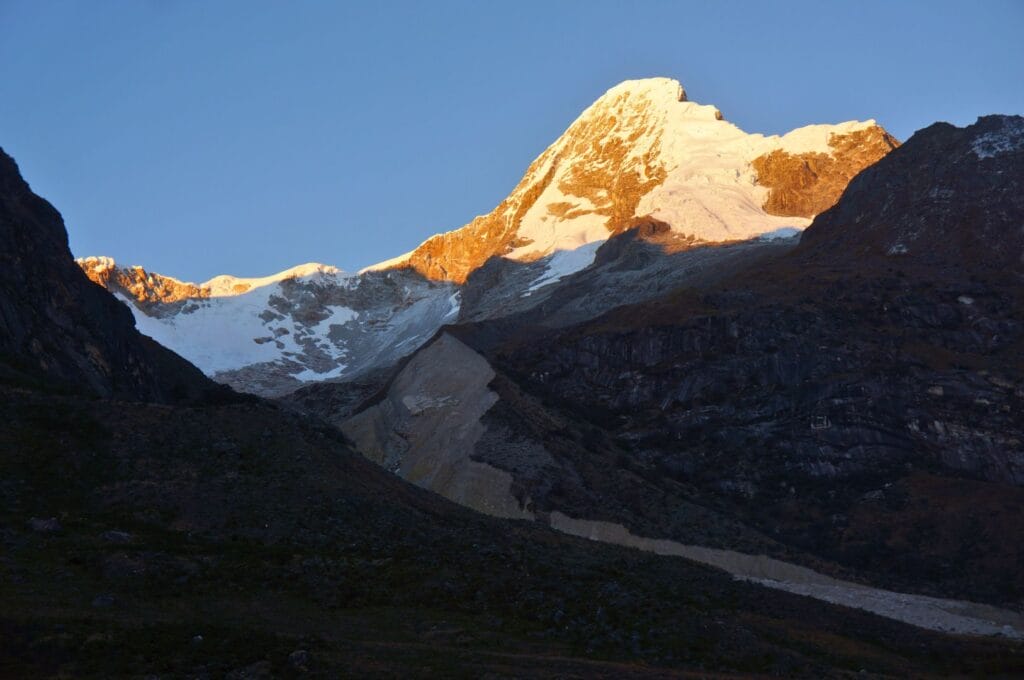
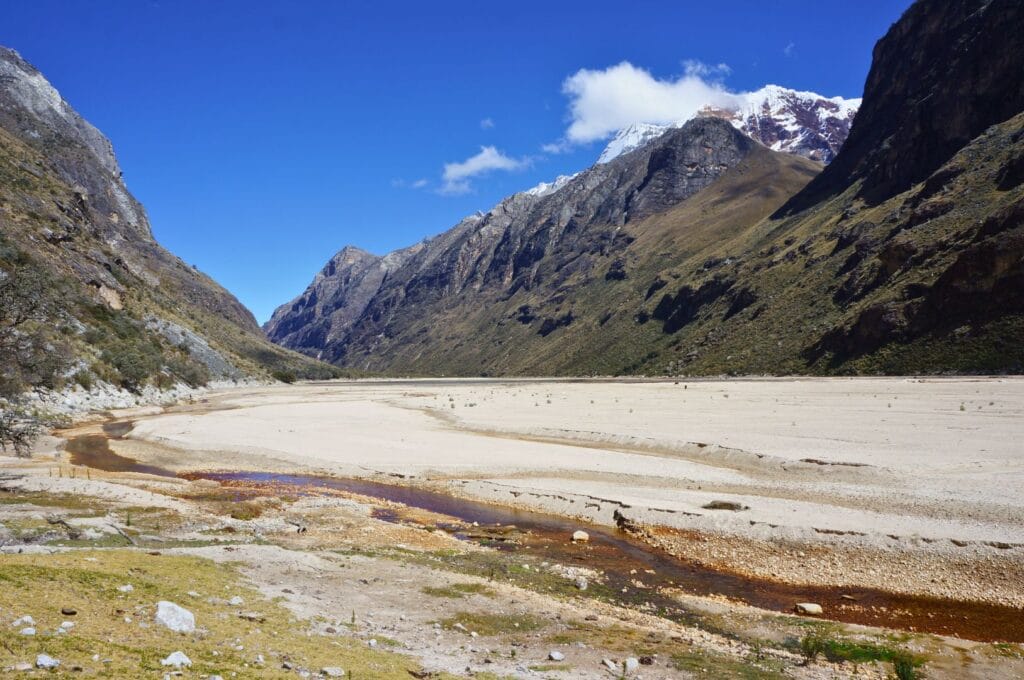
So, under a splendid sky, we enjoy the incredible landscapes of this new walking day! Just after the campsite, we take a little detour to reach a viewpoint to admire Alpamayo a little closer, one of the most impressive peaks of the White Cordillera.
Summary of this third day? 7 hours of easy walking to the Llamacorral camp without significant elevation changes (good for the legs), and passing by 2 magnificent lagoons!
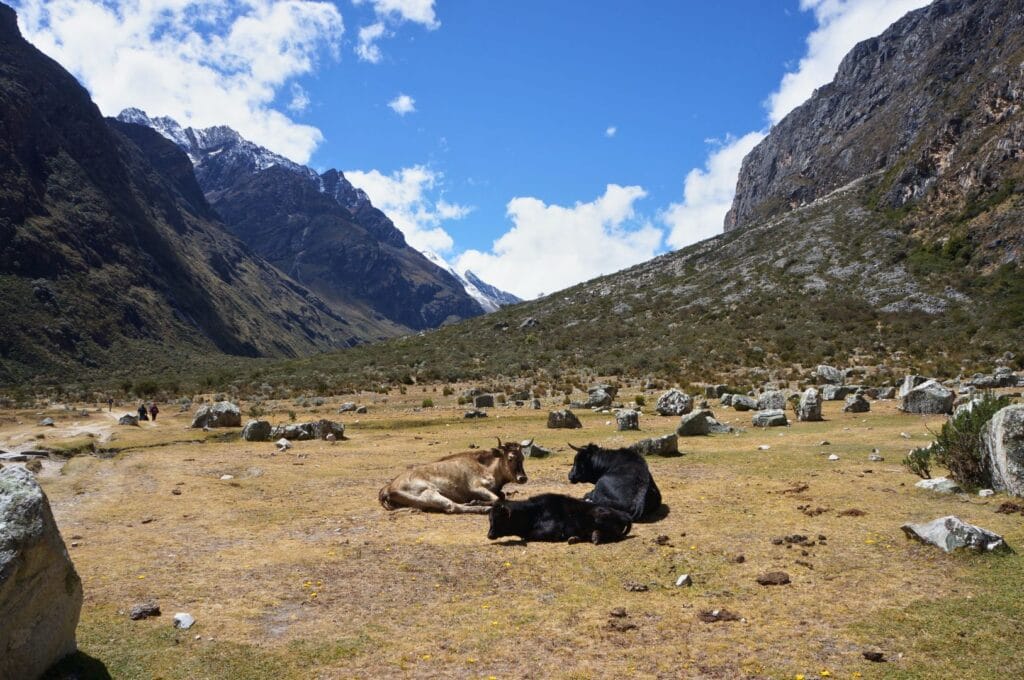
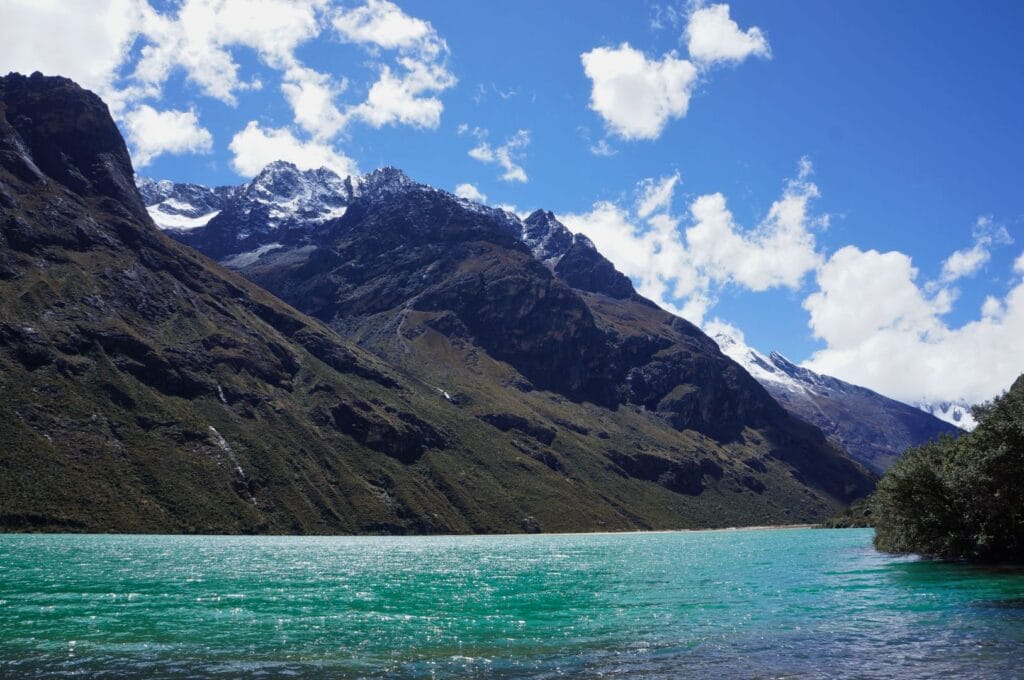
Note: From the viewpoint of Alpamayo, you have the opportunity to take a 7 km round trip (with a 300-meter elevation gain) to reach Laguna Arhuaycocha. In 4 days, you can easily afford this detour; in 3 days, it’s up to you to decide based on your fitness, considering the second day is the most challenging. A trick that many trekkers use is to hide a backpack with the heaviest items in the bushes to make it easier and avoid unnecessary exhaustion.
Good to know: at the Llamacorral campsite, a small stall sells snacks and drinks. In short, something to perk you up after a three-day hike!
- From Taullipampa to Llamacorral via laguna Arhuaycocha
- 20,7 km
- 861 m of positive elevation gain
Find the track for this part of the trek here.
Day 4: end of the Santa Cruz trek and return to Huaraz
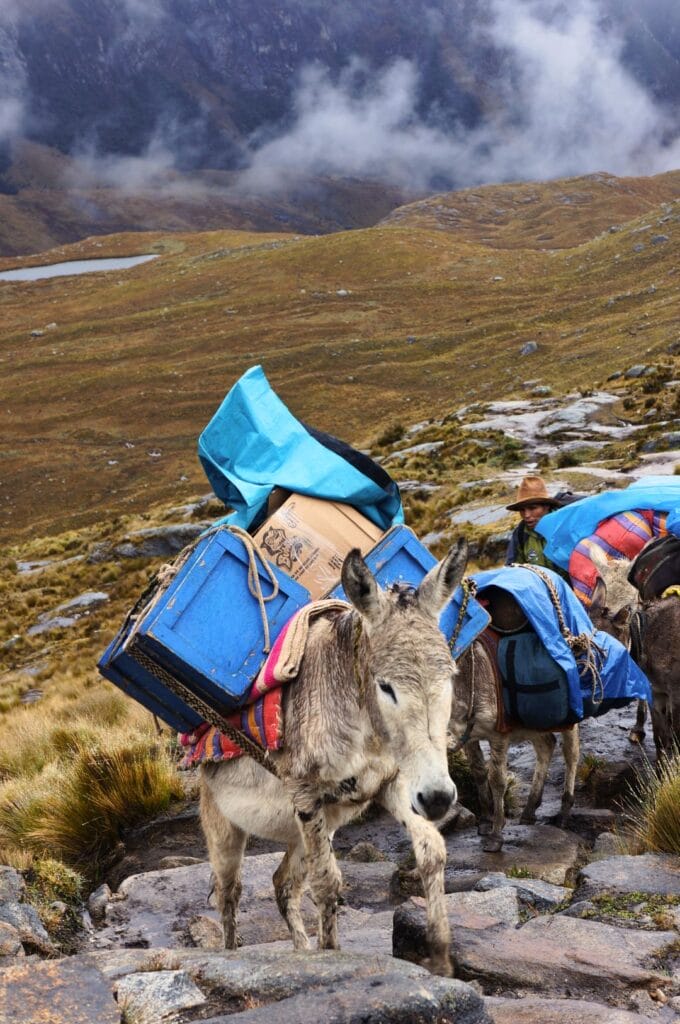
On the last morning, we are spoiled: pancakes for breakfast! So, I know it’s very superficial, but believe me, after 3 days of trekking, without a shower, and freezing nights, these pancakes arrived at the right moment! Afterward, I even managed to take a selfie with one of our mules before it gets loaded with all the equipment. Anyway, the day starts well! (Yes, I know, I’m a bit frivolous sometimes, give me a pancake and a donkey, and I’m in heaven!)
The walk of the day will only last 2 hours and 30 minutes (with still 1000 m of negative elevation) but again under scorching sun and with a good atmosphere in the group. We will reach Cashapampa around 11 a.m., and after a final photo of our group, we’re back in our minibus heading to Huaraz.
A dizzying road on the mountainside with a driver who thought he was in a game of Mario Kart, nothing like ending the trek with a bit of adrenaline! But in the end, we will arrive safely around 3 p.m.! Well, a little revenge, Mr. Formula 1 driver still managed to get a speeding ticket graciously given by the Peruvian police… Haha!
- From Llamacorral to Cashapampa
- 9,8 km
- 84 m of positive elevation gain (but 1000 m of negative!)
For this last day, you can download the track here.
Soroche: watch out for altitude sickness in Peru!
We were warned, that altitude sickness (soroche in Spanish) is probably the most dreaded enemy of the Santa Cruz Trek. For our part, no worries: before arriving in Peru, we had already spent a lot of time at high altitudes in Ecuador, especially at Laguna Quilotoa and Cotopaxi. But it was not the case for everyone in our group… Far from it!
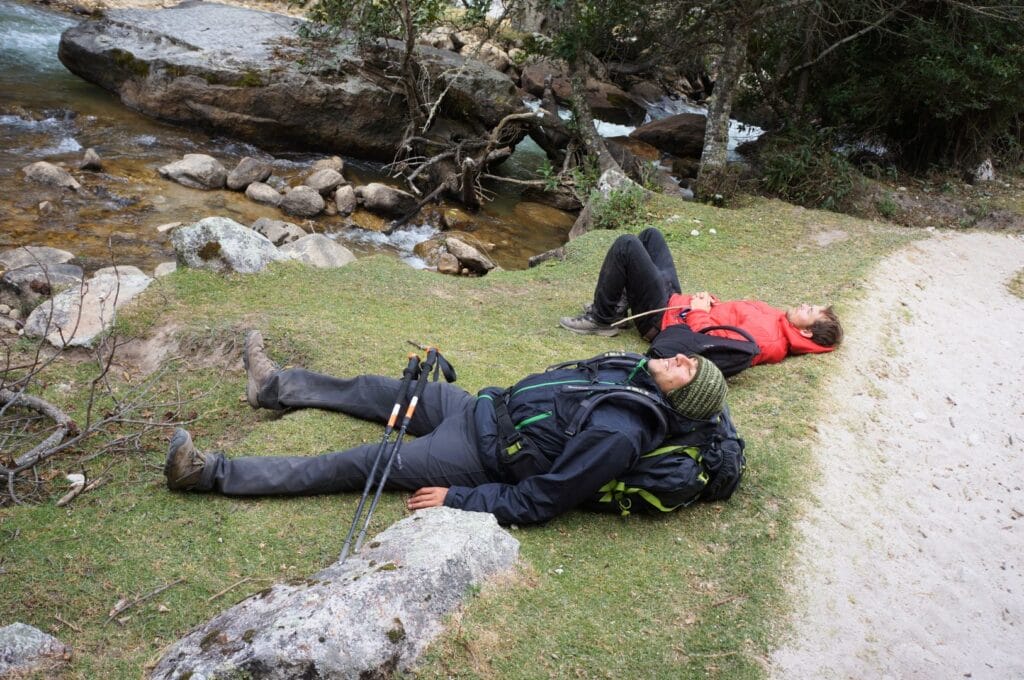
Altitude sickness is really something that should not be underestimated! The least severe form generally manifests as simple headaches. These pass without a problem if you descend and hydrate sufficiently. In our group, 3-4 people complained of headaches when passing the Punta Union pass, but it remained reasonable!
On the other hand, the Brazilian pushed the limits. At several moments during the trek, our guide seemed genuinely concerned about his survival!
The adventures of our Brazilian or lessons to learn!
- 1st day: When boarding the minibus, the Brazilian was equipped with all the latest gear but already looked a bit off. His girlfriend confided that he had had a fever during the night. But having paid for their trek, they insisted on getting on the bus, against the guide’s recommendations… First mistake!
- Arriving at the trek’s starting point, Mr. Brazilian played the superhero and claimed that he was feeling better. Everyone could see he wasn’t, but Mr. was stubborn!
- The first night was awful for them; he didn’t sleep a wink due to the headache. The guide strongly recommended turning back since the highest pass of the trek was planned for the next day. But once again, Mr. was stubborn, impossible to reason with!
- 2nd day: after 1 hour of walking, we had already lost sight of the couple; they were dragging behind. The guide decided to stay with them while the rest of the group went with the cook as a guide.
- For the Brazilian, this day was probably the worst of his life: vomiting, dizziness, and incredible headaches! His girlfriend would later tell us that at the top of the pass, her companion couldn’t even add 7+3 because he was completely out of it! In such cases, there is a real emergency! Our guide ran back to the camp to get an emergency oxygen bottle and a horse. She then went back to pick up the two lovebirds on the trail… And that’s how the Brazilian ended his trek: on a mule with oxygen.
Do not underestimate the danger!
This kind of situation is serious! For him, everything ended well, but he could really have lost his life! When the body starts showing signs such as vomiting or major dizziness, it doesn’t take much more to fall victim to a pulmonary or cerebral embolism.
In short, don’t act like mules! If you don’t feel in top shape before leaving, TAKE NO RISKS.
Firstly, it is important to know that altitude sickness affects about 50% of people above 4000 m. The onset of symptoms has nothing to do with your physical condition; it can affect everyone!
Measures to take to prevent and treat altitude sickness
- First and foremost, acclimate yourself! For example, for the Santa Cruz trek, stay in Huaraz for a few days and take some excursions to see how you feel after 2 or 3 days.
- Hydrate yourself to the maximum!
- There are medications sold in pharmacies to help prevent the onset of symptoms.
- Coca, the plant, not the soda ;)! In South America, coca leaves are considered to have virtues to reduce altitude sickness. It can be consumed as a tea or mate de coca, or you can chew the leaves directly.
- If the symptoms become too severe, the only solution is to descend in altitude as quickly as possible! Avoid sleeping at high altitudes as much as possible if you have symptoms that go beyond a simple headache.
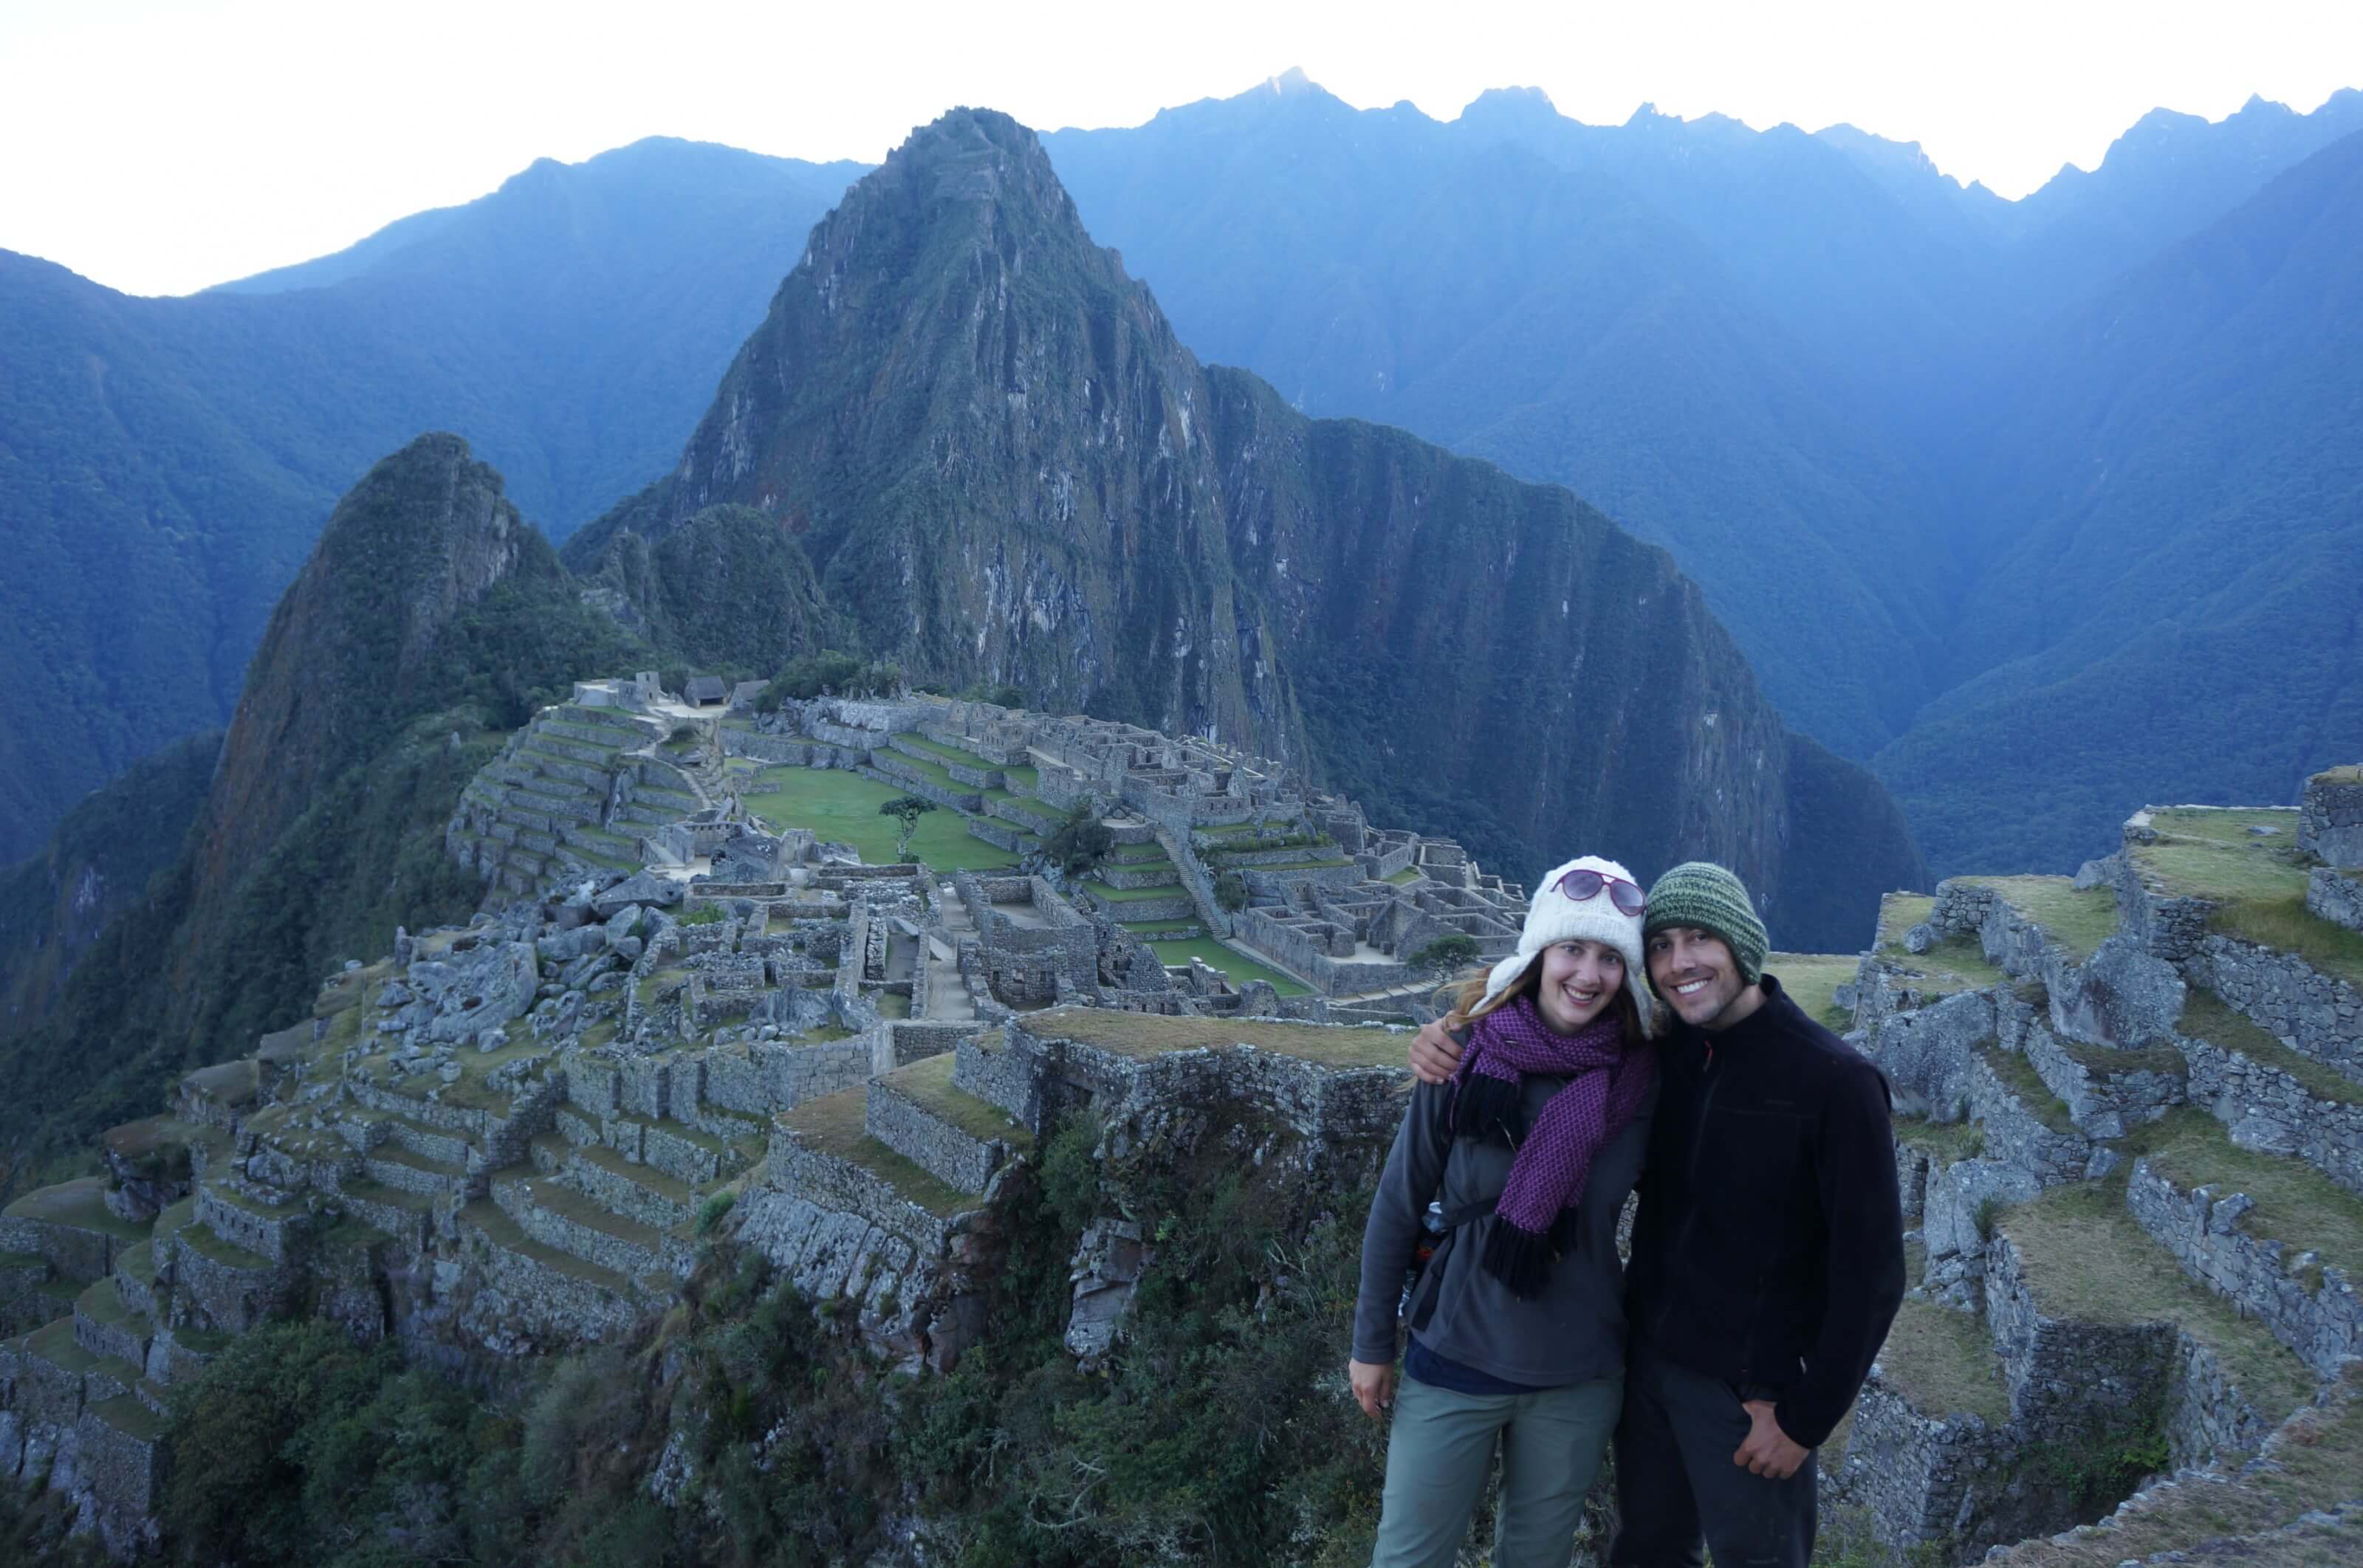
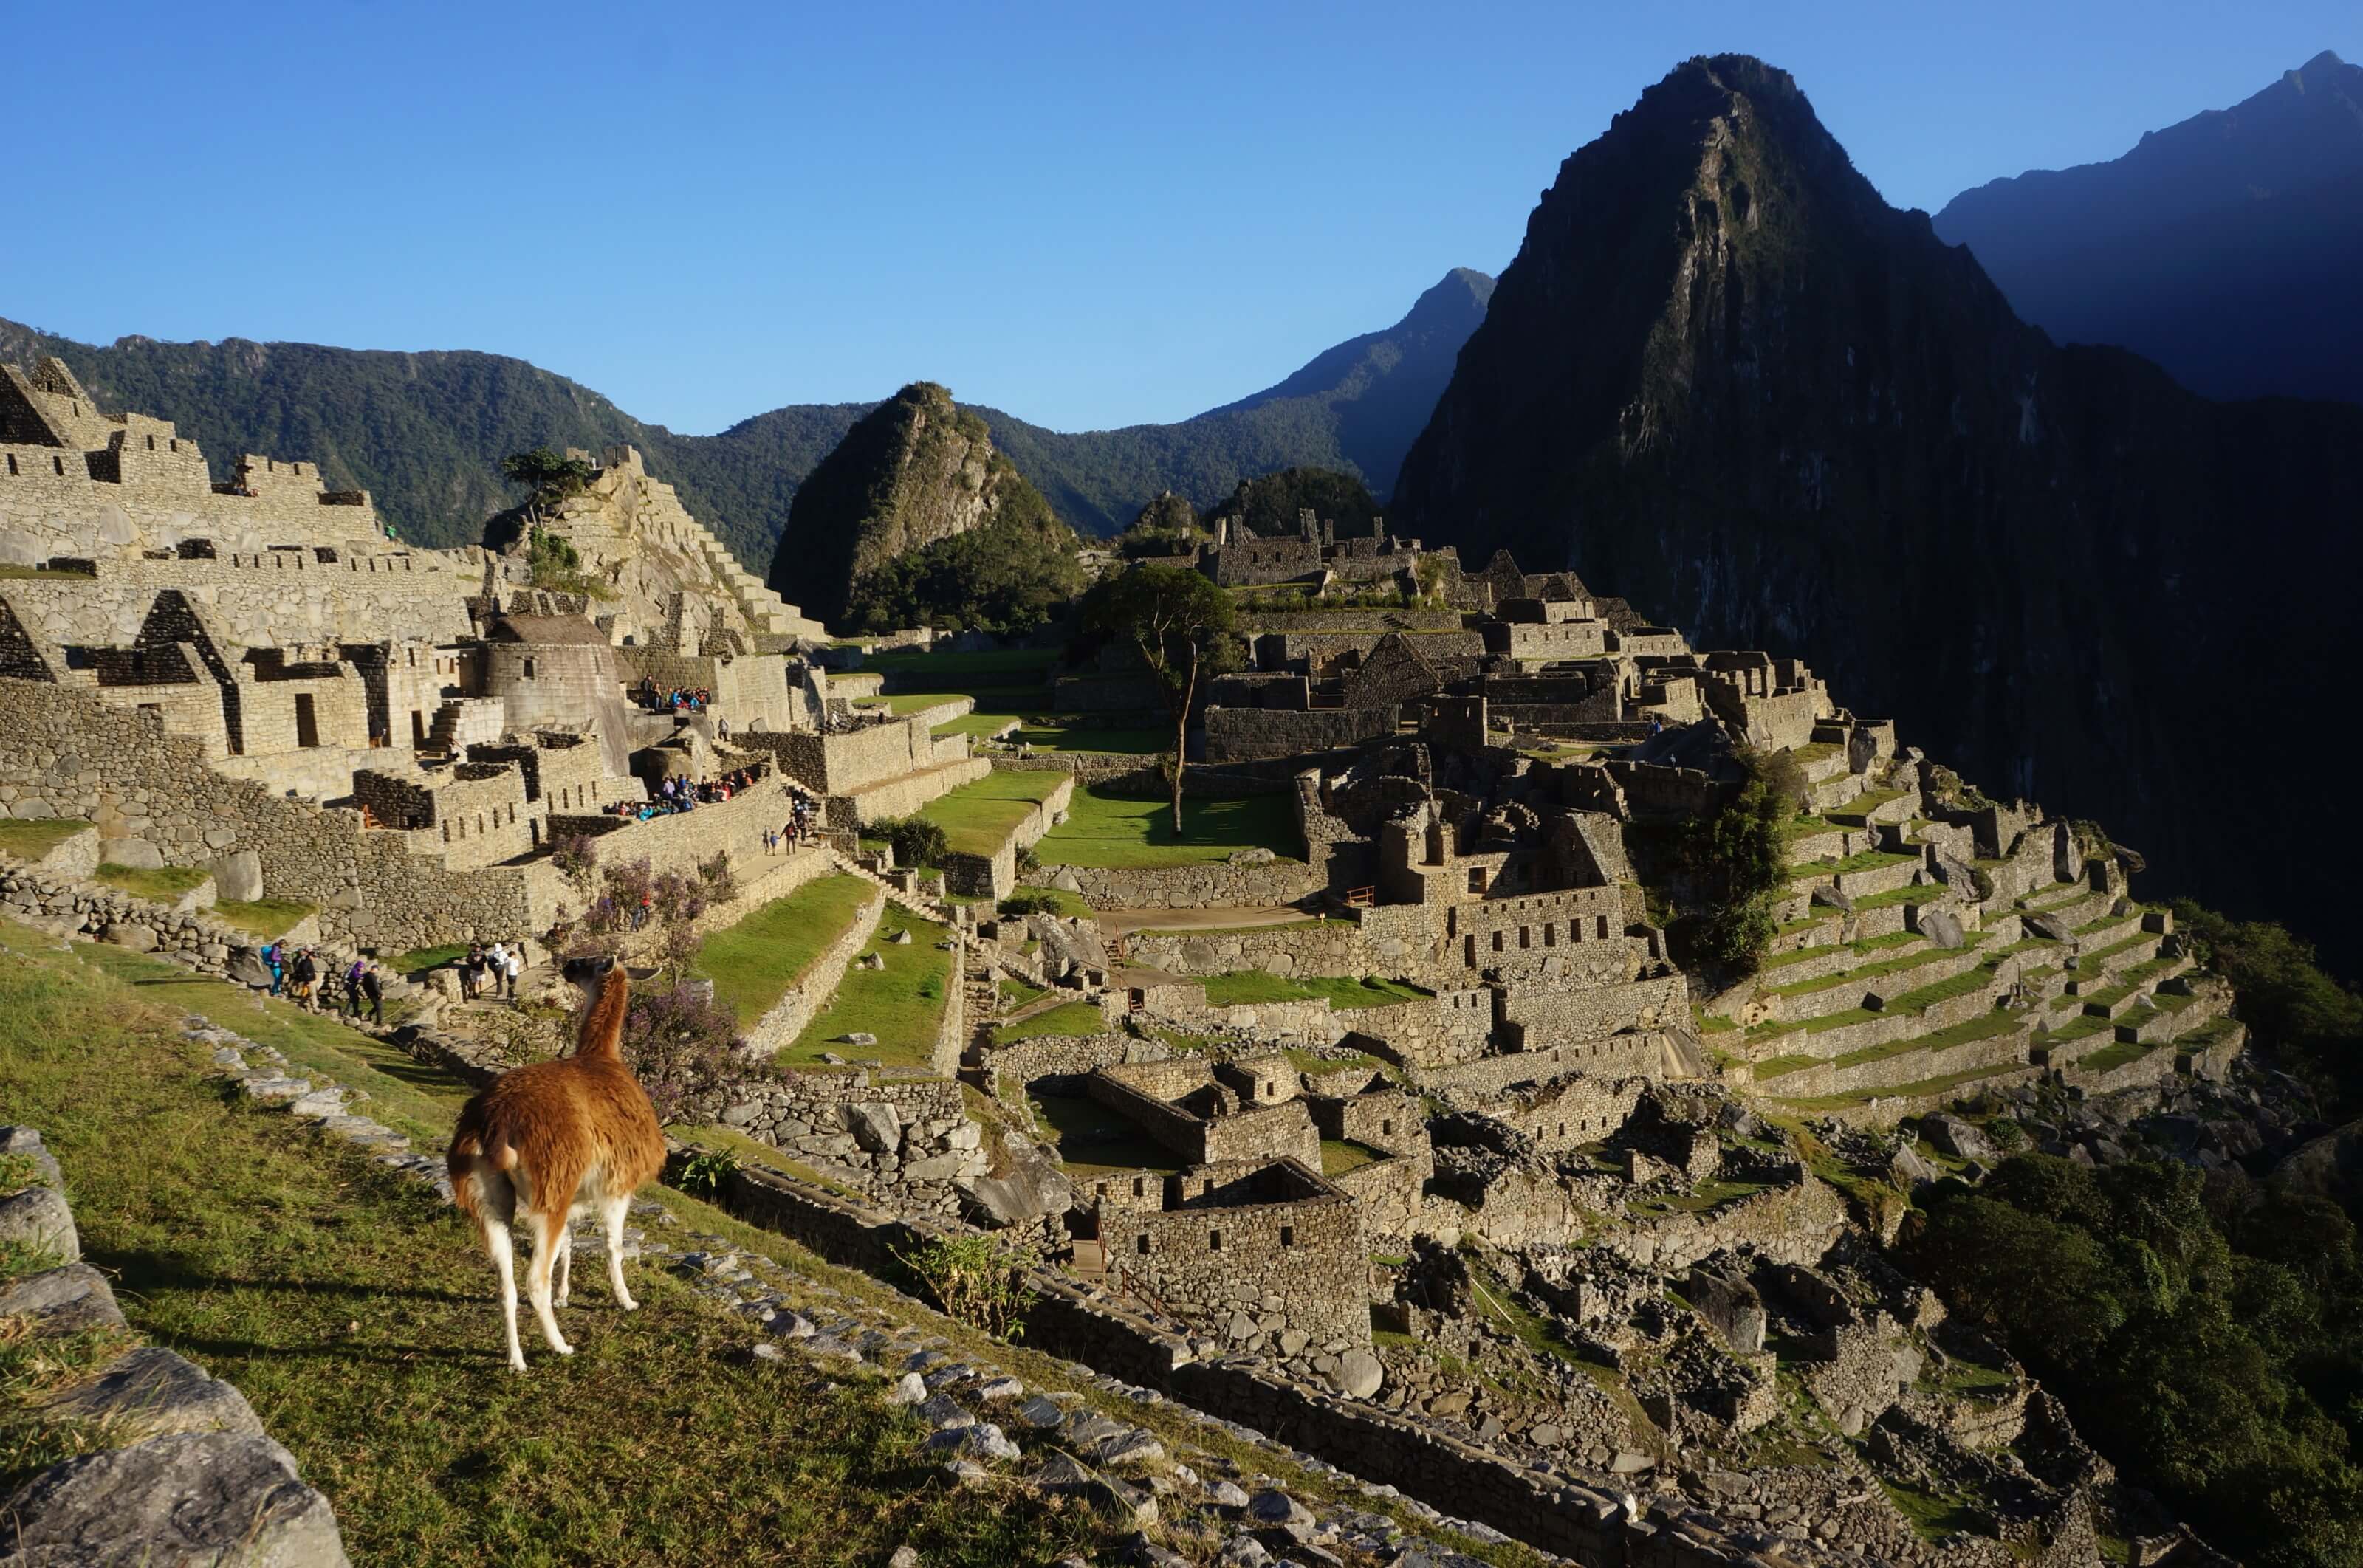
There you go, you know everything about our second long hike in South America, and it’s not the last one! Moreover, our next stop is the mythical Machu Picchu in an 8-day self-guided trek! Come on, will you continue this Peruvian journey with us?
Pin it
Join the discussion