Today we take you with us for a wonderful 6 to 8 day hike with nights in huts and small hotels between Switzerland and Italy. As you know, multi-day hiking has been one of our favorite for a few years now and we have a special fondness for our beautiful canton of Valais. Each valley has its little treasures and the advantage of leaving for several days is that we have the opportunity to discover several of them. 😉 In this blog post we’ll tell you everything there is to know about the beautiful Tour du Saint-Bernard!
- The tour du Saint-Bernard in a nutshell
- Our video of the tour du Saint-Bernard
- From Bourg-Saint-Pierre to the Saint-Bernard Hospice
- The lacs de Fenêtres Hike
- From the Saint-Bernard Hospice to the Frassati mountain hut
- From Frassati to the italian Val Ferret through the Malatra pass
- From the italien Val Ferretto La Fouly
- From la Fouly to Liddes passing the Basset pass
- From Liddes to the top of Mont Rogneux – Cabane de Mille
- From Cabane de Mille to Bourg-Saint-Pierre
- Practical Info to ogranize your Tour du saint-Bernard
The Tour du Saint Bernard: The hike in a nutshell
Before we start talking to you about the different stages in detail and give you the practical information you might need to go on this beautiful adventure, we thought we would start by giving you an overview of the tour.
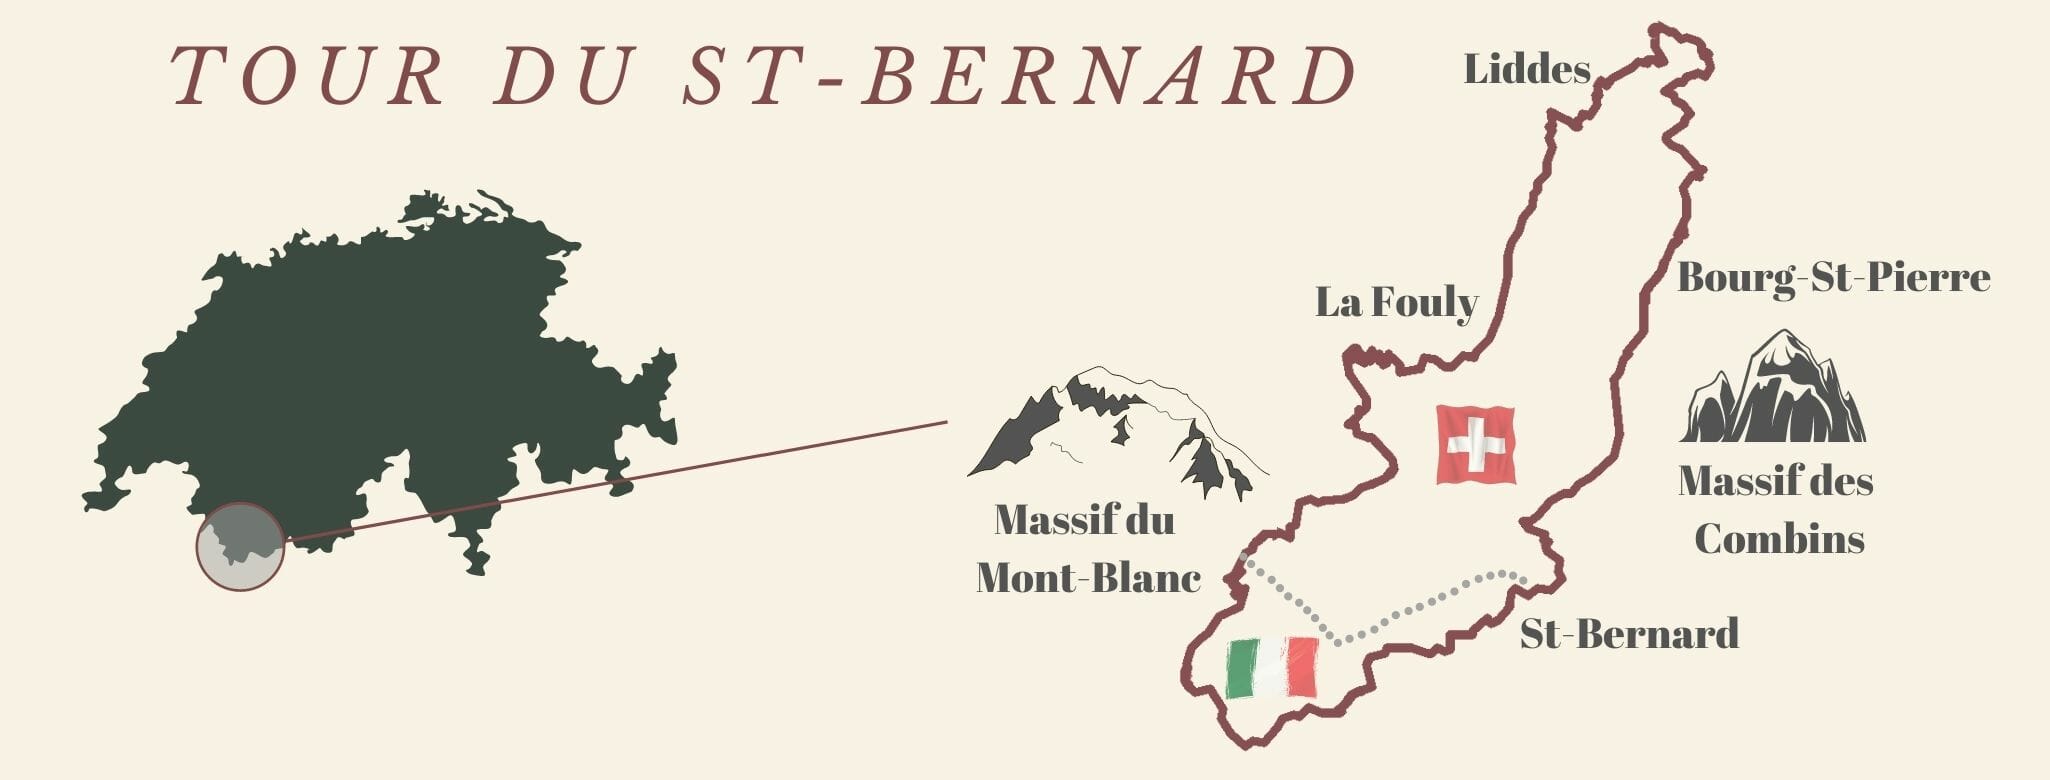
Located both in Switzerland and Italy, this 88km circle-hike passes at the foot of the superb Mont Blanc massif and the Combins massif. The great particularity of the tour would surely be the fact that it is still very recent! Created only in 2016, this itinerary is still much less popular and busy than the famous Tour du Mont-Blanc which passes right next to it (one of the stages is actually in common but we’ll talk about that later ;)).
By the way, if you are looking for another alternative to the tour du Mont-Blanc, we also did the wonderful tour des Combins in 2022. It is the other neighbor of the Saint-Bernard tour which makes, as the name says, the tour of the Combins range. A very nice hike that can be done in 5-7 days with many variations for all levels.
Our Video of the Tour du Saint-Bernard
If you are not yet ready for the (long) reading of this article, we suggest you start with a little video. Make yourself comfortable, turn on the HD and enjoy the beautiful landscapes! 🙂
For this itinerary, we advise you to take the map with you in digital format. To do so, you can download the map below by going to AllTrails. To download the map in the format of your choice (GPX, KML, Garmin), simply create a free account on the app or the website. To continue in free, we advise you to import the track in your usual hiking application (Maps.Me for example with the KML format)
If you want to be able to access the route in AllTrails offline, you will have to switch to the AllTrails+ option. The subscription costs 29,99€ / year, but if you go through this link you will get a 30% discount for 1 year (20,99€) (we have had it for several years and are very happy with this app. To read our full review, you can take a look at this blog post).
For each stage, you will find the link to the map to download in the practical information section of the stage.
From Bourg-Saint-Pierre to the Saint-Bernard Hospice
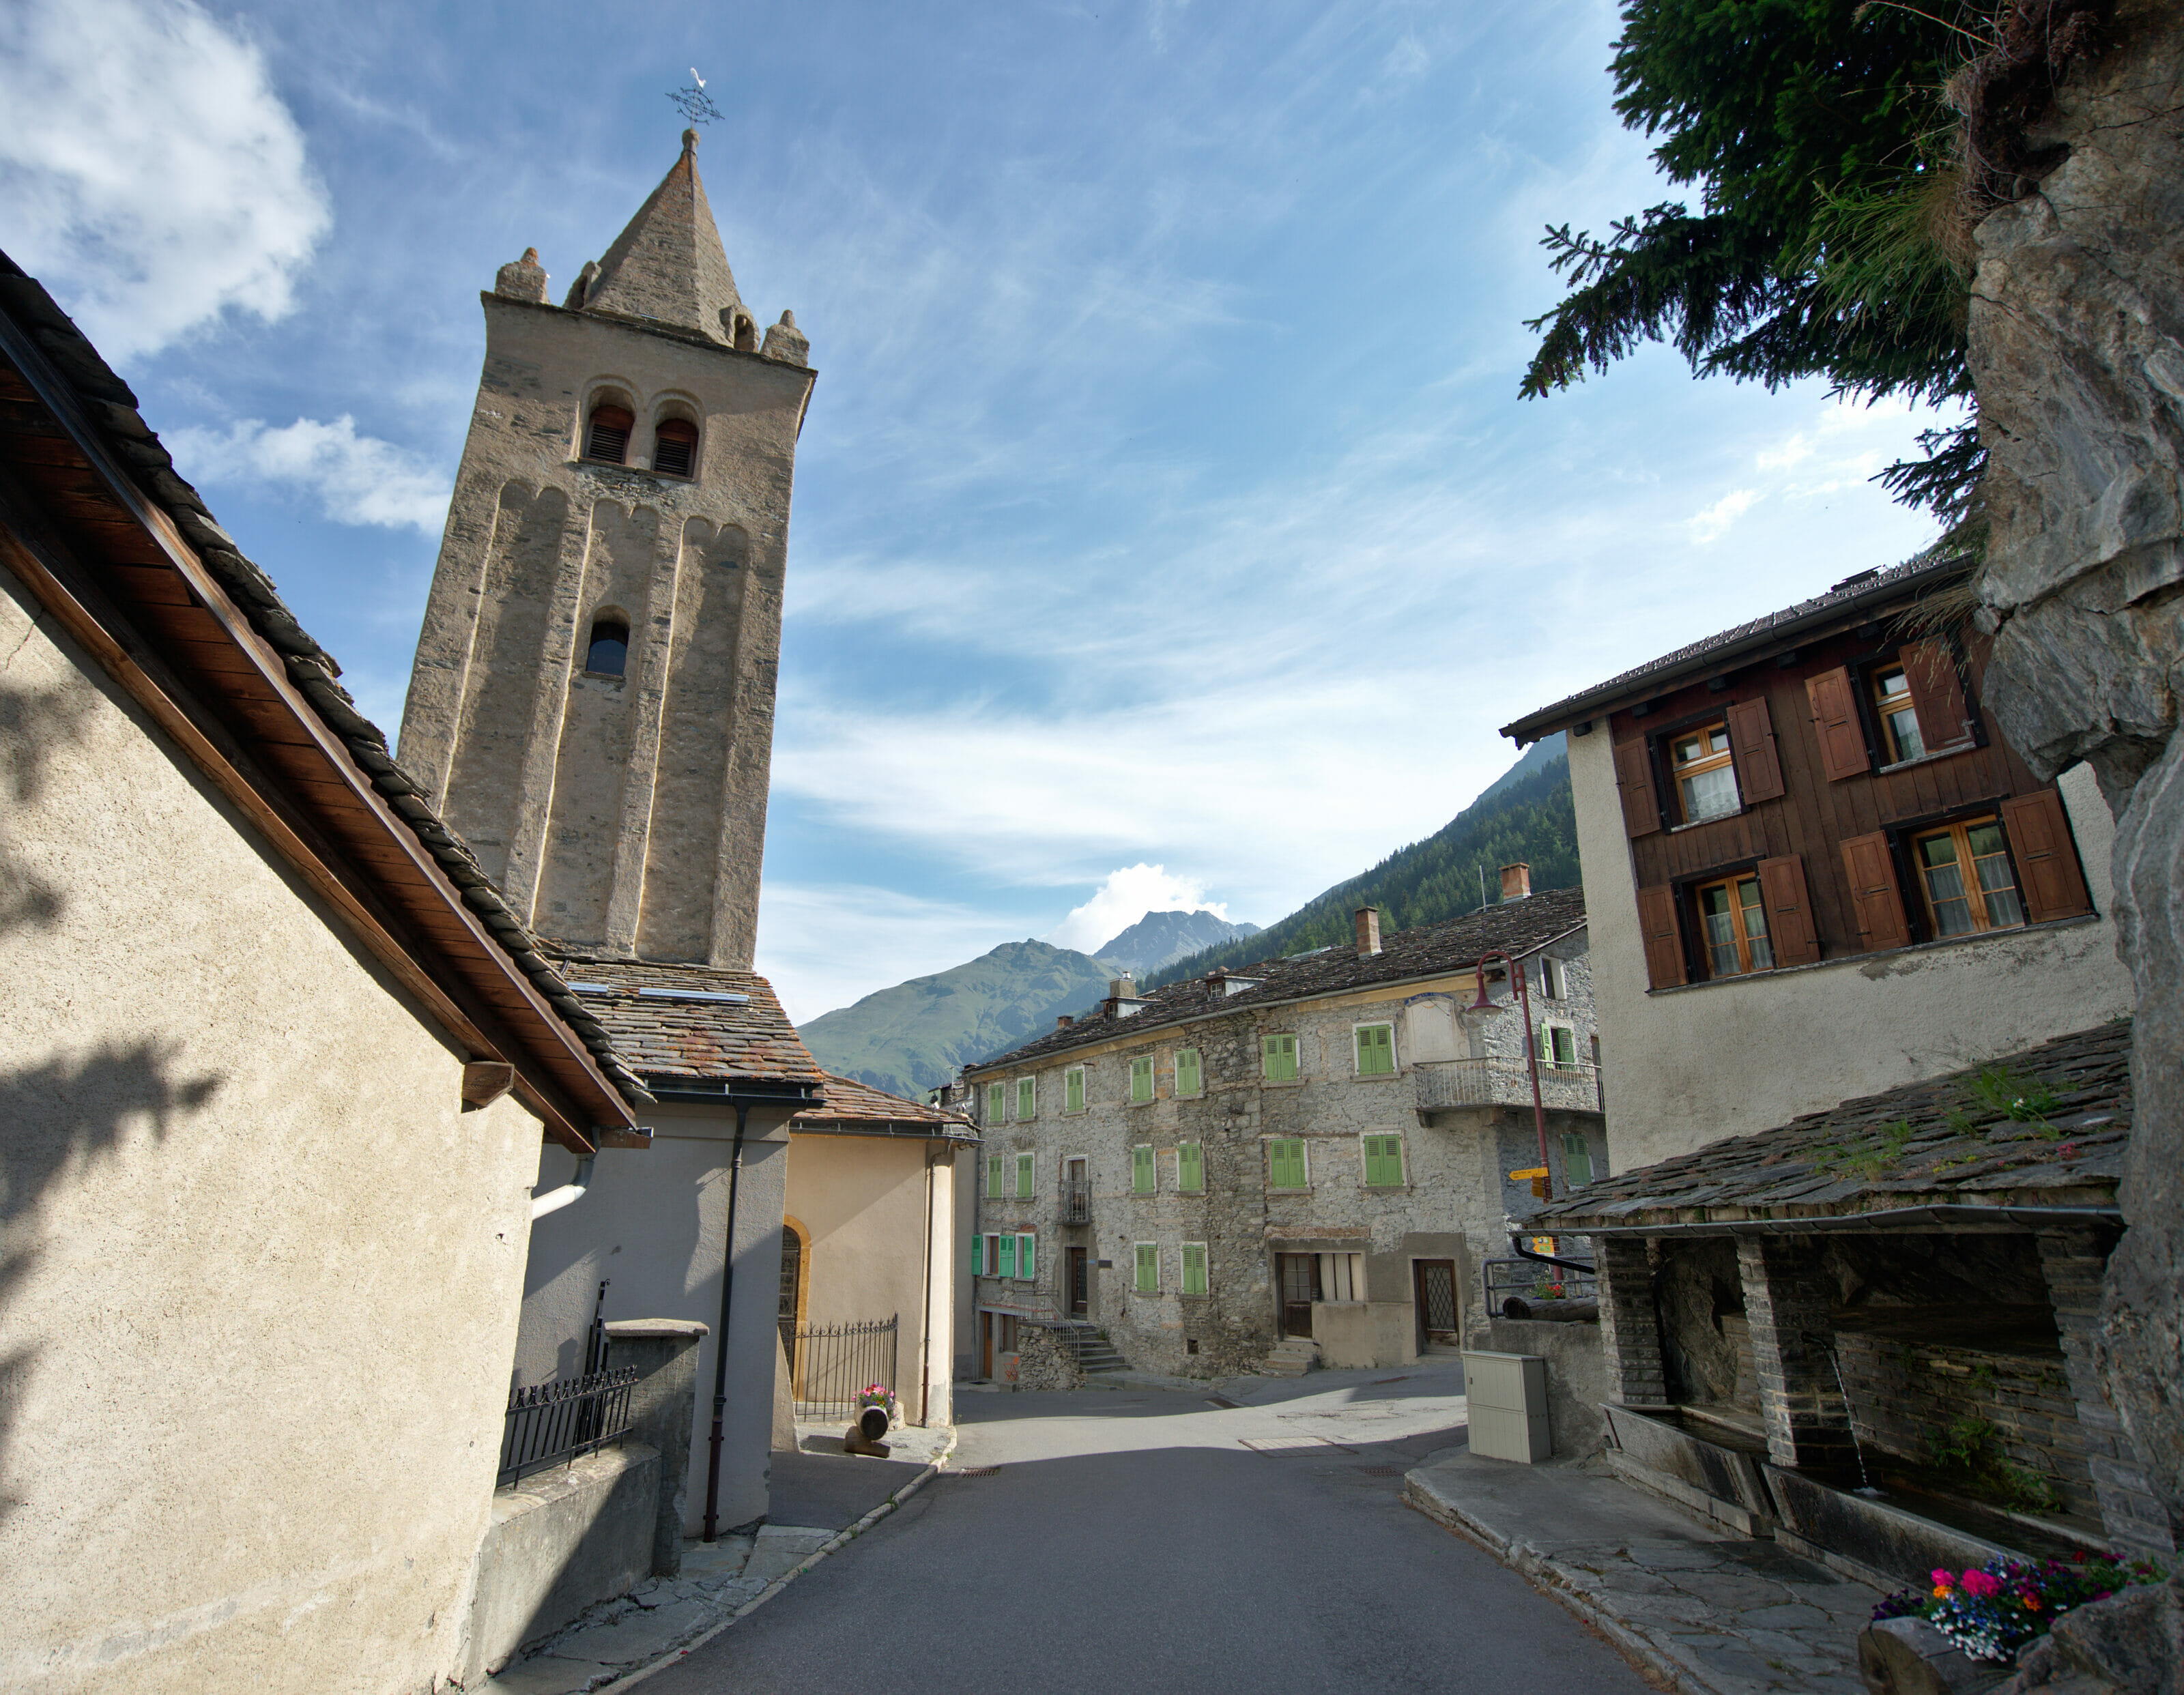
For this first day on the tour du Saint-Bernard we started early in the morning from our home, Morgins, and did an hour drive to the village of Bourg-Saint-Pierre. It was about 8:30 am when we started walking towards the Lac des Toules. Starting your hike in Bourg-Saint-Pierre is not bad at all because it allows you to have a smooth start. The path is wide, the slope is not too steep and it is really without any difficulty that you’ll arrive at the level of the dam aithin an hour.
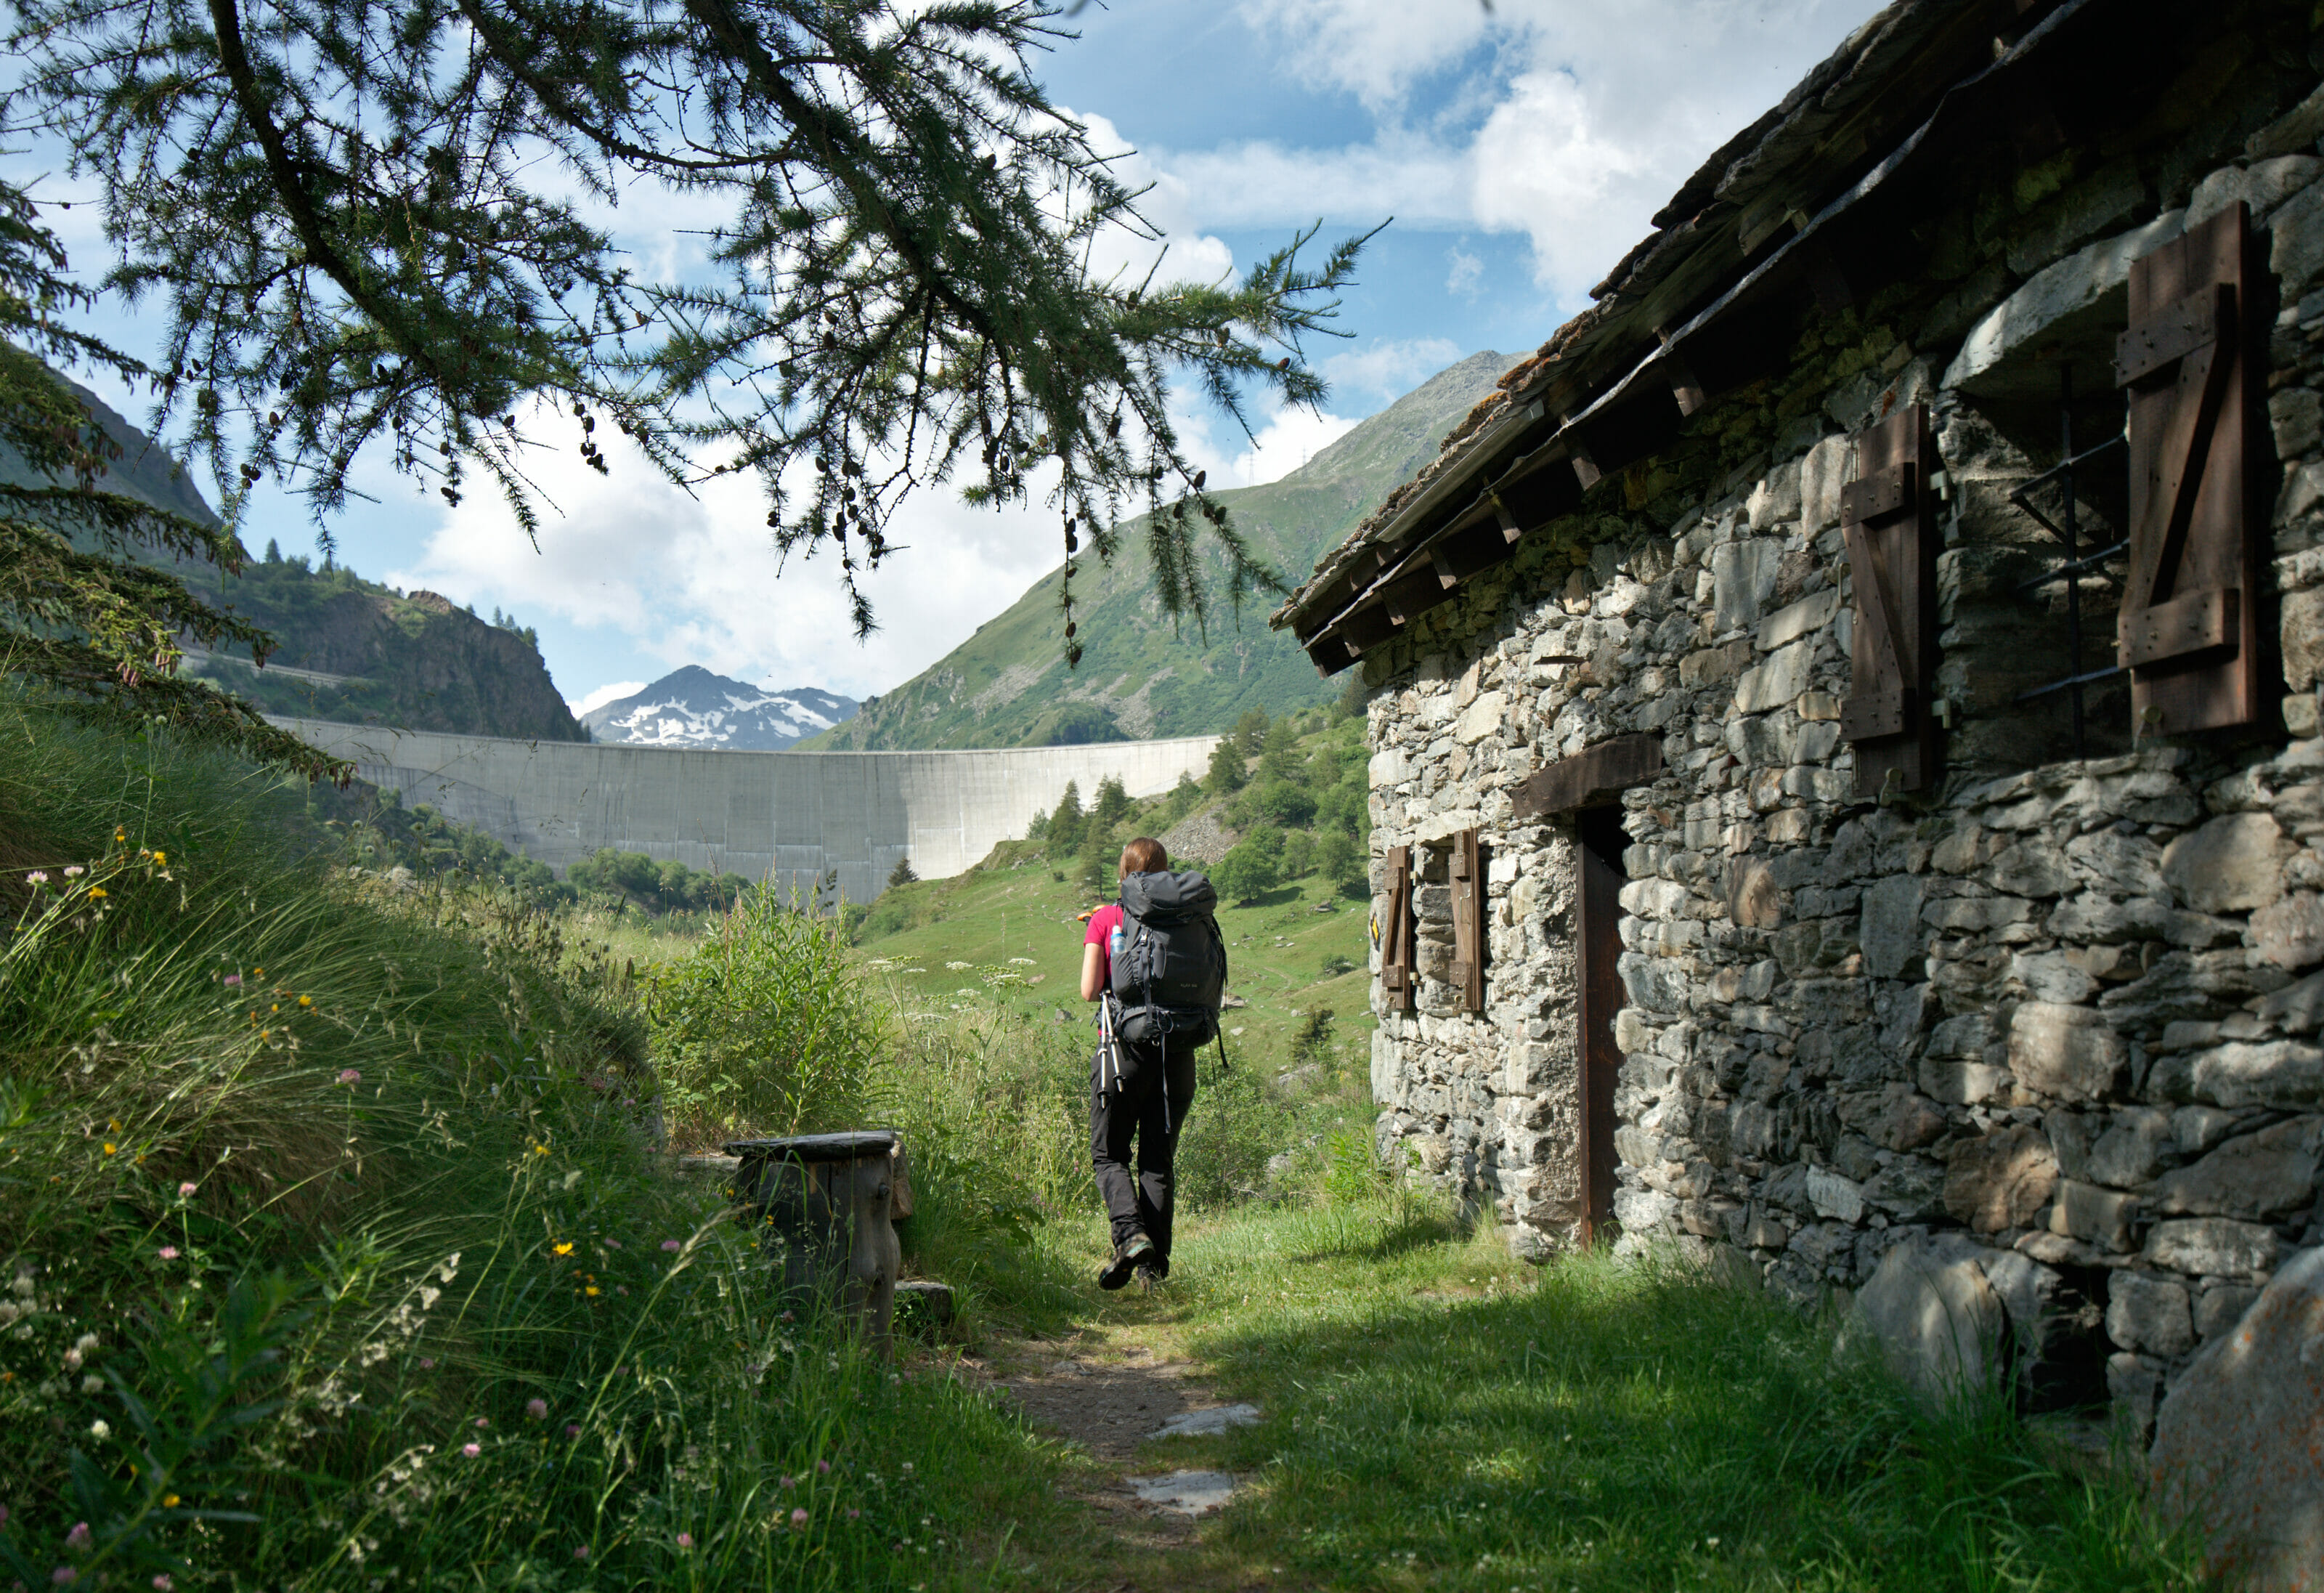
There we met a group of hikers walking along the Via Francigena, a pilgrimage route of more than 2000km that runs from Canterbury in England to Rome in Italy. We started talking and ended up sharing a part of the trail together up to the Alpine pasture of La Pierre. There, our paths separated briefly… Indeed, the Via Francigena takes a more “direct” path towards the Saint-Bernard pass, while the tour du Saint-Bernard opts for a small “detour” over the Col des Chevaux.
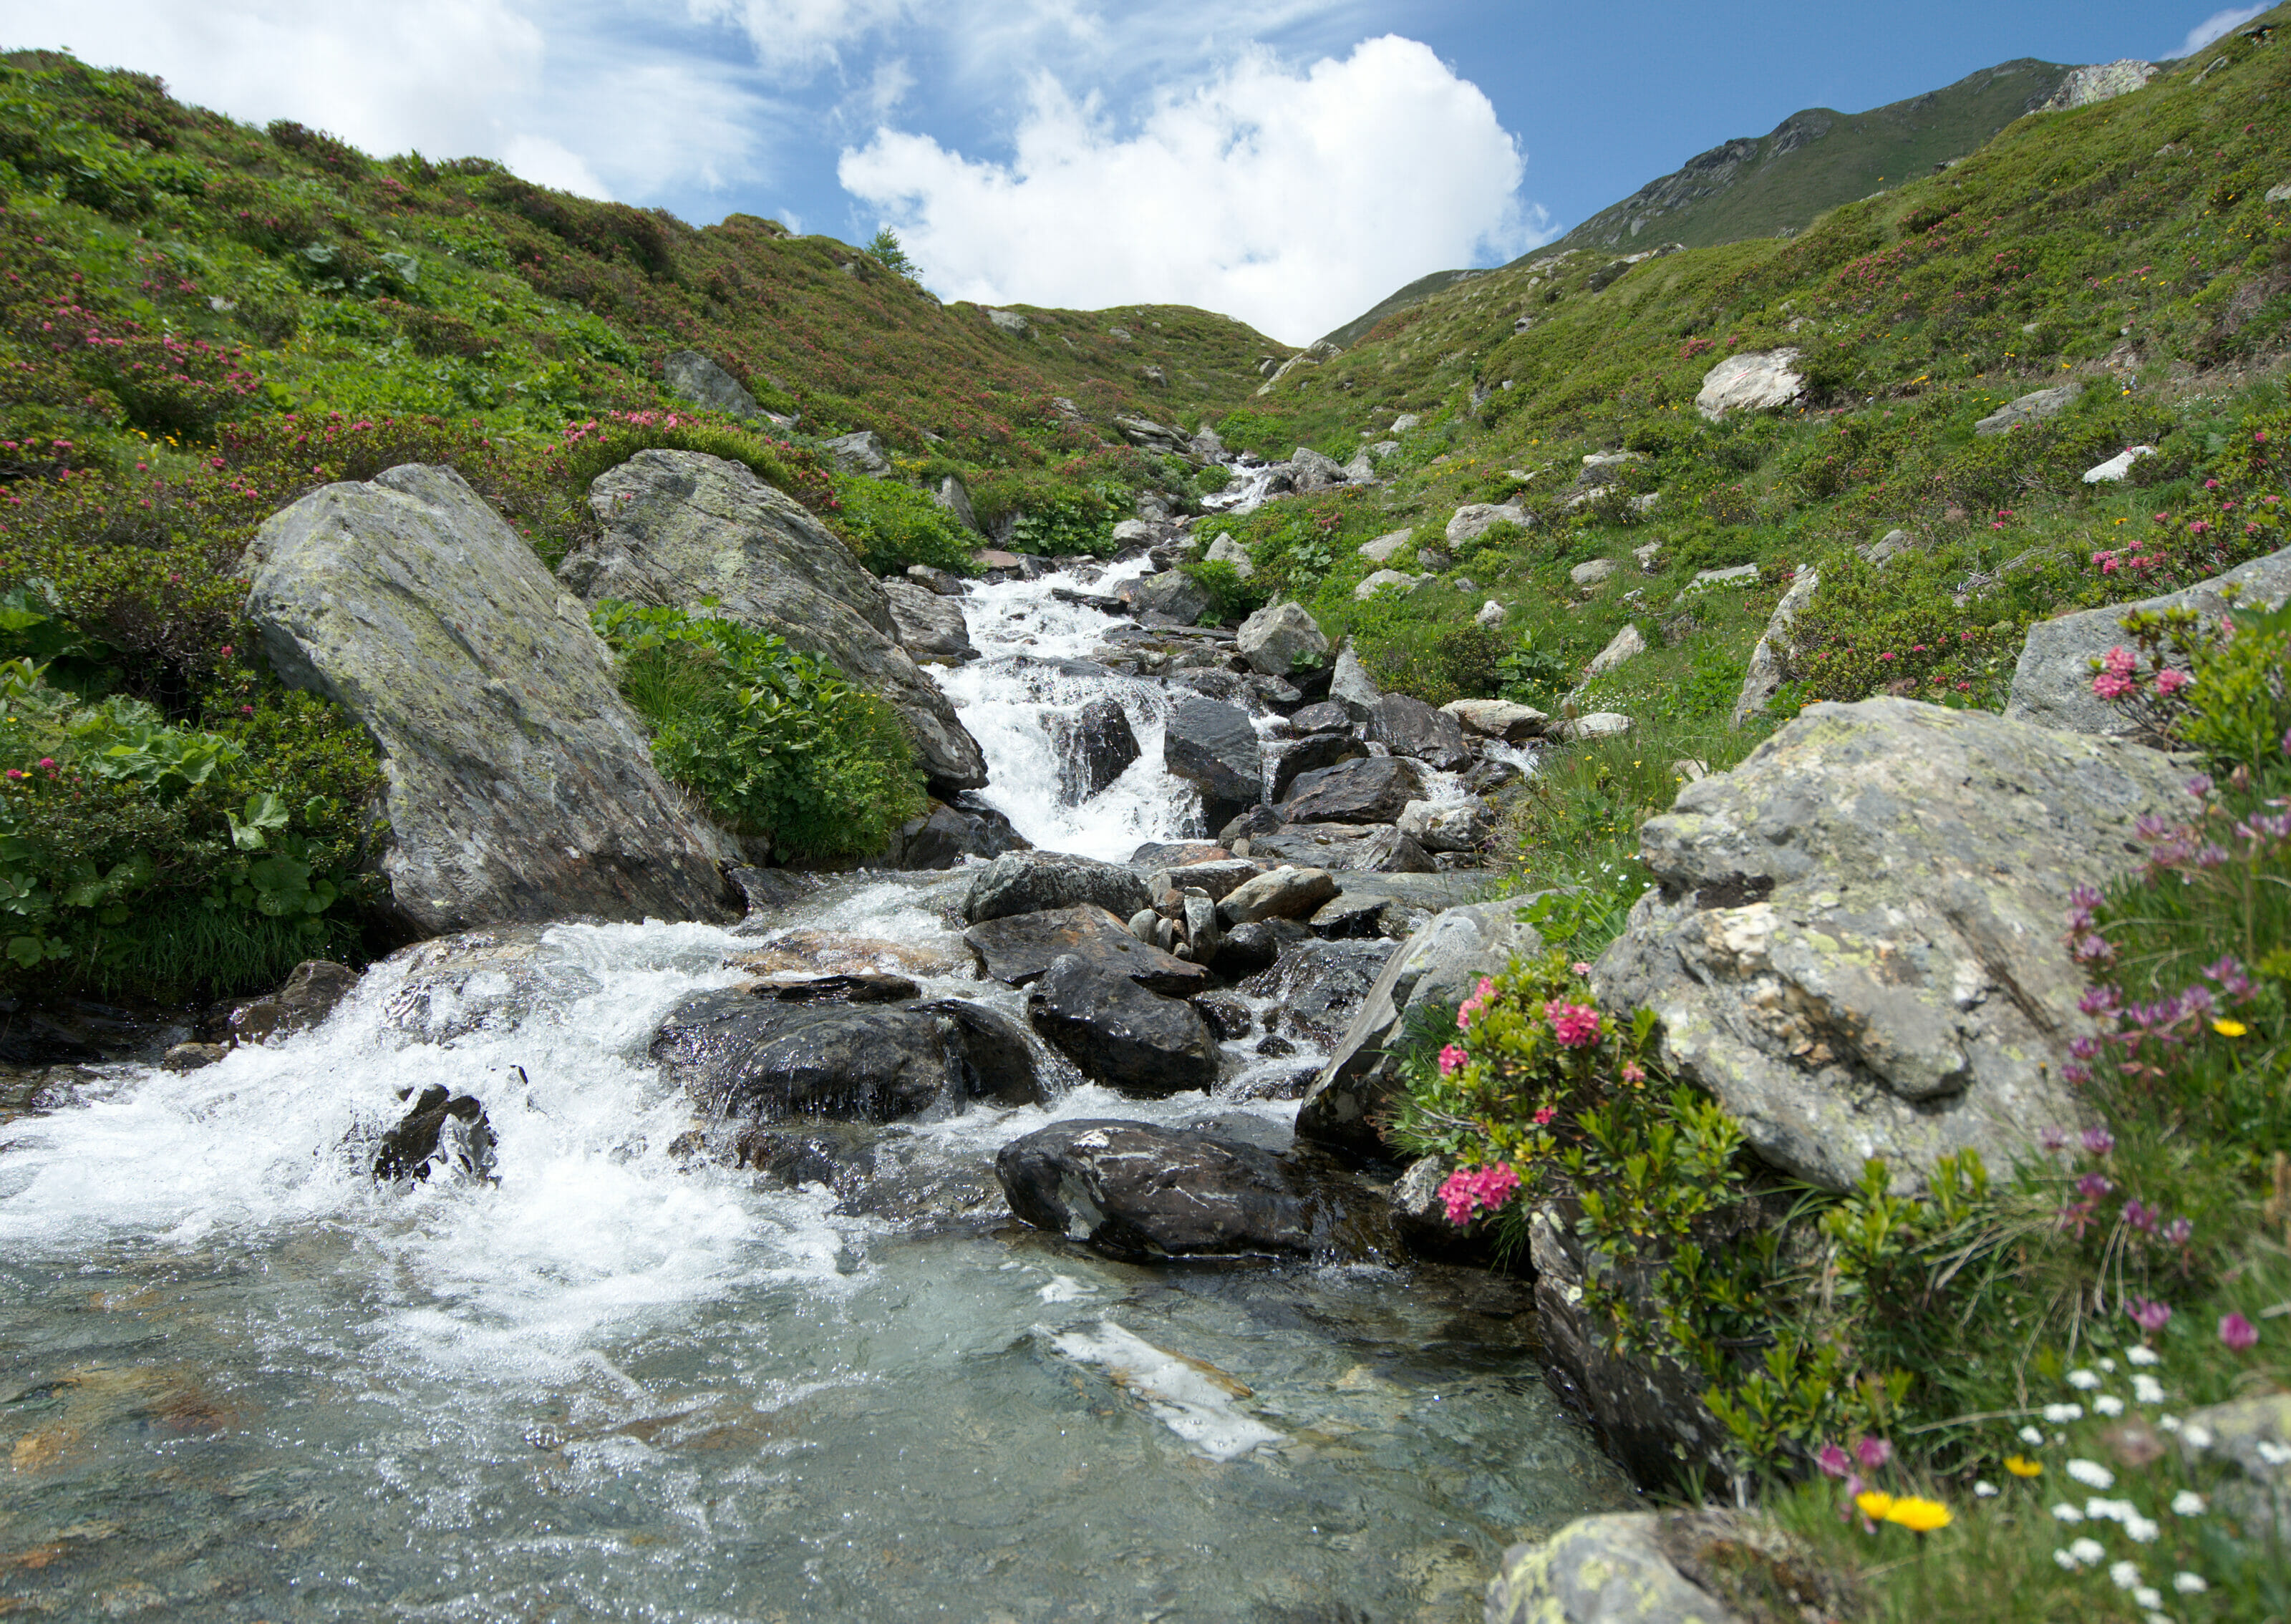
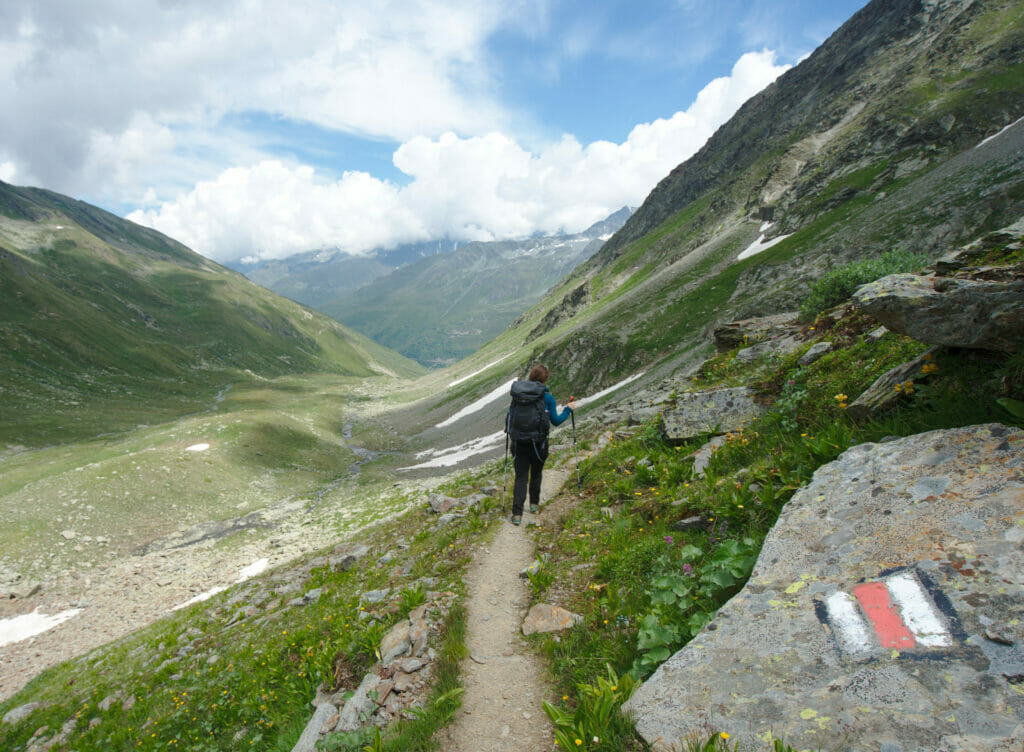
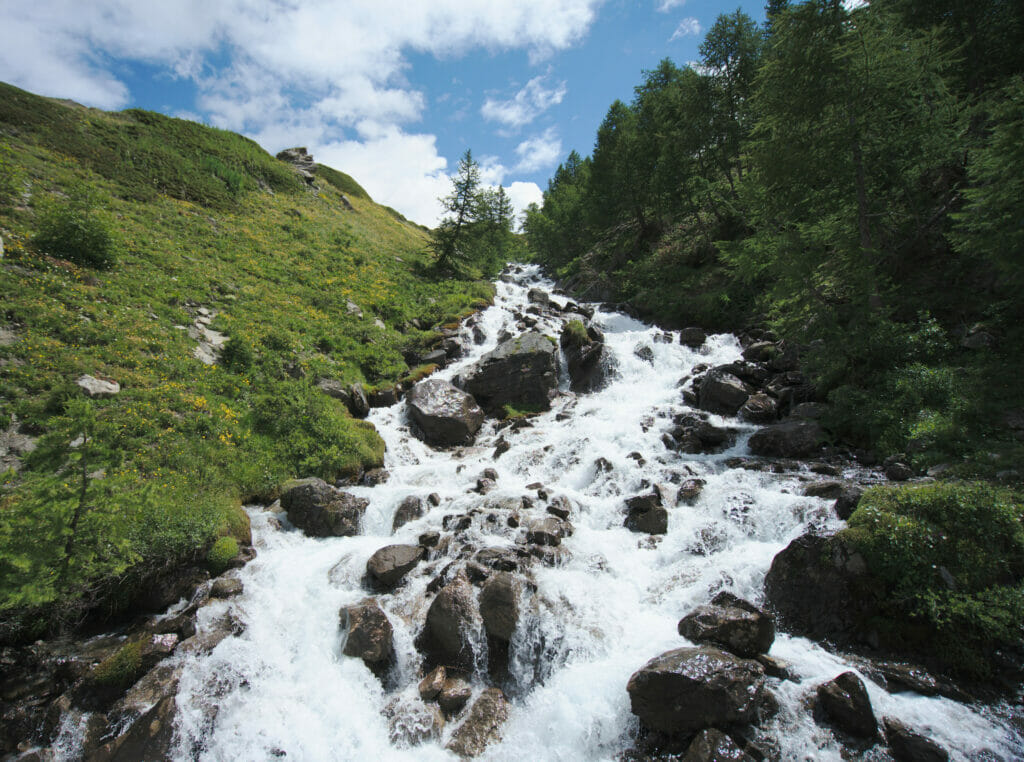
From the mountain pasture of La Pierre, we gently climb up the combe de Drône along the small torrent. This section is really magnificent with its many flowers! We love it!
After an hour of ascent we had reached the bottom of the Combe and had the Col des Chevaux in front of us. It’s very funny because this pass can look quite impressive from below, but it turned out to be much easier than expected! The only thing that worried me a bit was a last little snow that we had to pass, but in the end it turned out to be nothing very dramatic.
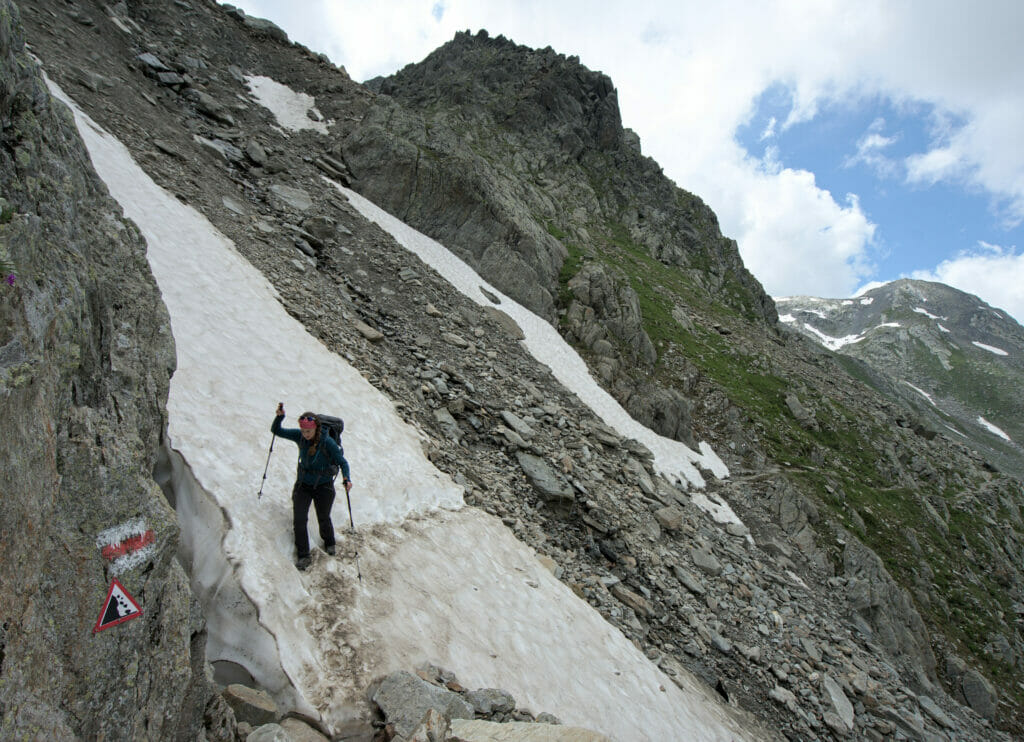
Once at the Col des Chevaux Benoit obviously could not resist going for a little “extra hike” on the surrounding summits while I… well I was enjoying a well-deserved break with a view! 🙂
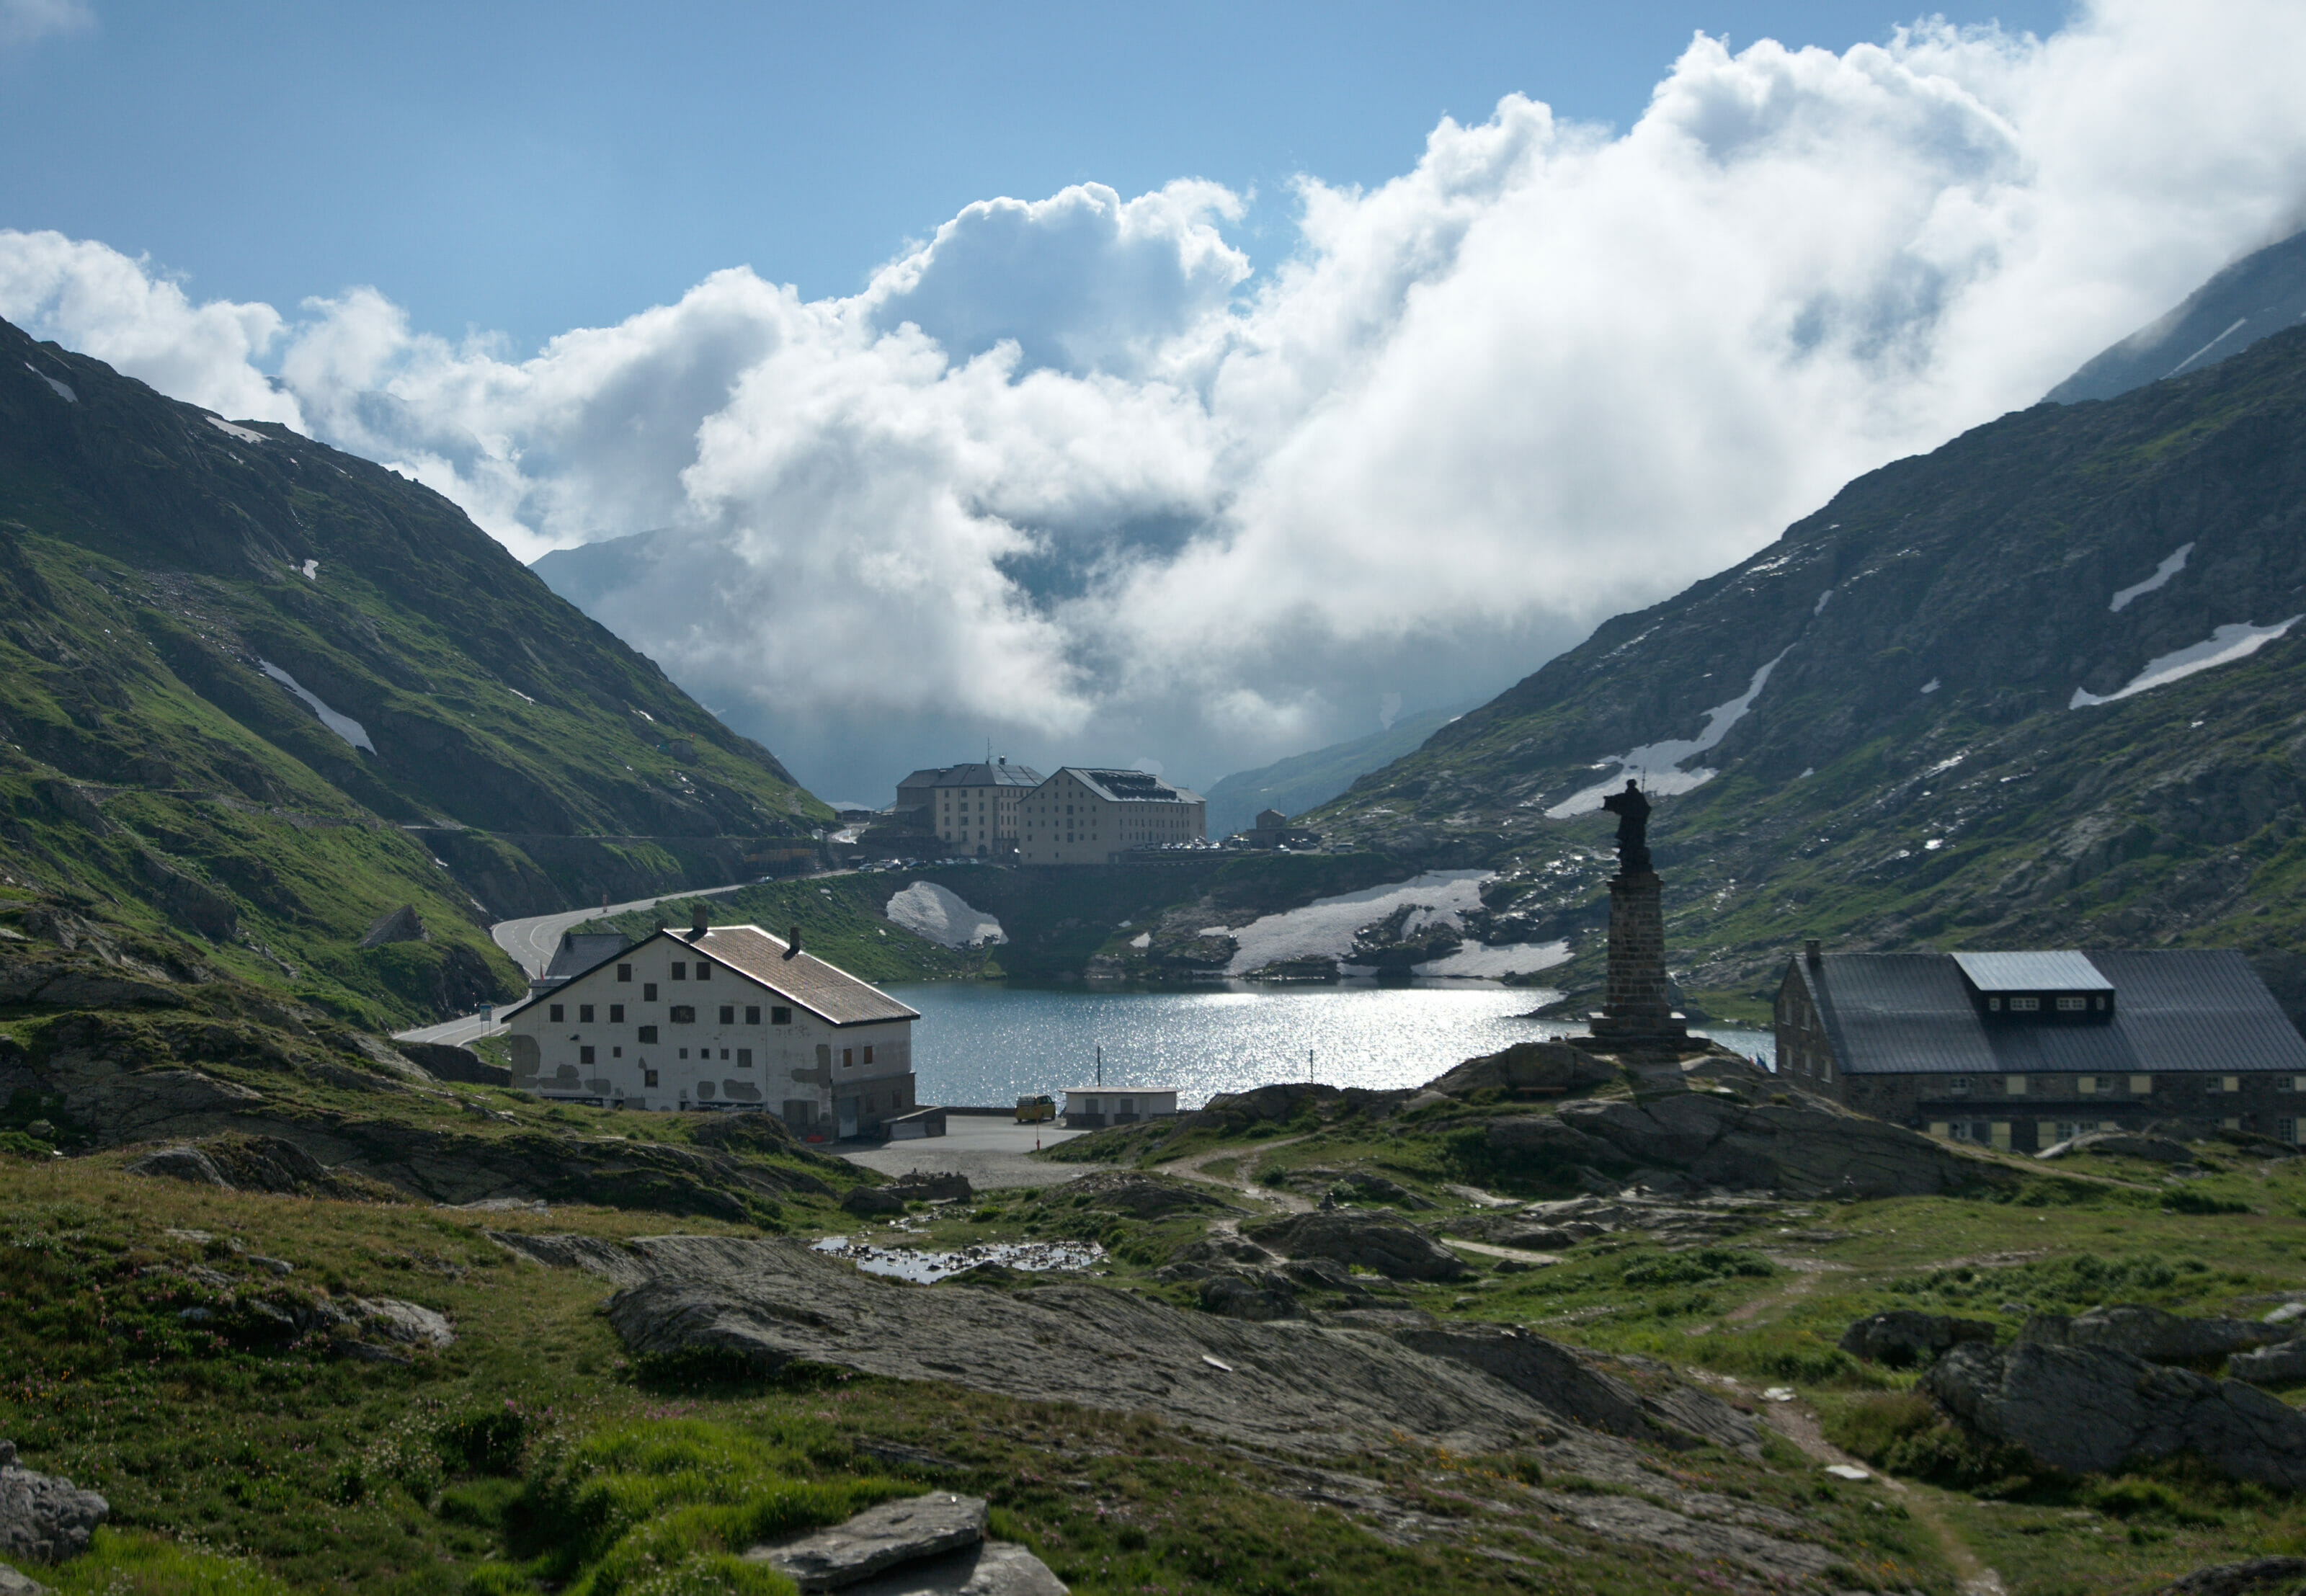
From the pass it is less than an hour’s walk to the hospice and the path is really very easy. When we arrived at the hospice, we started by going for a little walk around the lake which is at the pass and enjoy the beautiful lights at the end of the day before going for a little drink at the hostel (and use their wifi ;)). A very nice first day which was not too difficult!
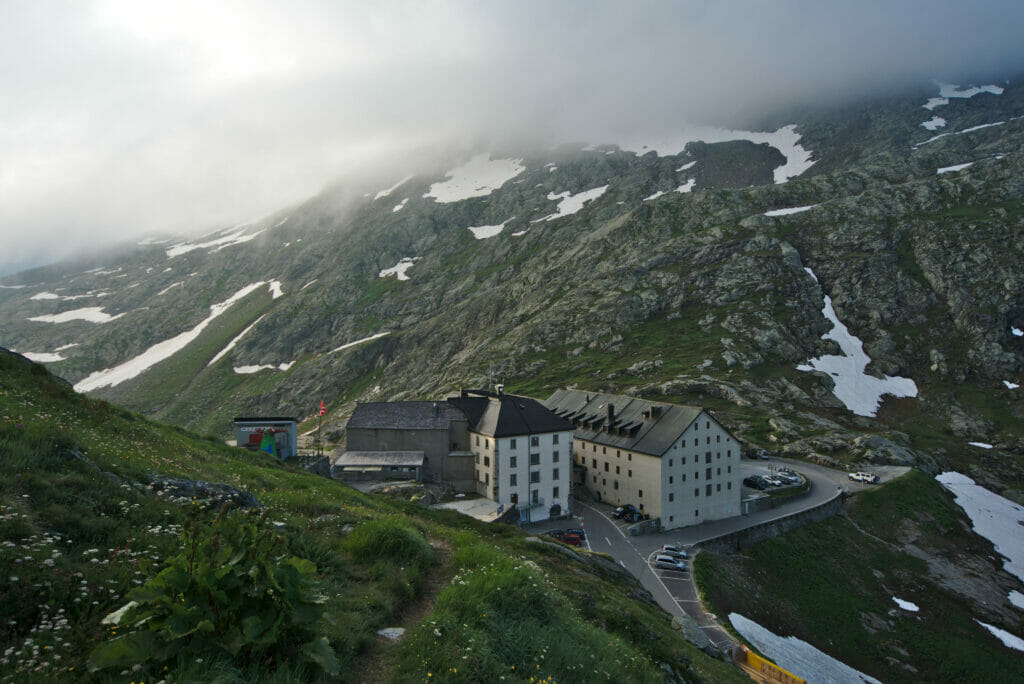
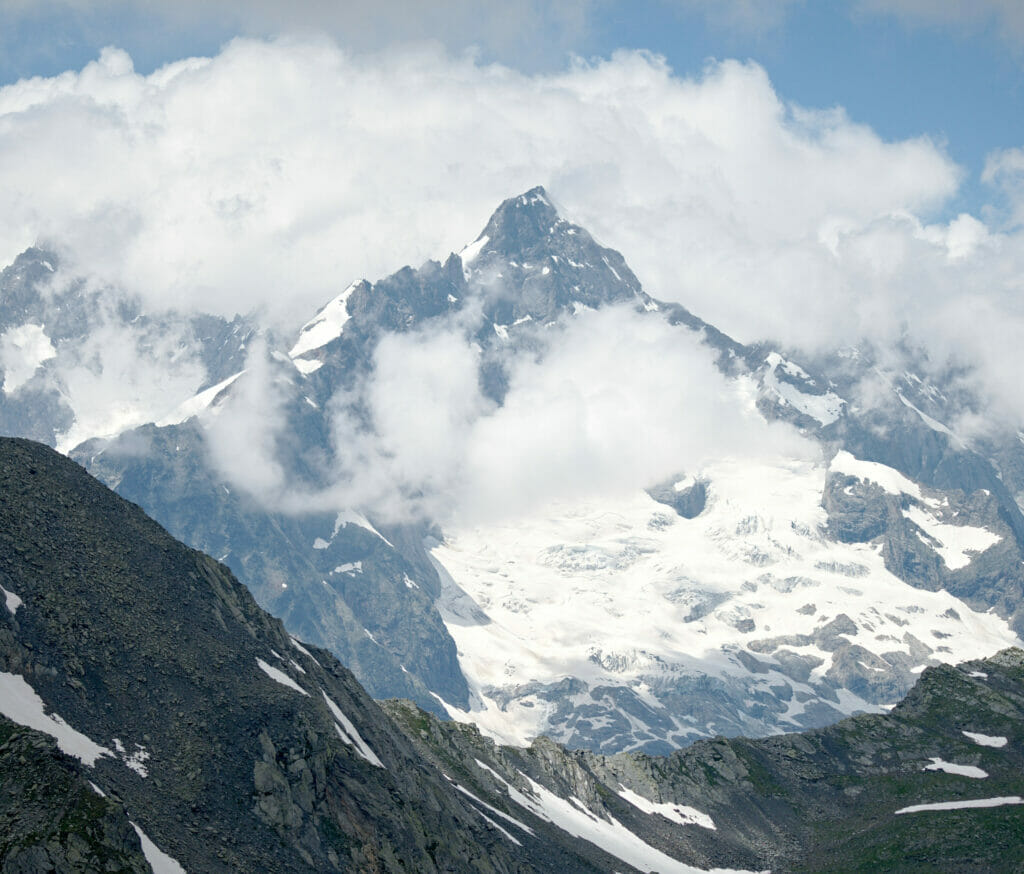
When we sat down to eat, we were surprised to find that we were sitting next to the 2 hikers we had met on the way up. We spent a very nice evening talking about hiking and traveling with the whole table! By the way, if you want to know more about the hospice du Saint-Bernard, you can have a look at this article. We devoted a whole chapter to it at the end of the article.
Infos
- Stages: Bourg-Saint-Pierre – lac des Toules – Combe de Drône – Col des Chevaux – Saint-Bernard Pass
- Distance: about 13,5 km
- Elevation change: 1300m D+, 500m D-
- Hiking time: about 5h30
- Accomodation: Hospice du Grand-Saint-Bernard. The night in the dormitory costs 32 CHF with breakfast or 50 with dinner! The shared room costs 47 per person with breakfast or 65 per person with half board. More information on their website
- Note: if the hospice is full and you simply want more comfort, it’s possible to spend the night at the hospice hostel (just across the road). These are double rooms with private bathrooms (and dogs are allowed). see availability on Booking
Hike of the day – The map:
Download the route on AllTrails
Hike to the lacs de Fenêtres
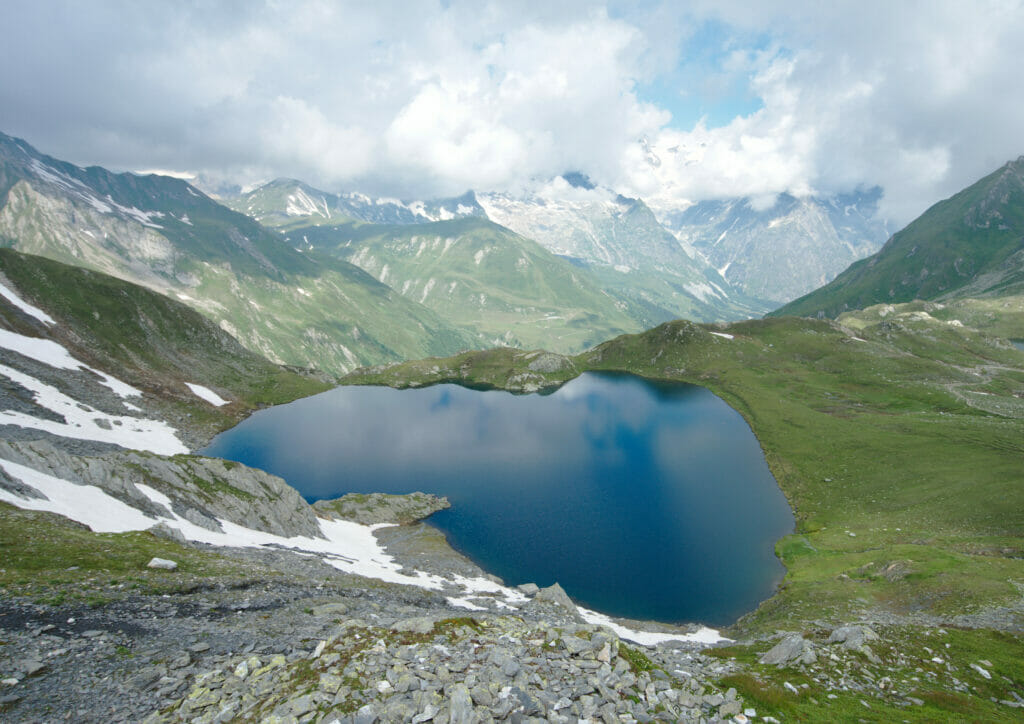
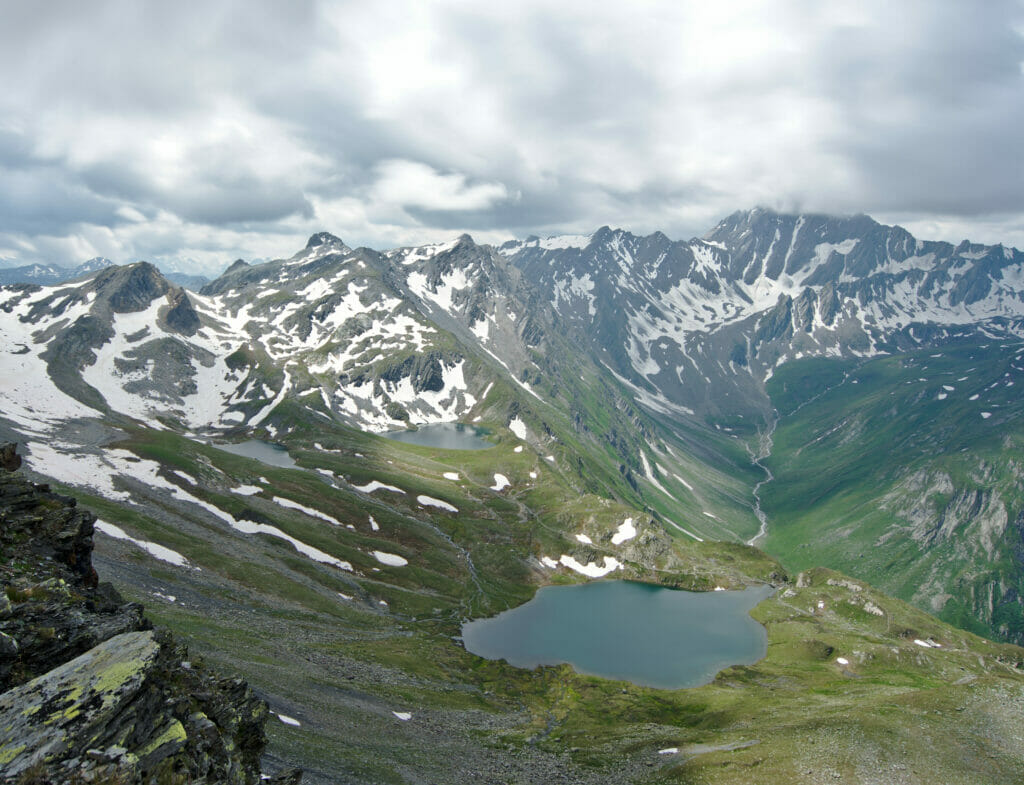
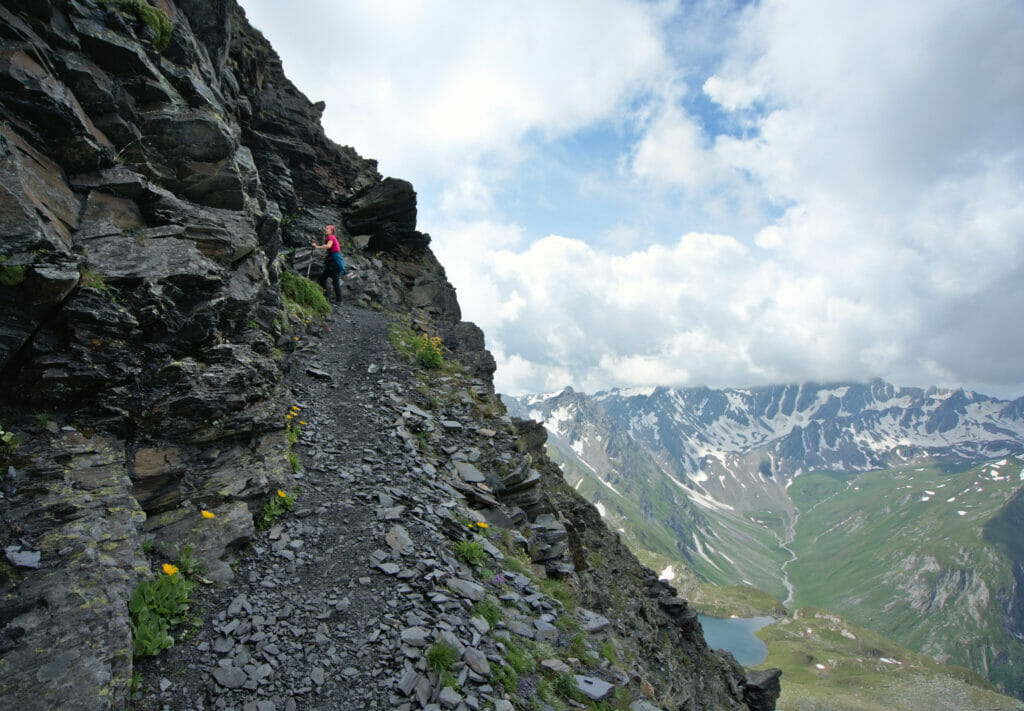
For our second day in the Pays du St. Bernardwe decided to do a little “extra hike” which is not part of the official tour and left for a circular hike around the lacs de Fenêtre. Starting from the hospice, we completed this superb 12km loop in 5 hours of walking. Find all the details about this beautiful hike between Italy and Valais in our article dedicated to the Lacs de Fenêtre.

From the Saint-Bernard Hspice to the Frassati mountain hut
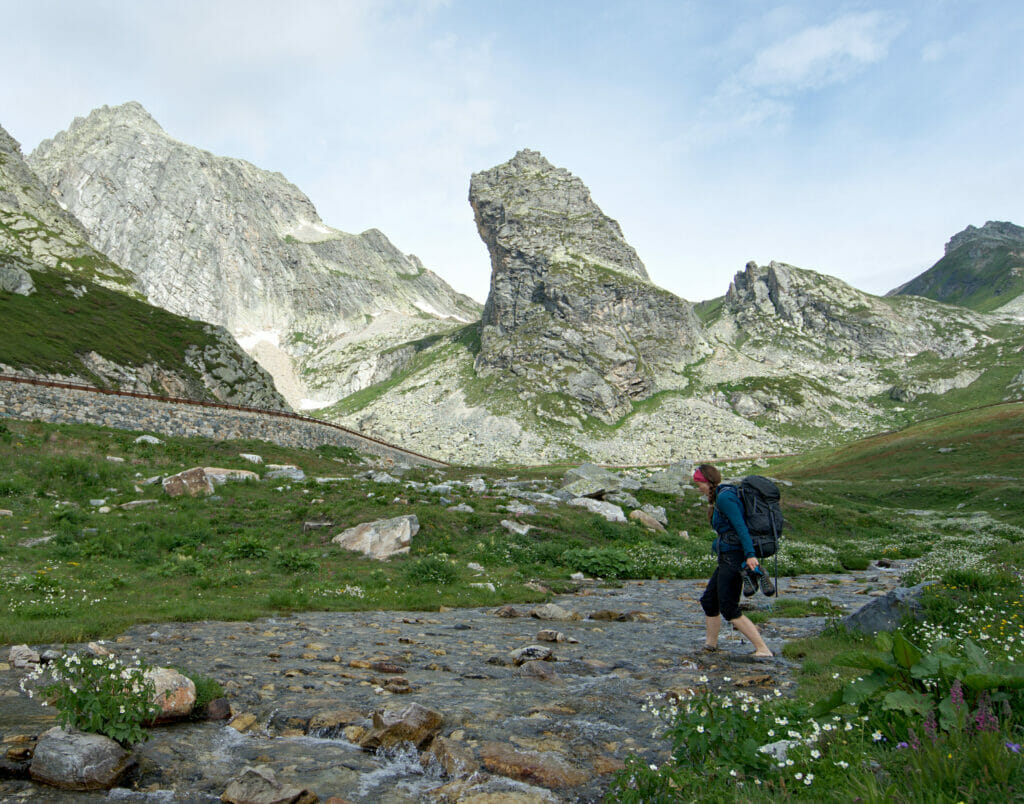
Leaving the hospice we started by taking the same path as the day before and reached the statue of St. Bernard on the other side of the lake. After a short descent on the path that cuts the road to the pass we took the balcony path that goes on the right towards the Saint-Rhémy pass. We really enjoyed this part of the stage for its breathtaking view of the Valle d’Aosta below.
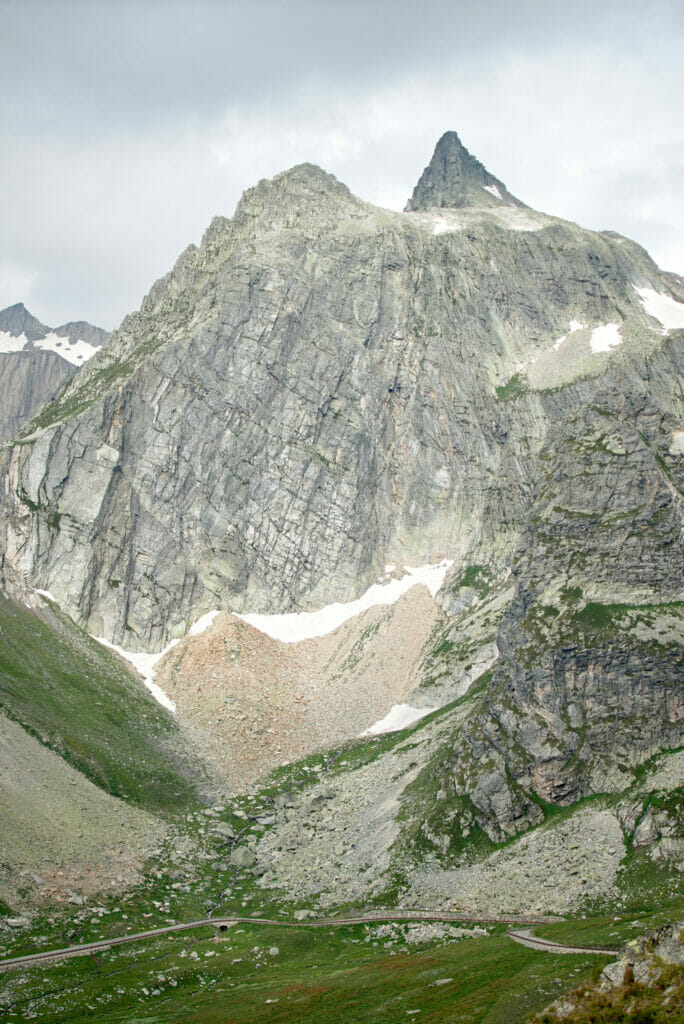

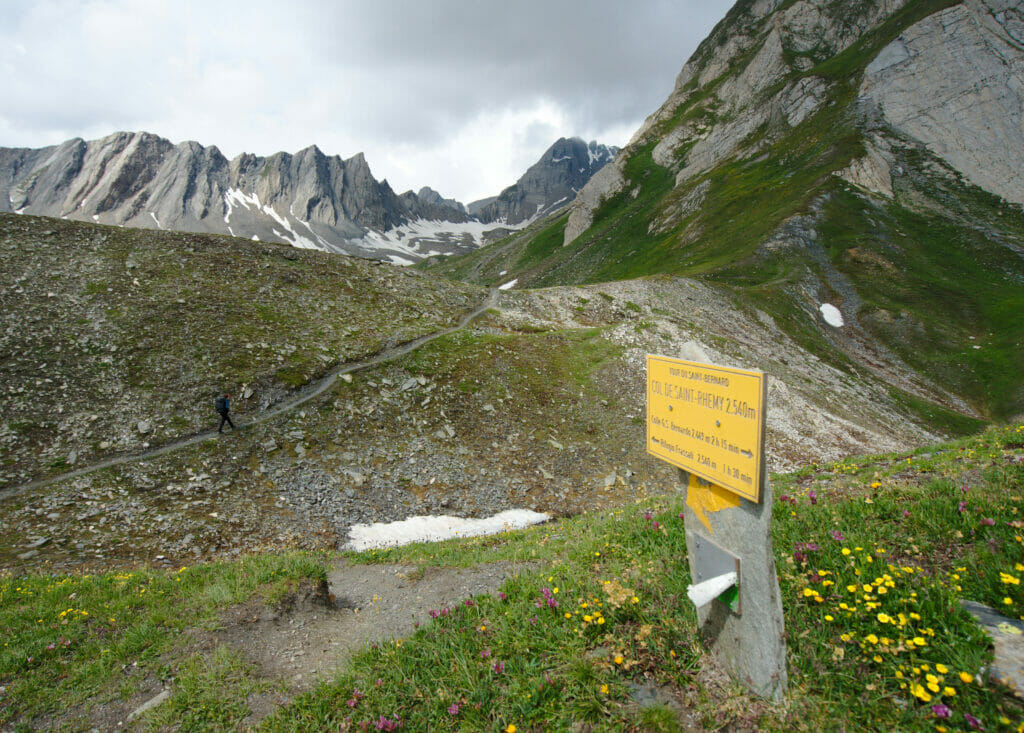
The ascent to the Col de Saint-Rhémy is relatively short and once at the top we stopped to enjoy the view for a while. But quickly, I understood that something “seemed fishy” for this day. After careful study of our map I quickly saw that we were going to climb up the valley on our right and pass the Col des Ceingles. The problem? This valley was totally in the shade and therefore still completely white! No matter how hard I looked, I couldn’t find a pass without snow… Remember I told you before that I didn’t like snow crossings… Well…
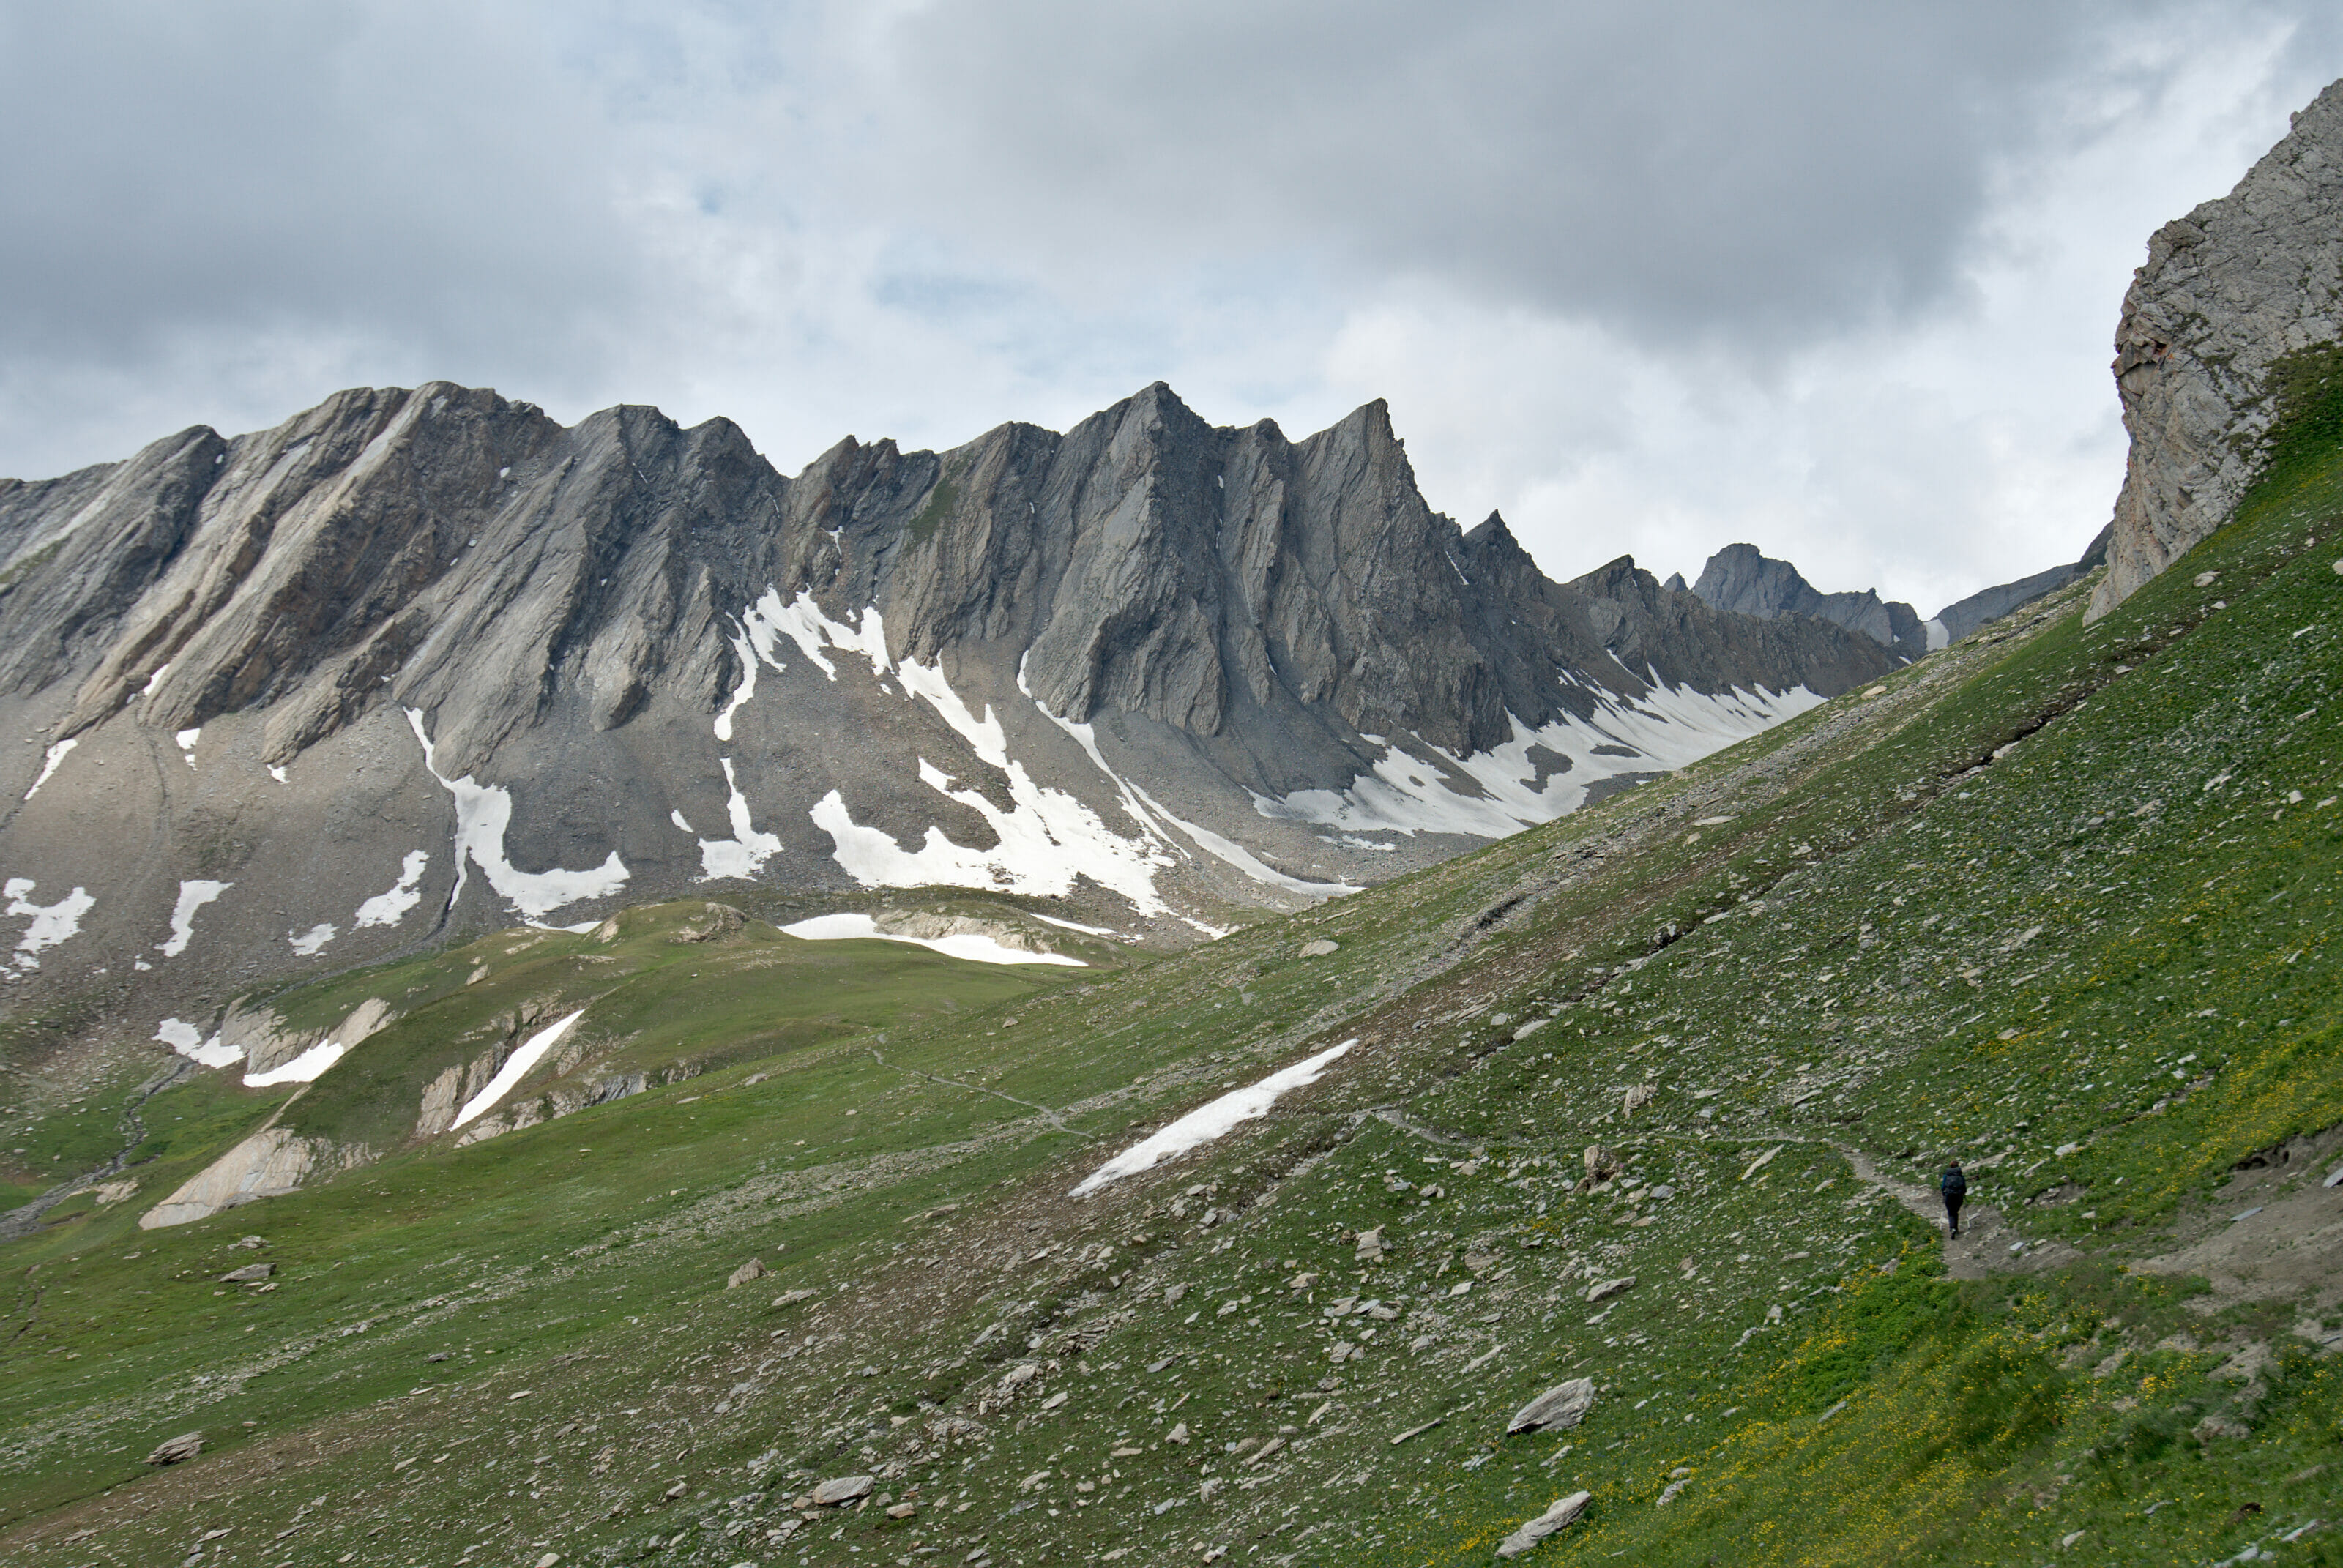
I’ll tell you that at that time I wasn’t showing off. I was clinging to the idea that as we moved forward, we would perhaps arrive on the “nice exposed and snow-free corridor” that leads to the summit.
Anyway, we got going again and during the whole ascent I couldn’t take my eyes off the damn pass. The path was relatively flat at this place and so the few snow crossings were pretty easy, but I still had this “white wall” in front of me.
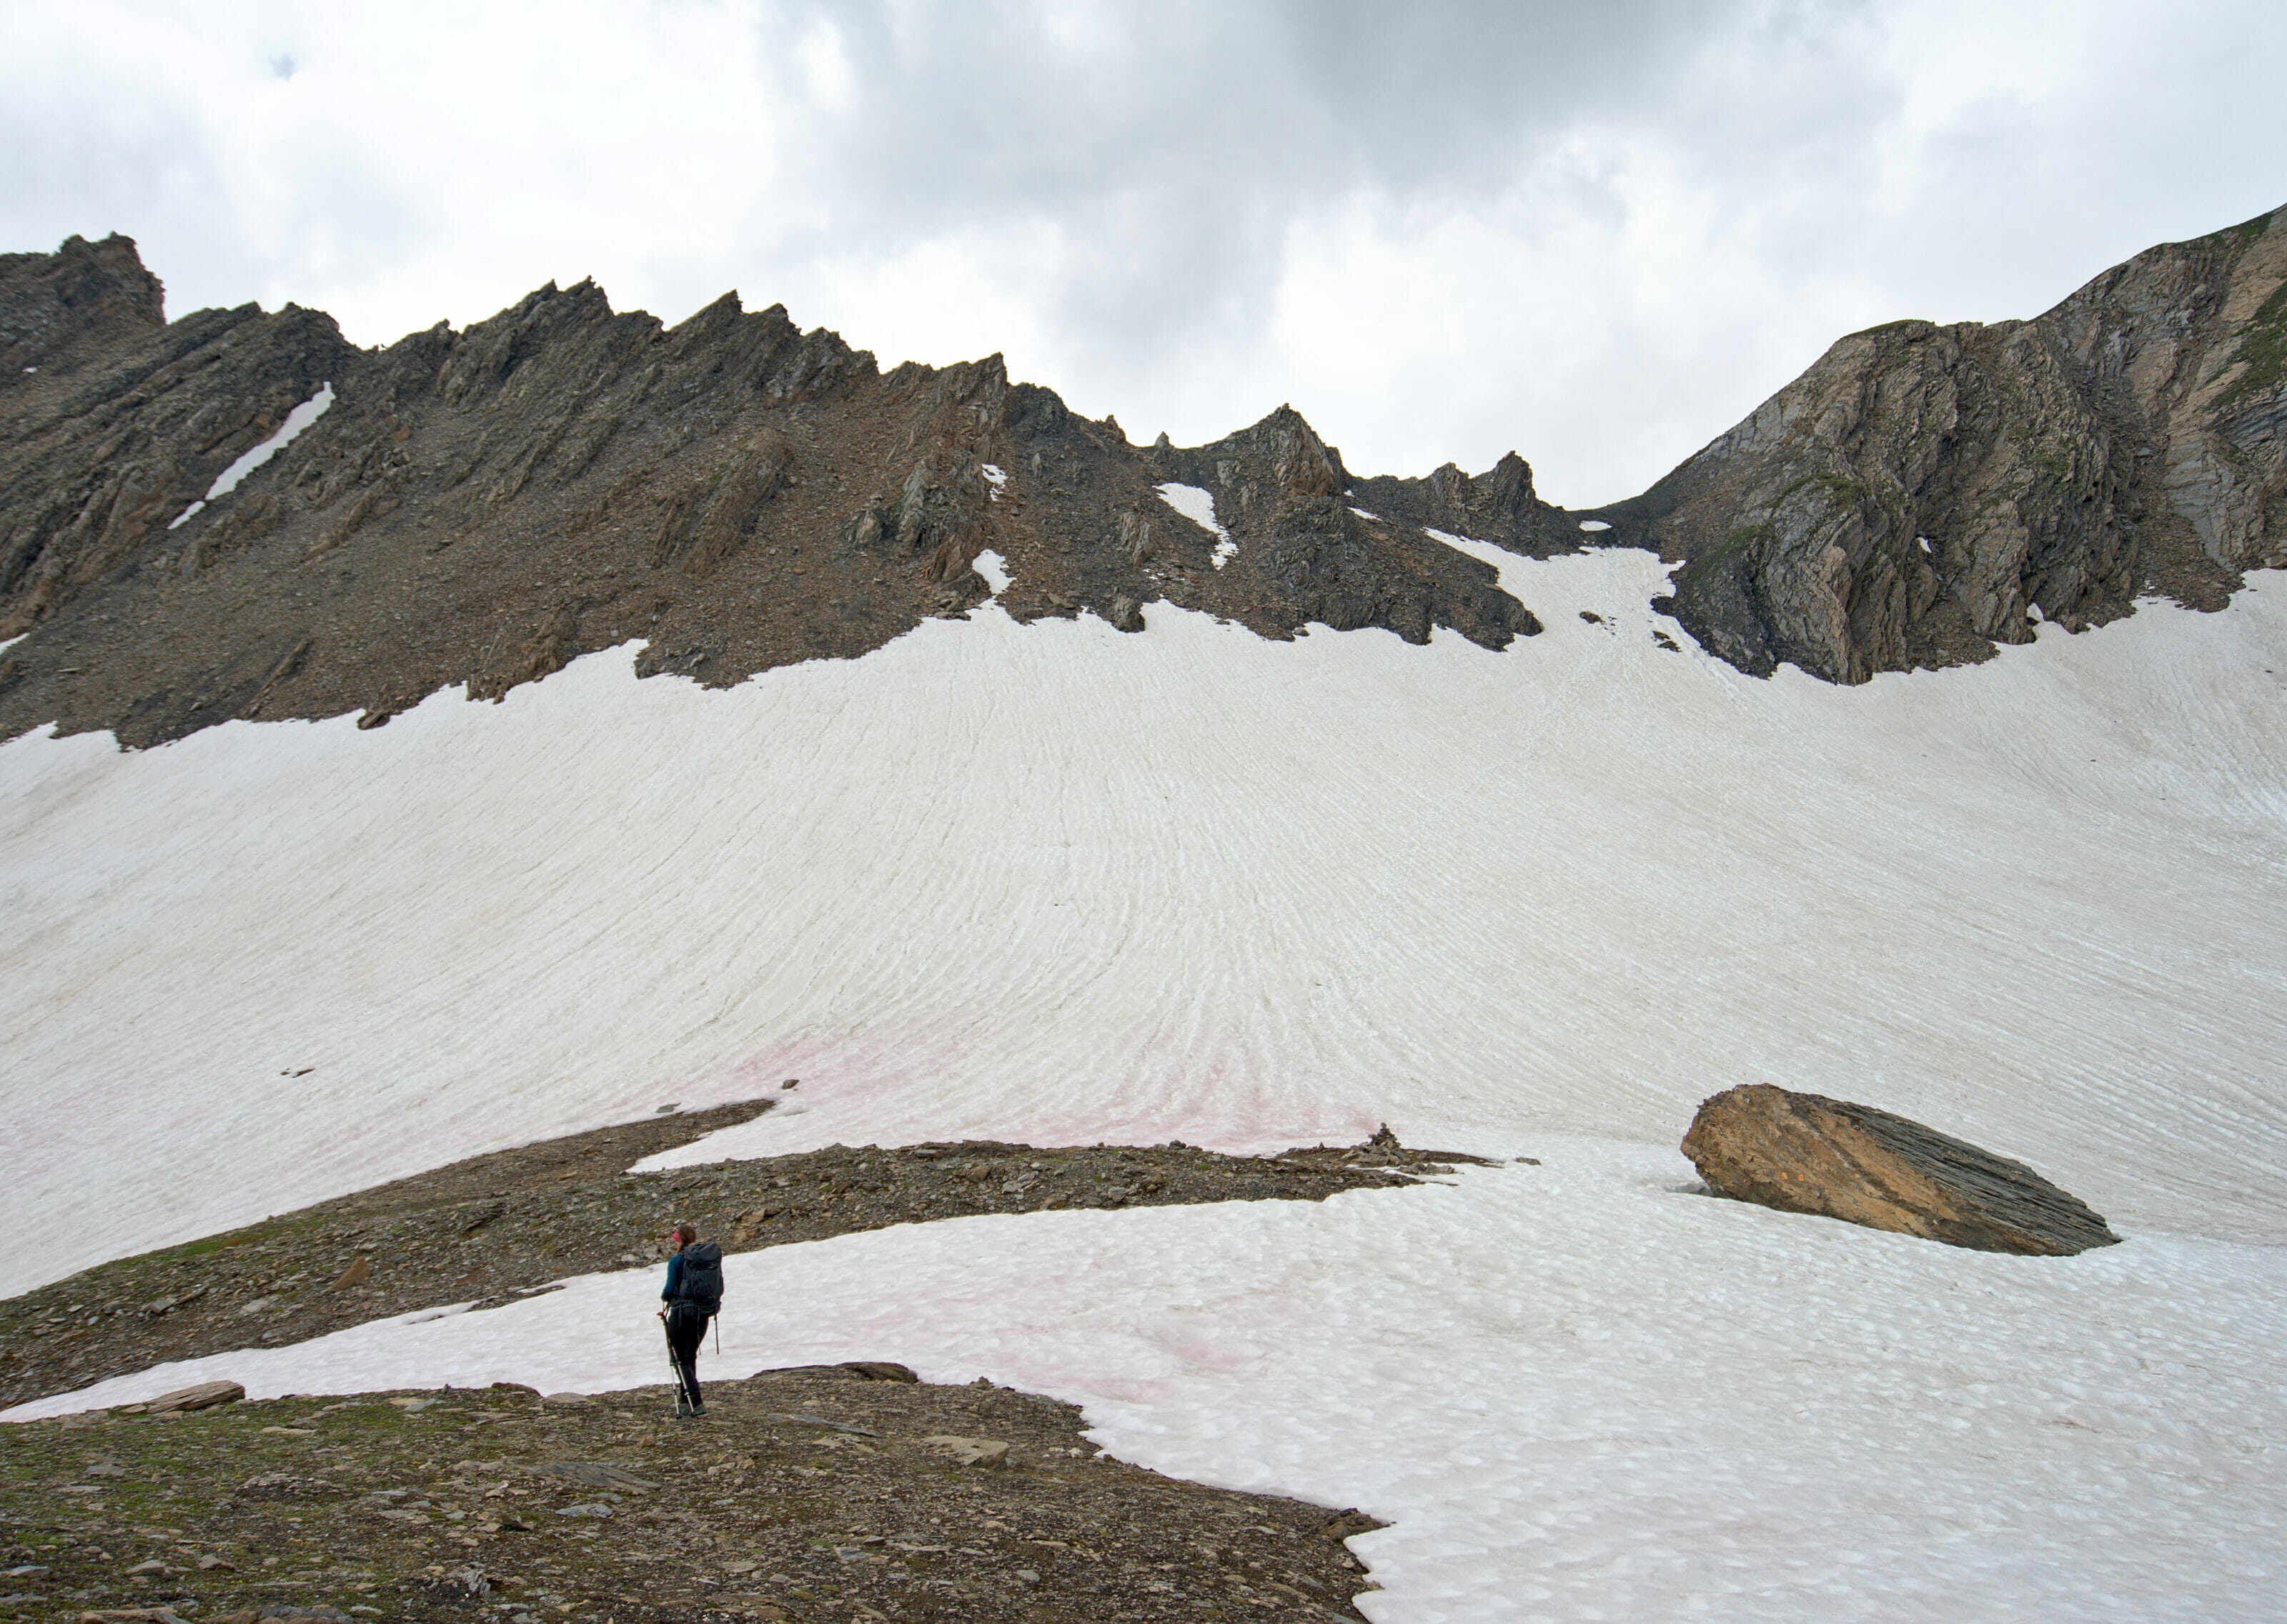
At the foot of the pass we still had something like 60 meters of difference in altitude and mostly snow almost up to the top. I briefly considered suggesting Benoit to turn around, but didn’t have had time to tell him anything as he was already on his way with “his plan”.
His plan? To pass in front of me and create a “staircase” in the snow by pushing his feet as far as possible! Some girls can brag by having romantic boyfriends who bring them flowers or chocolate… Well, my prince charming motivates me by promising me a beer for when we get to the hut and creates stairs in the snow! 🙂 Pretty nice I’ll have to admit. 😉
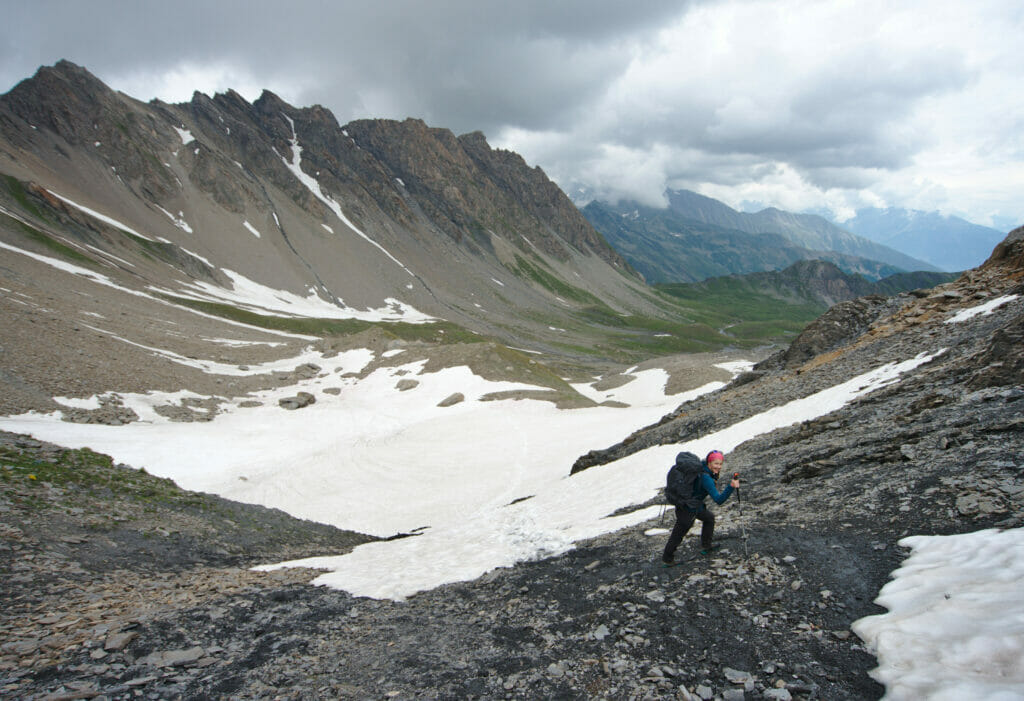
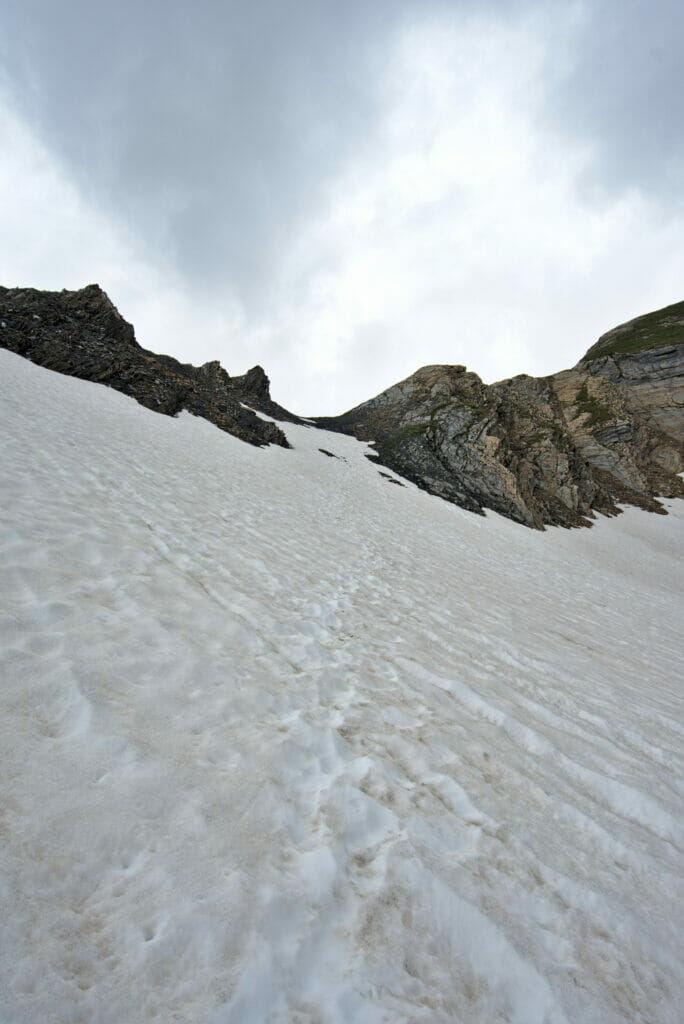
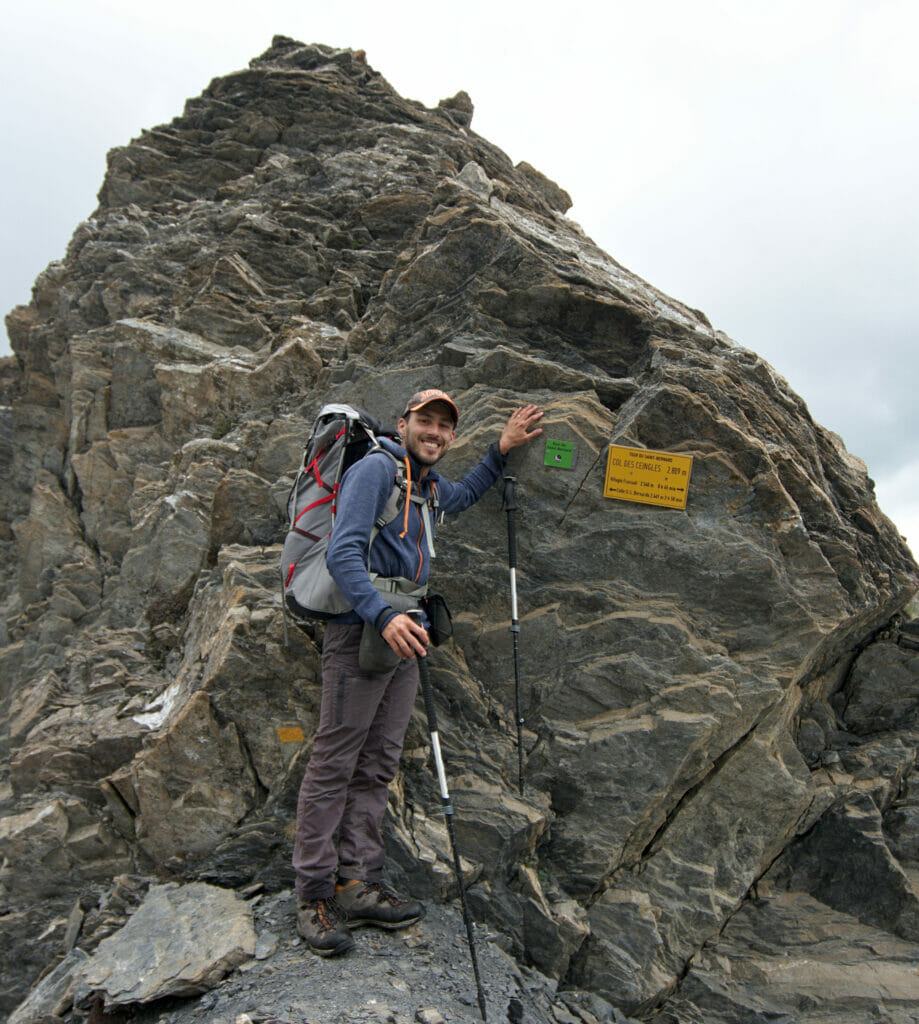
Thanks to Benoit the climb was finally really easy for me! All I had to do was follow his tracks and make sure I didn’t slip. Easy!
Note: In all objectivity this pass was really not difficult and the snow here was not a real danger in the sense that, in the event of a fall, we would probably just have slid like penguins on the snow to the base of the pass about fifty meters lower. No big rocks, no cliffs… Just a “wall” of snow which was a bit impressive for the little novice that I am!
From the summit we still had a little more than an hour’s walk to the Frassati hut; a formality 😉
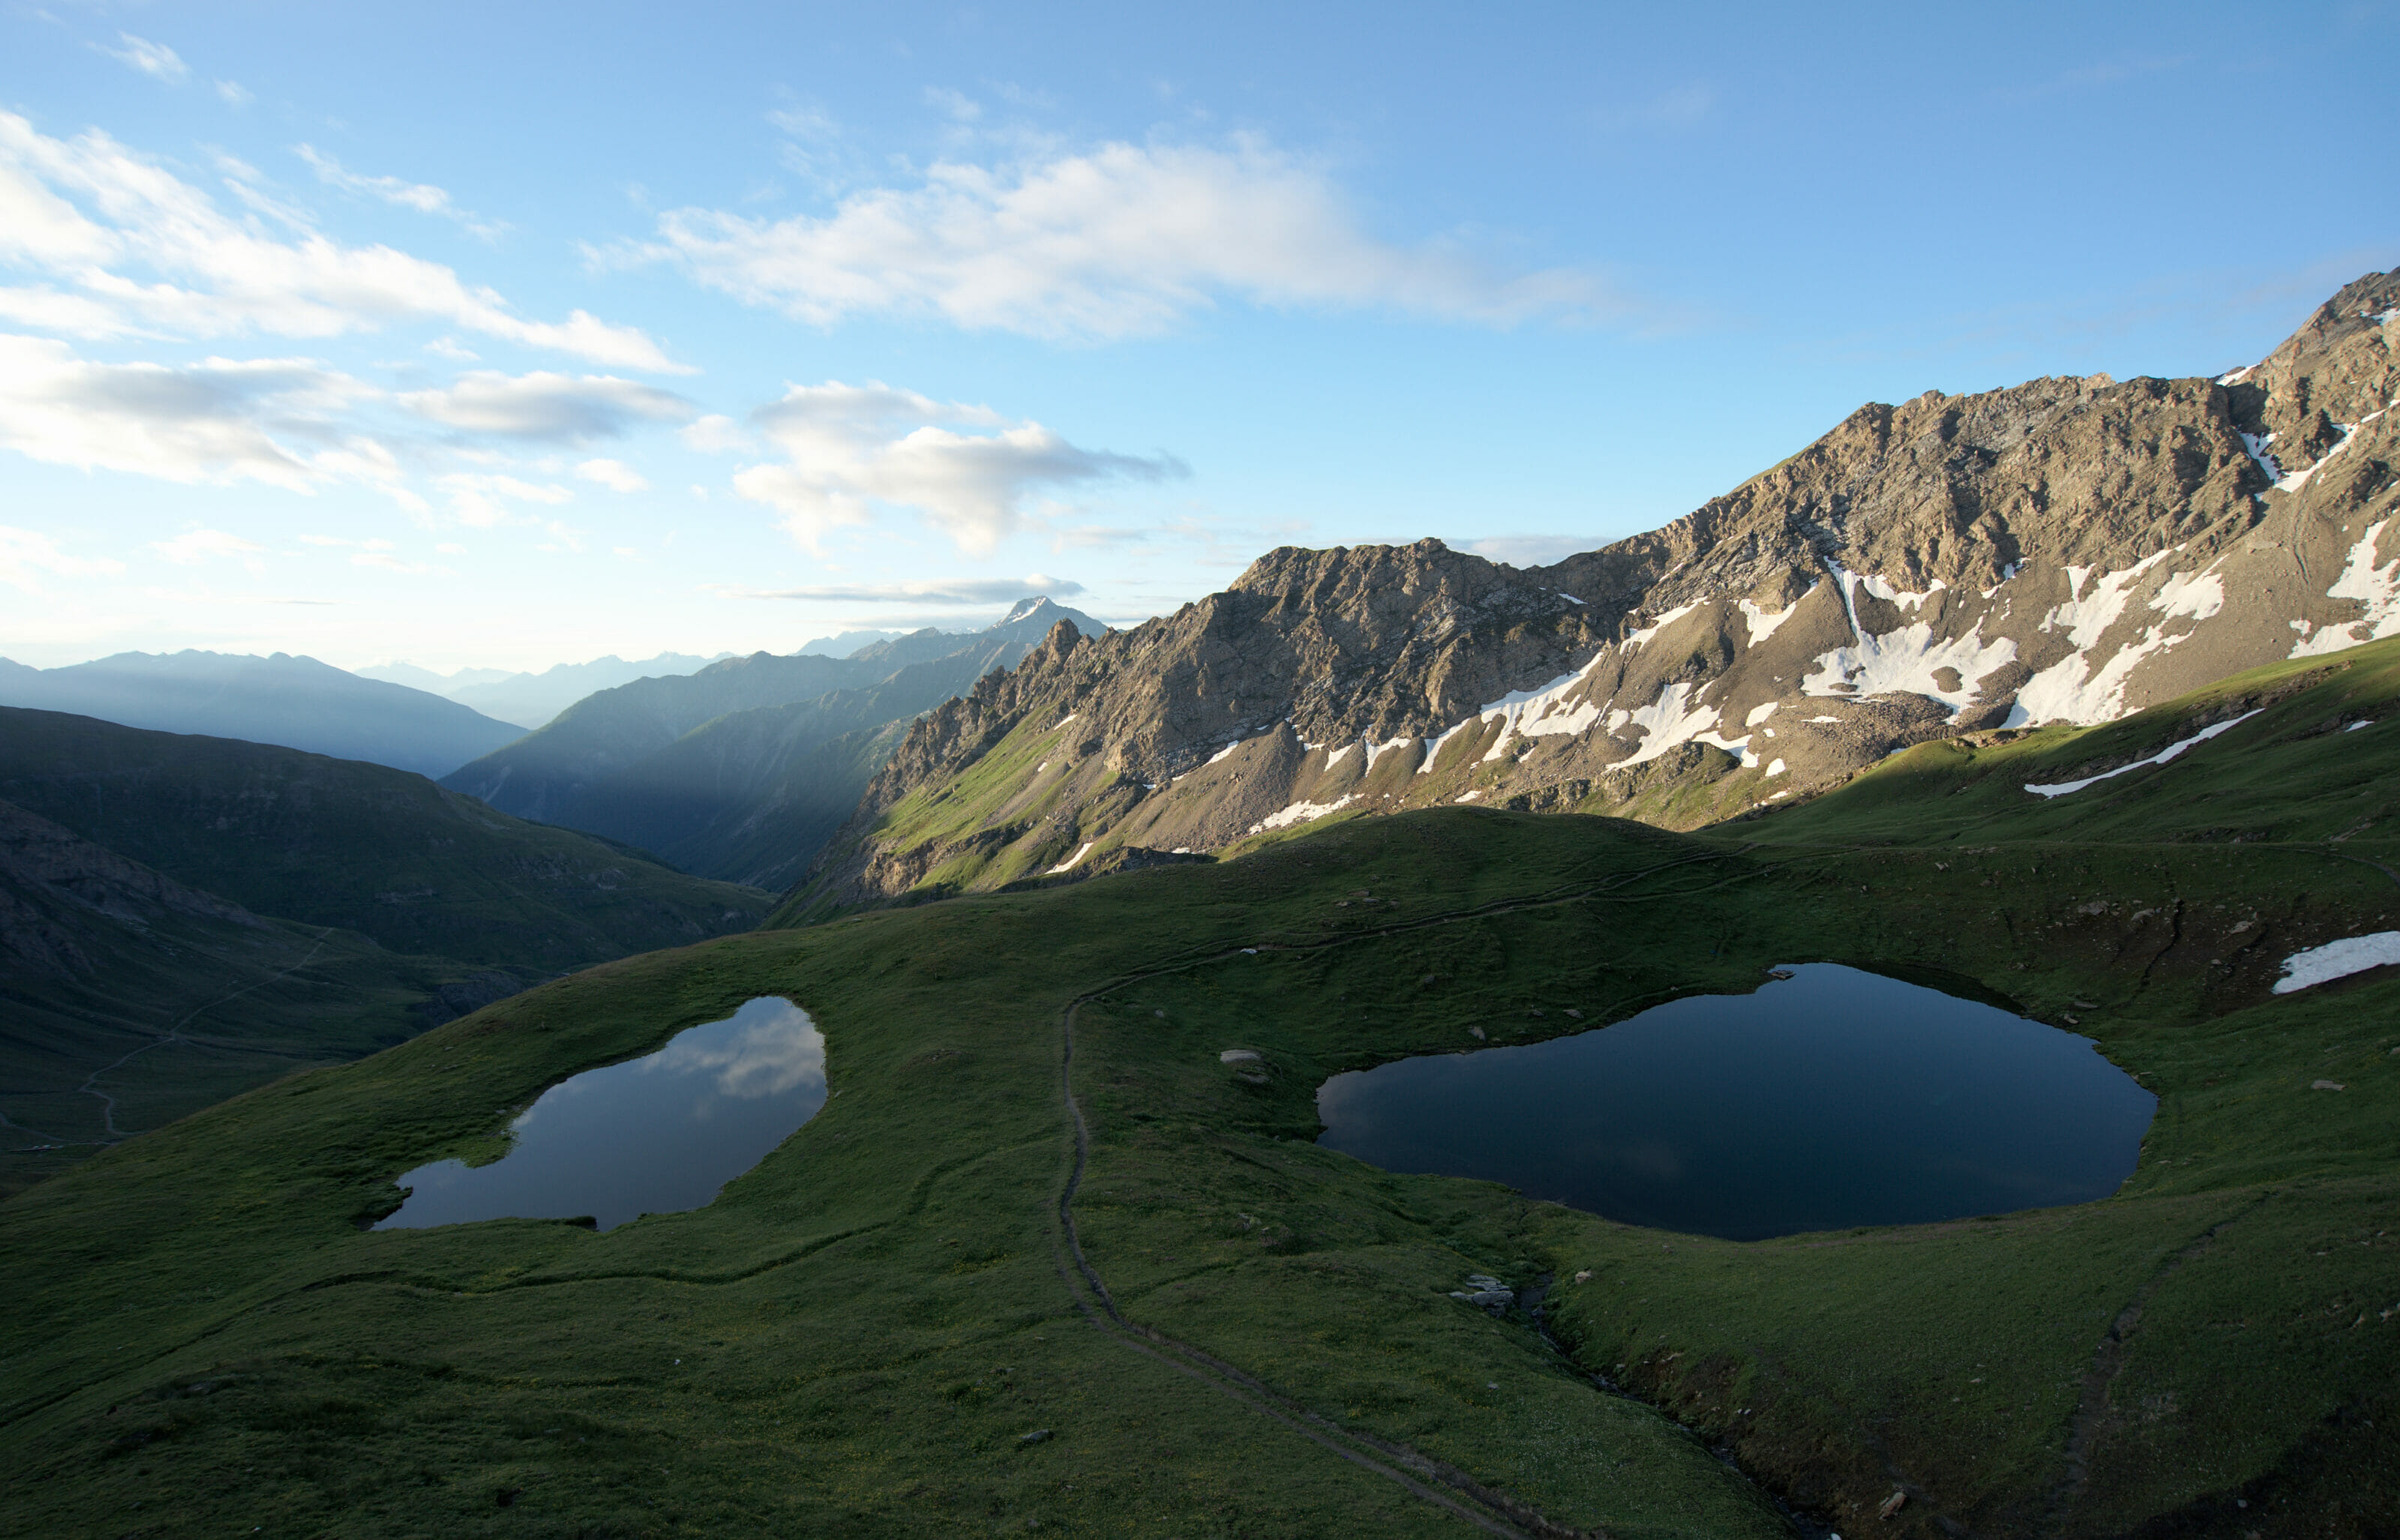
This stage was relatively short and it is barely 2pm when we arrive at the hut. When we sleep in the huts I particularly appreciate these “early arrivals” because it allows us to explore a little bit the area! We didn’t go very far, but we took advantage of the afternoon to make a loop towards the Malatra pass (I think I secretly wanted to get an idea of what would await us the next day) but above all, we took advantage of the exceptional setting of this refuge to stroll a little by the lake and observe a little more the numerous marmots that live around here. I don’t know why, but marmots are one of those animals that, as soon as I see them, make mw smile! Their face, their gait and their plump butts just make me fall in love. 🙂 And as a BIG bonus, we even had the chance to see 3 male ibexes near the hut! They had clearly spotted us but didn’t seem particularly bothered by our presence; they had some issues to solve and started to fight right in front of us! pfiouuu a magical moment!
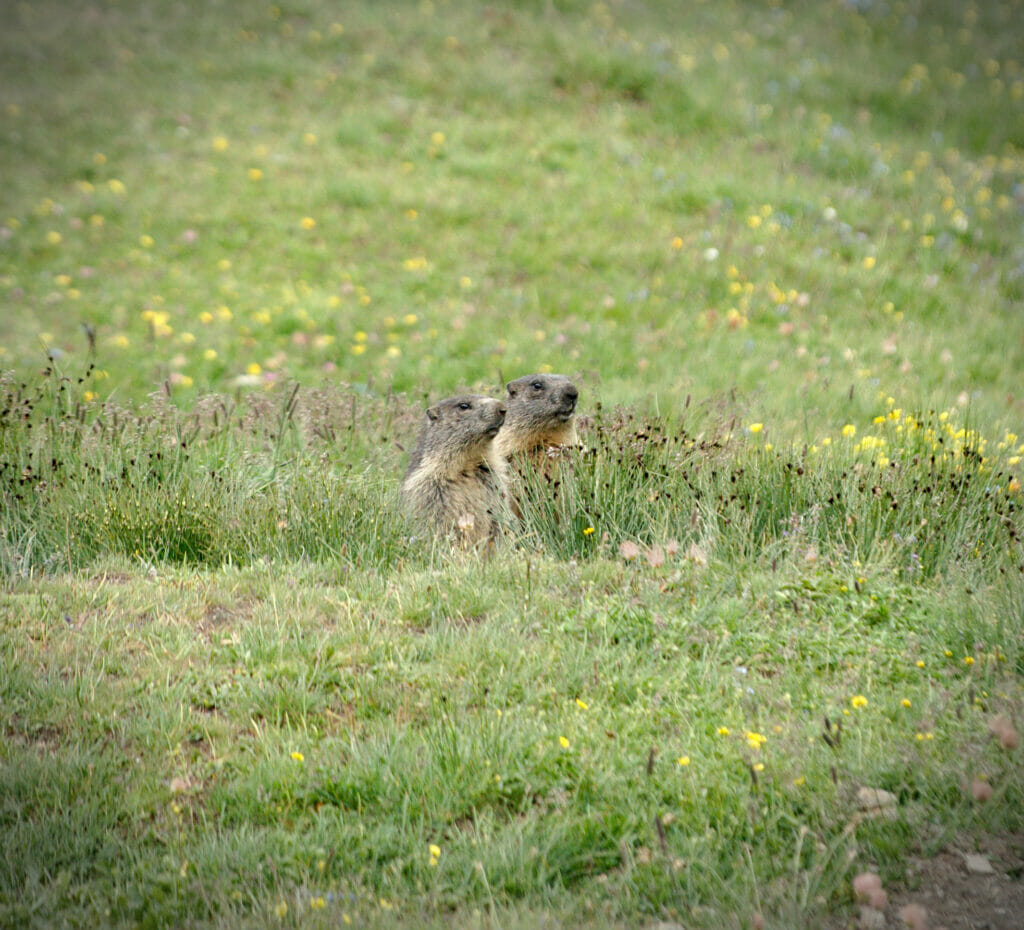
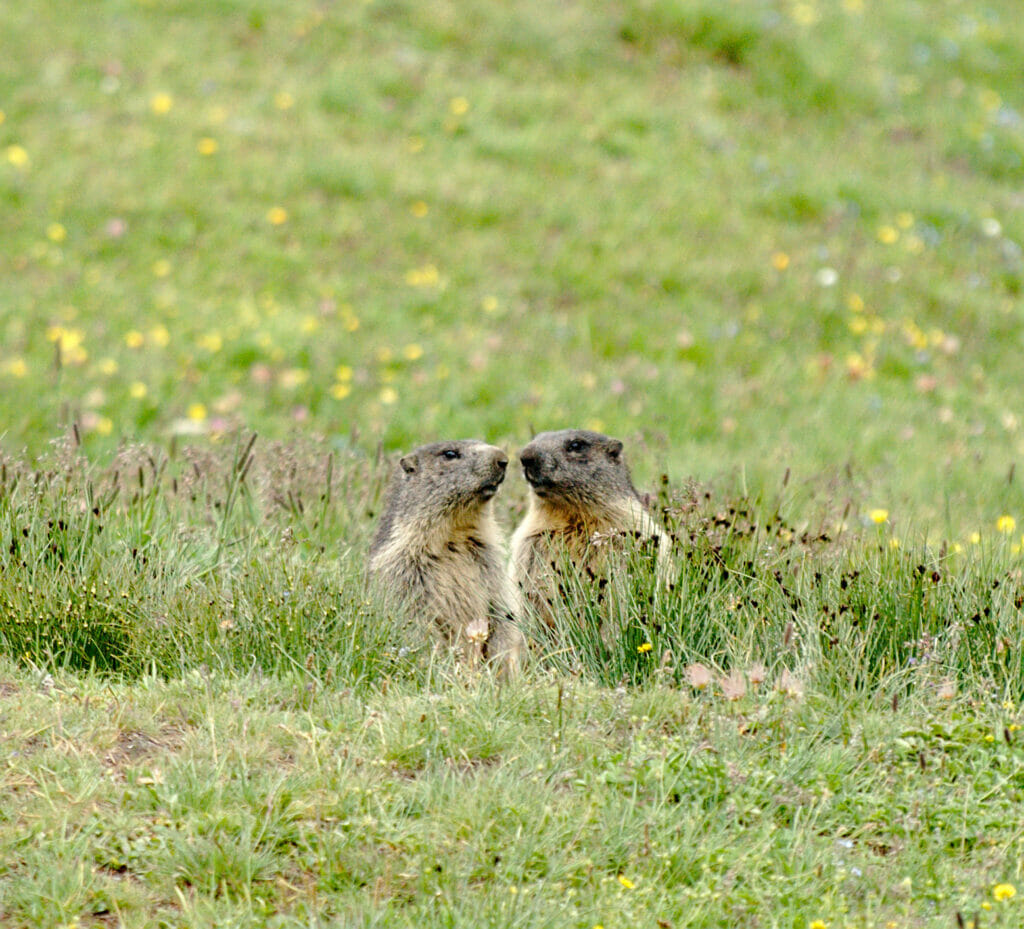
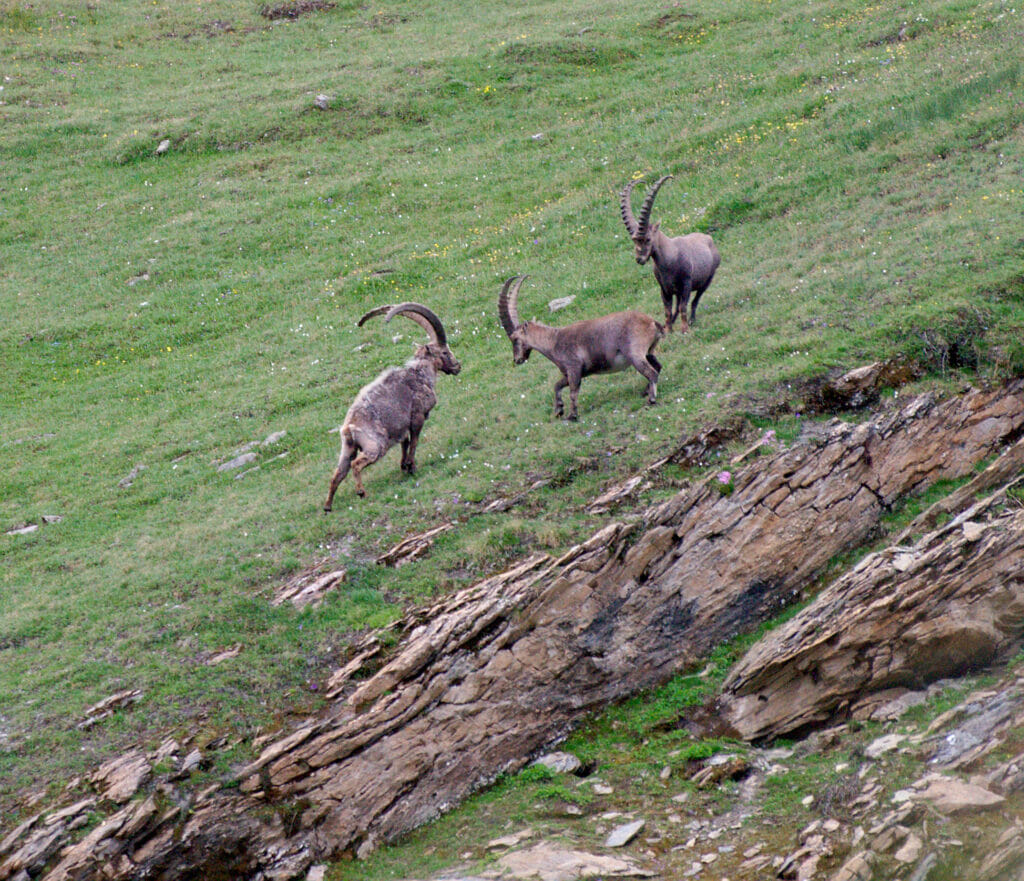
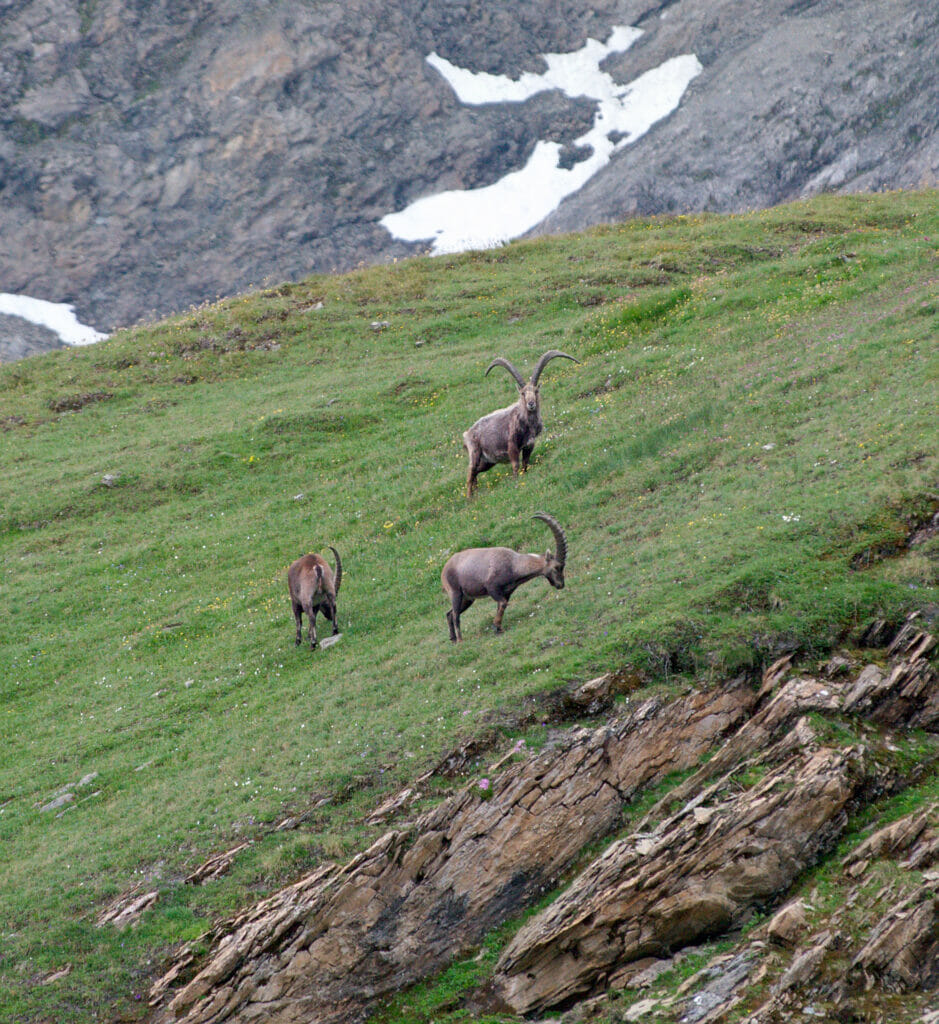
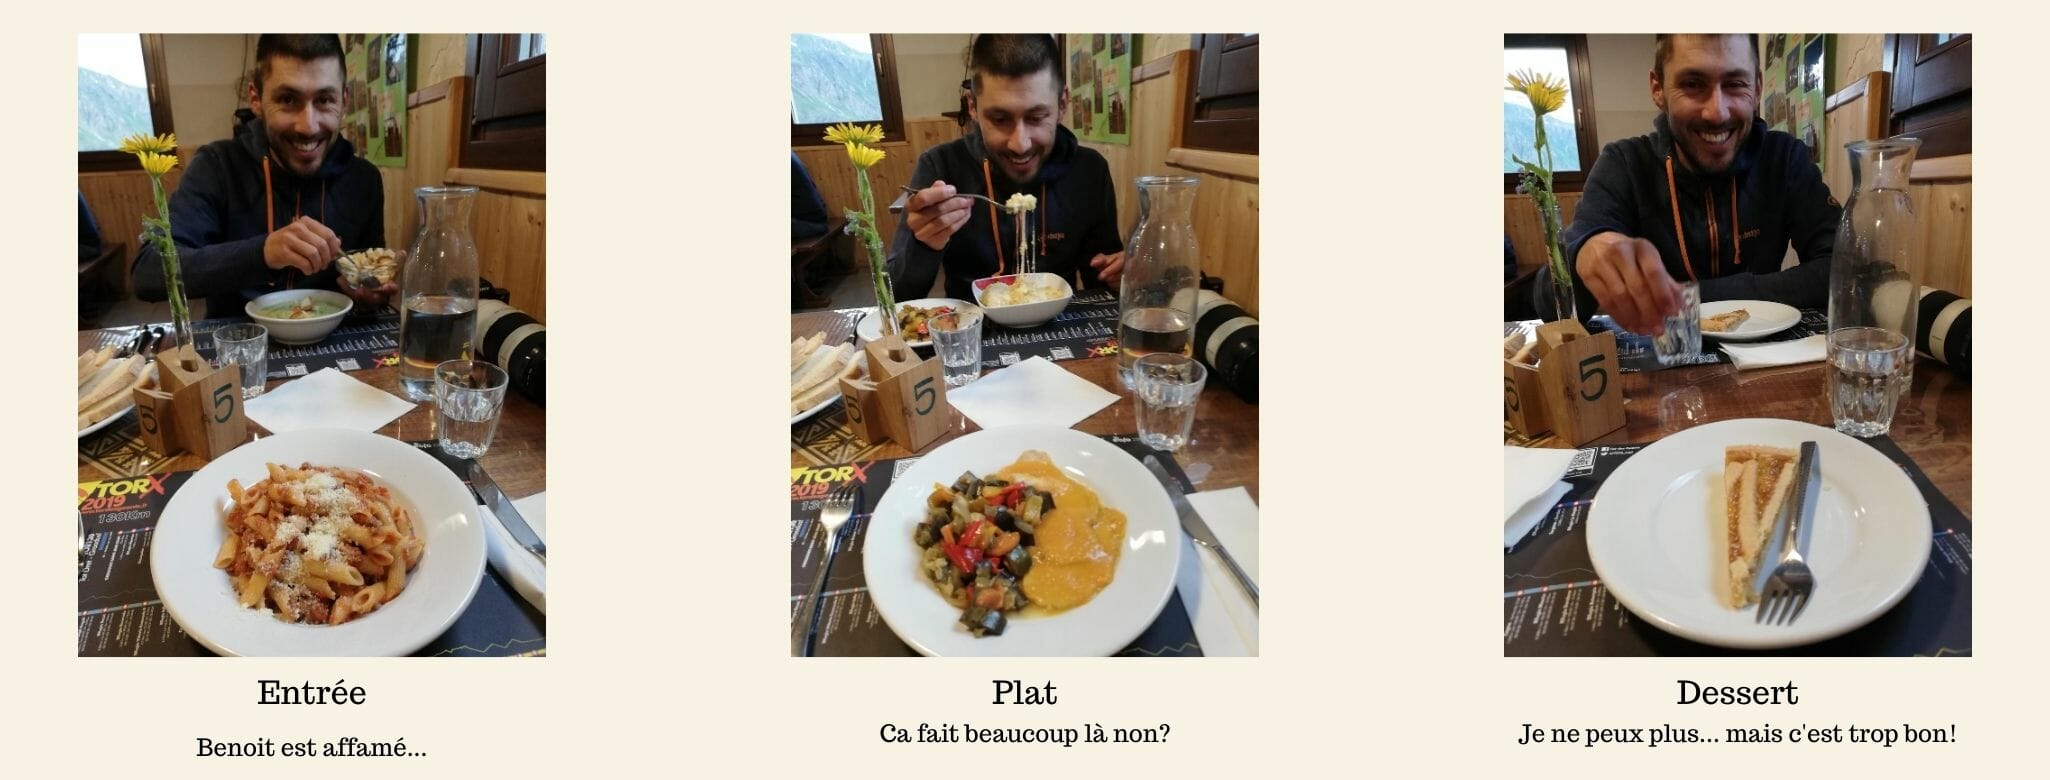
The night at the hut was really great! I think I can officially say that Frassati is the hut where we had our best meal. At dinner we had the possibility to choose from 3 starters, 3 main courses and 3 desserts to create our menu. That’s definitively something we’ve never seen before in a mountain hut.
But to be honest this meal ended up being quite a challenge. We were so hungry and totally excited about what was coming on our table, that we somehow did not manage to control ourselves. We ate so much that we spent the whole night with stomach cramps. 🙂 But we’re the only ones to blame here… we clearly “over-ate”
Infos
- Stages: Grand-Saint-Bernard Pass – Saint-Rhémy Pass – Col des Ceingles – Frassati hut
- Distance: 10km
- Elevation change: about 800m D+ and 800m D-
- Hiking time: About 4h
- Accomodation: The Frassati hut, one of our big favorites of this tour! Half board in dormitory costs 43€ and includes a great 3-course meal and an excellent breakfast. The hut is very modern and spacious and above all it is in a quite exceptional setting with lakes and lots of animals to observe in the surrounding area.
Map for the day’s stage:
From the Frassati hut to the Italian Val Ferret via the Malatra Pass
Weirdly enough, when we woke up this morning, the first thing we thought was: “I’m hungry, shall we have breakfast?”. With what we had eaten the day before, I can’t explain this “physiological bug”, but never mind… Once our stomachs were full, we put our walking shoes back on and started the ascent to the Malatra pass.
Reputed to be one of the most difficult of the tour, the hut keeper had warned us that there was still some snow but that “it was fine”. I know that the hut keepers are the best informed, but personally I always find it hard to trust when a mountain person tells me “it’s fine”. 🙂
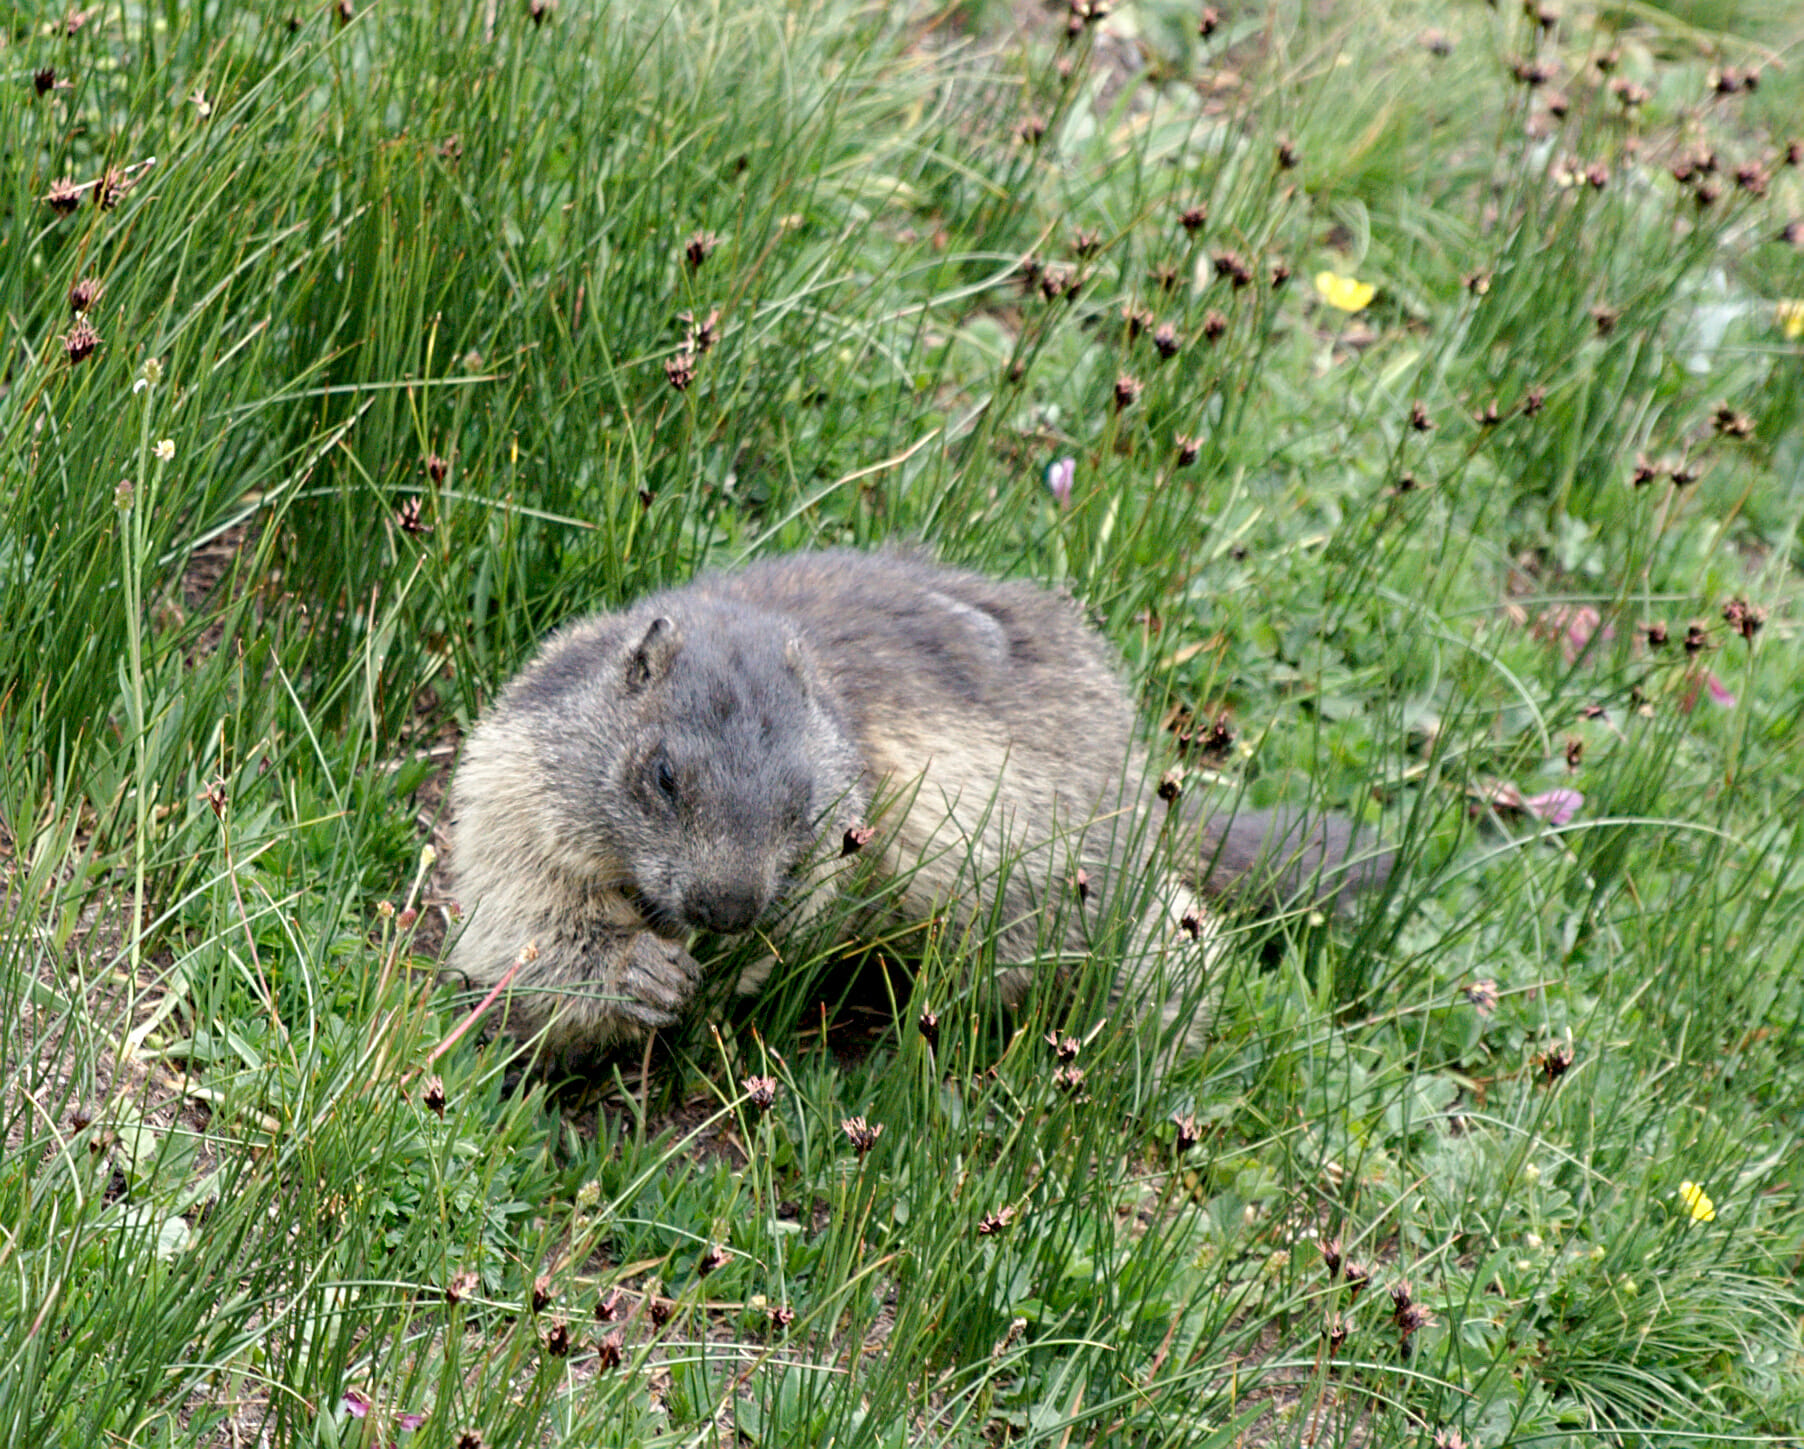
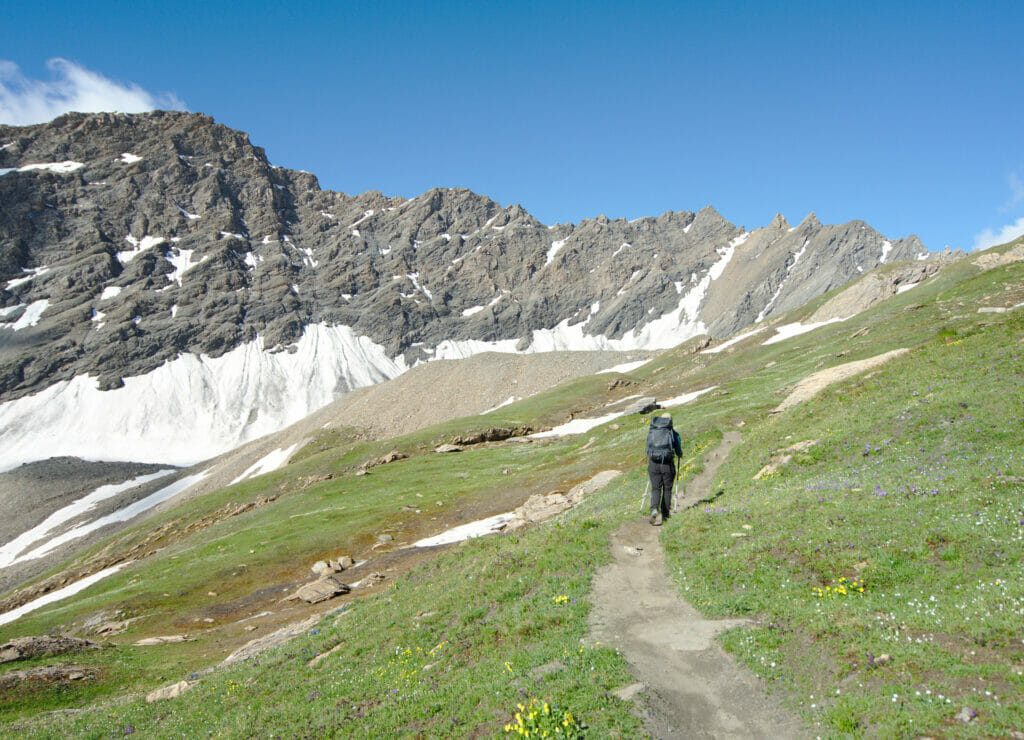
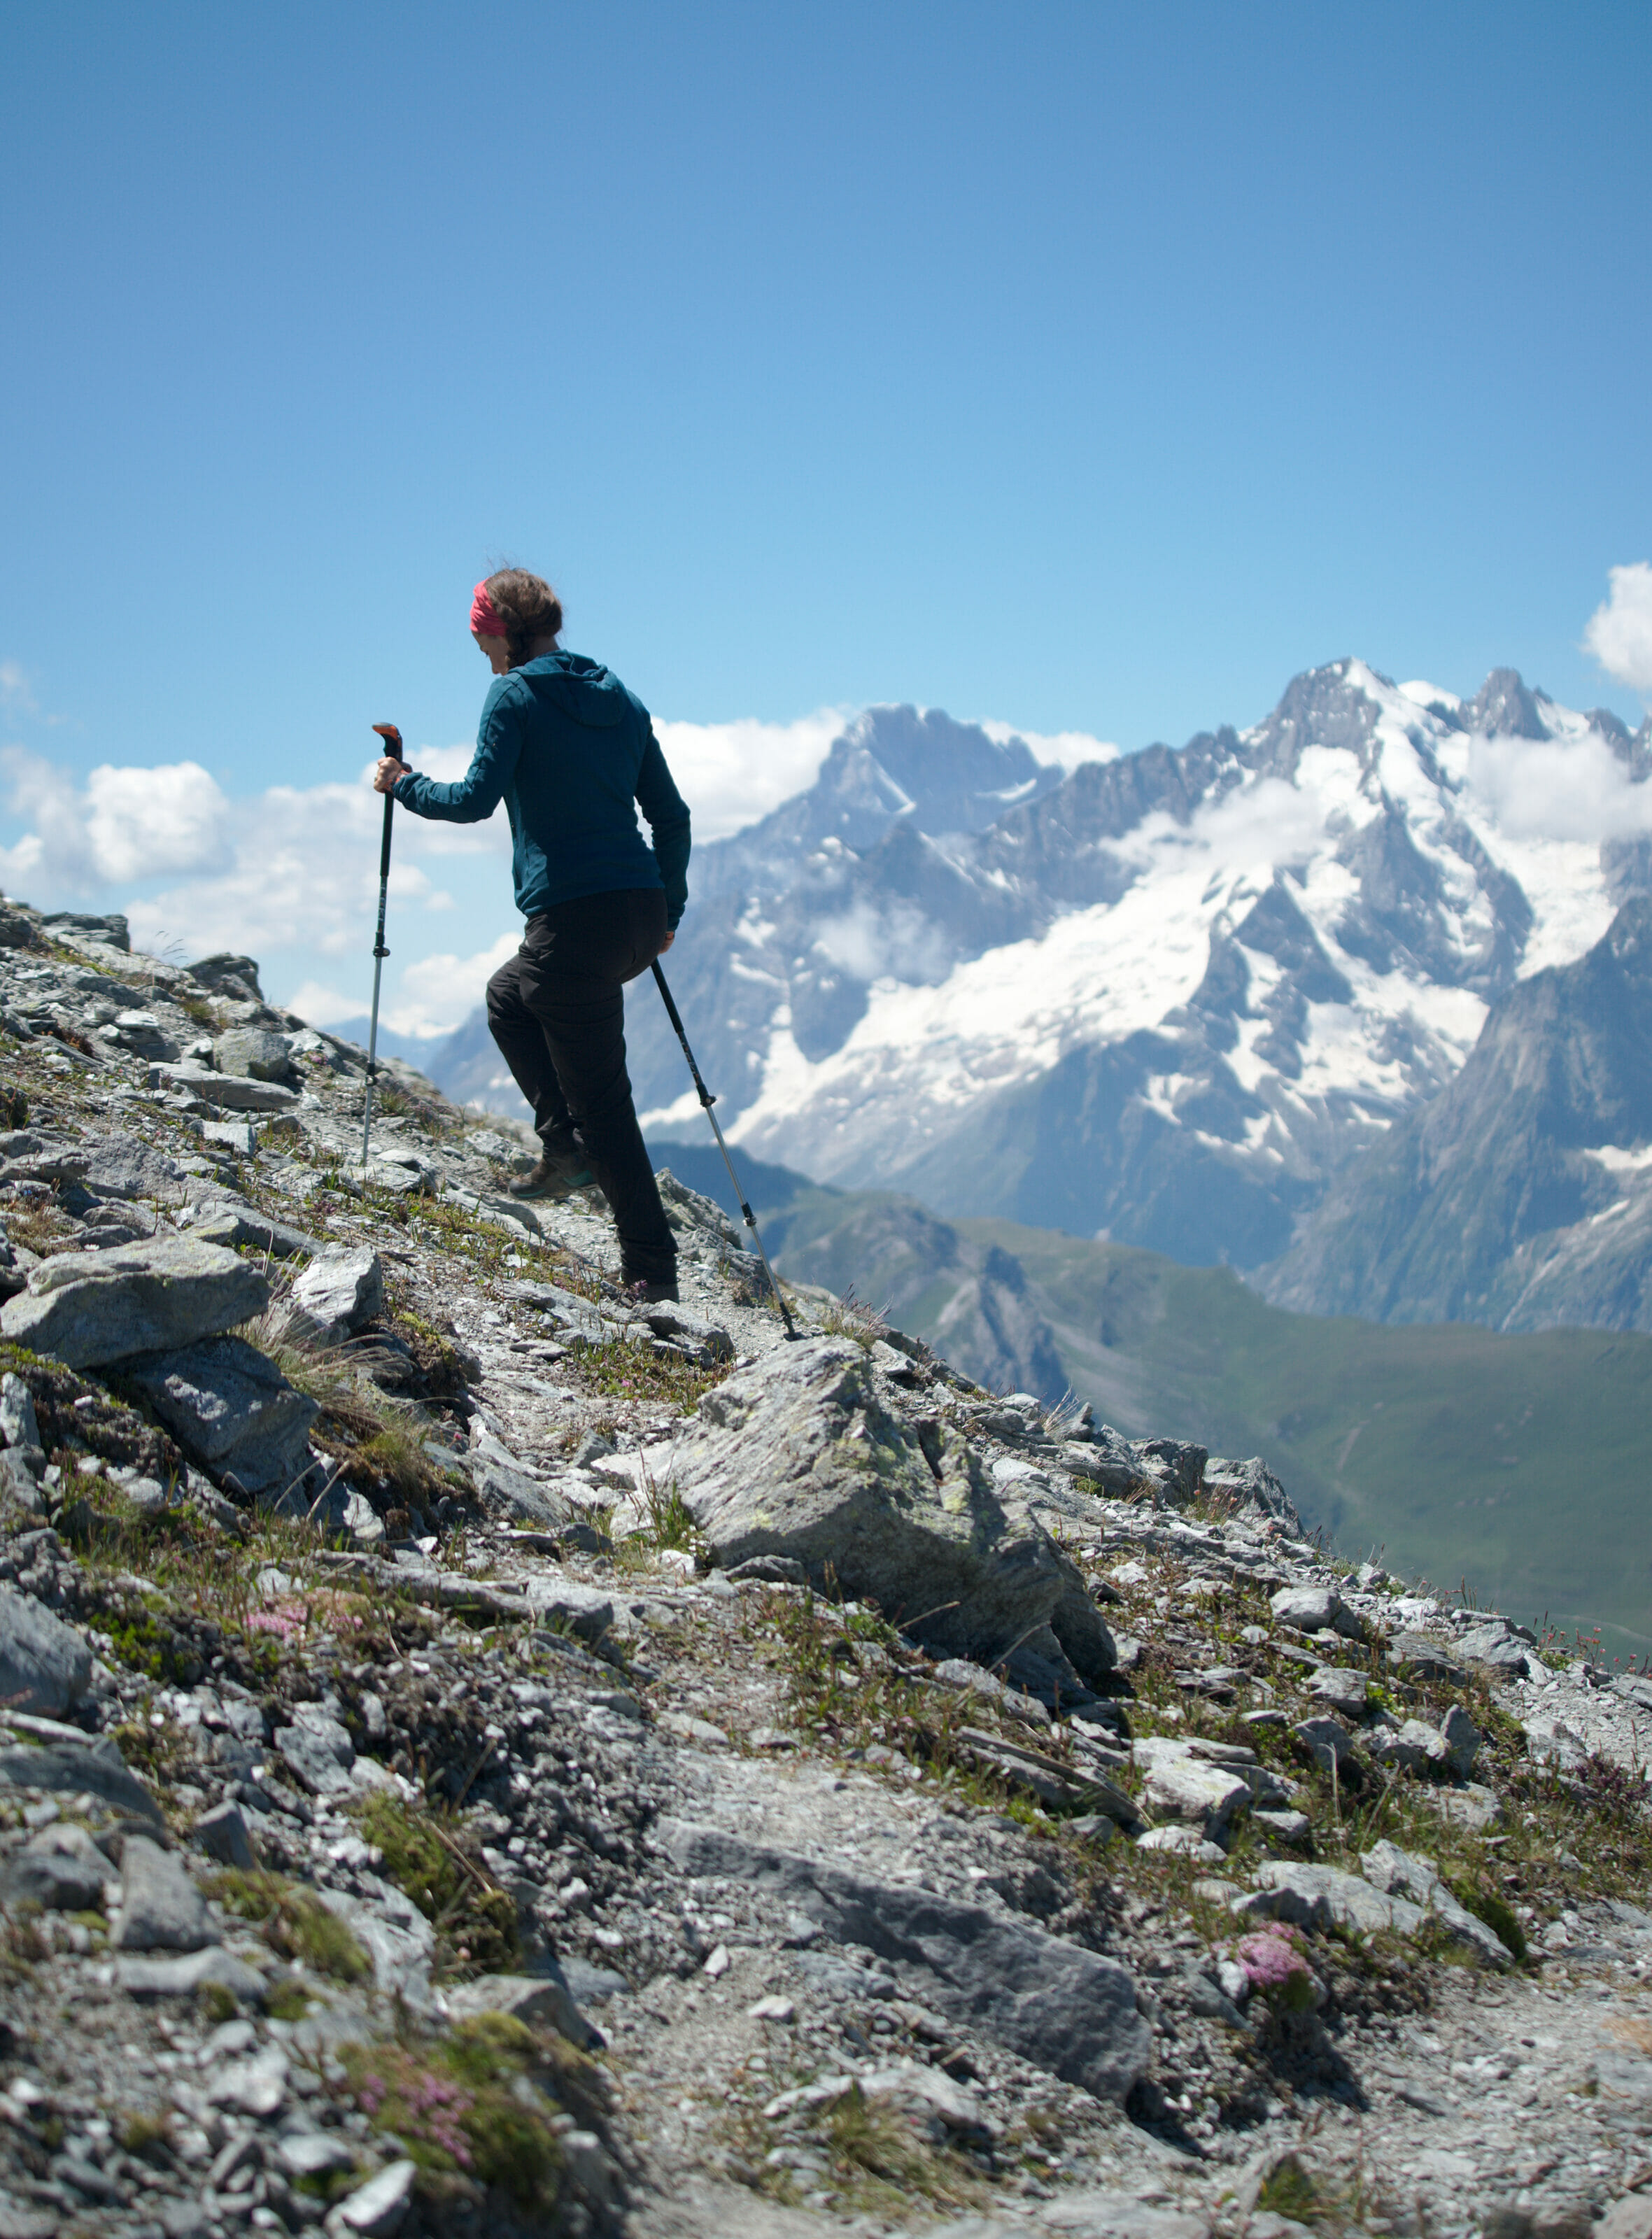
The first part of the ascent towards the pass is goes through large alpine meadows. Again, we have marmots all around us and, obviously, this puts me in a great mood
The “funny” thing about the Malatra pass is that it is very well hidden! In fact, we don’t see it at all during the whole ascent and it’s only when we pass the last hill that we find ourselves face to face with the large scree leading to the top.
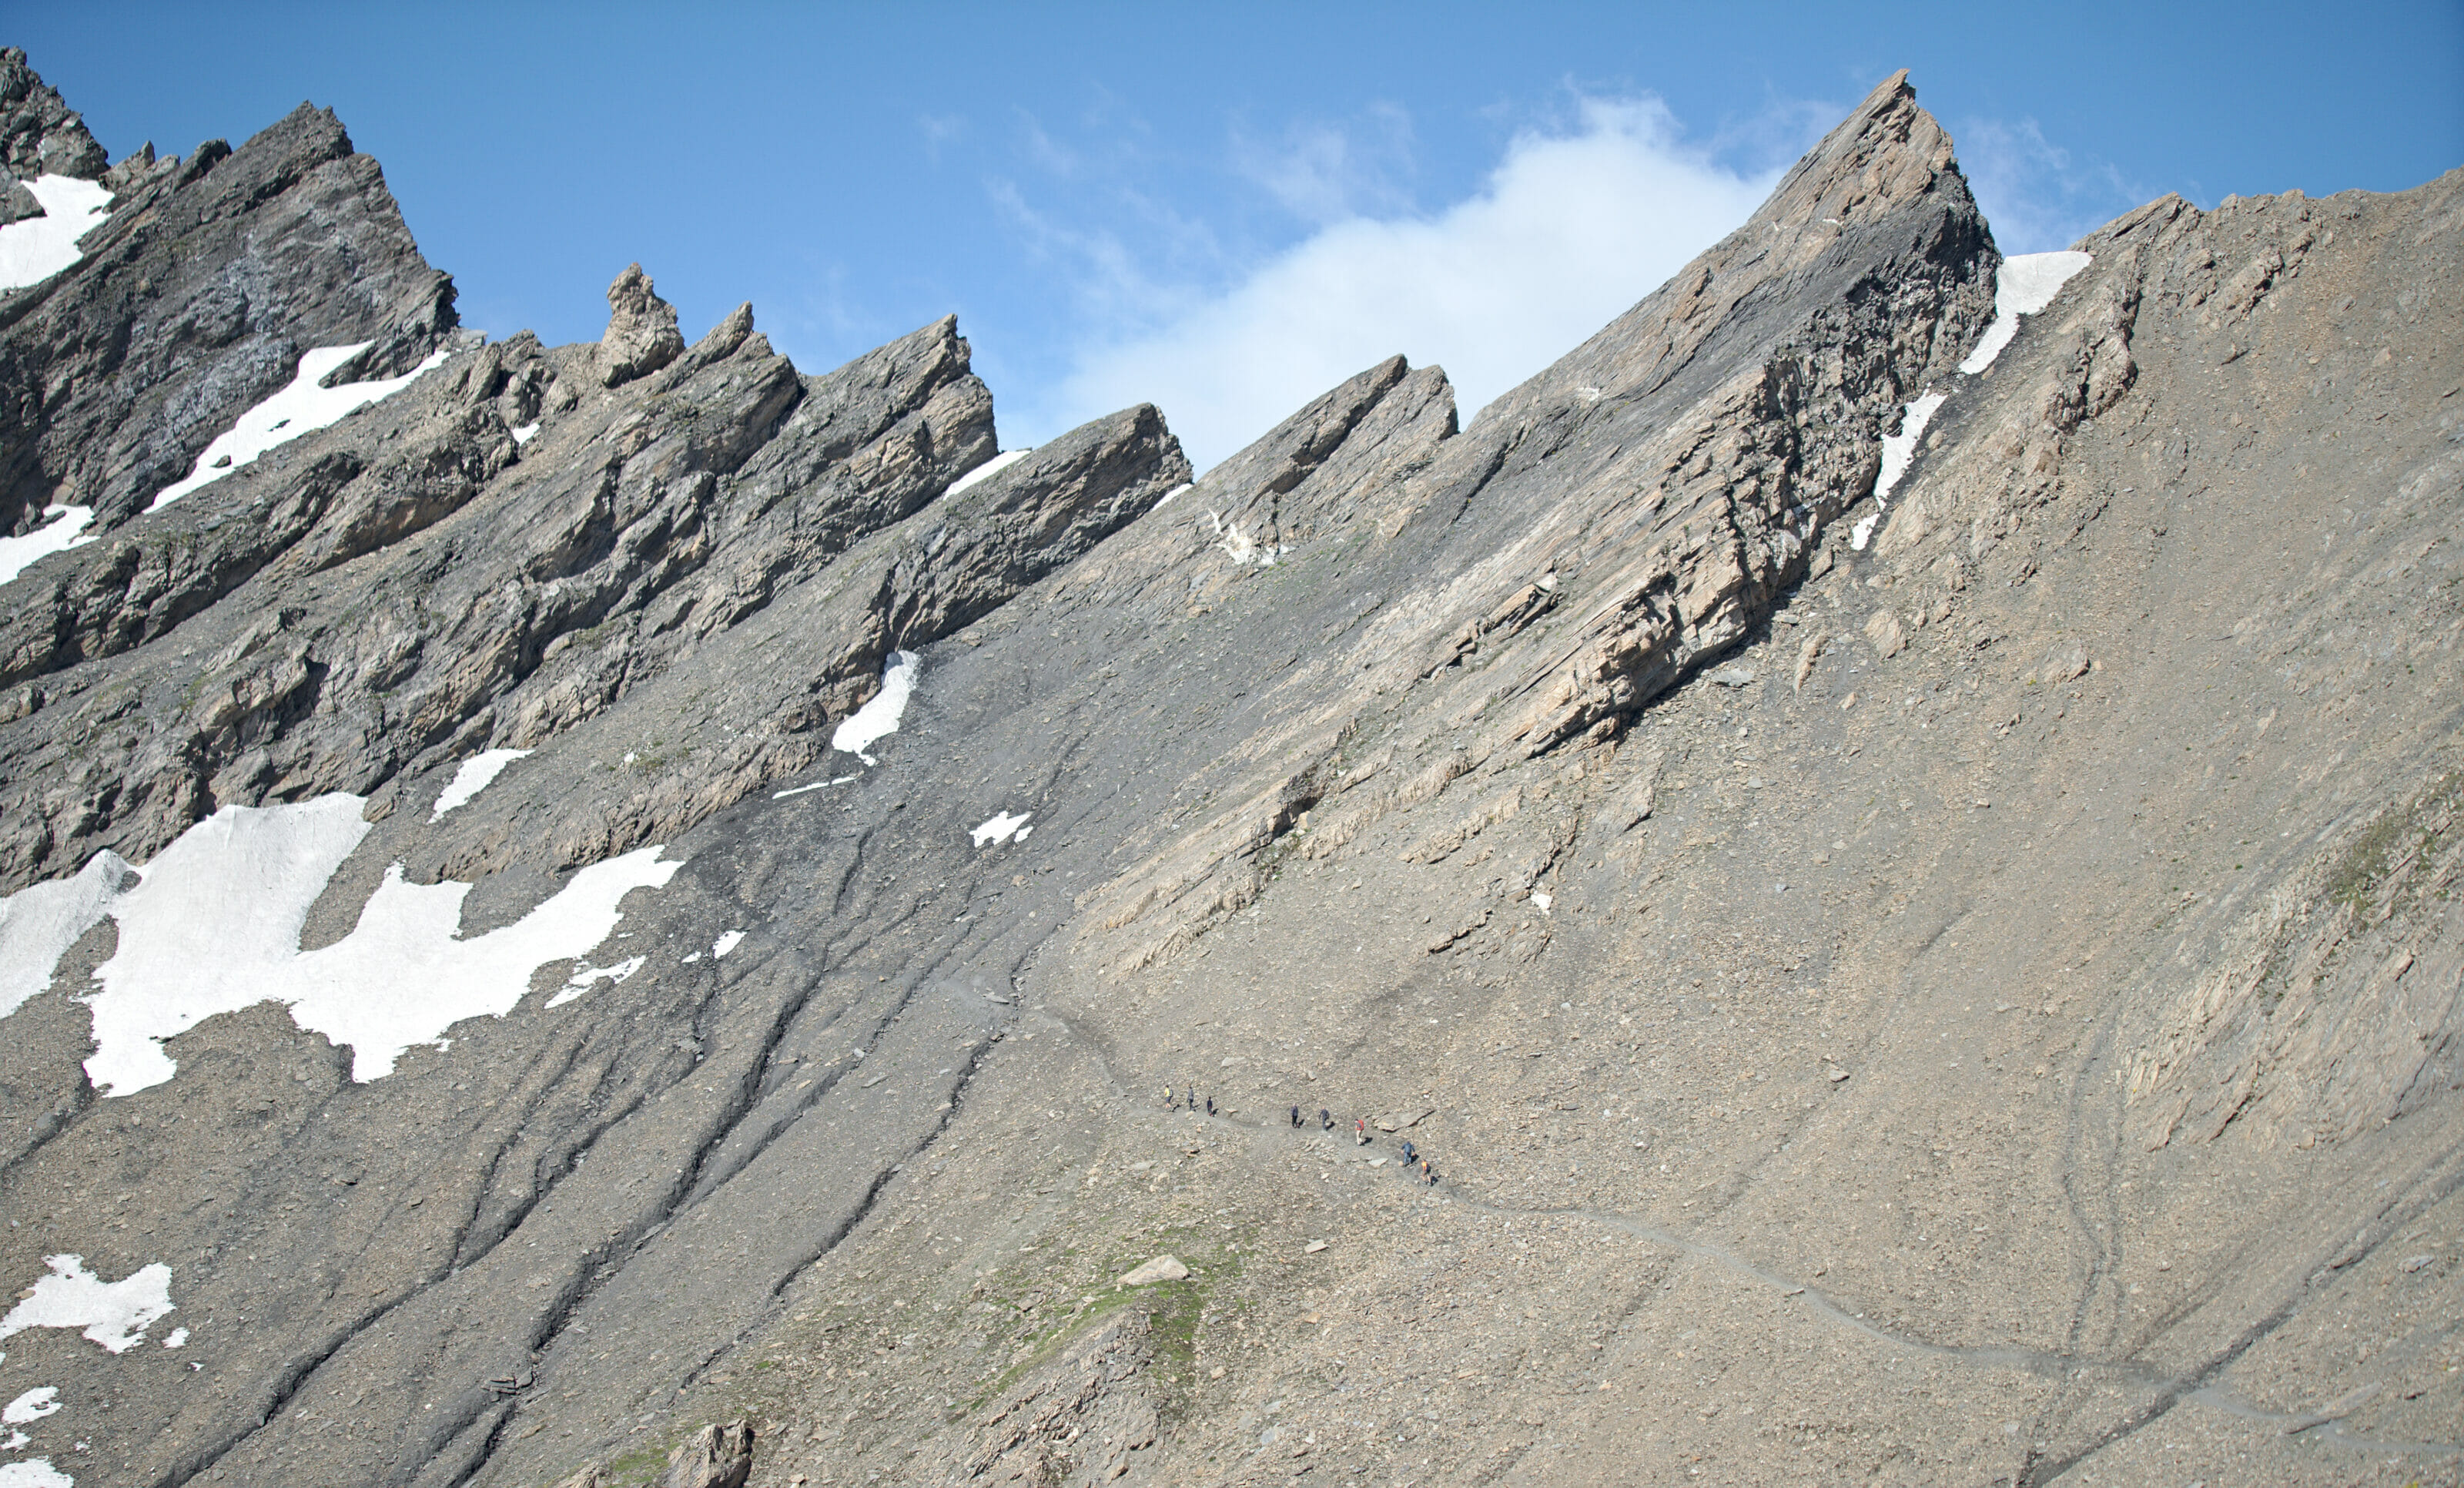
A few hundred metres ahead of us there was a group of gentlemen who had also slept at the refuge. Strangely enough, seeing them progress reassured me a lot! In their group there were young people of about 12-15 years old but also men who were much closer to 80 than 20. As much as I knew that the teenagers wouldn’t be a reference (especially if they were the children of the hut’s keeper) but on the other hand when I saw the older gentlemen I told myself that this climb couldn’t be that bad. (Ohhh yes I can be really naive sometimes).
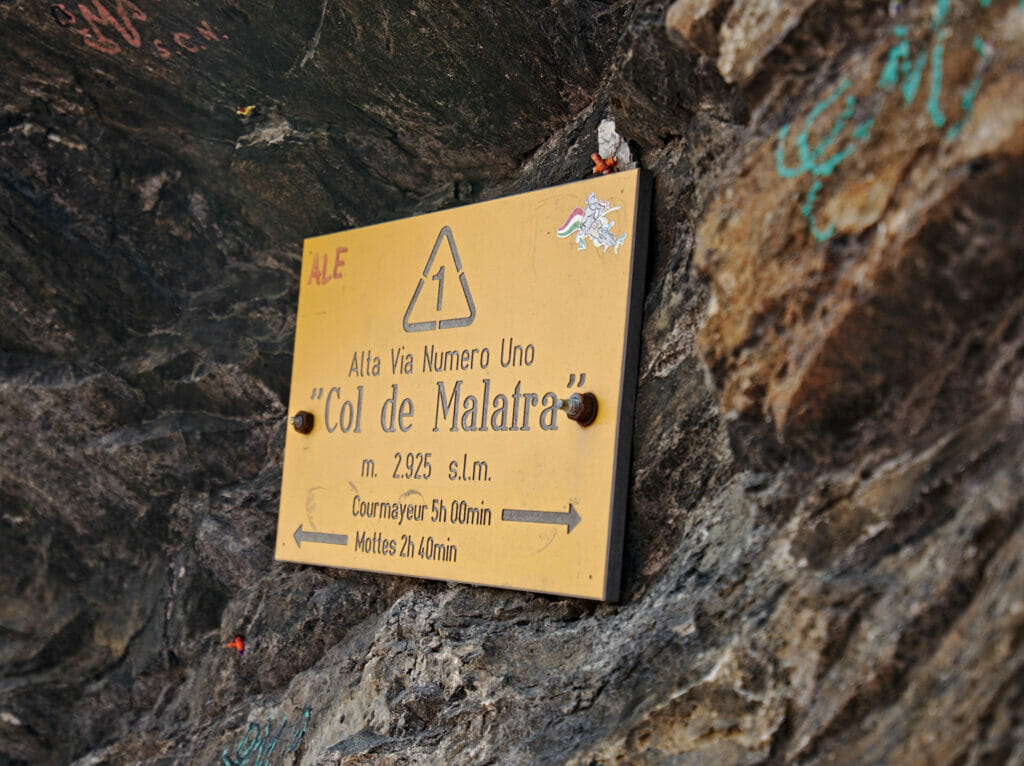
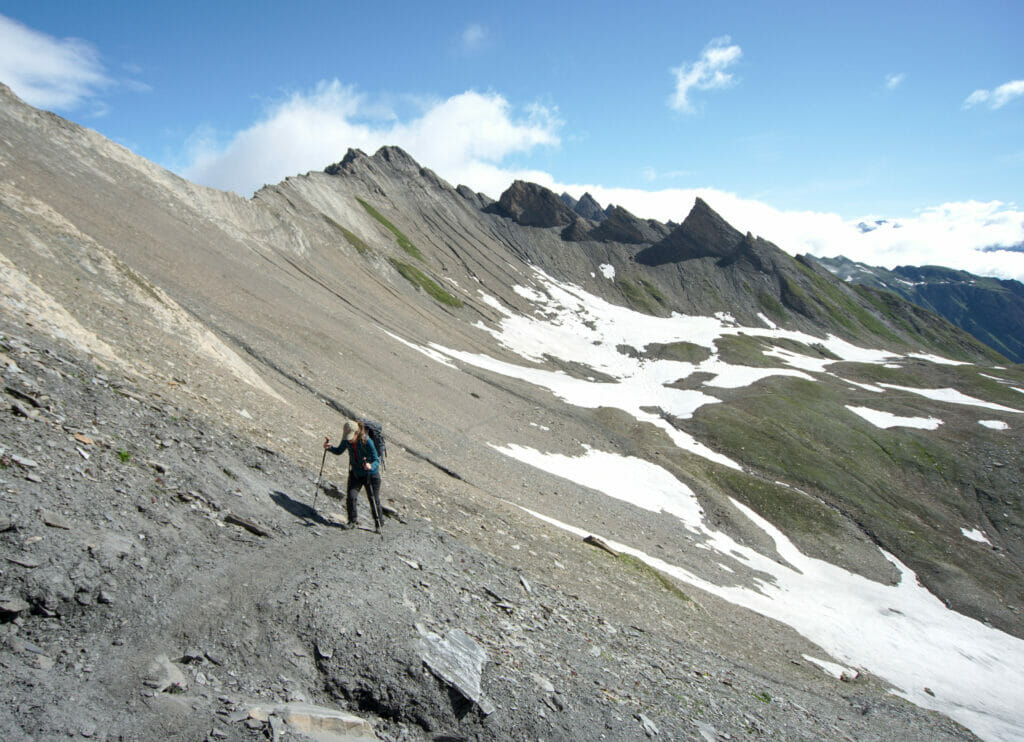
So I would just say that from today on I will never look at 80-year-old mountain people in the same way again! The hiked up without poles and these gentlemen climbed up this pass (almost) like ibexes. For my part I would say that I had less “elegance”, I probably breathed as heavy as them, but I arrived at the top without too much trouble. In fact, it’s mostly the snow that made it difficult (again). There was still a snow patch that was maybe 10 meters long and 3-4 meters wide. The problem was that it was right on the path that normally zigzags up to the pass. Crossing it seemed too risky (it was very steep and underneath there were many steep rocks). Thus, we had no choice but to attack the climb “straight up” in the scree without too many detours or contours.
The Malatra pass is more like a small window and the view is just incredible! But to be fair, I was particularly delighted to see that the descent towards the Italian Val Ferret was much easier than the part we had just climbed.
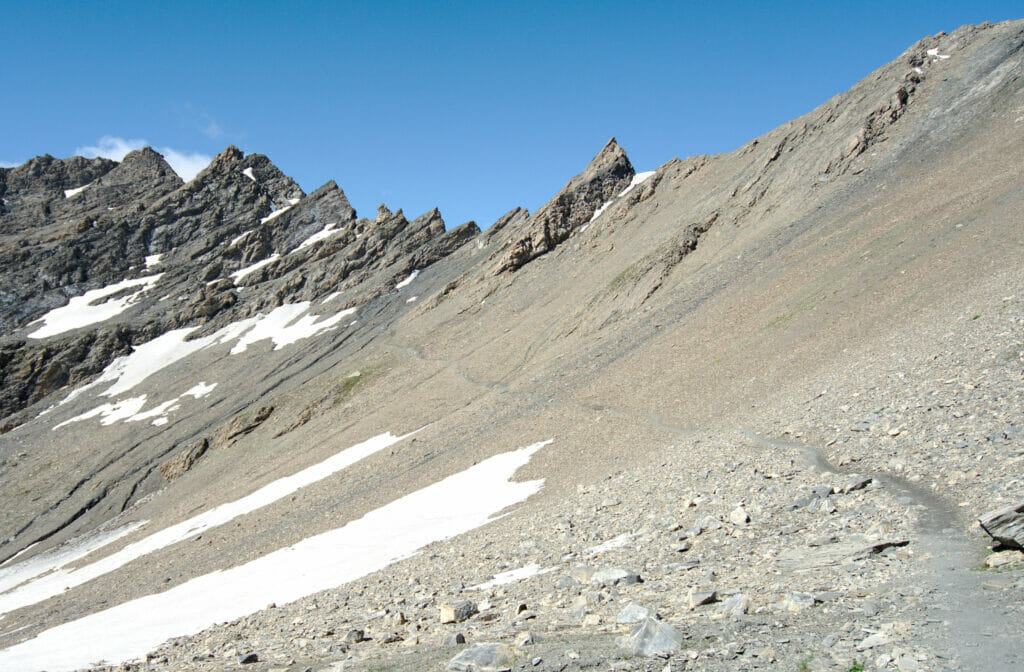
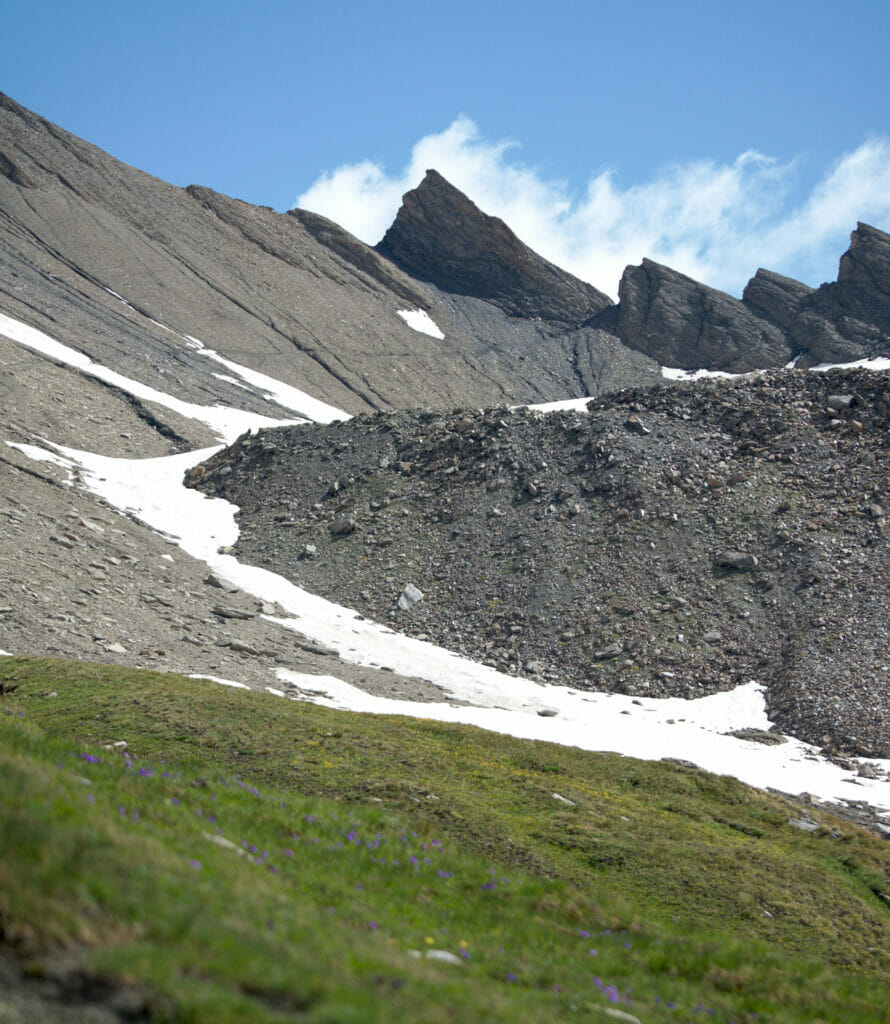
The group that climbed in front of us turned around at the pass to go back down to Frassati and we set off in the direction of the Bonnatti hut, the point from which we knew we were going to join the tour du Mont Blanc.
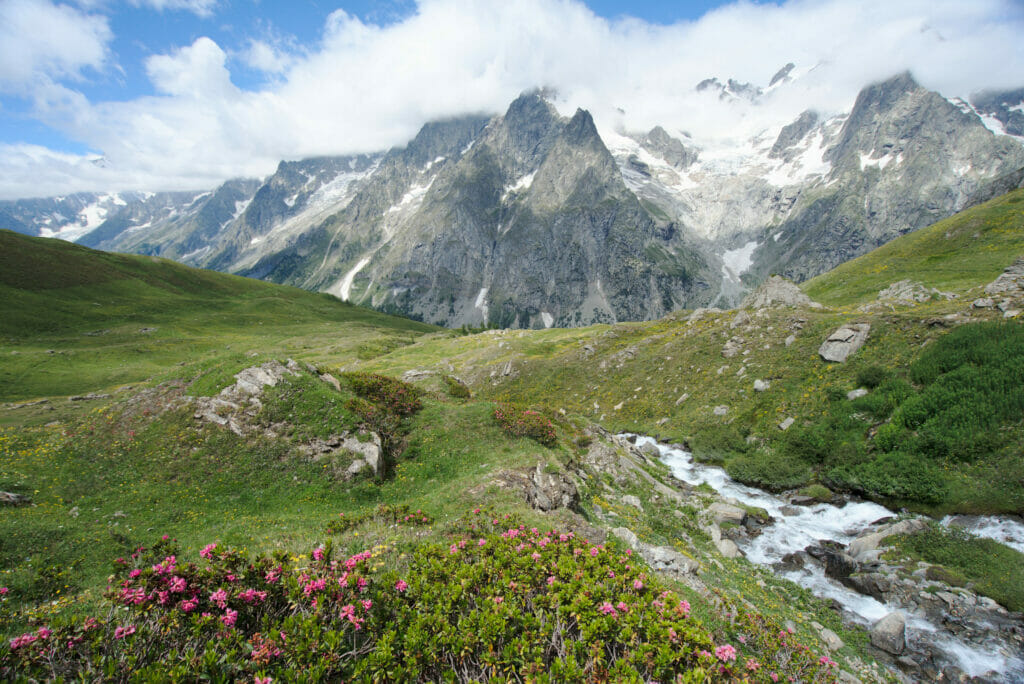
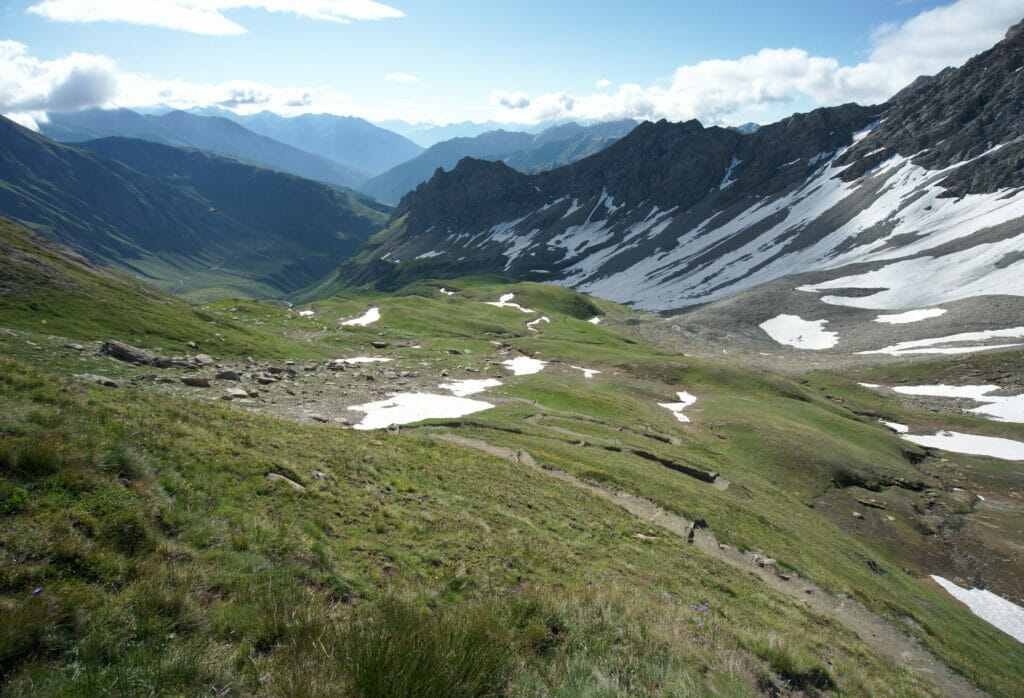
We will probably remember this descent for a long time to come! It was probably one of the most beautiful descent of our lives, to tell you the truth! Once down the pass we reach what is called the Combe de Malatra. And there… pheww………. The path seemed to go straight into the Grandes Jorasses with the Mont Blanc and its glacier in the background and all around us thousands of mountain flowers! Just magical!
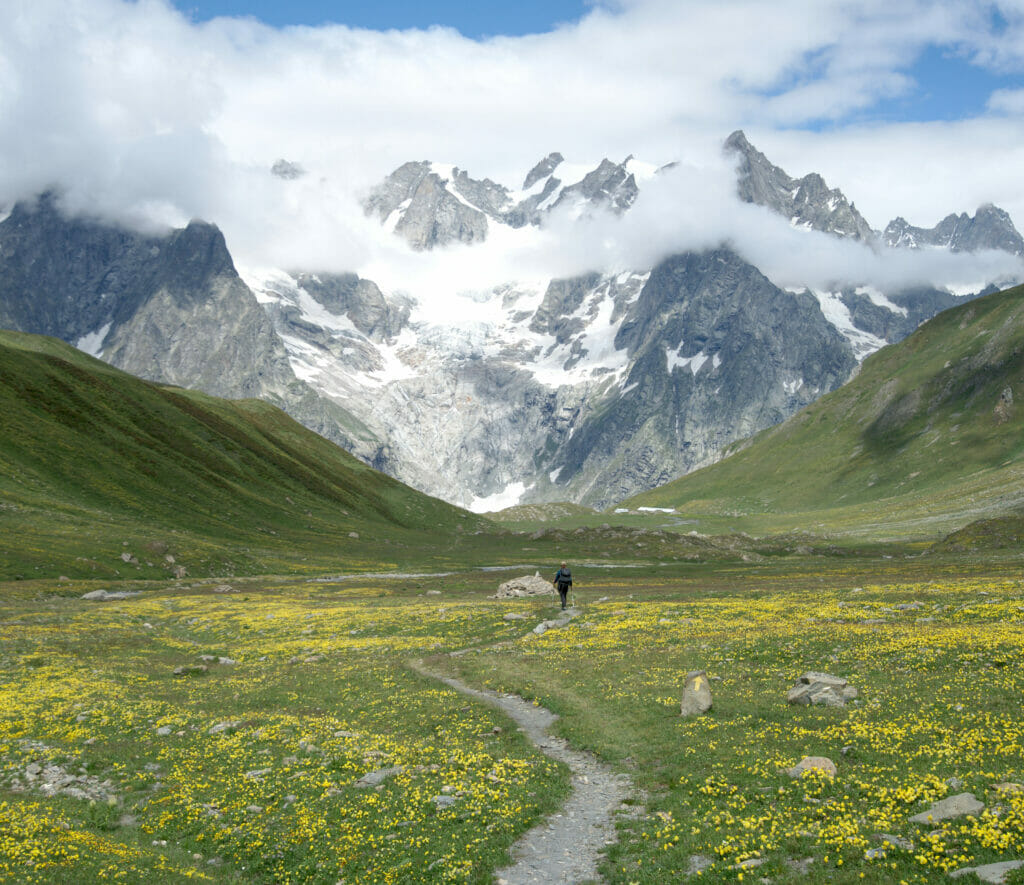
When we arrived at Bonnatti, we hade coffee on the terrace of the refuge. This place was a bit of a “shock”, we won’t hide it from you! As we told you before, the Saint-Bernard tour is marked only since 2016, so we are really almost alone on the trails. But at Bonnatti we joined the famous TMB and now it’s a little bit different.
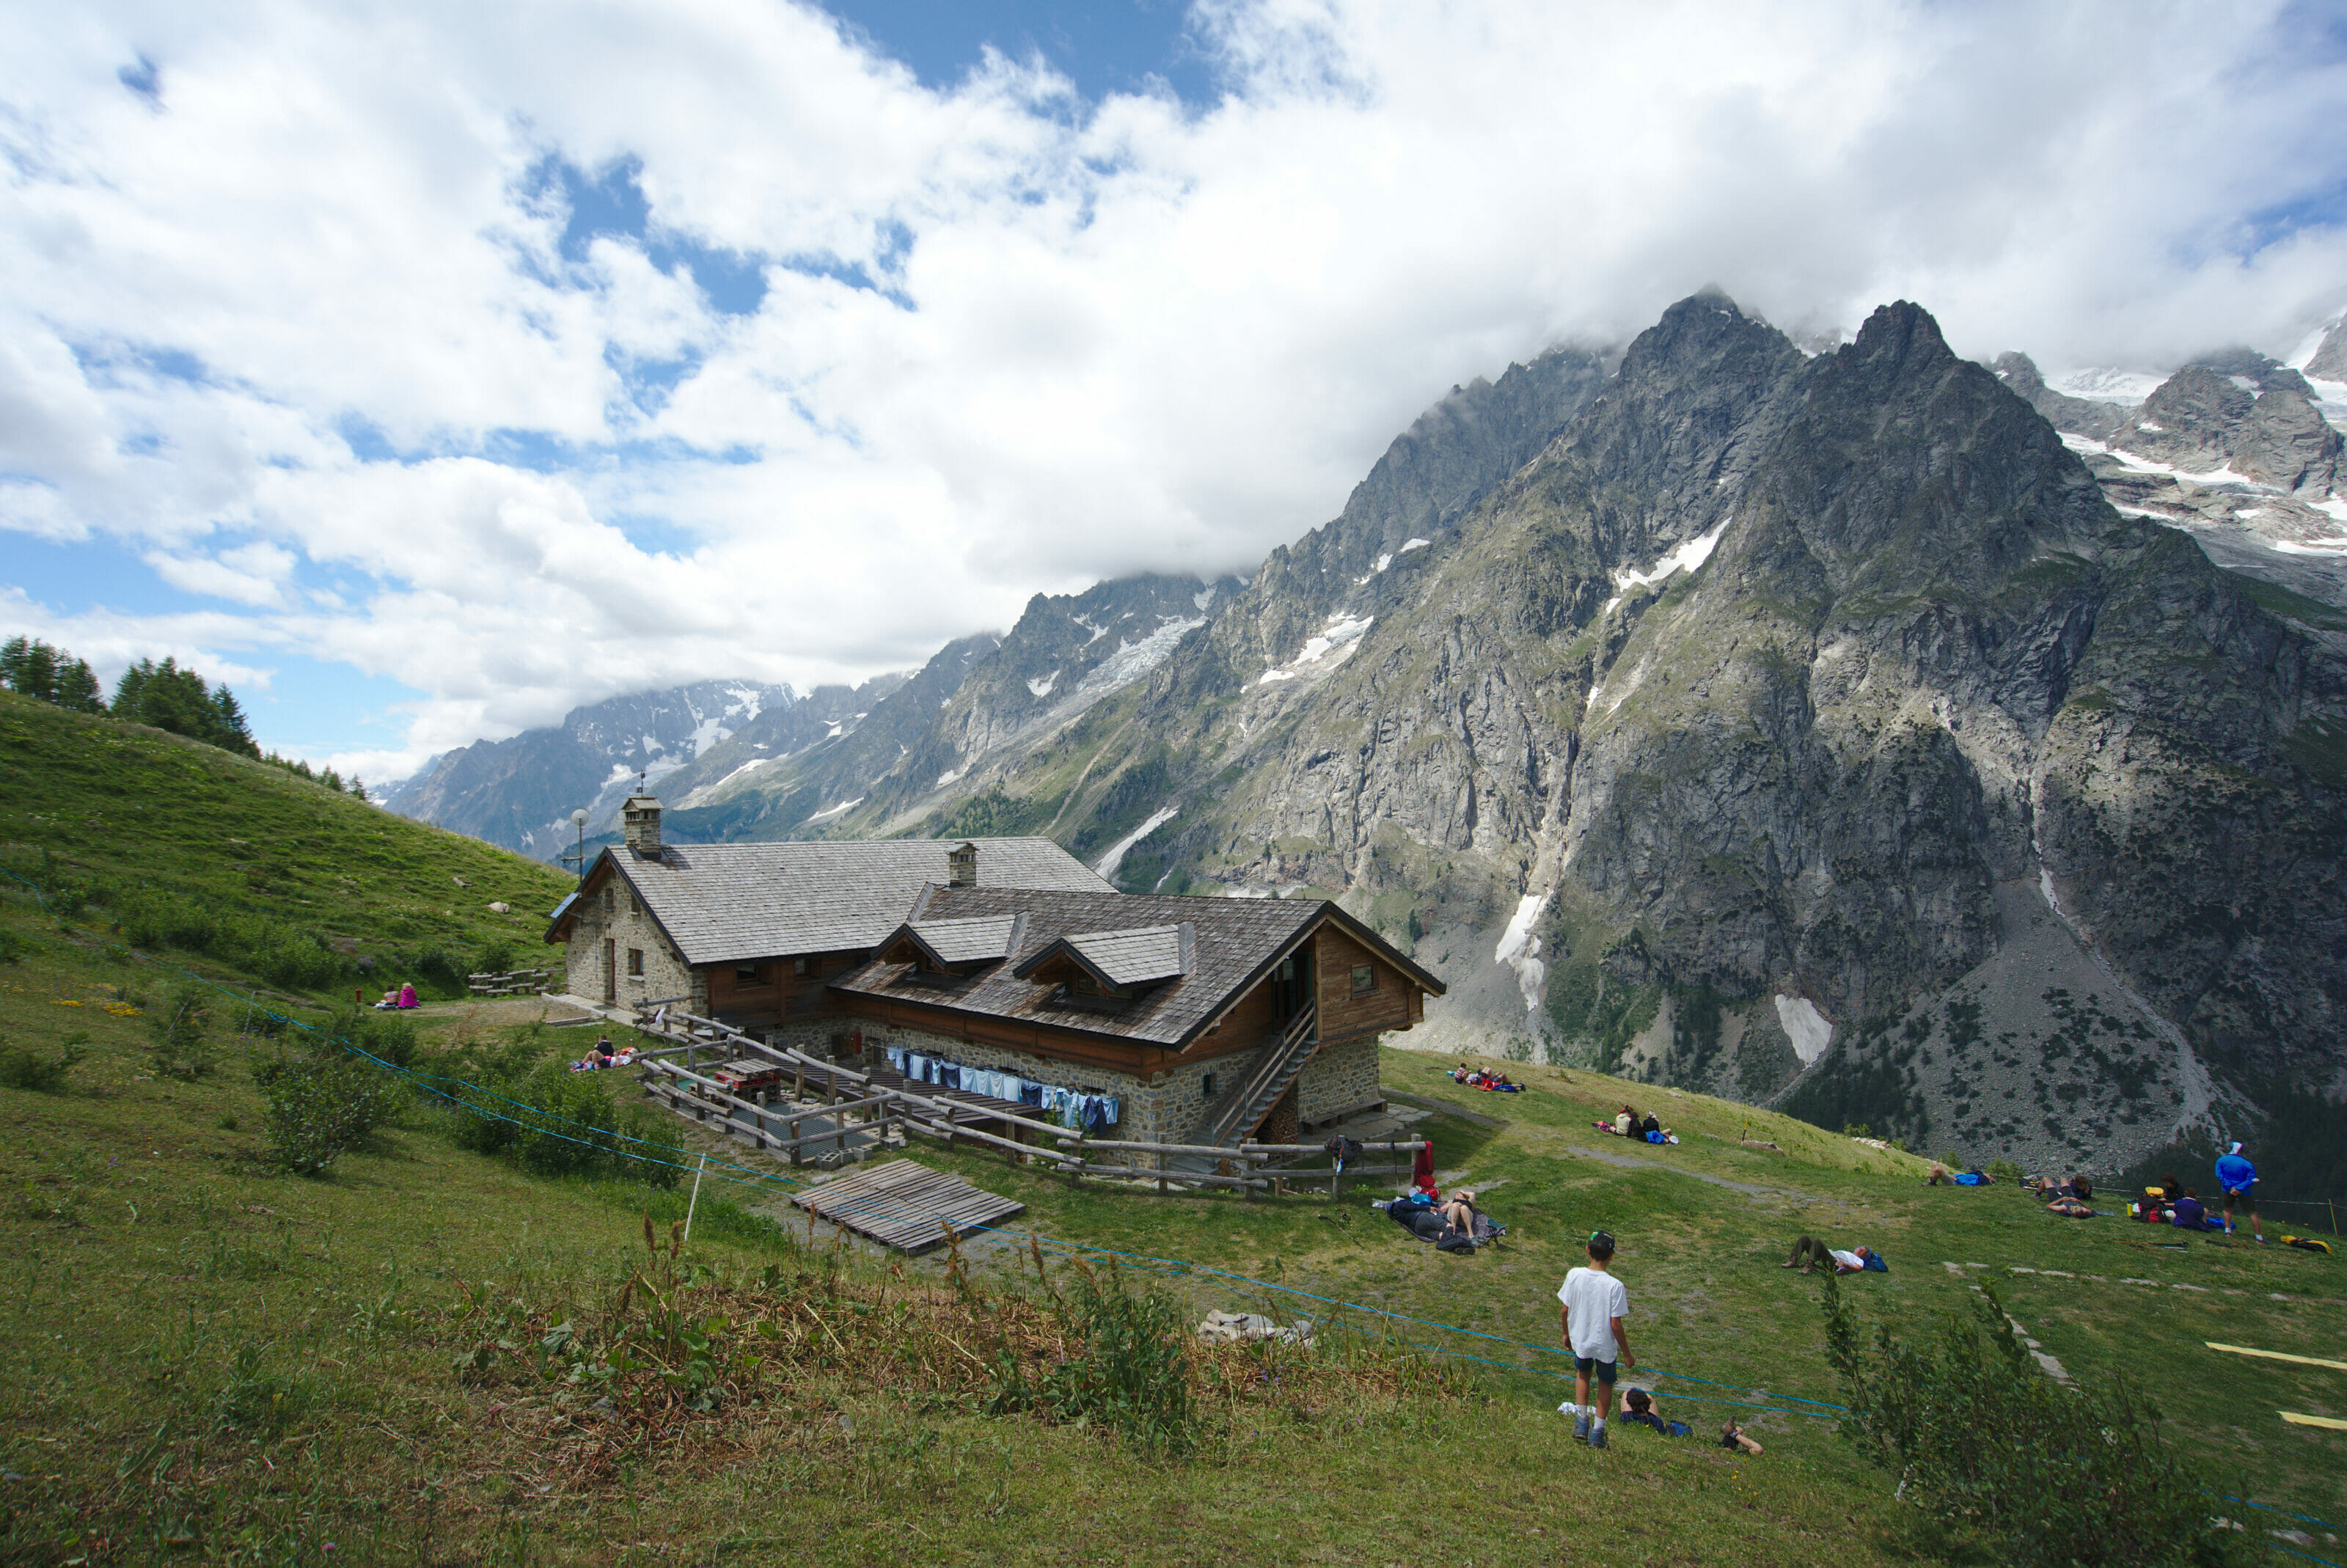
The Mont Blanc tour is an EXTREMELY popular tour and every day, hundreds of people hike it during the summer months. I, for one, had never seen so many people on hiking trails before. Afterwards, it must be said that once on the trails, people are quite naturally spacing out. And, well… If at times we find that there are too many people on the trail, it’s usually enough to look up a little towards the mountains to understand the craze for this trail.
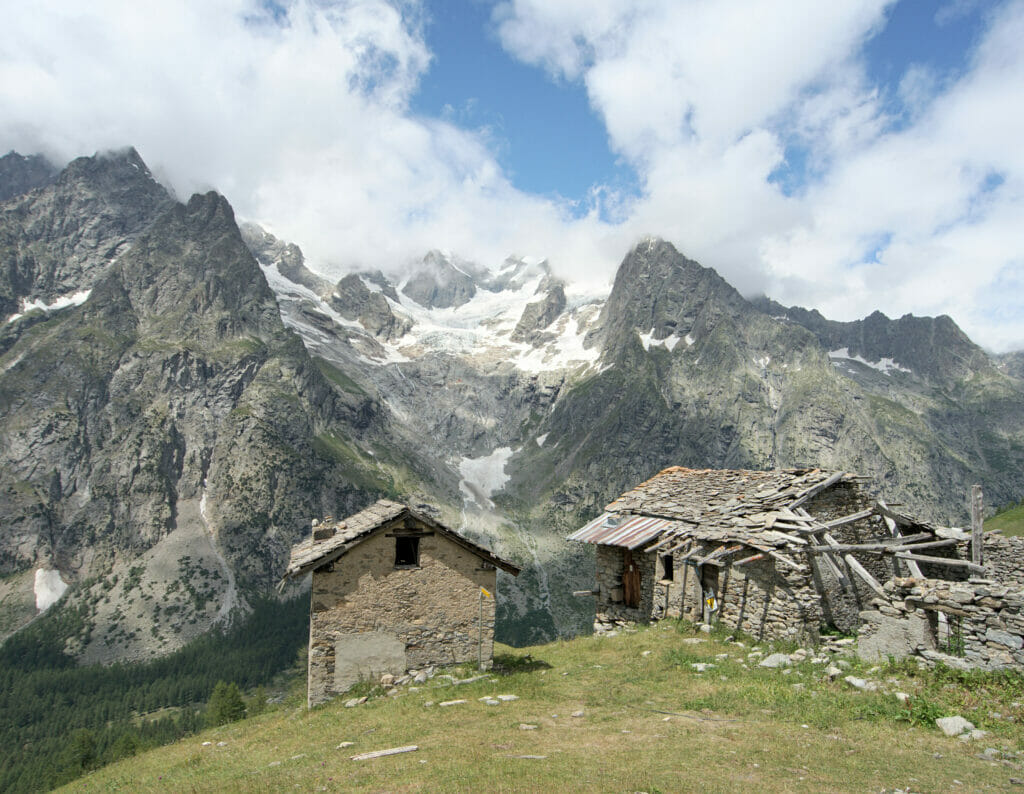
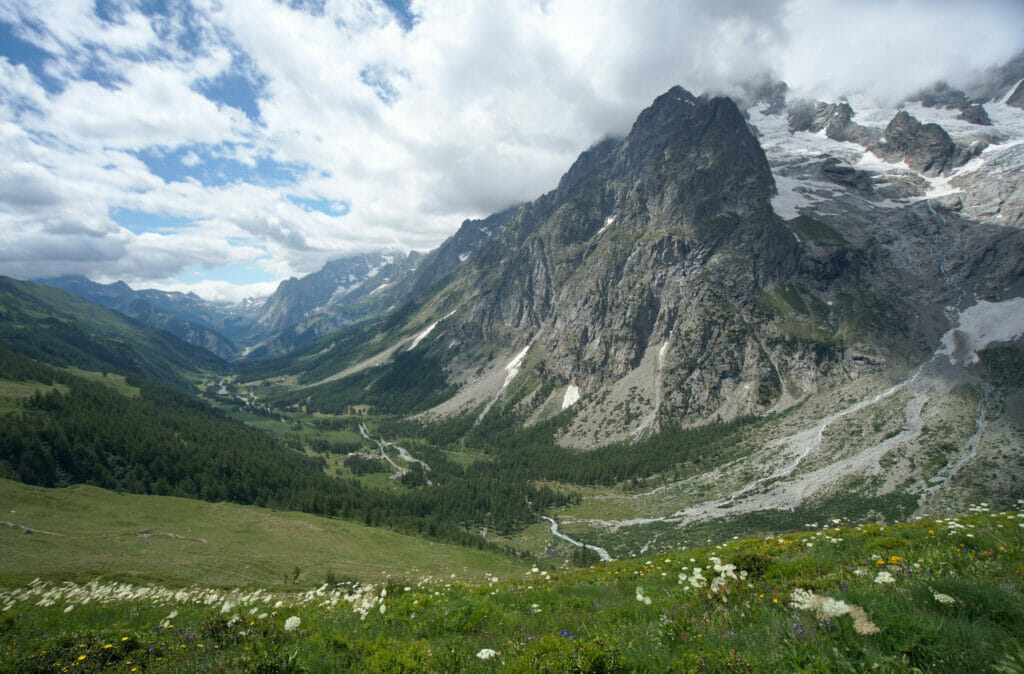
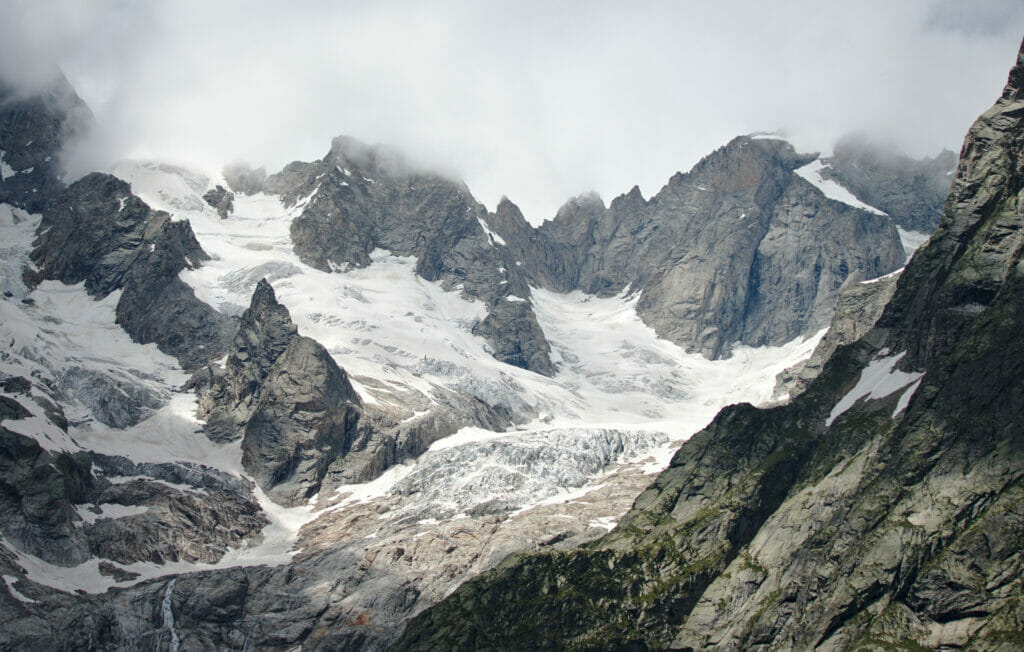
I think that we will never do the full tour du Mont Blanc because of the crowd but we have not regretted this stage the slightest! The balcony walk between Bonnatti and Chalet Val Ferret is definitely one of the top mountain landscapes we’ve ever seen.
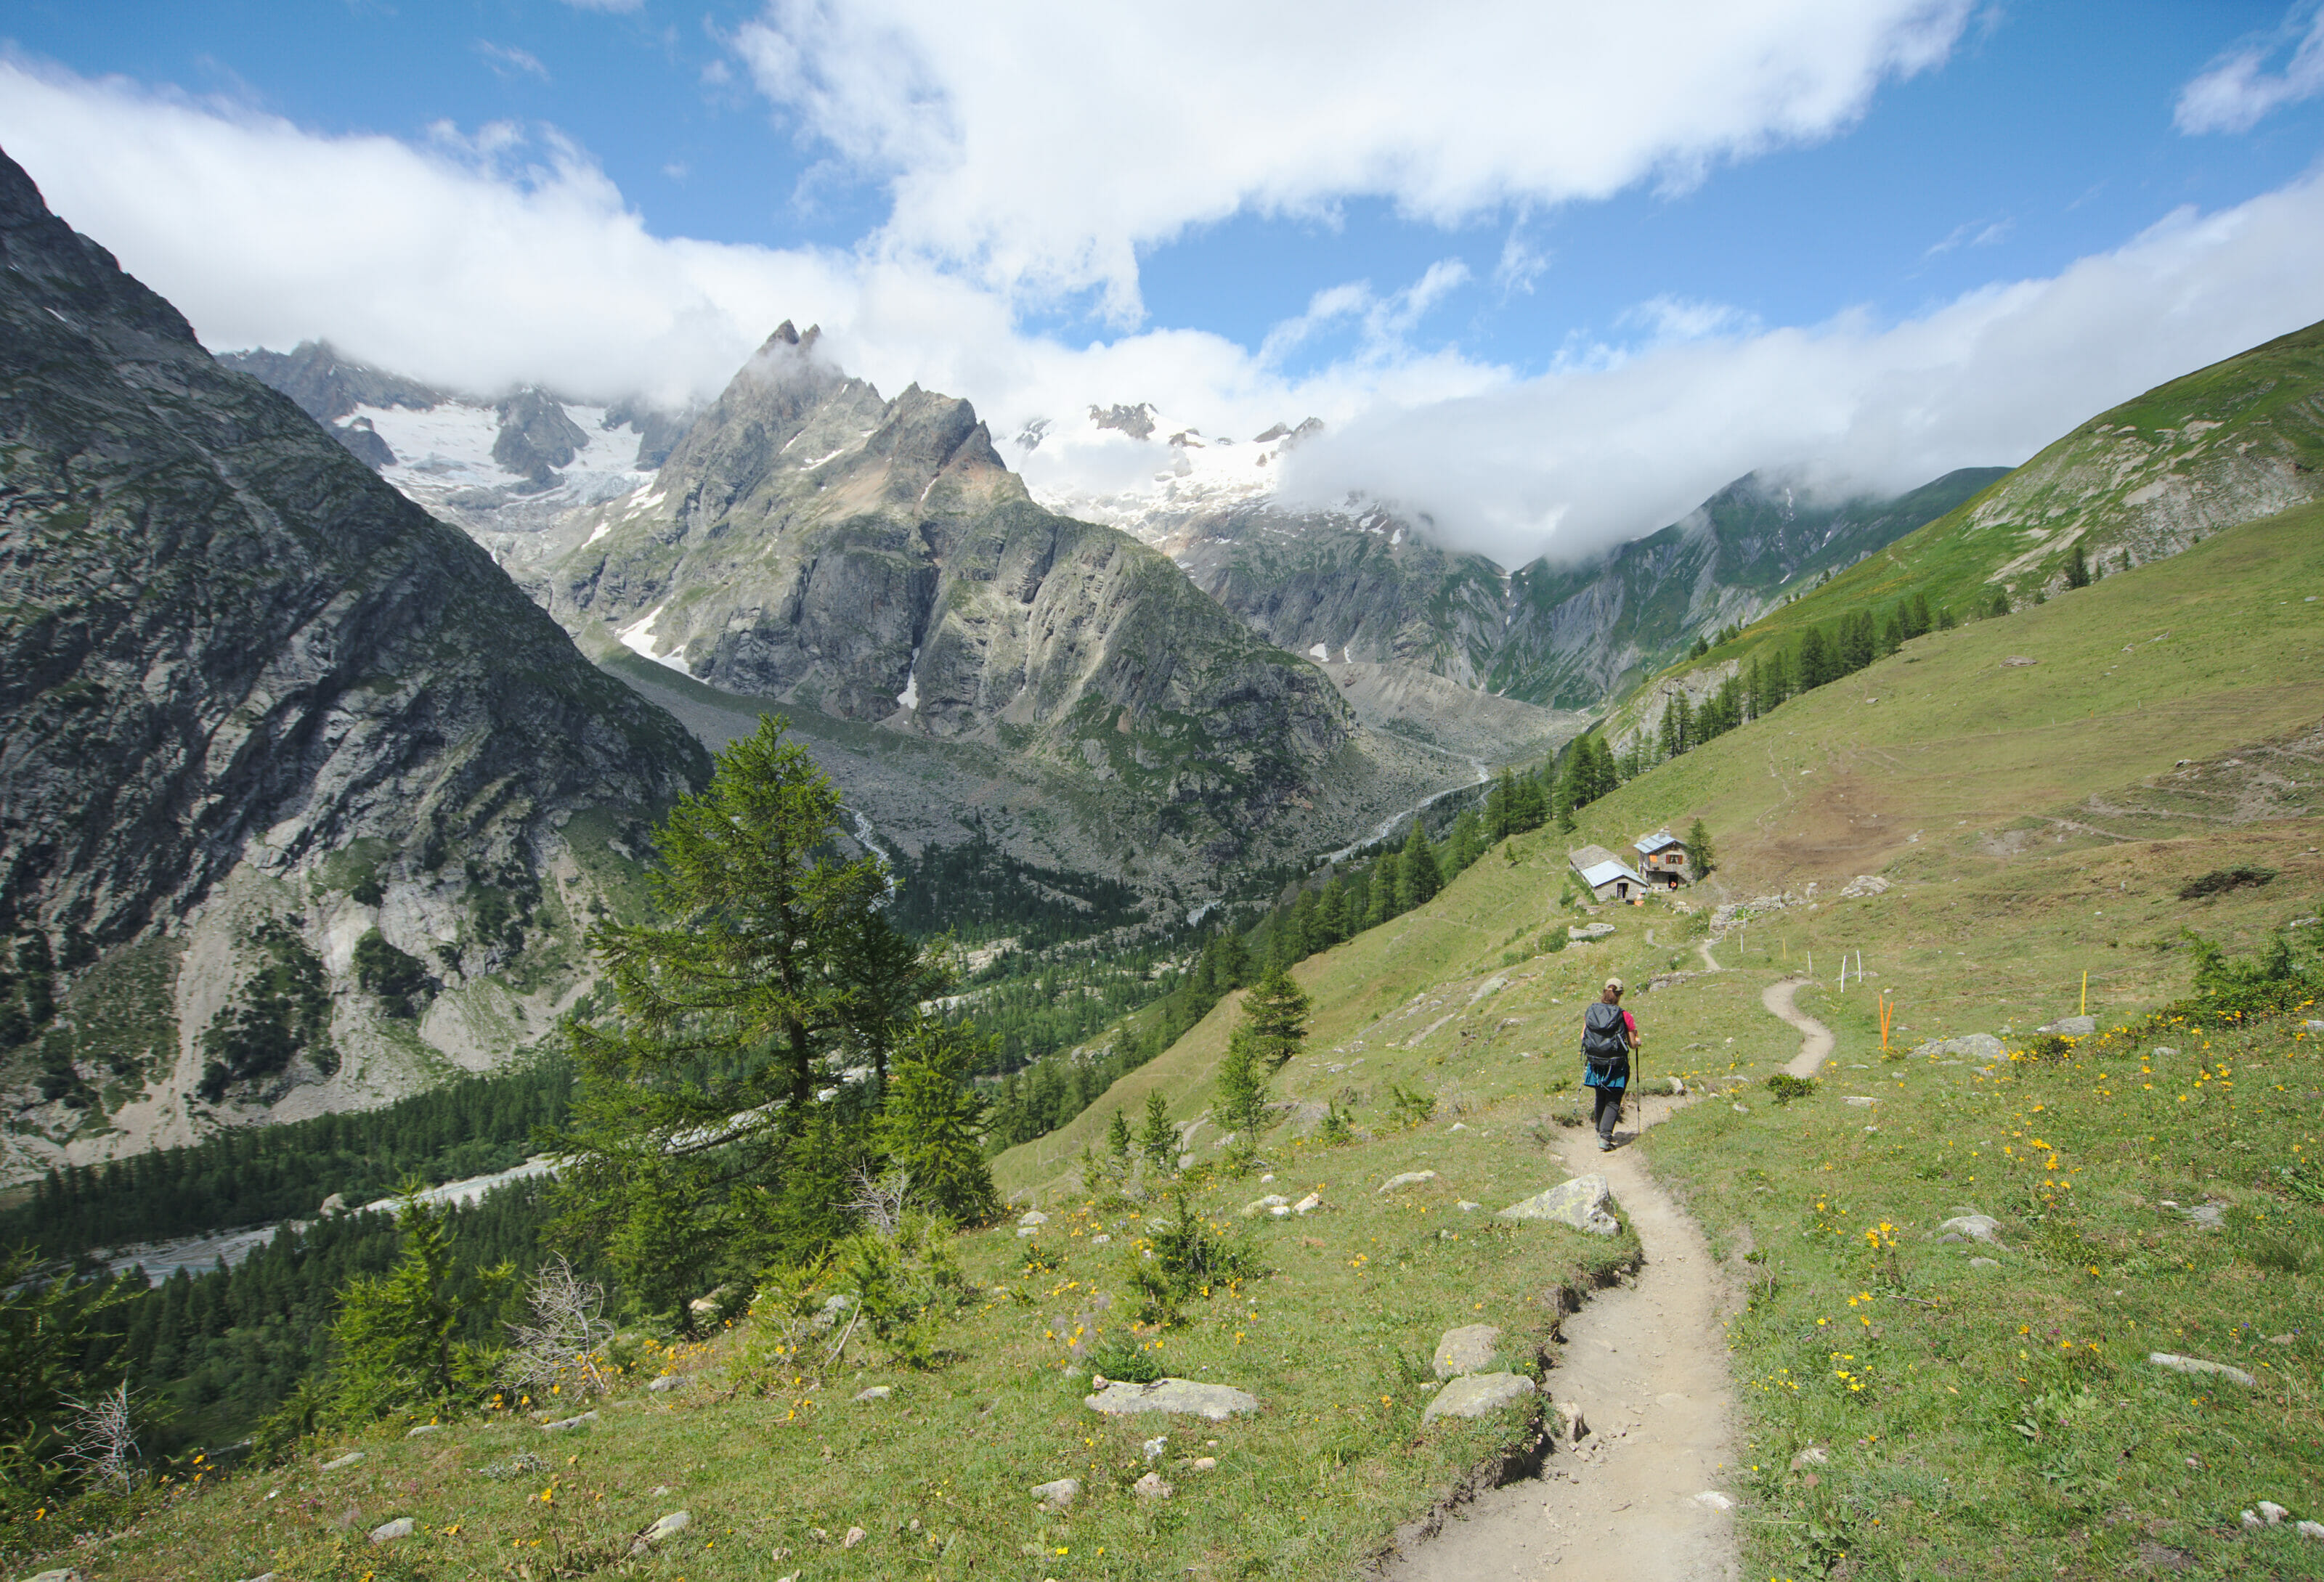
When we arrived at the Chalet Val Ferret we took advantage of the end of the day to drink a small beer on the terrace and rest our legs.
More pictures from this day:
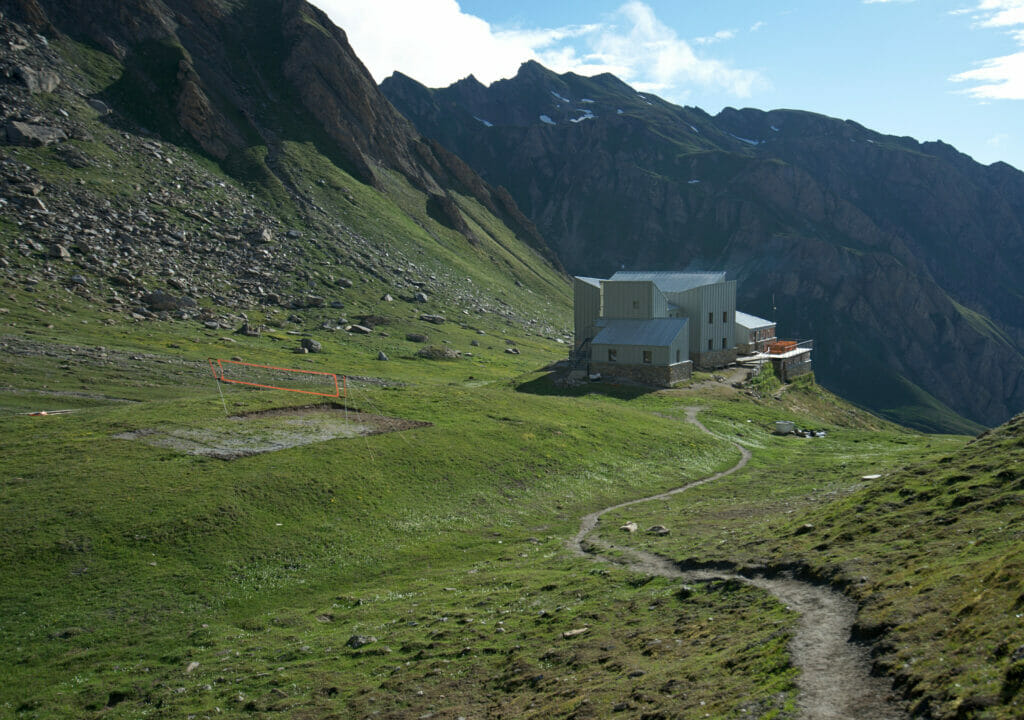
Infos
Stages: Frassati Hut – Malatra Pass – Combe de Malatra – Bonnatti hut – italian Val Ferret
Distance: 14km
Elevation change: about 600m D+, 1300m D-
Hiking time: about 5h
Accommodation: it is possible to sleep at the Bonnatti hut. We opted for the Chalet Val Ferret. The hotel does not offer dormitory, only private rooms. The price is 80€ per person with half board. This will have been our most expensive night of the tour, but it certainly comes from the fact that they are on the TMB. There is nothing to complain about the level of service though; the rooms were very comfortable and the meal was very good.. Their website
Map of the day:
From the Italian Val Ferret to La Fouly
As we look out the window that day we see a bright blue sky above our heads! Highly motivated by the beautiful day ahead we go to breakfast and prepare our gear. Once outside, a little doubt about the weather quickly start to arise… A crazy wind is sweeping across the Italian Val Ferret and while looking towards our day pass we quickly notice a “big crown of clouds” on the summits.
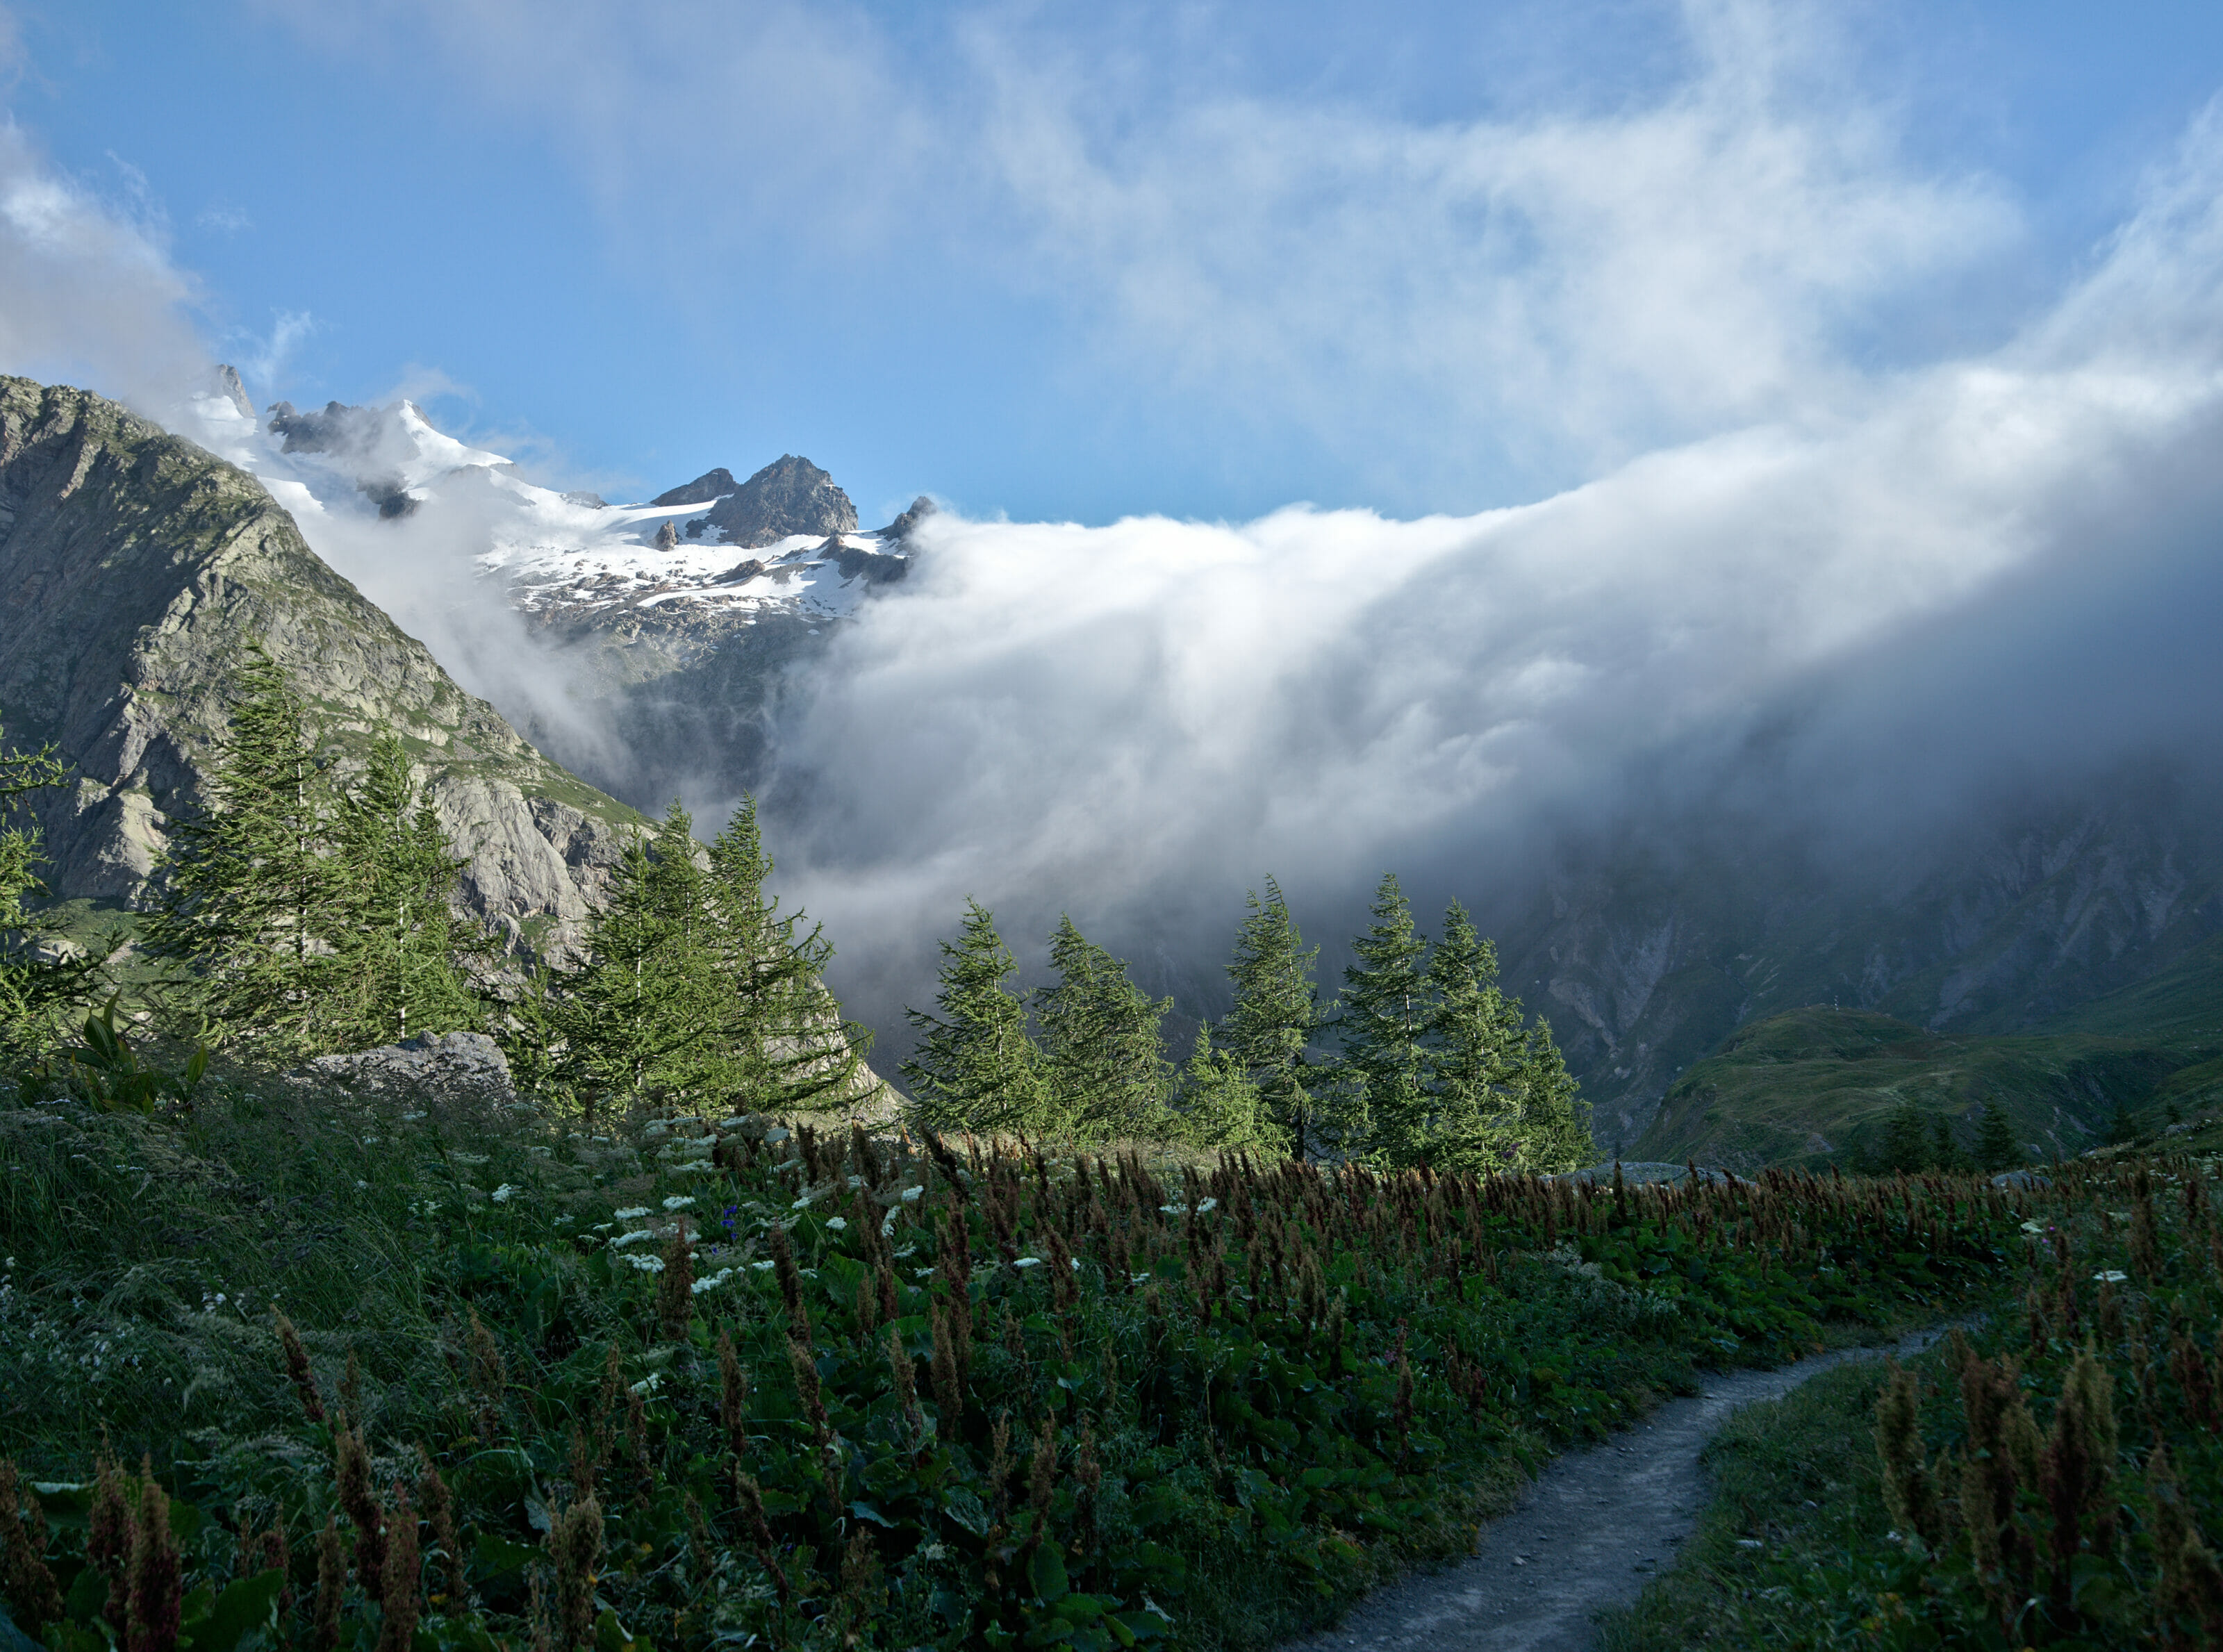
Afterwards, it’s not like we have a choice… We start the ascent towards Elena hut and as we climb we feel that the wind is getting stronger. During the whole ascent we walked more or less at the same pace as a Spanish couple on the Tour du Mont Blanc and as we advanced we took breaks to put on extra layers.
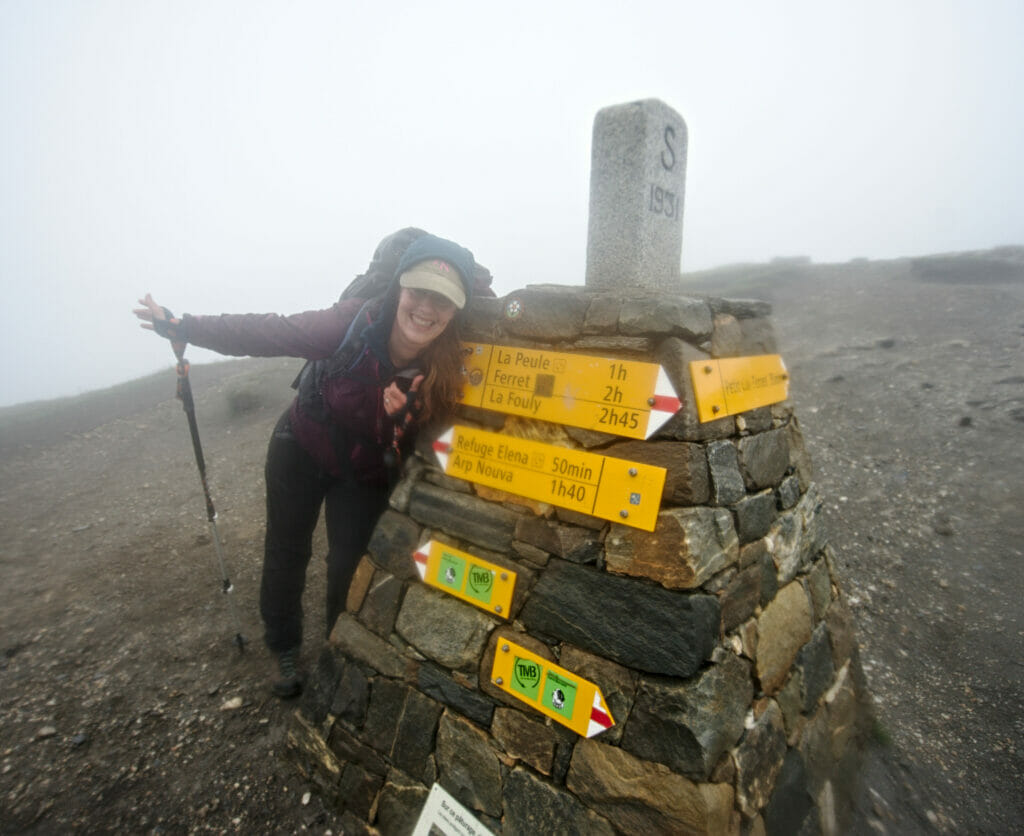
We would love to tell you about this hike up to the Grand Ferret pass and its view of the Mont-Blanc massif but unfortunately we didn’t see anything! But, if there was one positive point to note on this ascent, it is that the Grand Ferret is probably the easiest pass of this tour; the climb is very regular and really without any difficulty. The weather gods chose the right day to blow us away 😉
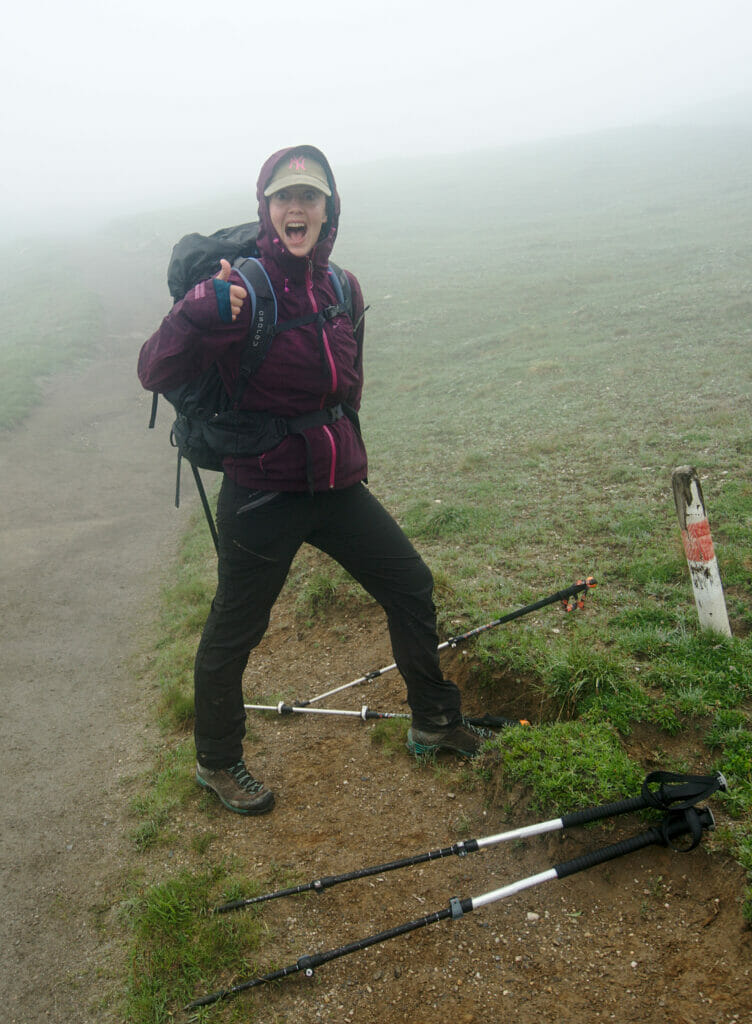
Once at the pass we didn’t stick around for too long! The view was not really “nice” for photos and it was very cold! With the little rain and the freezing wind our fingers were frozen. I spent a good part of the beginning of the descent wedging my sticks on my bag and making big gestures to get some blood back in my fingers. Very inelegant, this method had the merit of making the Spanish couple laugh (these guys were smarter and had thought about bringing gloves ;)).
Here’s a little souvenir photo of the pass and a second of the moment when I was happy to start to get some feeling in my fingers:
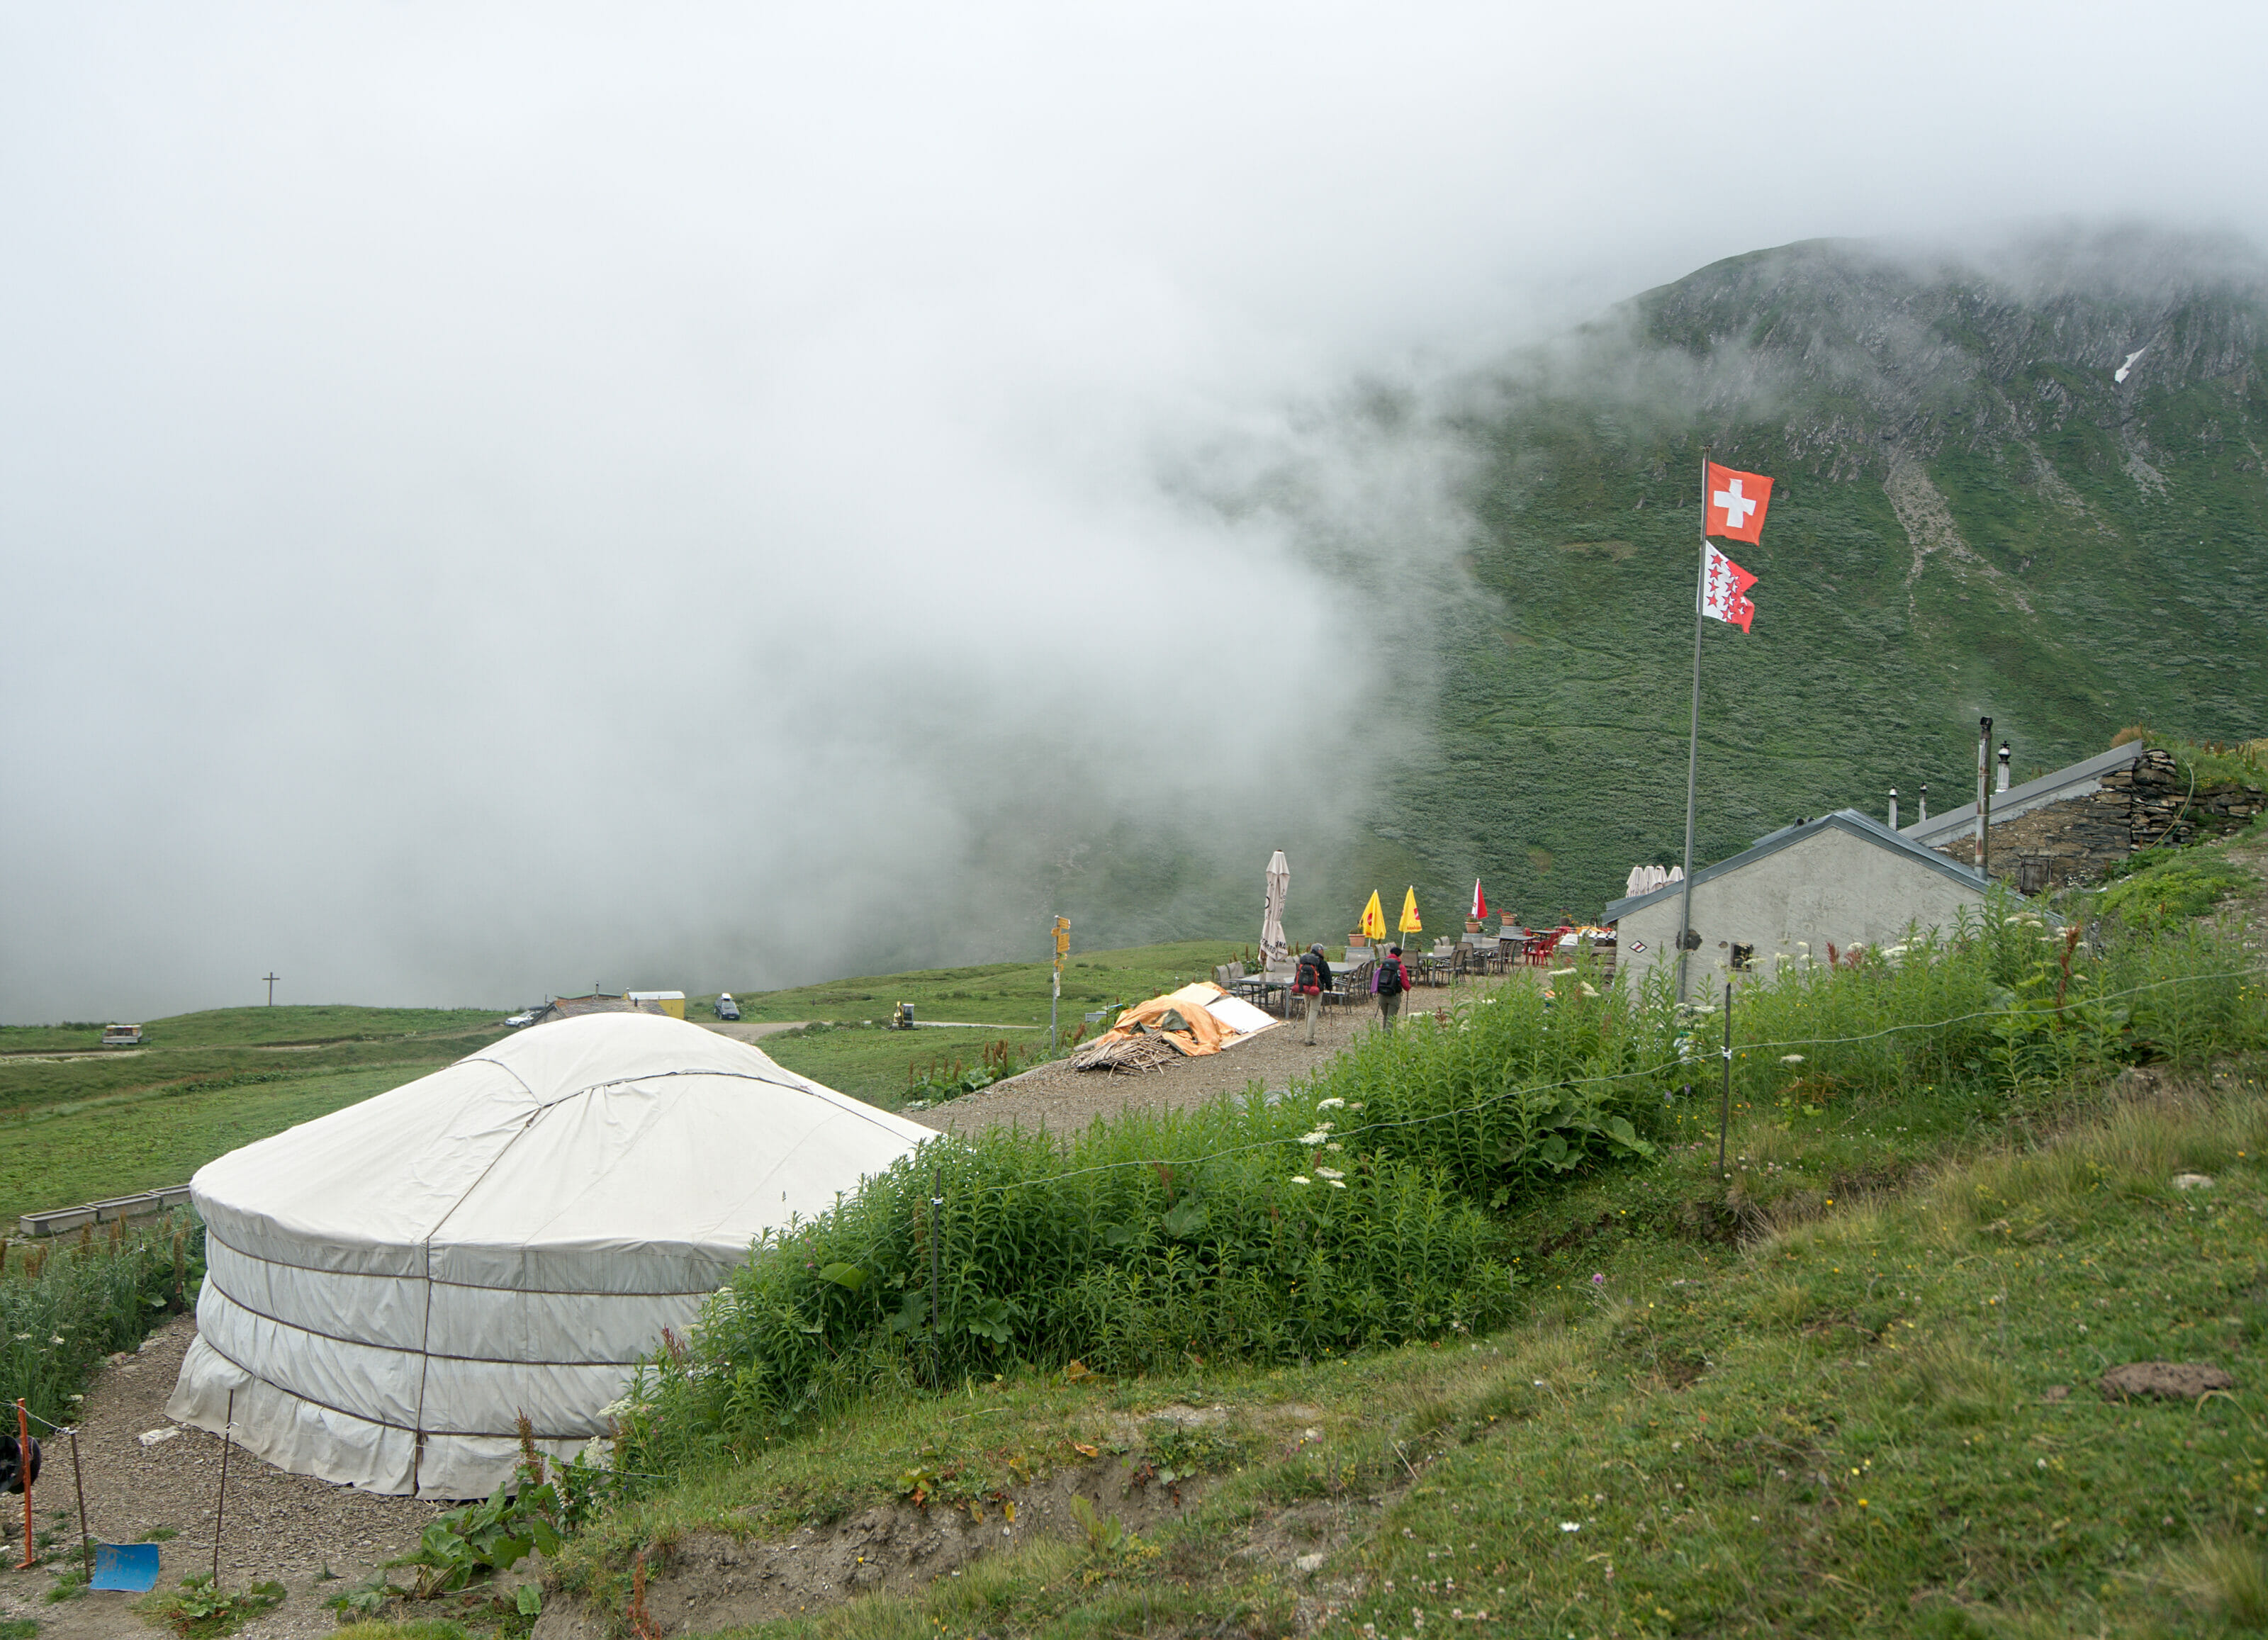
Fortunately for us, the clouds seemed to “hang” on the top of the pass and after about 300m of negative altitude difference we were below. The temperature was rising, the wind had almost stopped and we were able to have coffee on the terrace of the alpine pasture of La Peule. Mountain weather is really a one of its kind science! 🙂
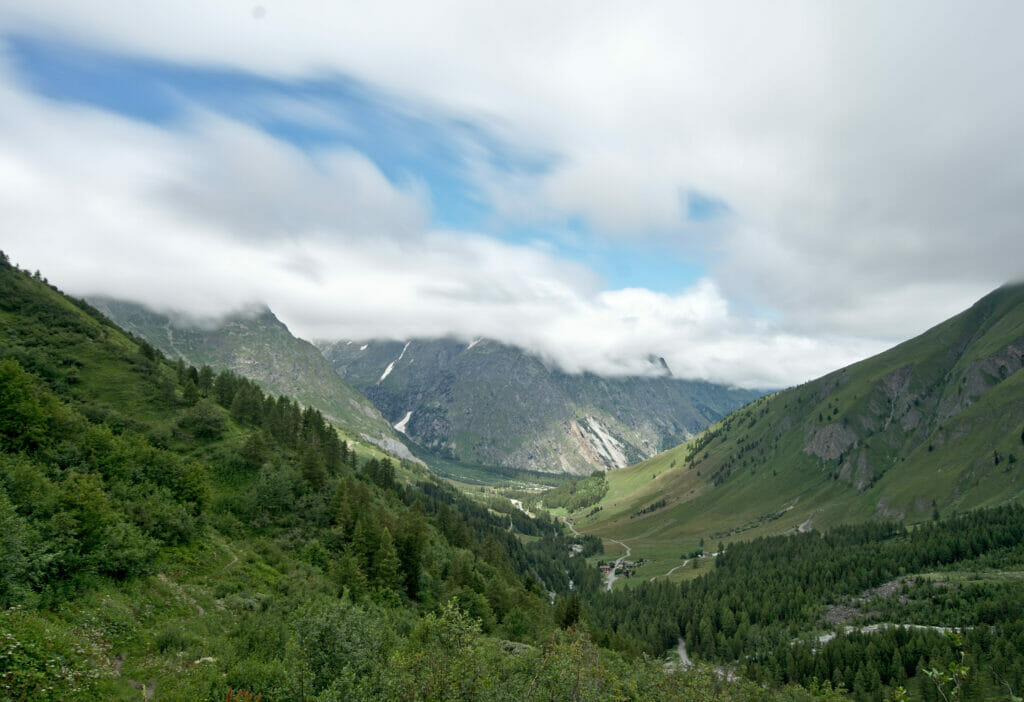
From the mountain pasture of La Peule the route of the tour du the Saint-Bernard leaves the TMB. While the vast majority of the hikers were heading for the other side of the valley to join la Fouly, we continued in the direction of the Pramplo shepherd’s hut. This balcony section is really beautiful; you always have a great view of the Swiss Val Ferret.
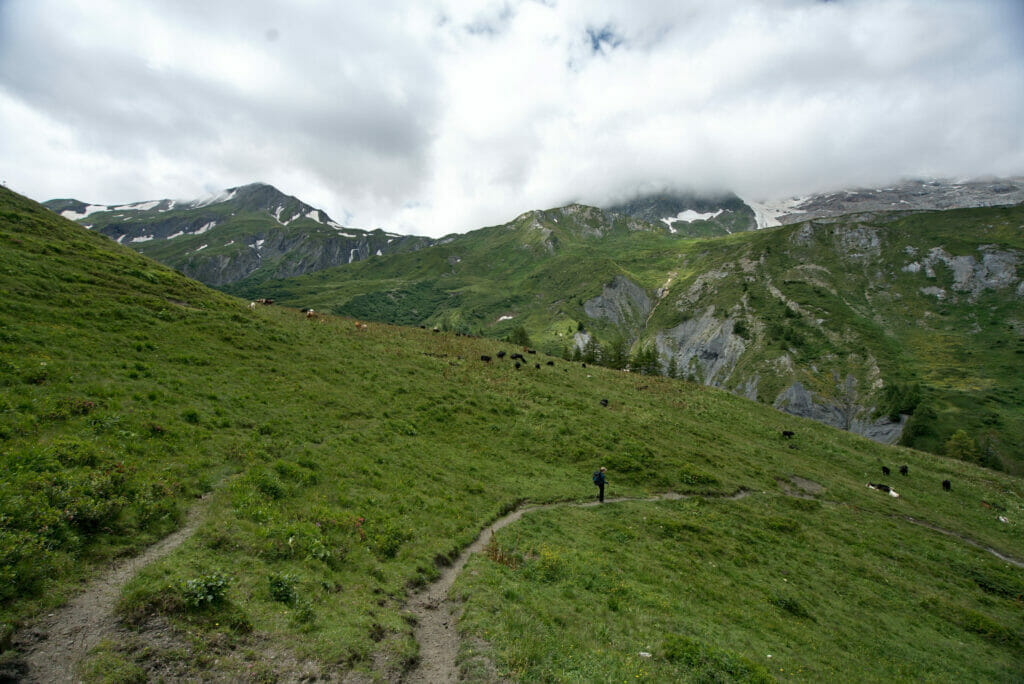
Arriving at the shepherd’s hut, we started the descent towards the small hamlet of Ferret. Then, once on the banks of the Dranse de Ferret, we followed the river to the village of La Fouly where we settled in our dormitory at the Edelweiss Hotel.
Info
- Stages: Chalet Val Ferret – Elena hut – Col Grand Ferret – La Peule – La Fouly
- Distance: about 14km
- Elavation change: 800m D+, 1000m D-
- Hiking time: about 4h30-5h
- Accommodation: Several options on the way. The Elena hut (closed for the 2020 season), La Peule (very nice terrace) and in La Fouly there are many options! We chose the Edelweiss hotel and their dormitories for CHF 69 per person including half board. The meal was really excellent and the breakfast buffet was great! We really liked this accommodation. Their website
From la Fouly to Liddes over the Basset Pass
It was precisely 8:12 a.m. when we left our hotel that morning. How can I remember such a weird detail, you may ask? Oh well it’s simple, it’s the perfect illustration of our little failures of organization 😉 The day’s stage promised to be quite long and we more or less decided that to help us a bit we could take the chairlift that leaves La Fouly and allows us to arrive 400m higher. Passing by the day before, we had a (quick) look at the schedule: 8a.m-4p.m (and a lot of stuff in brackets that I didn’t take the time to read).
The stuff in brackets? The chairlift runs every first 15 minutes of each hour…
Well, it was exactly 8:15 am when we arrived in front of the chairlift departure and it stopped right in front of our eyes ! At that moment we had 2 options:
- Go somewhere to grab a coffee and come back 45 minutes later
- Hike all the way up
Not even having walked 100m yet I didn’t dare to offer Benoit the first option and I don’t think it even crossed his mind. Is the chairlift stopped? Bad luck, we’re going up on foot 😉
Our timing was perfect, we arrived at the top of the chairlift right at the same time as the other hikers (the ones who probably went for coffee).
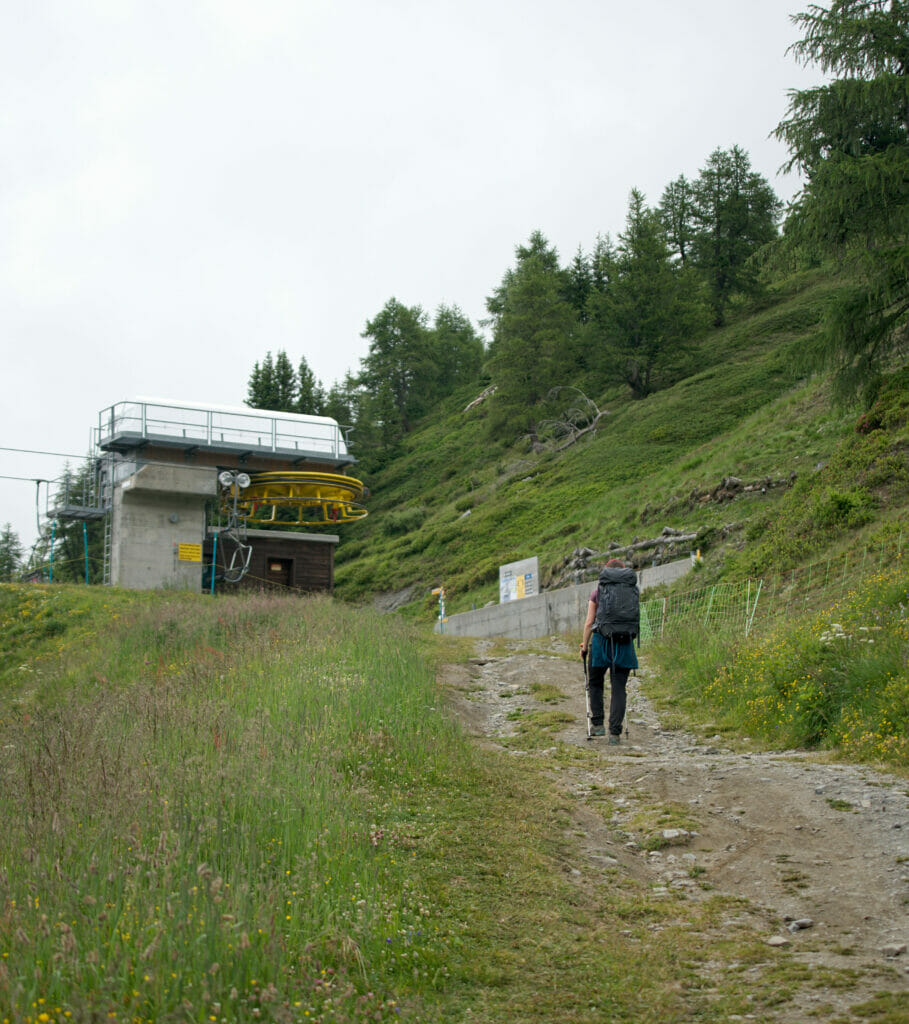
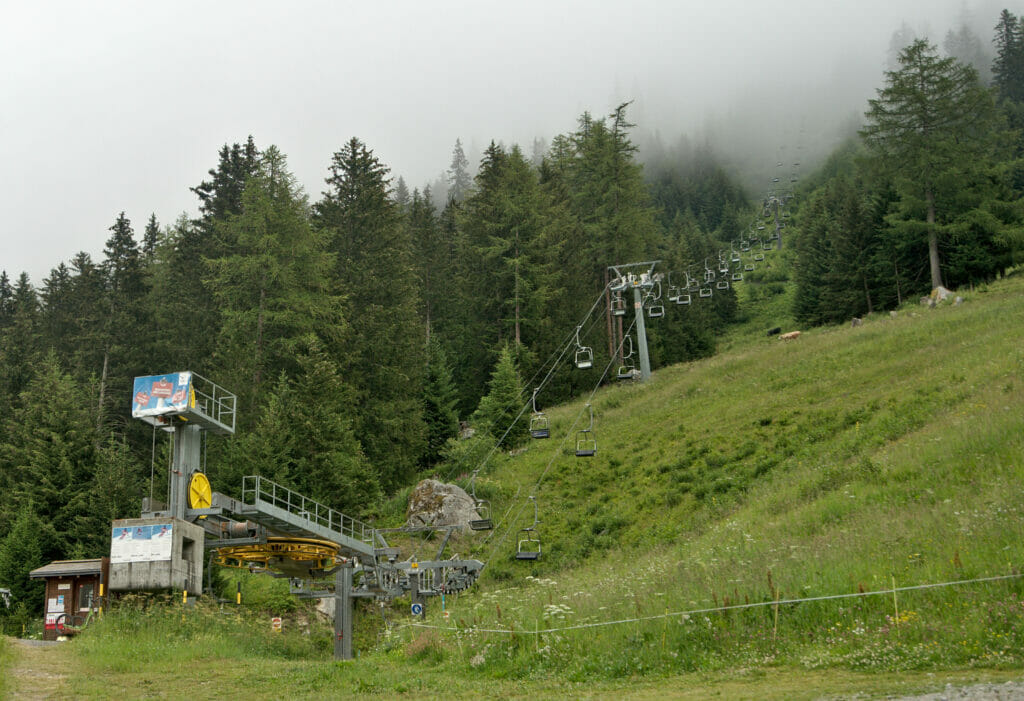
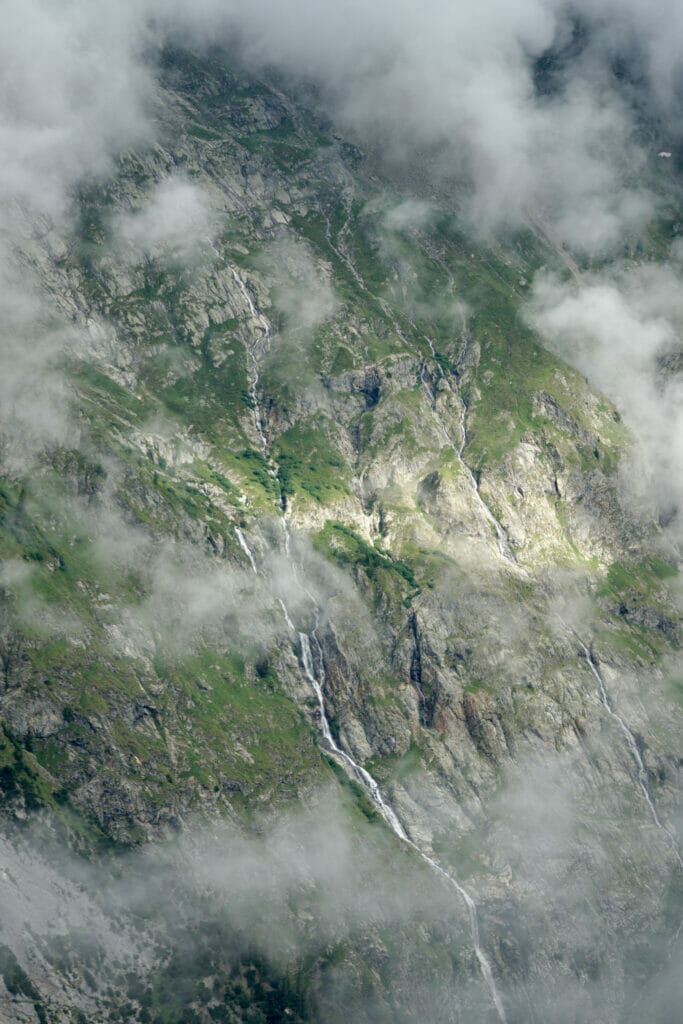
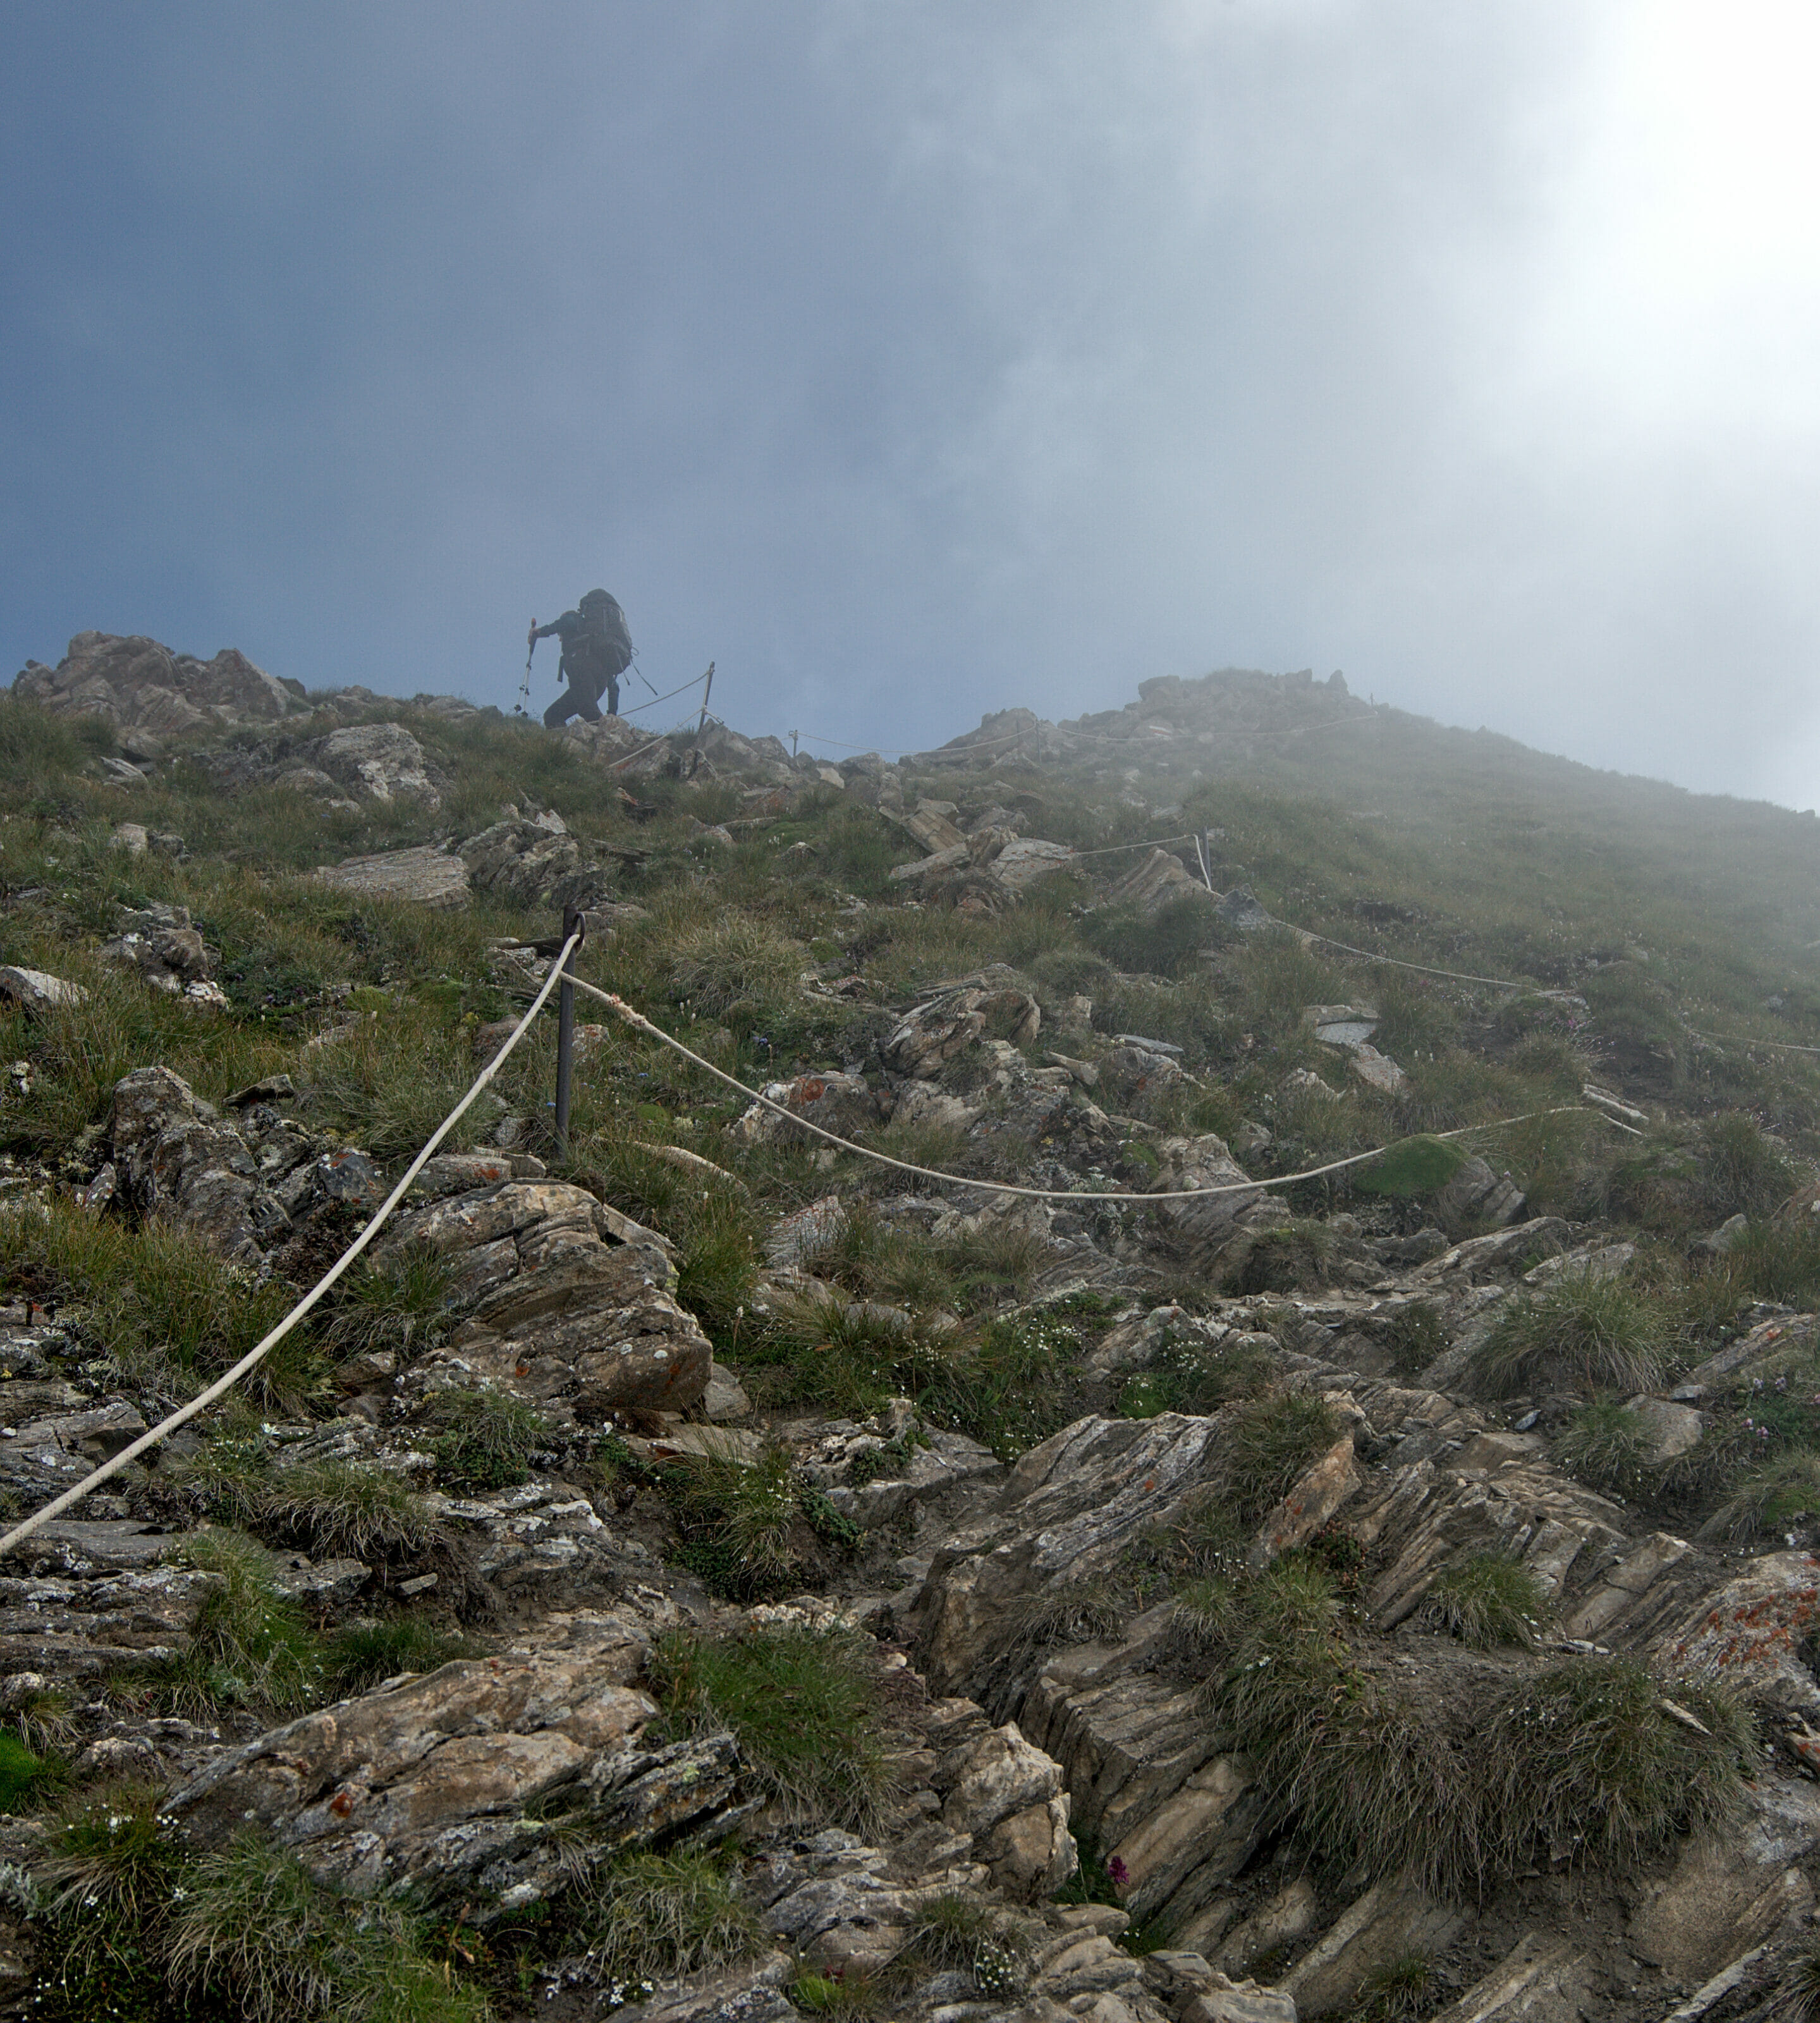
From the arrival of the chairlift there are still a few easy “laces” to climb and then we start the really serious stuff. The climb to the Col du Basset is probably the steepest of this tour! It’s long, it’s physical, but somehow I did not have any major issues on this one. It’s very steep, but strangely enough I didn’t feel any discomfort at all due to the vertigo. It’s exposed but not really exposed (in fact there is no passage where you could feel like you’re dying in case of a fall… It’s a weird way to put it I know, but my brain tends to totally block if I feel like a fall could be fatal to me. It’s probably what is called survival instinct).
During the ascent we are in what you might call a thick fog. We don’t see much and as we get closer to the summit, we doubt more and more that we could pass “above” the clouds. What a surprise when at the summit we found that we were not actually passing “above” but “beside”. Because of the ridge, the clouds were as if blocked on the Fouly side and the weather on the Liddes side was amazing!
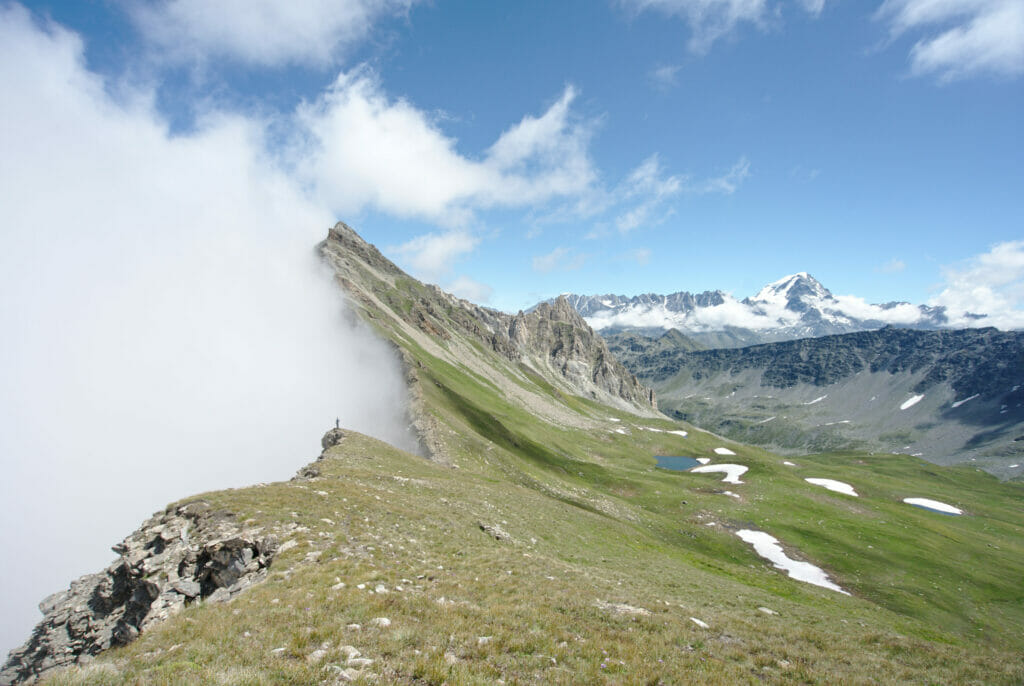
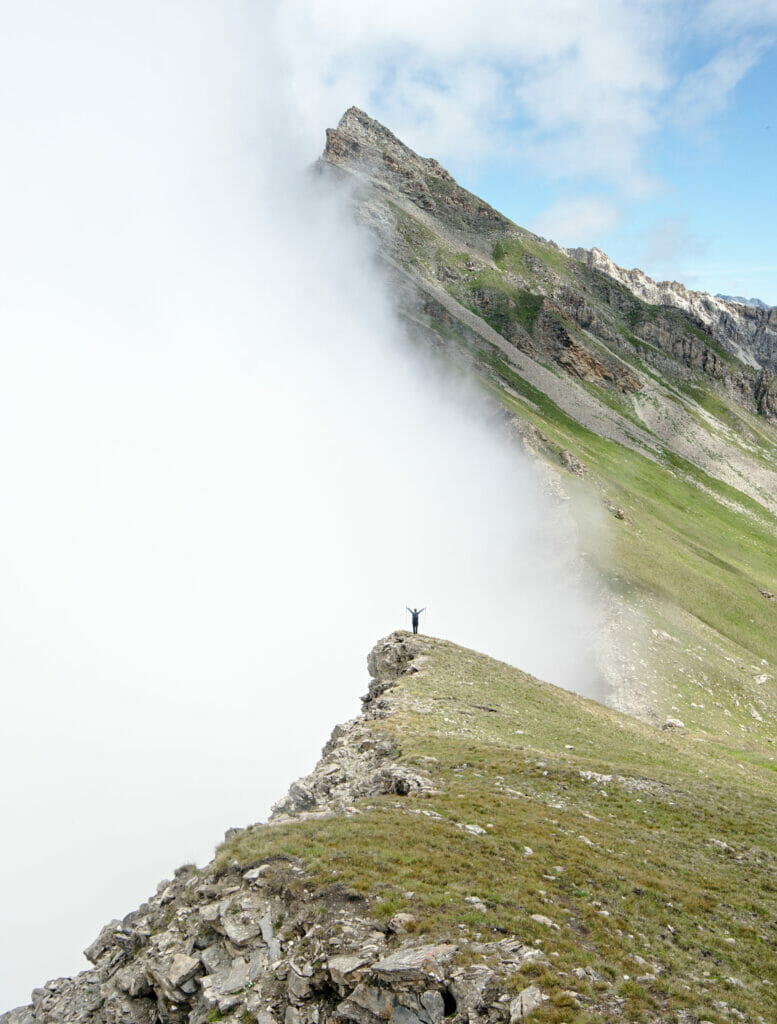
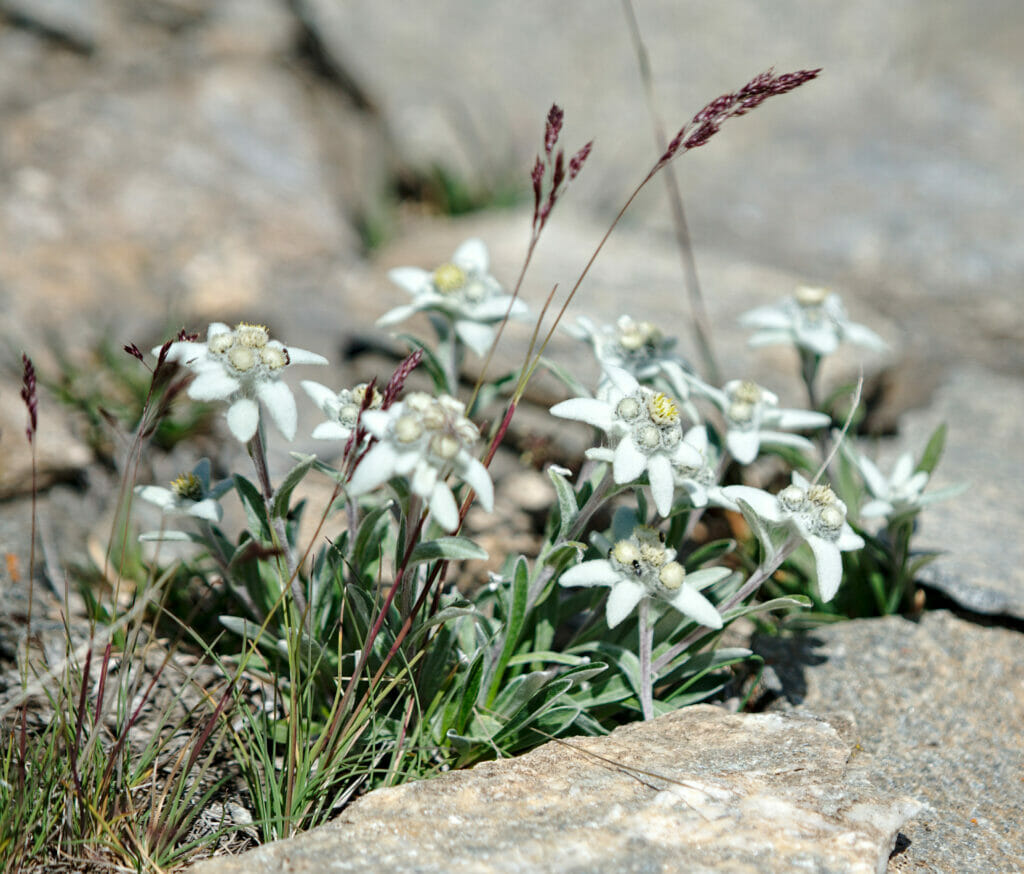
I think that if I had to give a weather phenomenon that I prefer it would surely be this one! We had already experienced a similar situation during our Via Alpina and there is no need to say: it’s magical! And as a big bonus (as if the landscape wasn’t enough), we also had the chance to observe hundreds of Edelweiss along the ridge. We had already come across this beautiful flower on previous hikes, but never before in our lives have we seen so many!
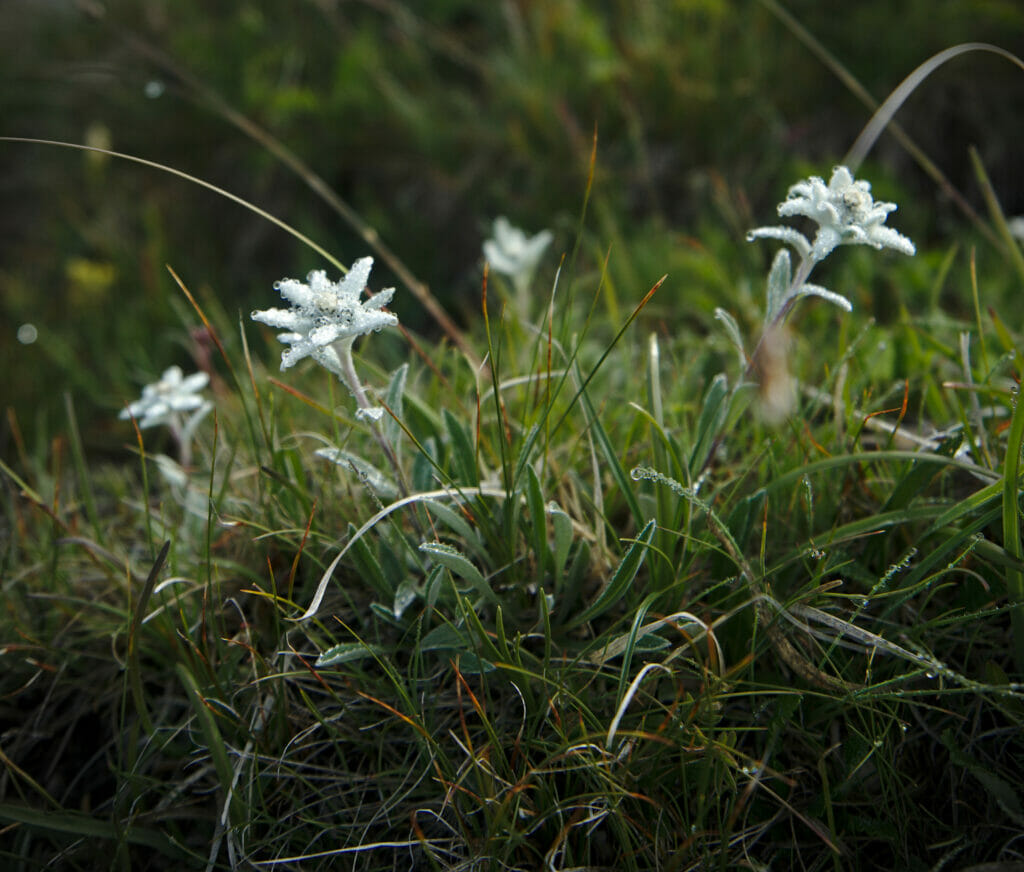
From the Col du Basset we started the (very) long descent towards Liddes. 12km and 1200m of negative altitude difference. It’s a bit hard on the knees, but phewwwww, it’s stunning!
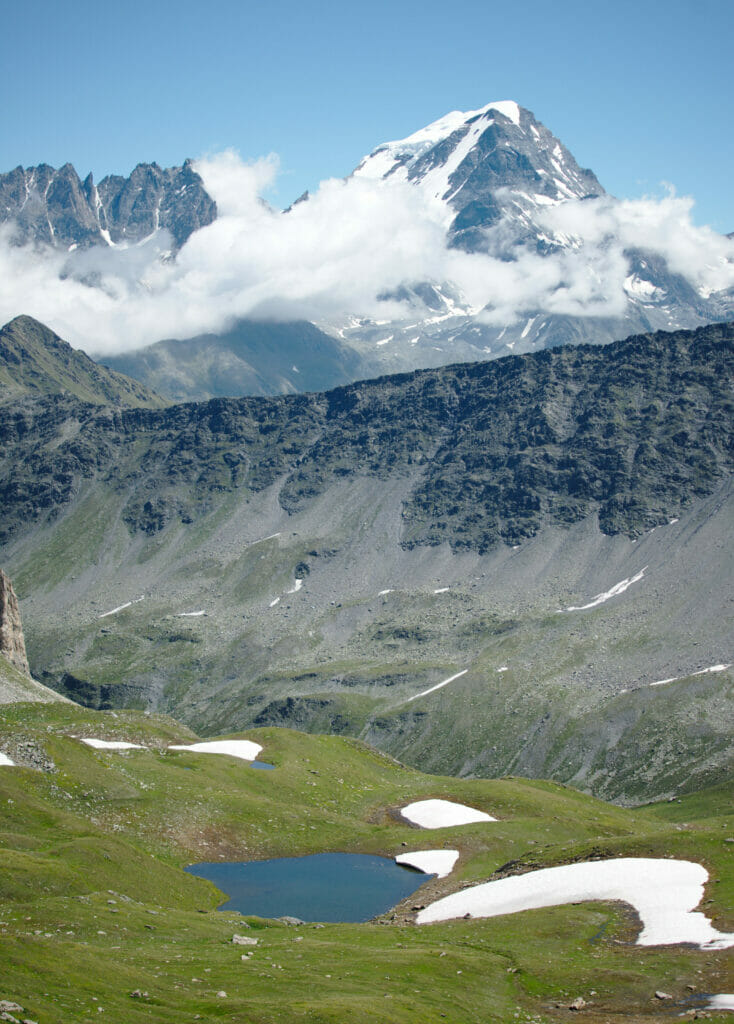
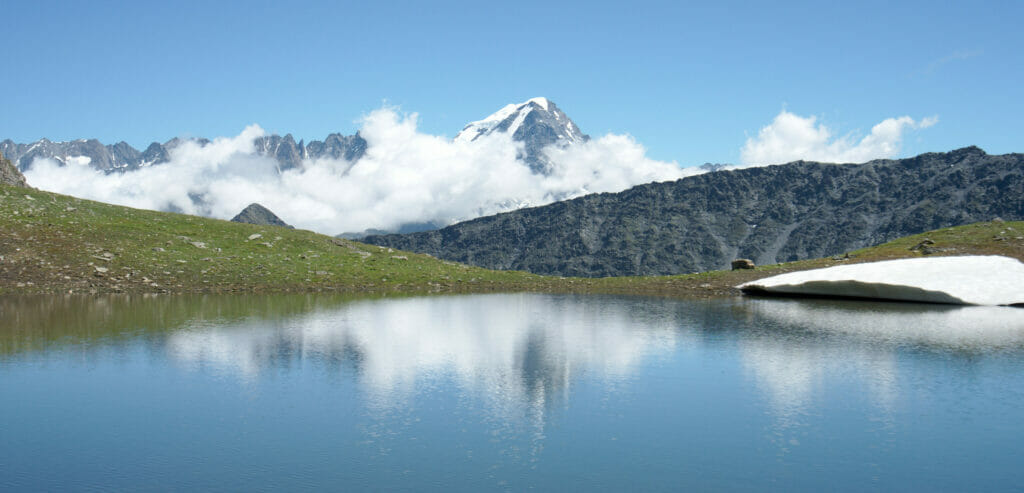
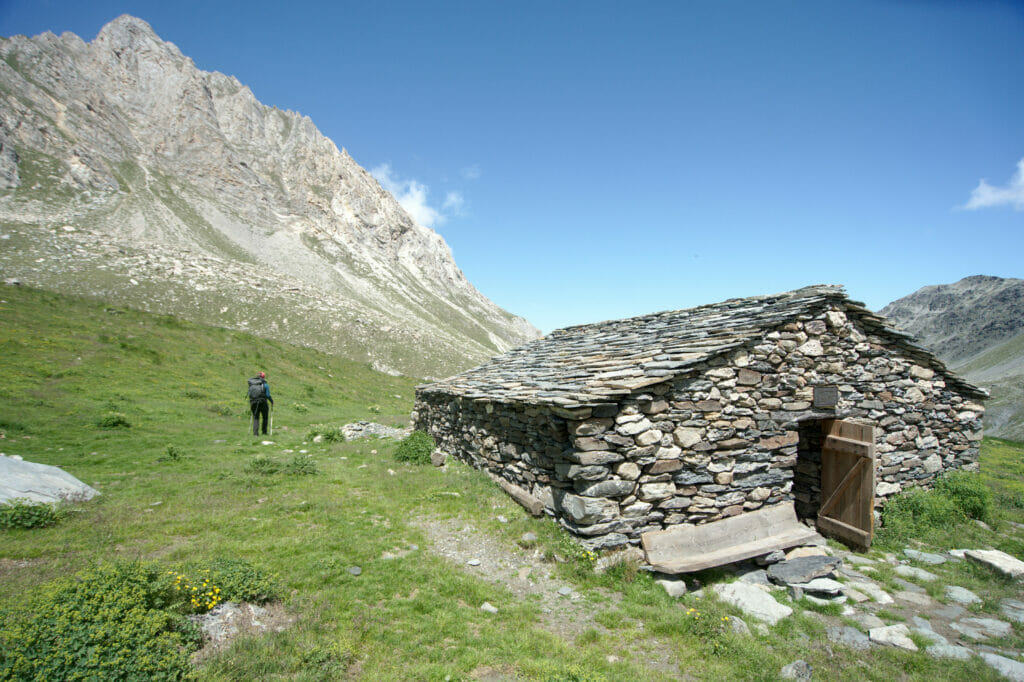
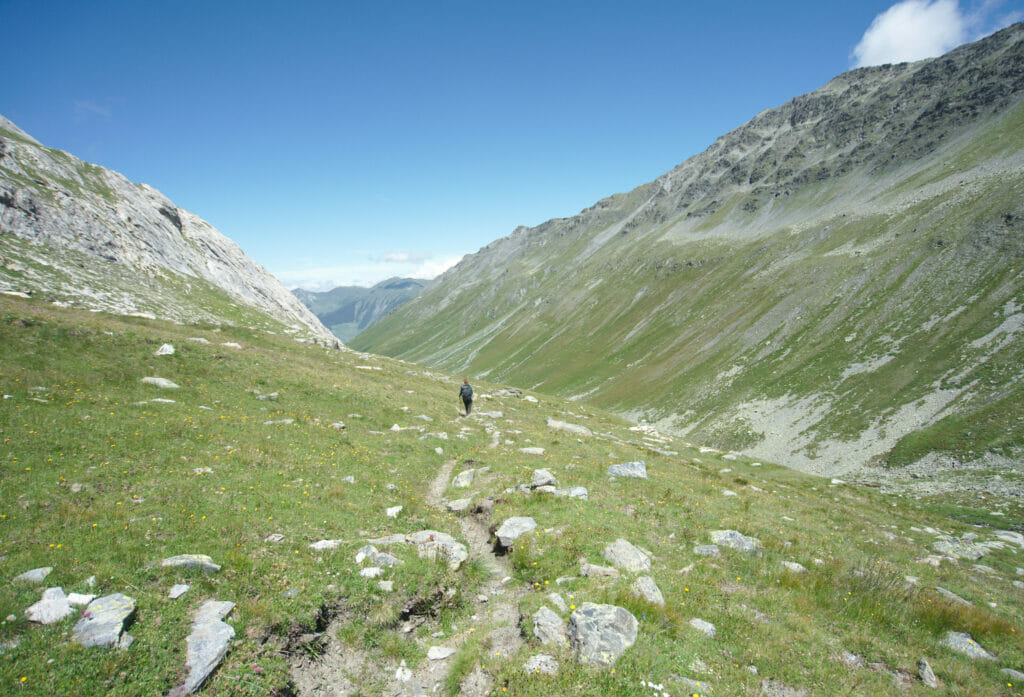
We were looking forward to this stage because a good part of the descent takes place in the Combe de l’A. If this combe is well known it is mainly for its ultra-preserved side! Apart from the Tsissette hut which is at its entrance there is absolutely no human presence here. It is the ideal place to observe animals such as deer, marmots, ibexes or even the golden eagle. Unfortunately, we have not seen any eagle, but there were plenty of marmots and deers to be seen! We can’t help but think that this place must be sublime in the fall to come and listen to the deer’s roar… #NextTime
But this combe is not only appreciated by animal lovers! Lovers of geology and flora should also fquite like it. For our part, we are not “qualified” enough to understand all the subtleties of the rock types but even if we don’t know the difference between black shale, flysch or quartz, it is still very beautiful ;).
Infos
- Stages: La Fouly – Col du Basset – Combe de l’A – Liddes
- Distance: 18,5km
- Elevation change: 1200m D+, 1600m D-
- Hiking time: about 6h30 to 7h
- Transport: Possibility to avoid the first 400 meters of elevation change by taking the chairlift. Be careful, it only works for the first 15 minutes of every hour!
- Accommodation: Tsissette’s hut is on the way. It is closed in 2020 for renovation but after that it will certainly be a nice place to end the stage. In Liddes we stayed at the Hotel du St-Bernard, a slightly rustic but very comfortable hostel with a very very nice welcome (and divine homemade pizzas ;)). The double room with WC on the first floor costs 93 CHF with a great breakfast included.. check prices and availability
From Liddes to the Mont Rogneux – Cabane de Mille
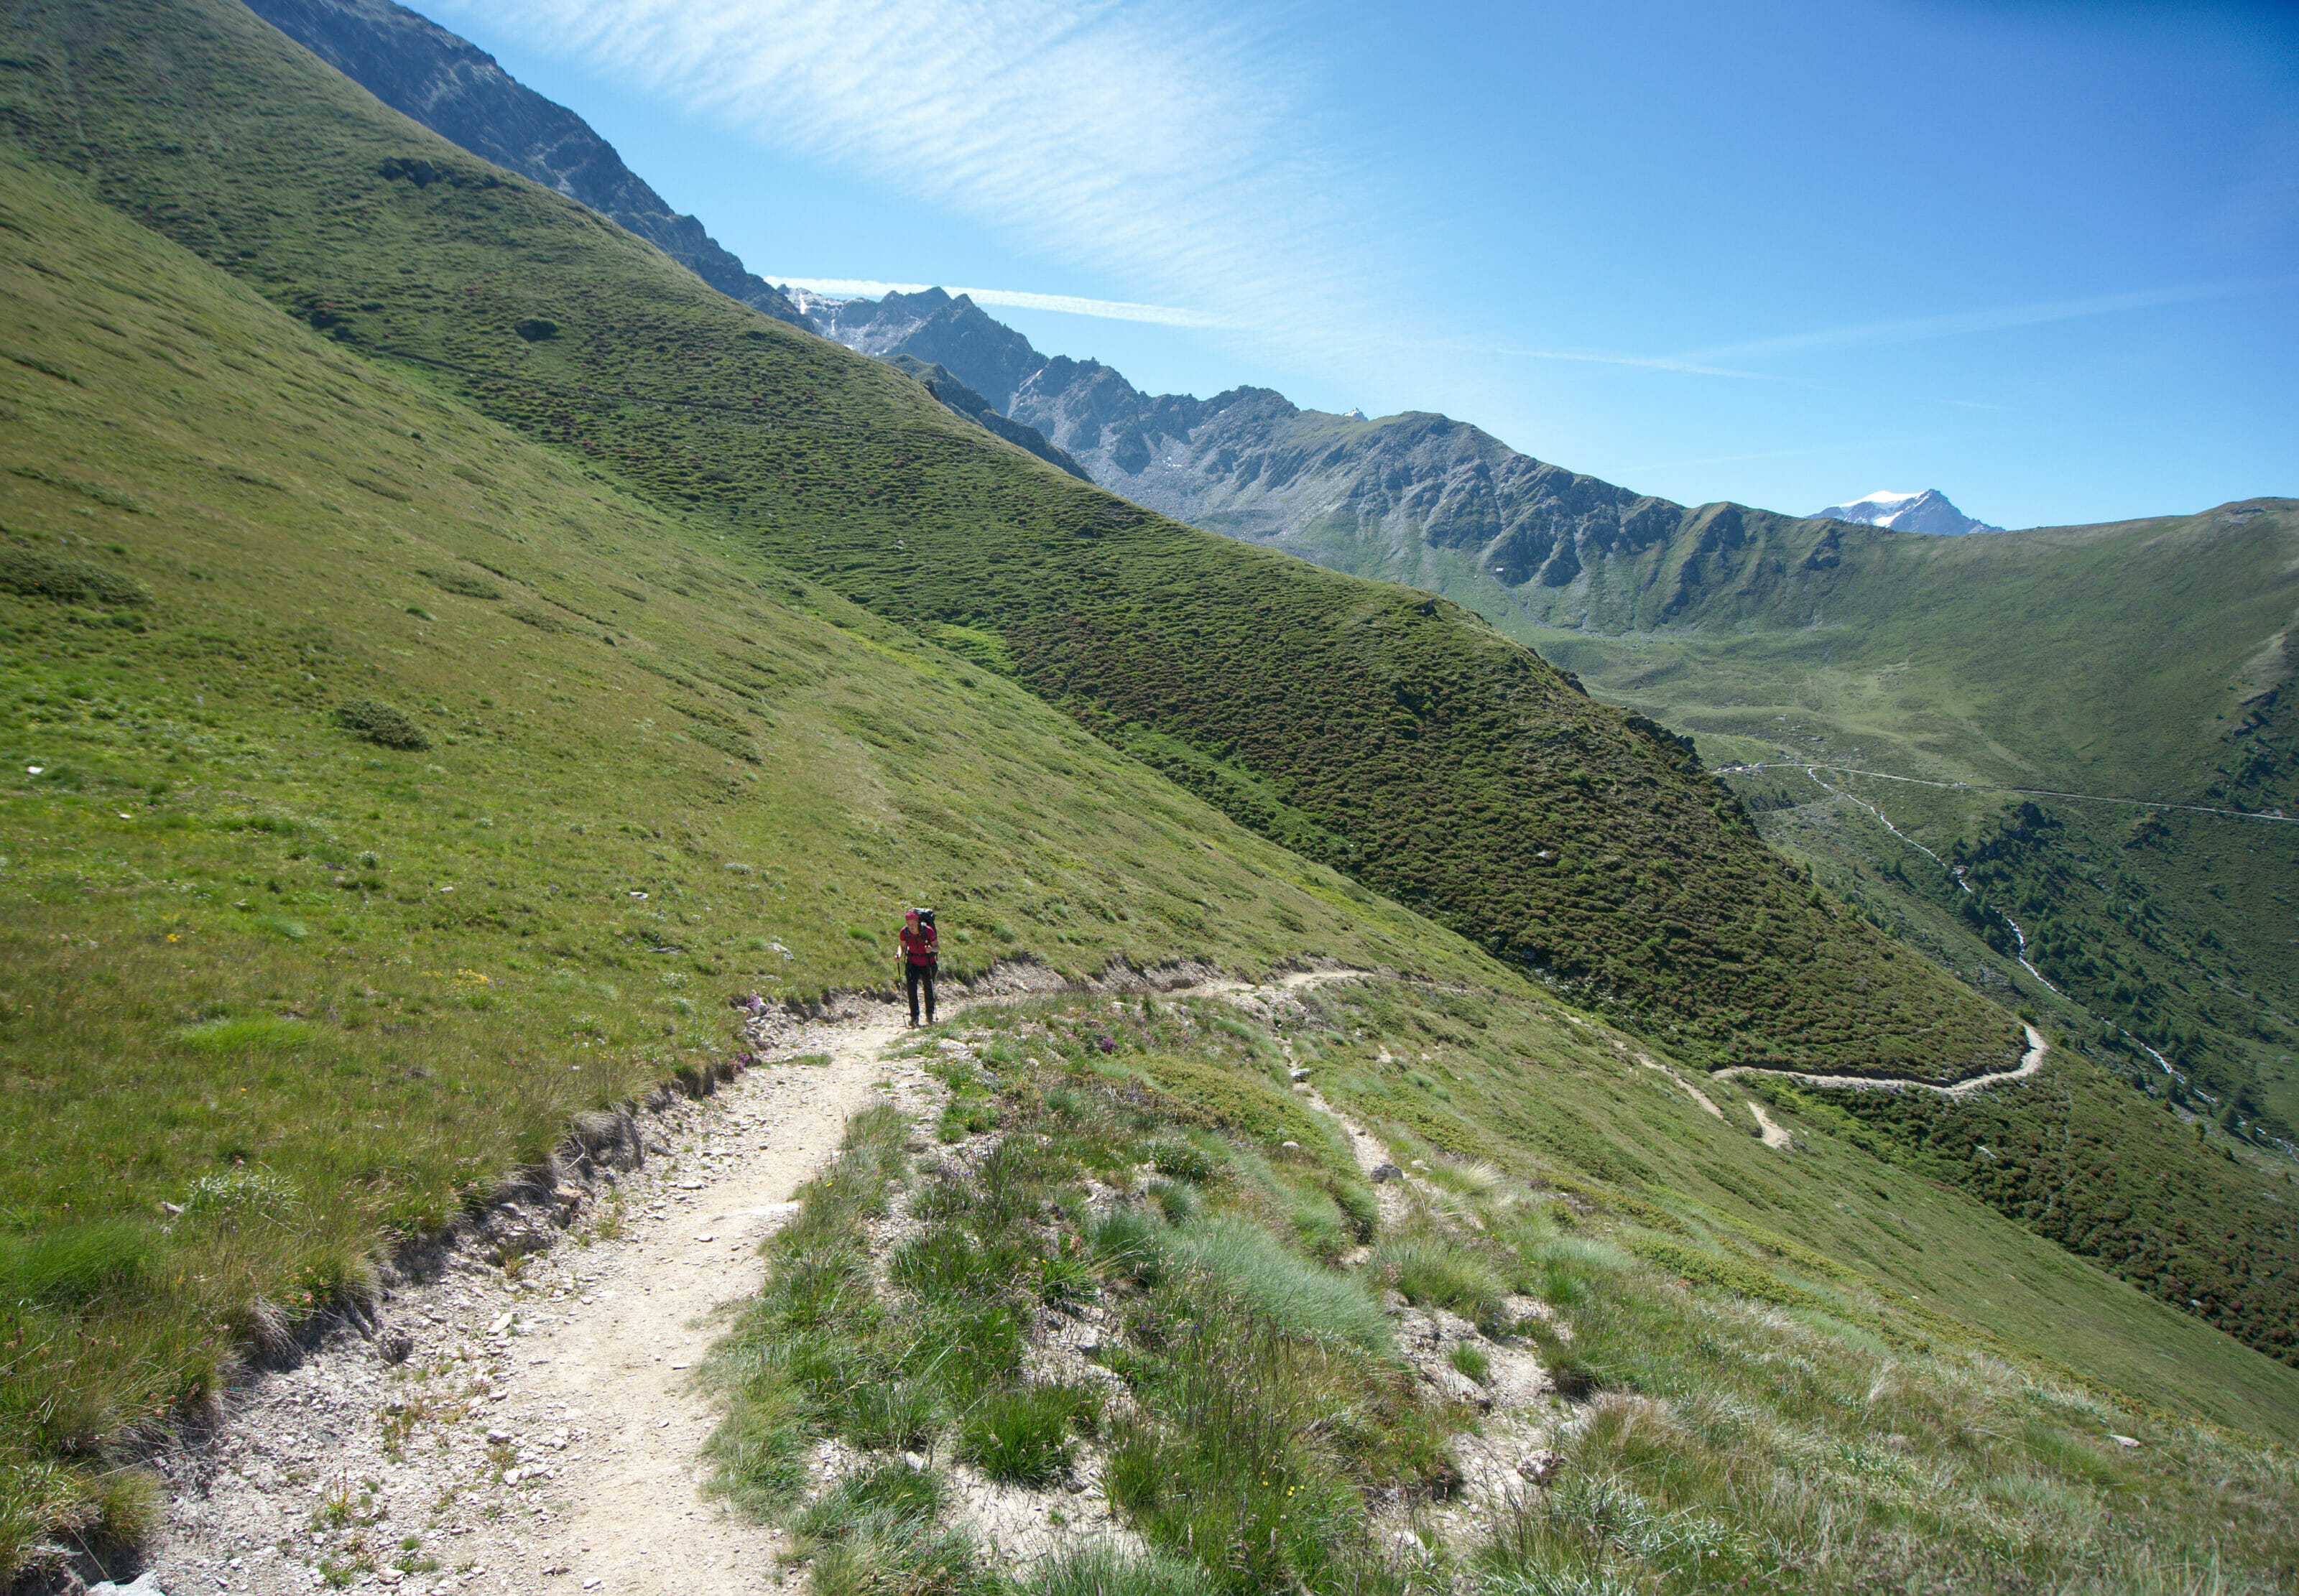
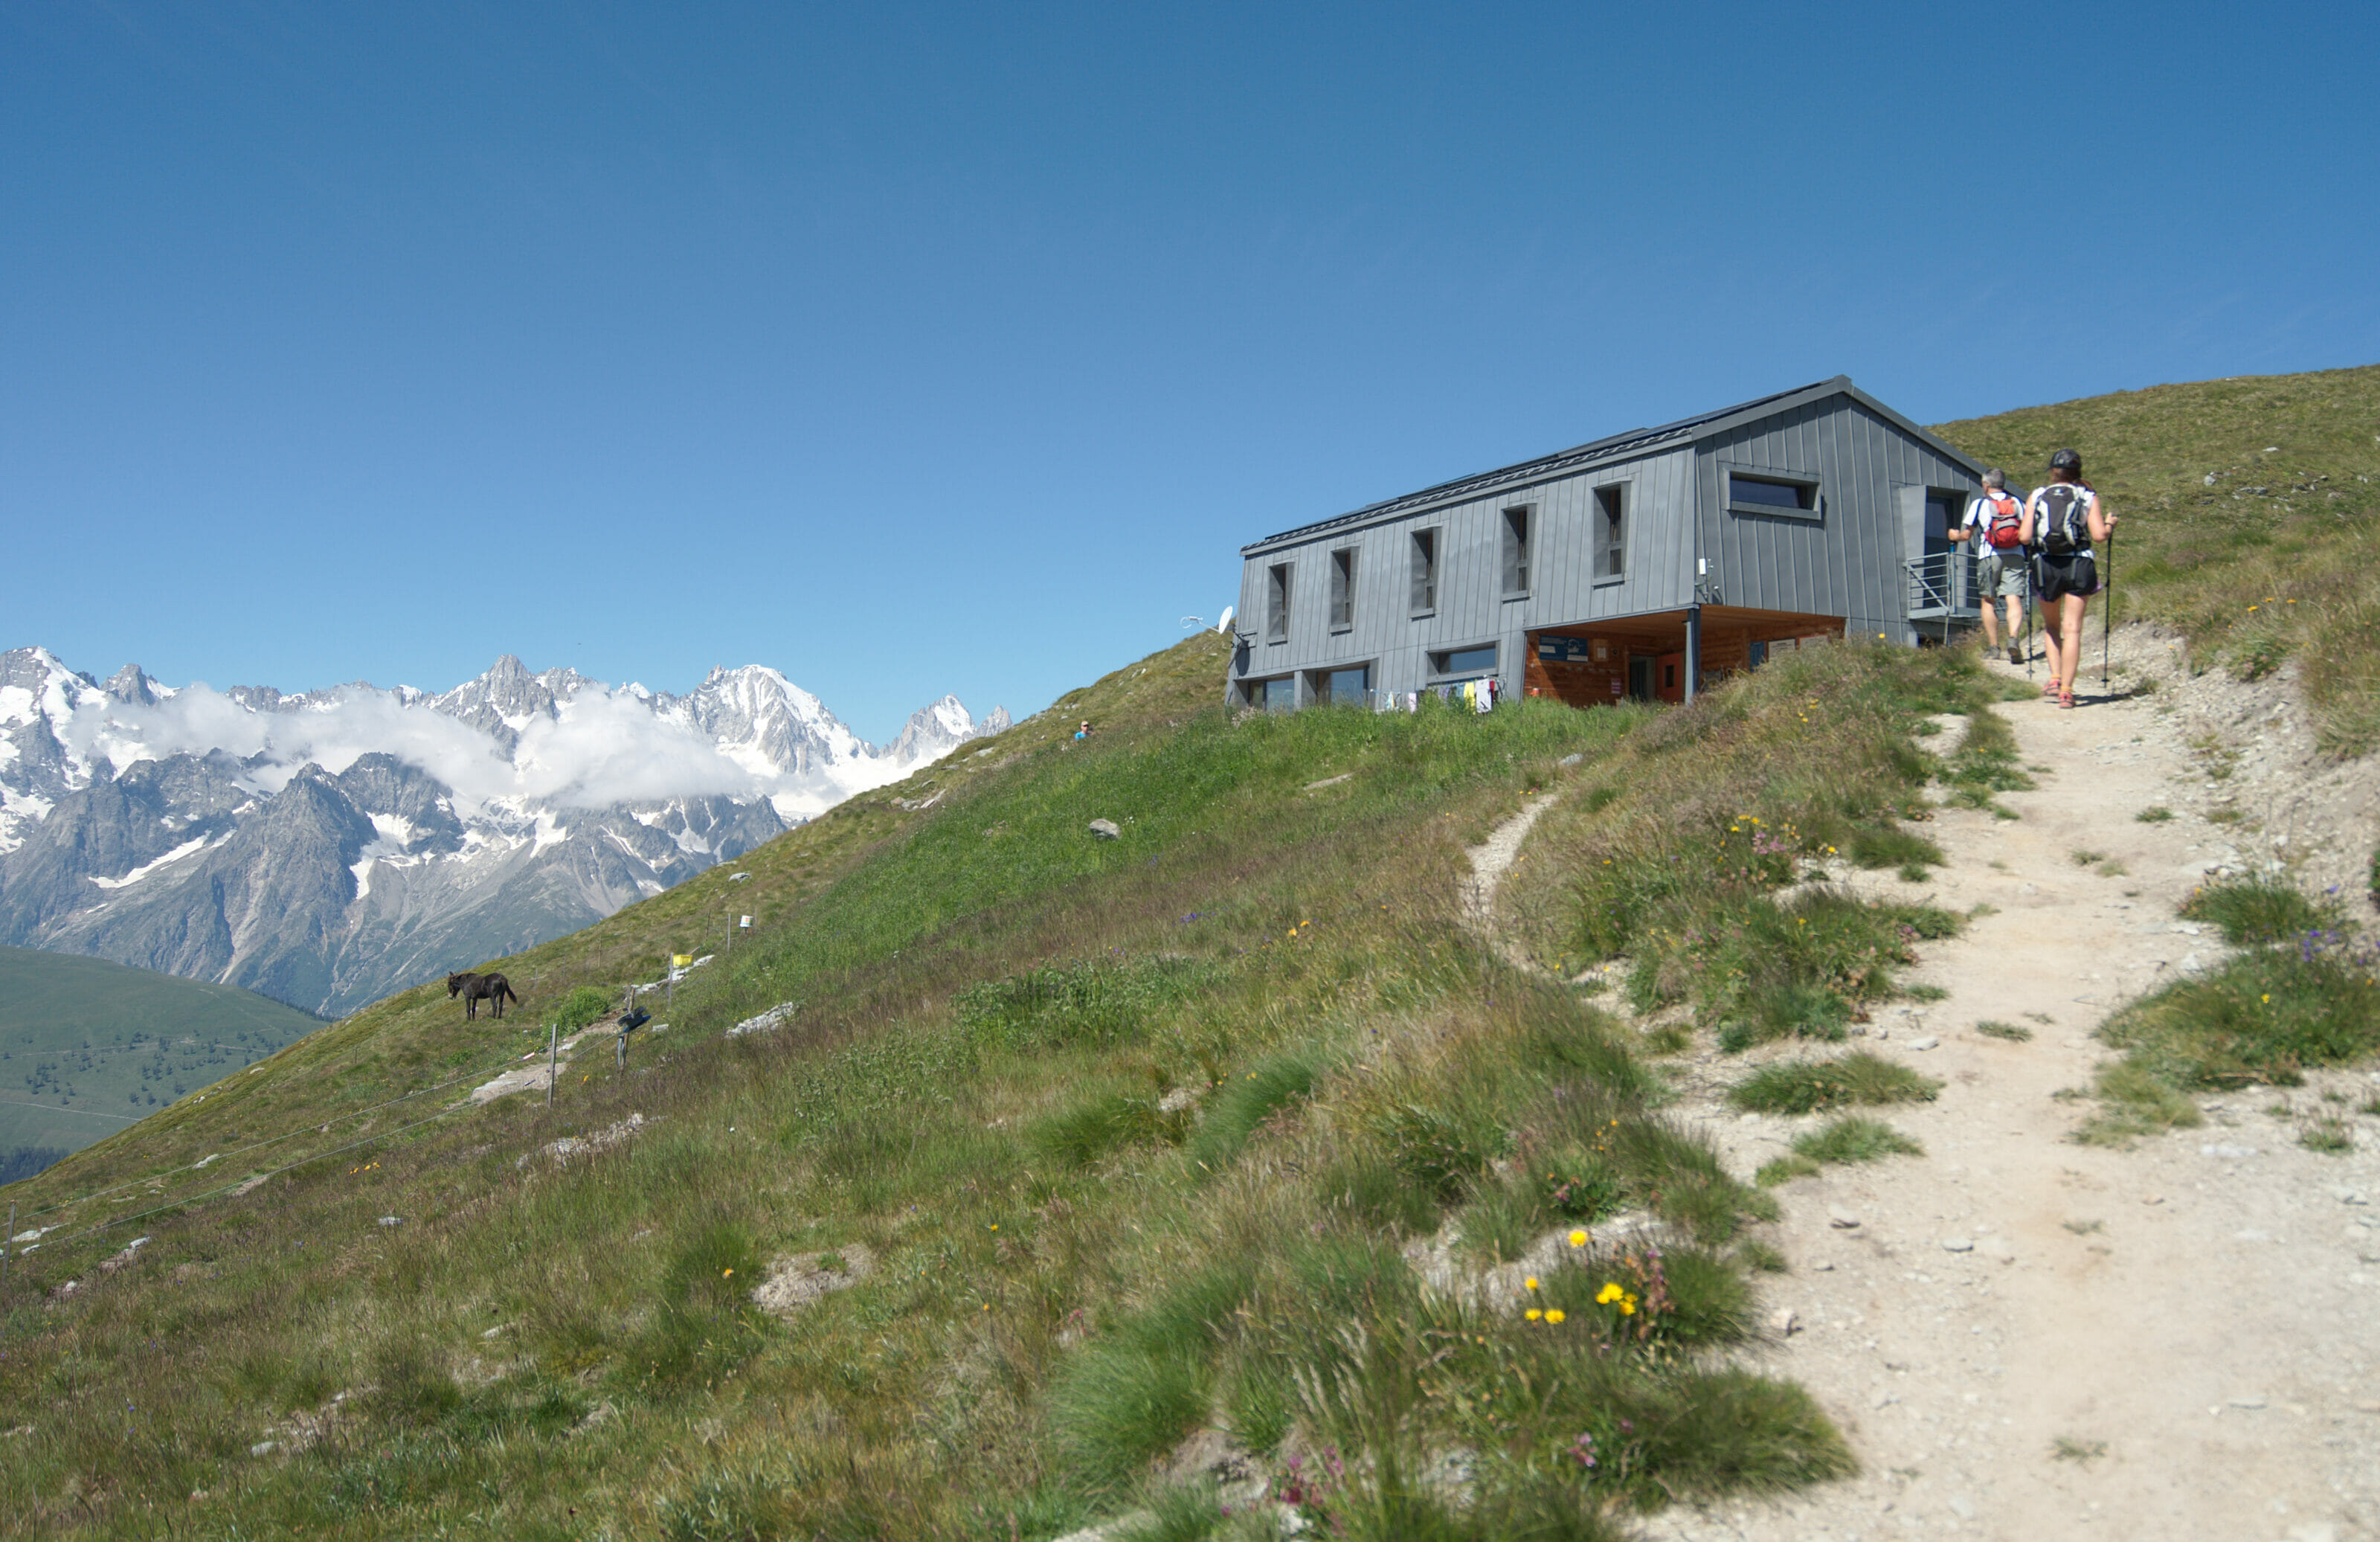
This day was originally supposed to be our last day on the tour. The “plan” was to go up from Liddes to Mont Rogneux and then back down to the car in Bourg-Saint-Pierre. A long stage, but it seemed manageable, especially as it was the last one… BUT, there is a but! After a week with a nice weather, but not what we could call radiant, we suddenly had exceptional forecasts for the next 2 days. The Mille hut is a hut that we didn’t know yet but we had already heard a lot of good things about it! Benoit’s cousins worked there during the summer, the hut keeper is the director of the choir of Benoit’s aunt and it is even Benoit’s uncle, a cow breeder in the Val de Bagne who provides them with their stew…
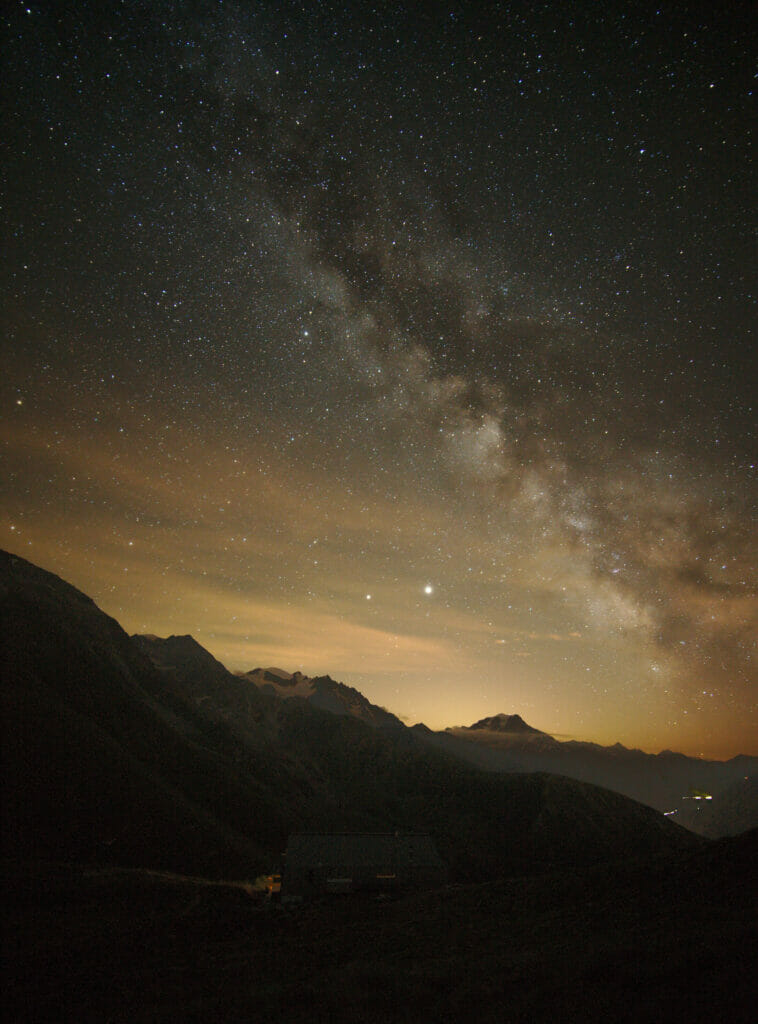
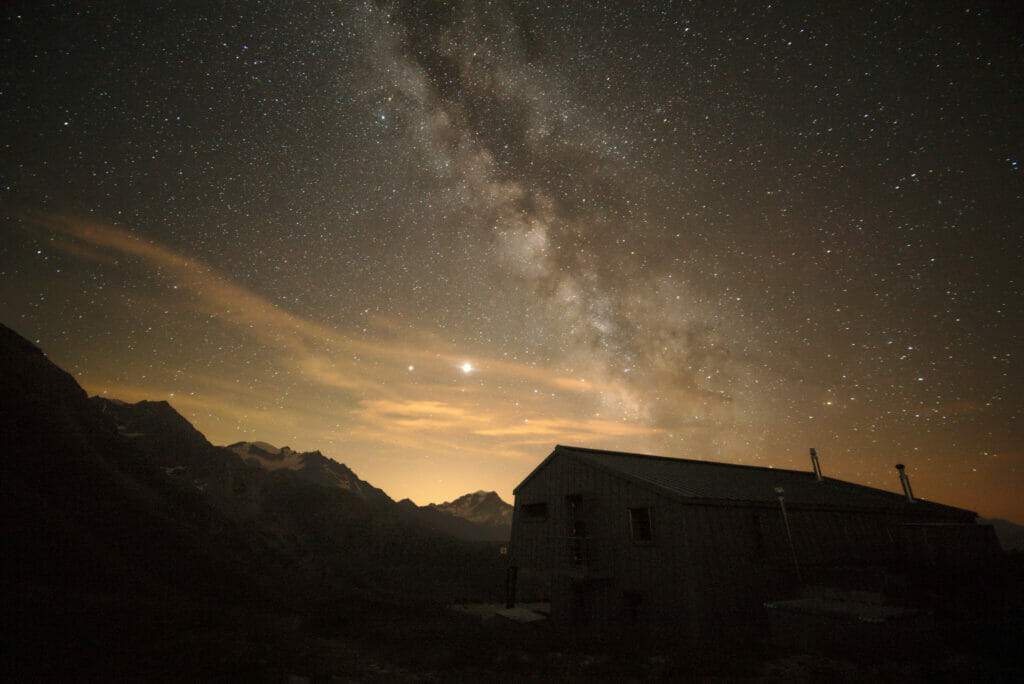
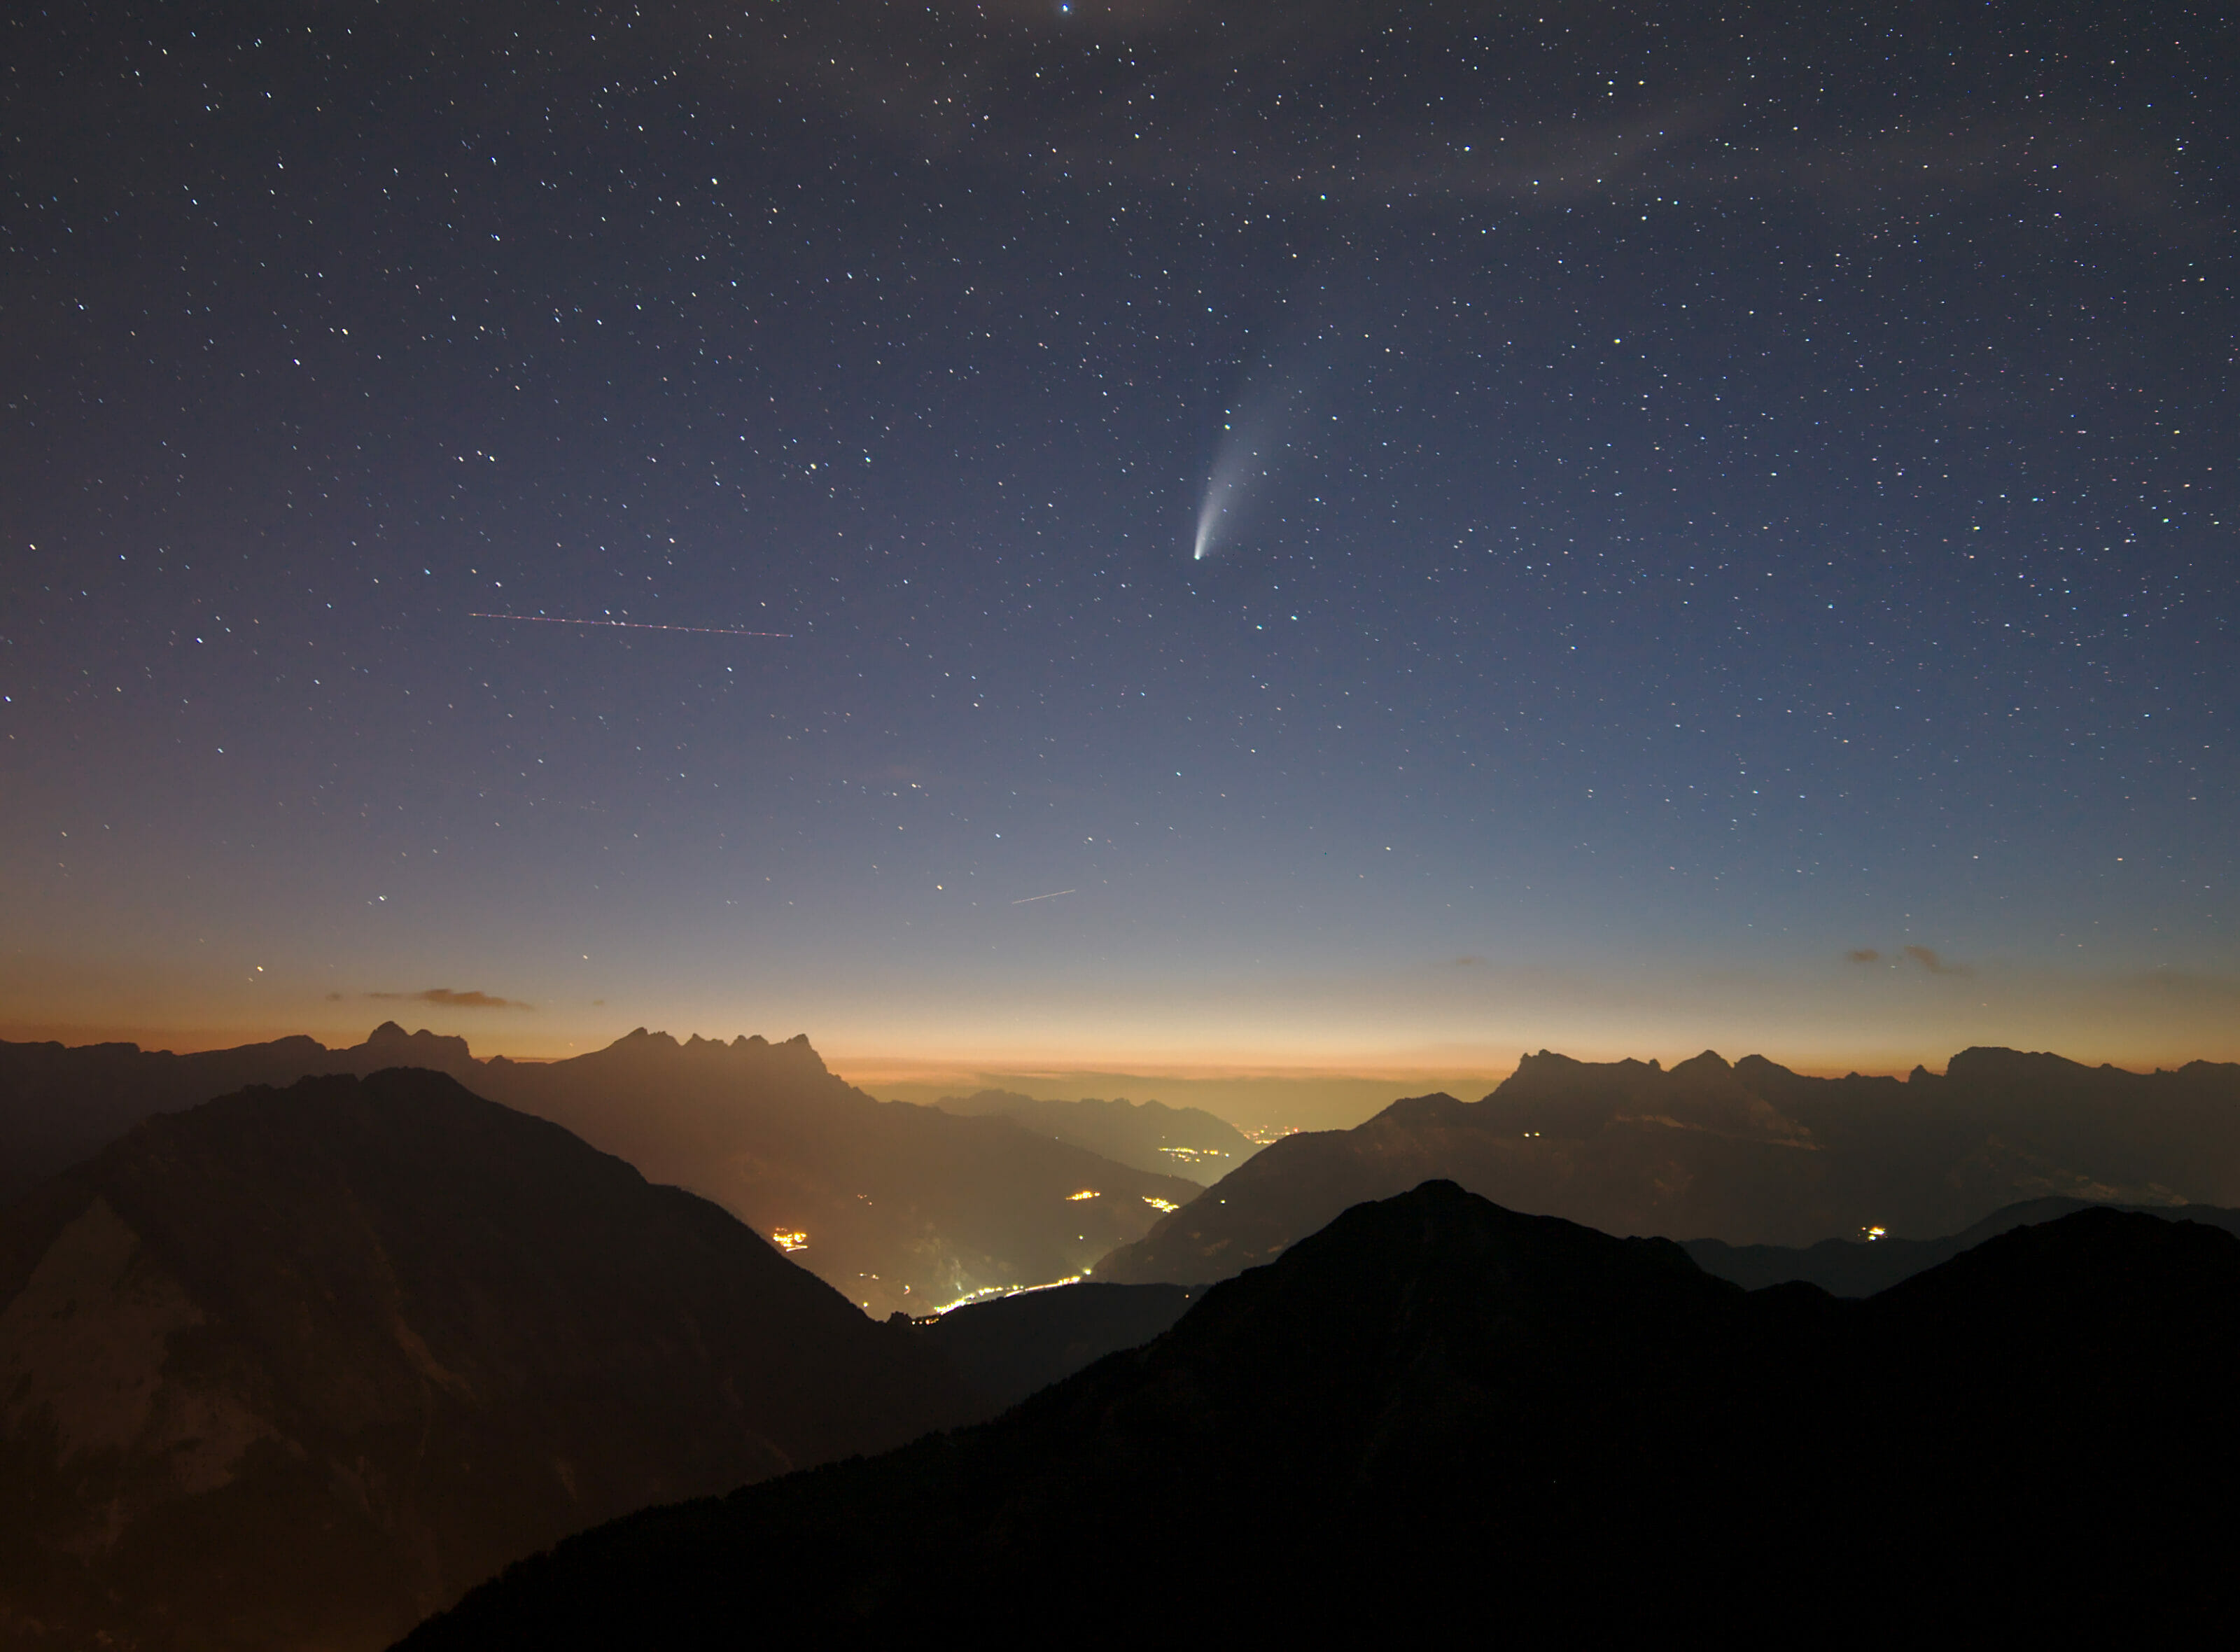
Second point that convinced us? It was a night of new moon and on top of that, comet Neowise was around! In short, the stars were aligned and it was at the last moment that we decided to book an extra night at the Cabane de Mille.
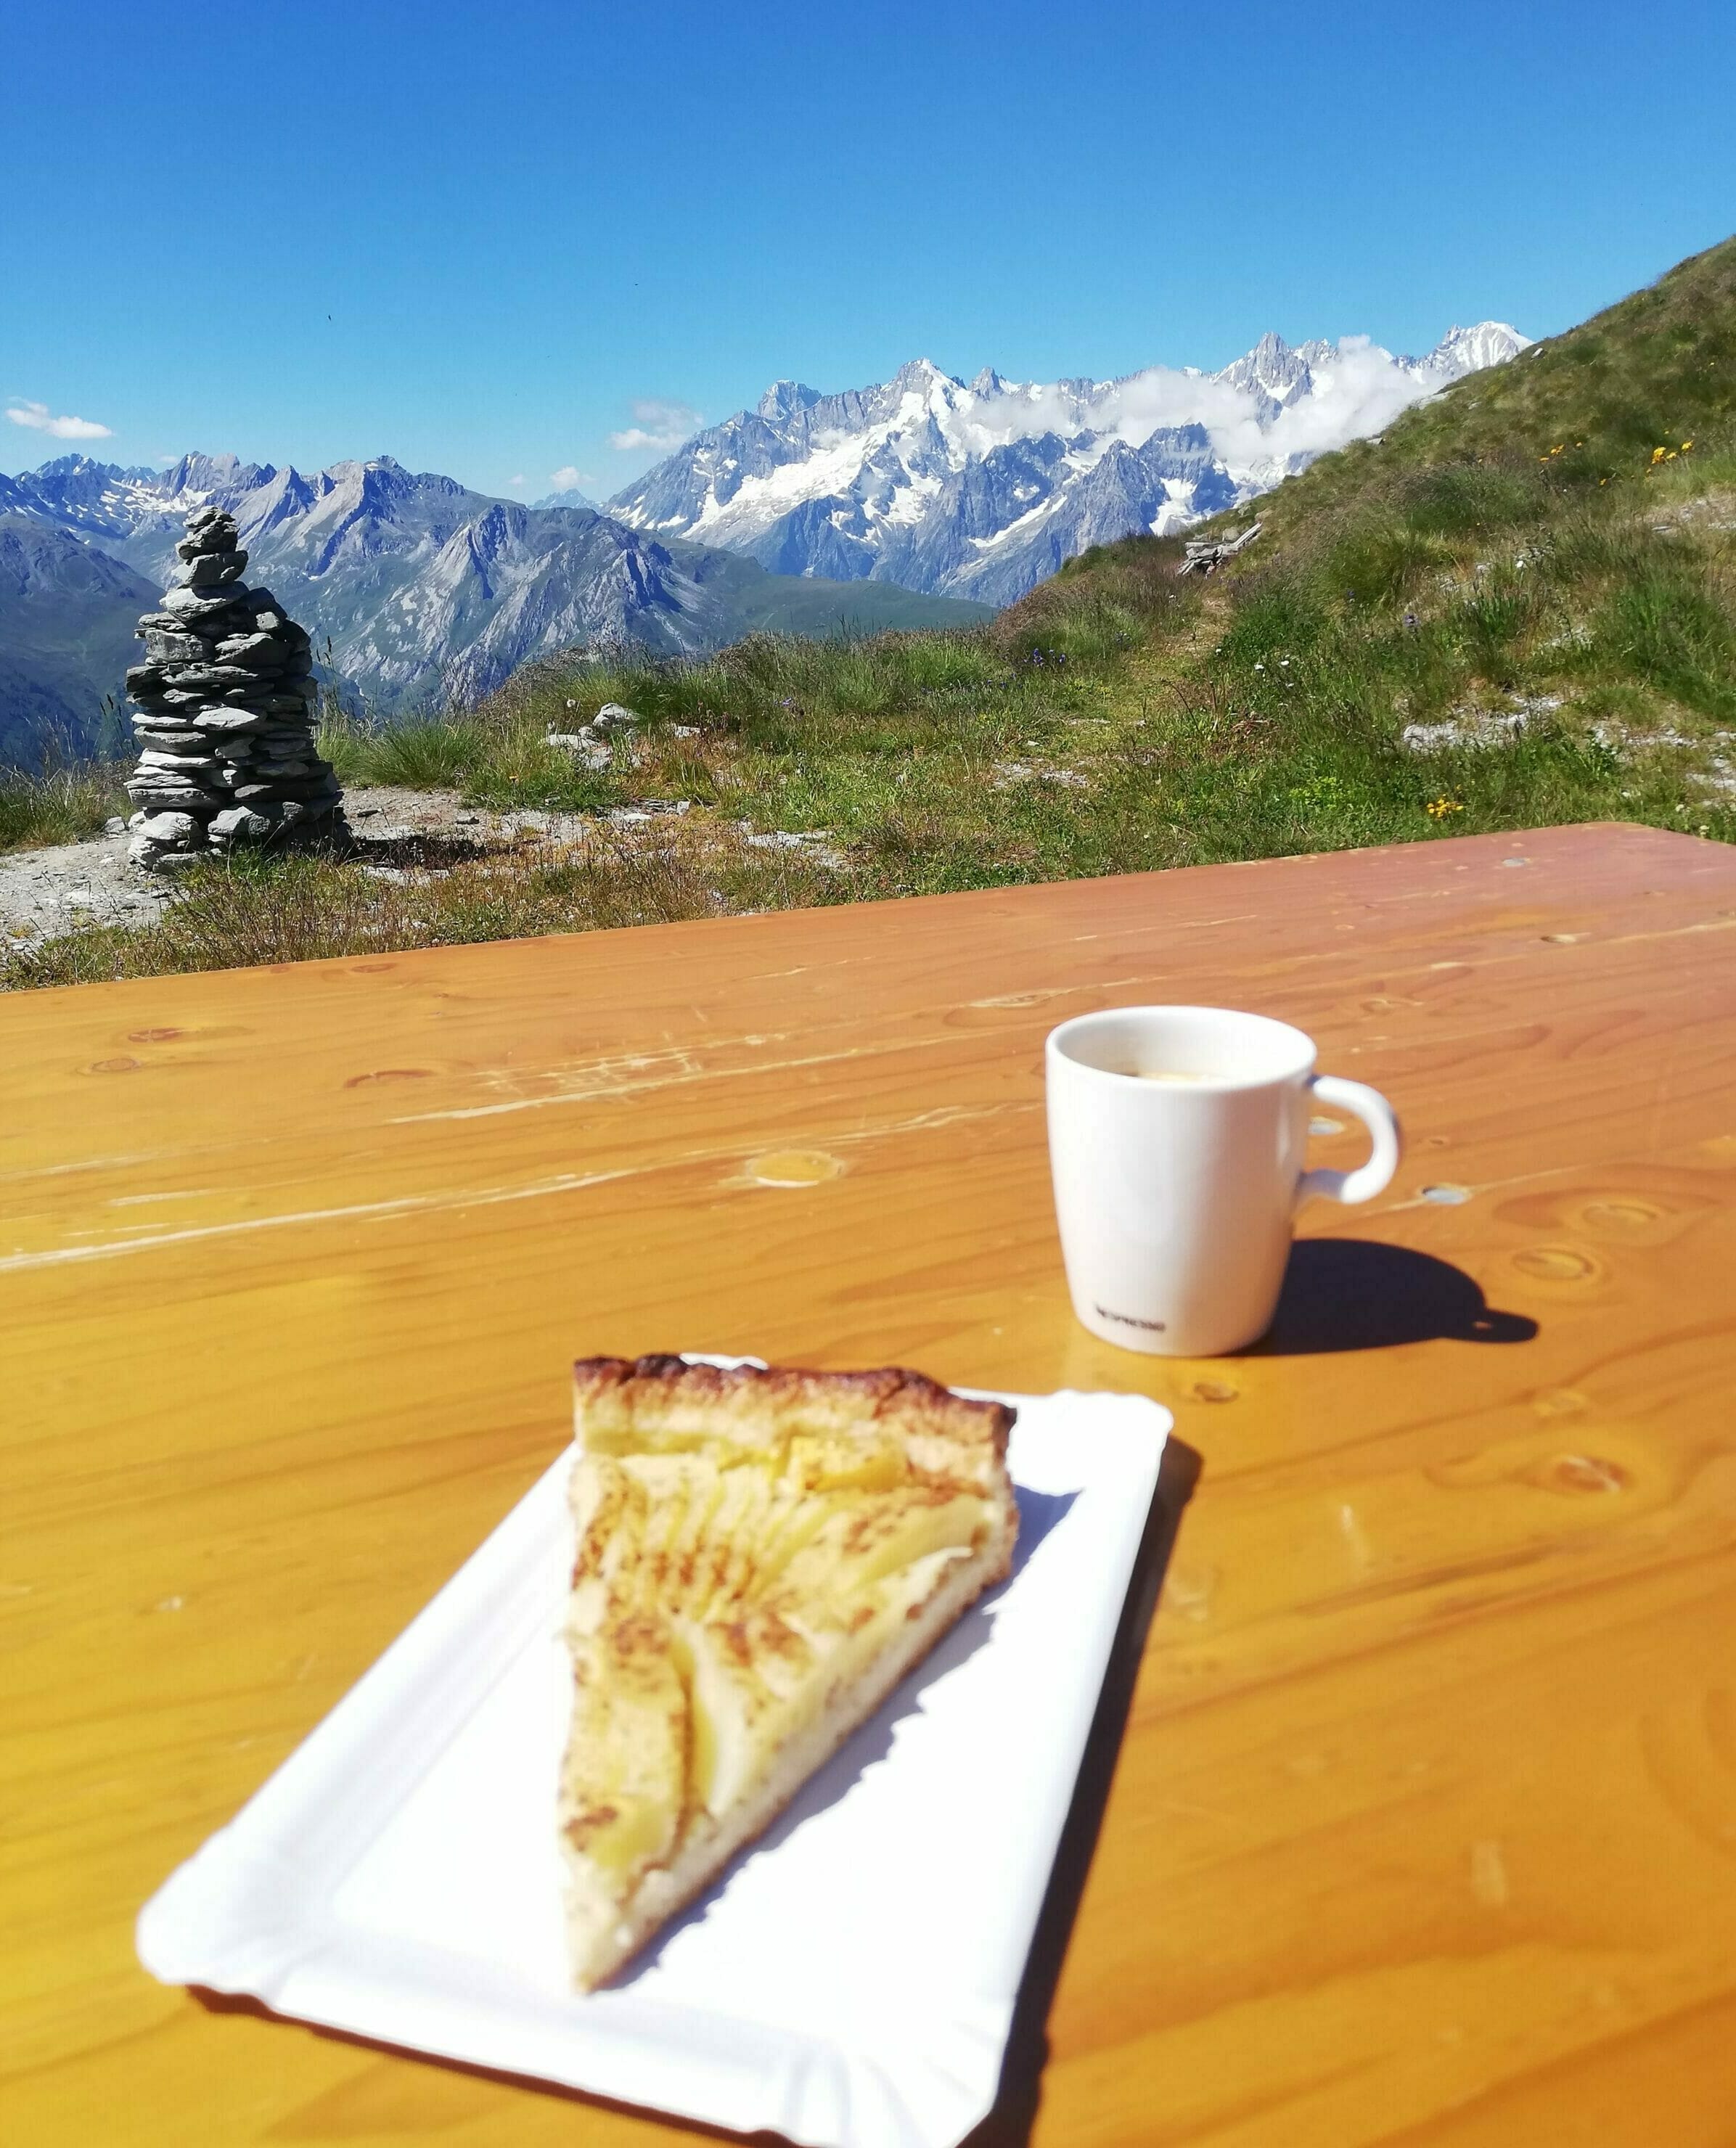
As the day was going to be shorter, we took advantage of a good sleep and it was around 9am that we set off. Starting at a good pace, it took us a little more than 2h30 to get to the hut. The ascent is pleasant because it is really very regular! There is certainly almost 1200m of difference in altitude to climb, but it is really easy I promise. 😉 At the hut we enjoyed the sunshine and got ourselves a small coffee & homemade pie. The ideal way to regain some strength before continuing the day’s hike!
Hiking on top of Mont Rogneux
This section is so to say an option on the tour. In my opinion, this is the most difficult climb of the loop. If you really didn’t feel comfortable at Malatra and Le Basset we advise you to consider the balcony path that goes directly to La Vuarette and leave this climb aside.
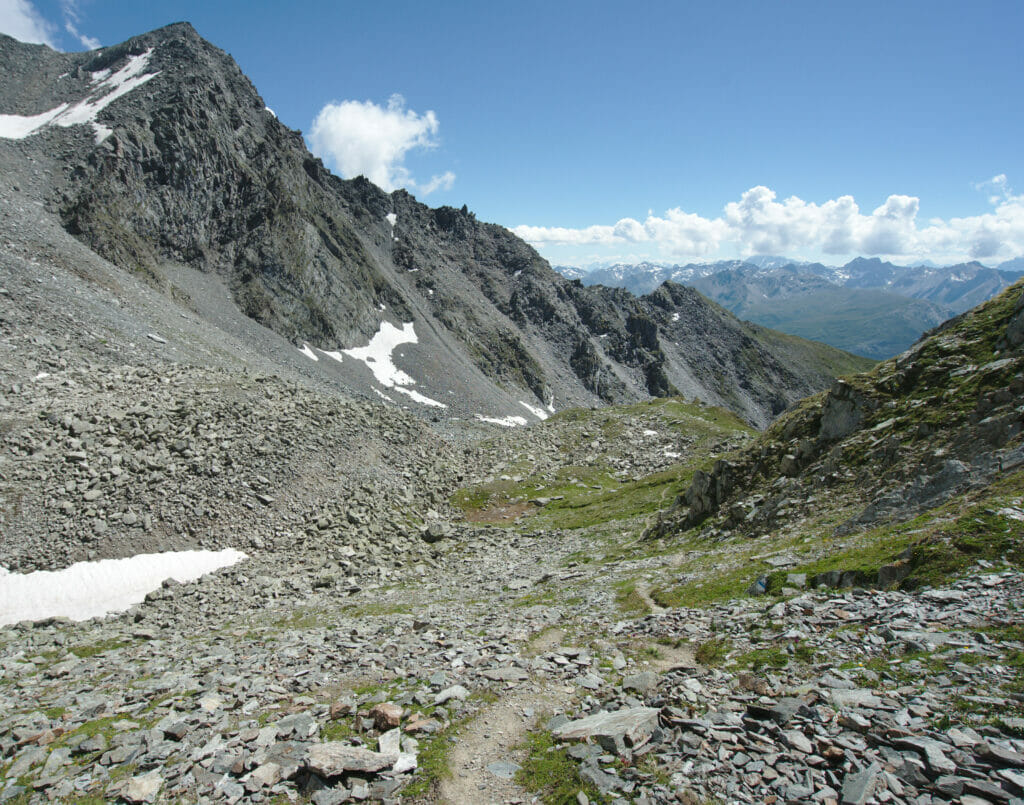
From the hut the climb starts quite quietly at first on a grassy path. It’s steep, but there’s really no difficulty. As you go along, the grass gives way first to small stones, then to larger rocks. The last 200m of climbing up to the Mont Rogneux pass are not easy for people prone to vertigo. #GuessHowIKnowThis
Once at the pass I will confess that I had already had my dose of adrenaline for the day and so I preferred to sit down at the pass while waiting for Benoit to go alone all the way up to the cross. 😉 The last part of the climb between the pass and the cross is clearly the most difficult. For someone who’s comfortable on rocky trails it’s still really manageable though, for Benoit it was really “easy”. It took him less than half an hour to make the round trip and join me at the small house at the pass.
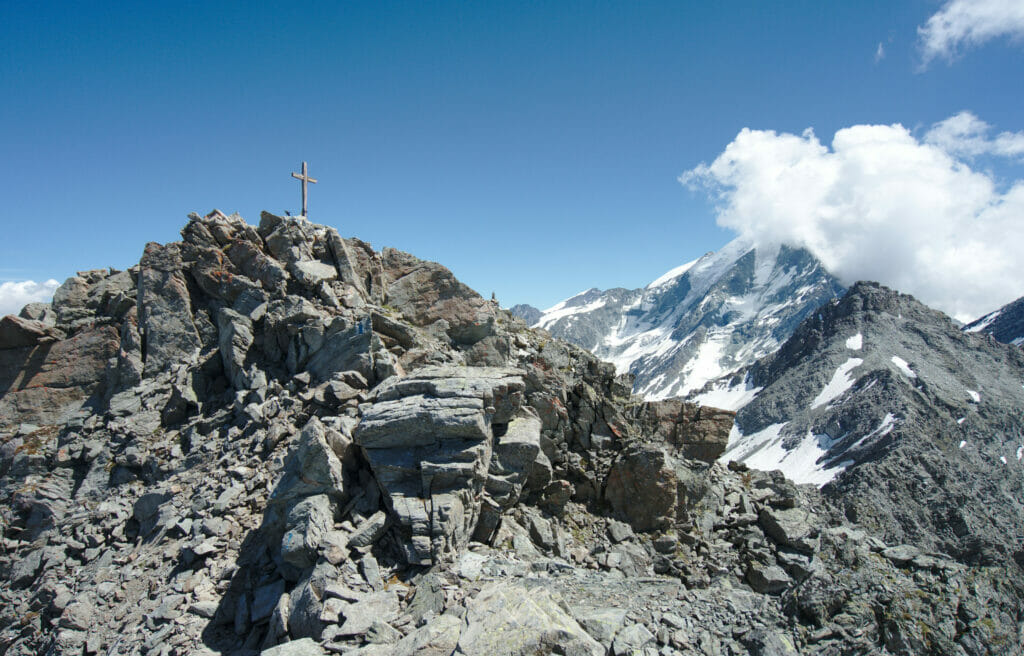
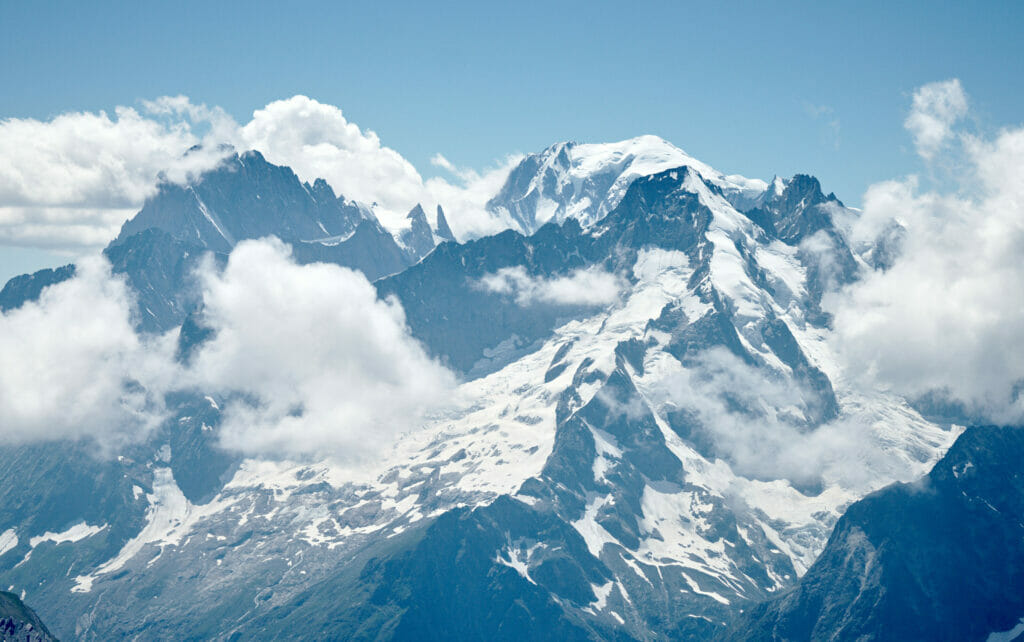
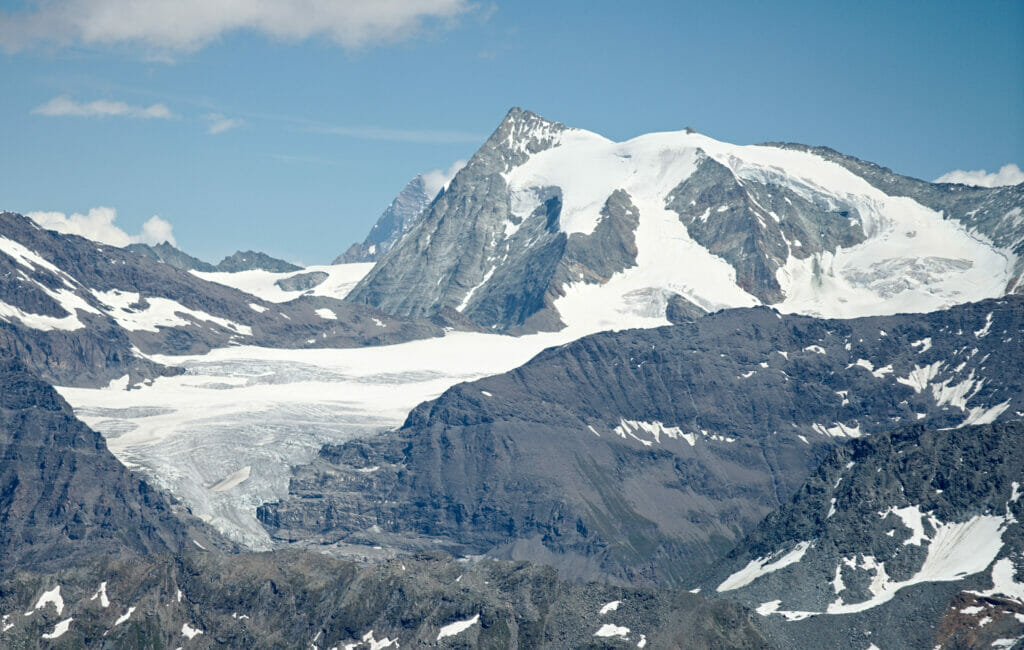
For the return journey we could have taken the same route as on the outward journey, but as the “official” route of the tour continues towards La Vuarette we thought we would take it so that we could tell you about the whole route.
As you may have noticed, I’m not especially comfortable with steep slopes. On the way up to Le Rogneux I won’t hide from you that I was a little worried about the descent… In my experience, my biggest problems were always on the way down. So I can reassure you right away, this descent is really OK! It’s much less rocky and by paying attention to where I put my feet it was actually pretty easy. 😉
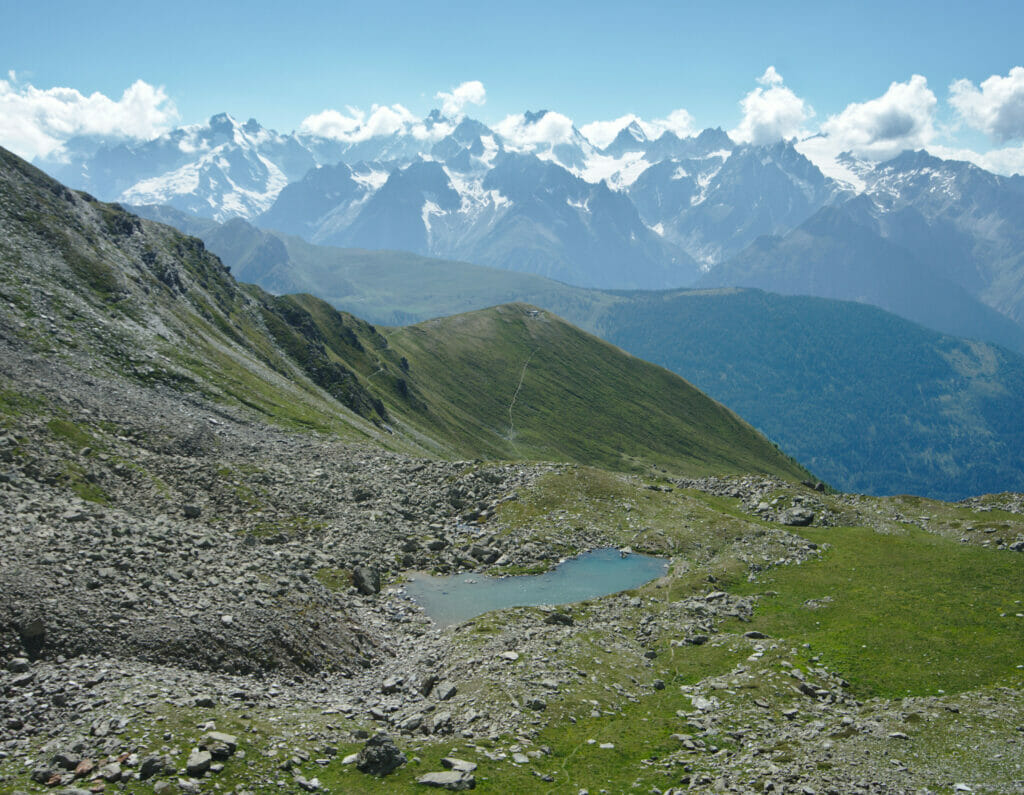
Once at the level of the small lake, we took the balcony path towards the hut. A last half hour on a path that suddenly seemed almost flat (it’s not really flat but compared to what we had just gone up and down it gave this impression).
Night at the Mille hut and the Mont Brûlé viewpoint.
It was what we could call a good day, both in terms of the difference in altitude and the incredible scenery that we had in front of us! But it wasn’t over yet! After the delicious meal at the hut, we put our hiking boots back on and headed up towards Mont Brûlé, a small “military fort” located about 15 minutes from the hut.
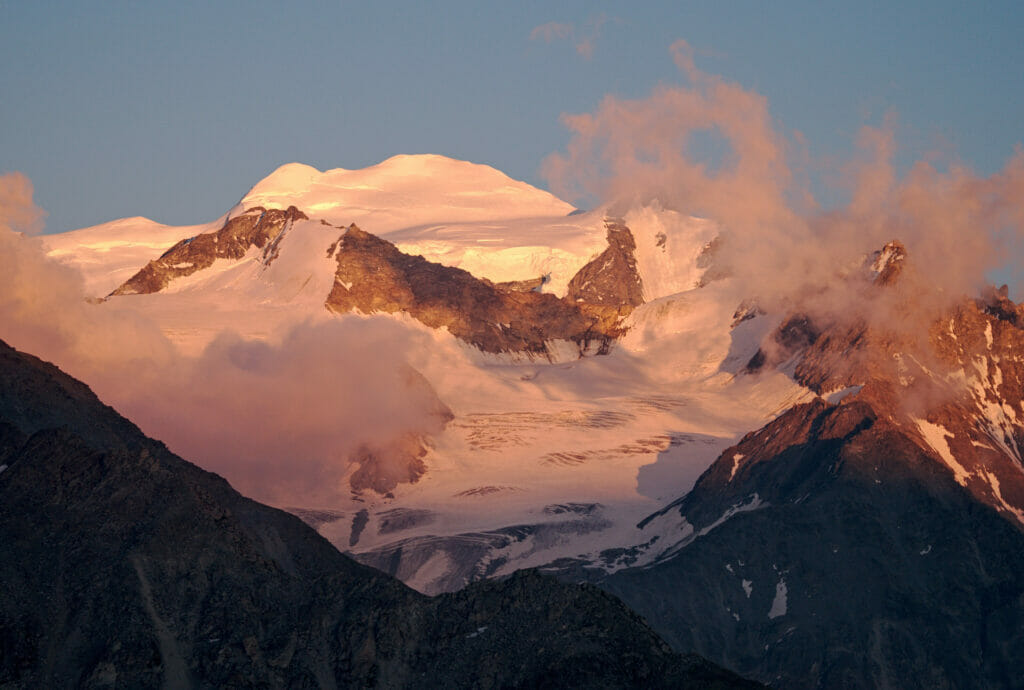
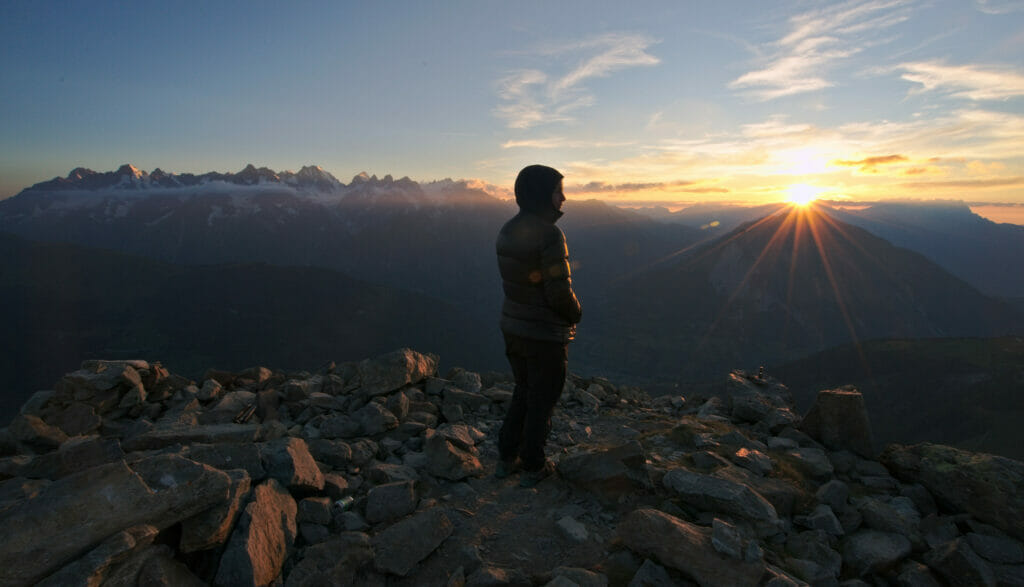
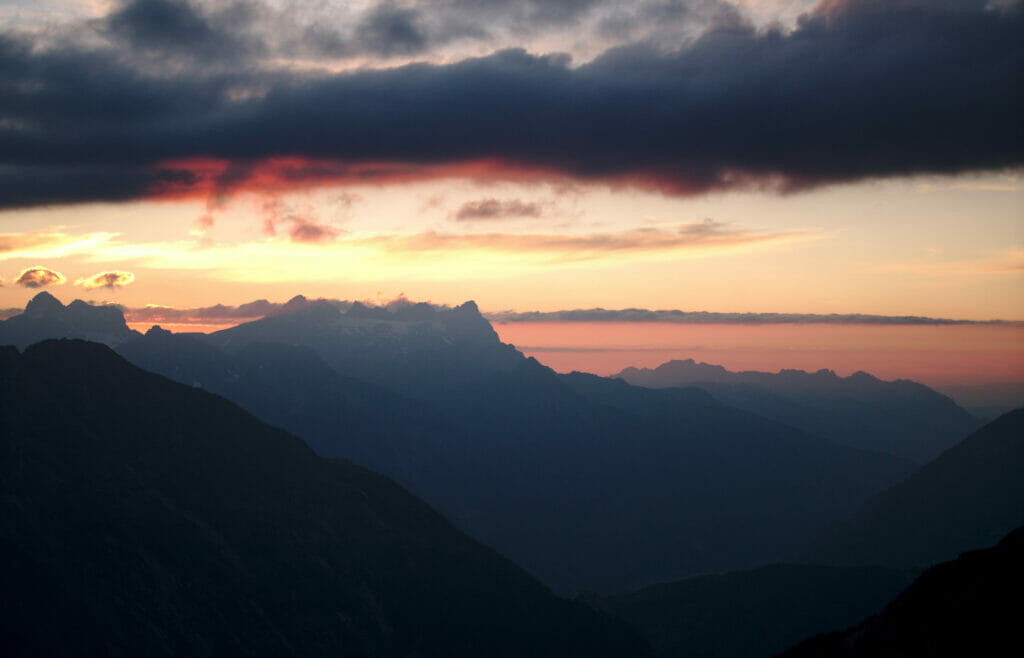
The view from up there is simply AMAZING! The panorama is 360° and you can see practically the whole of the Valais, with a front row seat for the evening lights on the Grand Combin, the Dolent, the Vélan and the Grandes Jorasses. It’s from up there that Benoit took a good part of the night pictures below:
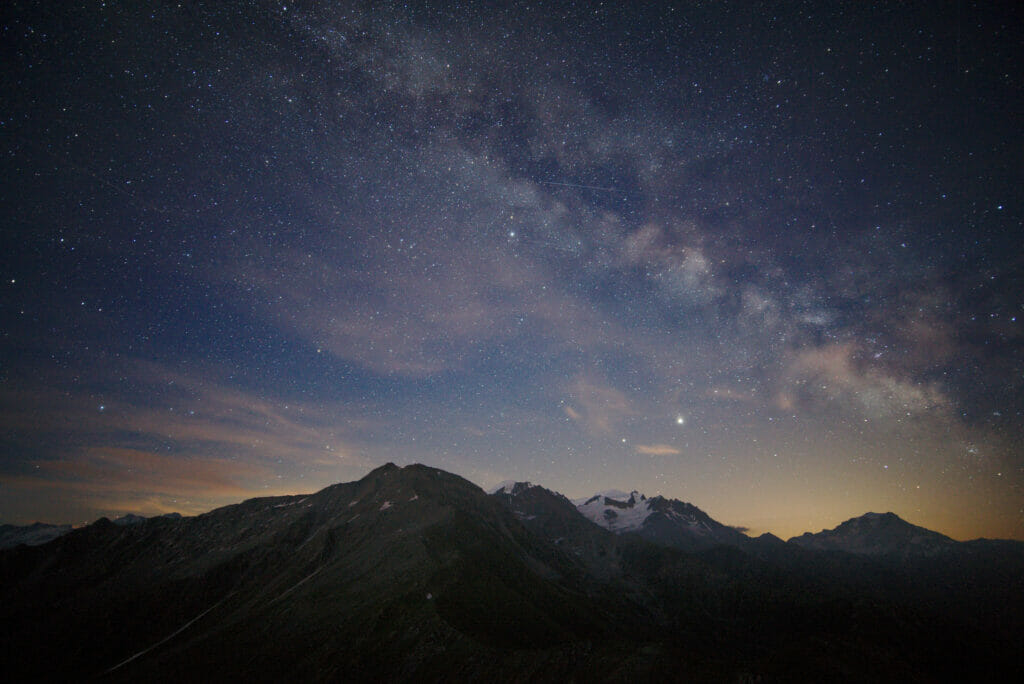
Infos
- Stages: Liddes – Cabane de Mille – Mont Rogneux – Cabane de Mille
- Distance: abotu 15km
- Elevation change: 1800m D+ and 550m D-
- Hiking time: about 6h30
- Accomodation: The cabane de Mille, 68 CHF per person including half-board. Their website
Map of the day:
From Cabane de Mille to Bourg-Saint-Pierre
For this last morning on the tour we decided to set the alarm early and go up towards Mont Brûlé to watch the sunrise. Needless to say that the night was short, but we knew that we only had a small stage left. Afterwards, the Cabane de Mille is not a place for sleeping in, breakfast is served there daily between 6:30 and 7:30 am. One might as well wake up an hour earlier and enjoy the first rays of sunshine on the Mont-Blanc massif and the Grand Combin ;).

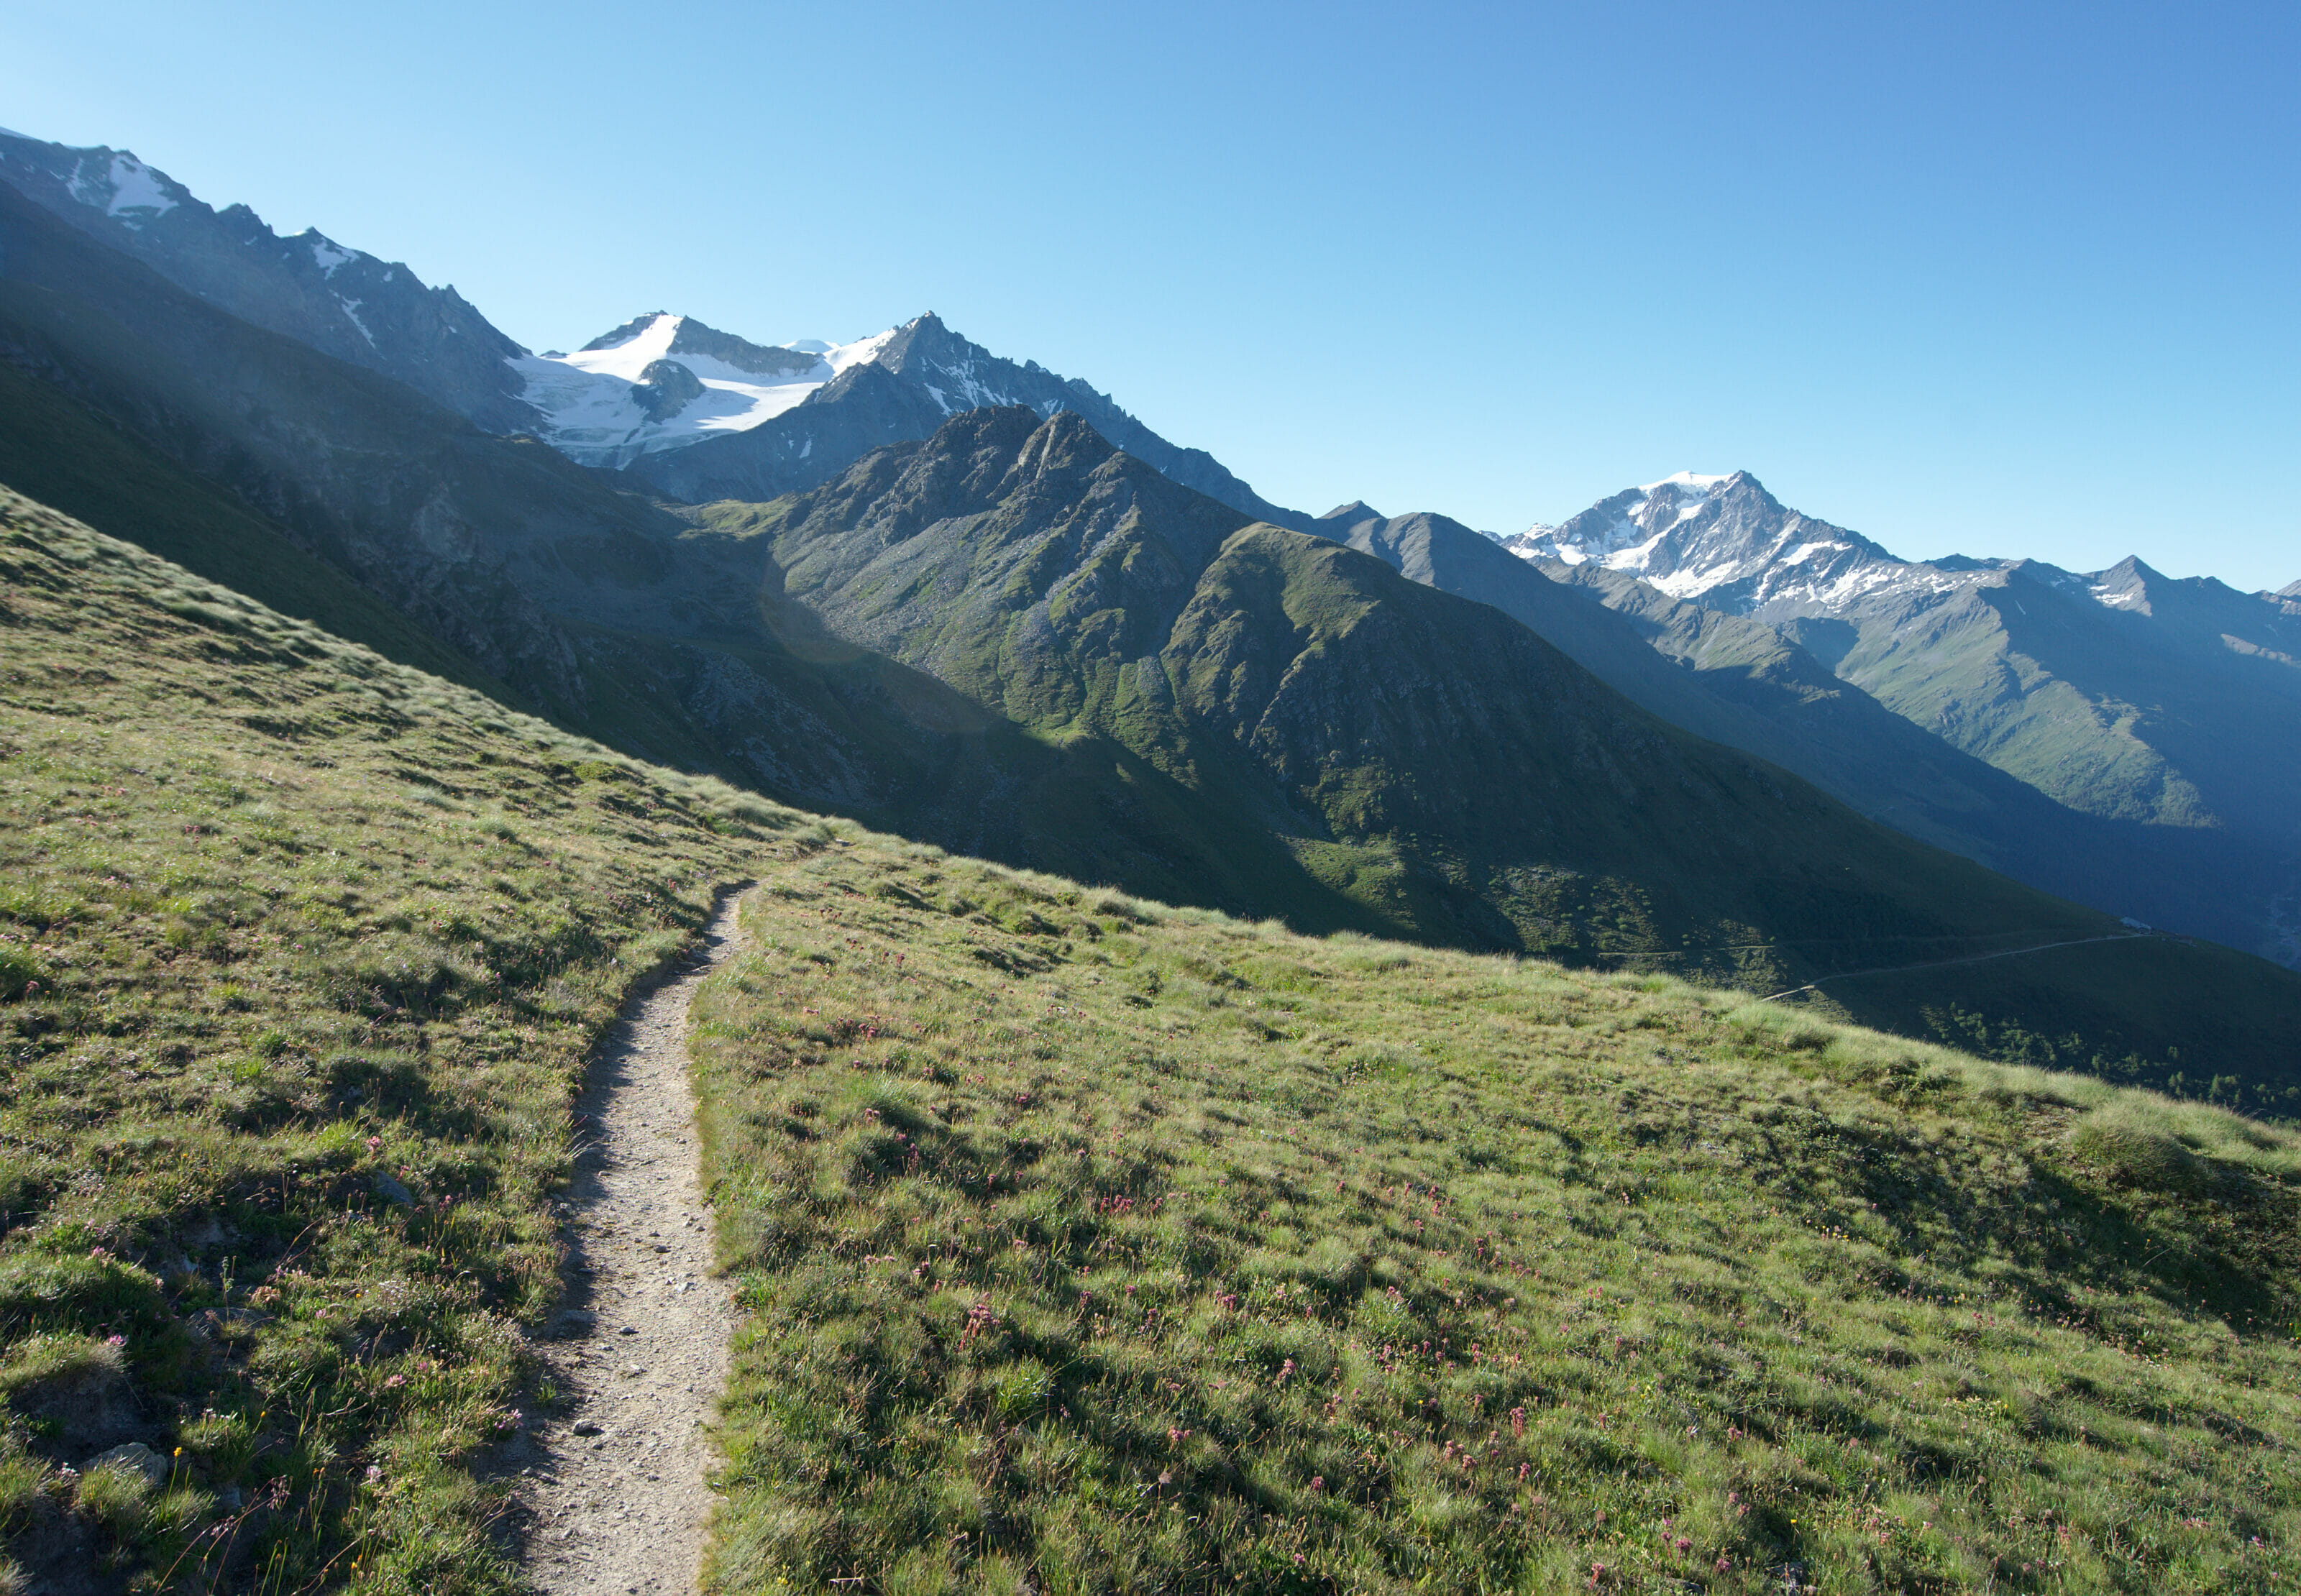
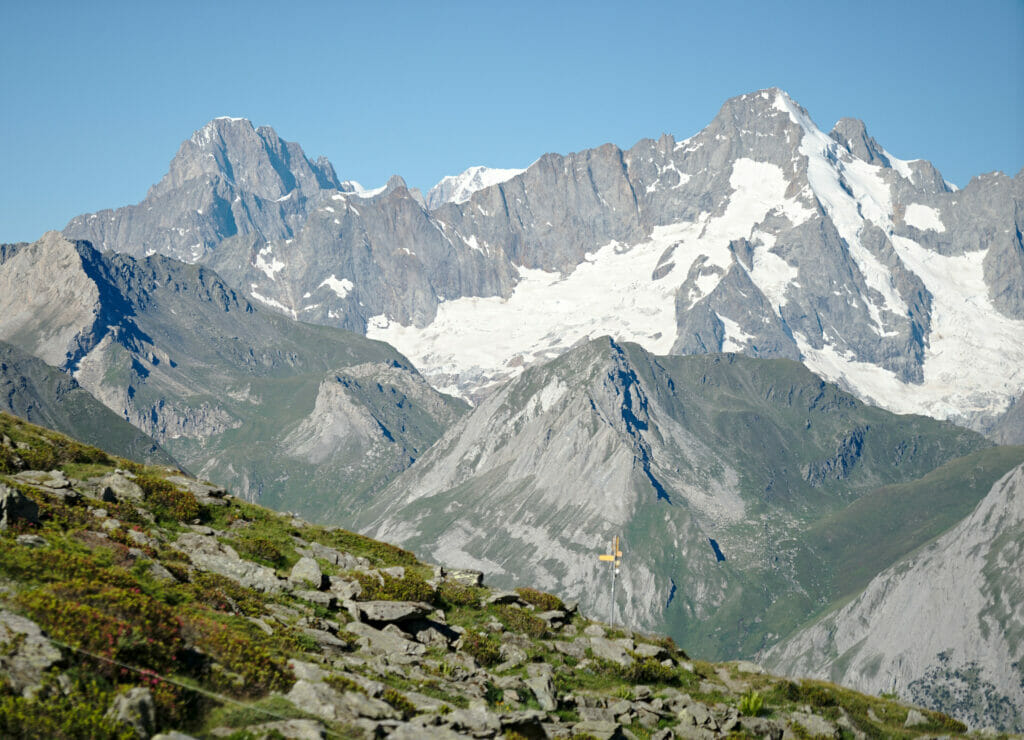
After breakfast it must have been barely 7:30 when we set off. As we had already been to Mont Rogneux the day before, thus we opted for the more “direct” path that goes directly in the direction of La Vuarette, a shorter but less difficult alternative. From La Vuarette we enjoy one last time an absolutely royal view before starting the descent towards Bourg-Saint-Pierre.
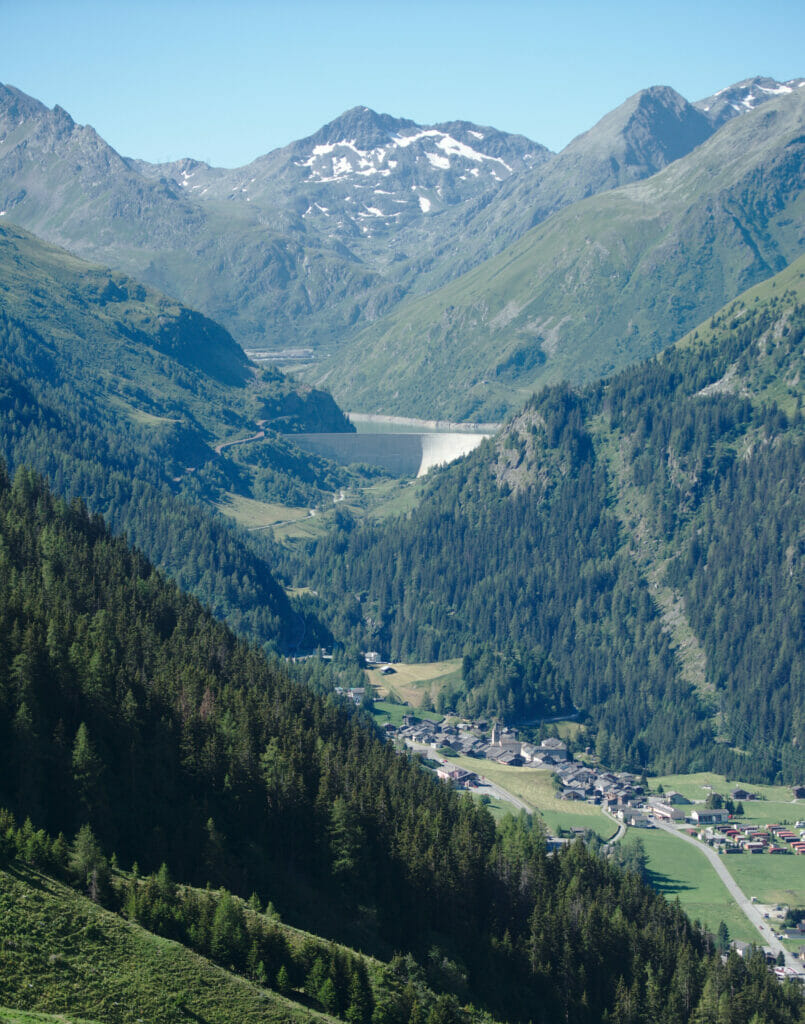
The first part of the descent to Boveire d’en Bas is on a nice path, then we arrive on a wide track that we will follow until we reach the village. This part of the descent is probably not the most “glamorous” but it at least has the advantage of making us go fast. It’s not even 11:30 am when we find our little car parked in front of the swimming pool. Delighted by this sublime hike, we will admit that we were just as happy to go back to our good hot shower and clean clothes 😉
Infos
- Stages: Cabane de Mille – La Vuarette – Creux du Mâ – Bourg-Saint-Pierre
- Distance: 12km
- Elevation change: about 250m D+, about 1000m D-
- Hiking time: about 3h30-4h
Maps of the day
Preparing for the tour du Saint-Bernard
After our story and the information about the stages we propose you a more “general” part with practical information to know before the departure.
How many days should I plan? Where to start?
The tour du Saint-Bernard exists in 2 variations:
- The complete tour as we did through Italy: 6 or 7 days depending on your walking rhythm. Total distance: 88km and 6500m difference in altitude (positive and negative). To this tour, it is possible to add a day to go around the lacs de fenêtre (which we did). This extends the distance to 100km and the difference in altitude increases to 7500m.
- The Swiss version of the tour: 4 days. This itinerary does not cross the border (or at least only very briefly) and from the St. Bernard pass we pass through the Lacs de Fenêtre to reach La Fouly directly. This is a good alternative for those who have less time or do not wish to hike on the tour du Mont-Blanc.
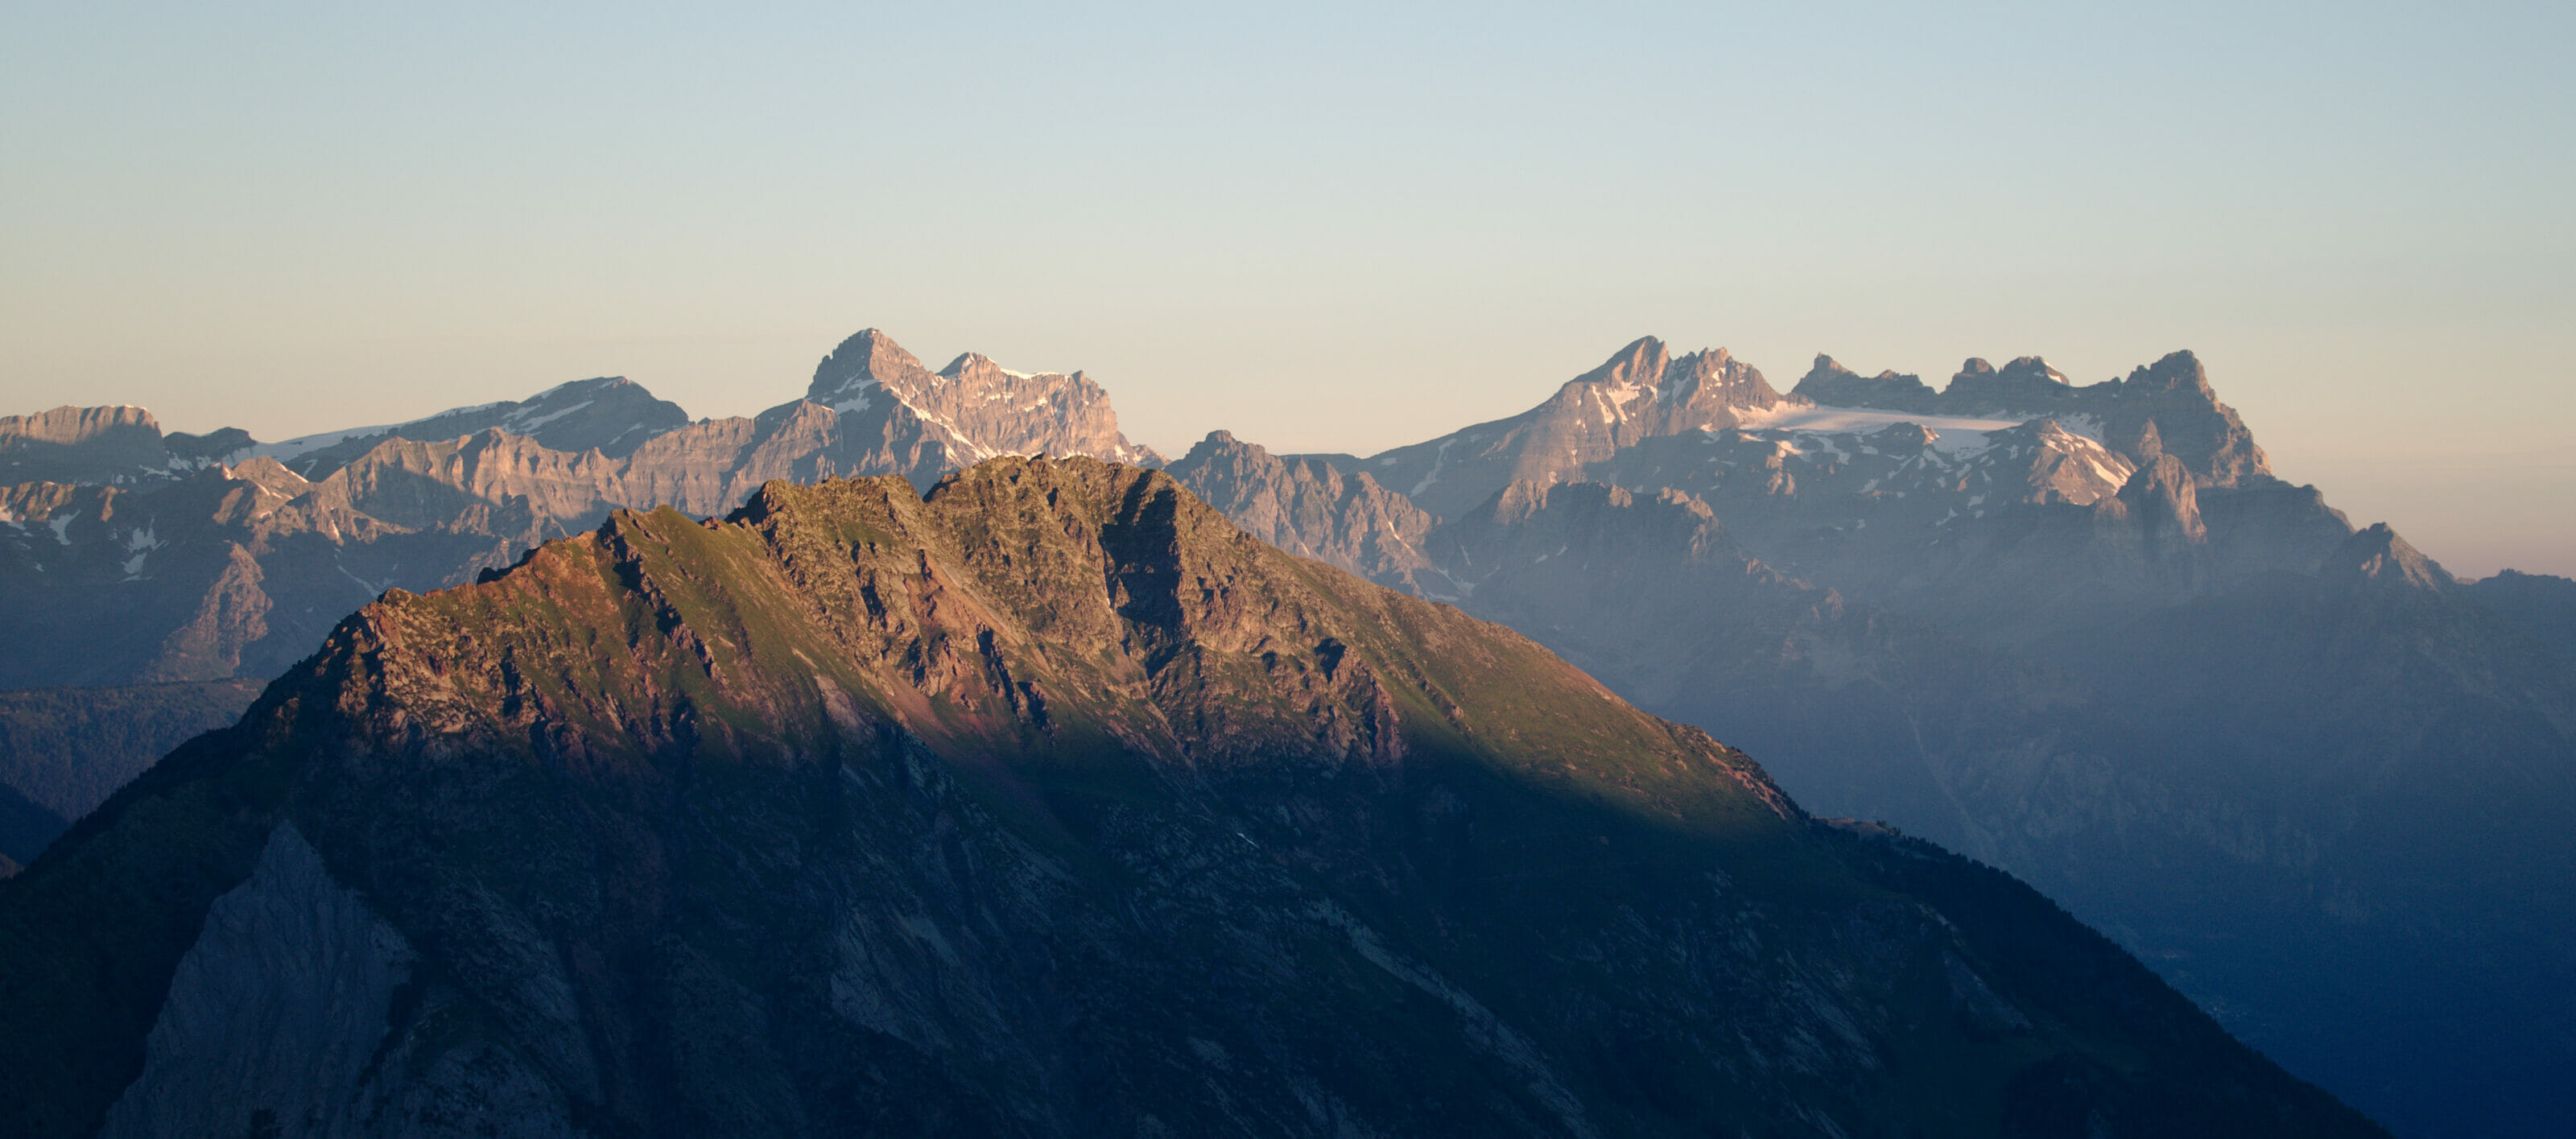
When it comes to the question of starting point, there are many possibilities. Whether you are by car or by public transport, the easiest way is to leave from the villages or the Saint-Bernard pass. On the route there are mainly 4 stages that lend themselves well to start:
- La Fouly
- Liddes
- Bourg-Saint-Pierre
- Saint-Bernard Pass
These 4 places have parking spaces as well as bus stops. For our part we started in Bourg-Saint-Pierre and left our car at the municipal swimming pool (free spaces without parking limit).
How to book accommodation and plan your itinerary?
Before leaving, the important step is to plan your stages but also to book your accommodation. With a tour that lasts 6-7 days it can sometimes be a bit of a challenge. Indeed, it is enough that only one of the accommodations is full and you have to review your tour (change the departure village for example). For the Tour du Saint-Bernard there are many huts and hotels and there are generally very few problems with “full” accommodation except for 1 stage (it would have been too nice otherwise ;)).
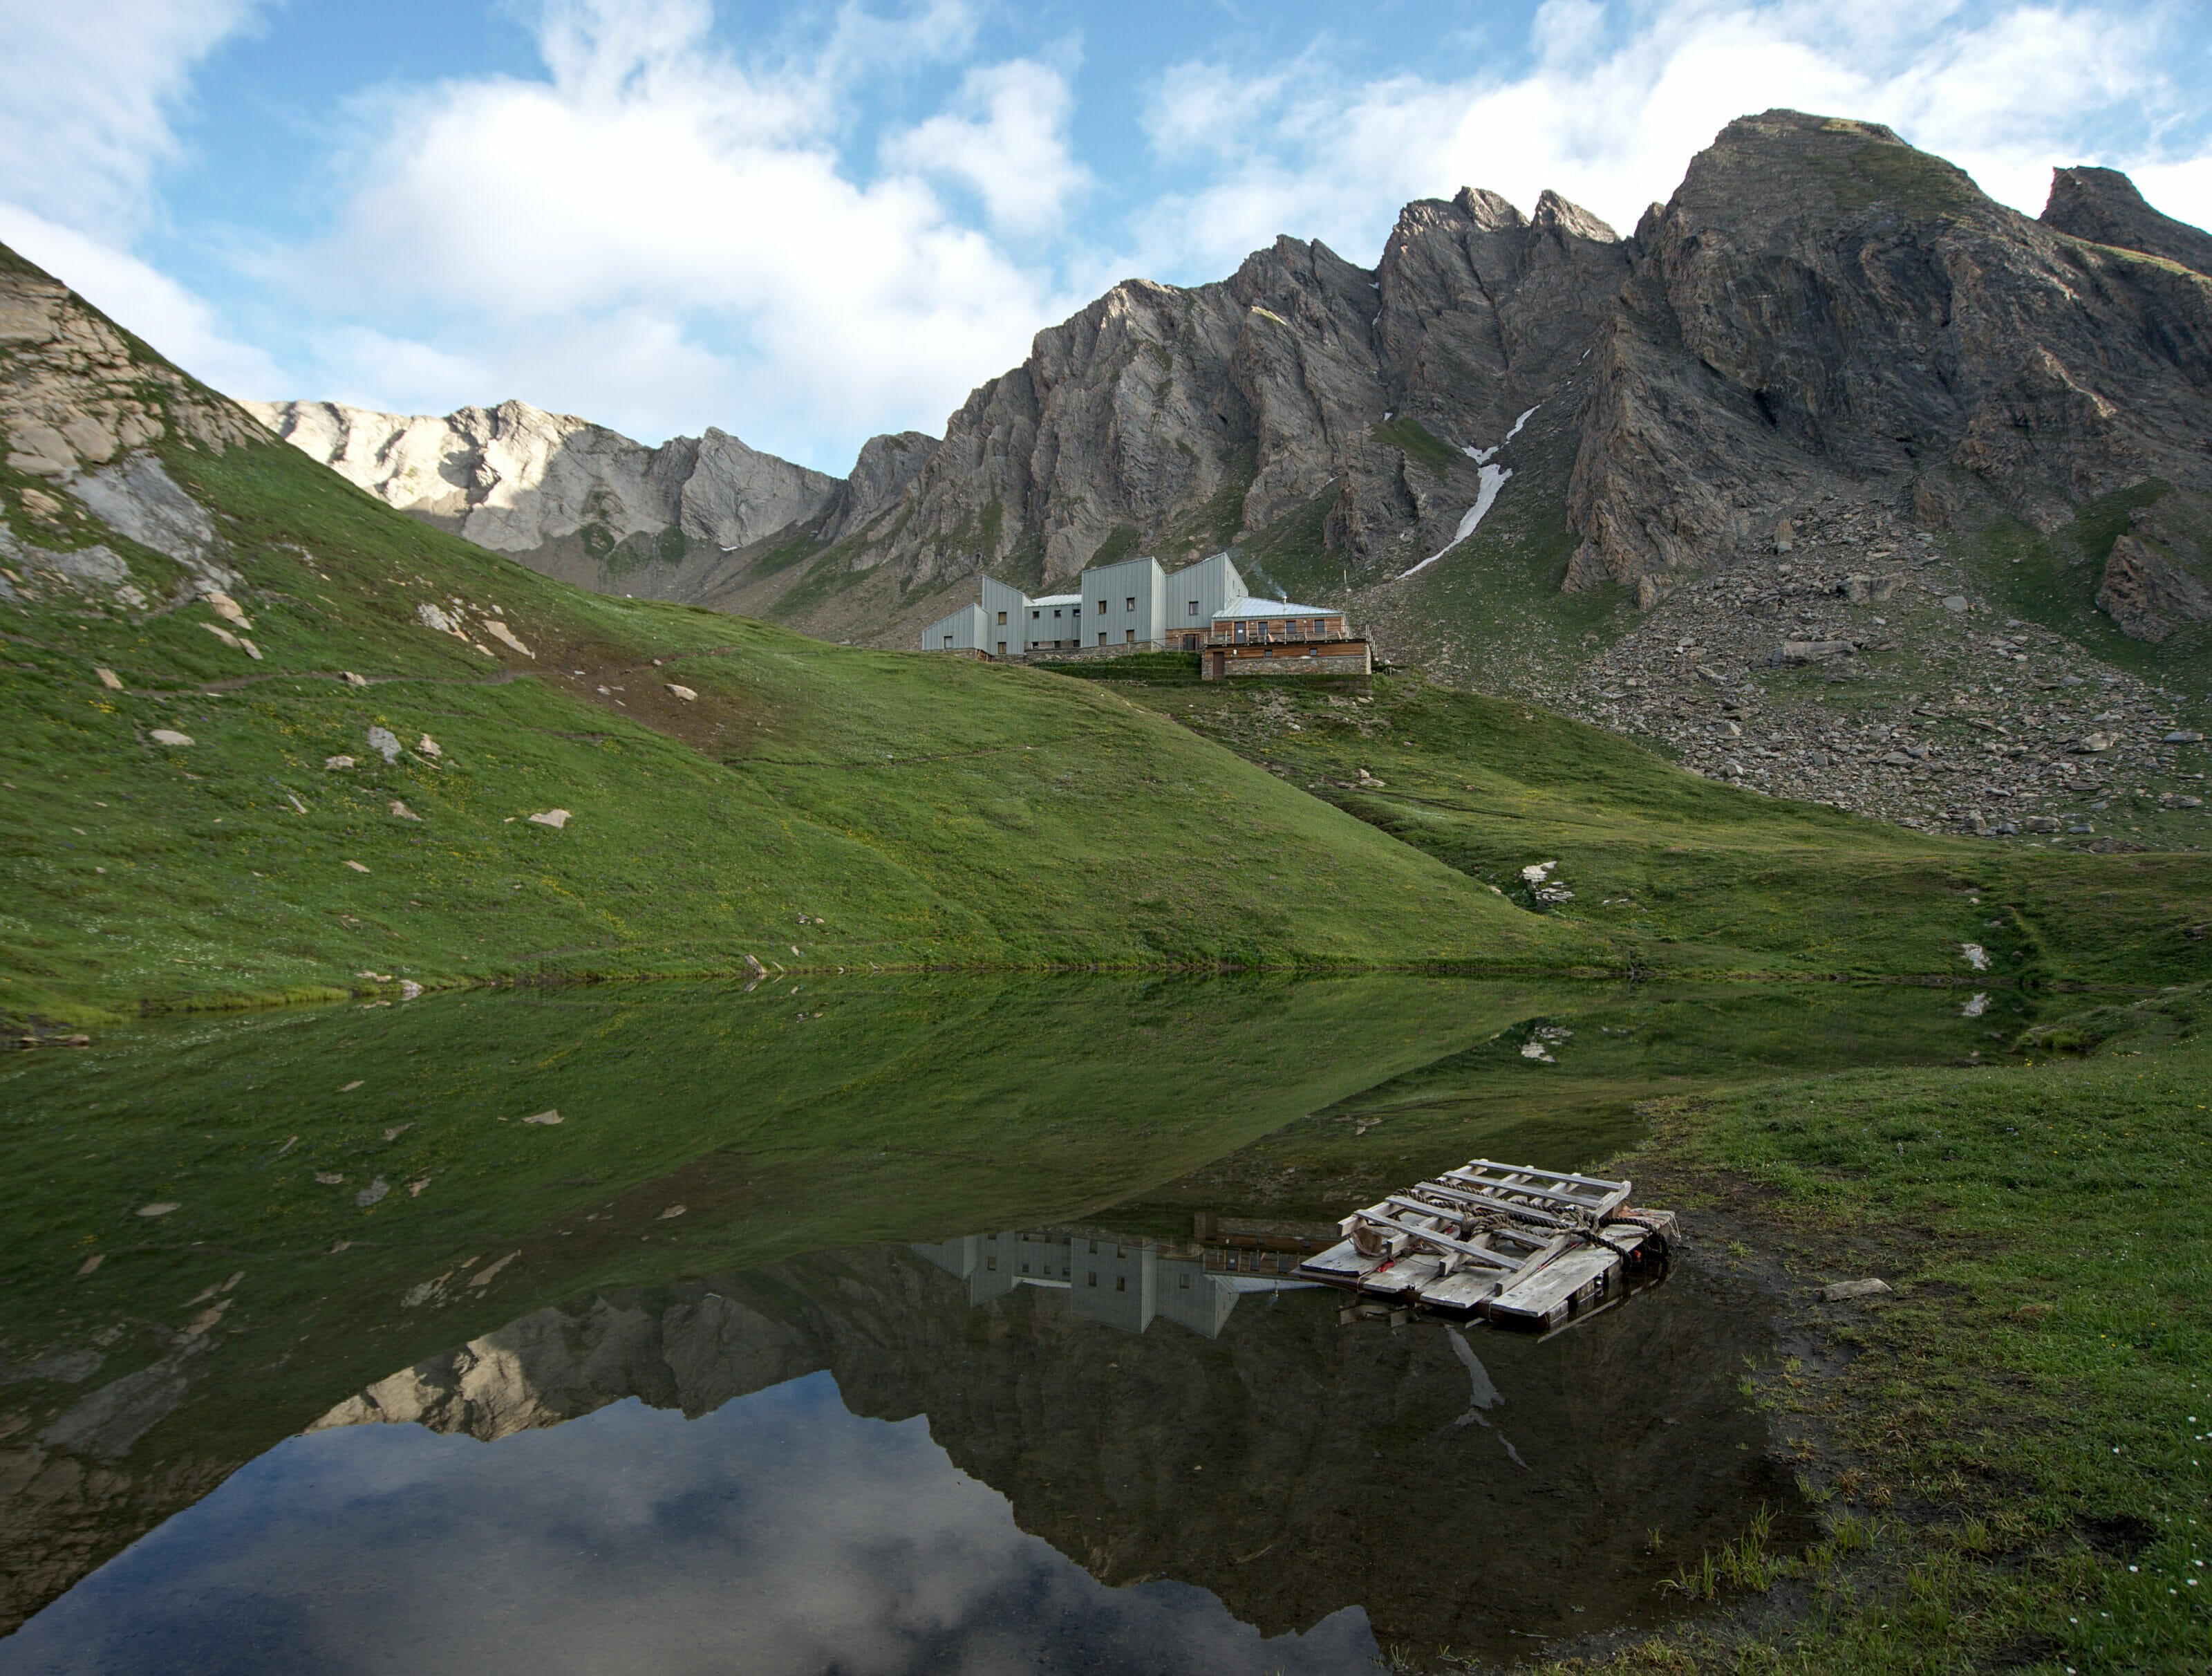
Since the tour has a day in common with the Tour du Mont-Blanc (or better nown as TMB) it can pose some logistical problems. When we left we chose our first day according to the availability of the chalet Val Ferret.
Afterwards, if you are sporty it is possible to do the Frassati – La Peule stage in one go (about 21km, 1300m of D+ and 1400m of D-).
To see the accommodations that are on the tour, the easiest way is still to go and have a look on the itinerary page of the Saint Bernard tour here. A large part of the accommodations are presented there and the availabilities indicated in real time. But as there are still other accommodations on the way and as it is sometimes hard to see the difference in altitude on a map, we decided to make a small schematic representation of all the accommodation options we came across. With this schematic and especially with the tour page you should be able to easily concoct a good itinerary adapted to your level and wish of daily distances. (You also have information about the accommodations in the day by day stories above).
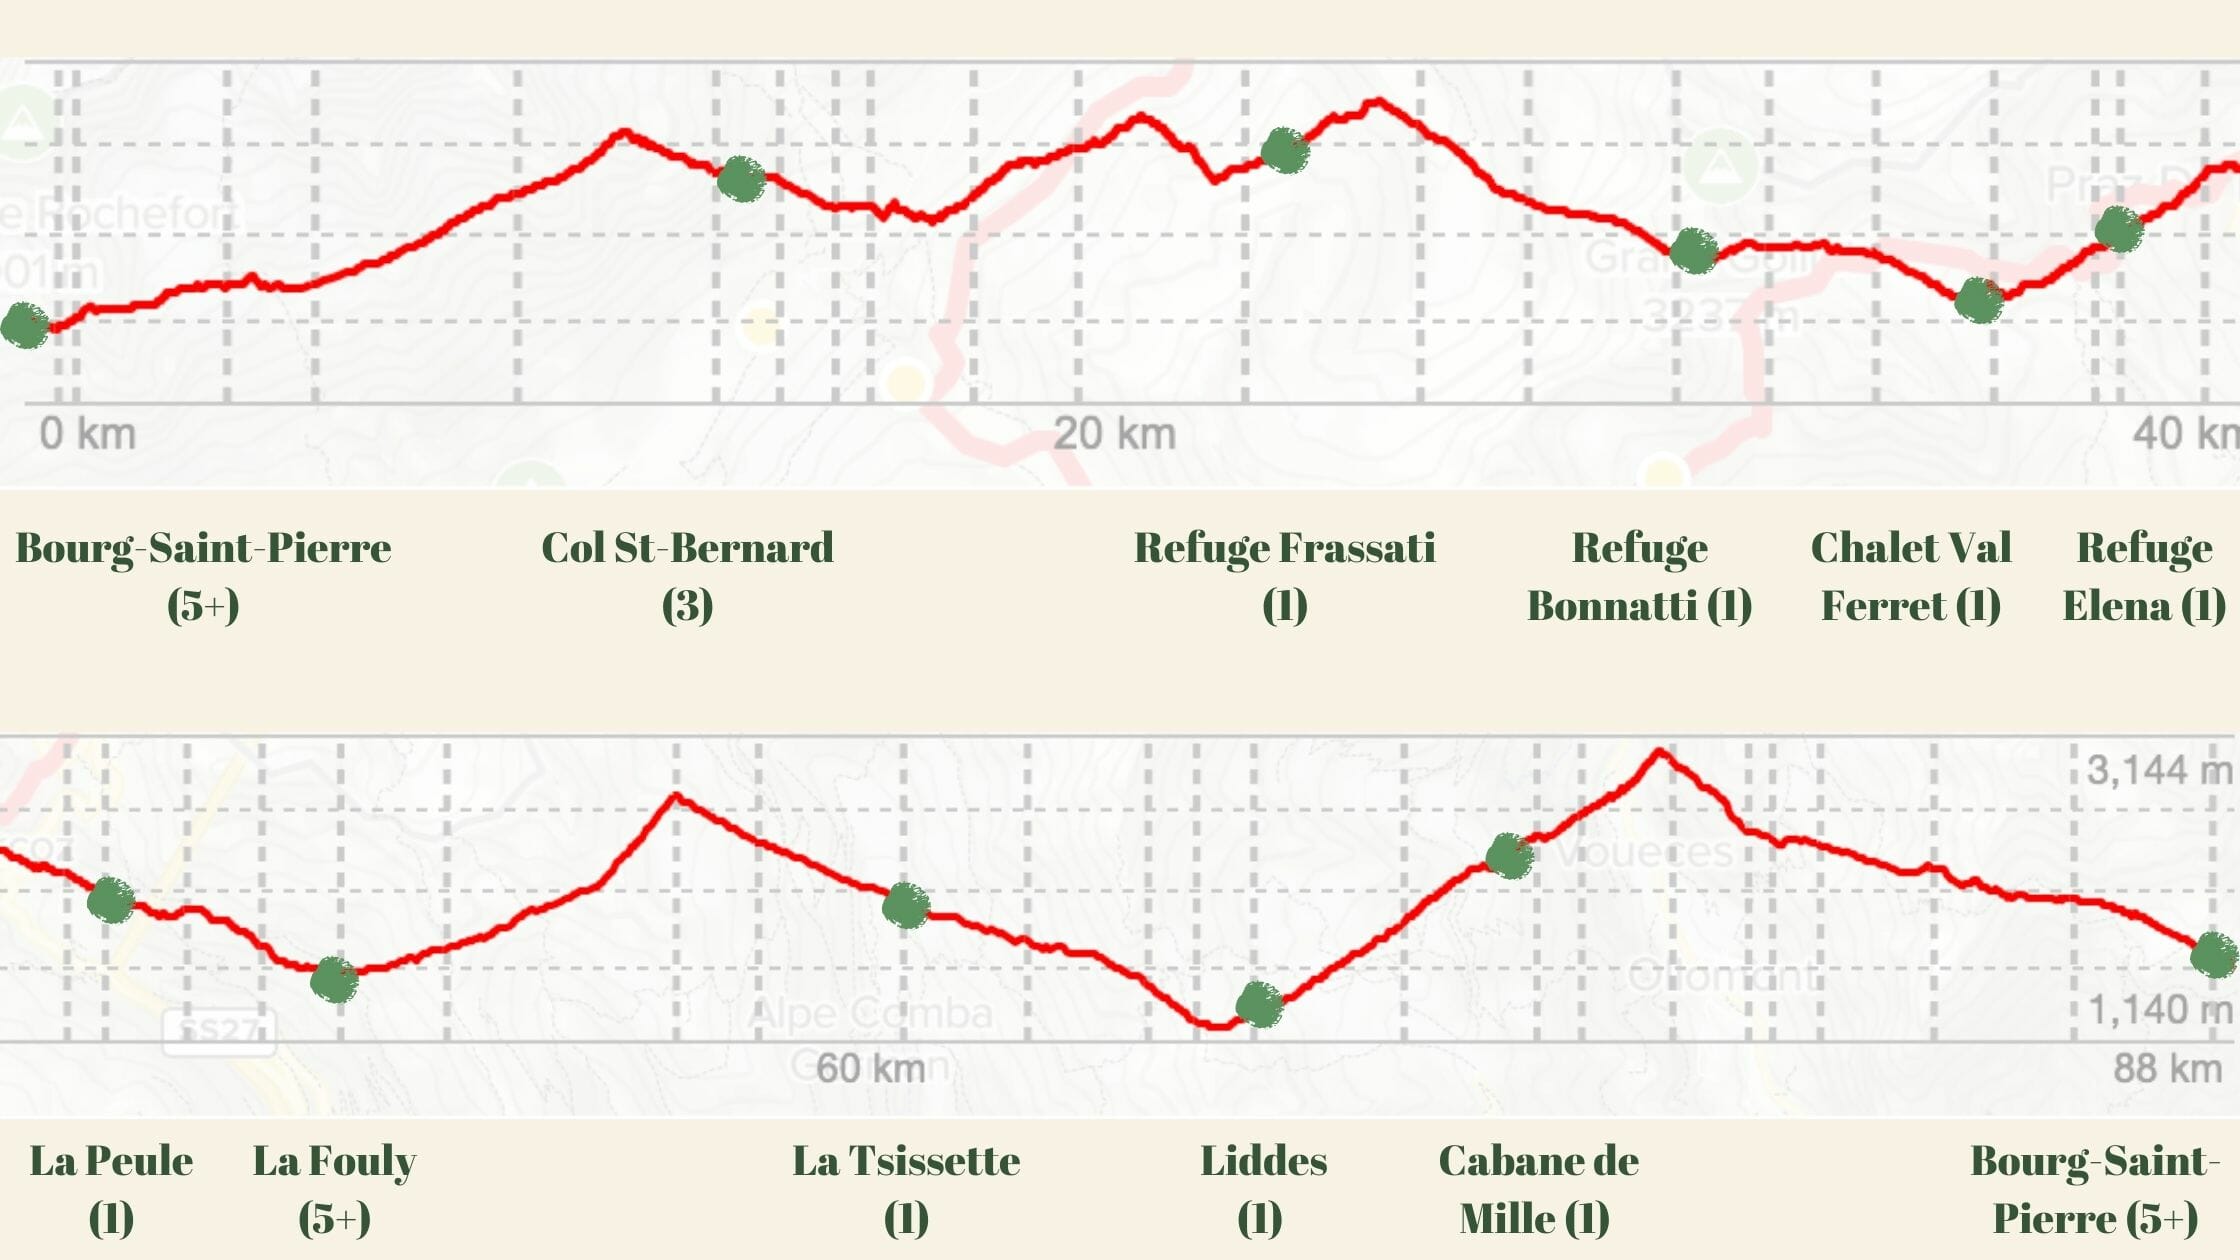
Note:The small number in brackets indicates the number of accomodations present at a given location.
Do not hesitate to consult the sites of the accommodations that are not on the tour page or even to make a phone call to those marked “full”. It is often possible that not all the accommodation options are online. At the time of our visit, the hospice du St-Bernard was listed as full but when we called they said they could put us in a shared room 😉
The main difficulties of the Tour du Saint-Bernard
The Saint Bernard tour is a tour that is accessible to a large number of hikers. However, it is important to note that even though this tour does not present any major technical difficulties, it is not what you might call a short and easy walk. The itinerary is well marked and safe, but the route remains what we call alpine with passes at nearly 3000m.
You don’t need to be a mountaineer to do this tour, but in our opinion it’s better to already have a small habit of mountain hiking to get started 😉 The official rating of the tour is T3 (the most difficult passages are T3, except Mont Rogneux which is rather T3/T4 but avoidable, more info below).
If we compare the Tour du Saint-Bernard to other tours we have already done, we would say that it is more alpine and probably a little more difficult than the Tour des Dents du Midi or the Tour du Val d’Hérens, but on the other hand it is less technical than the Tour des Dents Blanches.
Note: The difficult passages we list below are our purely subjective opinion. This list is personal and everyone may experience difficulties in different places. Moreover, it is perhaps important to note that it is Fabienne who writes this article. I don’t exactly have what you might call the “moutaineering genes”. I love hiking in the mountains and I do a lot of it, but I also have a fairly large respect for emptiness and steep slopes. When I was young I couldn’t stand on a chair because of vertigo… Now, I have progressed enormously but I am not yet exactly what you would call comfortable with heights. Benoit, on the other hand, is an experienced hiker. For him, none of the passages below have been difficult.
If I were to give you the 3 “most difficult” places, then surely that would be it:
The Malatra Pass between the Frassati Refuge and the Bonatti Hut (T3)
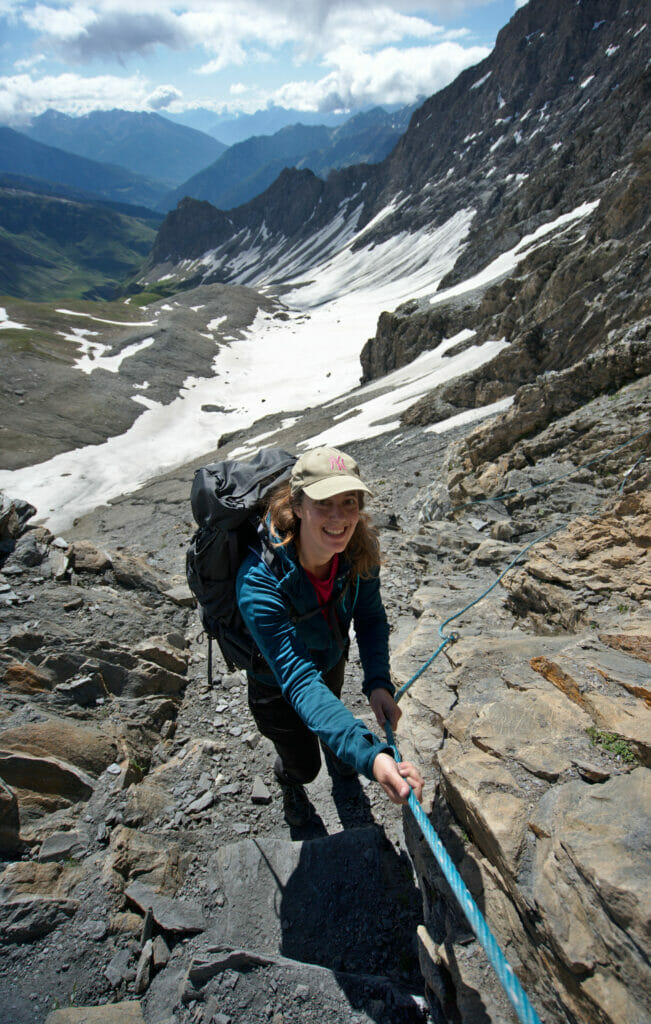
The Malatra pass is one of the highest in altitude of this tour and the last part arriving from Frassati is very steep. There are normally laces going up in the scree, but during our passage at the beginning of the season a last snow patch prevented us from following them which forced us to climb more or less “straight up”. For my part I was happy to have my hiking poles to help me a little. The last part before the pass is equipped with chains and small ladders that help us to progress.
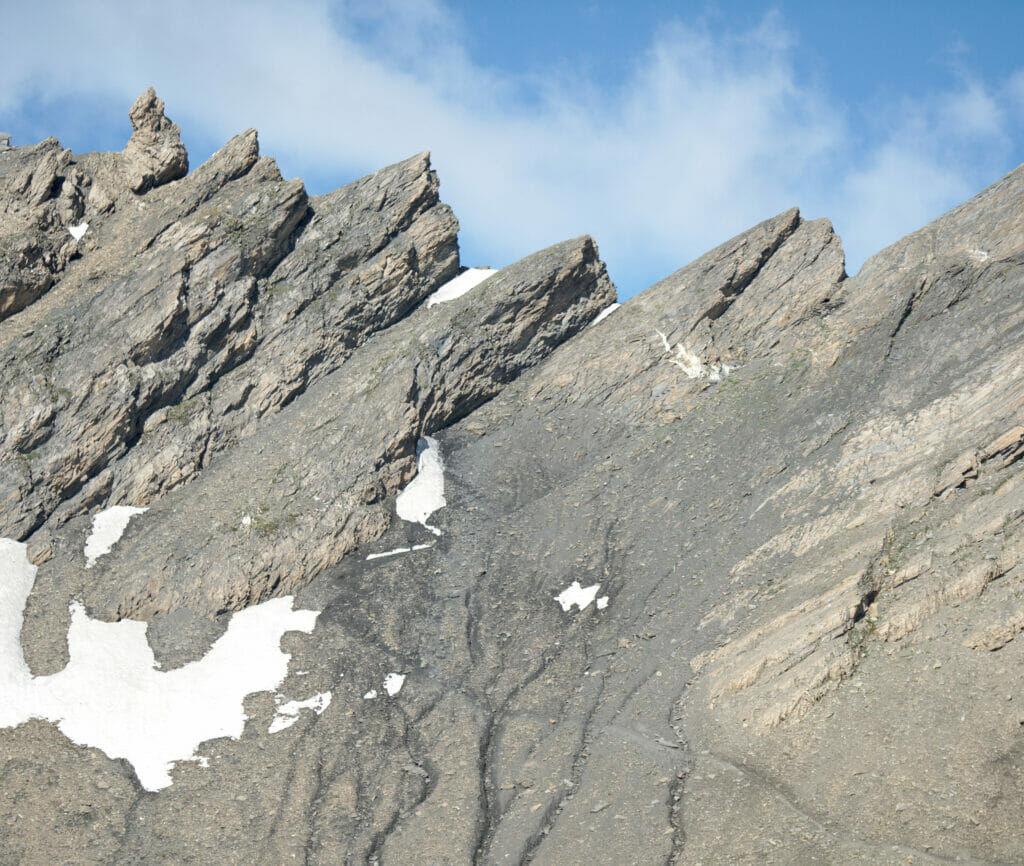

The col du Basset between La Fouly and Liddes (T3)
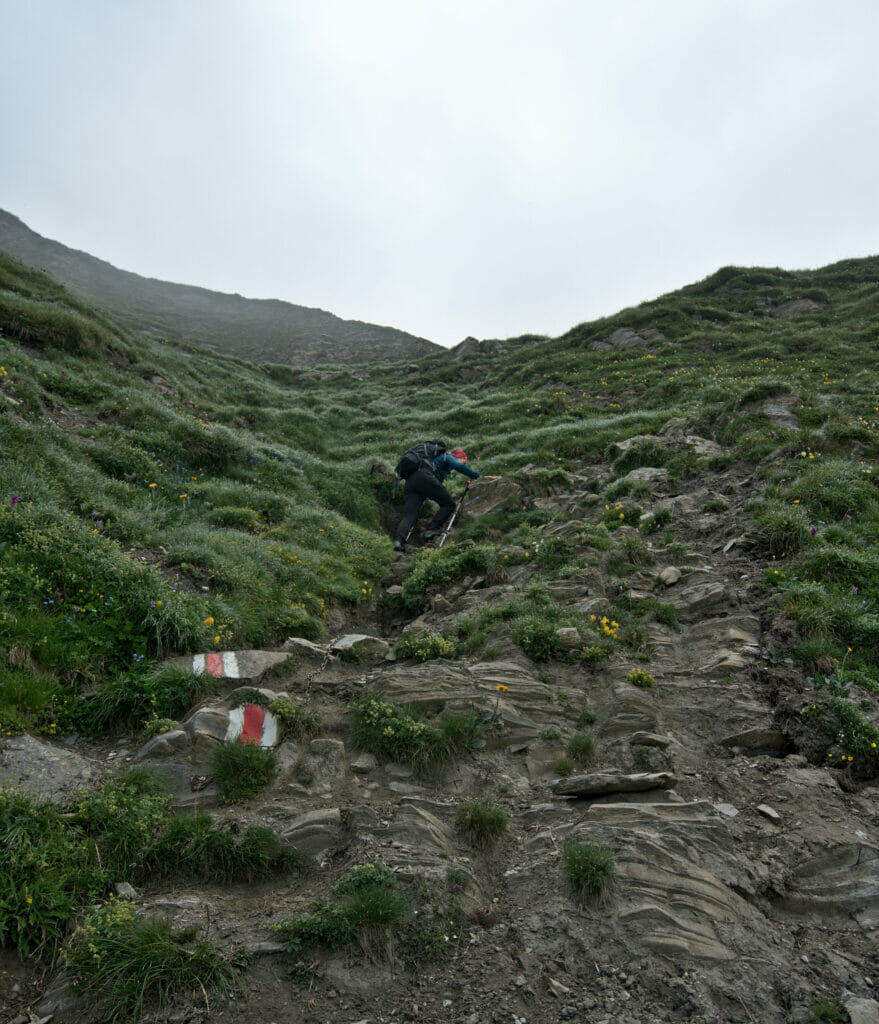
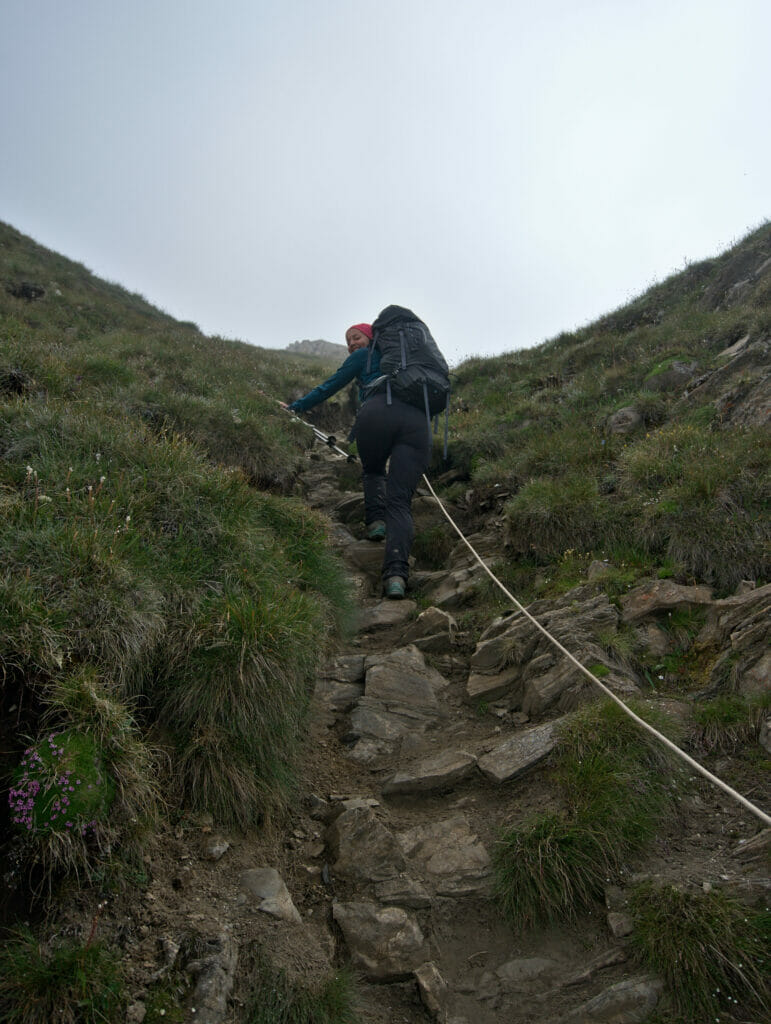
I’m adding this one because it’s “officially” the most vertiginous. So it’s steep, even very steep. But strangely enough, I had a lot of fun on this climb and at no time did I feel dizzy. Was it just a good day, a miracle ingredient that someone would have slipped into my breakfast? I have no idea, but everything went really well for me on this climb, in terms of vertigo.
The ascent to Mont Rogneux (T3/T4)
The ascent of Mont Rogneux will, in my opinion, have been the most difficult part of this tour. It’s really steep and we have to use our hands at a few occasions. Officially, this end is marked in white-blue-white, so it’s an alpine hike. There are no chains or ropes to help one progress. Normally I know that as soon as the markings turn blue the paths are no longer for me. I would say that the ascent to Le Rogneux is what you could call an “easy” blue and that it’s at my limit. I’m glad I did it and at no time did I feel unwell, but let’s just say it shouldn’t have been more difficult.
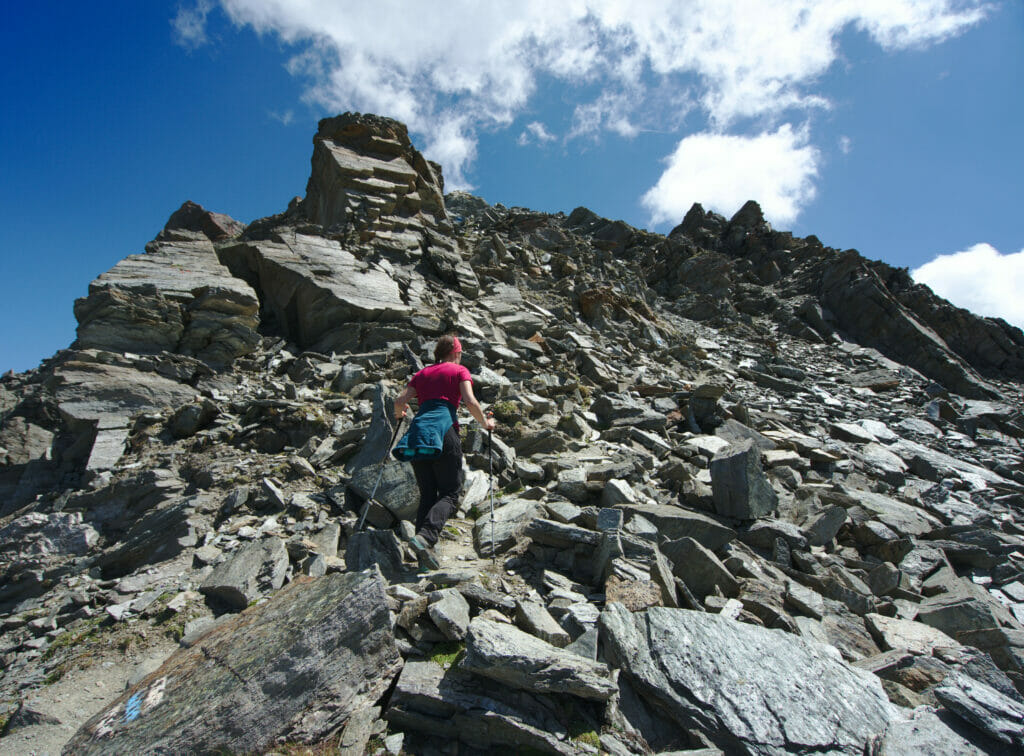
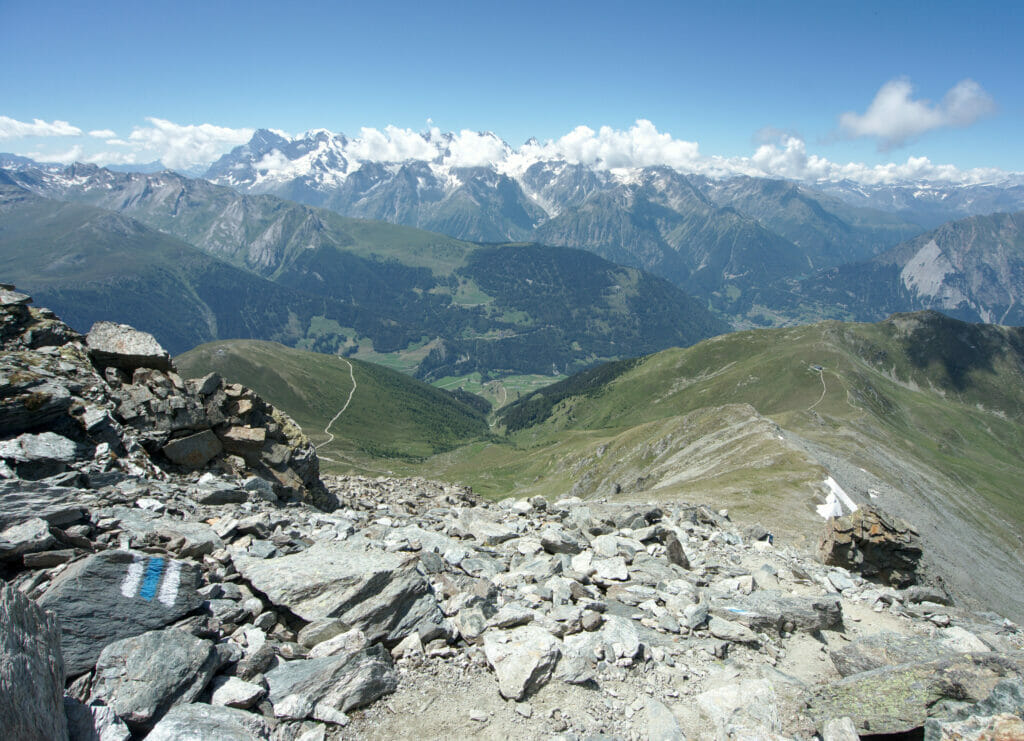
Note: This white-blue-white passage can easily be avoided by taking the balcony path described in the above itinerary (which we took again when leaving the Mille hut).
Orientation, Topo-Guide and Maps
On the whole tour the markings are well present and we didn’t manage to get lost. 😉 The tour itself is marked by a small symbol of Saint-Bernard. These signs are present at the big intersections and help to find your way around. Nevertheless, we found that the markings were still a little less present on the Italian side. It can be useful to know your intermediate destinations in order to follow the signs (the final destinations of the stage are not necessarily indicated everywhere).
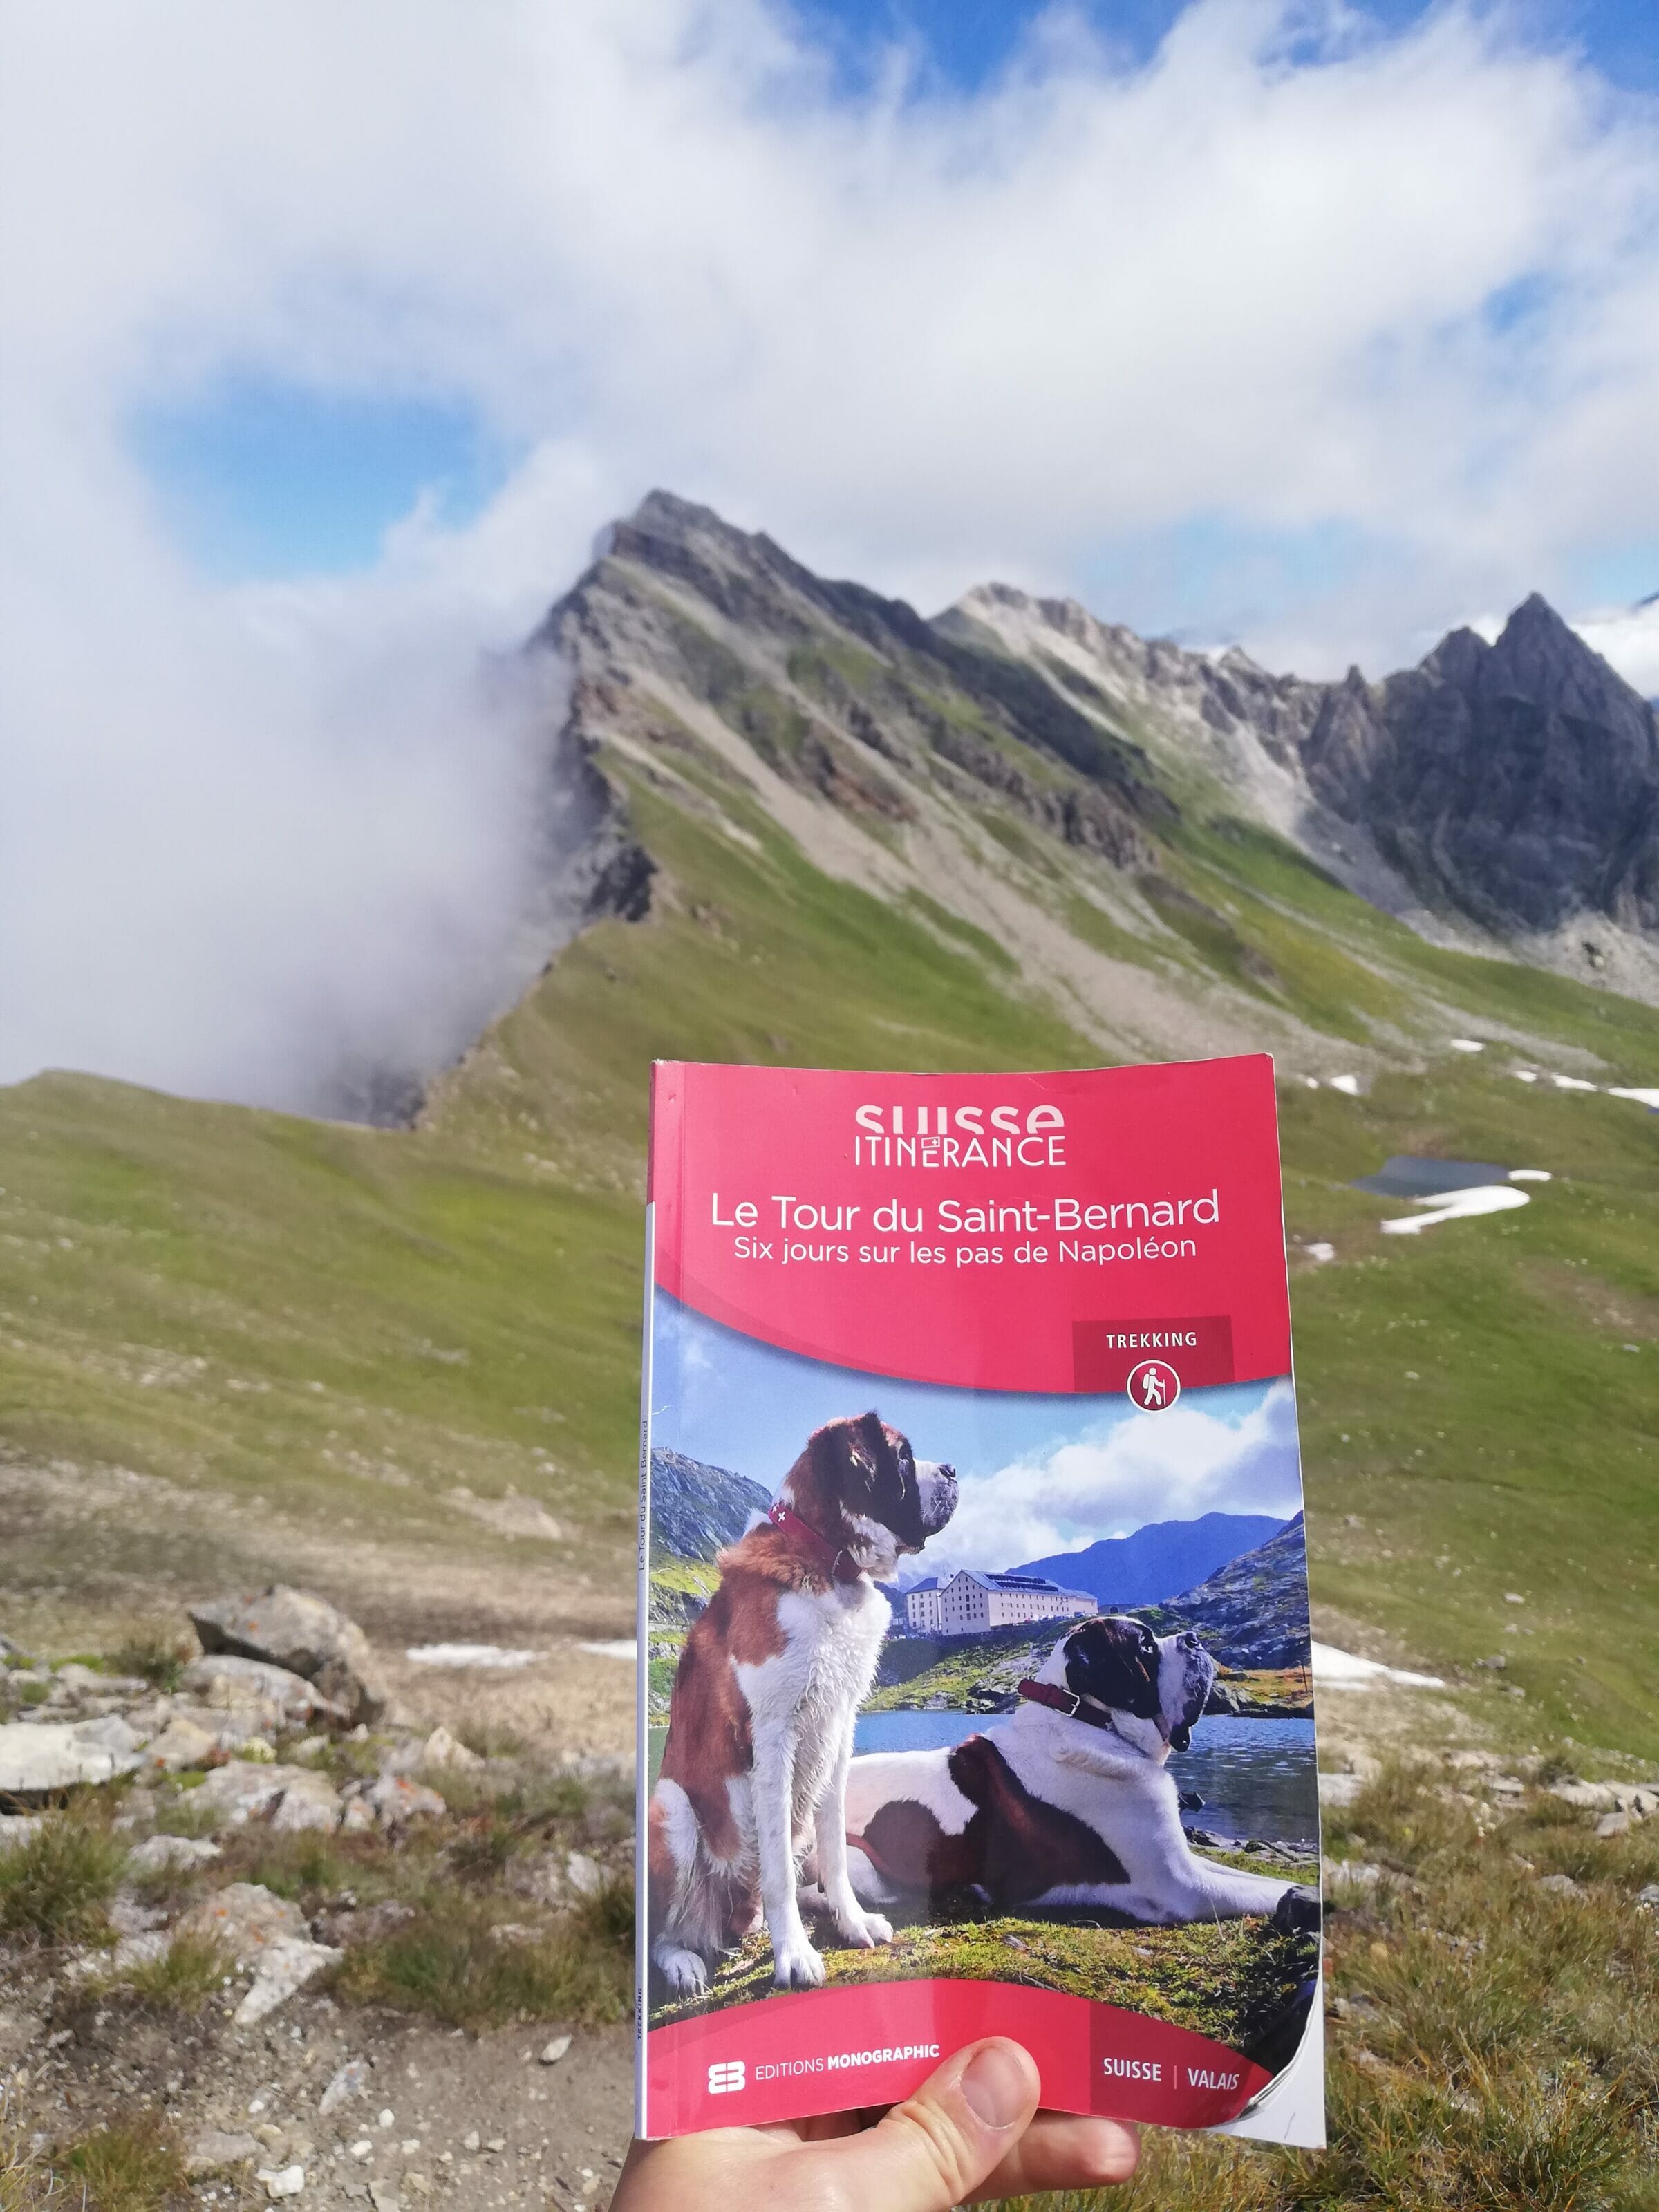
For orientation we had the small topo-guide published by Suisse Itinérance. Very well done, we used it to estimate our walking times and the altitude differences. It is also very useful for planning accommodation because all the intermediate stages are well described. If you wish to buy it you can buy it on their website. Note: The guide exists in English as well, you simply have to specify your chosen language in the comment section of your order.
Small bonus: For the readers of our blog we can offer a 50% discount (the guide costs 8CHF plus 4CHF for delivery, i.e. 12CHF all inclusive). The code to use is: blogtsb
Beyond the paper format we generally always like to have a mobile version with us. For this tour we strongly advise you to have an application that also works offline. On this route you are regularly in the “white zone” and therefore without a mobile coverage. As often happens, we have simply used the free application Maps.Me. All the routes taken are present there.
Equipment to take with you for the hike – Hiking gear
As this tour is done in refuges and hotels there is no need to bring bivouac equipment. You know how much we love bivouacs, but on this tour it is unfortunately not really possible. Almost the whole Swiss part of the tour is in a wildlife reserve and in Italy bivouac is officially forbidden below 2500m. 😉 For more details on bivouac regulations we invite you to have a look at our detailed post about bivouac.
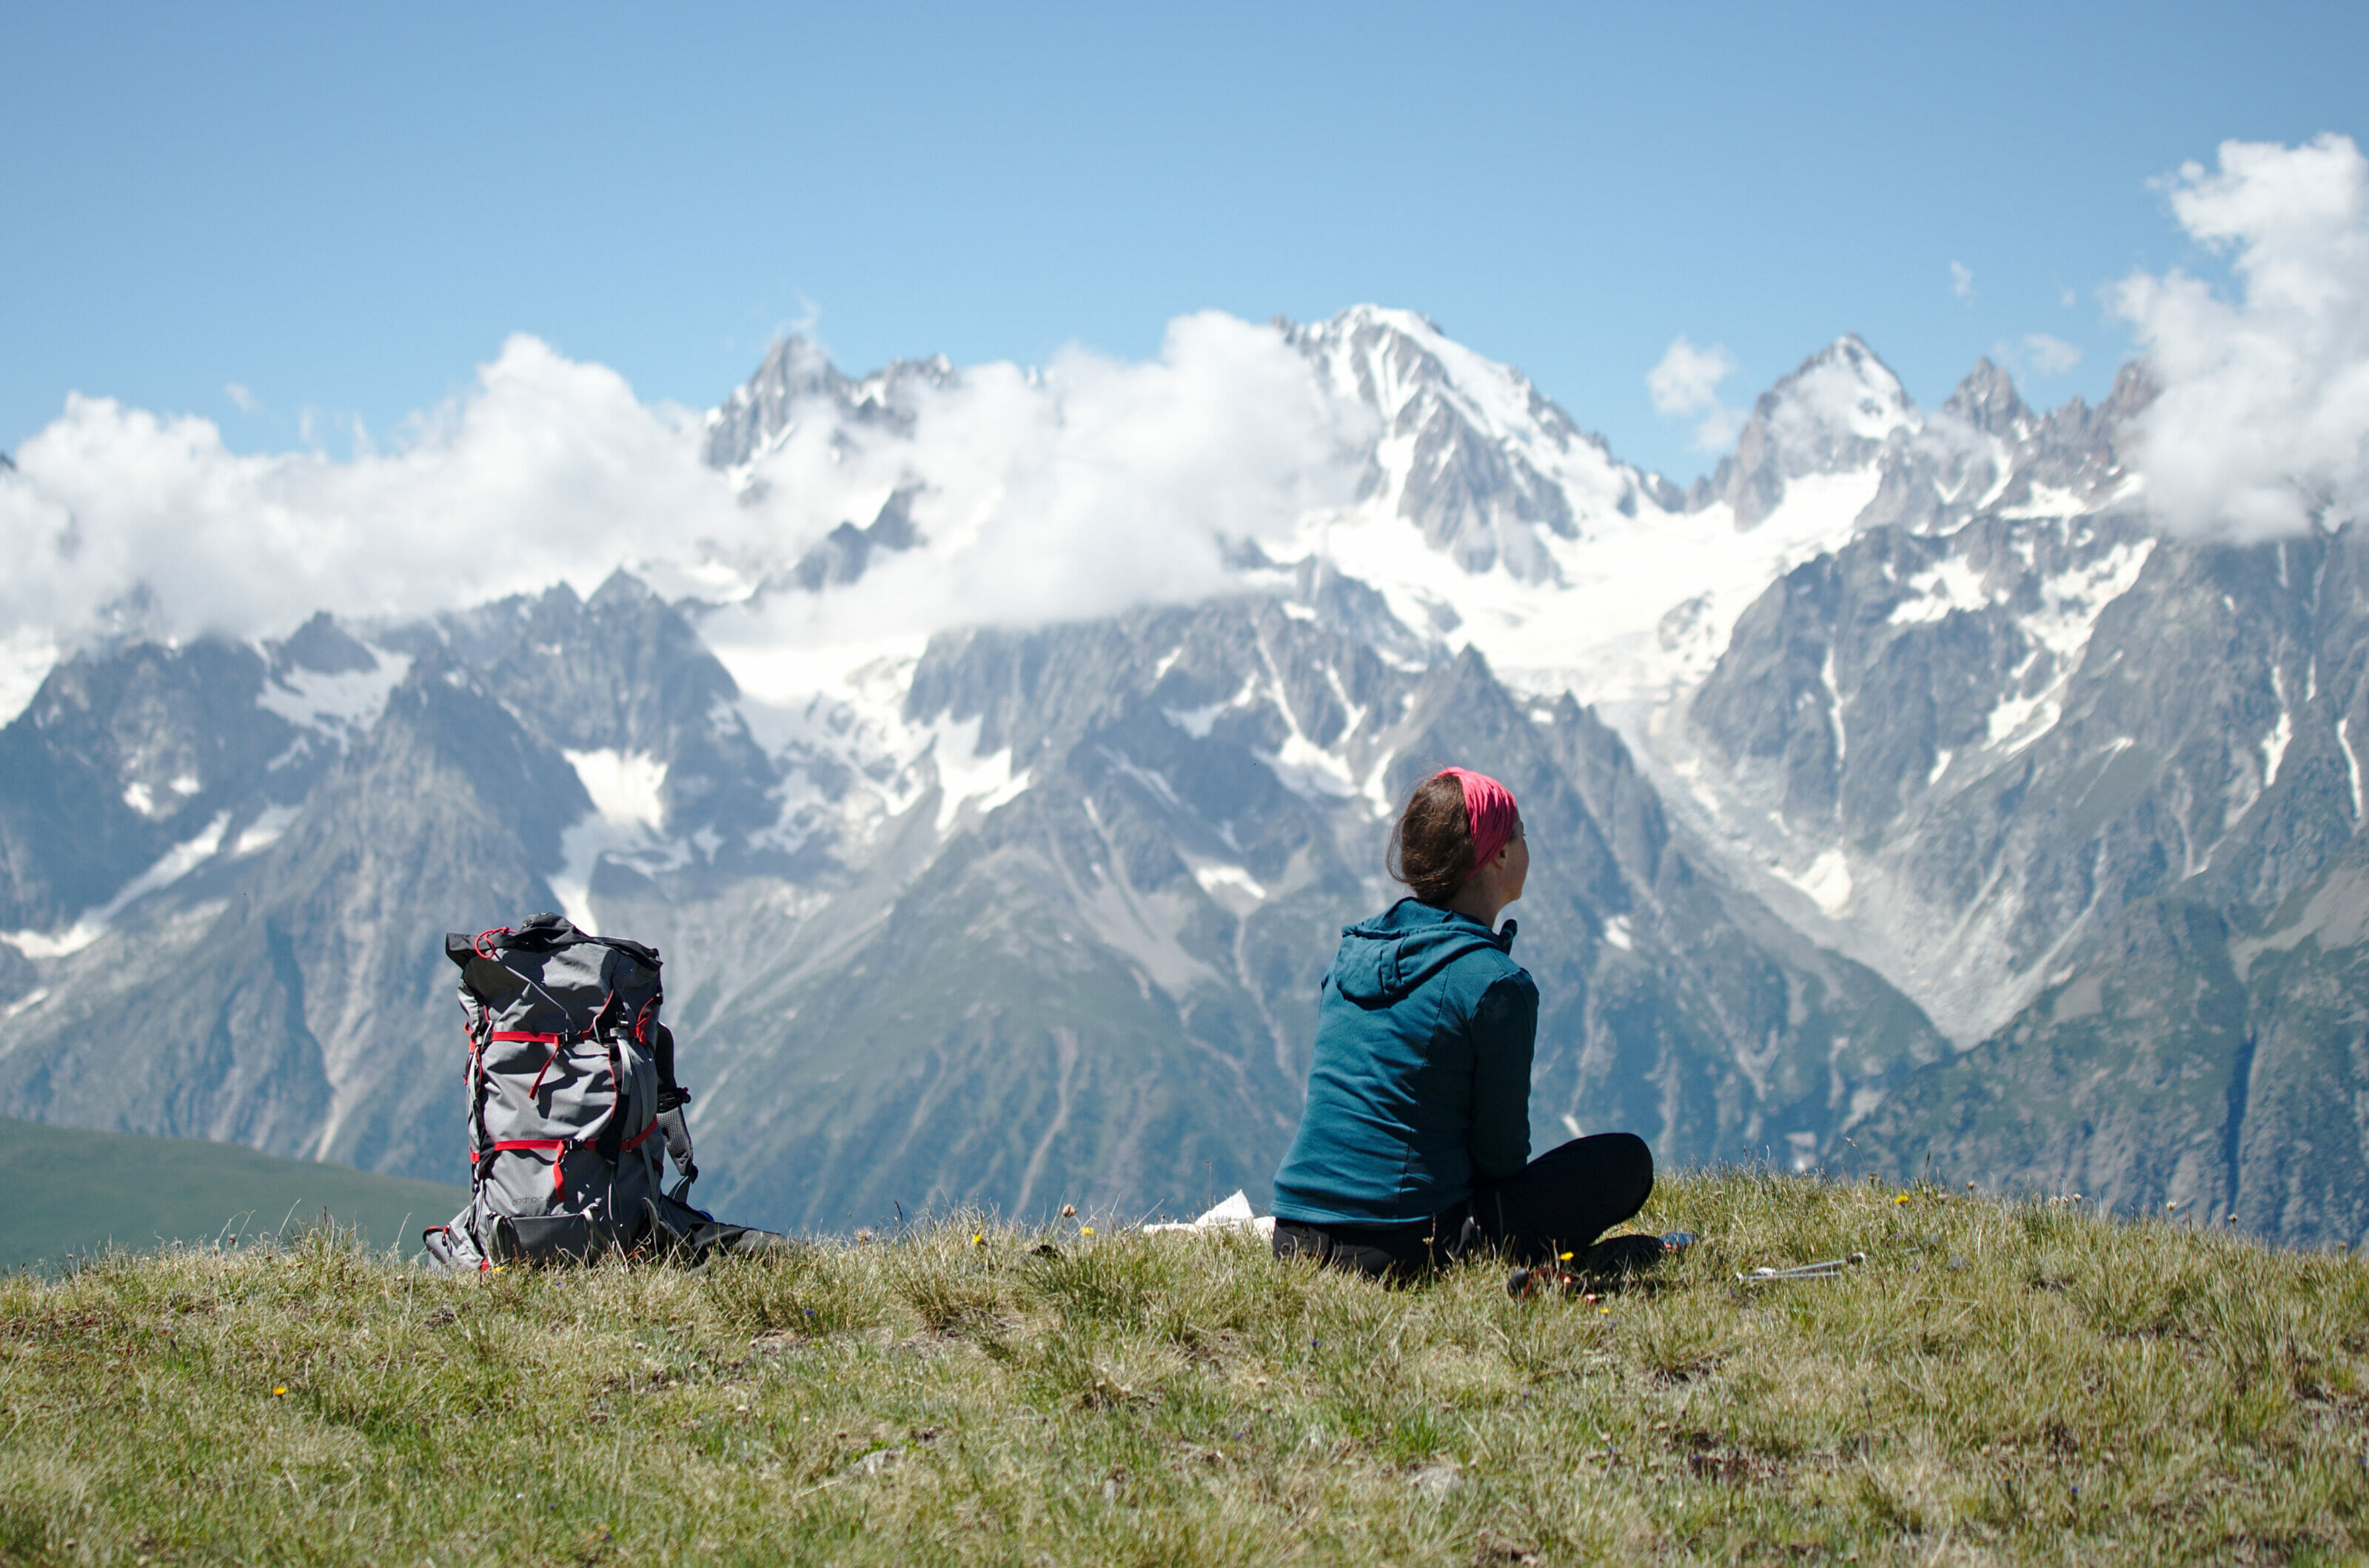
In terms of gear we each had:
- Rigid hiking boots: The terrain is very alpine and we were glad to have good shoes.
- Hiking poles
- Hiking pants, 2 T-shirts, underwear, 2 pairs of socks, 1 cap and a sweater.
- A warm down jacket
- A waterproof windbreaker
- Our sleeping bags. Note: normally a silk sheet is sufficient, but this year with the Covid-19 it is better to bring a sleeping bag because not all huts offer blankets.
- A filter bottle to fill the water anywhere and a second 1.5 L bottle in reserve.
- One microfiber towel (1 for 2). In the hotels towels are provided but in the huts it is better to have your own towel if you want to wash your face a little.
- I personally brought a pair of leggings for the nights in the dormitory.
- A Swiss Army knife, a headlamp, some plasters and handkerchiefs and a notebook.
Important for Summer 2020:
Because of the Coronavirus there are a few little extras to think about. In Italy the wearing of a mask is obligatory in the huts (except when you are eating), so remember to take some! In some huts it is required to have a pillowcase and your own slippers. We didn’t have any and slept with our jacket as a pillow and walked around with our socks. 😉 The best way to make sure you don’t forget anything is to go directly to the websites of the huts/refuges where you plan to spend the night to see what the recommendations are.
Budget for the tour du Saint-Bernard
We thought it might be interesting to have a little update on the budget. We were hired to do the tour but all the expenses made on the spot were paid by us and we were able to record everything we spent. Of course the budget can vary depending on what you eat (buying picnics at the shelters or if you eat what you brought from home), how you sleep (private rooms or dormitory) and what you have for aperitifs 😉
Here are the details of our expenses:
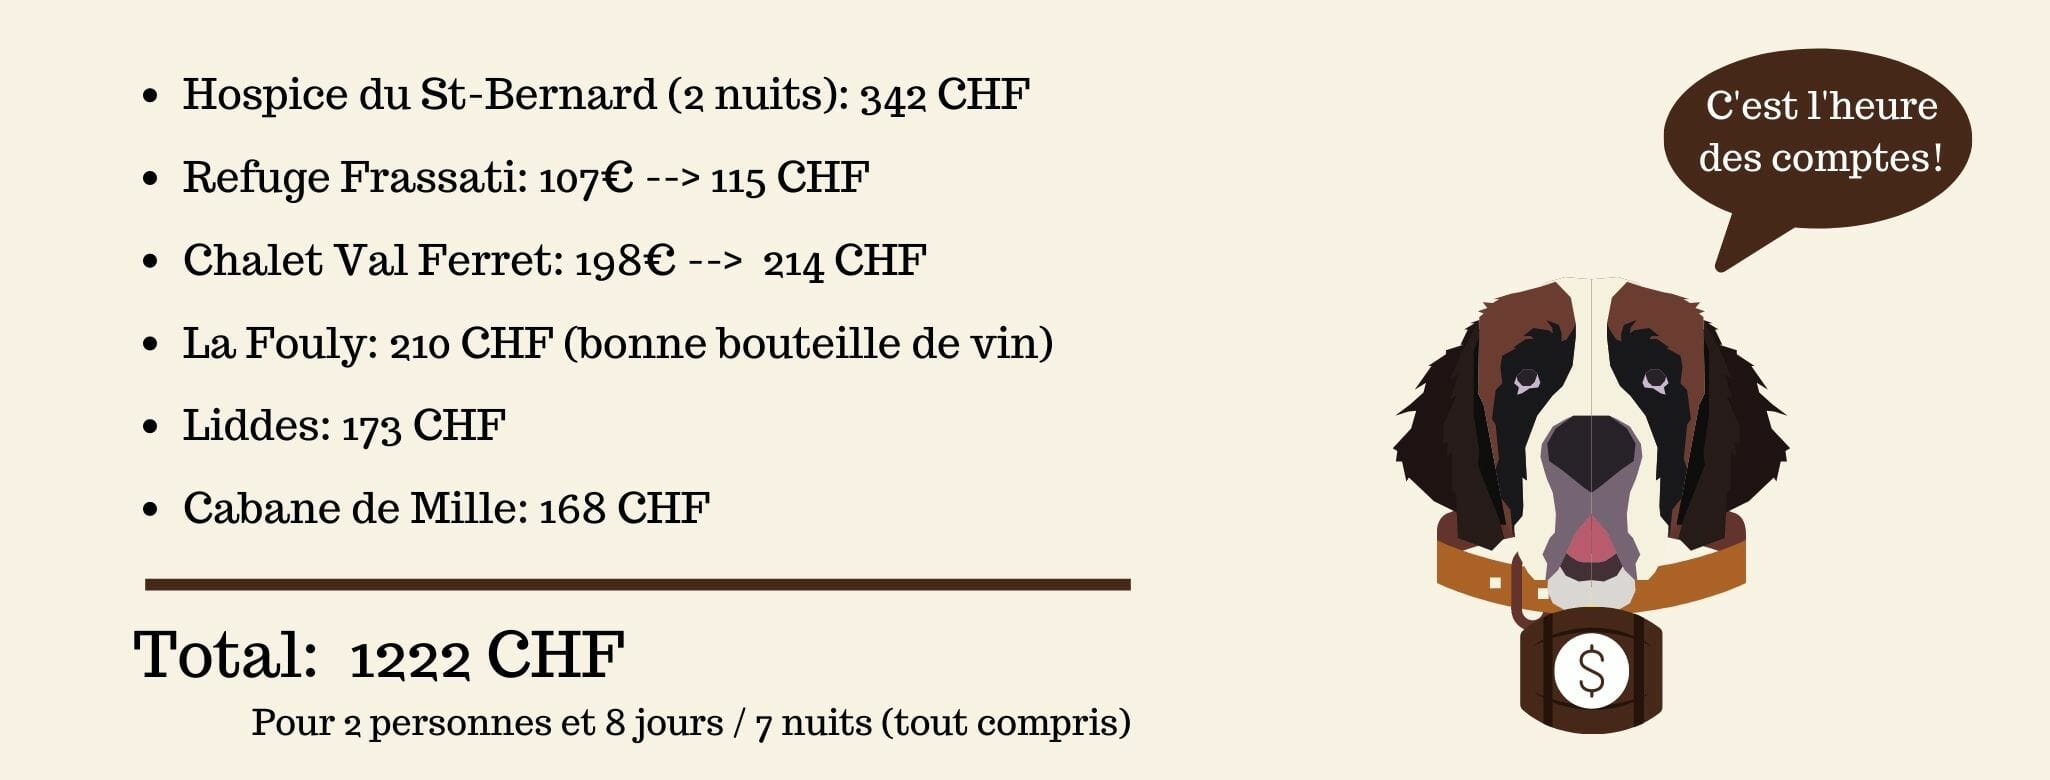
Note: The above expenses include absolutely ALL our spendings. The amounts are therefore the price of the nights (often on half board basis), possible meals not included, pie slices, the purchase of picnics, the museum at the Col du St-Bernard, drinks and even beers. 😉
The tour is officially 6 days and 5 nights, so the budget can be reduced accordingly (we did 8 days and 7 nights because we absolutely wanted to see the comet at the Mille hut and go around the Lacs de Fenêtre as well).
We hope you enjoyed this large article and have a great time on your hike! For our part, this tour is without any hesitation one of our top hiking tours in Switzerland and we encourage you to go and see it with your own eyes!
If you have any questions or if you want to share your experience on this tour with us and the readers of the blog, don’t hesitate to leave us a short comment.
This stay in the Saint-Bernard region was carried out in collaboration with the tourist office of the Saint-Bernard country. We were hired to come to the region and help you discover our favorites. The region gave us carte blanche to plan our route, choose our accommodation etc… The whole stay was planned by us and nobody knew that we had a travel blog. We warmly thank the Pays du Saint-Bernard for trusting us with this project.
Pin it

Hi,
Could you please tell me in what month / part of the month you did the hike ?
Thanks for sharing this amazing hike !
Hi Vlad,
We did it in the beginning of July and clearly that year this was the earliest possible. It will depend a lot on the year (and the amount of snow) but I would say that mid-July to mid-September is the safest option to plan for this hike. Enjoy! 😉
Hi,
How does the Tour du Saint Bernard compare to the Tour du Dents du Midi? We did that one this last summer and are looking for something a little longer and harder but not crazy busy.
Thanks!
Matt
Hey Matt,
I think Tour du St-Bernard fits pretty much this description. There is just this one day where you join Tour du Mont Blanc for a bit that is gonna be more busy. But for the rest it’s beautiful, wild, quiet and a bit harder that Dents du Midi
Hi, Thanks so much for all the info. Is beginning of October likely to be too late or more tricky? Thanks
Hi Kat,
Depending on the snow conditions, it could be doable… but the main issue is that probably all the mountain huts will be closed (they usually close mid september). So if you plan on sleeping in the huts, it won’t be possible.
I found both of your excellent posts on Tour des Combins and Tour du Saint Bernard. I am a solo female hiker and was wandering which trek you would recommend.
Hi Yuliya,
Thanks for your message! Hmmm honestly, it’s hard to choose, both are truly stunning! I would say that the tour des Combins is less exposed or better said, it’s less challenging if you are slightly unconfortable with exposed trails. Both are stunning when it comes to landscapes. 😉 It would actually possible to combine both if you have some extra time 🙂