Ever since we moved to Val d’Hérens, I have become addicted to ski touring! In fact, this valley is an absolutely incredible playground for ski touring and freeriding. It’s a wild area with very few ski lifts, right in the heart of the Alps, which offers almost infinite possibilities for ski enthusiasts (who aren’t afraid of climbing some serious vertical metres 🙂 ) . Moreover, I was lucky enough to quickly meet much more experienced people who took me with them on outings and helped me discover the secrets of this magical valley… which is why I wanted to share my discoveries with you too 😉
Beyond the beautiful pictures of mountains and powdery snow, ski touring is a dangerous sport in itself, because of the alpine terrain, the danger of avalanches, the weather… So before you set off to tackle the Pigne d’Arolla, make sure you have the knowledge, skiing ability, endurance and gear required for this kind of adventure.
If you have any doubts, first read this article in which I share my experience since I started ski touring. I discuss the skills required, safety, essential equipment and many other aspects of the sport.
Finally, I’m by no means an expert in ski touring, and I’m simply trying to share my experience hoping that you’ll find it useful. But please don’t take everything I say as a given, and make your own experience.
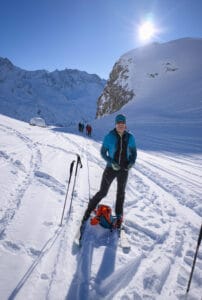
At the very end of Val d’Hérens, the Pigne d’Arolla and its neighbor Mont Collon dominate the village of Arolla. The Pigne is a rather emblematic summit, being the highest point (at 3787m) on the Haute Route between Chamonix and Zermatt. If you live in the valley, you can see it from practically anywhere, so it’s only natural that you’d want to reach the summit 😉 .
What’s more, one of the first ski touring outings I did in the valley was the ascent to Vignettes hut (3160m). This fairly easy route constitutes the 1st part of the climb to Pigne d’Arolla, and after doing it a few times, I soon felt like going a little further 😉
On the other hand, Pigne d’Arolla is also one of Switzerland’s 40 drop-off points for the now highly controversial practice of heliskiing. My goal in this article is not to debate the matter (if you’re a regular reader of our blog, you’ll probably know my position), but rather to suggest that you choose another route if you see helicopters leaving Arolla… otherwise there’s a good chance that a bunch of skiers will steal all the good snow while you’re touring up 😉
- Elevation change: Vignettes hut (1150m+-), Pigne d’Arolla (1800m+-)
- Ski touring grade: Vignettes hut (PD / 2.2 / E1), Pigne d’Arolla (PD / 3.1 / E1). If you don’t know exactly what these grades represent, we’ve written a full post on the matter here.
- Duration: Vignettes hut (2h30-4h), Pigne d’Arolla (4-6h)
- Useful links: Vignettes camptocamp, Vignettes CAS, Pigne d’Arolla camptocamp, Pigne d’Arolla CAS, carte swisstopo
Arolla – Vignettes hut
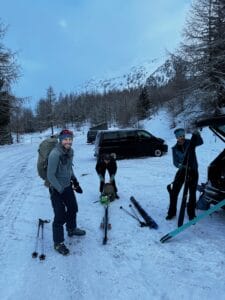
The route starts from the parking lot at the bottom of the Arolla lifts, just before the village, at the last sharp turn in the road. For the 1st part of the climb, there are several ways of doing it:
- The easiest way to start is to follow the ski slope on the left as you go up (Fontanesse 2). Just before the top of the lift, turn left and cross the river to go up the moraine on the other side.
- Alternatively, park at the far end of the parking lot (towards Mont Collon) and head straight up into the forest on the other side of the river. This will take you back to the trail from Fontanesse 2, and then up the moraine to the left.
- To save 3-400m of ascent, I’ve also seen people take Fontanesse 1 and cross over to the top of the moraine.
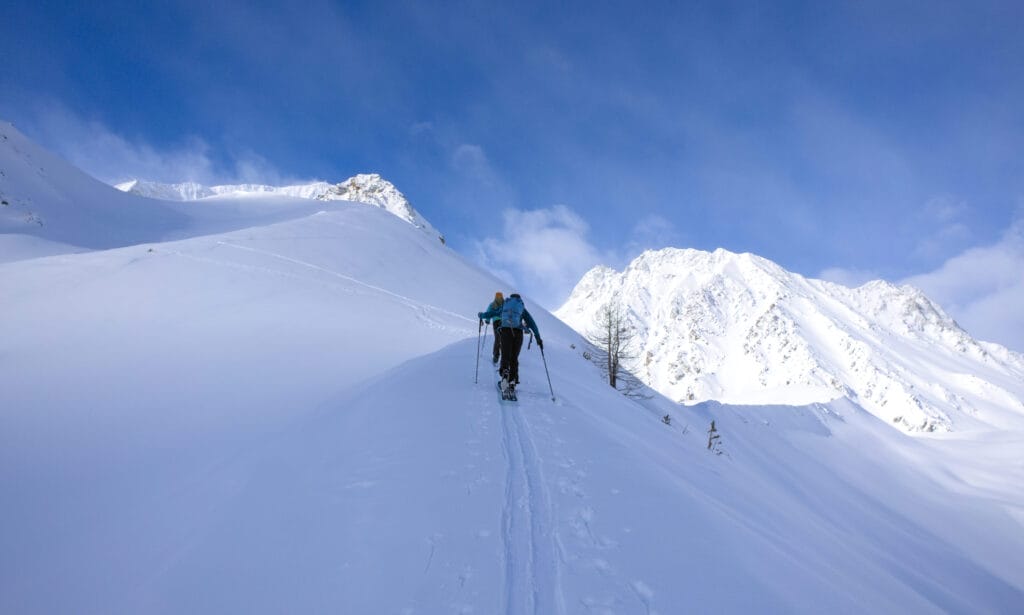
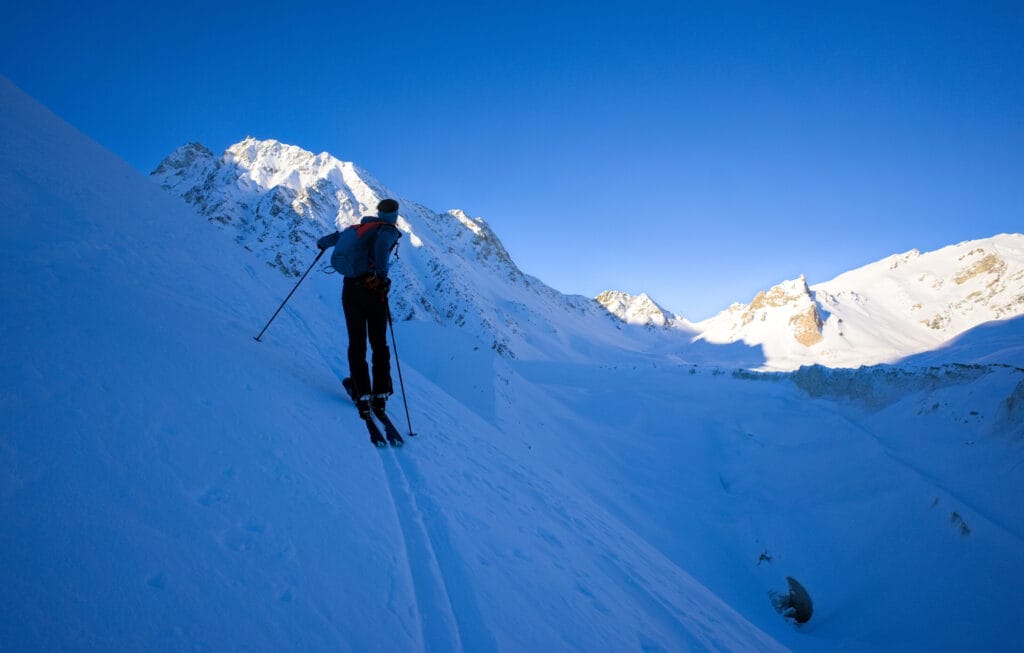
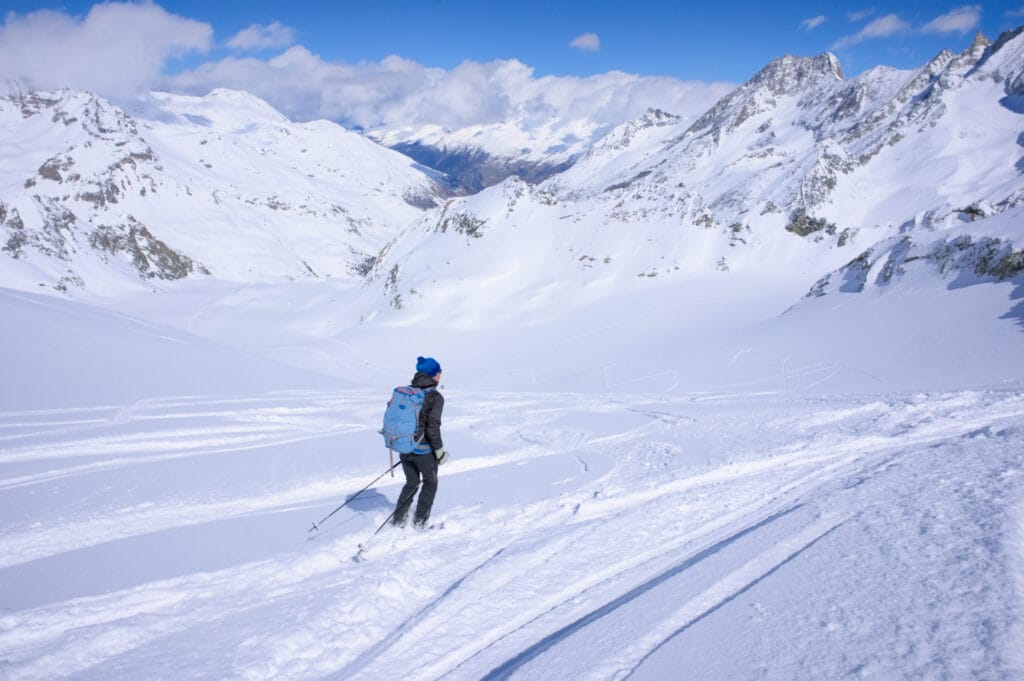
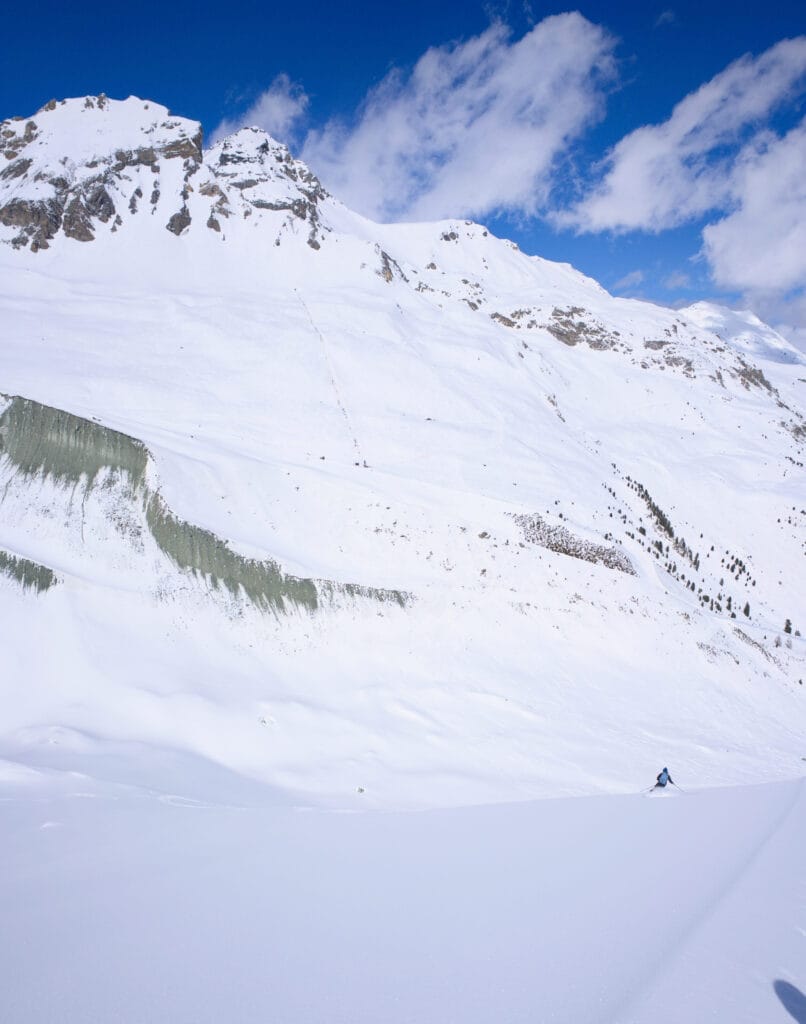
Above you can see 2 pictures taken on the moraine, with the Arolla lifts on the right. The section on the moraine is quite steep with some lateral slope, requiring me to take out my ski crampons when the tracks are a little icy sometimes.
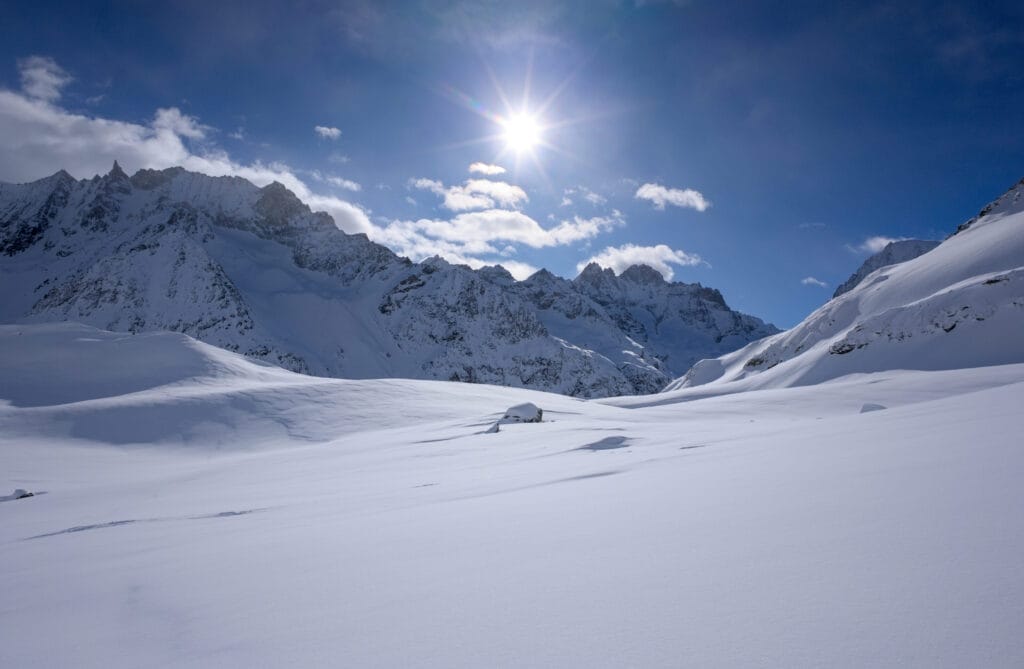
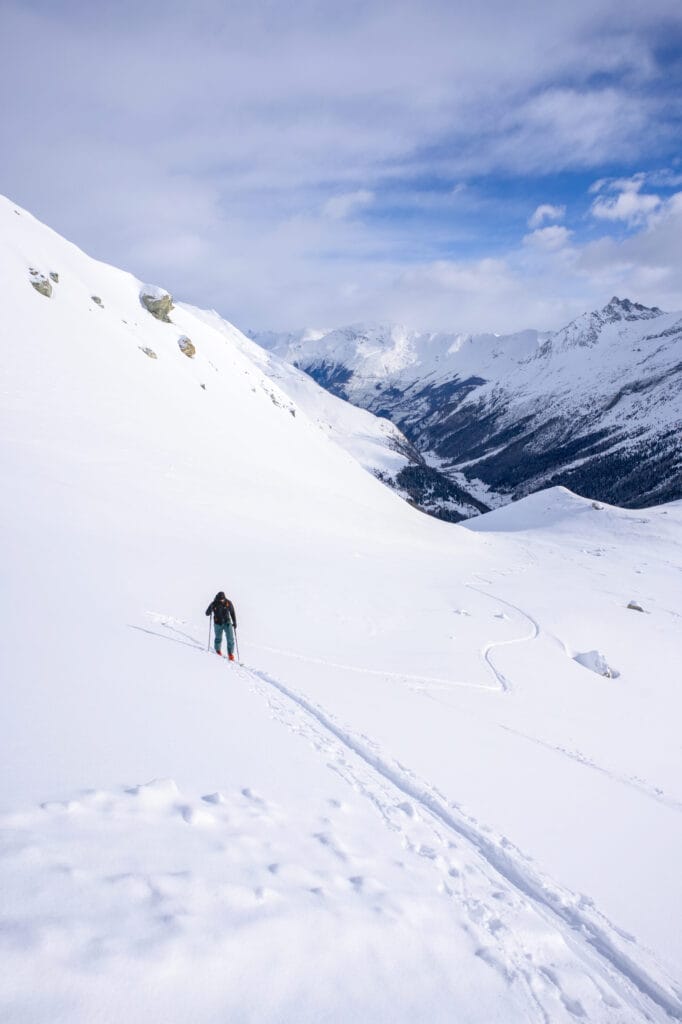
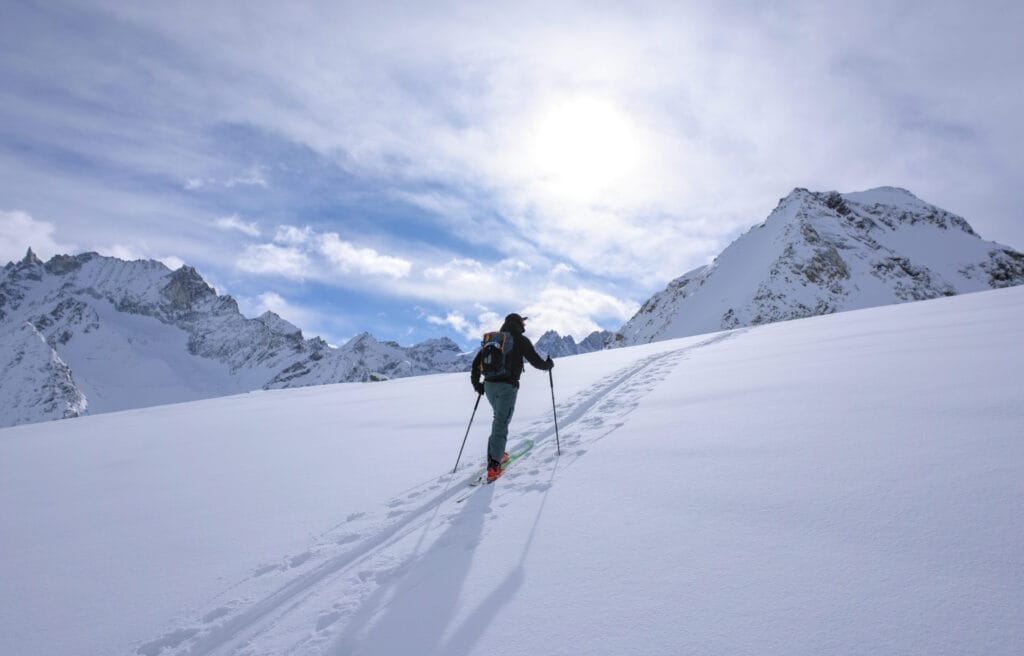
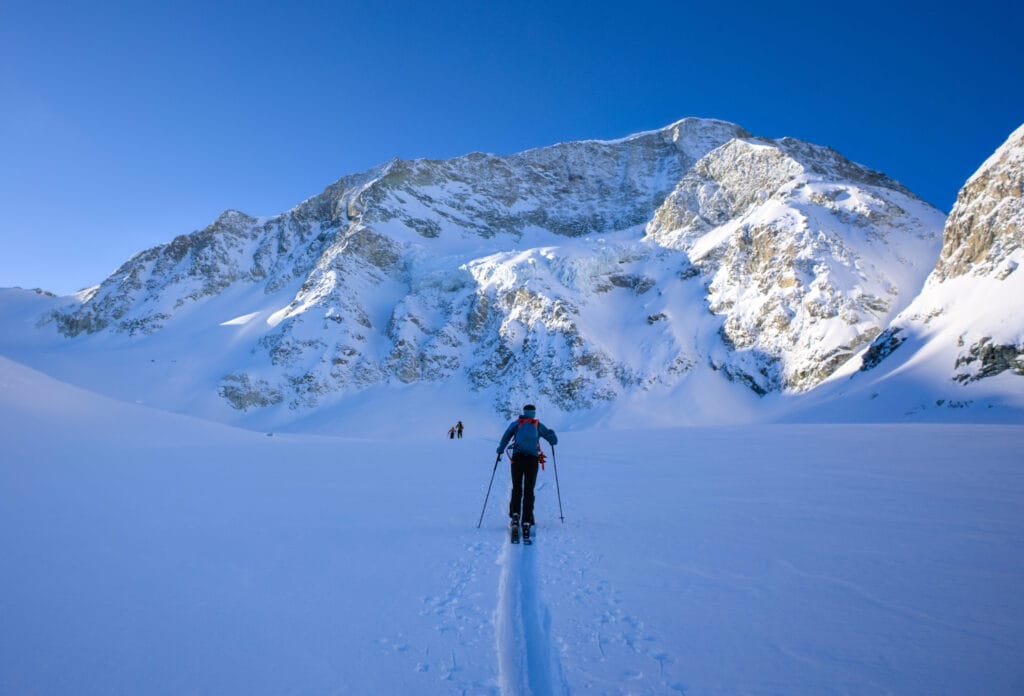
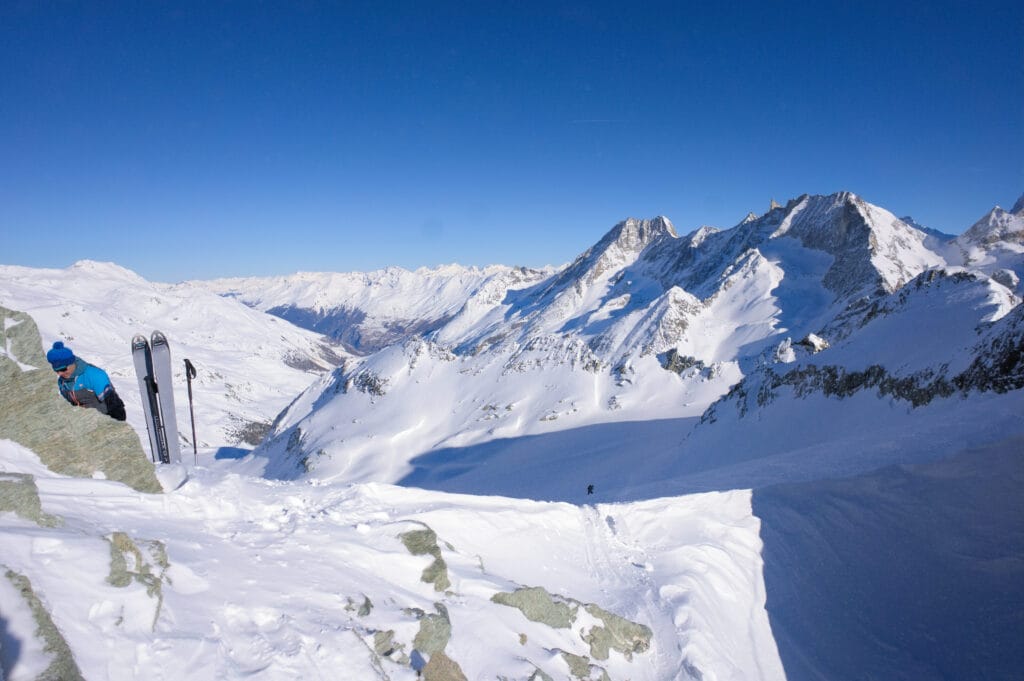
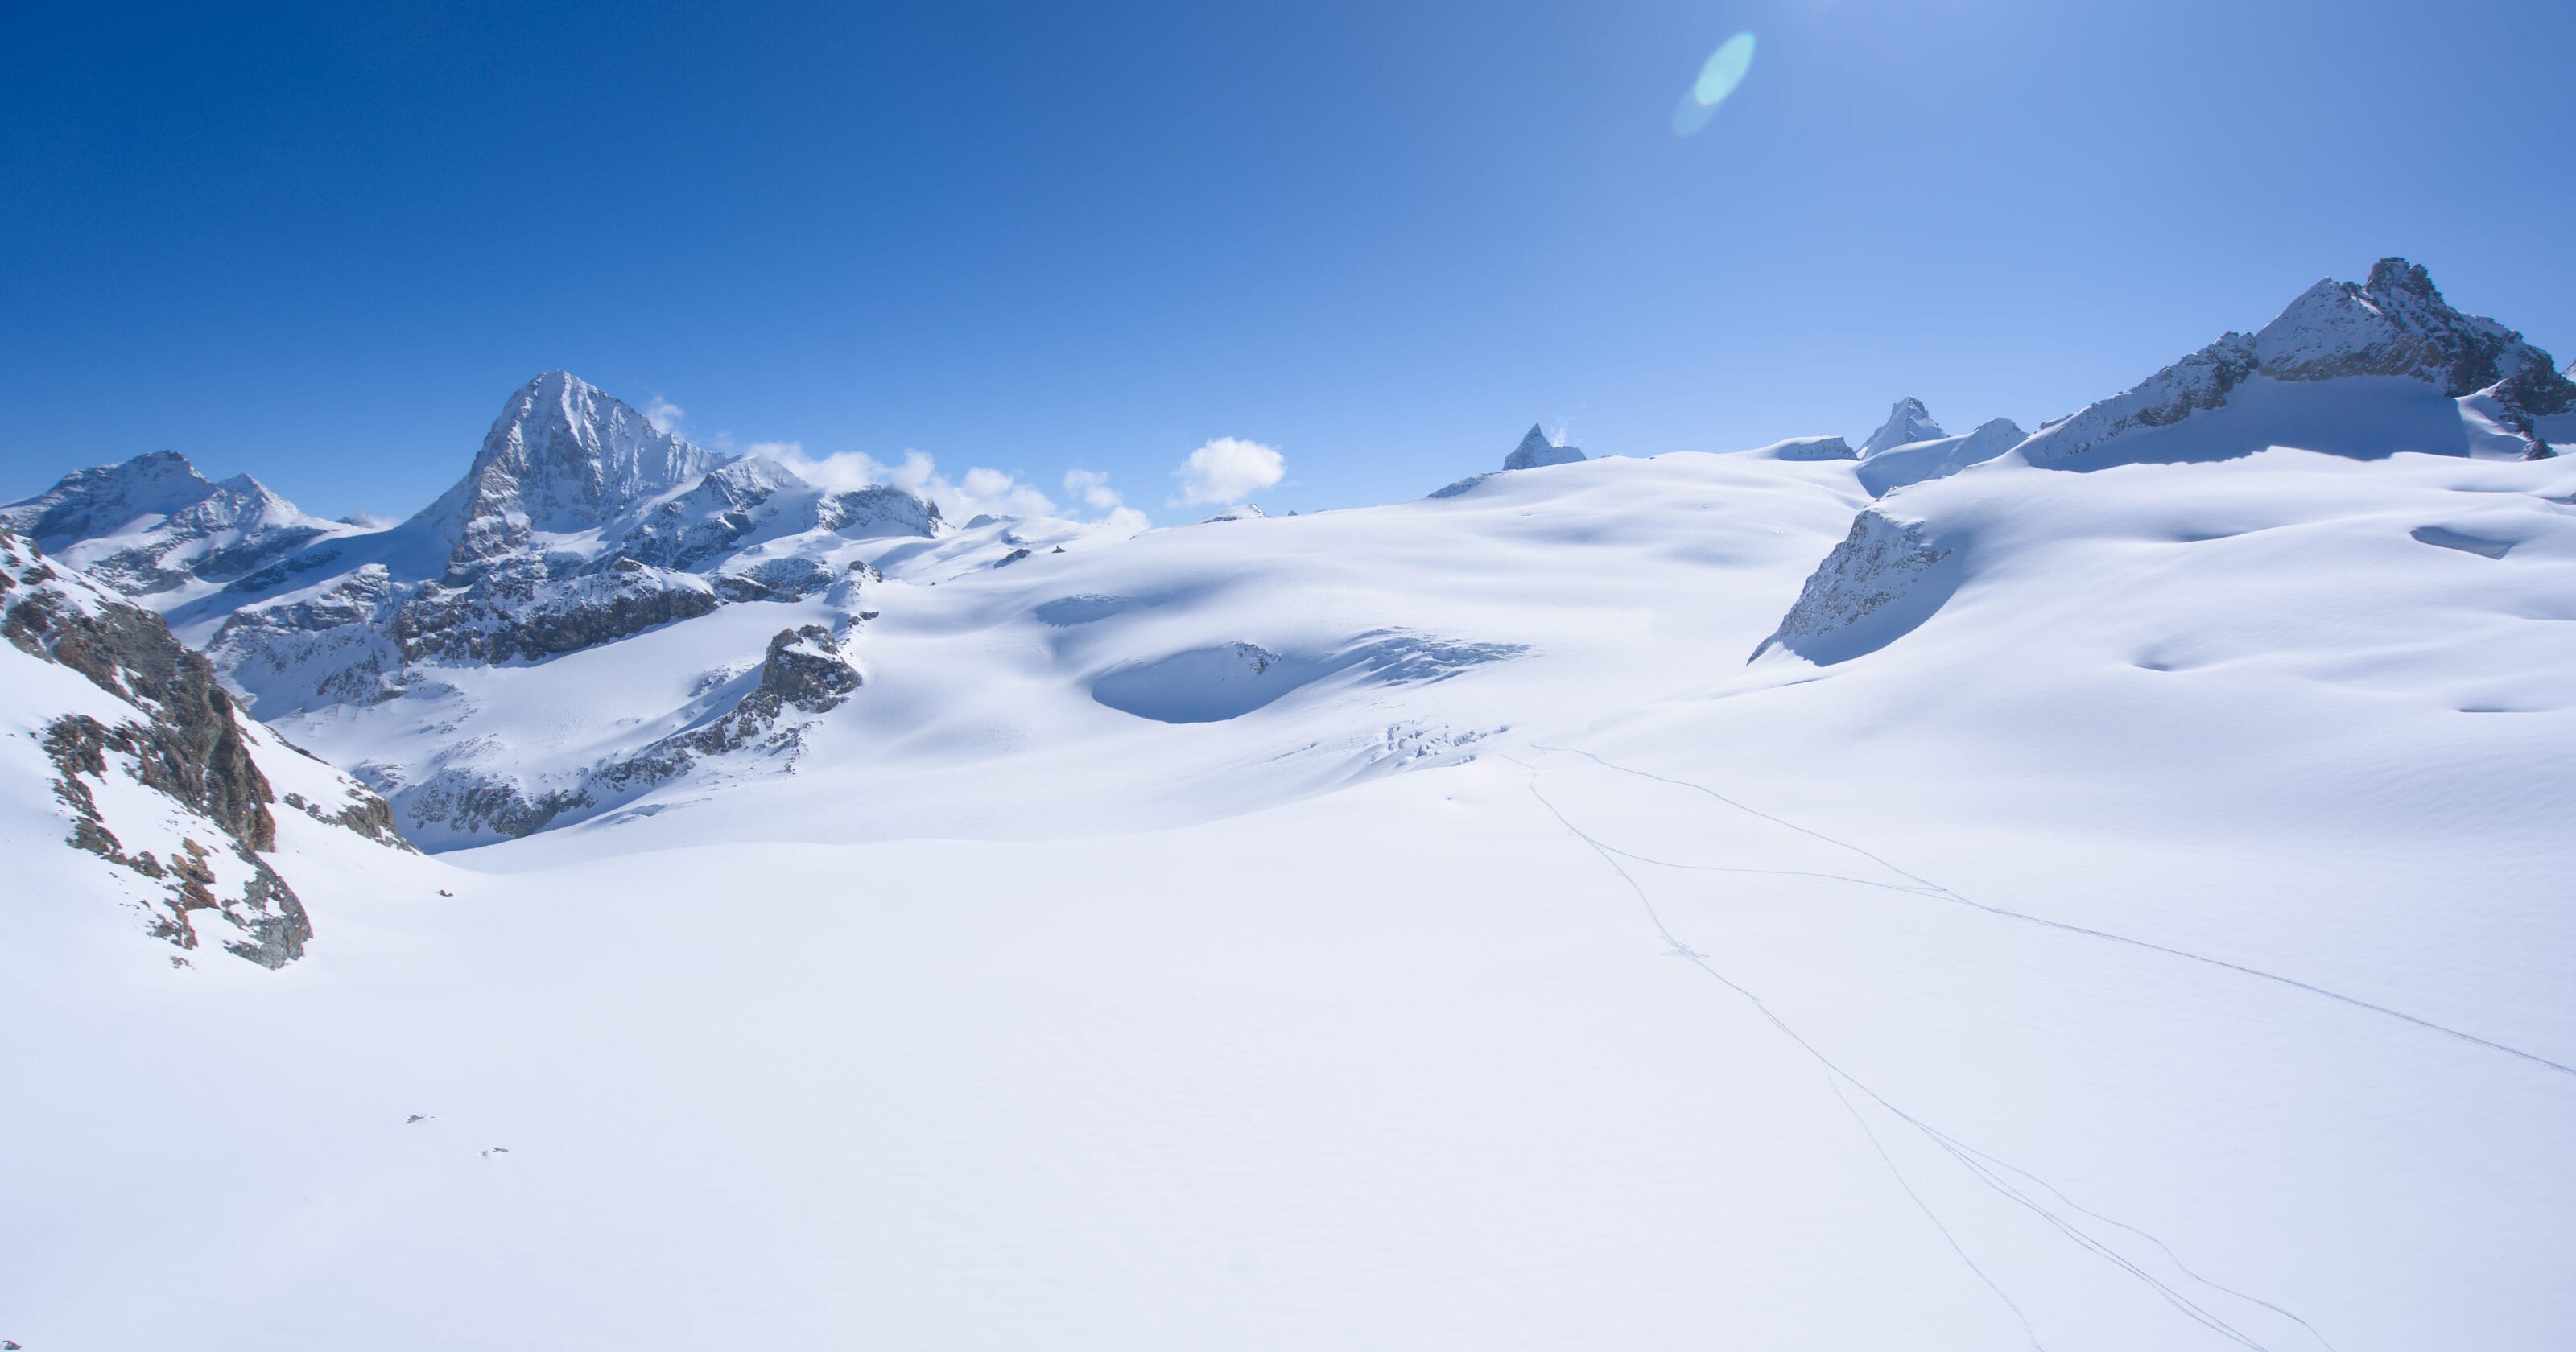
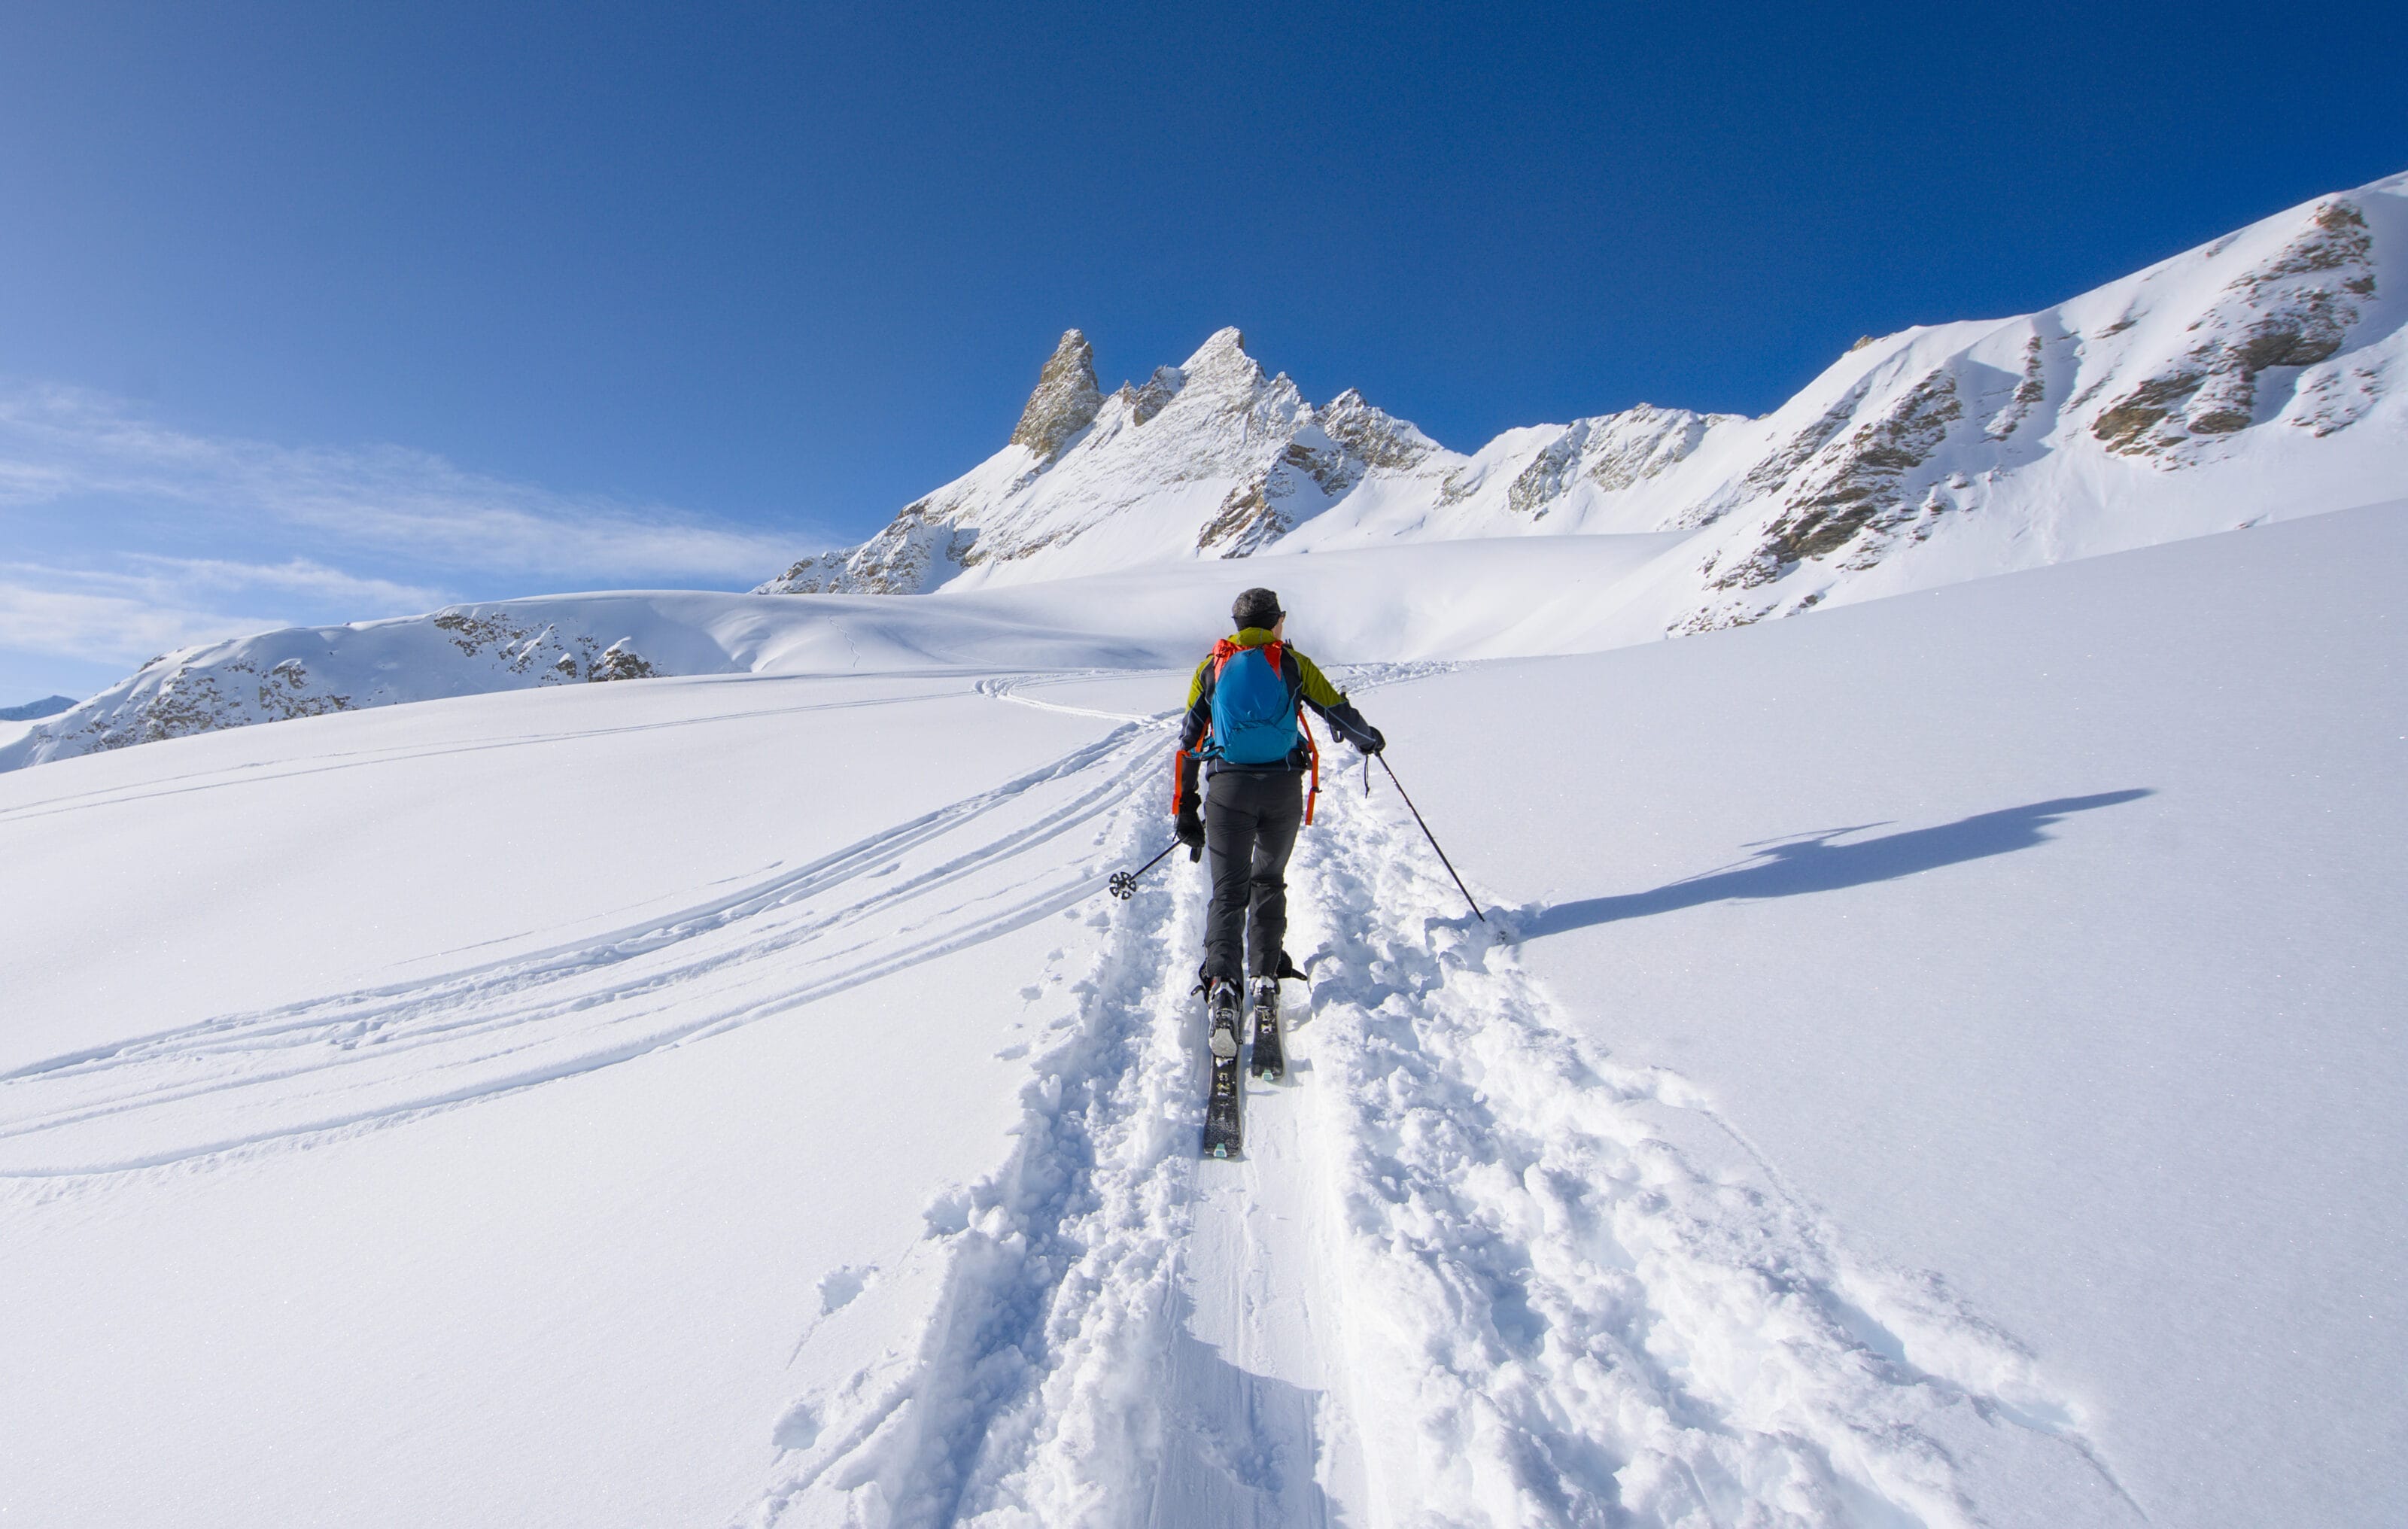
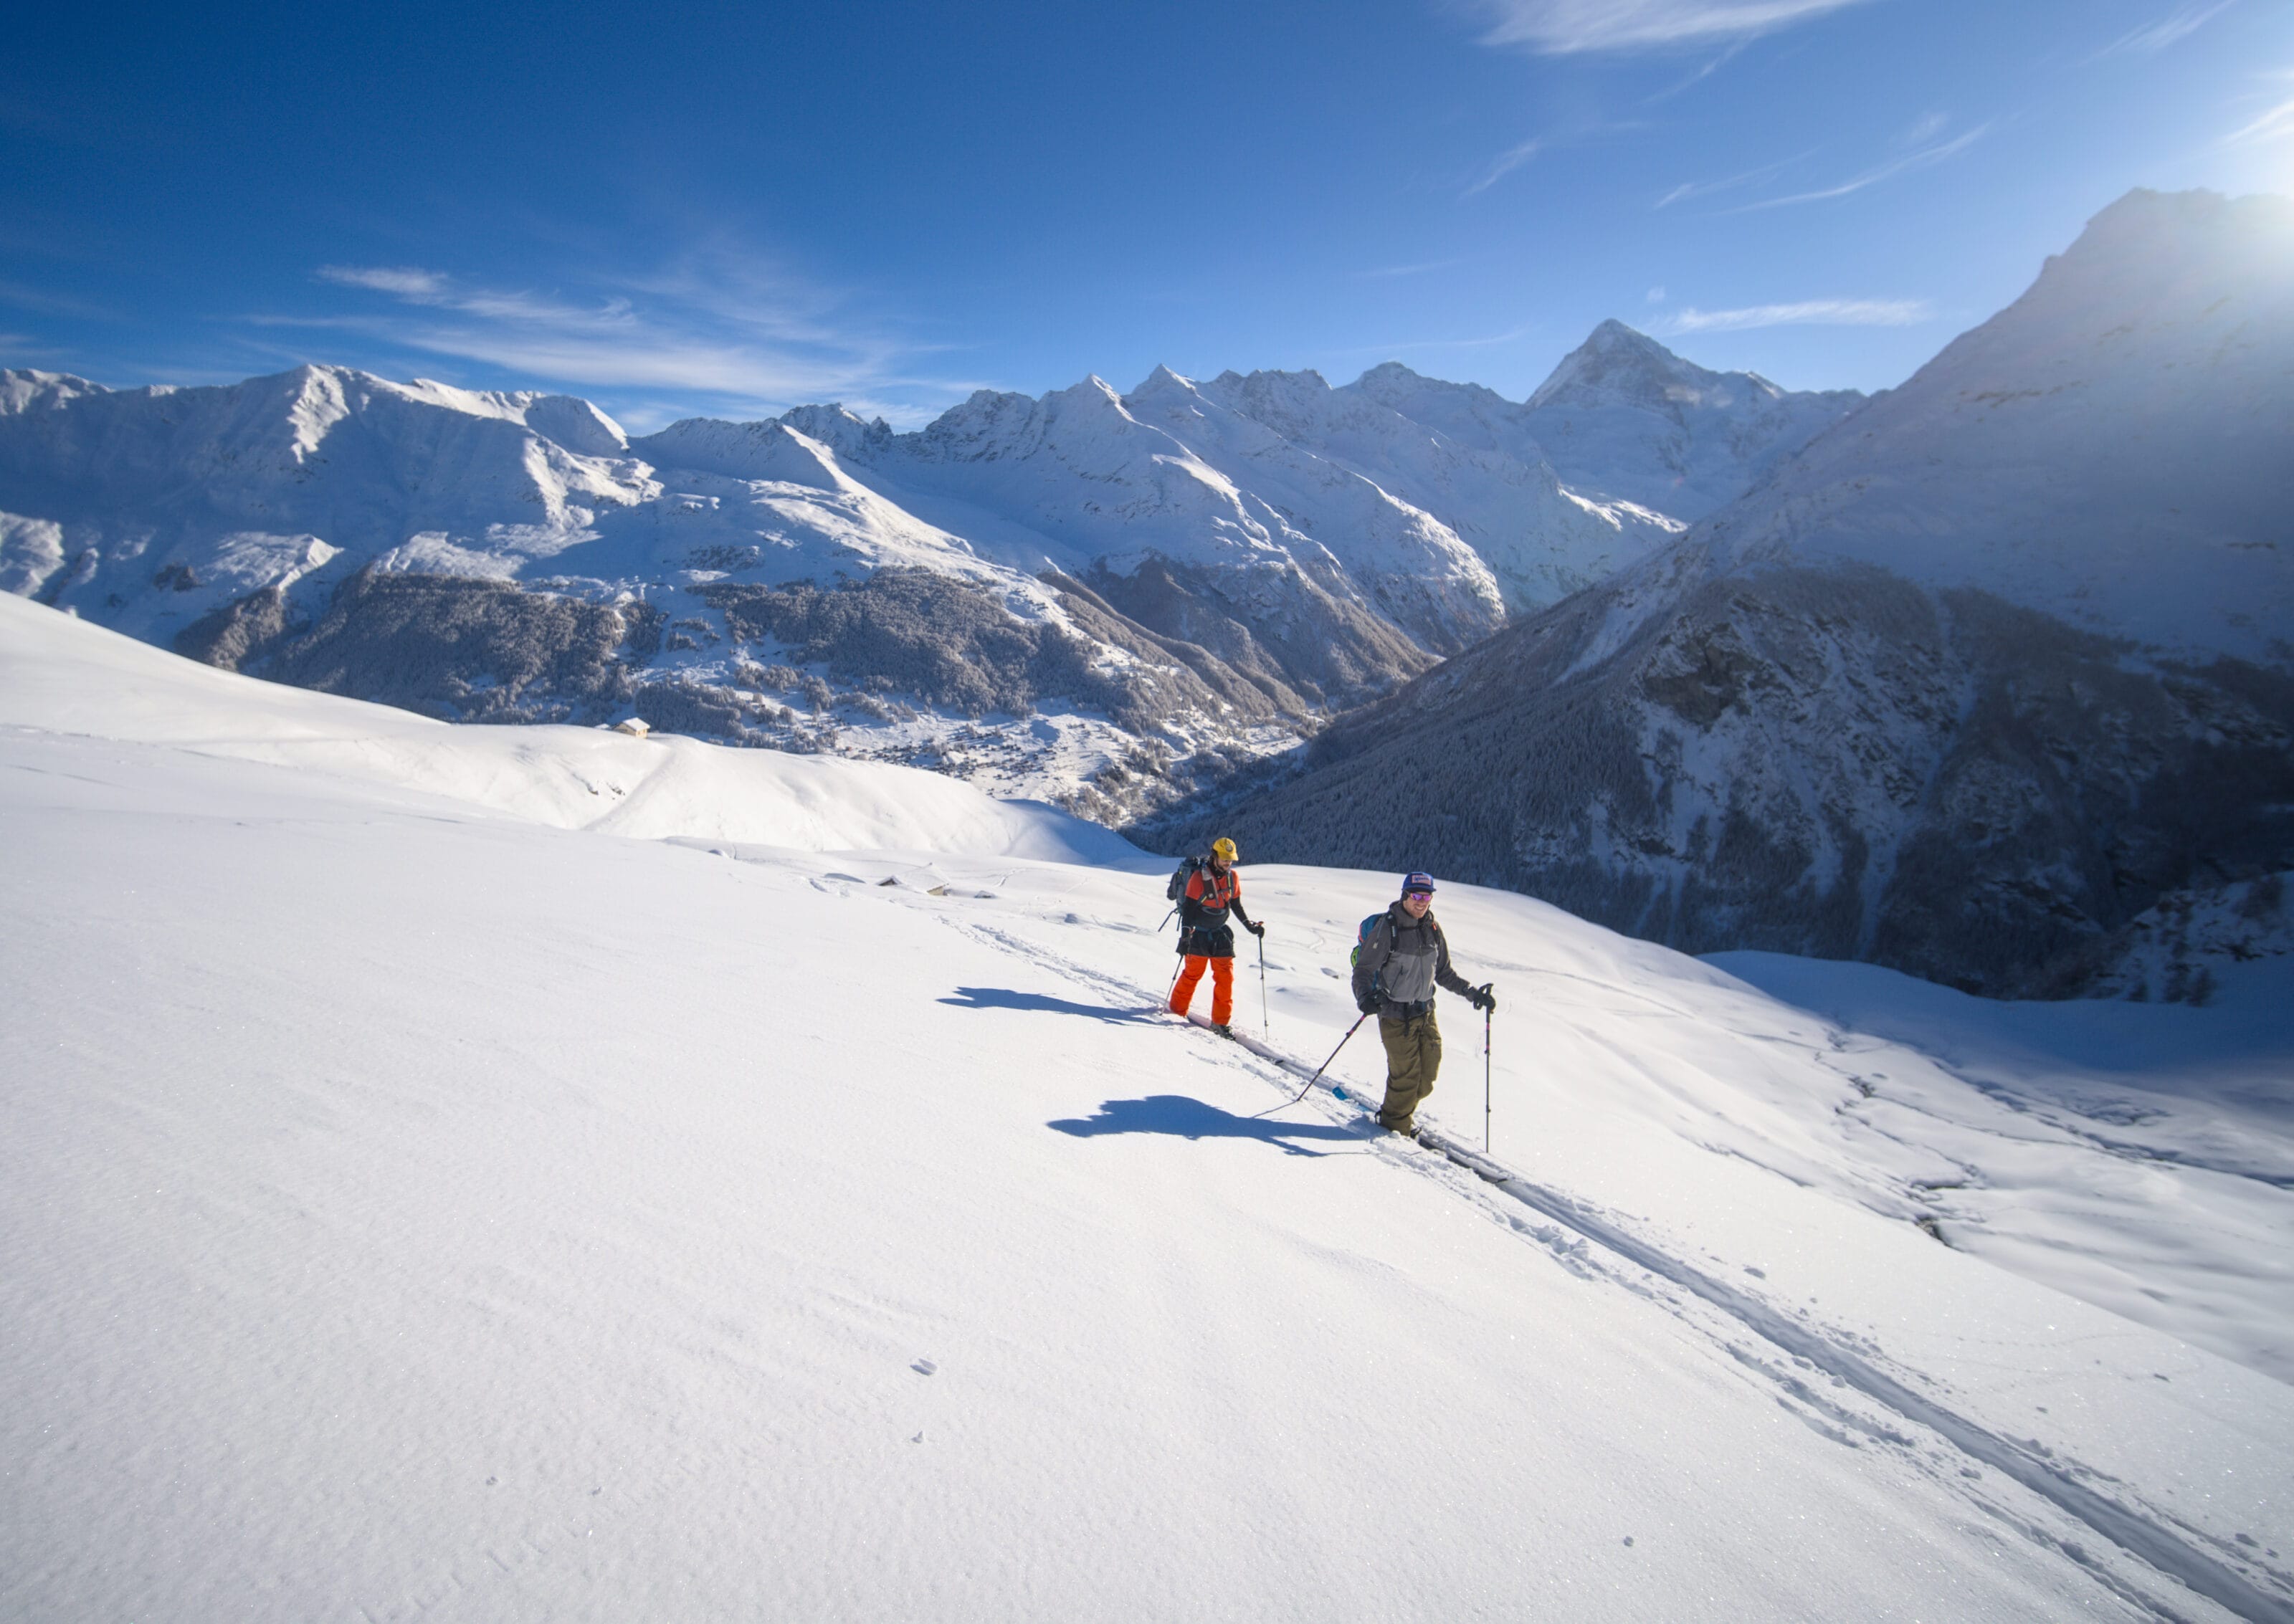
After this section, we reach the first plateau, ideal for our first tea and snack break 😉 . The next stretch is fairly easy. We first pass a small uphill section to arrive on the Pièce glacier, which we then ascend in a spectacular setting. The flatter part of the Pièce glacier up to the foot of the Vignettes hut has few crevasses, and I’ve rarely seen people rope up on this part (nor have I, but it’s up to you to judge). Here are a few photos of the scenery to give you an idea of what you’re in for 😉
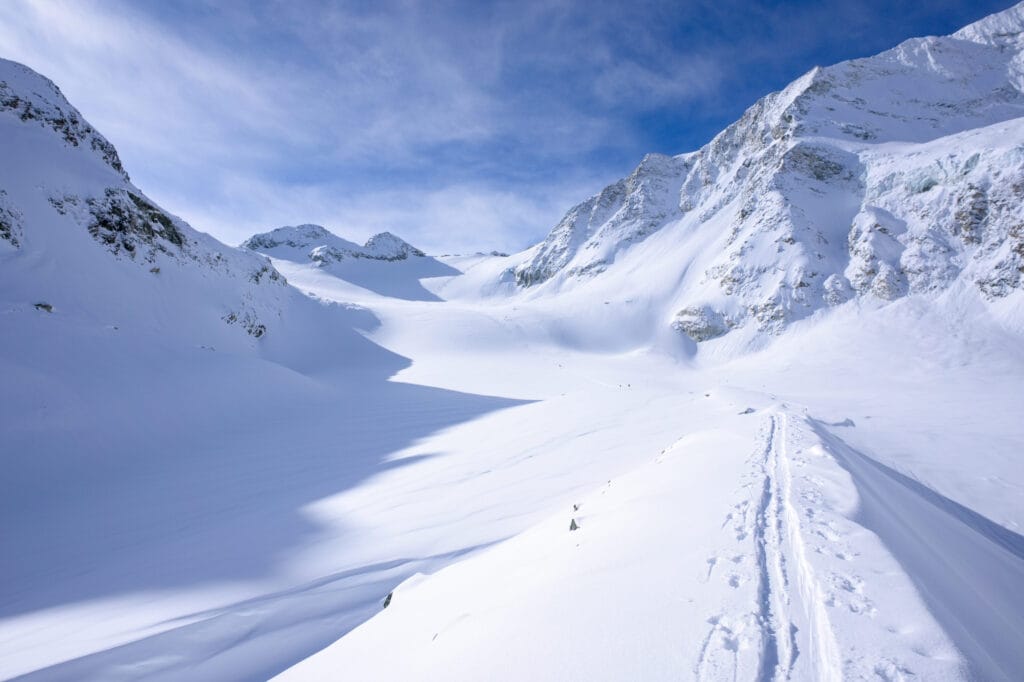
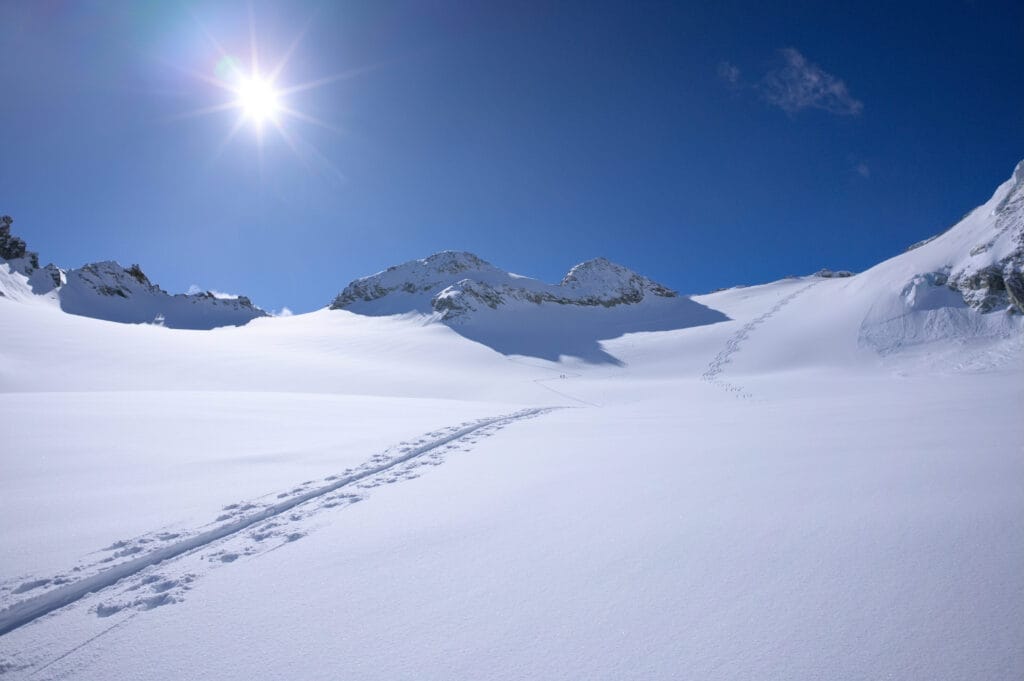
The final section below the Vignettes hut (up to the Col des Vignettes) is a little steeper, but not too difficult. When there is little snow, the right-hand side of the glacier (in the direction of ascent) is more crevassed, so be careful to pass well to the left below the hut. But in general, the glacier is quickly filled in, so you can go wherever you like.
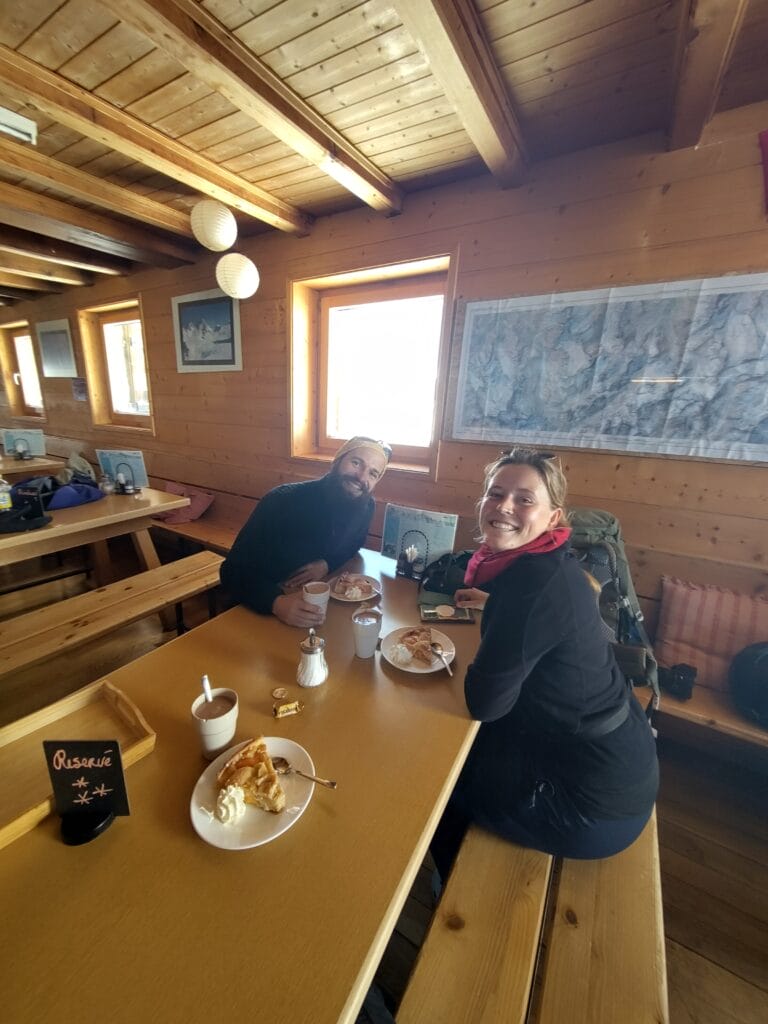
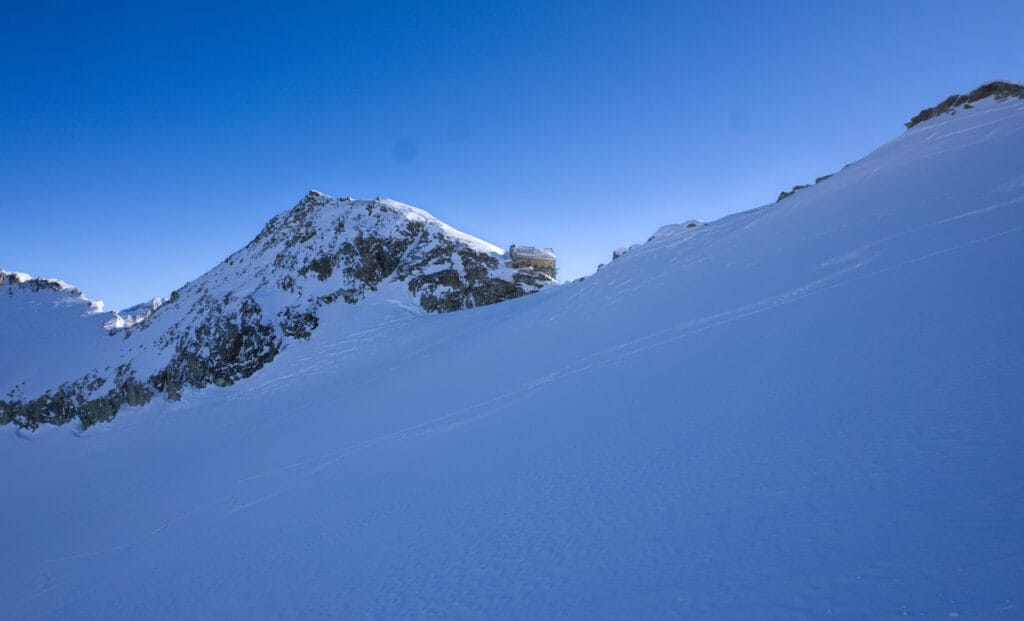
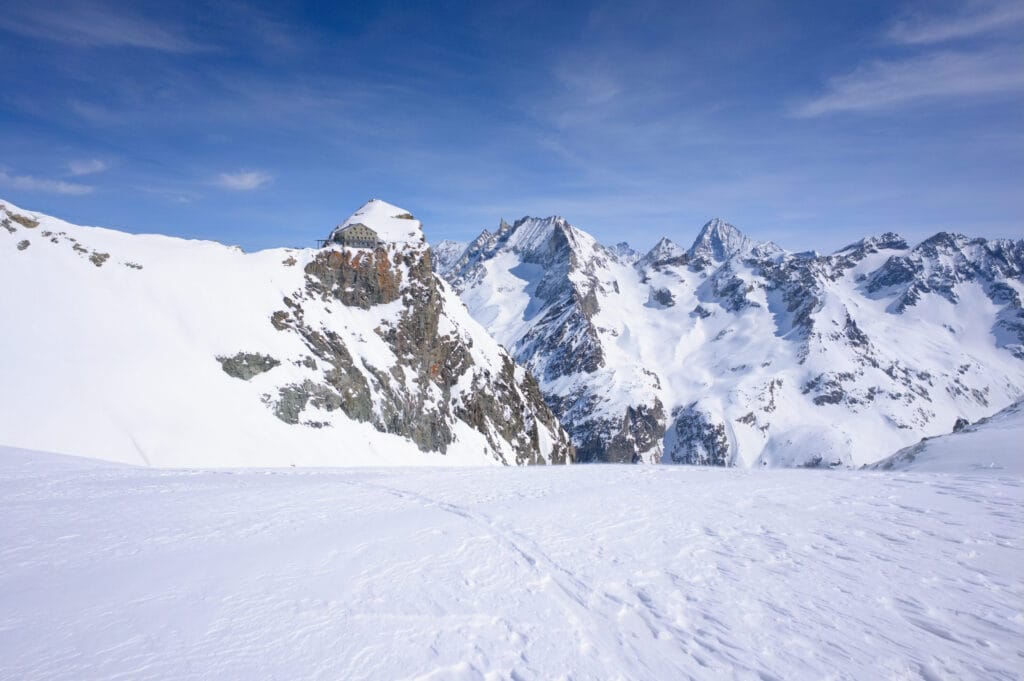
The Vignettes hut (3160m) is on the left at the foot of the Pointe des Vignettes, while the Col des Vignettes (the route up to the Pigne d’Arolla) is on the right. The hut usually opens for the Haute Route season around the beginning of March, which can be an extra incentive to go for a coffee and a piece of cake 😉 (more info about the Vignettes hut on their website)
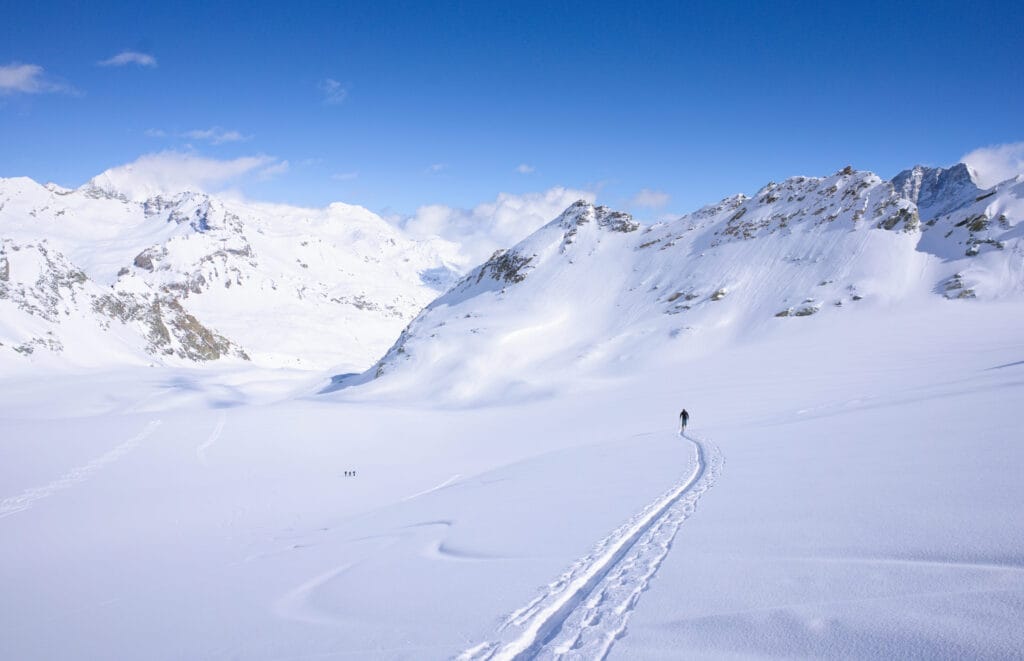
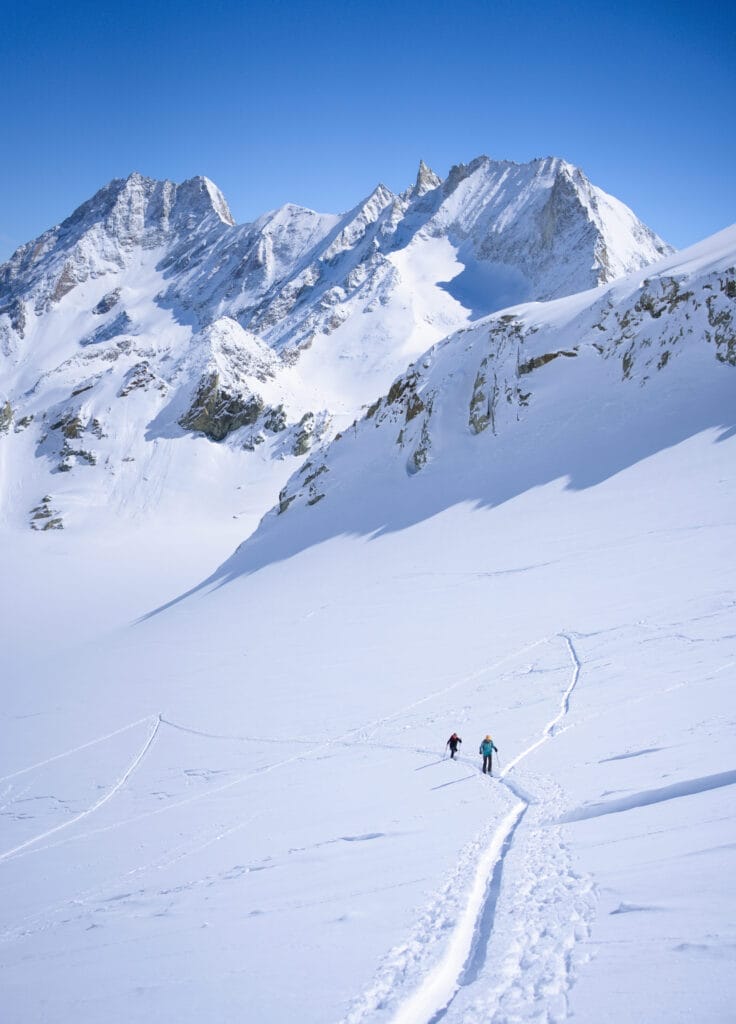
Vignettes hut – Pigne d’Arolla
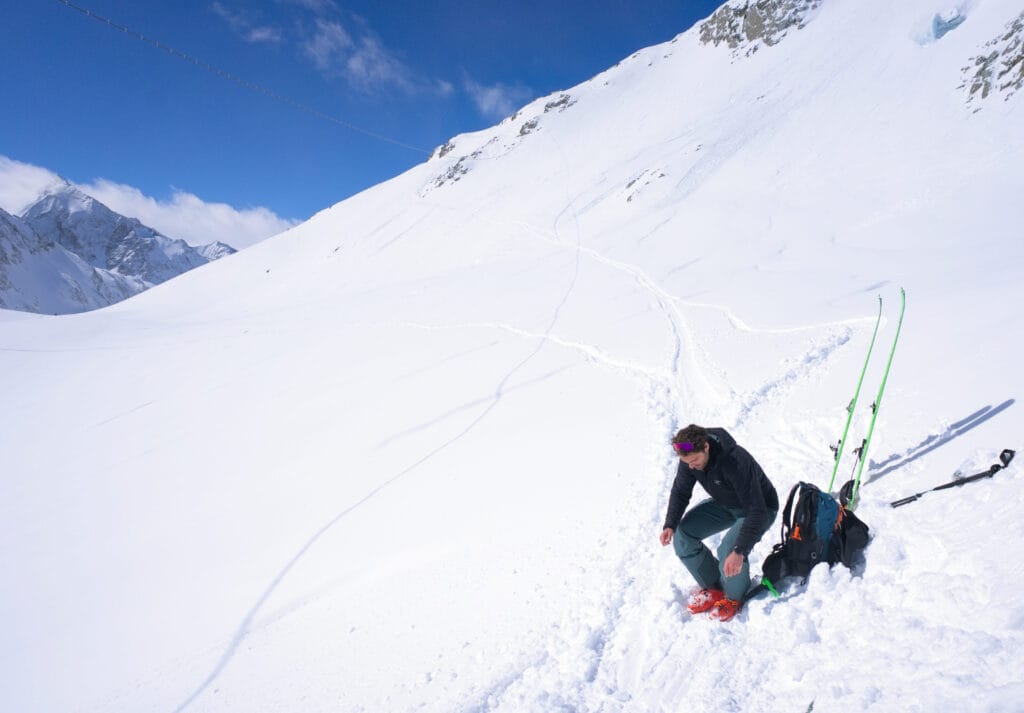
Just after the Col des Vignettes is the most “difficult” part of the ascent to Pigne d’Arolla. This traverse, which climbs directly to the right (the right-hand track in the photos), isn’t very long but there’s a steep incline and I’ve almost always used my ski knives for this passage. Here are 2 pictures taken at 2 different times… you can imagine that on the 2nd photo the crossing is a bit trickier.
Note: It’s also possible, if you don’t feel the traverse, to go flat left towards the Col de Charmotane and climb up from behind past the rocks (you can see the track on the left in the photos).
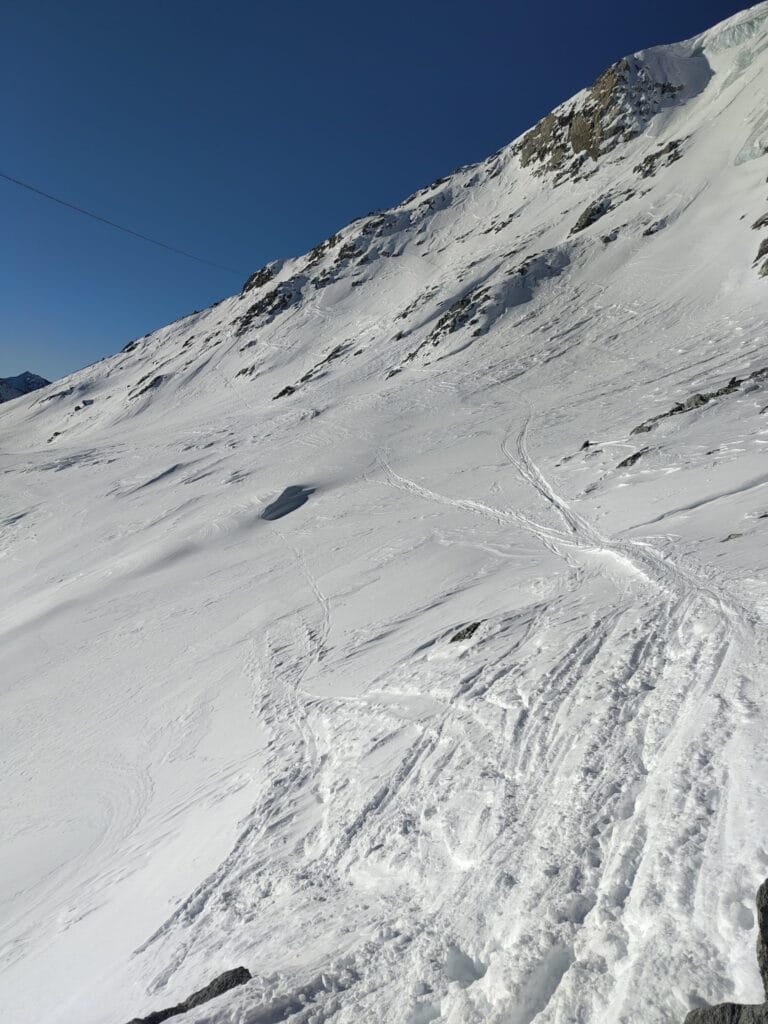
In fact, it was just at the end of this section that, in April 2018, 7 people coming from the Dix hut froze to death, caught in a storm a few hundred meters from Vignettes hut. This dramatic accident was documented by the swiss television in a documentary that reminds us how inhospitable the mountains can become when the weather turns bad.
Once over the traverse, you’ll have an incredible view of the Vignettes hut, the Otemma glacier, the Arolla glacier and all the surrounding peaks. We’re really in high mountain territory, and it’s just splendid!
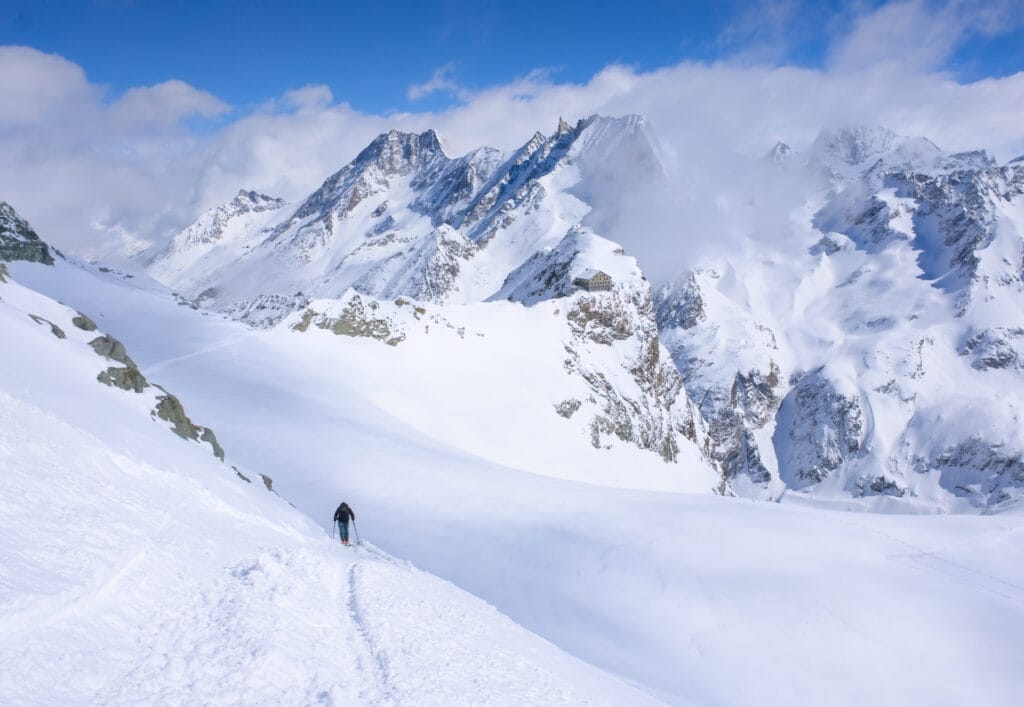
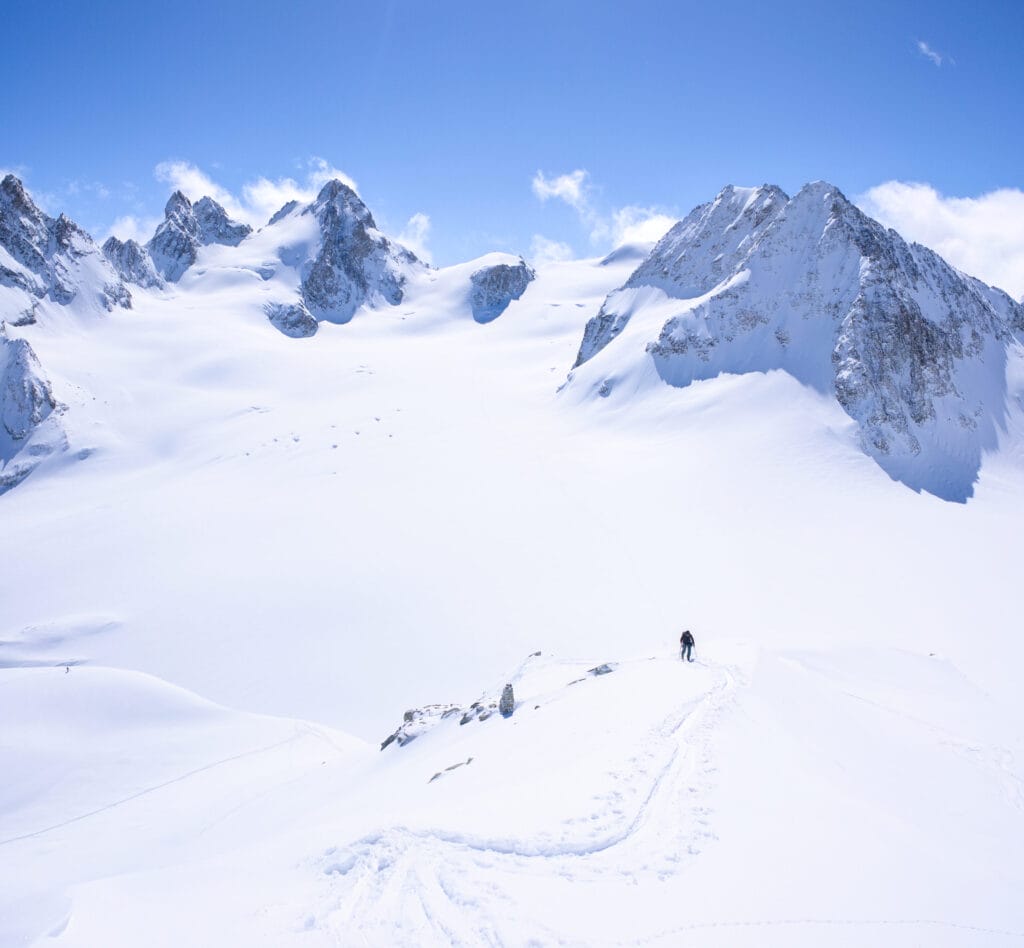
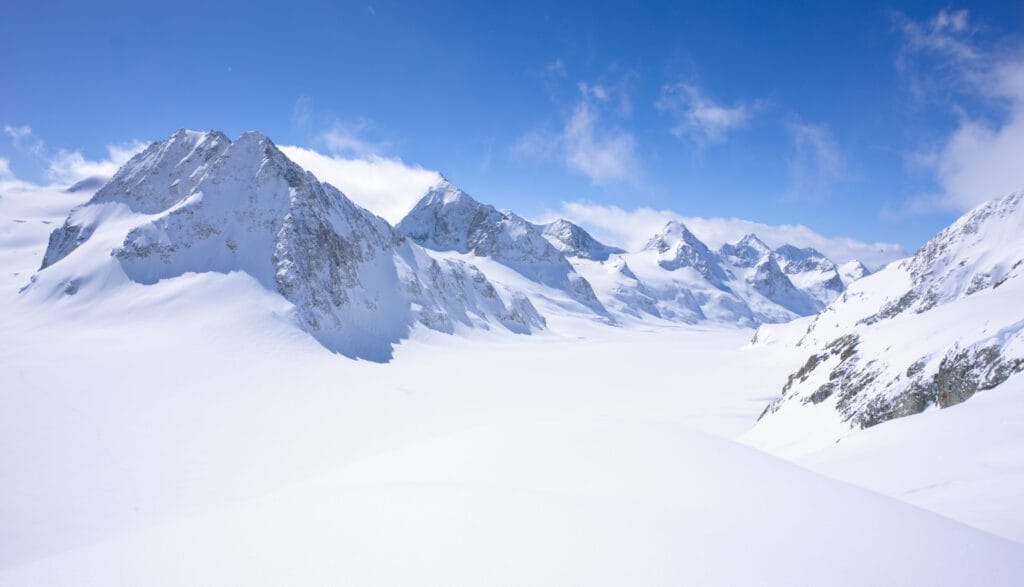
Now all you have to do is climb to the summit of the Pigne d’Arolla lol 😉 . The last 600 metres of ascent are obviously not an easy task. Up there, with the altitude, you start to cover the meters of ascent a little more slowly 😉 even if they’re not technically difficult.
And the Pigne is one of those summits where you never see the end! As you’re standing on a sort of glacial plateau, you always feel as if you’re almost there… and then you’re not, in fact it’s always a little further on.
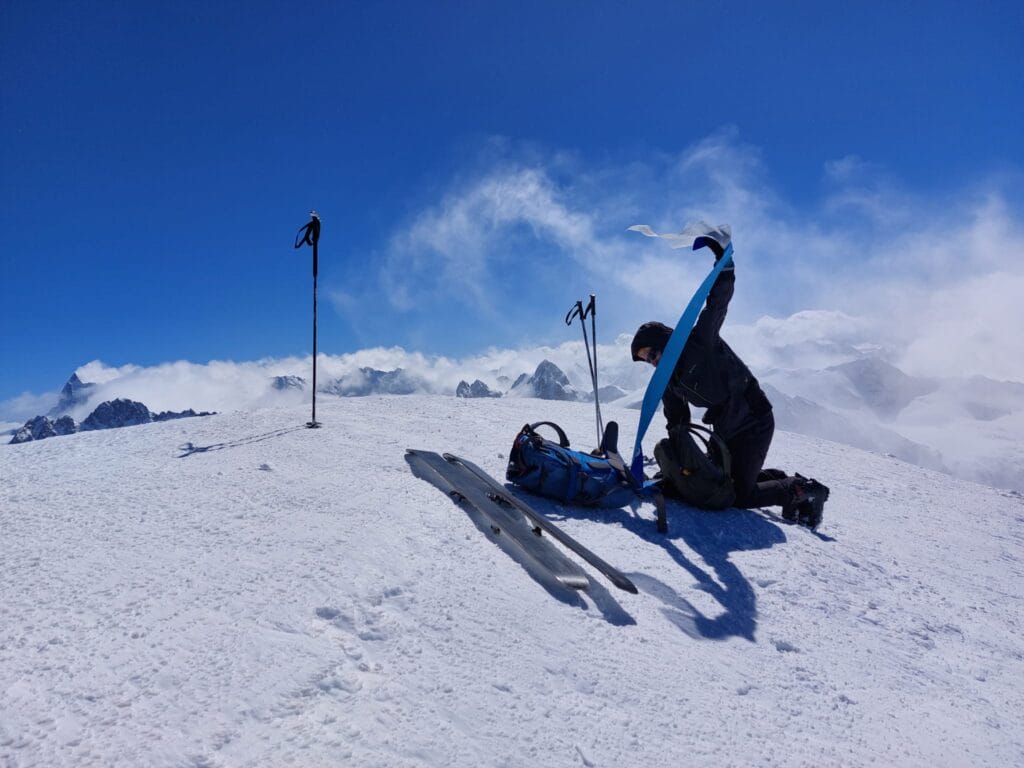
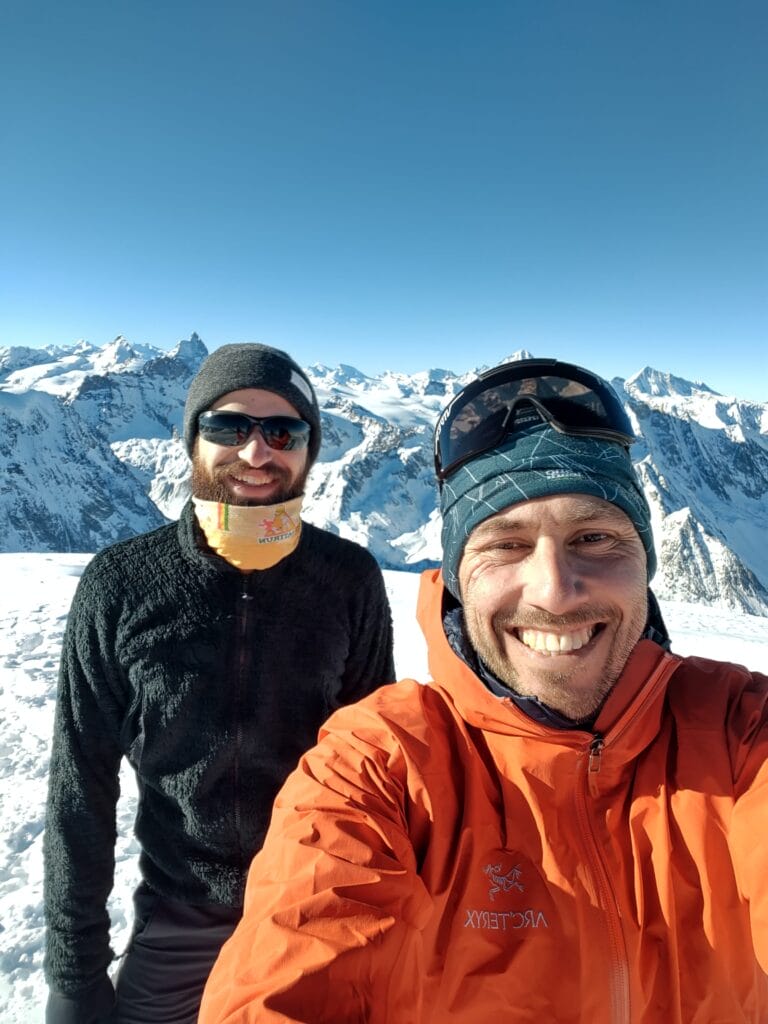
But it’s well worth the effort, as the 360-degree view from the summit is simply breathtaking. All the 4000m of the Alps, Lac des Dix below, Italy on the other side… it’s simply stunning! Be warned, though, the wind is usually pretty strong up there, and it’s pretty rare to be able to picnic at the summit 😉 (that’s why I’ve only got cell-phone pictures of the summit 😉 )
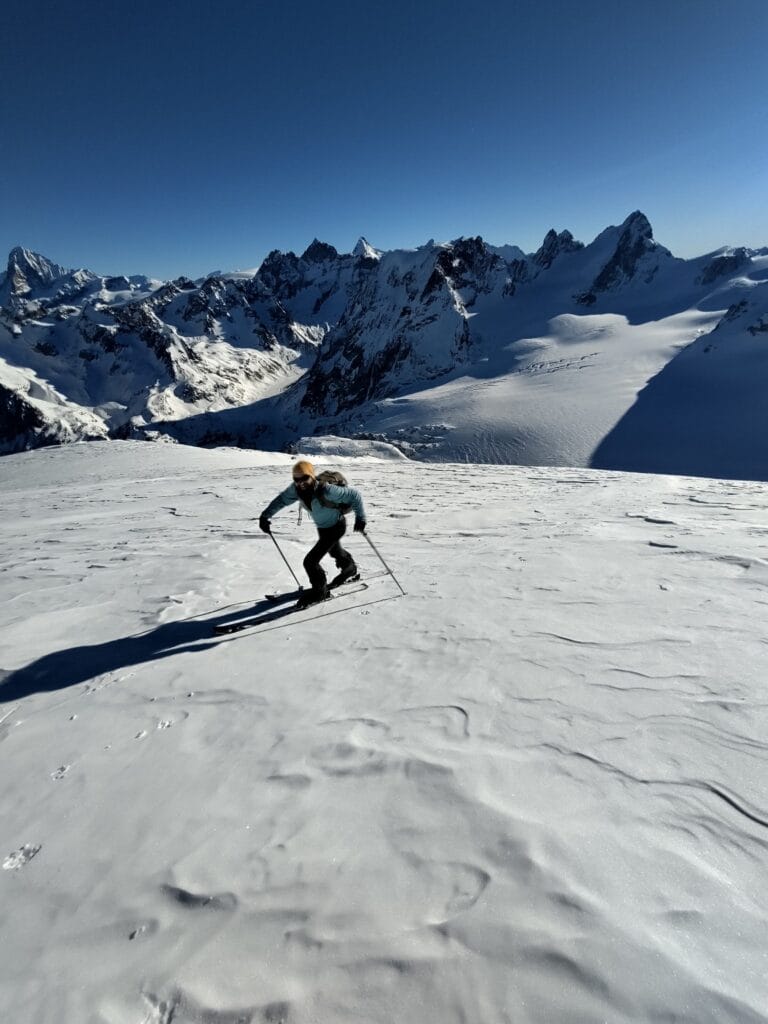
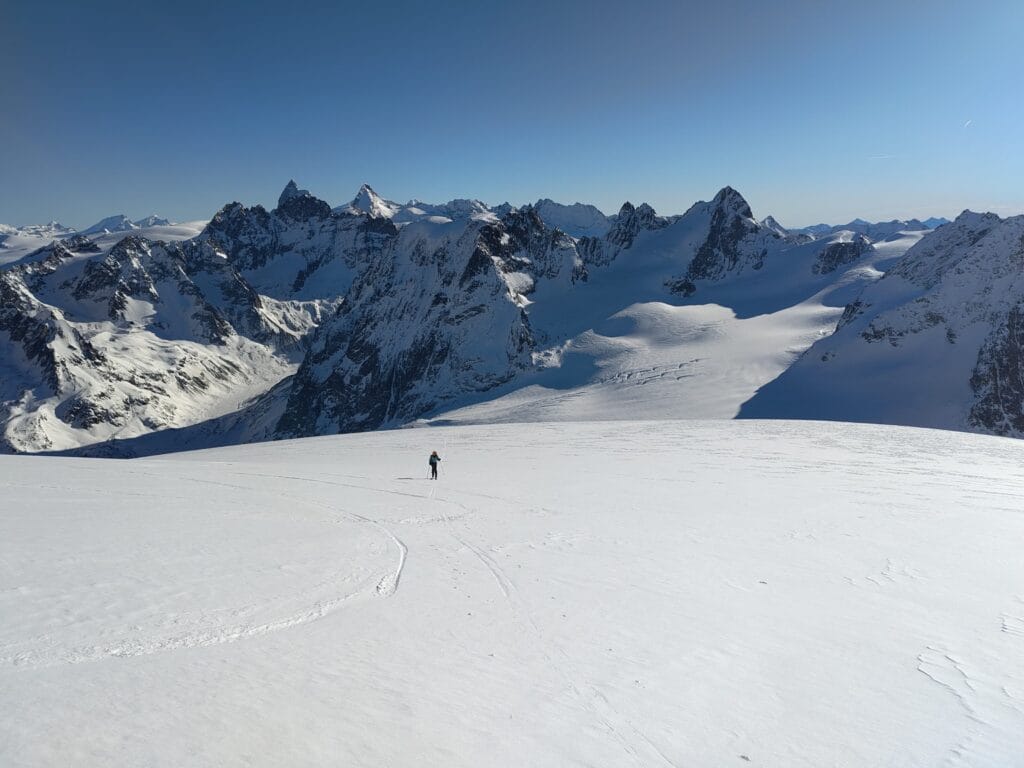
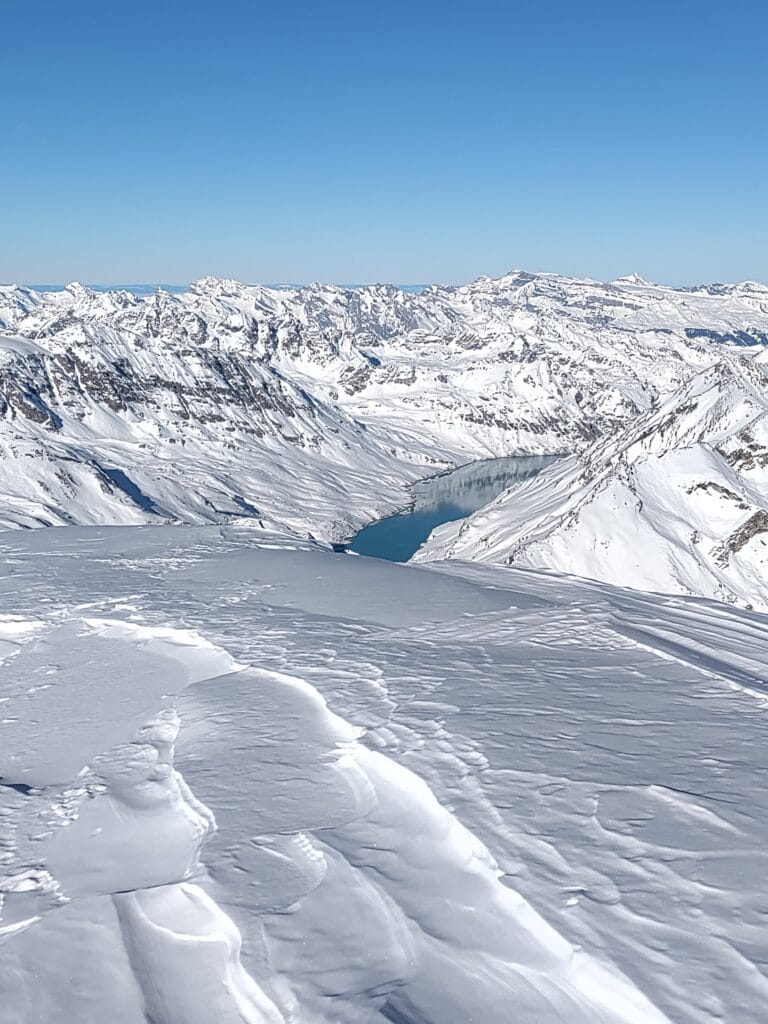
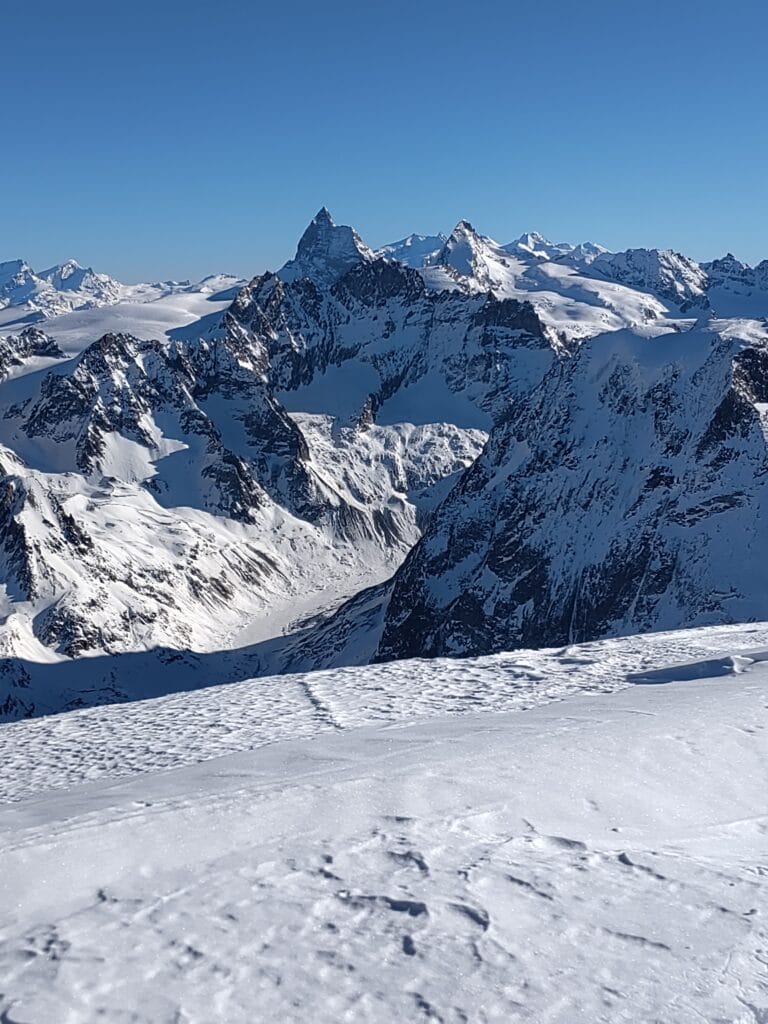
Options for skiing down Pigne d’Arolla / Vignettes hut
To ski down from the Pigne d’Arolla or the Vignettes hut, there are many possible alternatives. Here are a few that come to my mind that I’ve done myself or seen in the field. I’ll add more if I discover new ones, but don’t hesitate to comment if you have any recommendations 😉
Note: I deliberately didn’t include the N face of Pigne d’Arolla because it’s obviously not the most common route lol. But if you’re interested, there’s a great video about this face that’s just been released here.
By the uphill path
Ski grading: 3.1 / E1
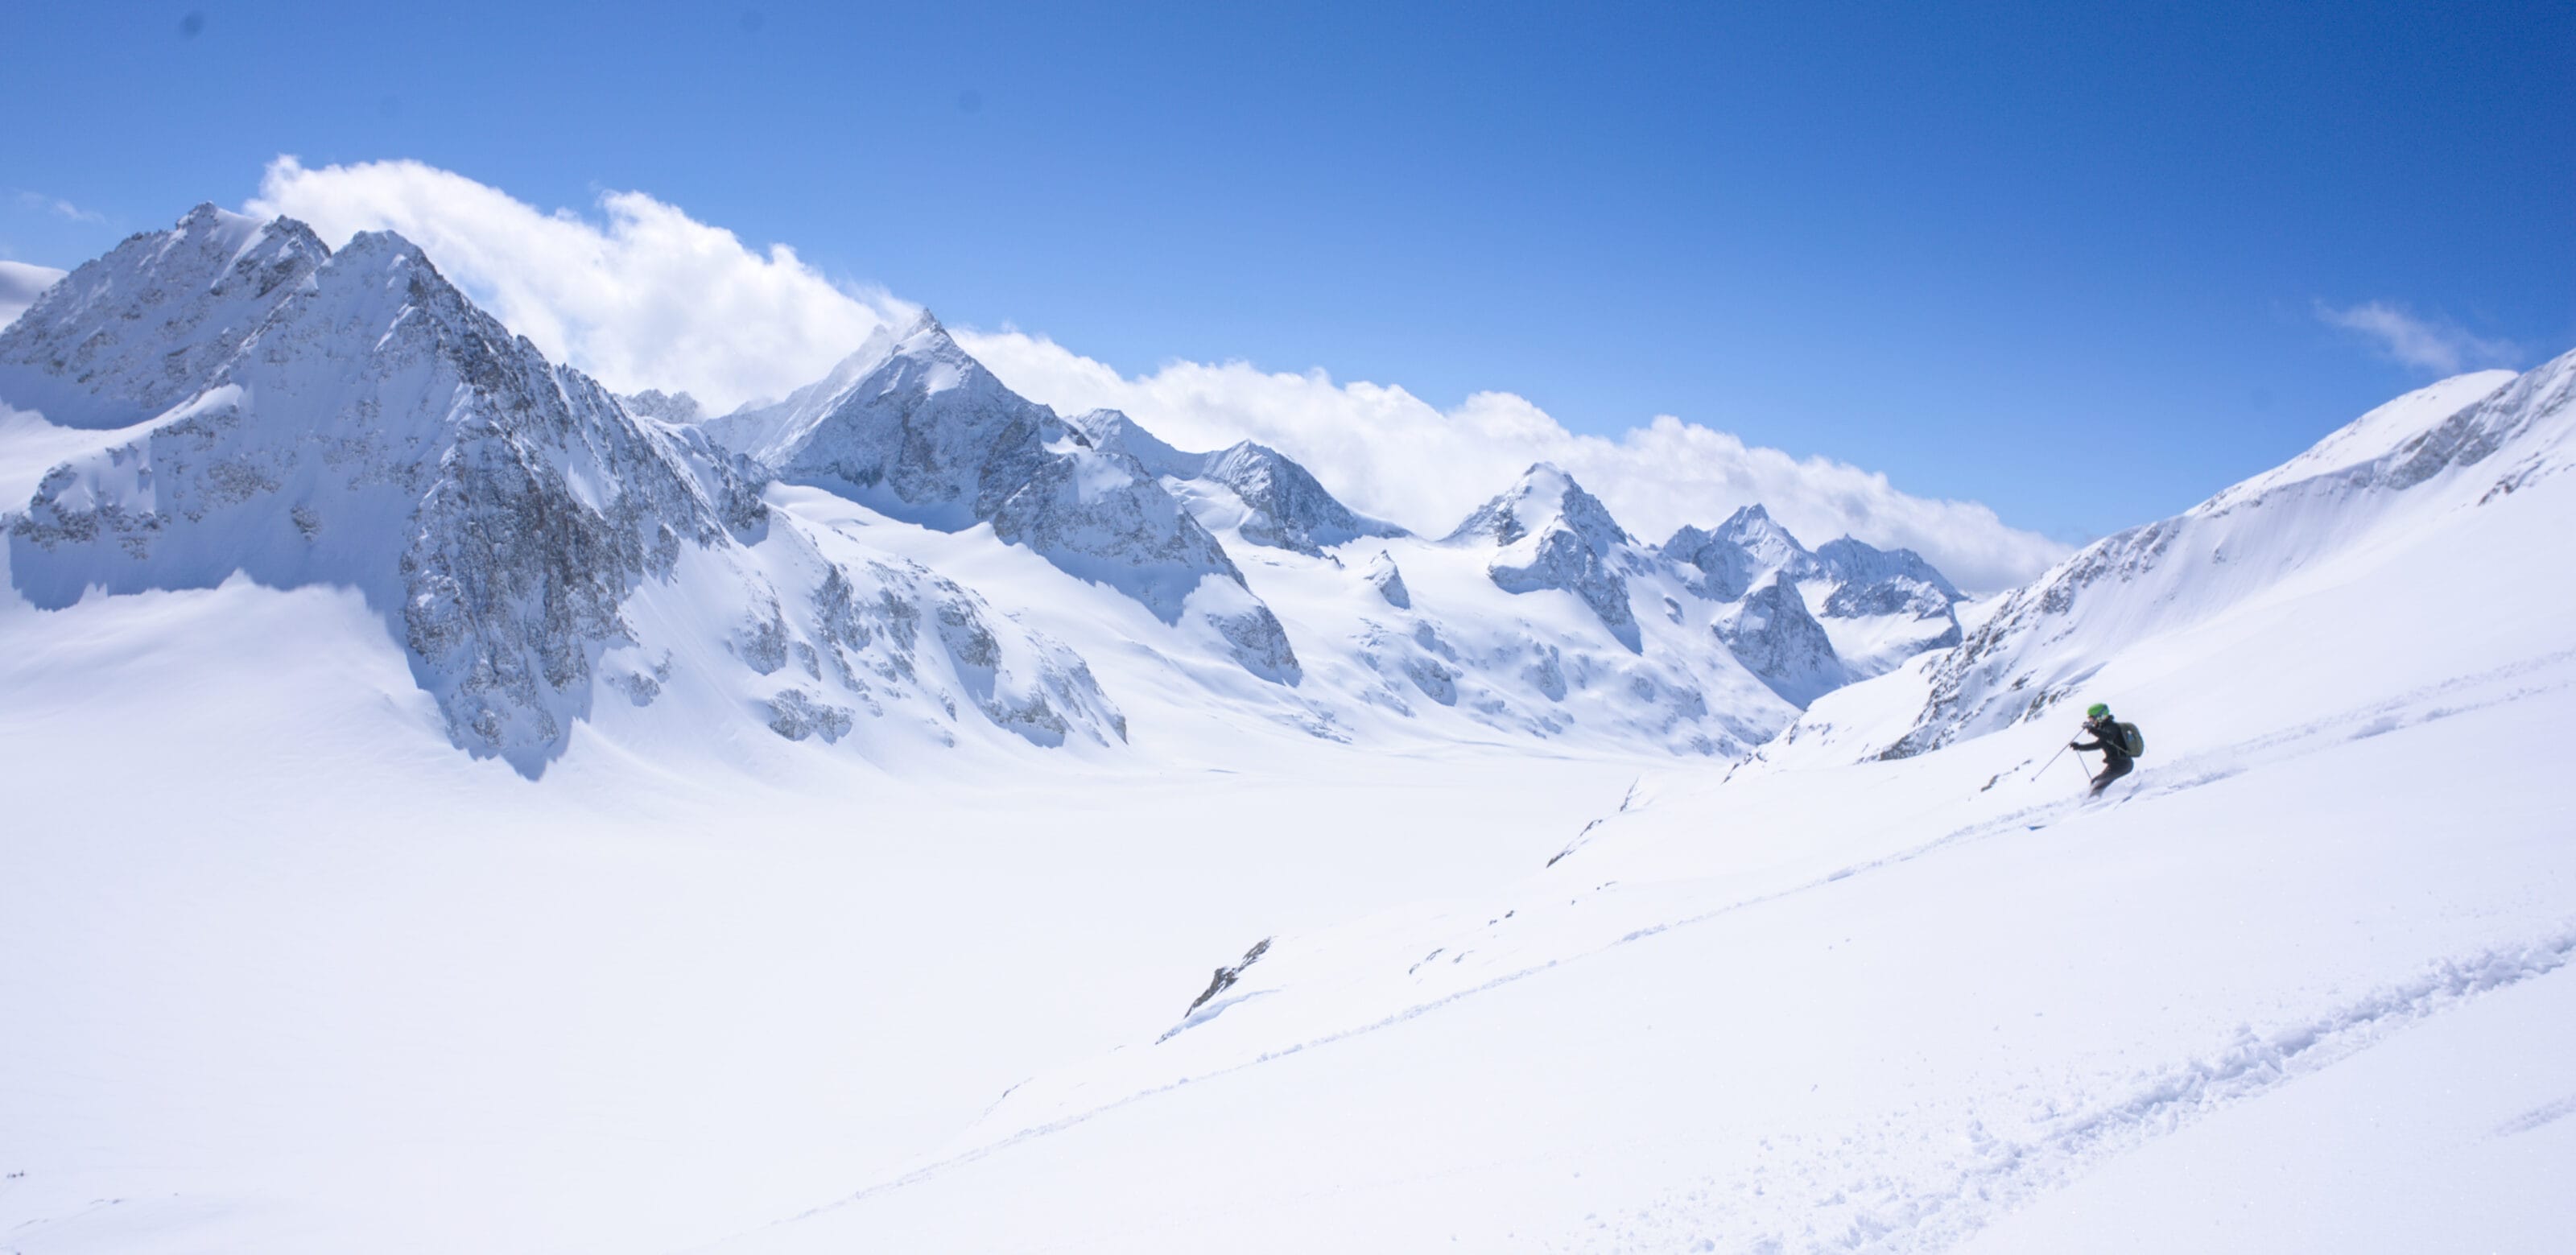
This is the easiest downhill option and the one shown on the Alltrails map at the beginning of this post. The top section is wide, with incredible views of the surrounding peaks. When the snow isn’t too blown, it’s a real pleasure!
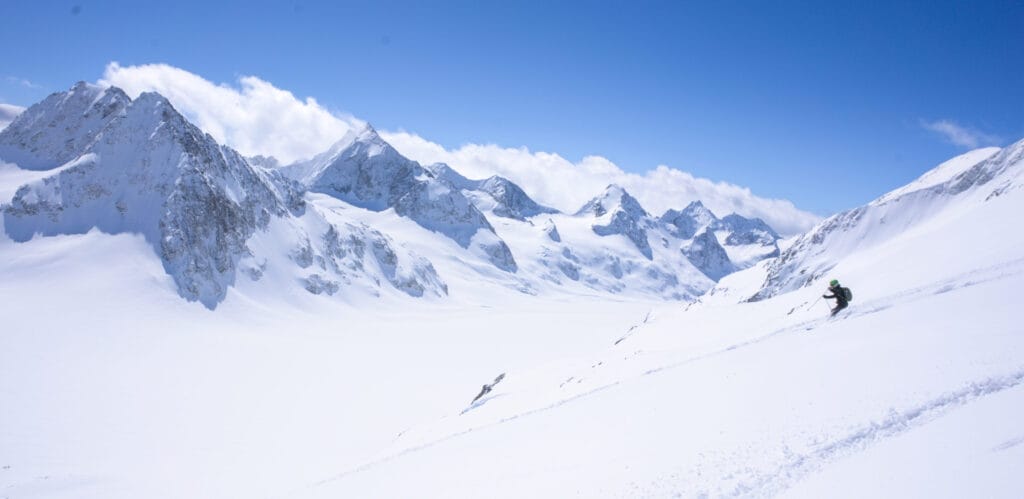
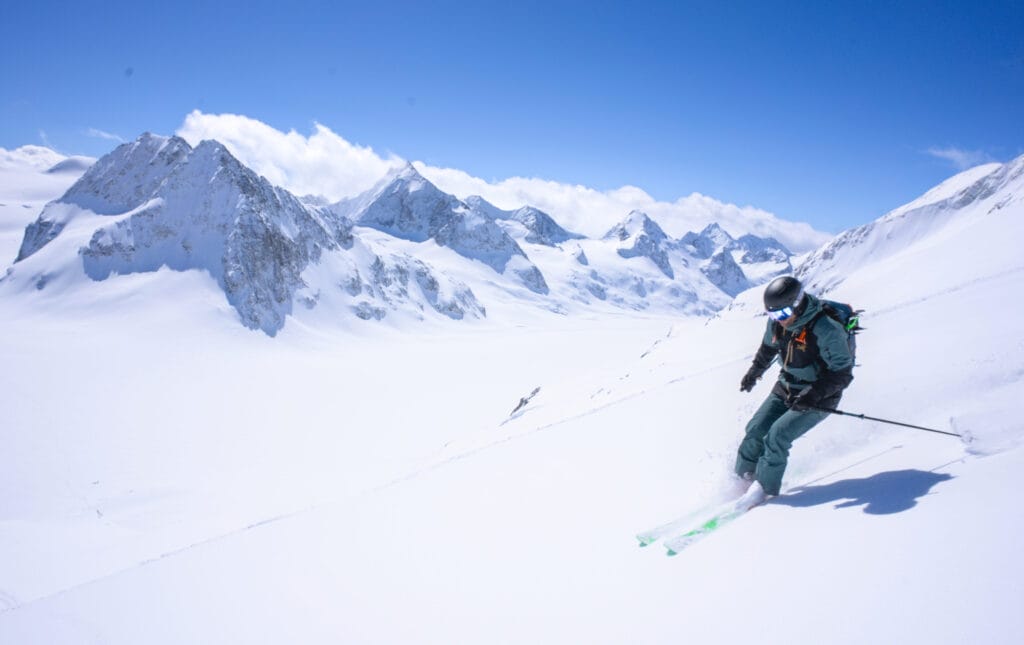
You’ll have to be careful again on the traverse to the Col des Vignettes. But the section on the Pièce glacier below the hut is also great when in good condition. Once at the foot of the glacier, there are also a number of small variations possible, depending on the conditions. On the right, there are 2-3 nice little couloirs before you reach the moraine. Then, if there’s enough snow, you can take the steeper, more skiable section on the left to reach the Arolla slopes. Or you can keep to the right on the lovely slopes leading down to the forest and the parking lot.
Vignettes hut couloir
- Ski grading: 4.2 / E2
- Useful link: Camptocamp
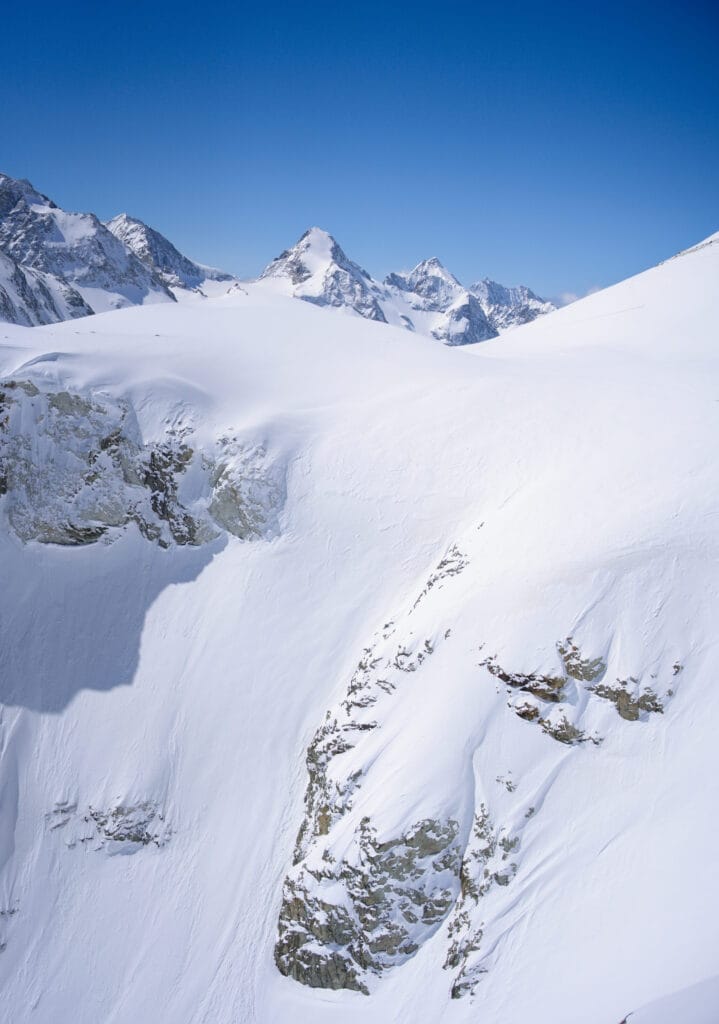
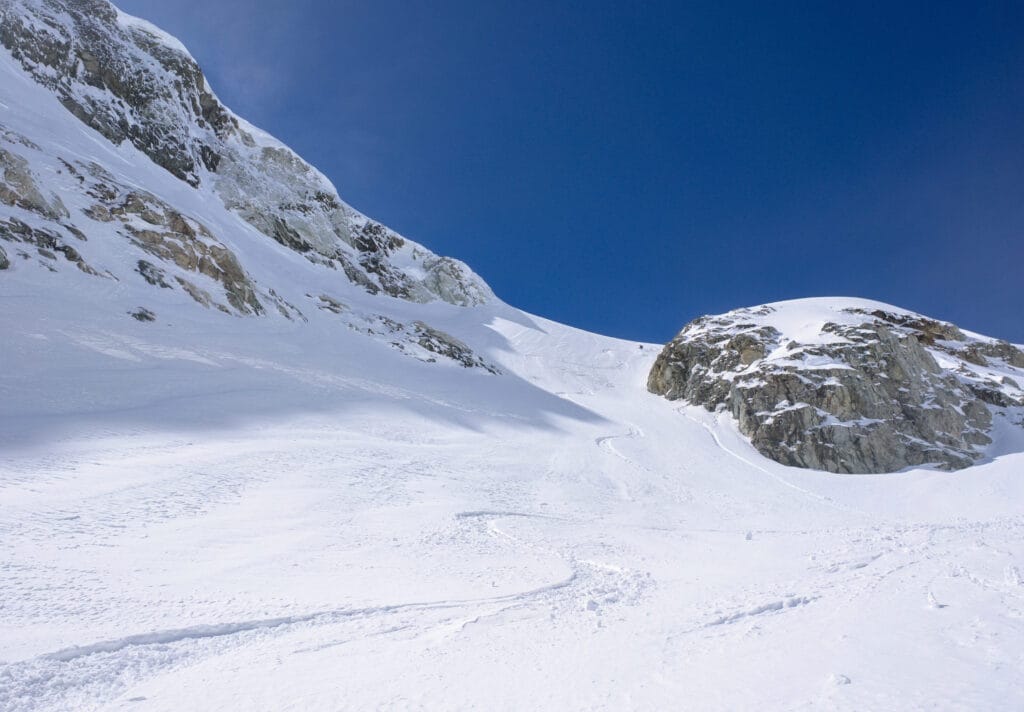
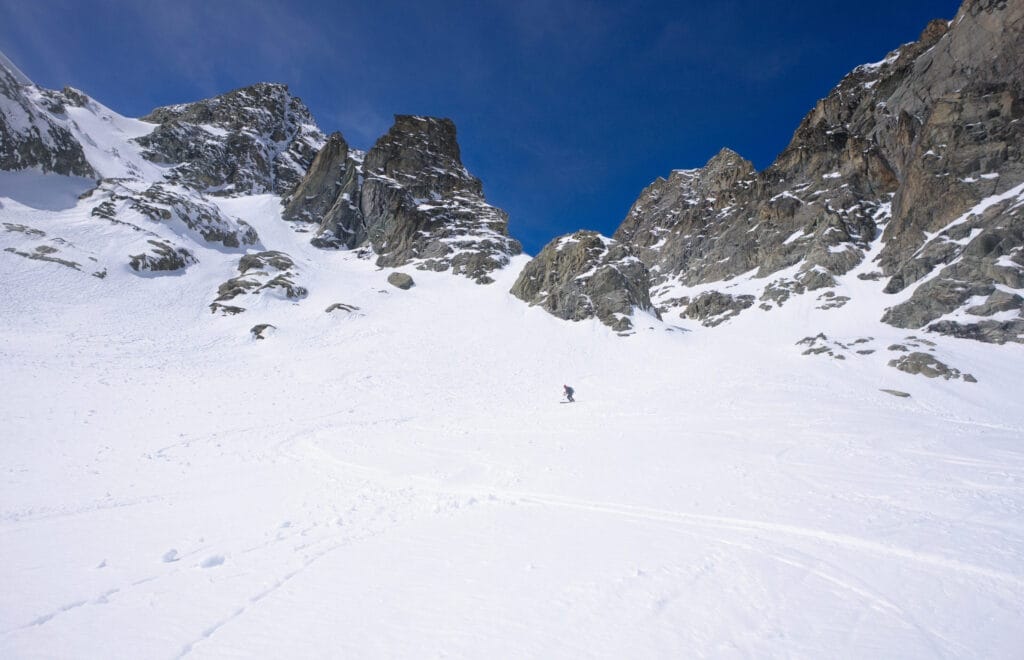
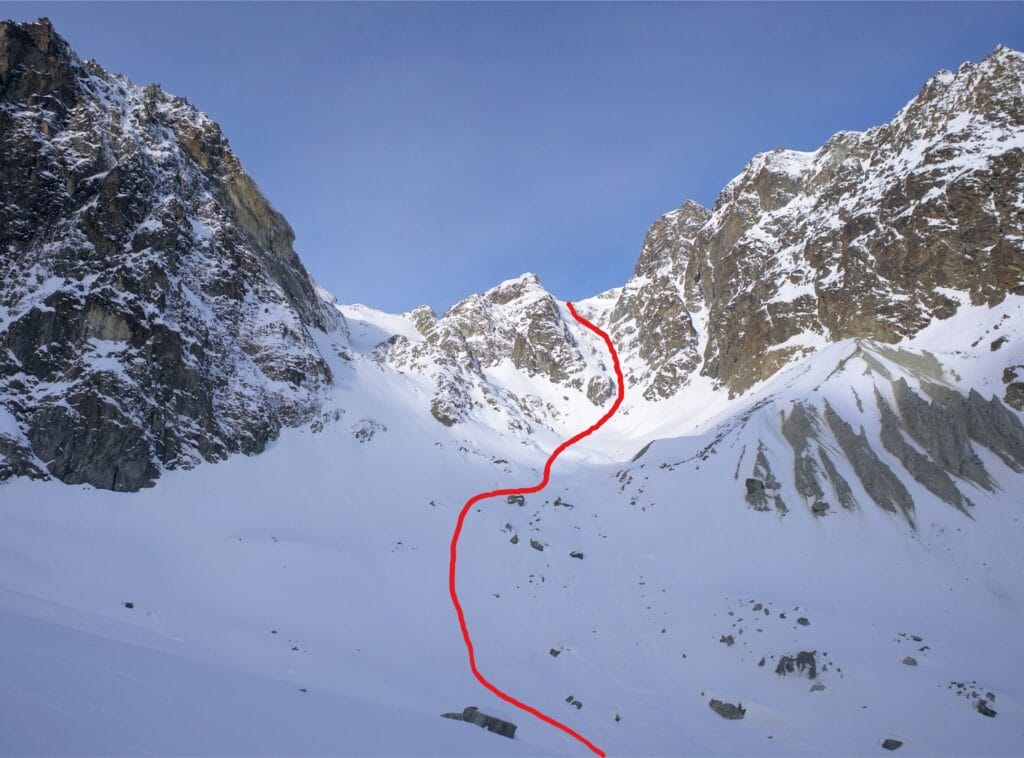
This superb couloir, often in good condition, lies just below the Vignettes hut and makes for a nice round trip. You can see it well on the way up to the Bertol hut (see photo below) and we did it to finish off the Mont Collon tour in style (I’ll tell you more about these routes another time 😉 ).
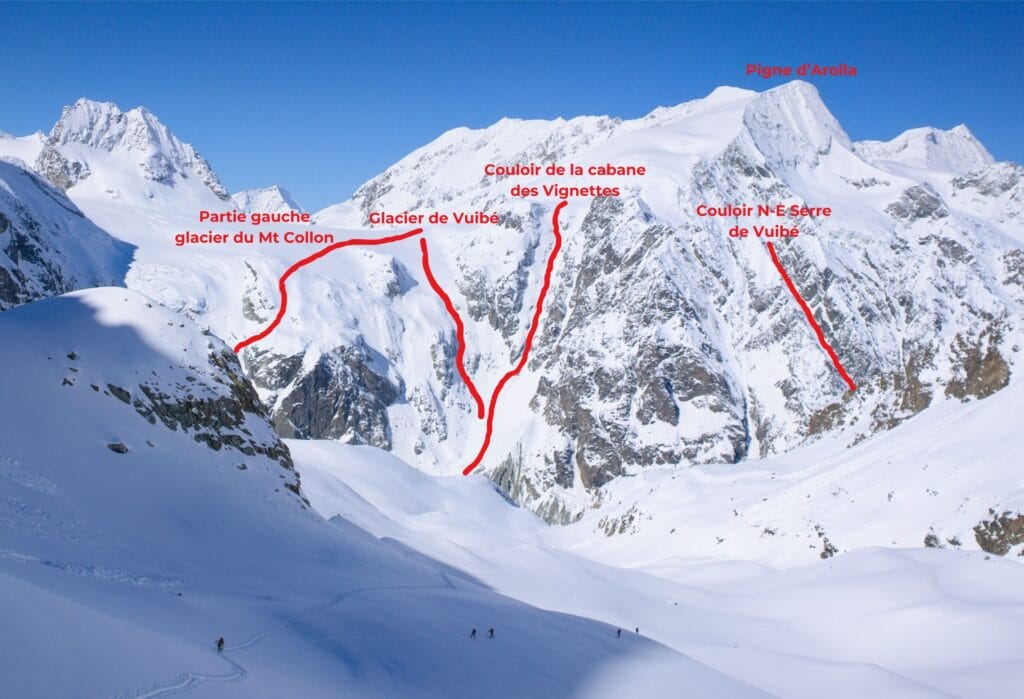
You don’t necessarily need to climb to the summit of the Pigne to do this couloir, as it’s just on the other side of the Col des Vignettes. If you stop at the hut, you’ll see the first steep slope (around 45 degrees).
If the snow cover is a little light, it’s best to take the right-hand side of the rocks (in the direction of descent), but if not, it’s also possible to descend to the left just below the hut. Once past this first passage, the couloir narrows a little but is less steep (around 40 degrees). Then it widens again to exit onto the Arolla valley and return to the parking lot via the cross-country ski trails.
Through the Vuibé glacier
- Ski grading: 4.1 / E2
- Useful link: Camptocamp
Well, the day we did the Vignettes hut couloir, we hesitated to go that way… But as there was a small group of people who had just chosen this route, we preferred to go where there were no tracks yet.
Instead of descending into the big gully directly below the Vignettes hut, descend the Vuibé glacier and then take one of the gullies that meets the bottom of the Vignettes hut couloir. It looks like a really nice descent too, so we’ll give it a try next time 🙂
Left side of Mont Collon glacier
- Ski grading: 3.1 / E2
- Useful links: Camptocamp
I haven’t had a chance to do this route yet, but I’ve already seen a few downhill tracks, so I’ll give it a try sometime to change things up. Here, you have to pass over the top of the Vuibé glacier and then descend through small gullies to the Roc Noir. Continue down to the Mont Collon glacier, then cross under the seracs to reach the foot of Mont Collon (and return to Arolla on the cross-country ski trails).
Serre de Vuibé North-East couloir
- Ski grading: 5.1 / E2
- Useful links: Camptocamp, nice video
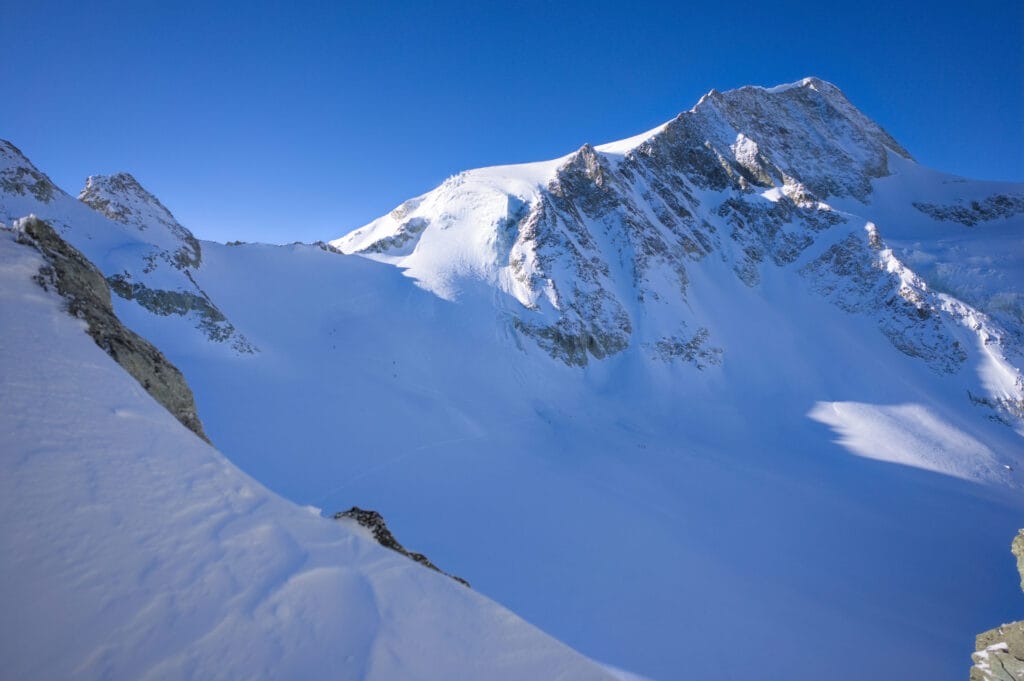
The entrance to this couloir is not exactly in the same place as the other descents. On the way up to the Vignettes hut, you have to cross the Pièce glacier to the east, just before the final climb to the Vignettes pass. The entrance to the couloir is at the top of the breach next to point 3069m (I’ve indicated this point on the alltrails map at the top) and in our case we had to remove our skis for a few meters just before the breach.
I climbed to the top of this couloir on my 1st ascent to the Vignettes hut with David (so I was still a rookie in this kind of environment). We spontaneously decided to go and see what it looked like, but we didn’t have a harness, rope or crampons with us. Honestly, I think the couloir was in good condition (compared to other photos I’ve seen on the web)… But I have to admit that the first part of the couloir is impressive, difficulty 5 with a slope of over 50 degrees, and we weren’t going to do it without equipment (which made the 2 skiers who arrived just after us very happy). But it was already great to see the atmosphere from the top of the couloir, and I feel much more confident going into this kind of thing now than I did then.
So for the details of this couloir, I’ll leave you to study the links I’ve shared until I update this article with my own experience.
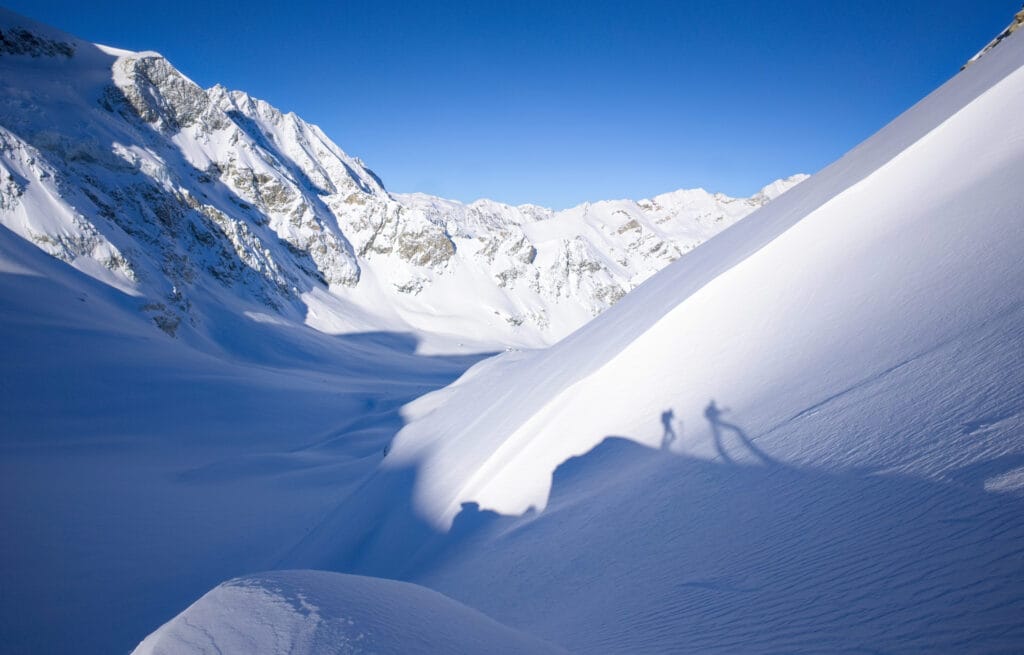
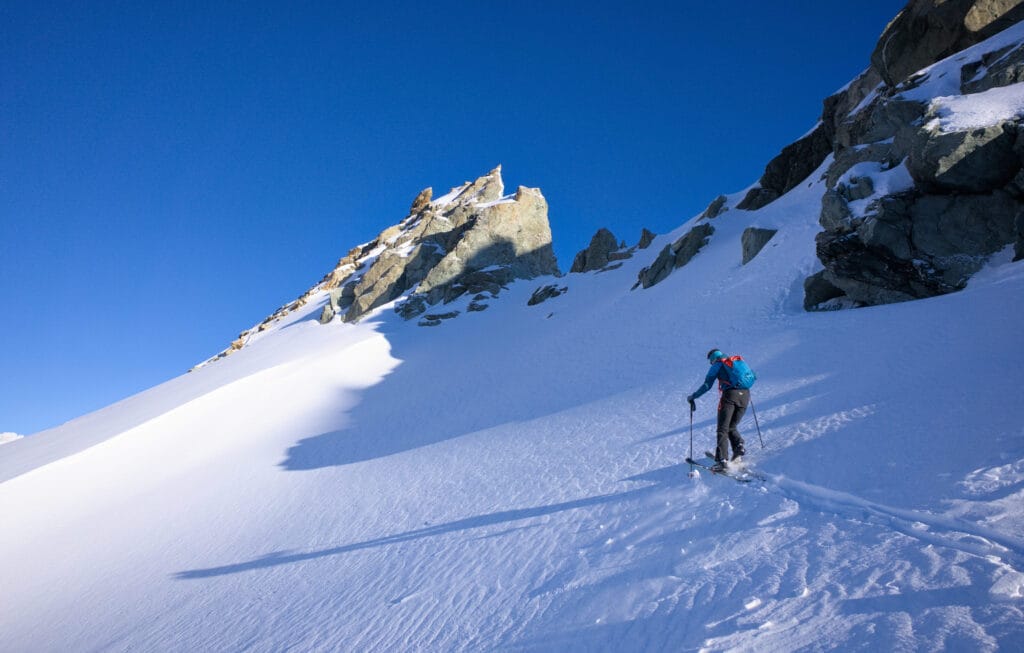
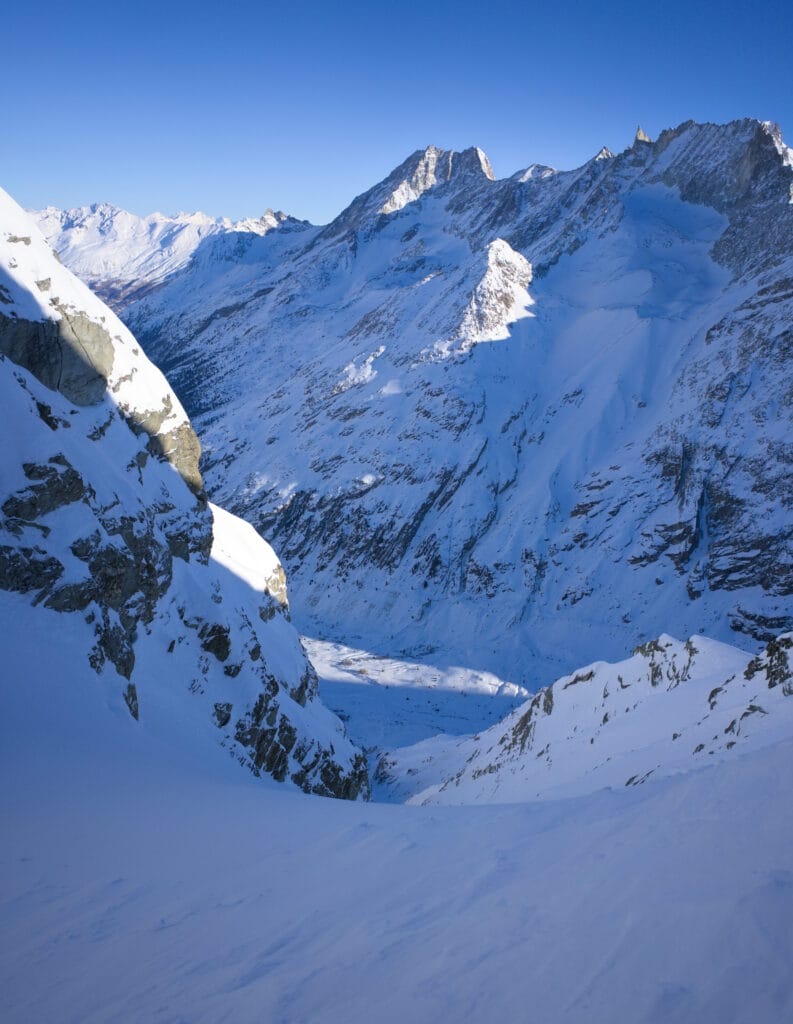
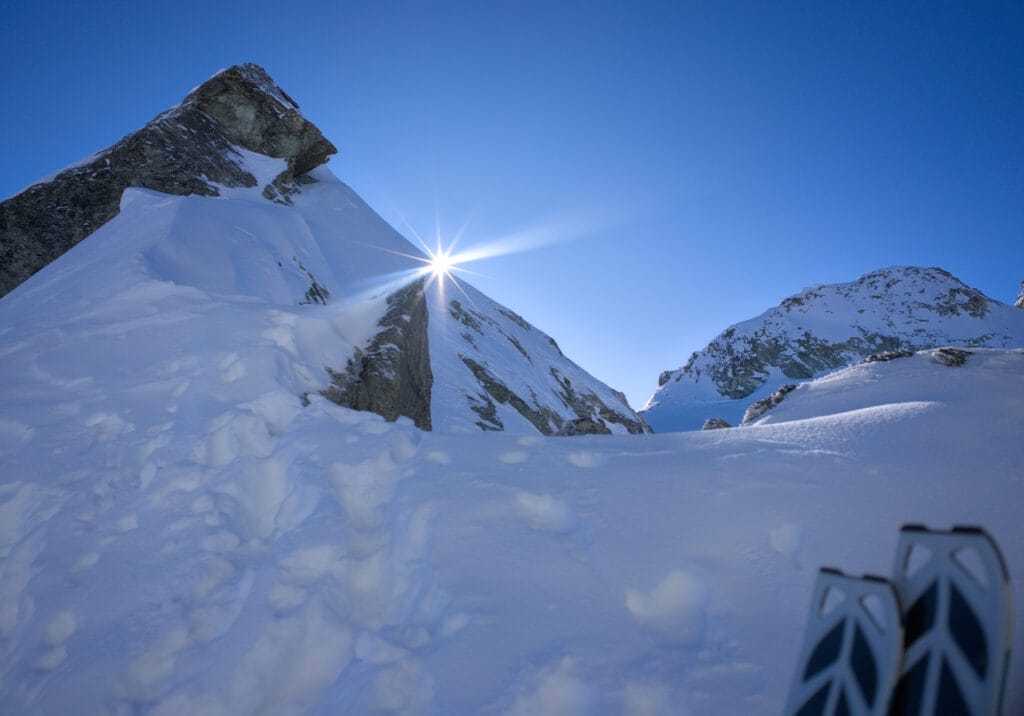
Tsijiore Nouve pass
- Ski grading: 4.1 / E3
- Useful links: Camptocamp
A completely different itinerary from the summit of the Pigne, passing on the other side via the Serpentine and then the left side of the Tsijiore Nouve glacier to reach Arolla. You can often see tracks going down this way (the lower part of the descent) from the Arolla slopes, especially on days when the helicopters are doing rotations (even though most people descend via the normal route below the Vignettes hut). So I thought it would be nice to try it once.
On the other hand, the route looks pretty exposed and crevassed, so it’s best done when conditions are good! And here again, until I’ve tried it out, I’ll refer you to Camptocamp for more info!
Well, I hope you enjoyed this little ski touring topo post about the Pigne d’Arolla. I’m planning to write more and more articles like this, so if you find them useful or have any comments about the content, don’t hesitate to leave me a little comment.
Pin it on Pinterest

Join the discussion