Since 2013 and our round the world trip, we've been hiking for several days in autonomy (meaning that we bring our own tent, sleeping bag, cooking equipment, etc.). After a somewhat disappointing experience on an organized trek, we set out for the 1st time on an 8-day solo trek to Machu Picchu. And since that hike, we've never stopped!
We love having all our stuff in our backpacks, being 100% free and flexible, being able to choose our itinerary, the places where we'll sleep, being able to stay in nature… It's really a great feeling to have such autonomy!
After our first solo trekking experience, we embarked on many other hikes from a few days to several weeks, all of which remain among our best travel memories. Among them:
- We have twice hiked across Switzerland. Once through the Alps on the Via Alpina and once over the Jura crest trail.
- hiked the northern part of Kungsleden in Swedish Lapland
- hiked the Lycian Way in Turkey
- the O trek in Torres del Paine, Patagonia
- done quite a few short 3-5 day hikes, such as the GR34, the Matterhorn tour, in the Anaga and many other places…
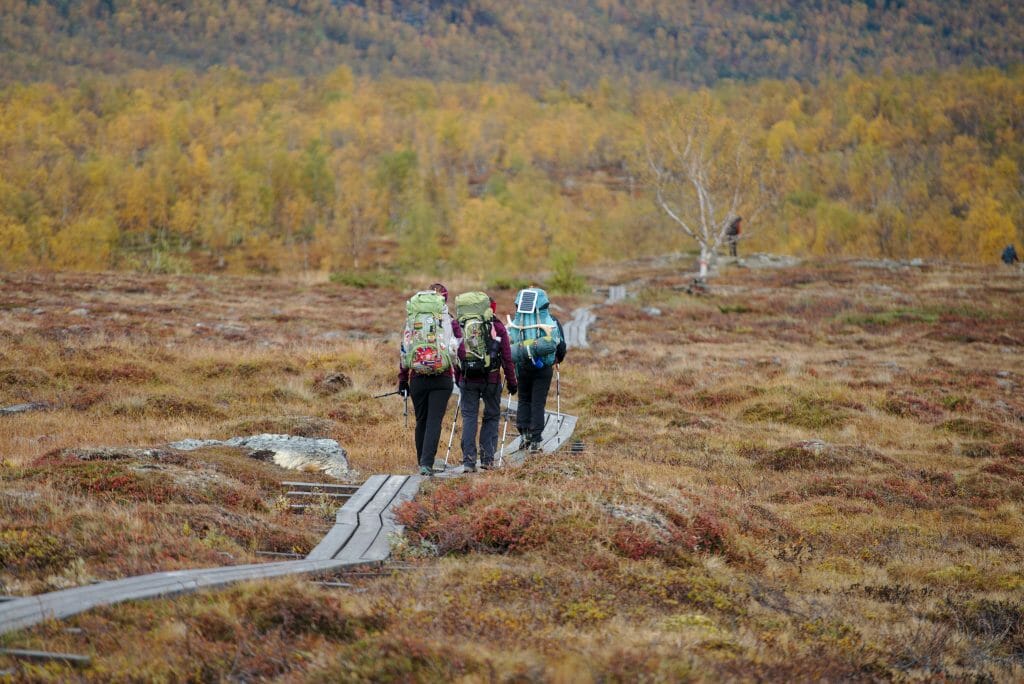
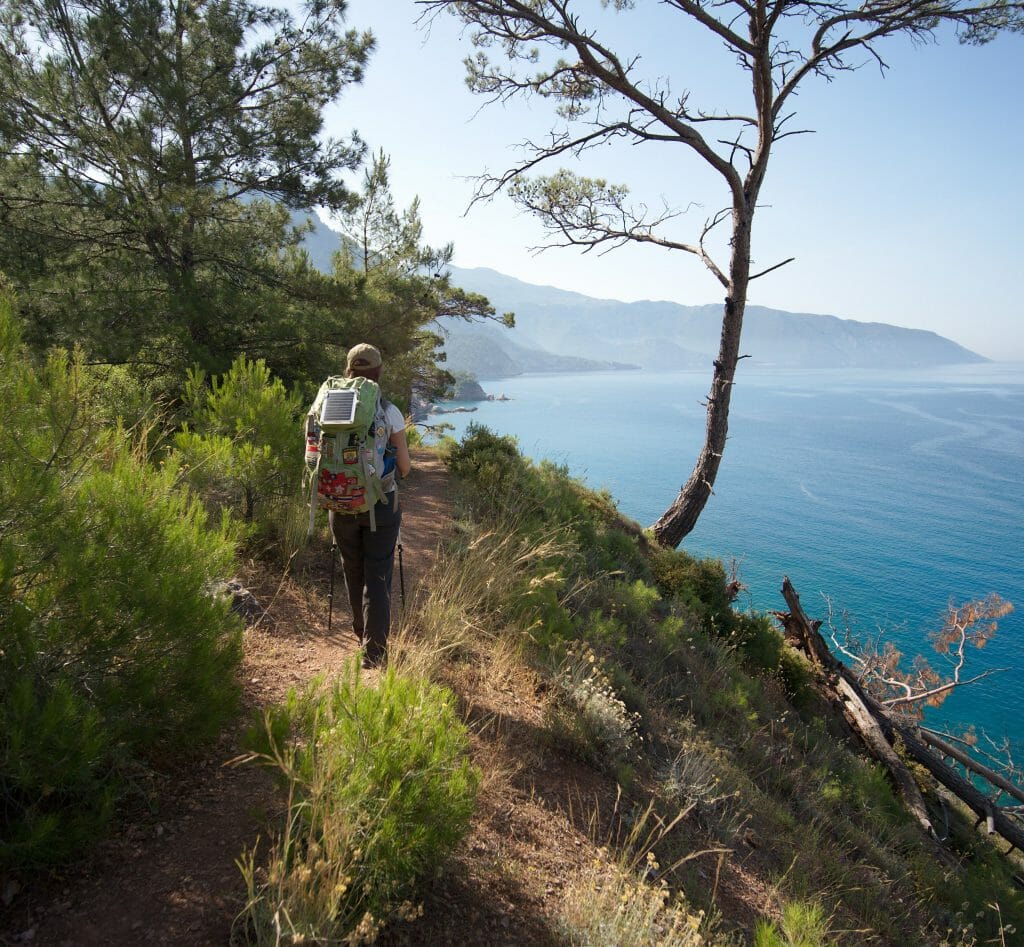
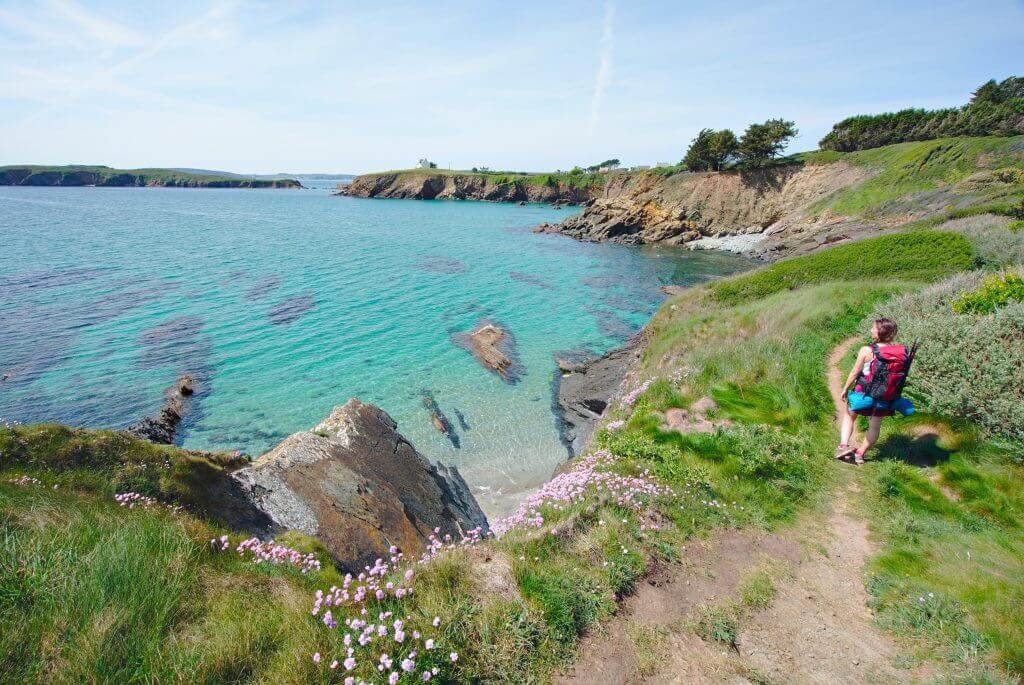
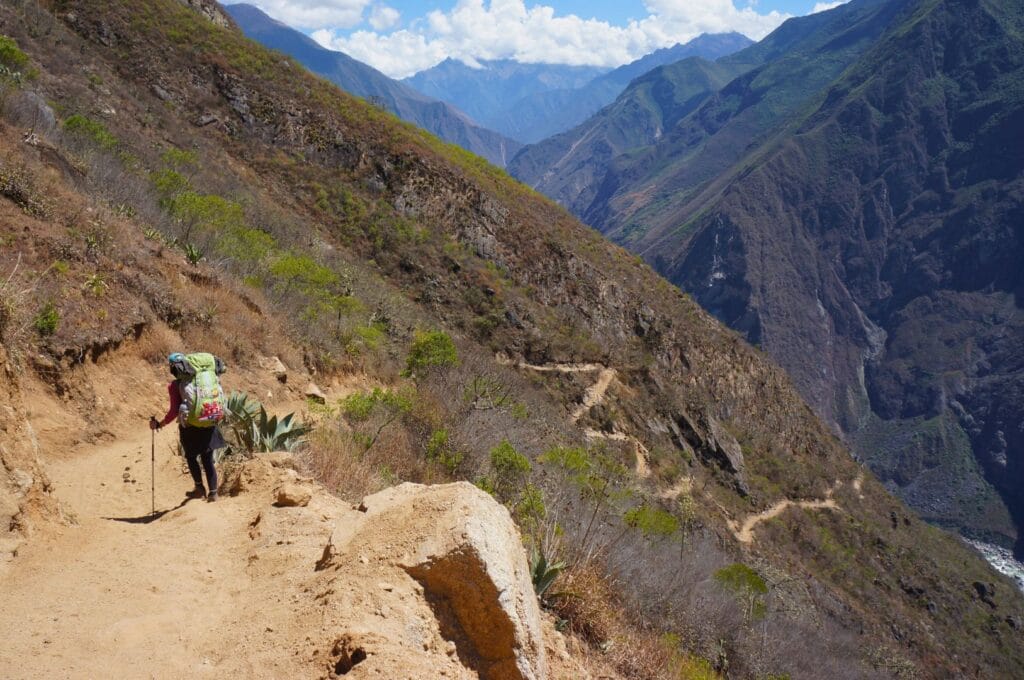
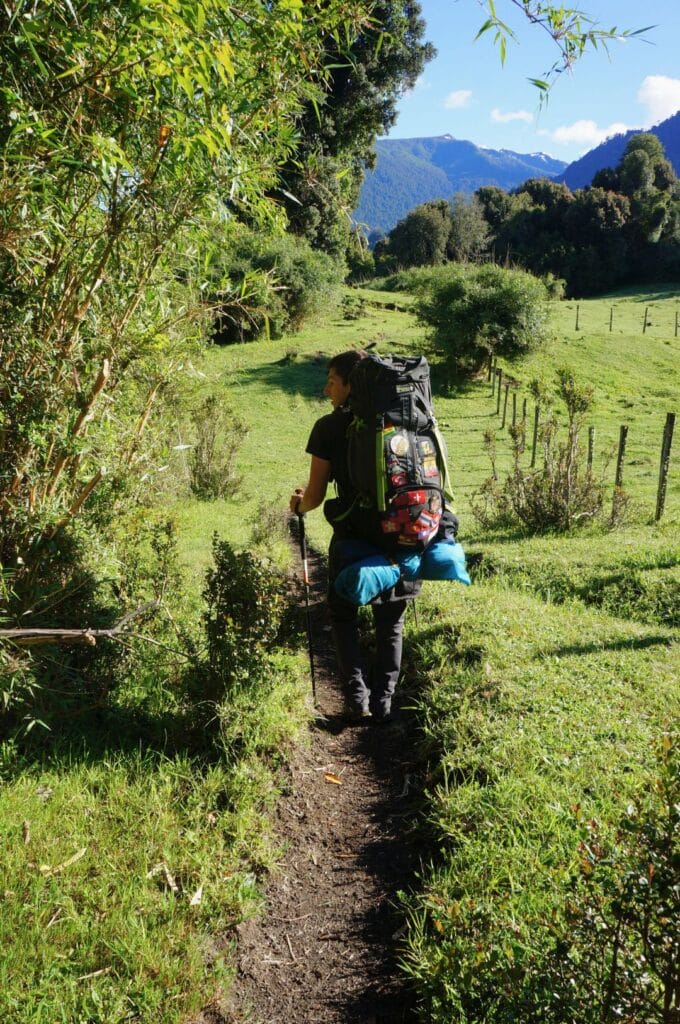
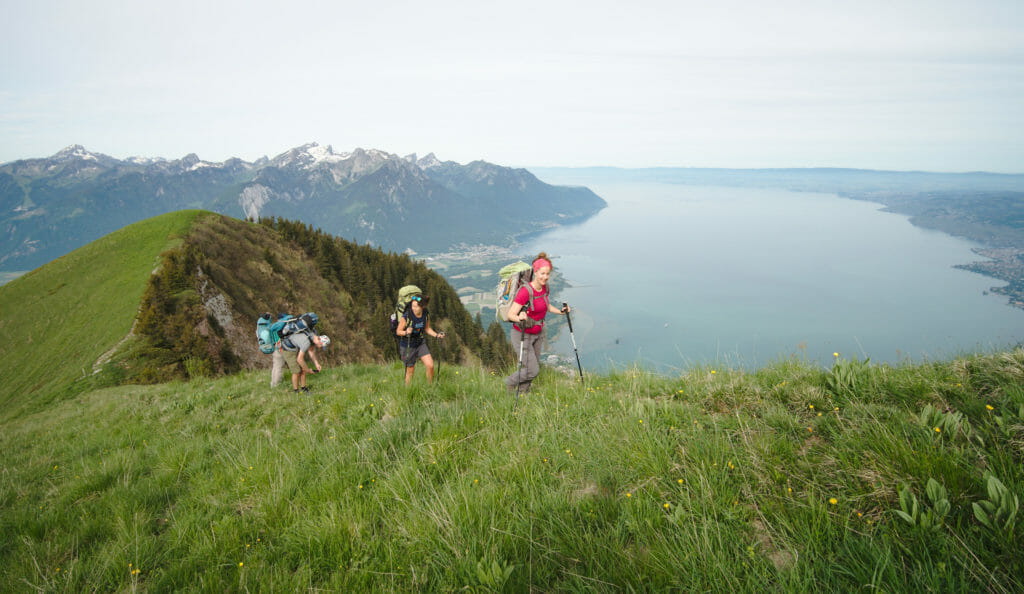
Since our 1st trek, our gear has also evolved quite a bit (we were poor little backpackers back then lol). But it's been a few years now that every time we embark on a new backpacking adventure, we take more or less the same equipment.
And since you often ask us this question, we thought we'd give you a detailed list of all the gear we take with us on our multi-day treks. We'll explain what we started with and why we've replaced some of our gear over the years. Let's get started!
The maximum weight of your backpack
You'll often read on the internet that your backpack should not weigh more than 20% of your body weight. I think that in theory this is a good number to keep in mind, and I recommend that you don't go too far beyond this limit, so as not to increase the difficulty of the hike too much. However, you'll find that in practice it's not always that easy to respect, and personally, I usually carry more than 20% of my body weight when we set out on this kind of hike.
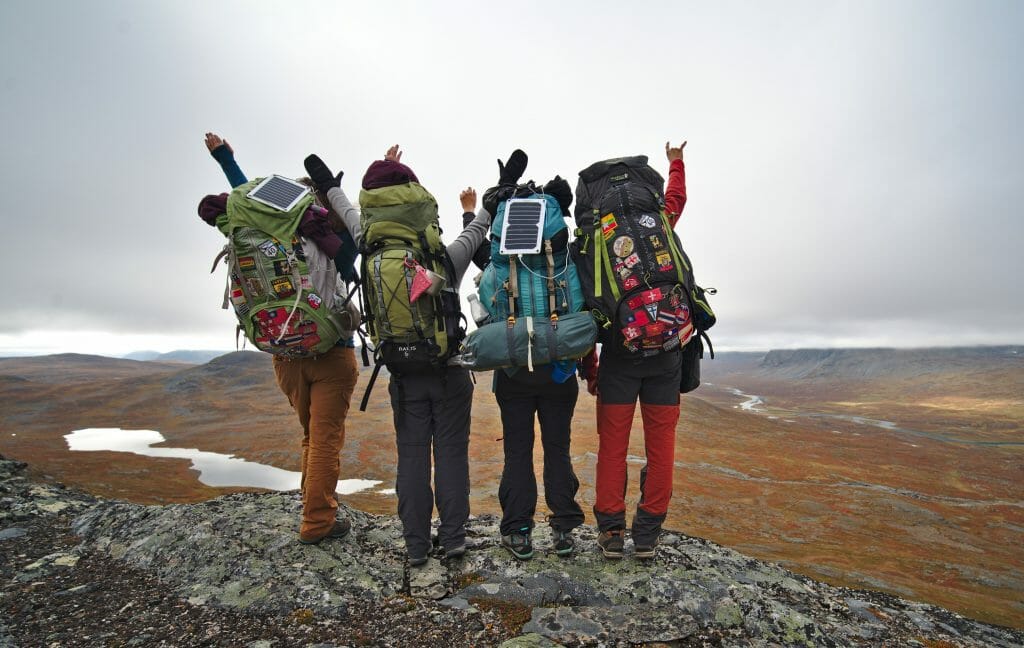
I'd say it will depend on 2-3 things:
- What essential gear do you need to take with you? For example, in my case, even when we go hiking for several weeks, I always take my camera with at least 2 lenses and 1 tripod (which adds up to at least 3kgs). But for me, it's essential! So it's up to you to decide what you really can't do without.
- What budget do you have for your hiking gear? Unfortunately, the lightest equipment is often the most expensive! As for us, over the years we've gradually invested in more high-performance gear… and the reality is that, in the end, there's a difference of several kilos on the scale. But if you don't have an infinite budget, we'll tell you in the following lines which equipment to invest in first to save as much weight as possible.
- How much weight can you carry over several days? Even if this shouldn't become an excuse to take on more equipment, it's perfectly possible to carry more than 20% of your body weight if you're in good shape… it's up to you to do your own tests and find out what you're capable of comfortably carrying on a hike.
List of our bivouac / camping gear
a light and sufficiently spacious trekking tent
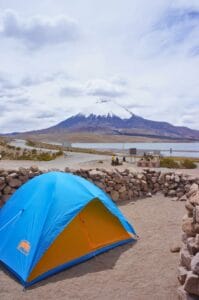
The 1st tent we bought during our round-the-world trip ended up costing us something like $70 in Taiwan… It was an entry-level, 3-people, 3.6kgs tent that we used for years and still have today (we still use it at the coliving to go bivouac with the colivers).
But when we decided to embark on the Via Alpina in Switzerland (a 2-3 week hike altogether), we decided to invest in a larger and, most importantly, lighter tent. At the time, we chose a premium 3-person tunnel tent from Helsport, weighing in at 2.2kgs. You can clearly see the advantage… just by changing tent, we saved 1.5 kgs and gained in performance on all levels (waterproofing, space, stability…).
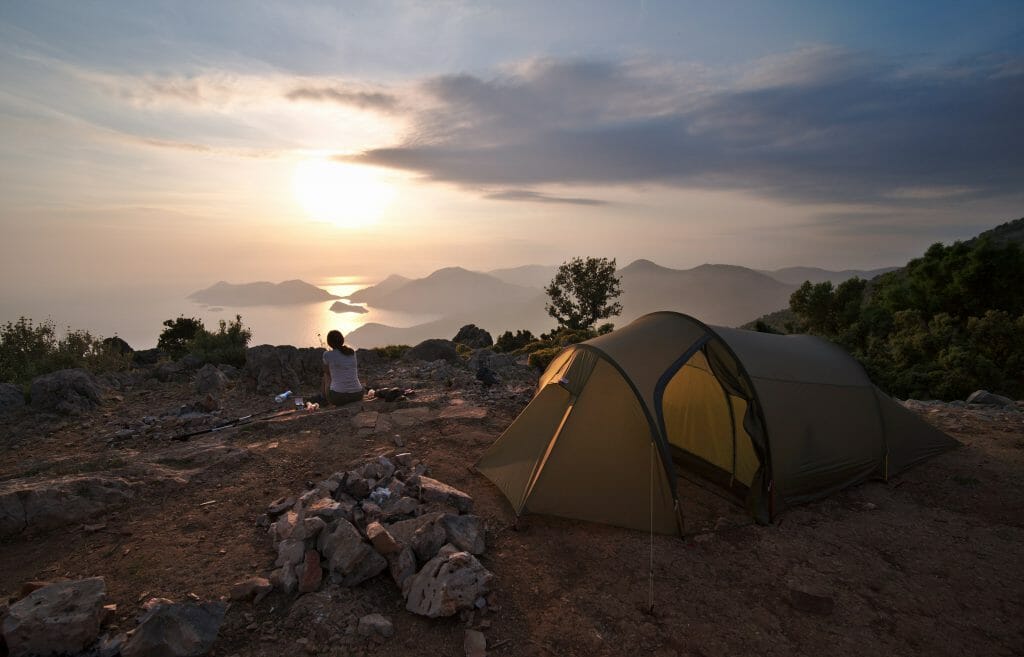
So here are the criteria we think you should bear in mind when choosing a tent:
- Weight: Of course, it has to be as light as possible (without sacrificing sturdiness).
- Volume: We recommend a tent that's spacious enough for you to rest comfortably and have room for your gear. As for us, we always have a 3-person tent for 2 people, so as to have enough room for our backpacks (and now our dog Winchy too 😉 ).
- Waterproofing: This is generally measured in mm of water column, and should be as high as possible for both the roof and the floor of the tent.
- freestanding or non freestanding tent: A freestanding tent is one that stands upright just with its poles, without any pegs. This is an advantage on rocky terrain, where it can be difficult to hammer pegs into the ground. On the other hand, they are generally a tad heavier.
- Size of the vestibule: The vestibule is the part of the tent that is protected by the flysheet but not part of the inner tent. It's a space that can be very useful for storing equipment in a dry place, or even for cooking.
- The footprint of your tent: Obviously, it's great to have a spacious tent… but don't forget that the bigger the footprint of your tent, the harder it will be to find a bivouac spot big enough and flat enough to pitch it 🙂 .
Since 2017 and our adventure on the Via Alpina, we've bought 2 tents, which I'll briefly detail below:
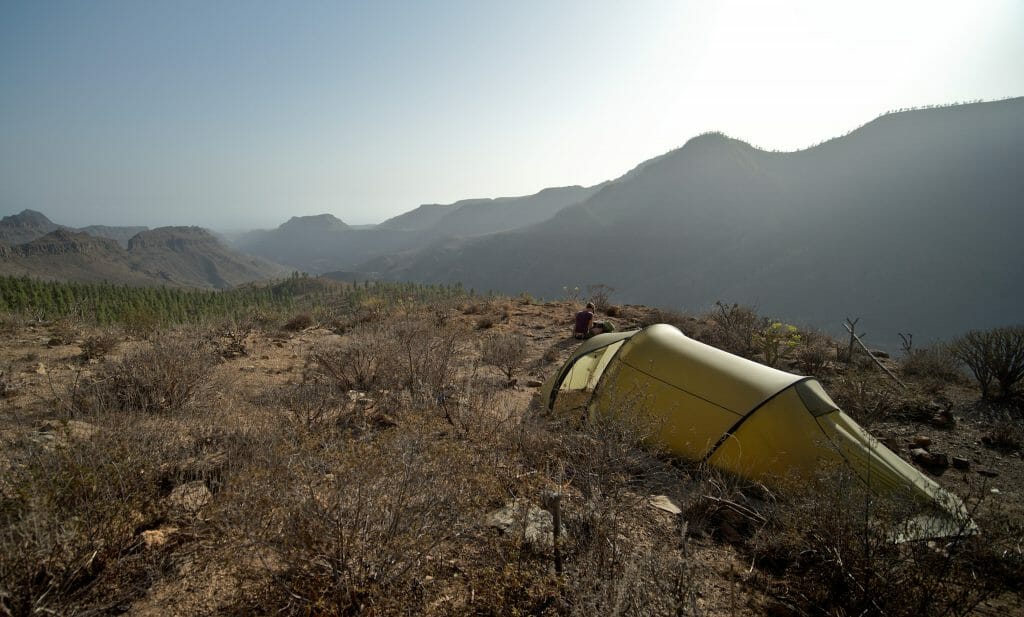
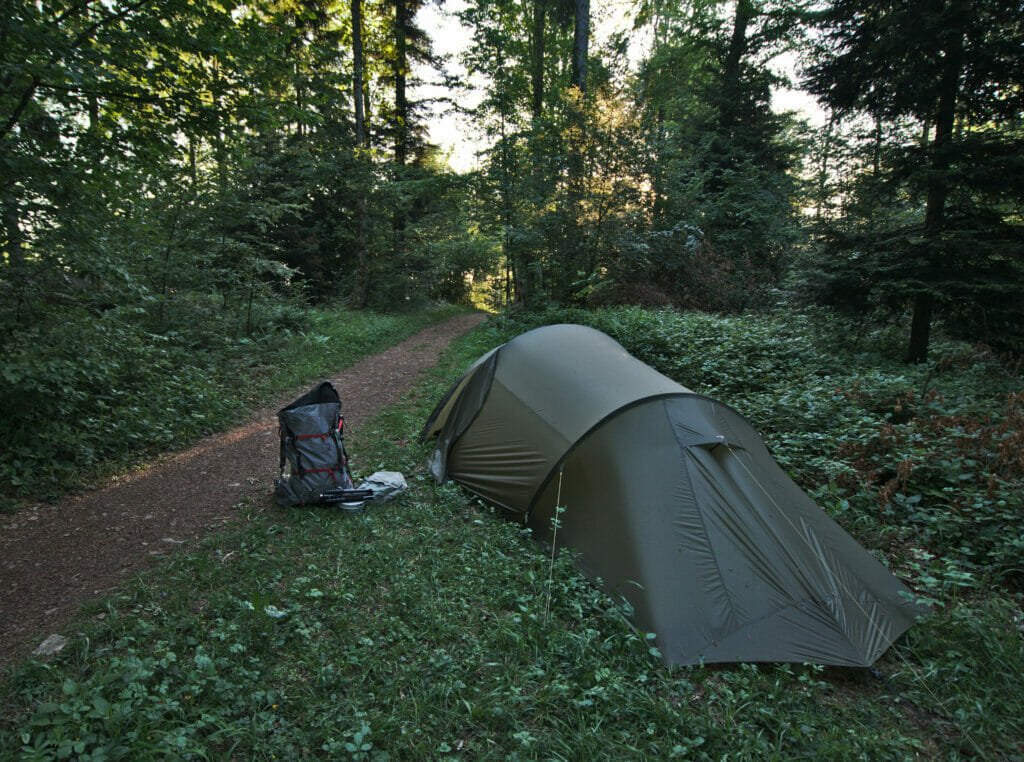
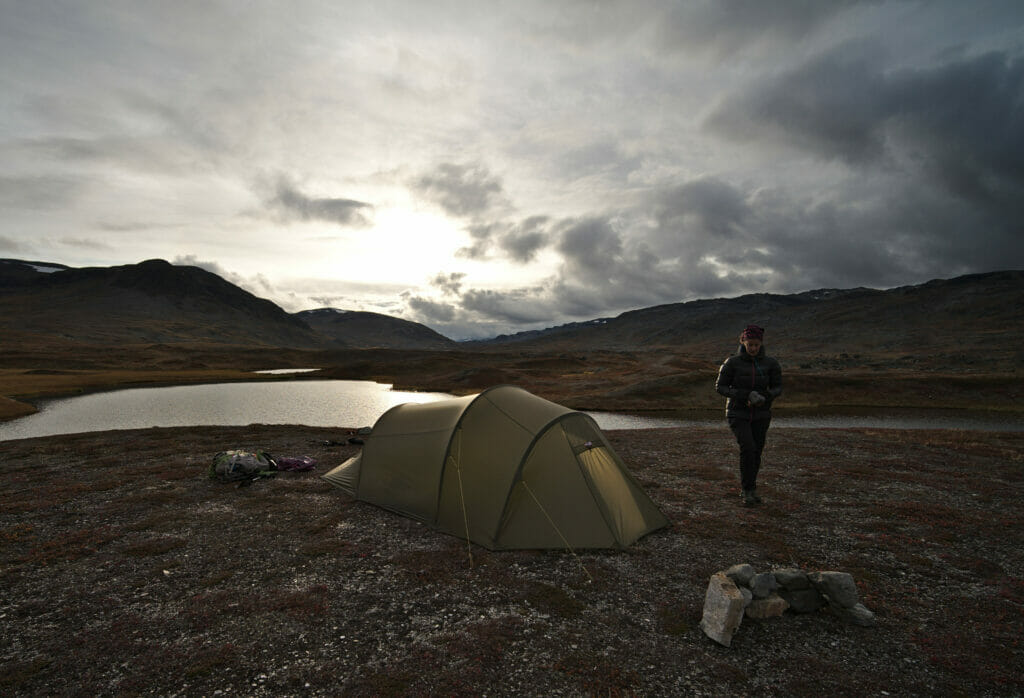
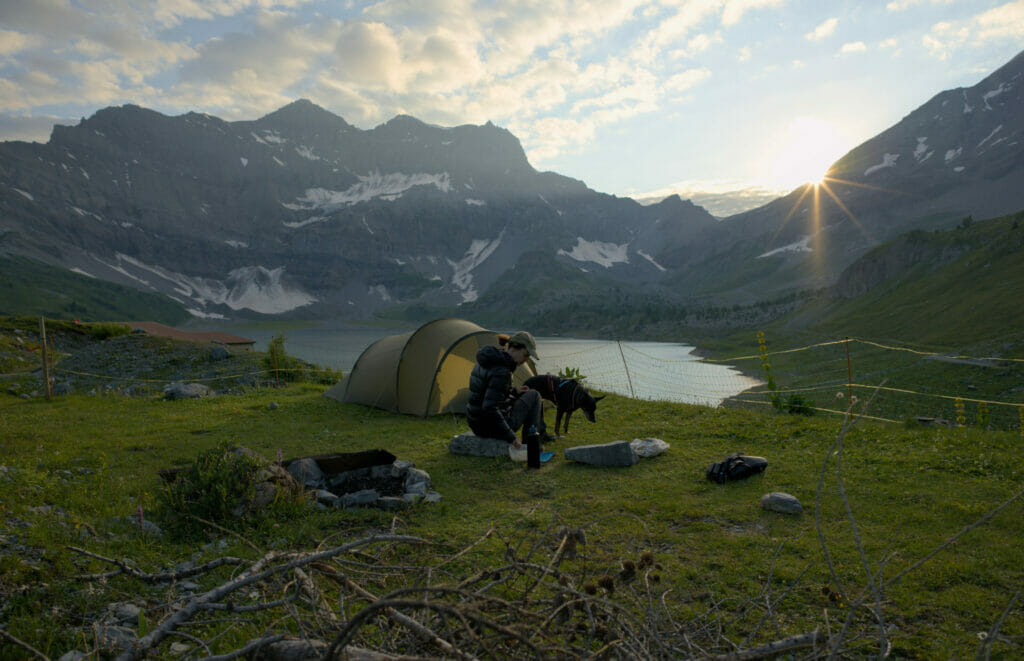
Helsport Fjellheimen Superlight 3
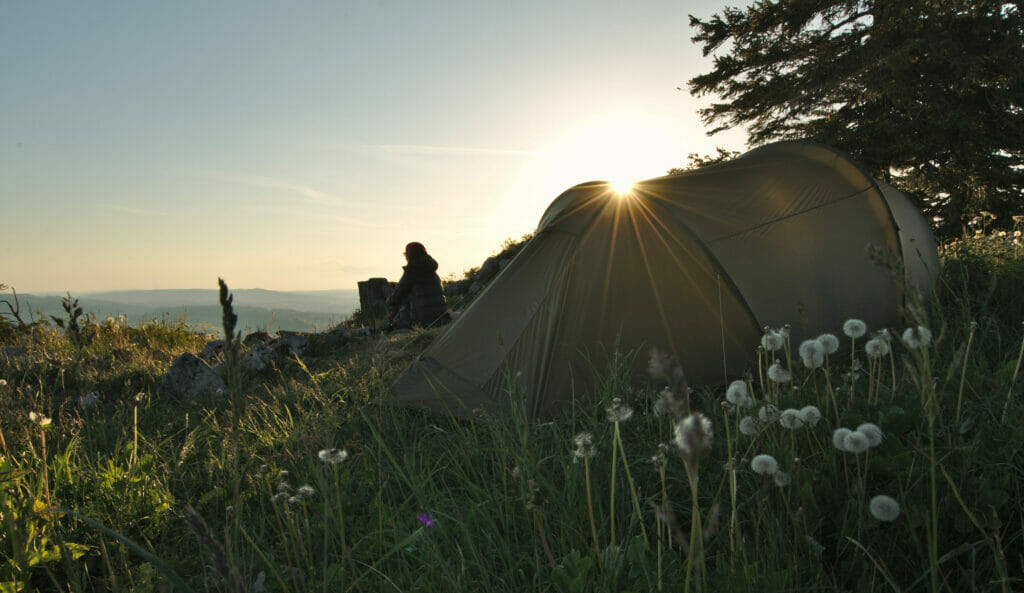
We've done almost all our long-distance treks with this really great tent, and we hope to take it on many more great adventures! In my opinion, here are the pros and cons of this tent:
Advantages:
- The weight to volume ratio: 2.2kgs for a real palace 😉 . The inner tent is 225 - 125 - 110 cms and the footprint with vestibule 430 - 185 - 120 cms. That's a lot of volume for such a tiny weight.
- The huge vestibule: you can see from the dimensions that the apse is very spacious indeed! It's perfect for storing lots of gear, cooking when the weather's bad… It also makes this tent very versatile, as you could imagine going on bike trips with it.
- The flysheet, which is pitched first (and removed last): We find this way of pitching a tent very practical (i.e., pitch the rainfly and then the inner tent simply hooks on from the inside), because when the weather's not great, you can simply pitch the rainfly and then do everything else in a dry, sheltered place. The same applies in the morning, when you can easily store all your gear under the flysheet, which you remove last.
- Stability and waterproofing: We tested this tent in rather difficult conditions in Lofoten and Switzerland (100km/h wind gusts, heavy rain). This tent is super waterproof. It's also very easy to pitch (the strings are well placed) and stable when properly set up.
- The flysheet dries very quickly: The tent fabric is made of a material that dries surprisingly quickly, and that's really handy. Most of the time you can dry it in the morning before setting off (or at worst during the picnic break).
Disadvantages:
- Floor space: Obviously it's nice to have a big tent, but it's also harder to find a spot big enough and flat enough to pitch it. So we generally try to have the inner tent surface flat… but the fact that it's 430 cms long rules out certain spots where other tents could be installed.
- Not freestanding: This is a characteristic of tunnel tents… they generally offer a good weight/volume ratio, but won't stand without pegs pitched into the ground. So, depending on the terrain, this can be a disadvantage.
- Slippery floor fabric: The tent's floor fabric is very slippery… which means that if you don't lie flat, you'll end up at the bottom of the tent during the night lol.
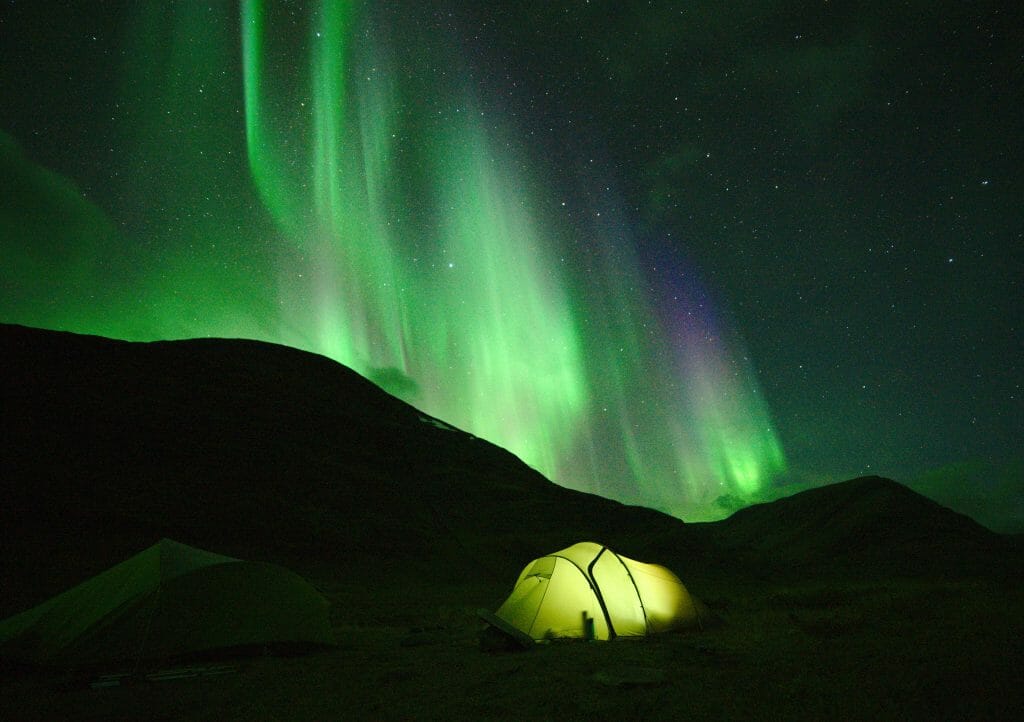
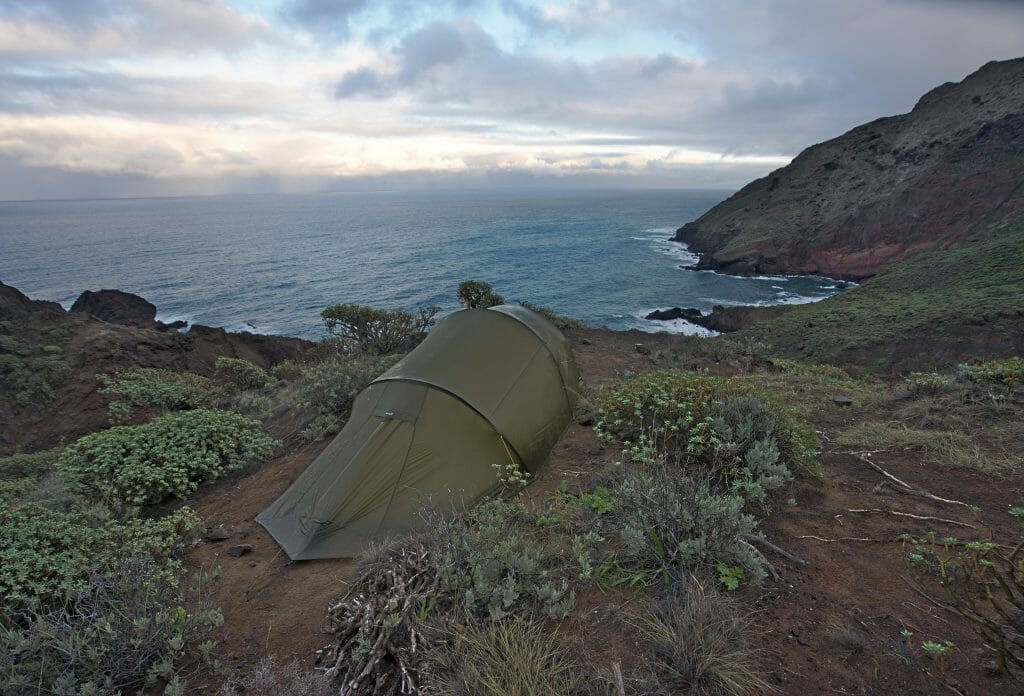
Nemo Dagger Osmo 3P
In 2024, we bought a new tent because we were looking for a model with a smaller footprint and that was freestanding. As we now live in the heart of the Alps, we hike on stonier terrain… So we were looking for a tent that would enable us to find bivouac spots more easily. And since we've been hearing a lot of good things about the Nemo brand for several years now, we thought it was time to give it a try.
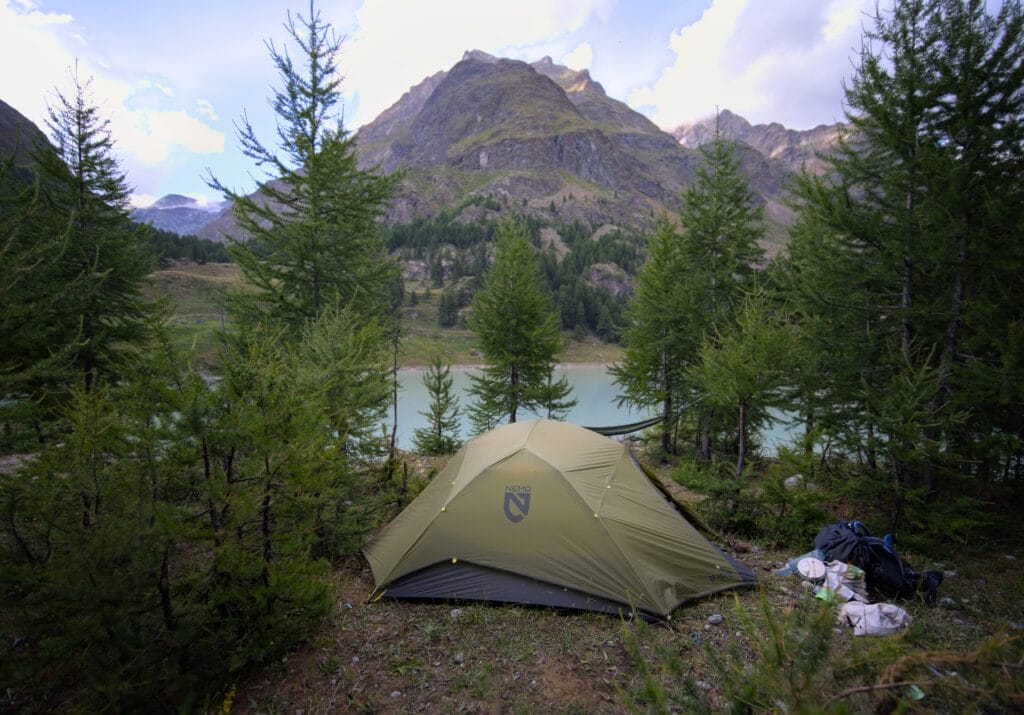
We don't have a lot of hands-on experience so far (we tested the tent on the Matterhorn tour in good weather conditions), but here are our first impressions (we'll be writing more about this tent in a dedicated article):
Advantages:
- Weight to volume ratio: The tent weighs in at 2.1kgs including everything, with a large inner tent (229 - 178 - 106) and 2 small vestibules (1 on each side). Admittedly, this isn't the gigantic vestibule of our other tent, but it does leave a good volume for storing gear in a sheltered spot.
- Floor space: 4.1m2 for this tent, while the other was over 7m2. This gives us more options for finding bivouac spots.
- Freestanding: the tent stands upright without any pegs, which can be an advantage in some terrain.
- Easy to set up: Nemo has a system of clips that allow you to literally assemble the tent in 2 minutes. The outer tent then clips in place in a similar way, and all that's left to do is tension it.
Disadvantages:
- the number of pegs: the tent is delivered with an insufficient number of pegs to properly tension the rainfly… Sure, it saves weight on paper, but I'd rather have a stable tent in case of bad weather. So we bought extra pegs (but it's a bit of a pain when you've already spent over €500 on a tent).
- the flysheet that goes up after the inner tent: we used to put the flysheet up first and use it as a shelter, which was very practical… unfortunately, this is no longer possible with this tent. I don't know if this is the case with all freestanding tents, but we prefer to be able to put the rainfly on first.
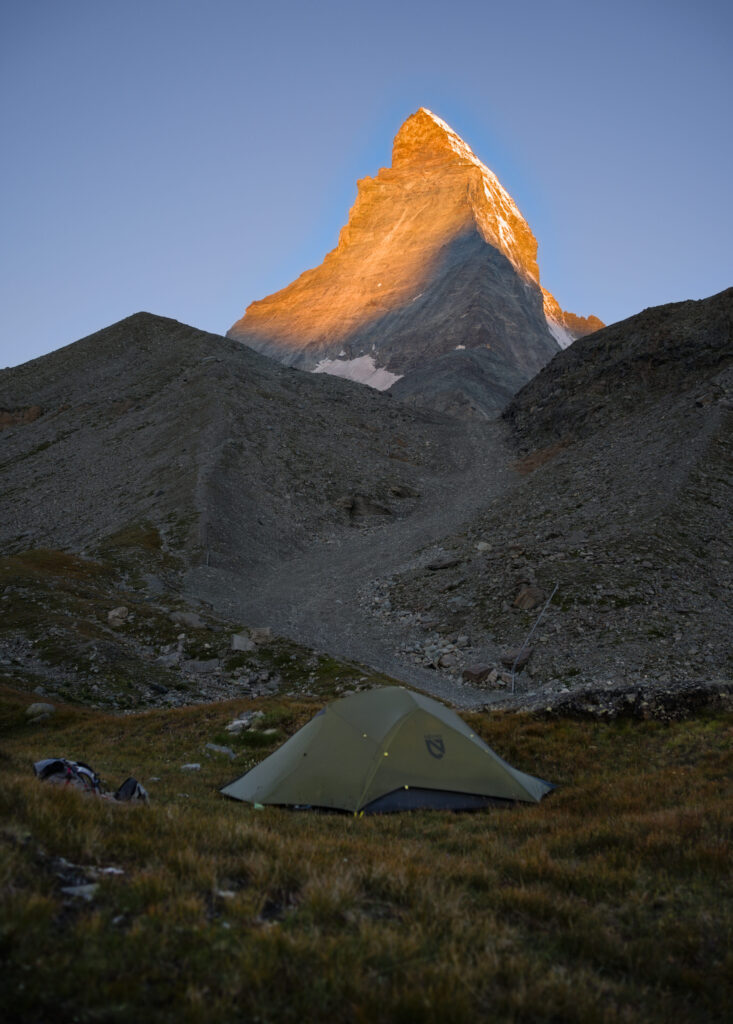
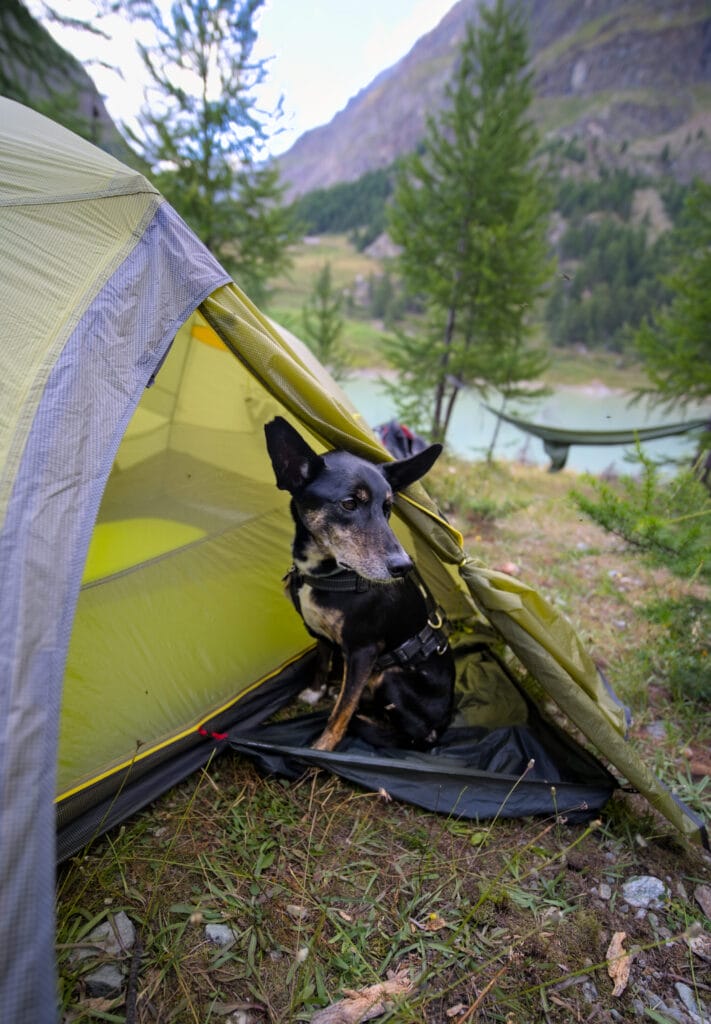
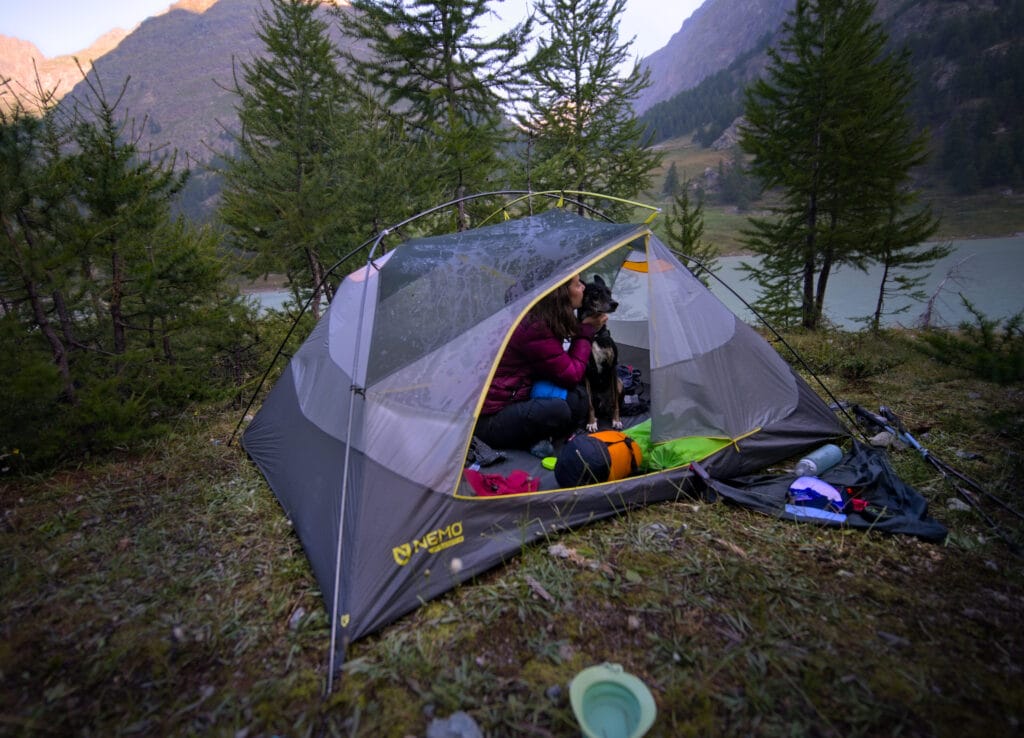
To conclude with the tents, I'd say that if you're on a tight budget, take a look at Decathlon's MT900 range, which offer excellent value for money (they didn't yet exist when we bought the Helsport tent). Otherwise, go for the 2 tents we've suggested, depending on your preferences! And if you feel like comparing with other brands, take a look at the ultralight tents on the snowleader website.
And what about Tarps?
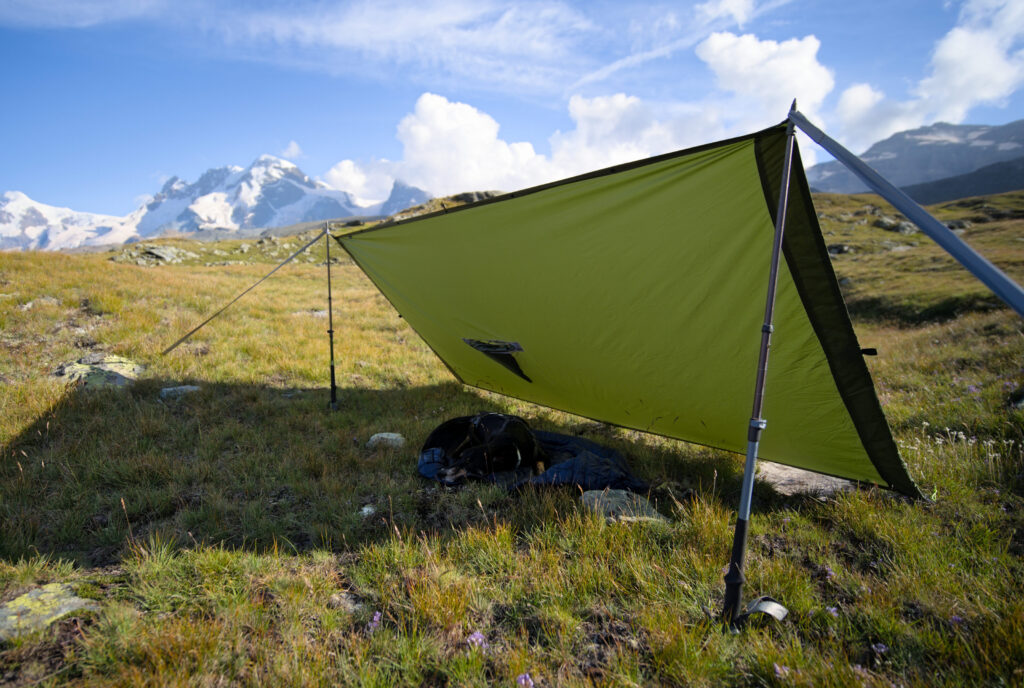
In case you don't know, a Tarp is a simple, lightweight, waterproof sheet that allows you to create a shelter, usually using your hiking poles and a few pegs. It's a very popular solution for minimalist hikers who like to travel light… But Fabienne and I have to admit that we haven't got that far yet, and that we still prefer to be well isolated from the outside world in our tent.
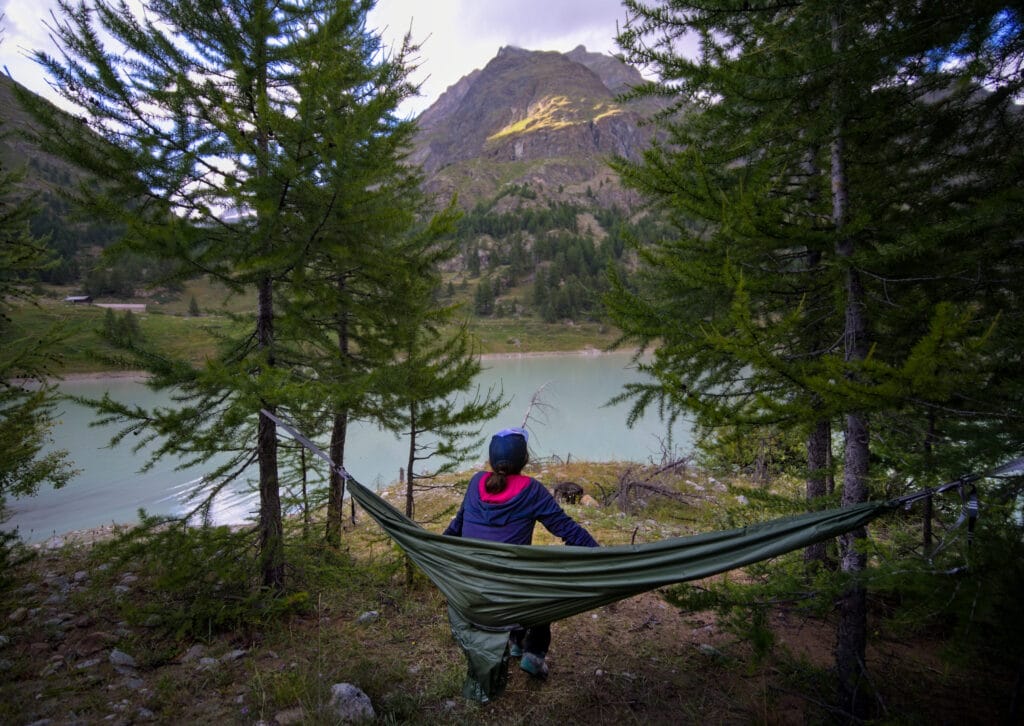
But that hasn't stopped us from testing, and we even have a really well-designed French Tarp to recommend! This model is from Trailhoppers, an ingenious 3-in-1 tarp + hammock + rain cover for just 500gr. It's an innovation from former backpackers (and blog readers 😉 ) who would have dreamed of having a product like this while traveling. We've tested it and can't recommend it highly enough if you're looking for a Tarp++ that doubles up as a rain cover and hammock! By the way, if you're interested in this clever French product, you'll get 17% off with the code NOVOMONDE.
a lightweight sleeping bag
We set off on our round-the-world trip with lightweight sleeping bags, which did the job in mild temperatures (+10 degrees)… But when we started doing multi-day hikes in South America in cooler temperatures, we had to buy new sleeping bags. With our backpacker budget, we bought some sleeping bags suitable for temperatures ranging from 0 to -10 degrees… but they were still 2kgs each.
As a result, it was really the 2nd area where we could save a lot of weight! When we did our research, we quickly noticed that we could find sleeping bags at around 1kg each for the same comfort temperature if we were to upgrade. At the time, we chose Valandré, a French brand offering excellent sleeping bags and down jackets. The model we bought no longer exists, but our sleeping bags are still in perfect condition and we warmly recommend this brand (today we'd certainly choose the Bloody Mary or La Fayette).
Otherwise, the Nemo brand (mentioned above for tents) barely existed back then, but today they make outstanding sleeping bags. For example, their Coda models weigh less than 1kgs for a comfort temperature well below 0 degrees (the warmest has a comfort temperature limit of -12 degrees). The same goes for Thermarest, who innovate with their Hyperion sleeping bag, which weighs less than 600g for a comfort temperature limit of -6 degrees.
Alternatively, if you're on a tighter budget, Décathlon has also released its MT900 lightweight sleeping bag with a comfort temperature of 0 degrees for less than 1kgs at 200€. This is excellent value for money, but may be a bit of a stretch if you're planning to sleep outside in fairly cool temperatures.
an inflatable hiking mattress
When we first started hiking on our own, we thought that the only use for a mattress was to sleep more comfortably on the ground. But we were wrong! In addition to ensuring comfort, the main purpose of a mattress is to insulate your back from the ground, to prevent heat loss. To quantify the insulating quality of a mattress, there's the R-Value. The higher the R-value, the better the insulation from the cold ground. In fact, if you plan to sleep in fairly cool temperatures, we recommend you choose a mattress with an R-Value of at least 3.5.
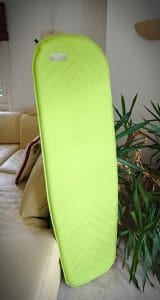
When we set off on the Via Alpina, we had bought some very comfortable Decathlon trekking air mattresses, but with a fairly low R-Value… We actually had a bit of a cold back a few nights because of this. But since we left for the Kungsleden in Swedish Lapland, we've bought Thermarest trail lite mattresses (women's version, self-inflating foam mattress) which offer an excellent R-Value (4.5), acceptable weight and comfort (740gr for 3.8cms thickness) for a mere 100chfs.
But if you have more budget, you can take a look at the Thermarest Neoair Xlite range, which are very lightweight (500gr) and comfortable inflatable mattresses, with an excellent R-Value. The Nemo brand has also come out with some very innovative inflatable mattresses, with its Tensor Alpine and Trail range weighing less than 500gr. However, as with all ultralight gear, bear in mind that it's generally more fragile and you're not entirely guaranteed against possible damage.
As with Patagonia, Nemo is a brand committed to protecting the environment. They offer a lifetime warranty on all their gear and also have a repair service. Frankly, it's great to see brands trying to make gear that really lasts over time (and that can be repaired if anything goes wrong).
The stove
There are 2 main approaches when it comes to stoves:
- Gas stoves: These are generally very compact/light and simply attach to a gas cartridge. They're also very easy to use, which is why they're so popular. Their main drawbacks are that it's not always easy to find gas cartridges (when traveling, for example… especially as it's forbidden to travel by plane with gas cartridges) and that they no longer work below certain temperatures (depending on the gas mix).
- Gasoline or multi-fuel stoves: The great advantage of this type of stove is that it's much easier to find fuel anywhere in the world. You can fill up at a drugstore, gas station, DIY store or even a supermarket. Moreover, since liquid fuels don't freeze, these stoves can operate at lower temperatures. Their main drawback is that they are more difficult to use, and also need to be maintained (a little cleaning after each use).
As for us, when we left on our round-the-world trip in 2012 (ouhhh that's quite a long time ago), we bought the MSR Whisperlite International fuel stove, precisely because we wanted to avoid having to find gas cartridges compatible with our burner along the way. Today, we still use this same stove for all our hikes, and it's still performing wonderfully after hundreds of uses.
Of course, you have to learn how to use it ( lighting it is clearly not as easy as with a gas stove), and you also have to maintain it a little… But if you're going on a long trip or hike, you're guaranteed to find fuel easily (we've used white benzine, unleaded fuel and even diesel 😉 ) and to be able to cook anywhere.
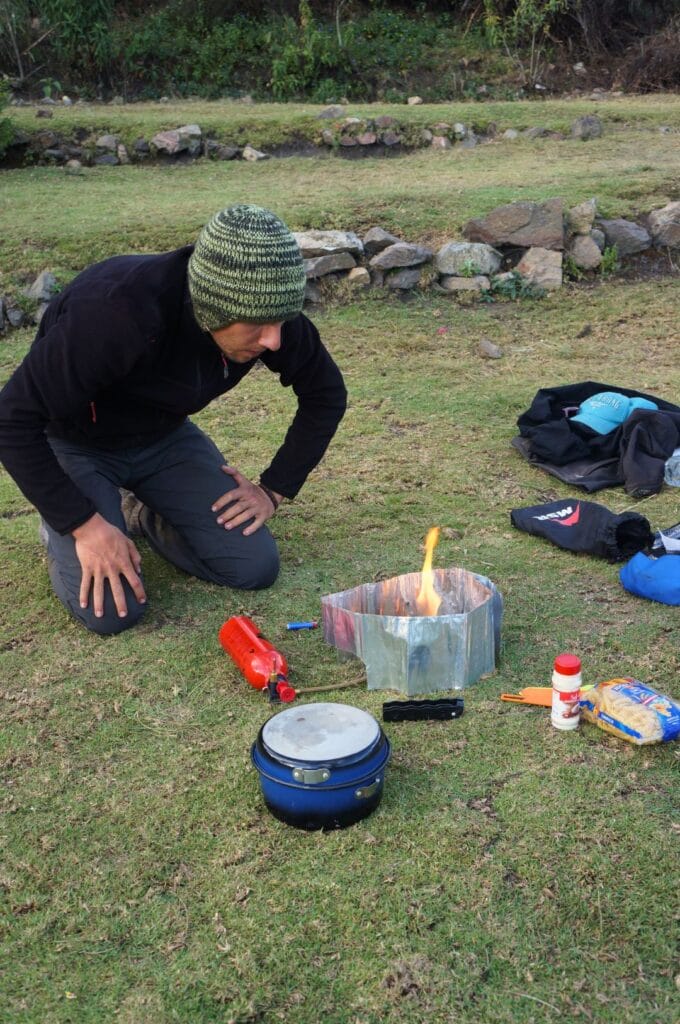
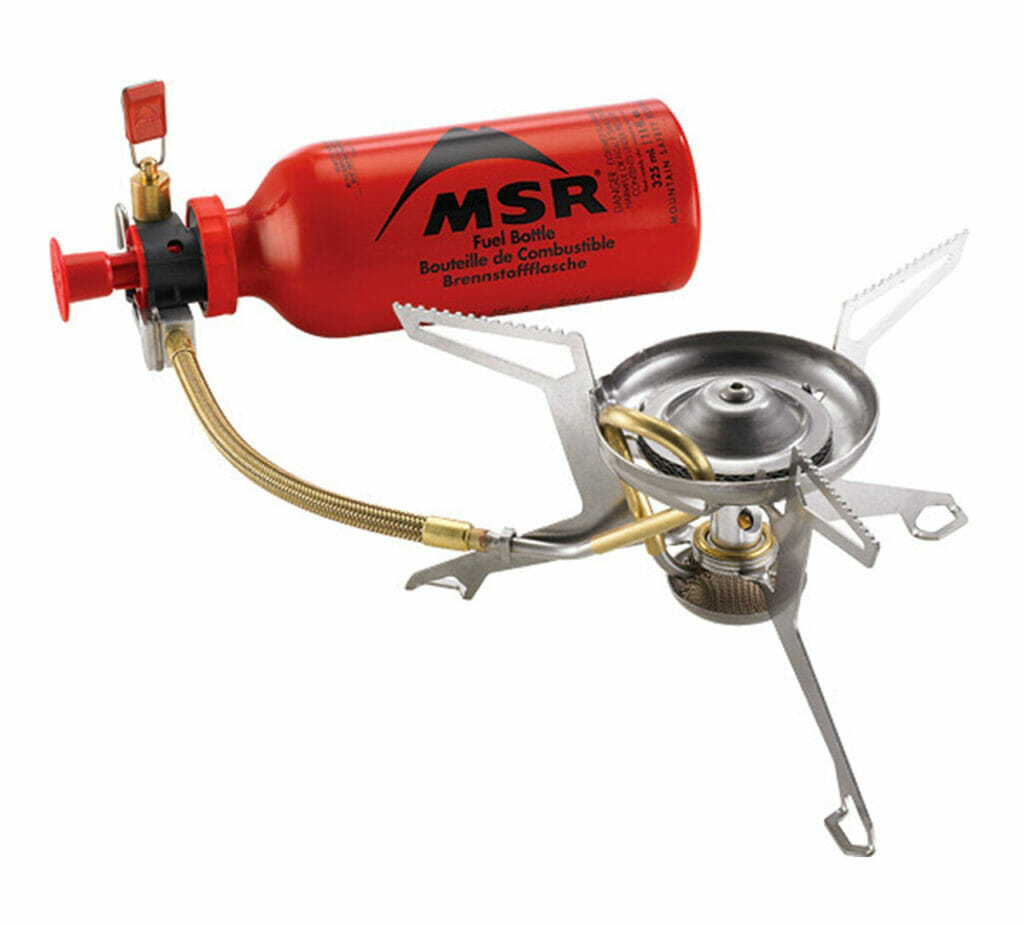
Here are our recommended models of multi-fuel stoves:
But if you're going on a week's hike not too far from home with your gas cartridge, you might prefer the ease of use of a Jetboil-type gas burner, which can boil 0.5L of water in less than 2 minutes. If we had to buy a gas burner, we'd probably choose:
- The Jetboil MicroMo
- The MSR Pocket Rocket DLX
cooking utensils
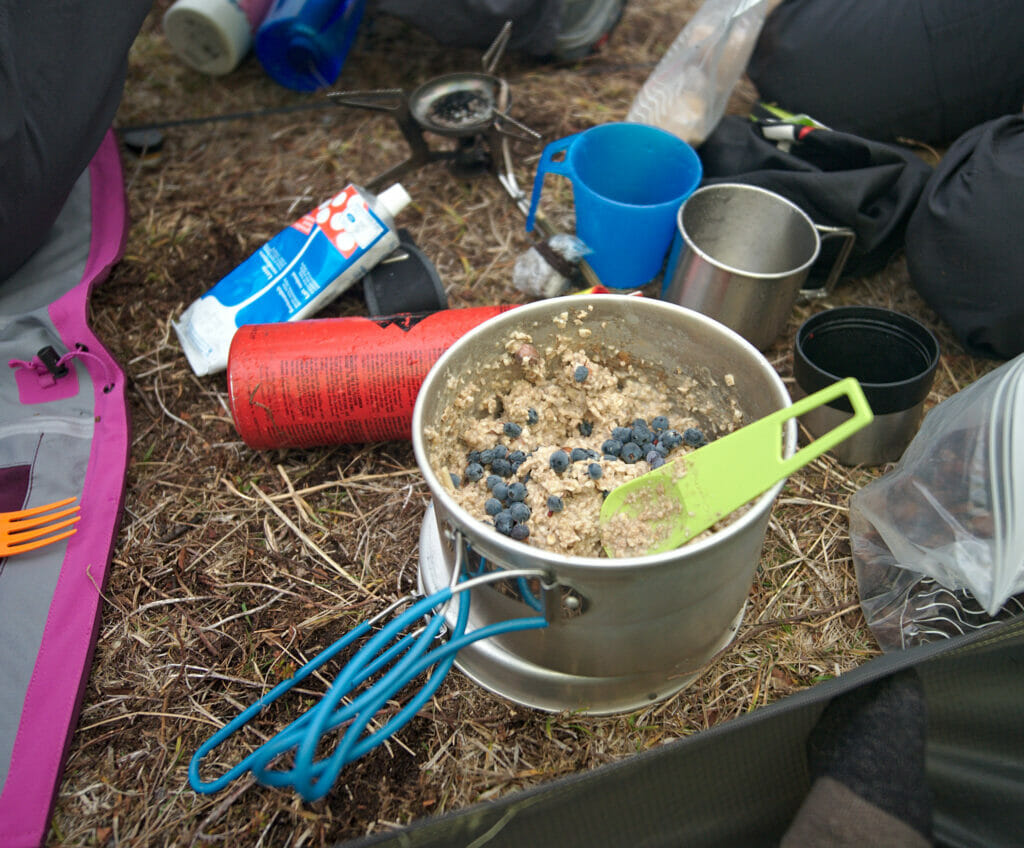
Honestly, when it comes to kitchen utensils, we're pretty minimalistic… Nothing too complicated, just a saucepan with a lid that doubles as a frying pan, 2 forks, 2 collapsible cups and 1 Swiss Army knife… and that's it!
So yes, the Swiss Army Knife can be a bit heavy, and it contains tools we hardly ever use… but it's a bit sentimental, as I received it from my godmother for my confirmation (I must have been 12 lol) and I always took it on all our hikes.
a headlamp
There's nothing special to mention about the headlamp, except that most models are now rechargeable with a usb-c cable. Décathlon in particular offers this kind of product at a very low price compared to brands such as Petzl or Black Diamond.
List of our hiking gear
lightweight backpacks
The backpack isn't necessarily the first piece of gear you think of to save weight… In fact, we've been hiking on our own (like the Via Alpina or the Kungsleden) for 7-8 years with our 1st Decathlon backpacks, which we already had during our round-the-world trip.
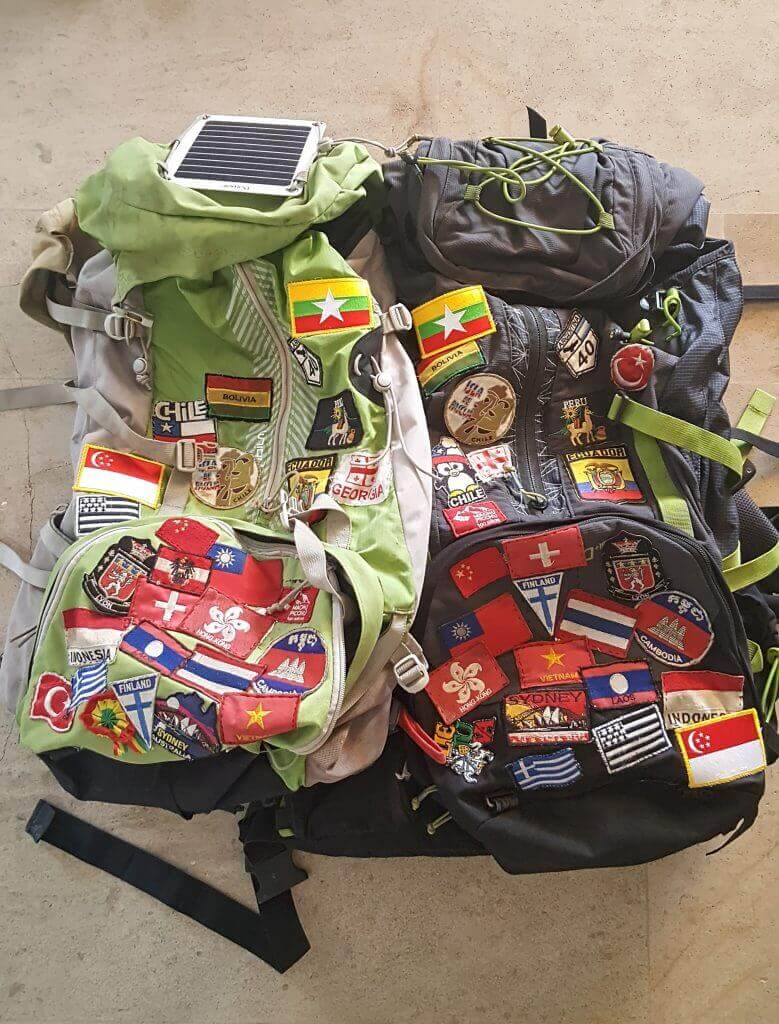
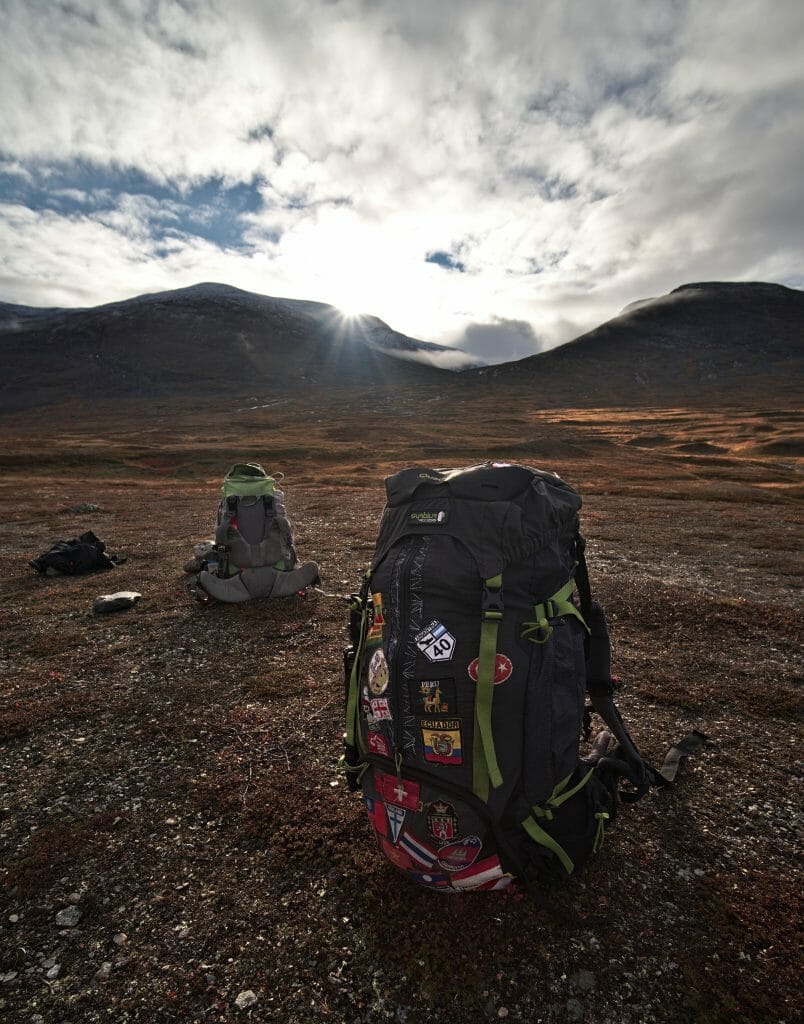
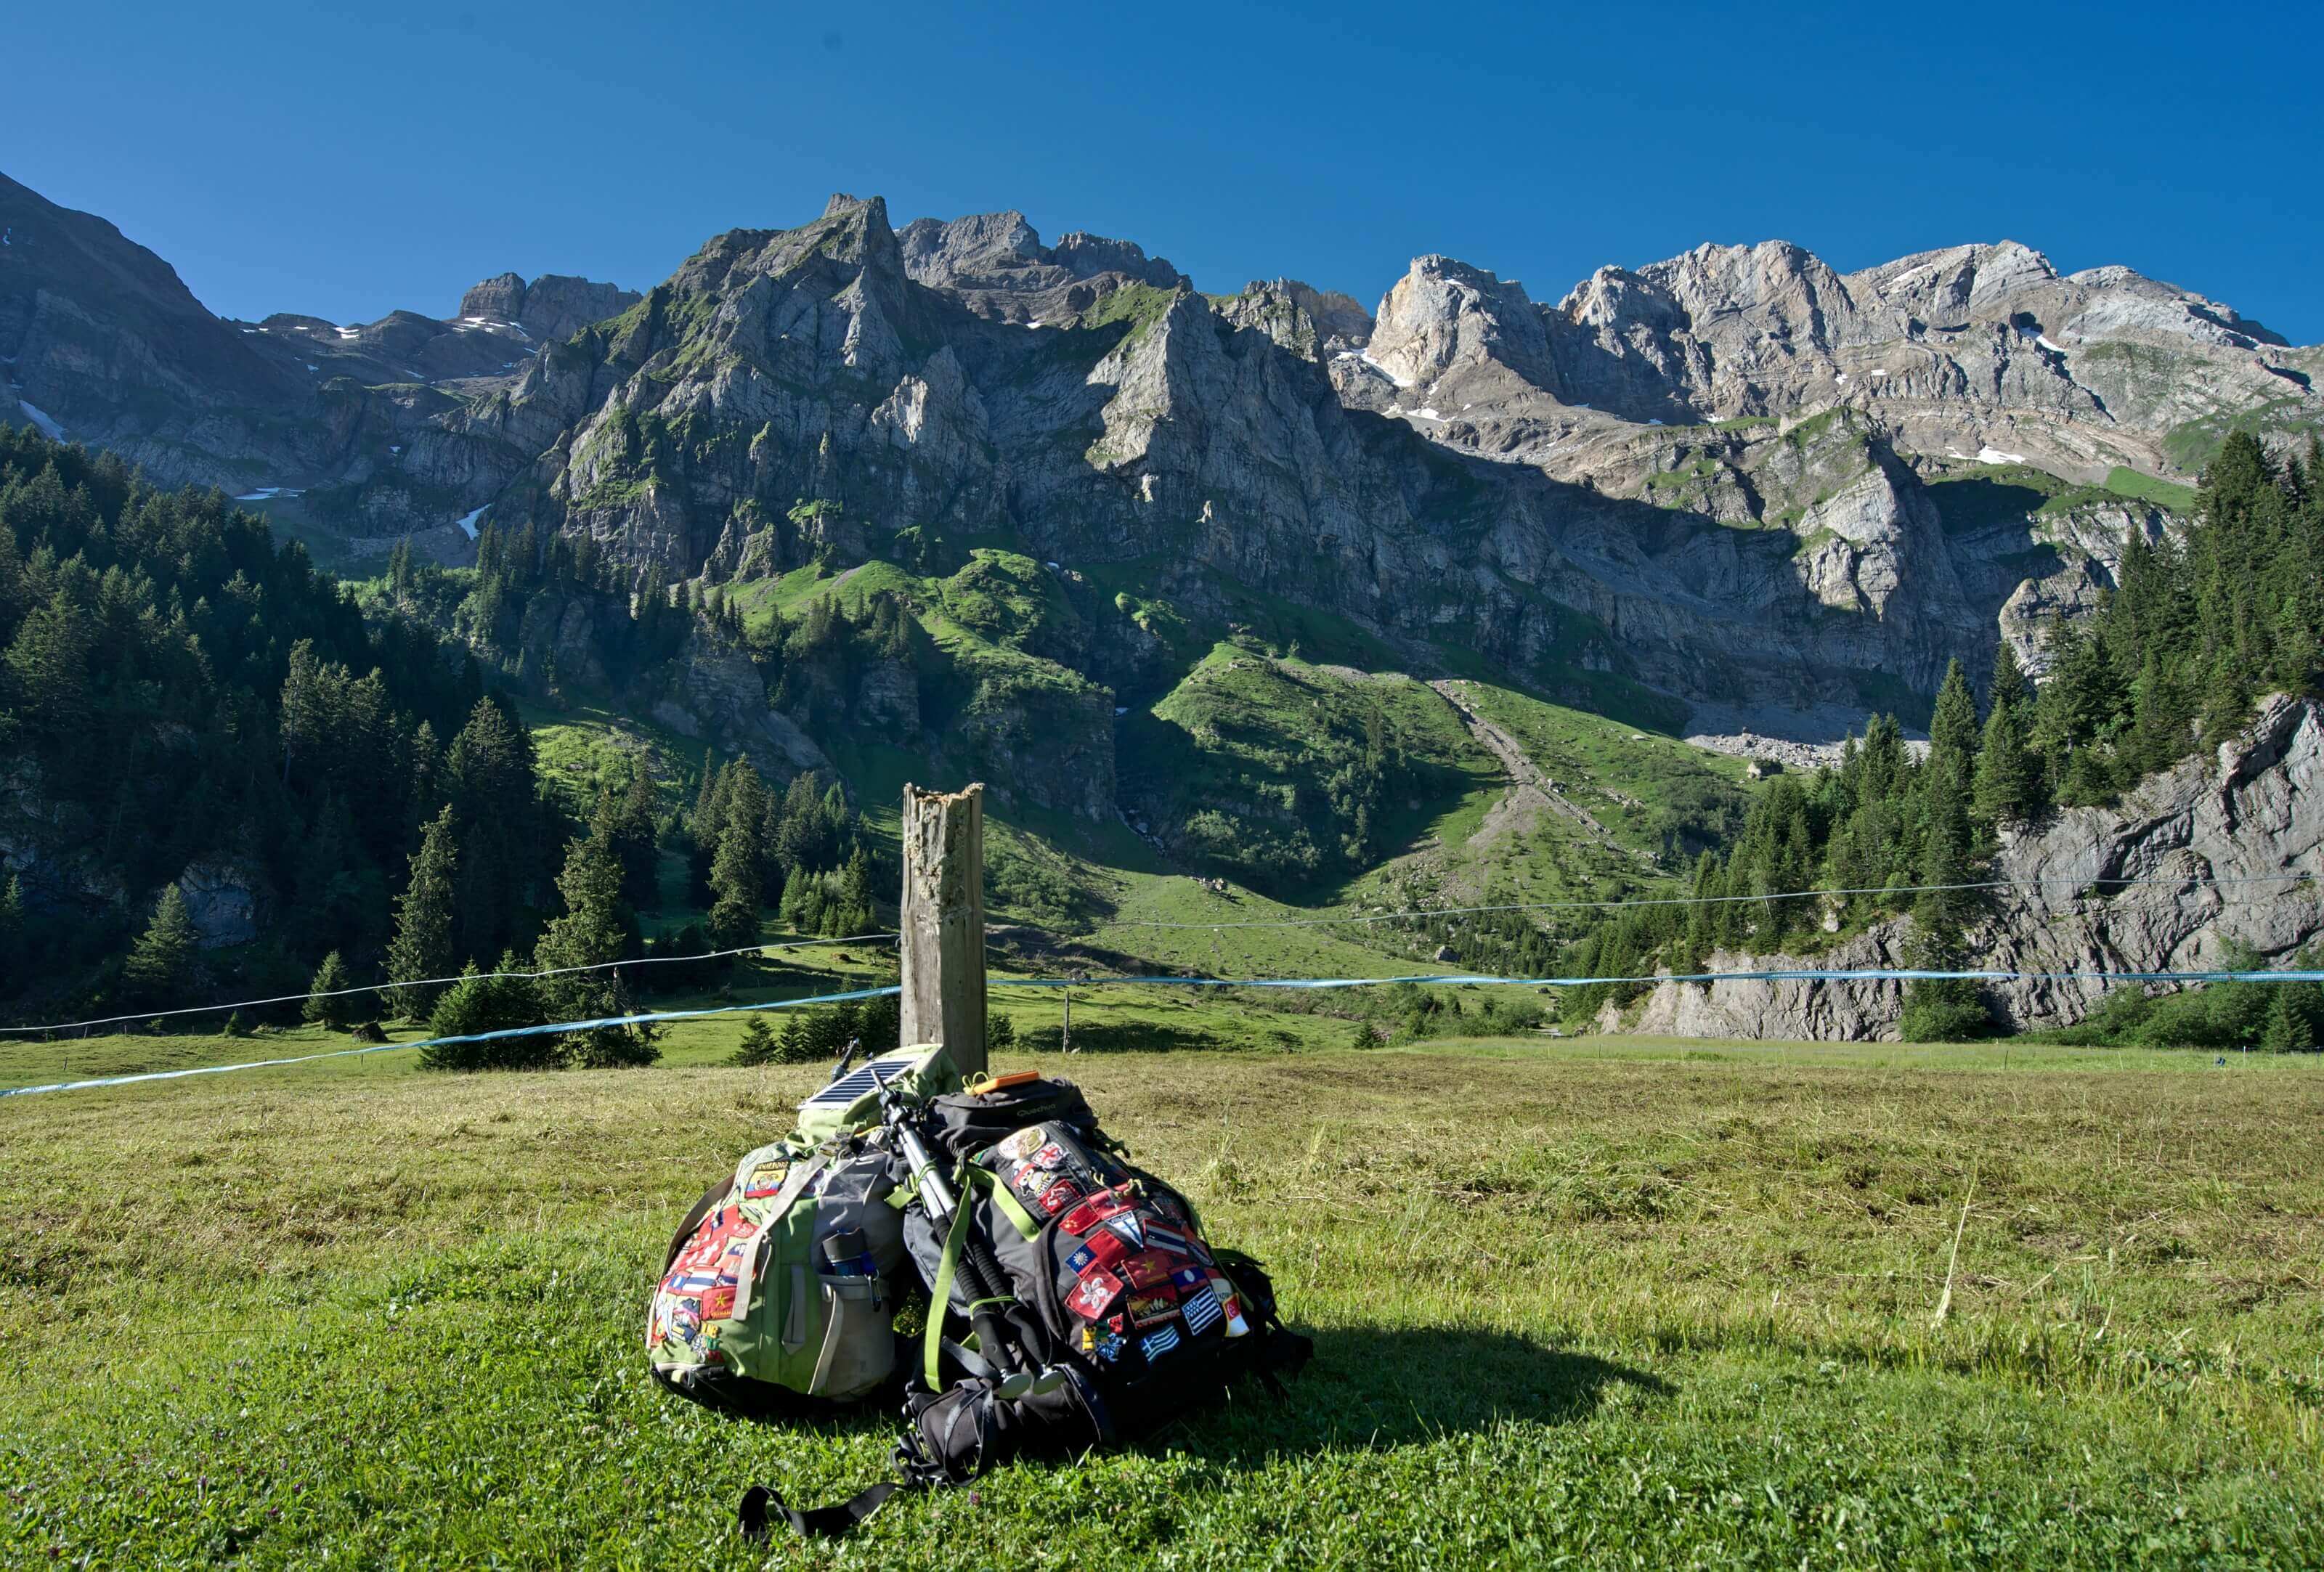
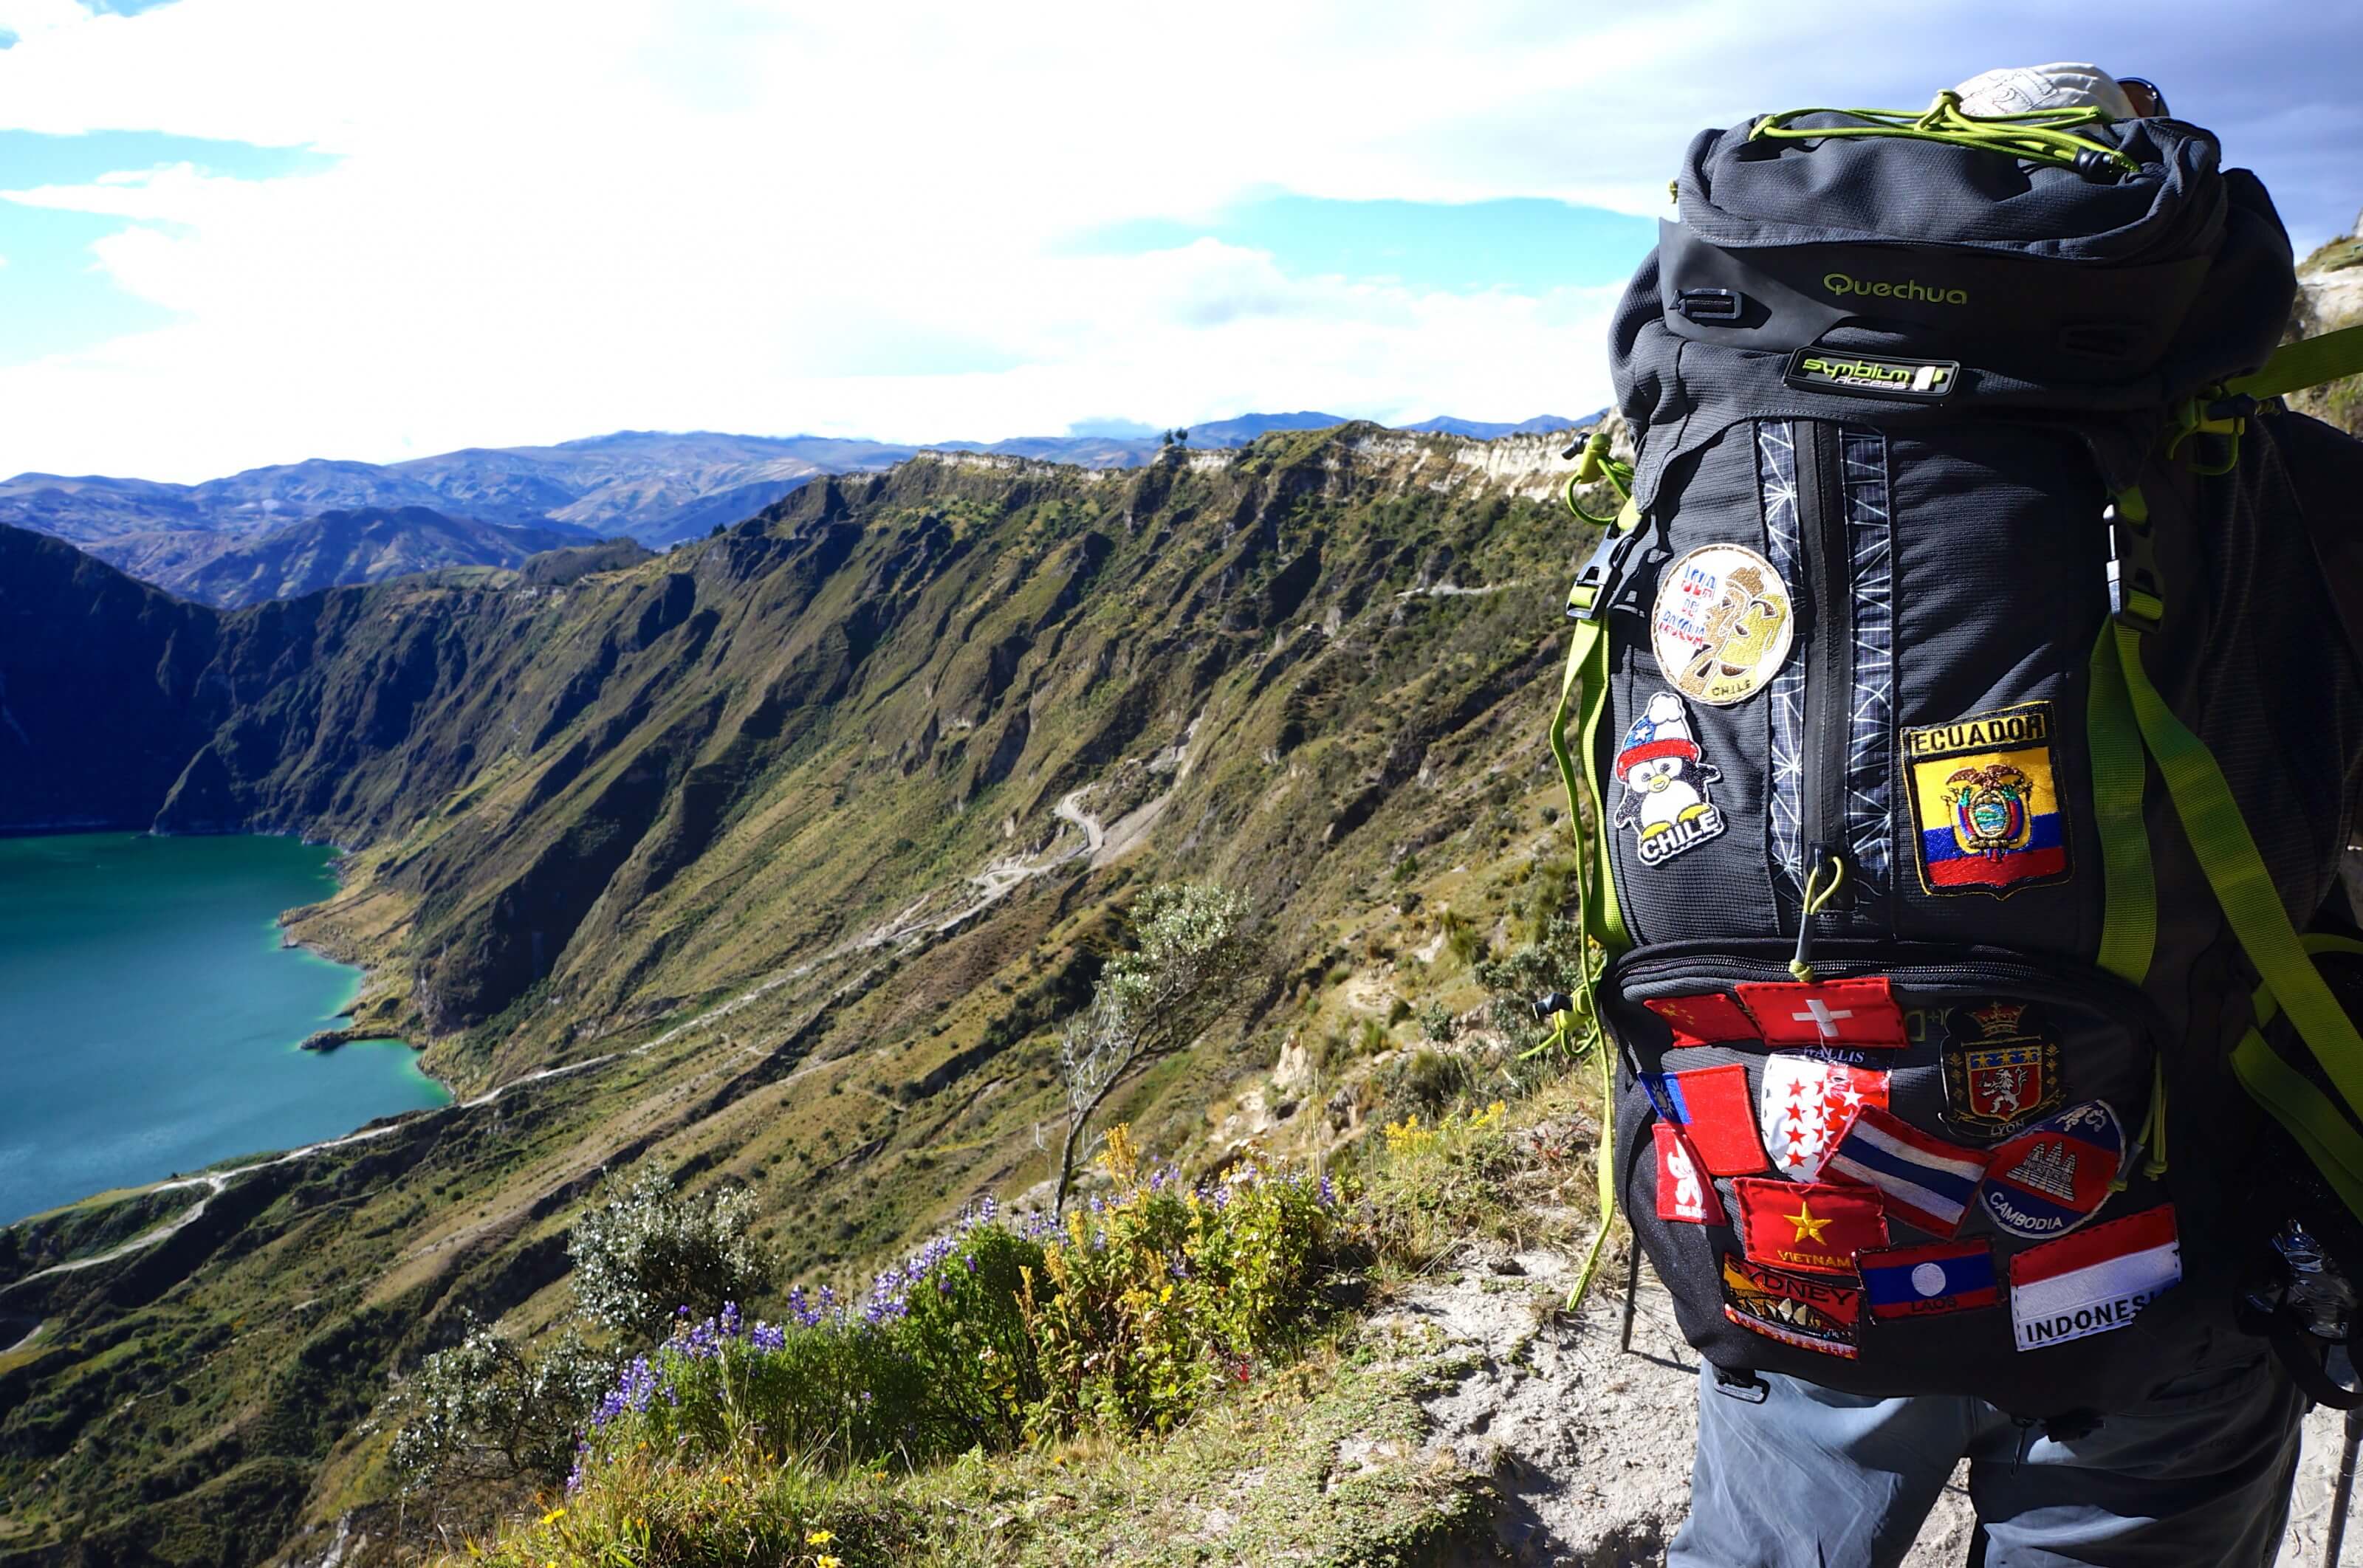
Of course, we were very attached to them for the memories they represent (and we still have them, in fact), but they weighed 2.7kgs when empty (or even a little more with all the patches we'd had sewn on them)! So after postponing it for several years, we thought we'd give them a well-deserved retirement and save ourselves another 1kg or so per person.
What are the most important criteria to look for when choosing a backpack?
- Empty weight: as you'll have guessed, this is the key factor for long hikes.
- Comfort: a lightweight backpack is great, but if you're going to carry it all day for weeks, it has to be comfortable, too. So you need fairly wide shoulder straps, a rigid structure that transfers most of the weight to your hips, and a good waist belt… it's a fine balance to achieve.
- Volume: if you're going out for several days with all your bivouac gear, you'll need a backpack that's at least 50L (if you're a minimalistic backpacker with light, compact gear) to 70L.
- Sturdiness: there's nothing worse than having a zipper break or a seam come loose in the middle of the wilderness!
- Different pockets and attachments: This is a very personal and debatable point… But in general, the more pockets - dividers - bindings you have, the heavier your backpack will be. But in my opinion, there are a few essentials, such as a water bottle pocket, a system for hanging trekking poles, a pocket on the waist belt (practical because it's always accessible) and straps on the outside of the bag that can be used to hang many things.
So if you're setting out to hike for several days on your own, here are a few backpacks we'd recommend, depending on your budget:
Honestly, if you're on a tight budget, it's hard to beat Decathlon in terms of value for money. Since our round-the-world trip, they've made huge progress and now have backpacks designed for hiking - bivouacs (50 to 70L) that weigh less than 2 kgs. For example, the new MT 500 AIR models (for men and women) are 1.7 kgs and they've even brought out the MT 900 UL (for men and women) which are 1.3kgs empty, even if they're not super-cheap anymore (around 150€). Personally, I find all these models a little short on volume, and I'd go for the MT100 EASYFIT (60L for women and 70L for men), which is a simple, sturdy but fairly light (1.9kgs) backpack that costs less than 100€.
For our part, we switched to the Osprey brand before setting off on the Jura crest trail in 2020. What convinced us was obviously the lighter weight compared with our old backpacks, but above all the superior level of comfort offered by Osprey backpacks compared with all the other brands we tried. It really feels like the pack is fitting your back, with most of the load transferred to your hips. Osprey also offers a lifetime warranty on all their backpacks, and will repair your bag should there be a problem (like Patagonia and Nemo).
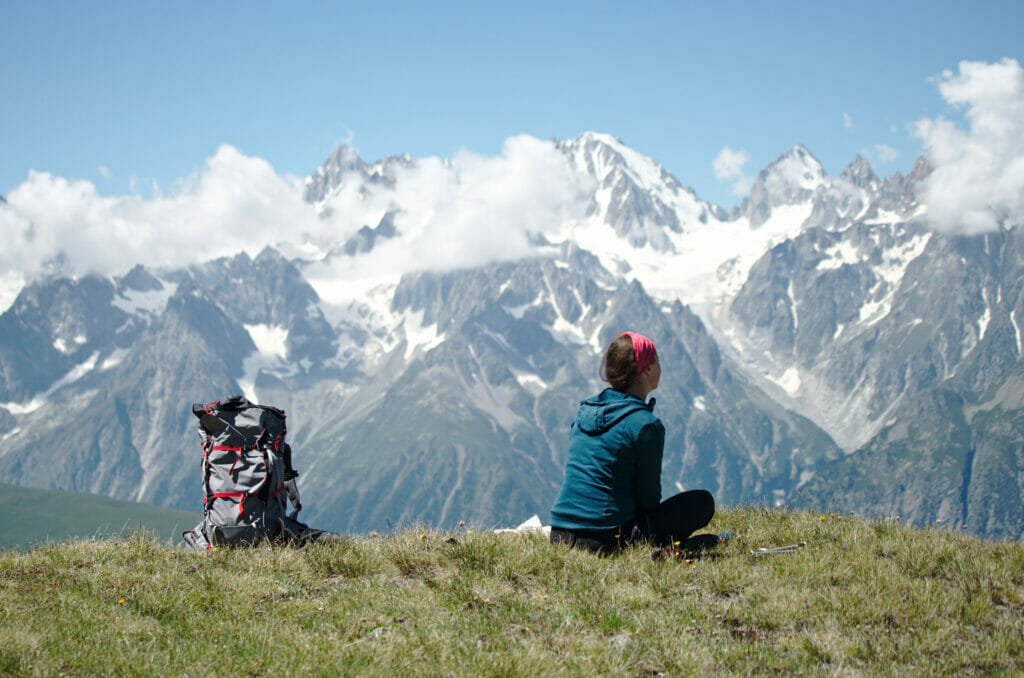
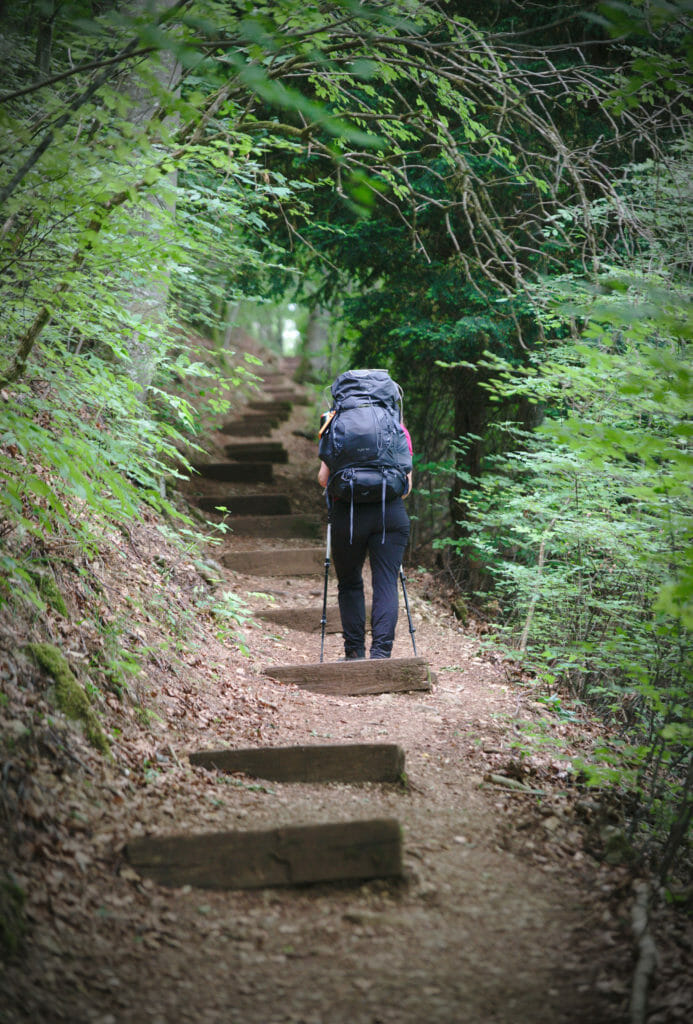
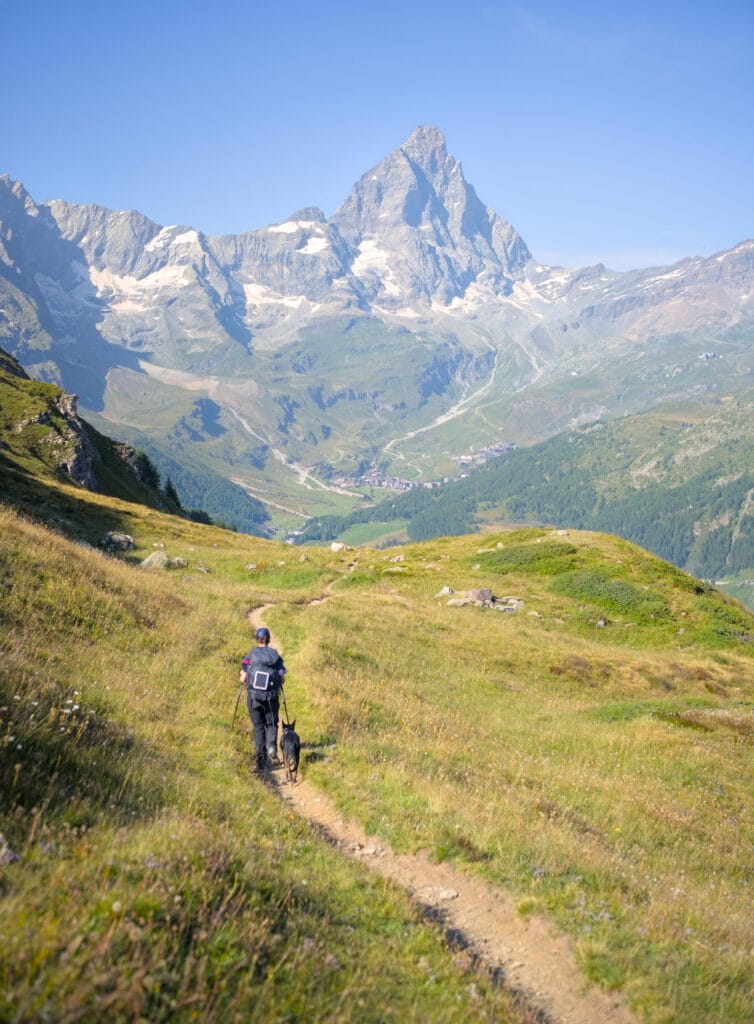
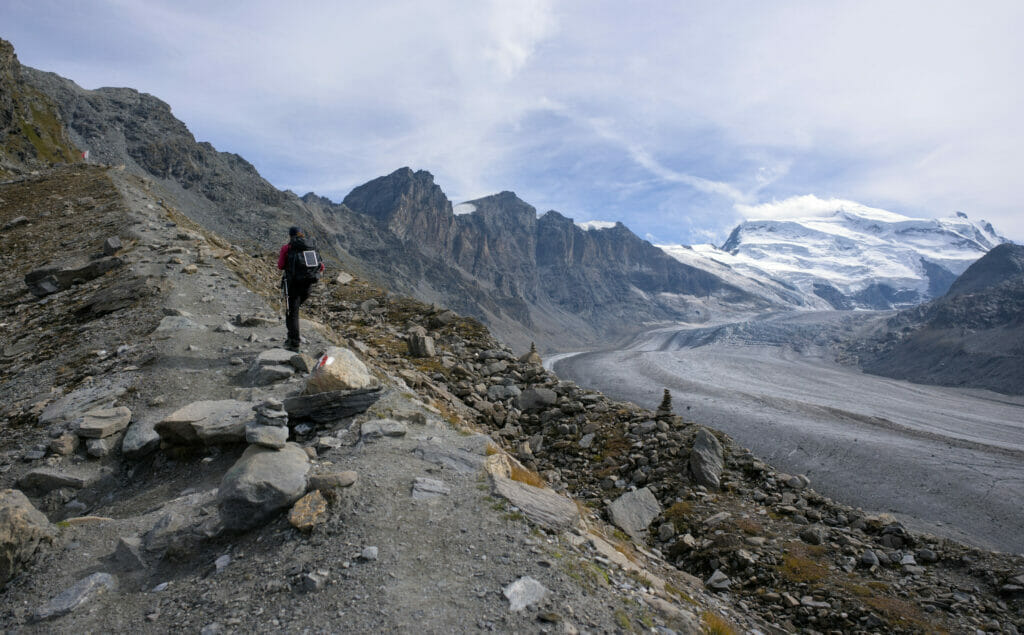
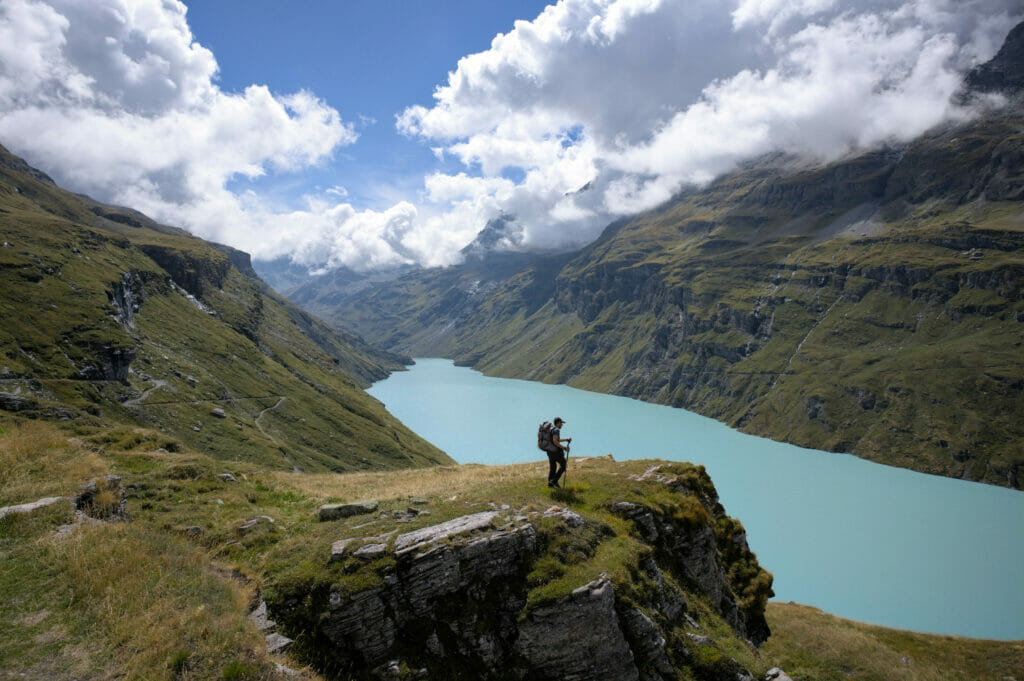
For my part, I chose the Aether Pro 70 backpack (or Ariel pro 65 for women), which is a minimalist, sturdy and fairly light backpack for its volume (between 1.4 and 1.8kgs). It's also very versatile, as you can remove the top pocket (or ventral pockets) to save weight if you don't need the volume. It can be used for long-distance hiking as well as mountaineering, thanks to a well-thought-out external strap system.
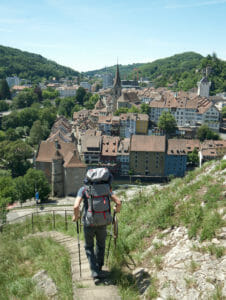
As for Fabienne, she chose the Kyte 68 backpack (66L in the small version), a slightly less minimalist model with more compartments. It's nonetheless very sturdy and light, weighing in at just 2kgs.
Osprey backpacks tend to cost between €200 and €300, but if you're reluctant to spend that kind of money, we suggest you go and test the different bags in a store before buying them (even if you order them online). In our case, we didn't realize the difference in carrying comfort on long hikes. When we go out for several days/weeks, I always have between 15 and 20kgs in the rucksack, and this extra comfort is a plus I couldn't do without anymore.
These backpacks usually have an integrated rain cover, but if this isn't the case, don't forget to take a rain cover with you in case of bad weather.
the hiking boots
When it comes to hiking boots, there are always different approaches. For example, if you read the packing lists of people who set off on very long hikes like the PCT (pacific crest trail), most of them hike in low-cut trail running shoes. But these people also hike with ultra-light, minimalist gear, weighing no more than 10kgs.
The same applies if you're going on a long-distance trip: we would recommend trail running shoes, as they are more versatile.
If you're going hiking with a heavier backpack and on rockier terrain, I'd recommend high-top shoes, which will provide more stability and support for your ankle/foot. When we set off on the Jura crest trail, I went with low-top shoes (because the terrain wasn't too difficult) and I personally regretted it. With the weight of the bag, my ankles ached like never before.
So if, like us, you don't want to buy several pairs of high-top hiking boots, here are a few important criteria to consider:
- Weight: yes, weight is also an important criterion for hiking boots. With the latest gear, it's no longer necessary to have big boots that weigh more than 2kgs per pair.
- Waterproofing: for low-cut shoes, the question of waterproofing is often debated (is it better to have a super-waterproof shoe, or one that breathes better and dries faster?) But for high-top shoes, you'll generally want a waterproof shoe that keeps your feet dry in bad weather, on wet ground or if you're even walking in snow/on glaciers.
- Sole type: many brands use different types of Vibram soles, depending on your use (more or less grip, durability, thickness, depending on the terrain). Some brands also make their own soles (although Vibram has an excellent reputation). If you plan to use your shoes for mountaineering, you may also need a heel insert to attach semi-automatic crampons.
- Stiffness: A stiffer shoe will give you more stability on difficult terrain, and will deform less on uneven ground (more stable support and feet that tire less quickly). A softer shoe, on the other hand, will be more comfortable and provide better foot roll (but less stable support and quicker foot fatigue on uneven terrain).
- Durability: Personally, there are certain shoe details on which I don't compromise to save weight. For example, the hooks for the shoe laces must all be made of metal (it prevents them from tearing with wear… I've been there). I also like to have a good rock guard that protects the feet, of course, but also prevents the shoe from wearing out too much at the front and sides.
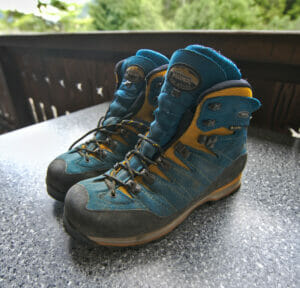
So in the end, your choice of shoe will depend on your use. As far as I'm concerned, I've opted for an intermediate model, not completely rigid, but still oriented towards high mountains, since I also use my high-top shoes for mountaineering/glacier climbing. For years, I've trusted the Meindl brand and its Air Revolution system, which I highly recommend. Super comfort, flawless waterproofing and durability, the option of semi-automatic crampons... they're an excellent compromise for my hiking and mountaineering activities!
the hiking sticks
To be honest, if you're going to be hiking for several days with all your gear on your back, I don't see too many reasons not to take a pair of hiking poles. Nowadays, these poles are super-light, can reduce the load on your legs by 20-30%, and offer a nice extra support on both ascents and descents. So we really highly recommend using some.
Here are a few points to bear in mind when choosing your hiking poles:
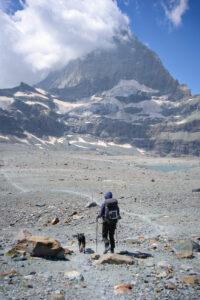
- Weight/strength: Trekking poles are generally made of either aluminum or carbon. Carbon poles are certainly lighter, but they are also less sturdy and much more expensive. These types of poles are generally used for trail running, and in my opinion, simple aluminum poles are more than sufficient for hiking if you don't mind carrying 100gr more.
- Grip type: we recommend an ergonomic grip that fits the shape of the hand, as well as a strong, comfortable wrist strap. We find it useful to have a good length of foam under the grip so you can hold the poles at different heights on inclines or when the slope changes abruptly.
- Adjustment system: Most trekking poles are telescopic, with 2 or 3 sections, so you can adjust the height to suit the person or the situation (uphill, downhill). There are also folding poles (not telescopic) which are more compact when folded, but generally have a fixed length and are used more for trail running.
After that, there's no need to spend over 100 euros on poles, when you'll find aluminum ones at Décathlon that are pretty light (lighter than some other brands' carbon poles) and do the job really well.
If you really want to save 100gr, there are also carbon poles that are more designed for trail running (the ones I use to run in the mountains) which weigh 140gr but still cost 100€ a pair.
Hiking clothes (layering technique)
For clothing, the idea is to take layers with you, which you can put on or take off depending on the weather conditions. This technique (also known as the onion technique) allows you to have a very versatile outfit and only take what you need.
Obviously, the layers you take with you will depend on the climate/weather conditions of your hiking destination. But the principle is the same whatever the destination, and some of the clothes we take with us are always the same.
- 1st base layer: This is the layer that will differ the most depending on the weather. For example, in summer it might be a simple technical T-shirt, but on colder hikes (like the Kungsleden) we had thermal underwear for the upper and lower body. We recommend that you choose fabrics that evacuate sweat well and dry quickly, such as merino wool (which also prevents the formation of bad odors). See on the Decathlon website.
- 2nd insulating layer: This is the layer that should keep you warm, and it will also vary a little depending on the weather. It can be a simple hoodie for summer conditions, a softshell or fleece jacket, or a warm down jacket for cooler temperatures. For our part, we like down jackets because they're so light and warm. We have a light one that we take on all our hikes when it's not too cold, and a warmer one for colder weather. See down jackets on Décathlon or Snowleader.
- 3rd protective layer: This is the layer you take out when the weather turns bad, and in our case, it's always at the bottom of the rucksack. Fabienne and I both have an Arcterix GoreTex jacket (340gr) and whatever happens, it's always at the bottom of our backpack to protect us in case of need.
What I like about the layering technique is that it's not only valid for hiking. For example, I use pretty much the same layers for my upper body in winter ski touring (I sometimes have 2 insulating layers). The only difference is that in ski touring, you'll need a slightly different pair of pants than in normal hiking. This makes the clothes much more versatile and avoids having to buy gear for too many specific uses.
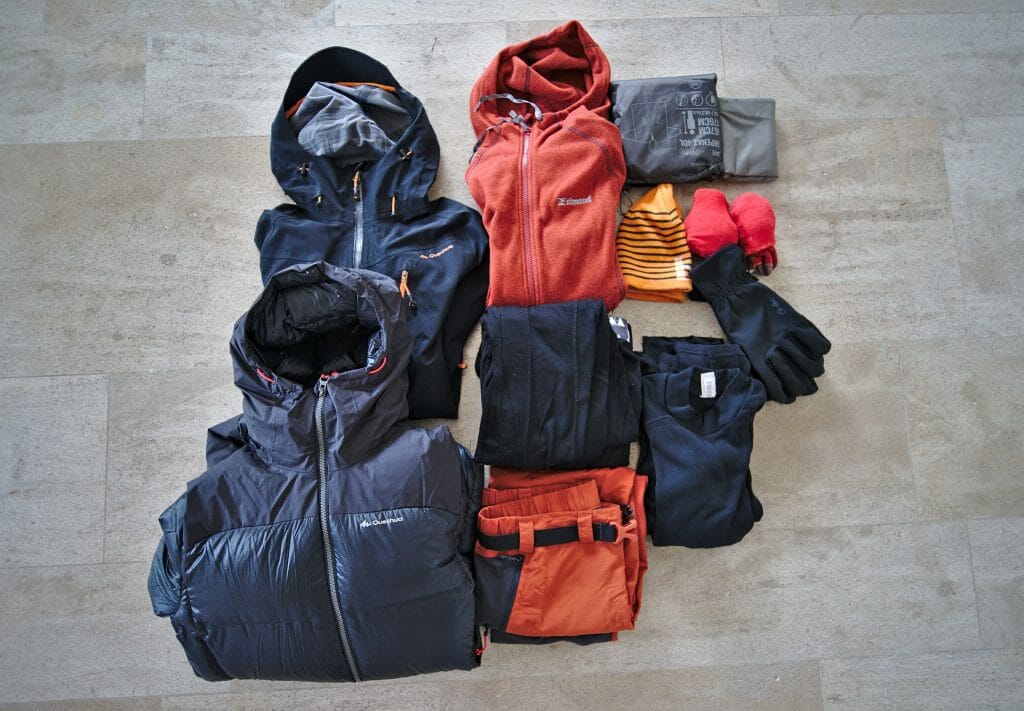
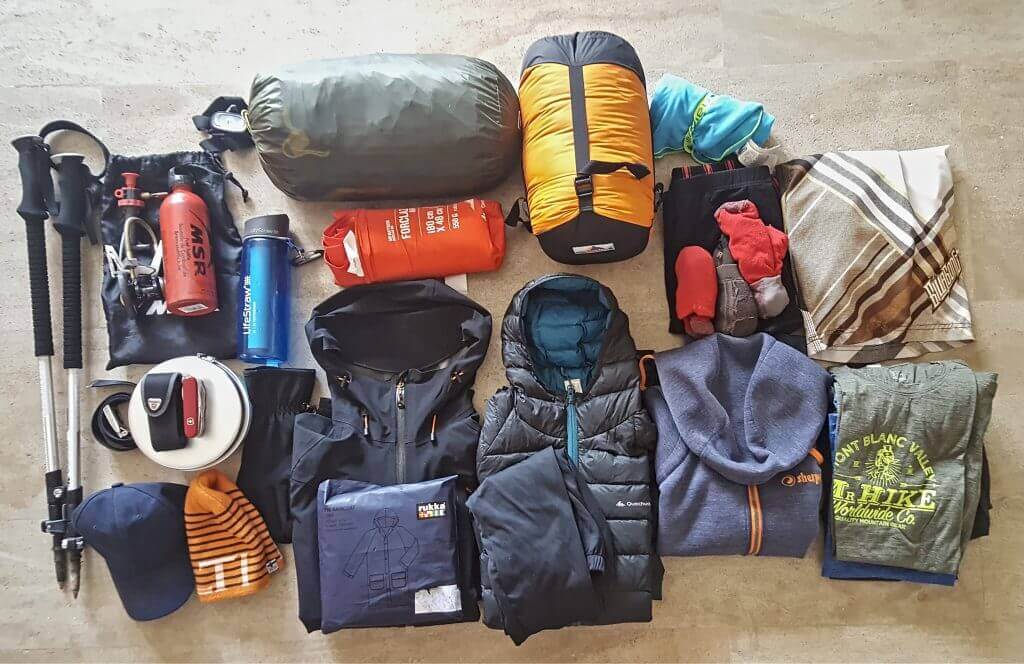
You may notice in the photos above that we also have underwear (pairs of socks, underpants etc…) but there's nothing really special to mention about them. I personally like the 2-layer hiking socks (to avoid blisters) but it's not essential.
Others
Finally, we still have a few other items we take with us when we hike for several days
- first-aid kit: It's a must to have a few bandages, compresses, dressings, disinfectant, etc. in case something goes wrong. In fact, there are a number of ready-made first-aid kits available, so you don't have to worry about a thing.
- sunglasses and a cap
- toilet paper
- microfiber towel: It doesn't dry as well as proper towel, but it's light and compact. We usually take one for two people.
- toothbrush + toothpaste
- soap
- sun cream
- a flea remover: This can be added to the first-aid kit if you're planning a trip to flea infested areas.
- for the ladies, a cup or a few tampons + a small garbage bag, depending on your preferences.
The food: what do we eat during our hikes?
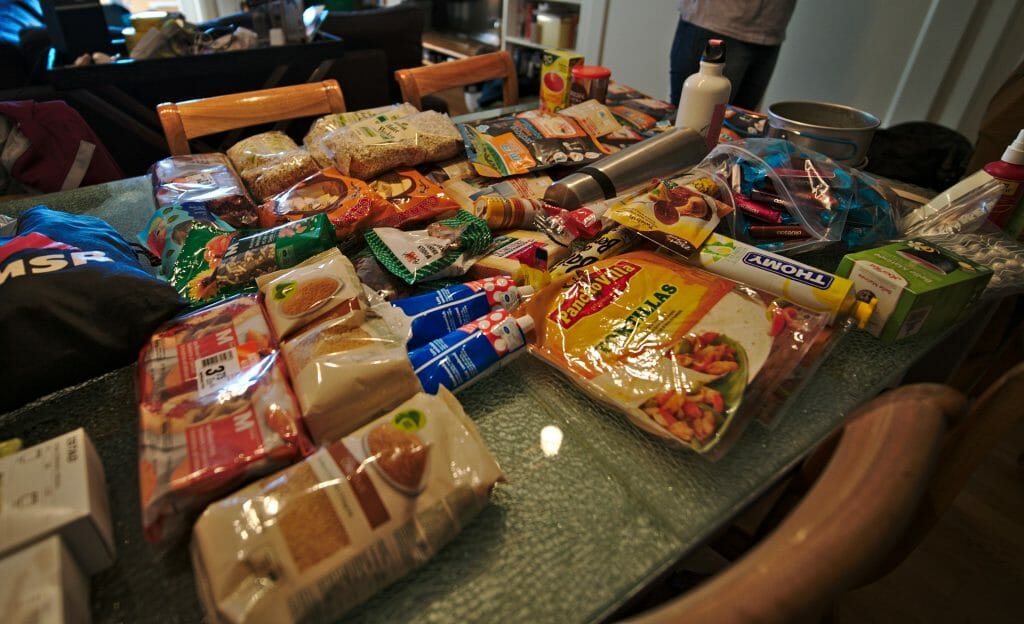
We certainly don't all have the same habits when it comes to eating when hiking, but we're going to share our way of doing things with you. For our part, we only eat hot food in the evening. To minimize cooking time (and therefore the amount of fuel we have to carry), we generally only cook dishes that simply need hot water (like polenta or couscous, for example). We clearly avoid pasta or rice, which have much longer cooking times.
What's great about couscous, is that it's light, takes up little space and can be easily customized with other ingredients such as instant sauces, spices, cheese or even a few vegetables. But we have to admit that when we're out hiking, it's not exactly top chef at home.

We also sometimes indulge in “freeze-dried” dishes, for a change from couscous lol. These pre-cooked and then dehydrated dishes only need a little hot water to be ready to eat. They're easy to transport, light and very diverse (from fondue to pasta carbonara to lentil curry). The only downside is that they're quite expensive and only available in specialist stores. That's why we generally prefer to carry less food and buy our couscous on the way lol.
If you're an adventurous cook, you could try dehydrating your own food. Clearly, we're too lazy to get into that sort of thing, but if you're interested, you'll find plenty of info on this blog.
For lunch, our favorite choice is fajita wraps because, unlike bread, they take up little space and don't dry out. We usually fill them with mayo, egg, cheese, vegetables… or whatever we find on the way. Then, if by chance we come across a restaurant, a hut or any other place offering something more elaborate to eat, we don't usually hesitate too much 😉
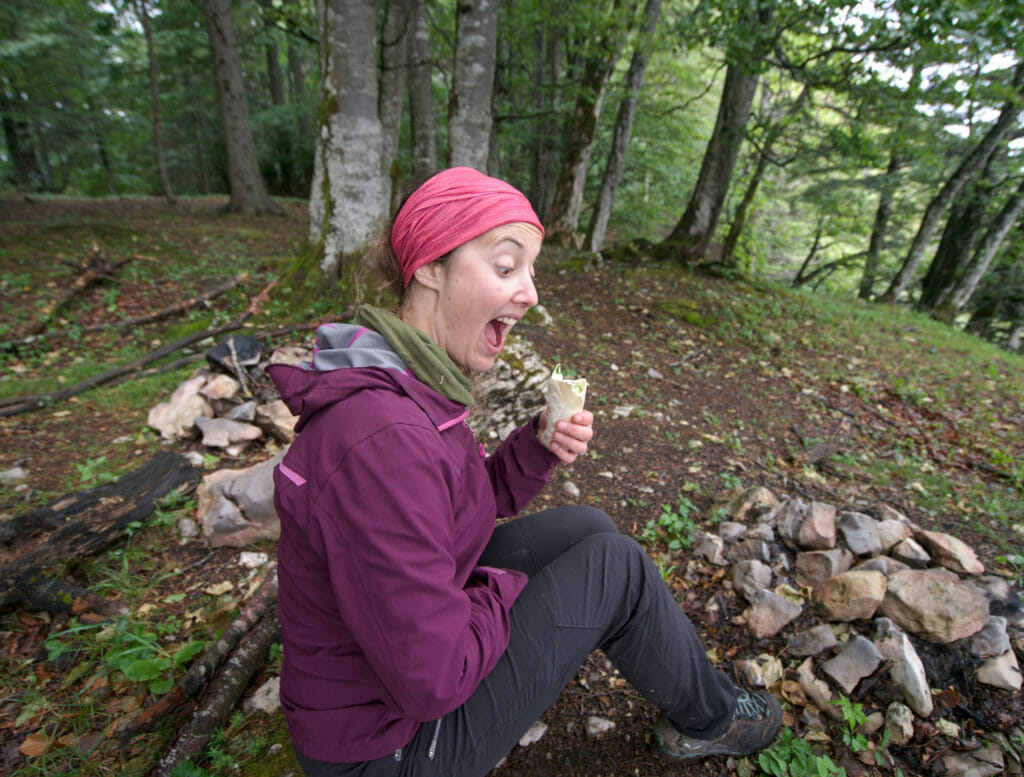
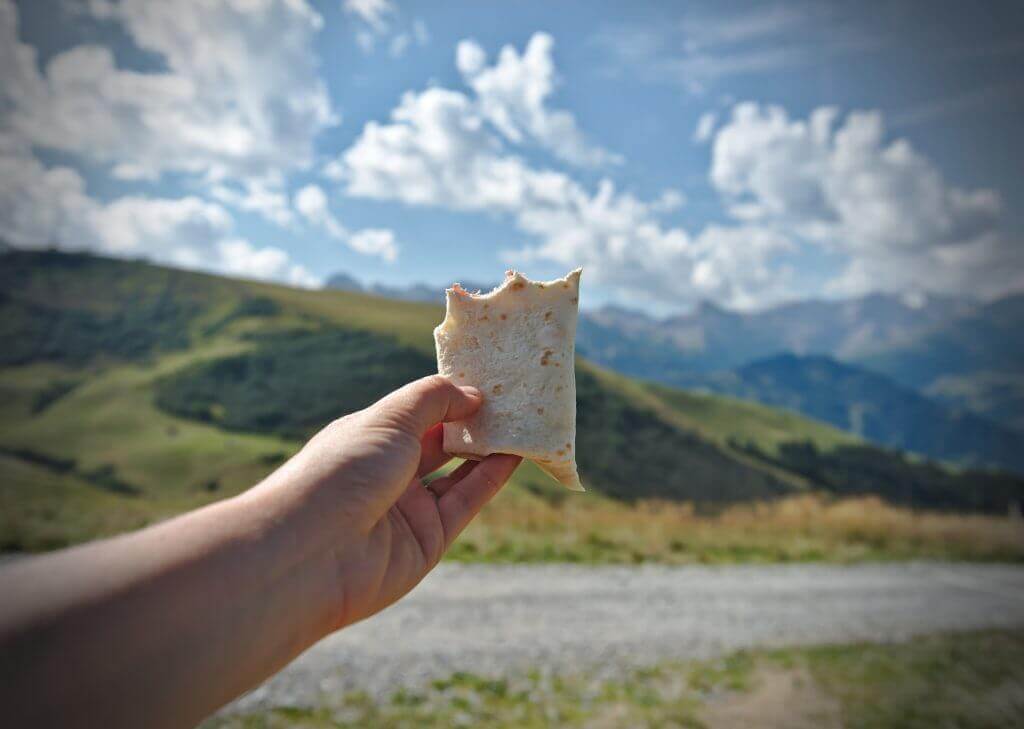
For the morning, it depends on our motivation. If we're motivated and we're hiking in fairly remote areas, we take oats with us, mixed with cinnamon, condensed milk and dried fruit-nut mixes. But if we know that we'll easily find food along the way, we generally prefer high-calorie sweets (cakes, cookies), which we eat with “delicious” instant cappuccinos.
Finally, of course, we always have a few snacks available for when we're feeling a bit drained. We're particularly fond of Micamu butter caramels from Migros 😉
Drinking water
The question of drinking water when hiking is a very important one, and can have a significant impact on the weight of your backpack. When we hike in the Alps, we don't think too much about it, since there's water literally everywhere… But there are many places where it's much harder to find water. So you have to carry a lot more in your rucksack, which considerably increases its weight. During our hikes on the Jura crest trail or the Lycian Way in Turkey, for example, we sometimes carried up to 6 liters of water (i.e. an extra 6kgs 😉 ).
To minimize the amount of water you'll be carrying, it's important to identify streams and water sources on the map as early as possible. If you use apps like Maps.me, these places are often indicated by a drop of water, which makes the task much easier.
And always plan for 1-2 liters of extra water at the end of the day for drinking and cooking at your bivouac spot.
filter bottles
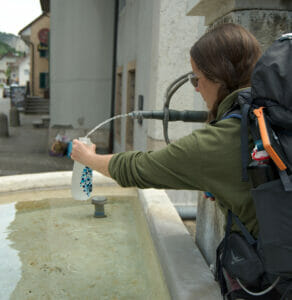
We never go hiking without our filter bottles! Thanks to these bottles, you can easily drink from rivers, while greatly limiting the risks associated with bacteria and particles in the water. They don't completely eliminate the risk of viruses in the water, but in over 10 years we've never had a problem using a filtering bottle. So it's thanks to this type of bottle that you can avoid carrying too much water in your backpack, since you can refuel along the way.
We tested several models (lifestraw, Katadyn), but our favorite is the Katadyn Befree tactical water bottle, for the following reasons:
- It's flexible, so it's super-easy to fill, even in a stream that doesn't have much water.
- The tactical model is sturdier than the classic Befree (which was its main drawback).
- It weighs 70gr and takes up very little space in your backpack.
Note: If you're worried about potential viruses remaining in the water, you can also buy a steripen UV lamp to eliminate them completely. We never take it with us on hikes, but we have one in the van when we go on roadtrips.
Water bottle or hydration bag?
In addition to the filter bottle, water bottles or hydration bags are used to store water in your backpack. As I've already mentioned, if you're hiking in places where water is abundant, you won't need to store much in your rucksack (for example, on the Matterhorn tour we set off with only our filter bottles). But on the Jura crest trail, we still had 3 additional 1.5L bottles to store water.
Personally, we've always used water bottles up to now, but I can see the point of the hydration bags (I have one for trail running). The most common bag holds 2L of water, is flexible, light, easy to fill and allows you to stay hydrated while hiking. On the other hand, a water bottle is certainly more robust, but weighs a little more than a bag.
So in the end, it doesn't really matter which one you choose. As long as you can store enough water for your hike.
List of our electronic equipment
Finally, let's finish this packing list of gear we take on multi-day hikes, along with our electronic equipment. So the 1st thing we'd like to say is that all the following items are optional. Of course, you don't have to carry 3kgs of extra gear if you don't care about photography 😉
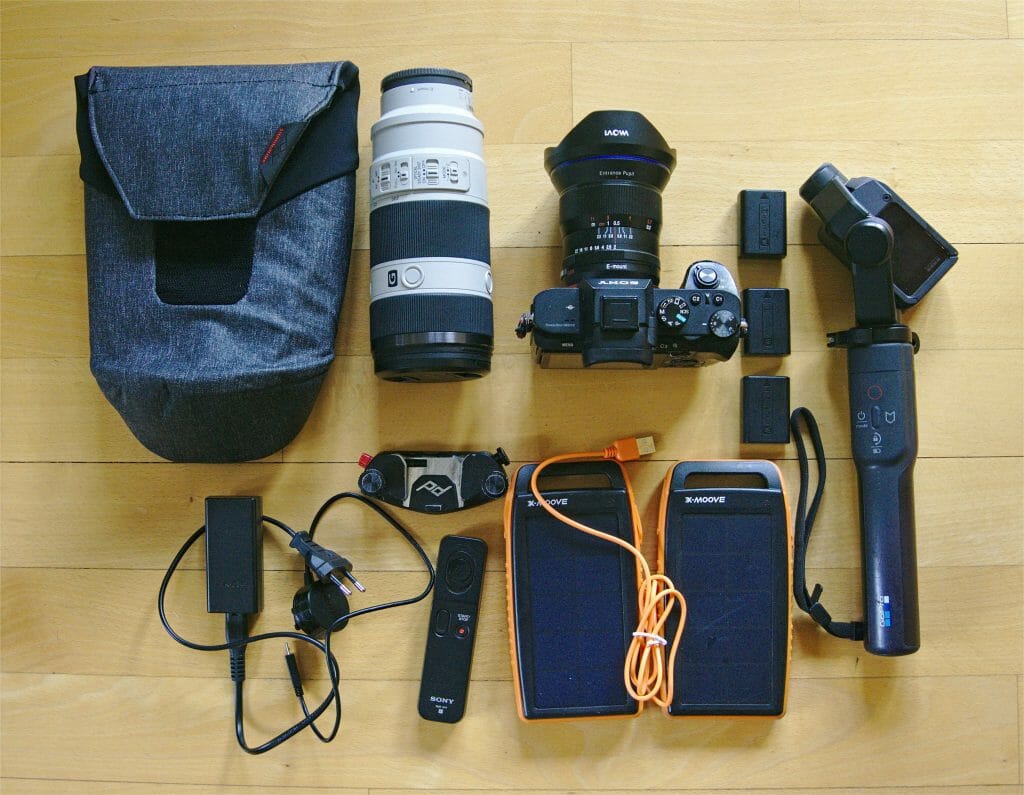
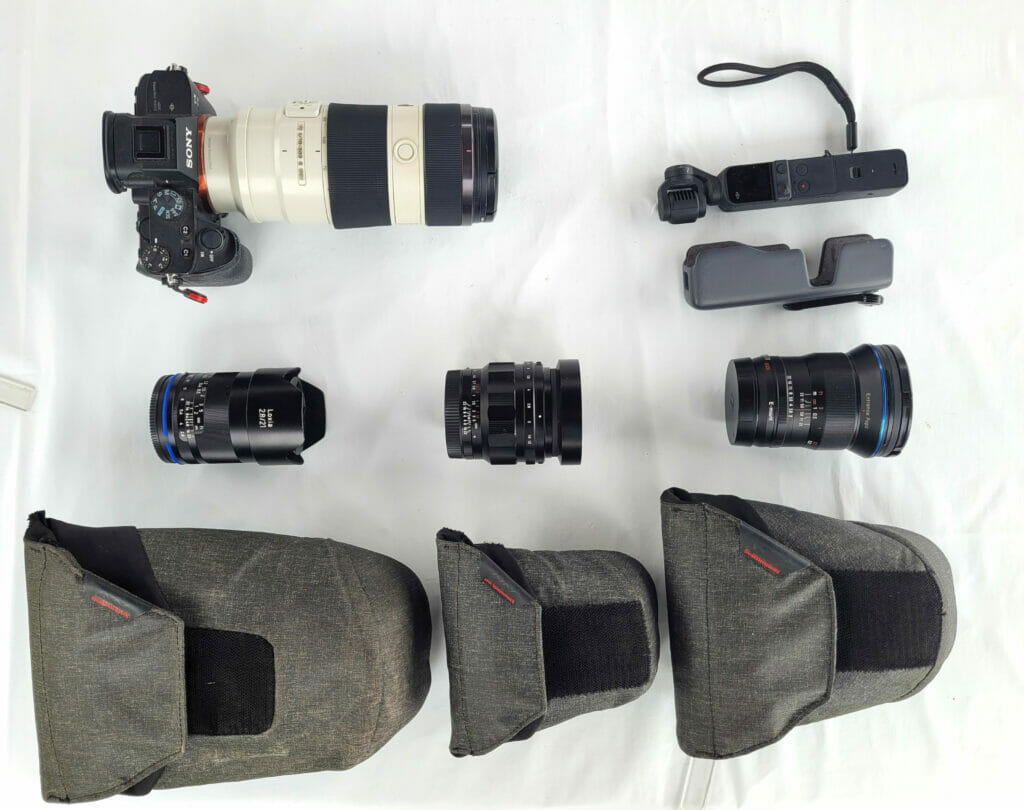
The purpose of this post is not to give you recommendations on how to choose the best camera for hiking ( I provide a lot more detail in this post), but simply to list the equipment we usually take with us and which accessories are really practical for hiking.
- Sony A7III body: This is a full-frame, weather proof, stabilized body that's really great in all situations! I've had it since 2020, when I replaced its little brother the Sony A7II after 5 years of loyal services. It weighs around 650gr with battery but without lens (I also always have a spare battery).
- 2-3 lenses: In general I prefer to bring 3 lenses (a 15mm or 21mm wide-angle, a 40mm and my 70-200mm zoom)… but if I have to be mindful of weight, I sometimes replace the first 2 lenses with a 16-35mm zoom. So I always have between 1.2 and 1.5kgs of lenses.
- Tripod: Essential for long exposures or timelapses… I used to do a lot of these, but now it happens less often. Even if my tripod is very light (900gr), it's still one less thing to carry.
- Capture pro clip: For me, this is an essential accessory for taking photos comfortably on the trails. This clever device lets you easily clip or unclip your camera onto the strap of your backpack, so that it's always close at hand. This means you don't have to sling your camera over your shoulder with a strap, which is rather annoying when hiking.
- Lens pouches: As far as I'm concerned, if I have my lenses in my backpack, I never use them! Having them clipped to my belt in a pouch means I always have my lenses close at hand, so I can use them more often!
- External battery + solar panel: We always have a good external battery to recharge our phones or camera batteries. If you know you're going to be really far away from everything for several days, you can also take a small solar panel, but don't expect miracles from it!
All in all, you can see that our electronic gear weighs in at 3-4kgs, which is a lot when you're out hiking on your own for several days!
Note: We've even packed even more equipment, as on some hikes we even had our own laptop! At the time, we were still doing a lot of website development and couldn't afford not to have at least one laptop with us in case of a problem on a client's site 😉
So now you know all about what we bring in our backpacks when we go hiking for several days! I'd also like to make it clear that this is only our opinion, and that we don't claim to be right… Some people are more minimalist than we are, others may recommend other brands for certain pieces of gear… So don't hesitate to check as well other hiking websites, travel blogs to make up your own mind.
And as always, if you have any questions, don't hesitate to leave us a comment below.
Pin it on Pinterest
Join the discussion