As I got several questions after sharing with you on social medias some Northern Lights pictures taken during our trip in Lapland (by the way, if you still don’t follow us on Instagram it’s never too late 😉 ). I thought it might be nice to share with you some info / tools that we have used to see and photograph the Northern Lights (aurora borealis) in northern Sweden and Norway.
But first, I have to say that it was the first time I saw the Northern Lights, so I’m not an expert yet… But who knows, my experience may be useful to you to maximize your chances of seeing these wonders of nature and bringing back some cool aurora images to impress your mother-in-law 😉
What is a Northern light: explanations for dummies
It is not easy to give a simple explanation to phenomenon that is actually quite complicated 😉 . To make a long story short, what is often called the northern lights are actually polar lights because they are actually forming over the poles (so we have northern and southern lights). In fact, our friend the sun constantly projects magnetic particles into space at very high speed (the so-called solar wind). These particles are deflected by the Earth’s magnetic field… But because this field is less efficient at both poles, the solar particles come into contact with the Oxygen around the two poles, which begins to radiate colors ranging from green to red. And so the stronger the solar activity (there are sometimes what are called solar storms), the larger the observation area of the northern lights is!
But well, as there are people much more knowledgeable than me to explain you this phenomenon, here is a short and well made video on the subject 😉
Where to see the Northern lights (best places)?
Well, if you have understood the previous part correctly, you now know that you must get closer to the north or south poles to maximize your chances of seeing this phenomenon. And if you look at a world map (or google maps 😉 ), you will soon realize that there is not much around the South Pole. This leaves us with the regions around the North Pole and that’s why people usually go to watch the Northern Lights and not the Southern Lights 😉 .
So which places are easily accessible around the North Pole? There are of course the northern Scandinavian countries (Norway, Sweden and Finland), Svalbard (which is an archipelago that belongs to Norway and is probably the closest place to the North Pole where you can easily go), Iceland, Siberia in northern Russia and also northern Canada.
In our case, we were once in Finnish Lapland in winter but we didn’t had the chance to see the Northern Lights during our stay there (because of the weather and especially because we only stayed there for 4 days). On the other hand, during our last trip to Swedish Lapland (on the kungsleden trek) and Lofoten islands in September, we’ve been more lucky and we were able to observe the northern lights 3 times in 20 days.
When to see the northern lights (best season)
Well, it makes sense, but in order to be able to observe the Northern Lights, it has to be dark! And as you probably also know, in the northern countries there are times of the year when it is almost never dark… this is the case in summer. So logically, the best time to see the Northern Lights is between September and March-April because the nights are much longer at that time.
But to see the aurora borealis, you also need clear weather! Well yes, if the sky is covered with clouds, you won’t see much unfortunately 😉 . Then I won’t teach you anything by telling you that weather is not an exact science… So even if there are periods depending on the region where the weather is statistically less bad, it is impossible to know in advance and you just have to go! (and pray for the weather 😉 )
But if you ask me, I’ll leave either in September-October or March-April. The thing is, if you go to the northern countries, maybe you don’t want to only chase after the northern lights. So it’s also nice if you have a little daylight to do other activities as well. Moreover it will be a little less cold which is not unpleasant to wait outside looking at the sky 😉 (and also to take pictures… cameras don’t especially like extreme cold).
Northern lights forecast: Useful tools and apps
As I said earlier, there are 2 important criteria to see the Northern Lights once you are in the right place (i. e. north 😉 ): the weather and solar or magnetic activity.
 For the weather there are thousands of apps… and some are better than the other. In our case, what is important is to have a map that forecasts the movement of the cloud cover in the next few hours around your location. Personally, I use the Storm Radar app which is from my experience accurate enough to predict cloud movements live. We also use it a lot for hiking and weather forecasting (in Lofoten it was really very useful).
With regard to the force of solar or magnetic activity, several indicators are used:
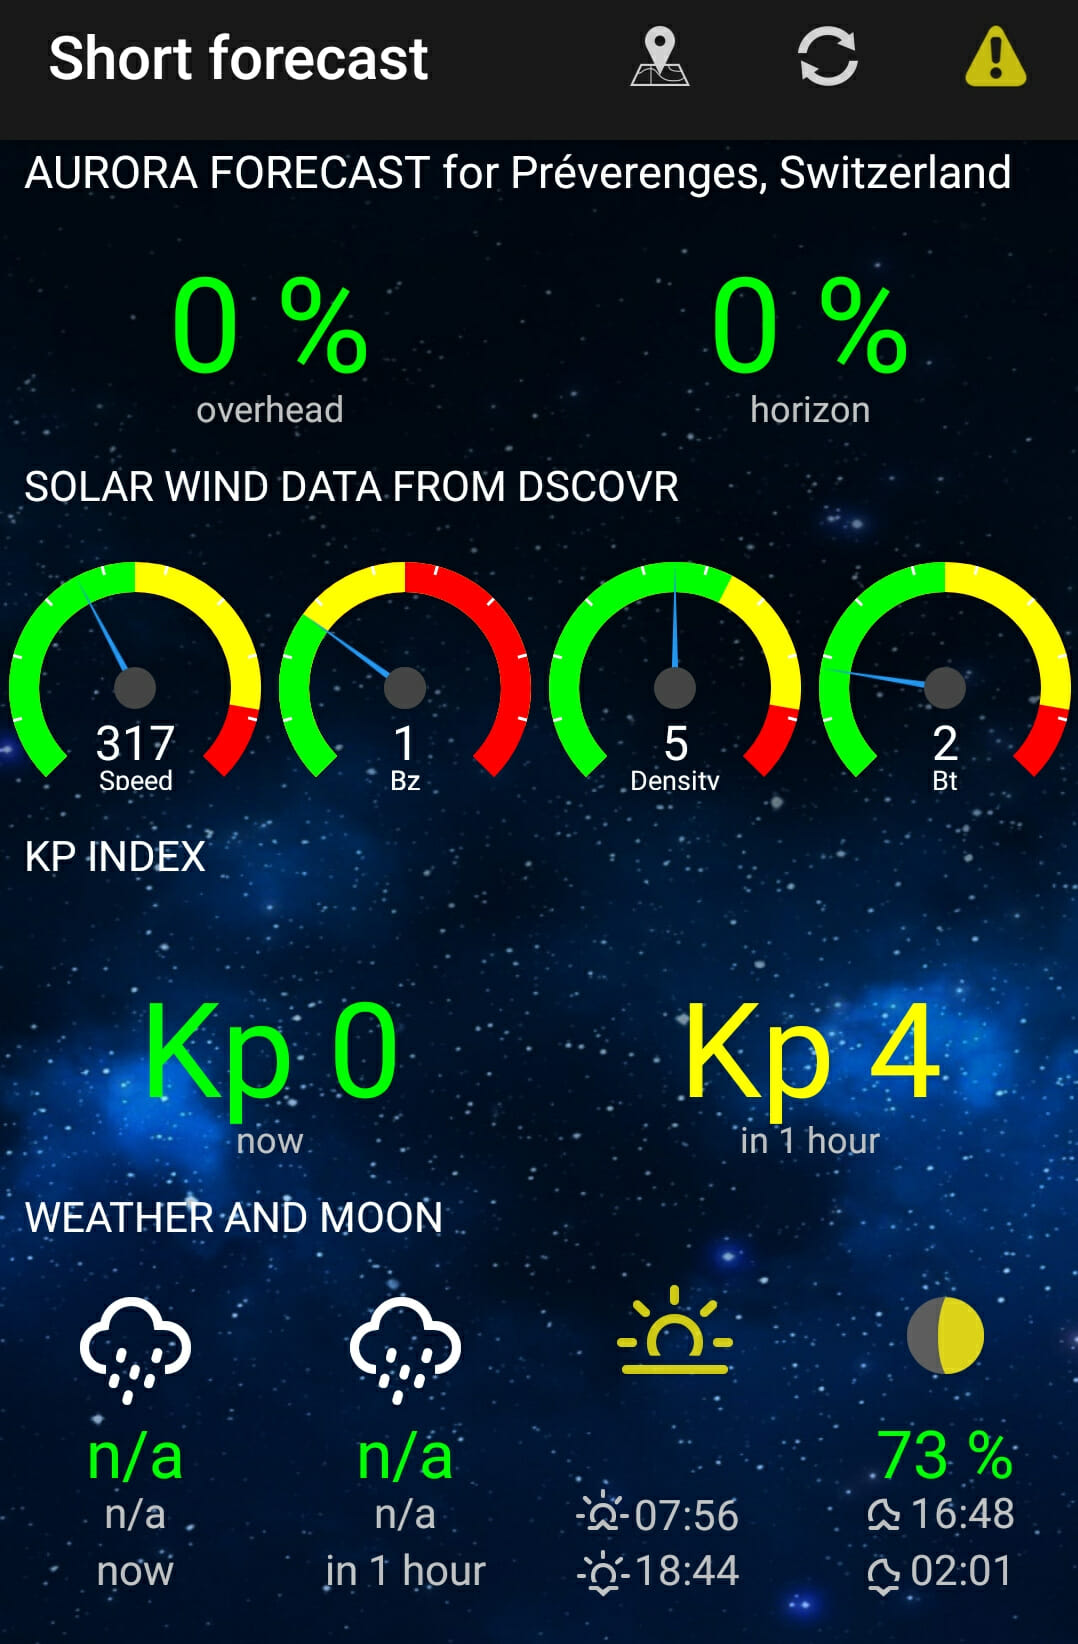
- the KP index: It is an index of the geomagnetic activity that ranges from 0 (very low) to 9 (very high geomagnetic storm). When plotted on a map, it is the most commonly used index to predict the chances of observing the northern lights. In general, the higher it is, the lower the aurora borealis will be visible in the hemisphere.
- the solar wind : It is characterized by its density and speed. In general, the higher these values are, the better the chances of seeing auroras
- the interplanetary magnetic field: Without going into details, 2 indices are generally indicated: Bt which must be as large as possible and Bz which must be as negative as possible (if it is not negative, little chance of seeing auroras)
There are a lot of sites or applications (there are some better than others) that allow you to have predictions of these values. Here are my favorite ones:
- Websites :
-

my favorite smartphone application so far: Aurora alert Space Weather Live : it’s the site I think is the nicest. In addition to giving all these values in real time, there is also plenty of information and explanations on the subject and even in French. Great for those who want to learn a little more about auroras and northern lights.
-
- Apps :
- Aurora Alerts : My favorite application with all these numbers directly available as soon as you open the application, longer-term forecasts, a map and even weather information directly in the app. The best but only available for Android users.
- My Aurora Forecast (android and iphone) : This app will also give you all the necessary information to better predict the chances of seeing the Northern Lights and has the advantage of working under Android and IOS.
How to photograph the northern lights : Gear, settings and advices
Well… now that you have everything you need to optimize your chances of seeing the Northern Lights, it’s time to explain how you will be able to impress your mother-in-law after your vacation with your beautiful photos 😉
A first good news for you, there is no need to be a profi photographer (or to have ultra-modern equipment) in order to shoot pretty images of the Northern Lights. Basically, if you have already taken pictures at night, you should also be able to take pictures of the Northern Lights (with a few specificities). So let’s take a look at the procedure together:
Info
if you are lost with the terms used below, I invite you to read my guide on how to choose your camera in which I explain criteria like sensor size, sensitivity, aperture and focal length etc…
Best camera gear for northern lights photography
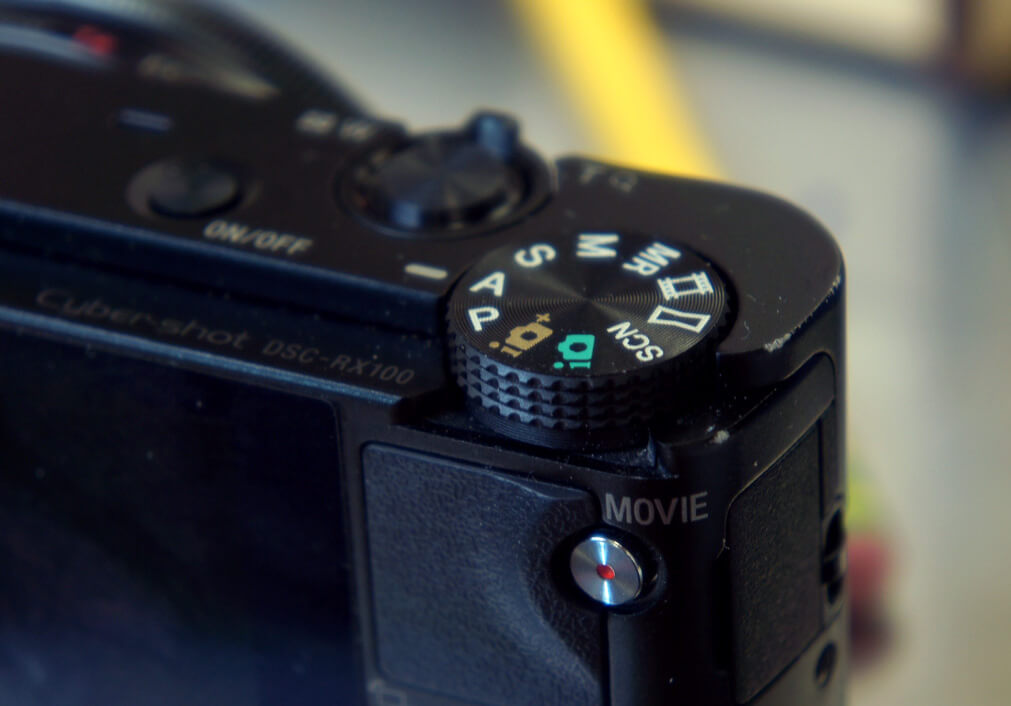
- Body : On the camera side, it is important to have a camera that allows you to make your own settings manually (i.e. have a manual mode).

have a camera body with a manual mode If you cannot adjust the exposure time, aperture and focus manually, you will have problems.
In addition, ideally you also need a camera body that will be able to capture as much light as possible and therefore have the largest sensor possible. So I would say that this criteria already excludes all compact cameras (which have sensors that do not exceed 1 inch) and even some dslr and mirrorless cameras. The ideal solution is to have a camera body with an APS-C or Full Frame sensor.
So I’m not saying you won’t be able to get pictures of the northern lights with an advanced compact camera, I’m just saying you’ll have to take 20 / 30 second or longer poses to see something and as I’ll explain below, it’s not ideal for having beautiful pictures of northern lights.
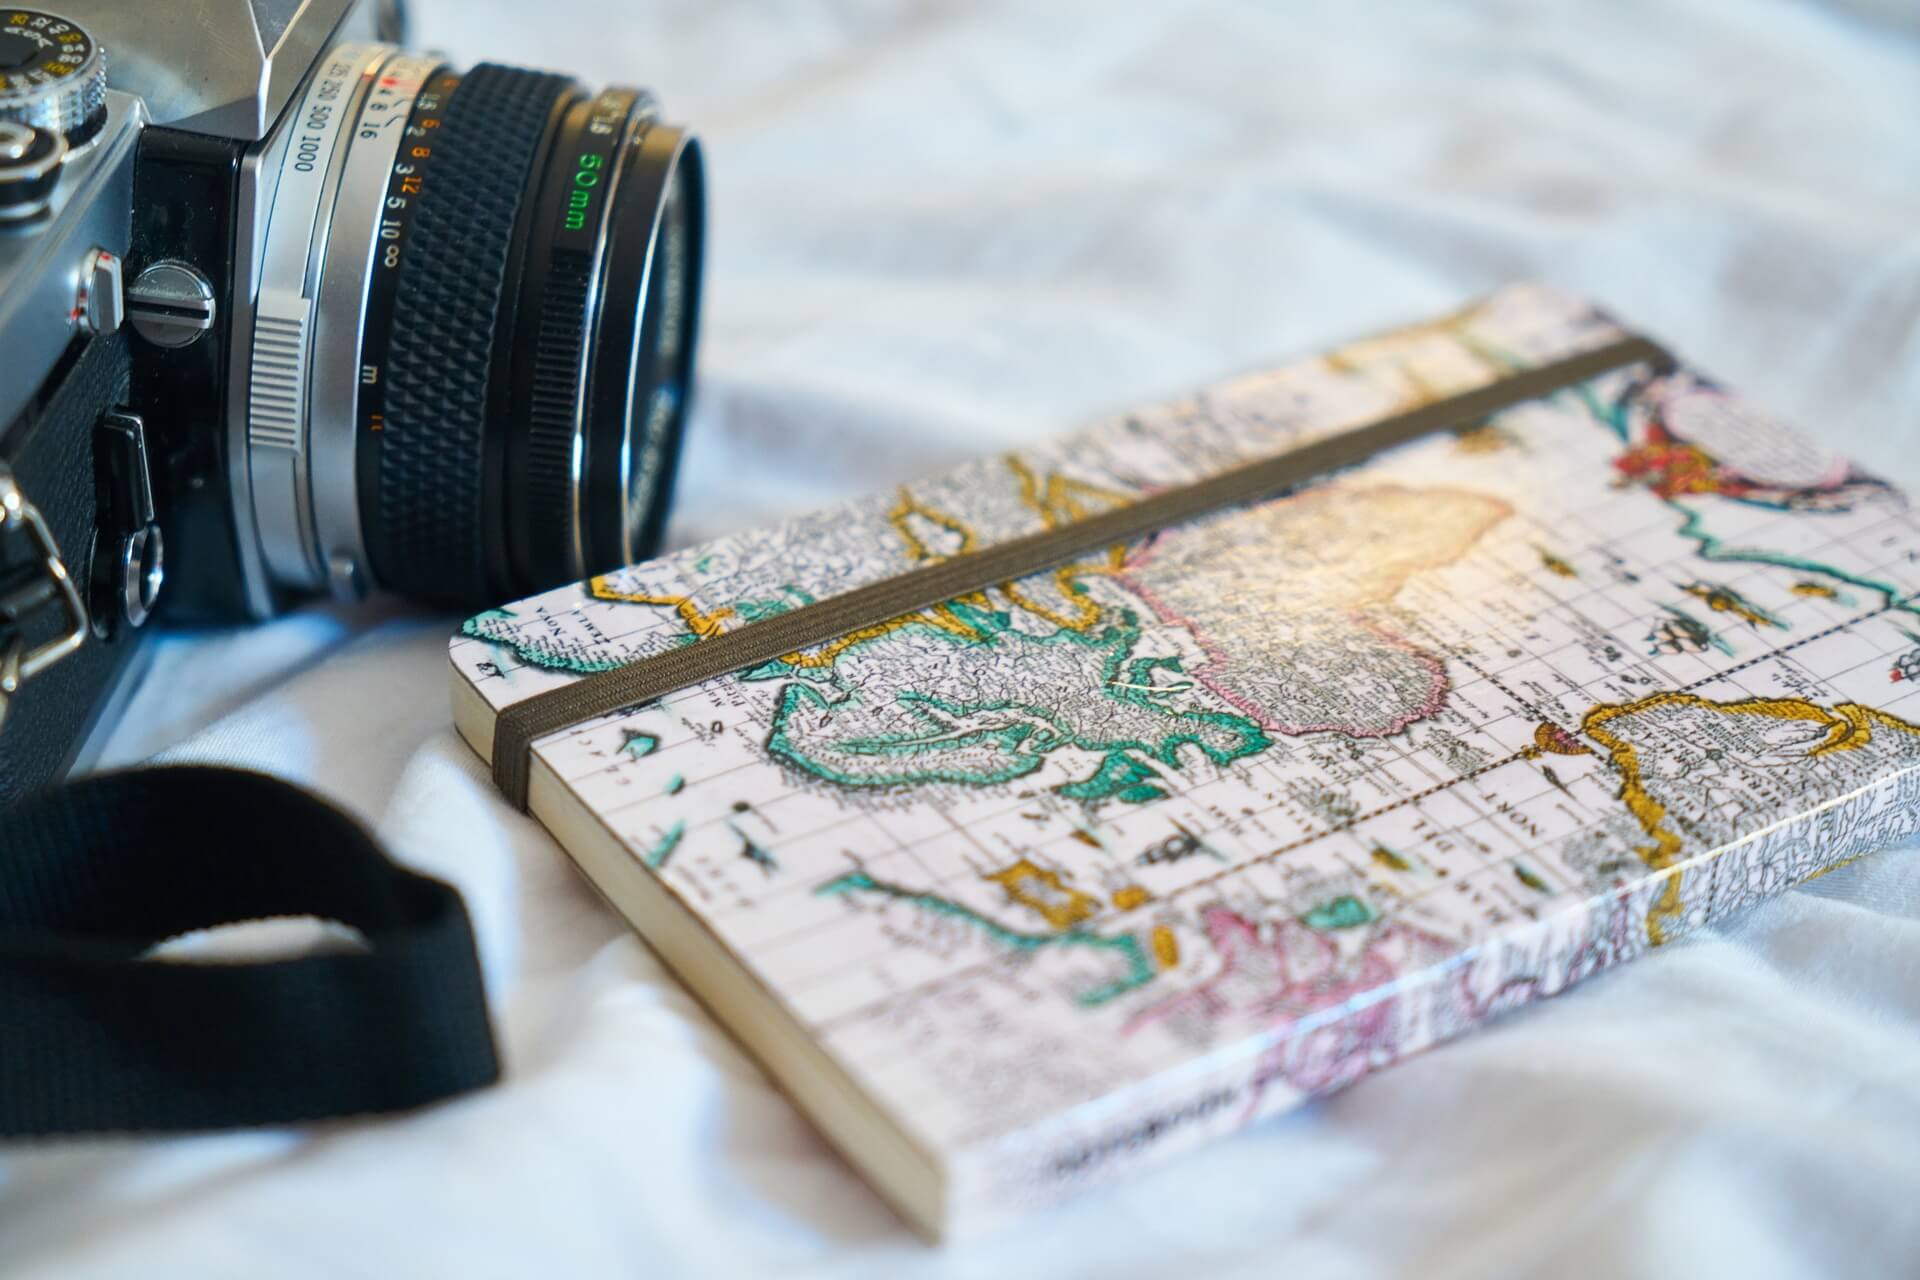
Personally, I use a Sony A7ii camera to take my pictures but if you want to compare different models, most of these mirrorless cameras (except the Olympus which has a smaller sensor) and these DSLRs are very suitable for shooting the northern lights. -

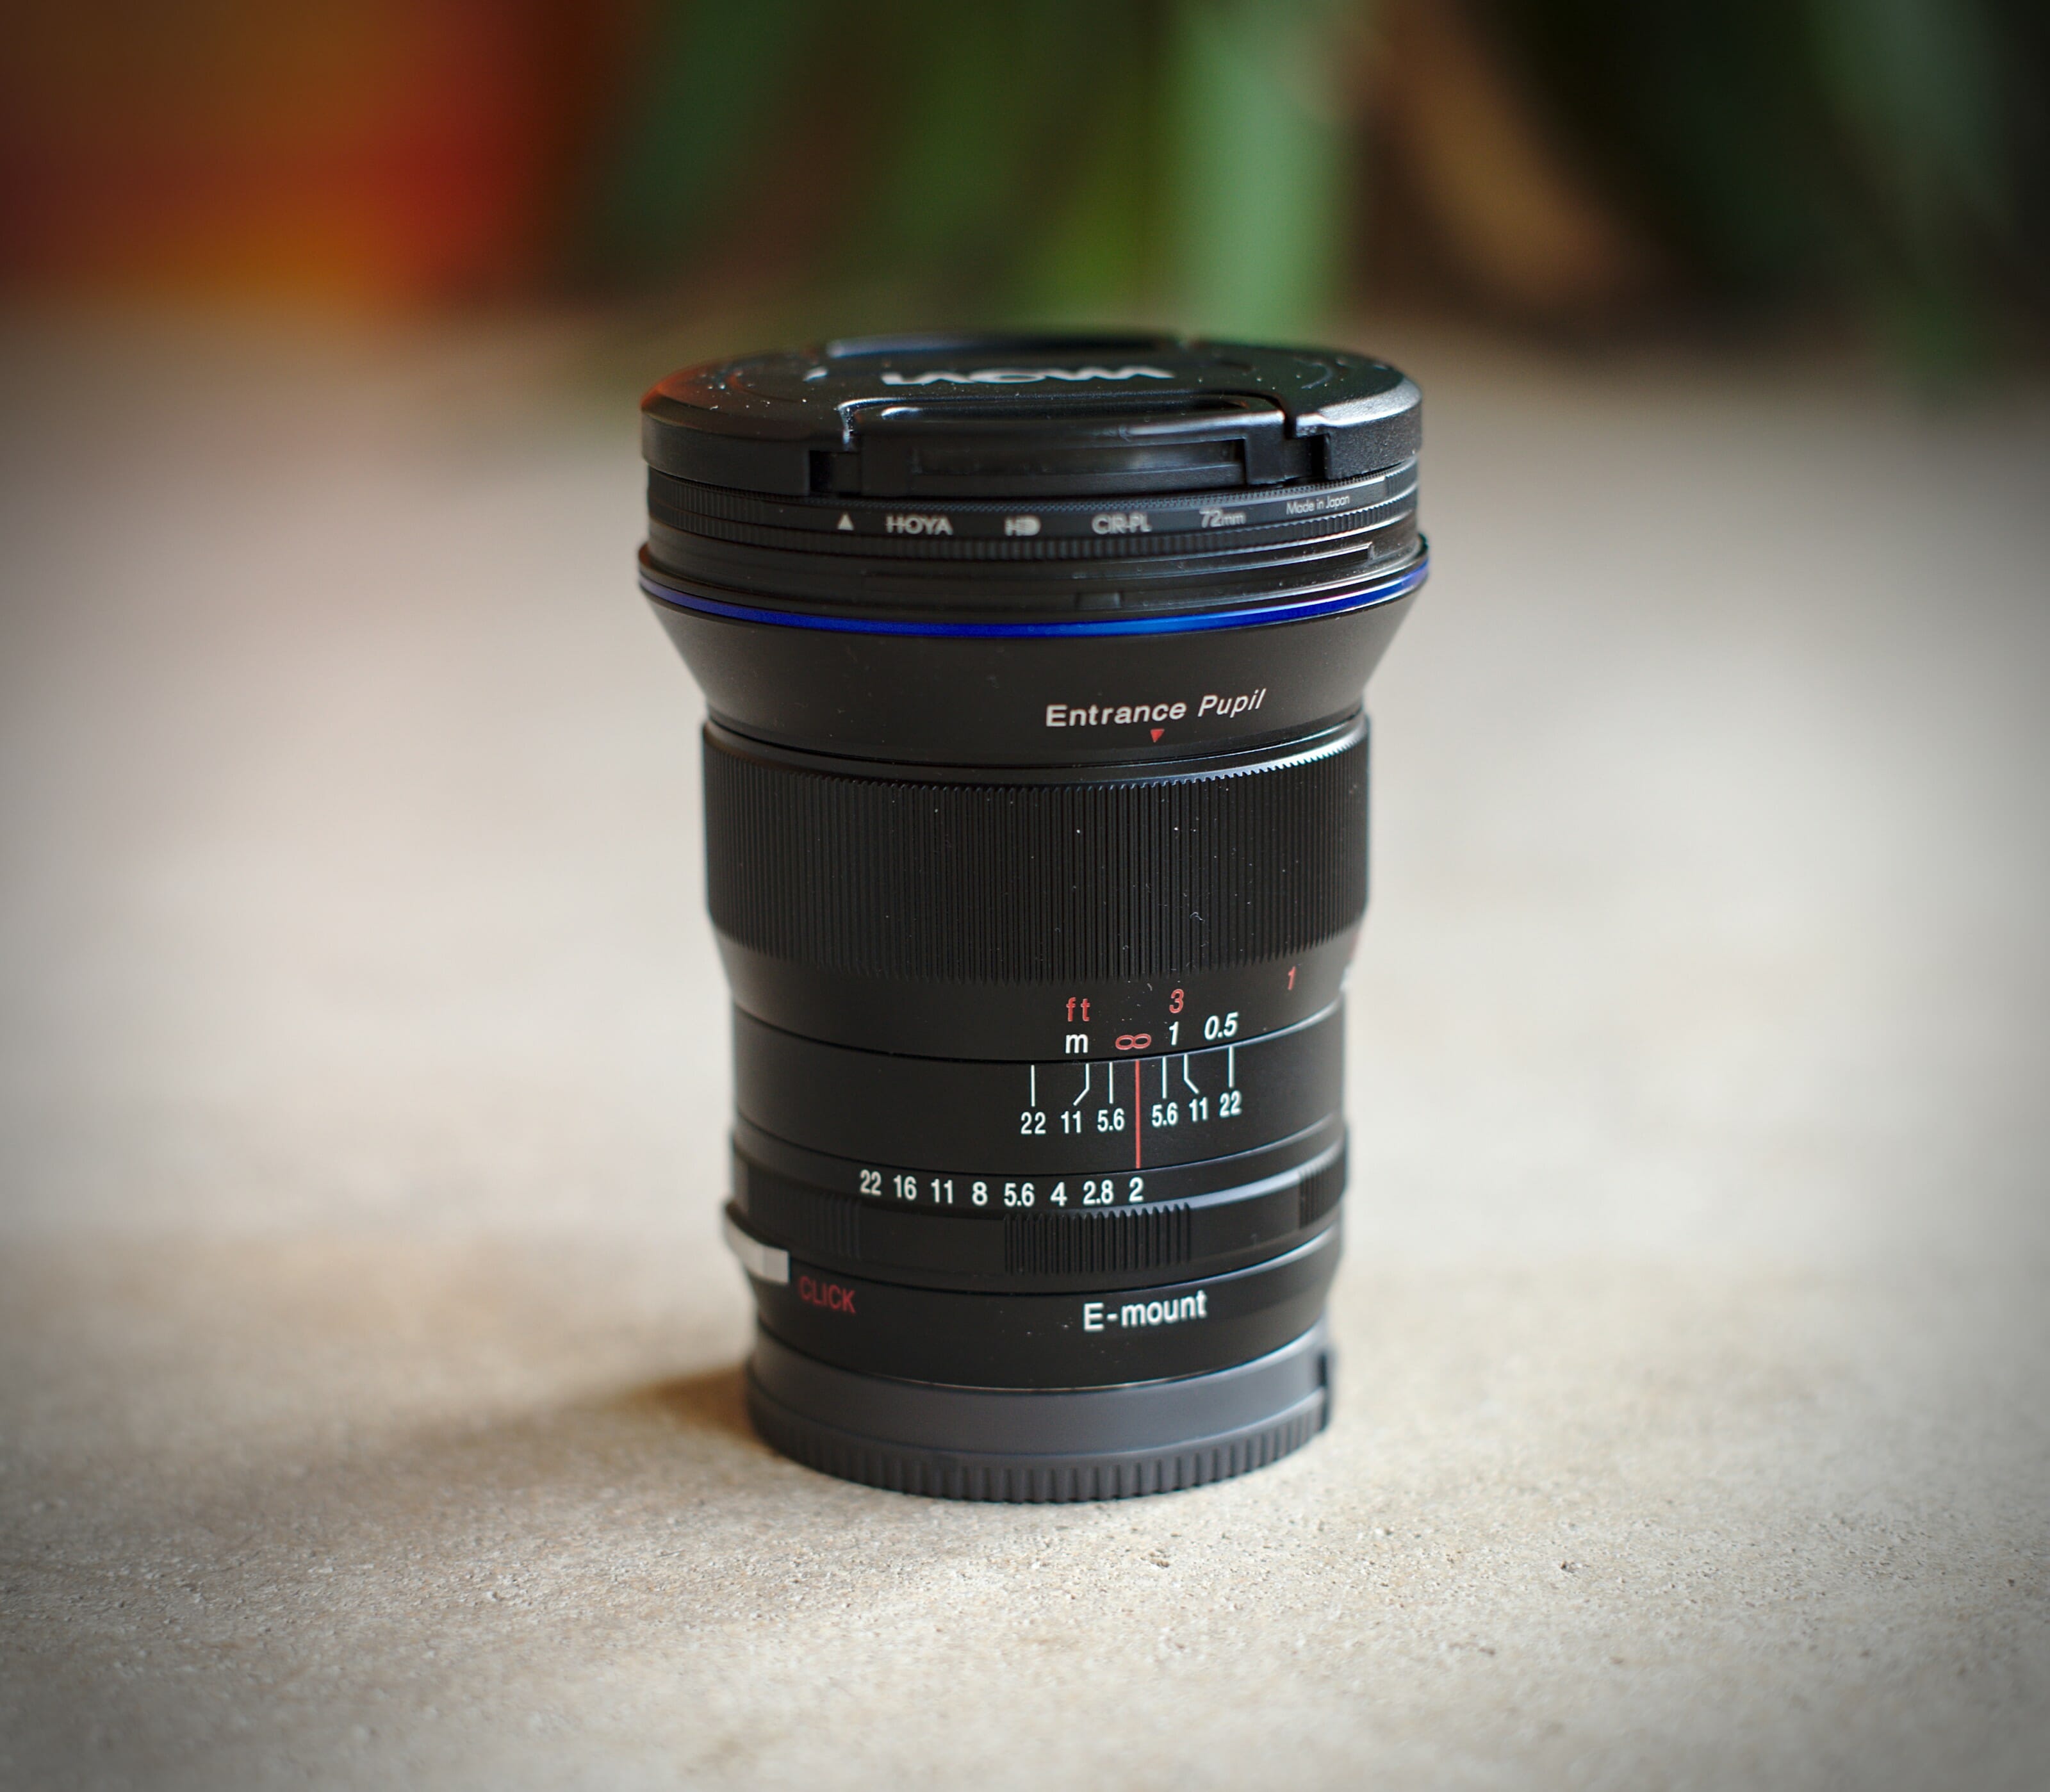
I’m very happy about this lens to take pictures at night Lens : You need the brightest possible lens with the smallest possible f-number (ideally below 2.8). In addition, a wide-angle lens (i.e. with a focal length between 10 and 30mm) is also ideally needed to allow you include more things in your image and also integrate landscape elements into your photos of the Northern Lights.
In my case, I bought the Laowa 15mm f/2 FE Zero-D lens specifically for our last trip to Swedish Lapland and Lofoten. This lens allowed me to take beautiful pictures of the aurora with exposure times of only 3-4 seconds without getting too high in ISO… But as I said, in principle any wide-angle lens that goes down to f2.8 and below should do the trick. 
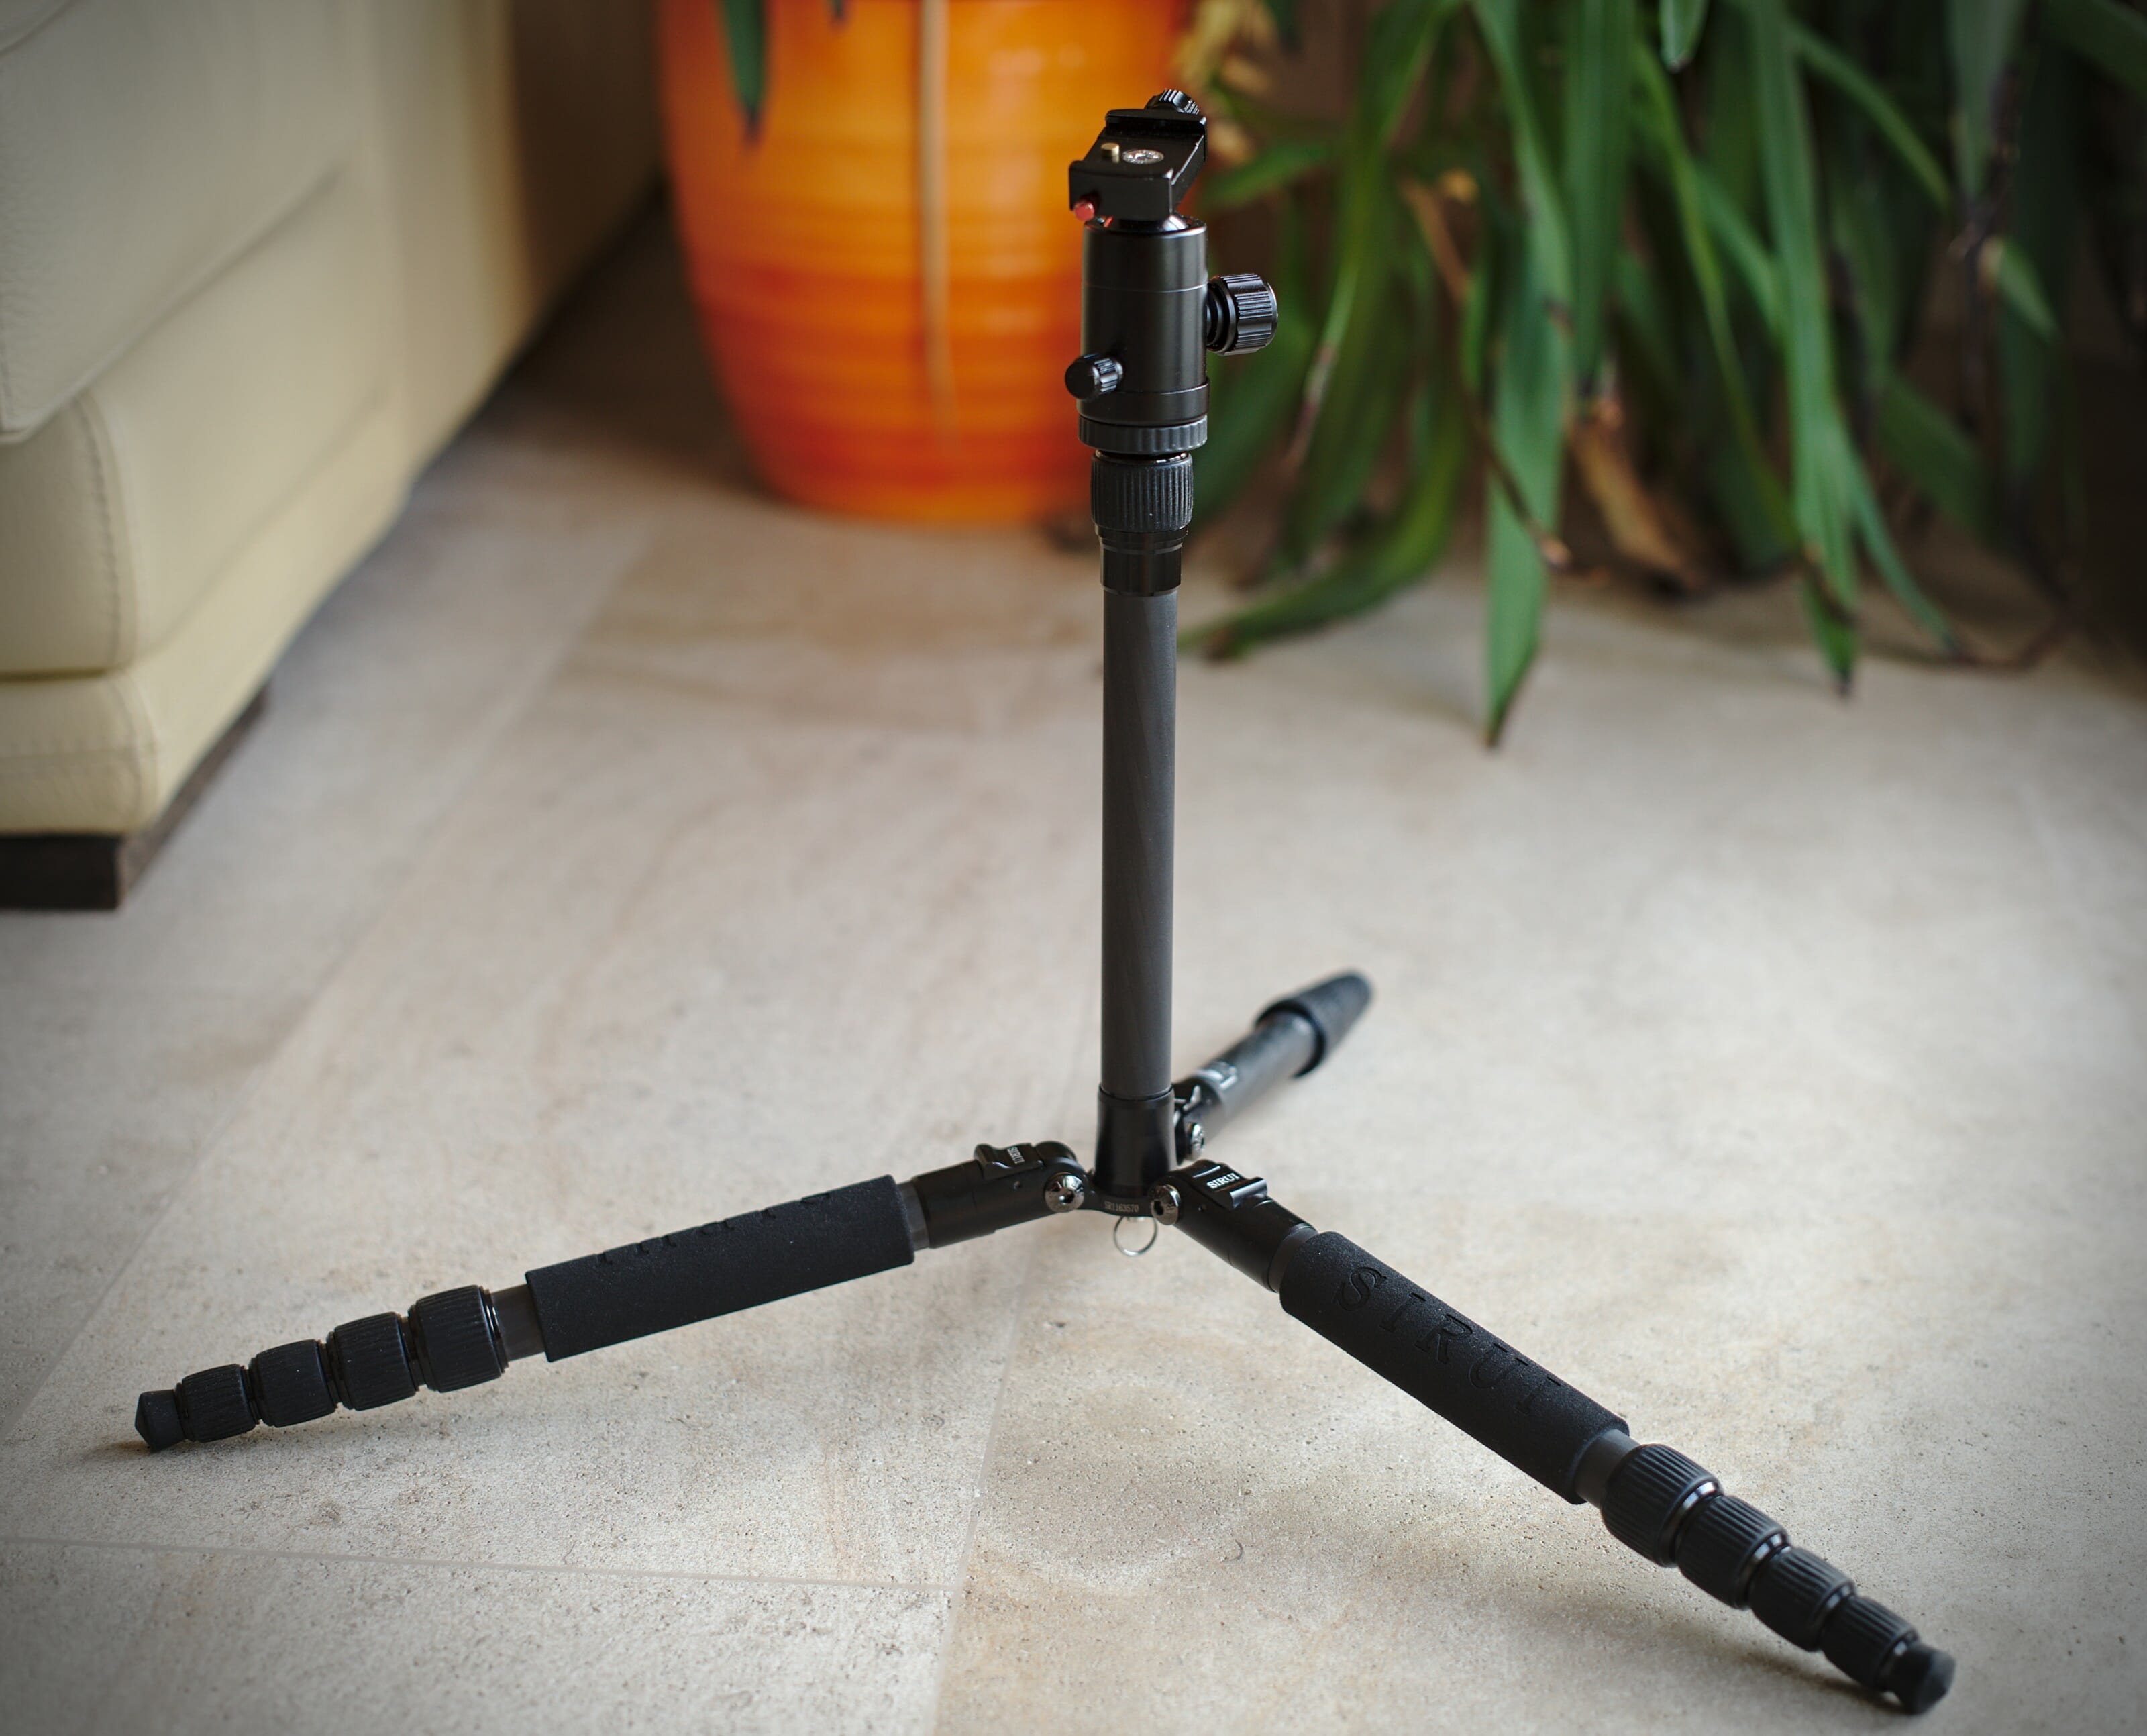
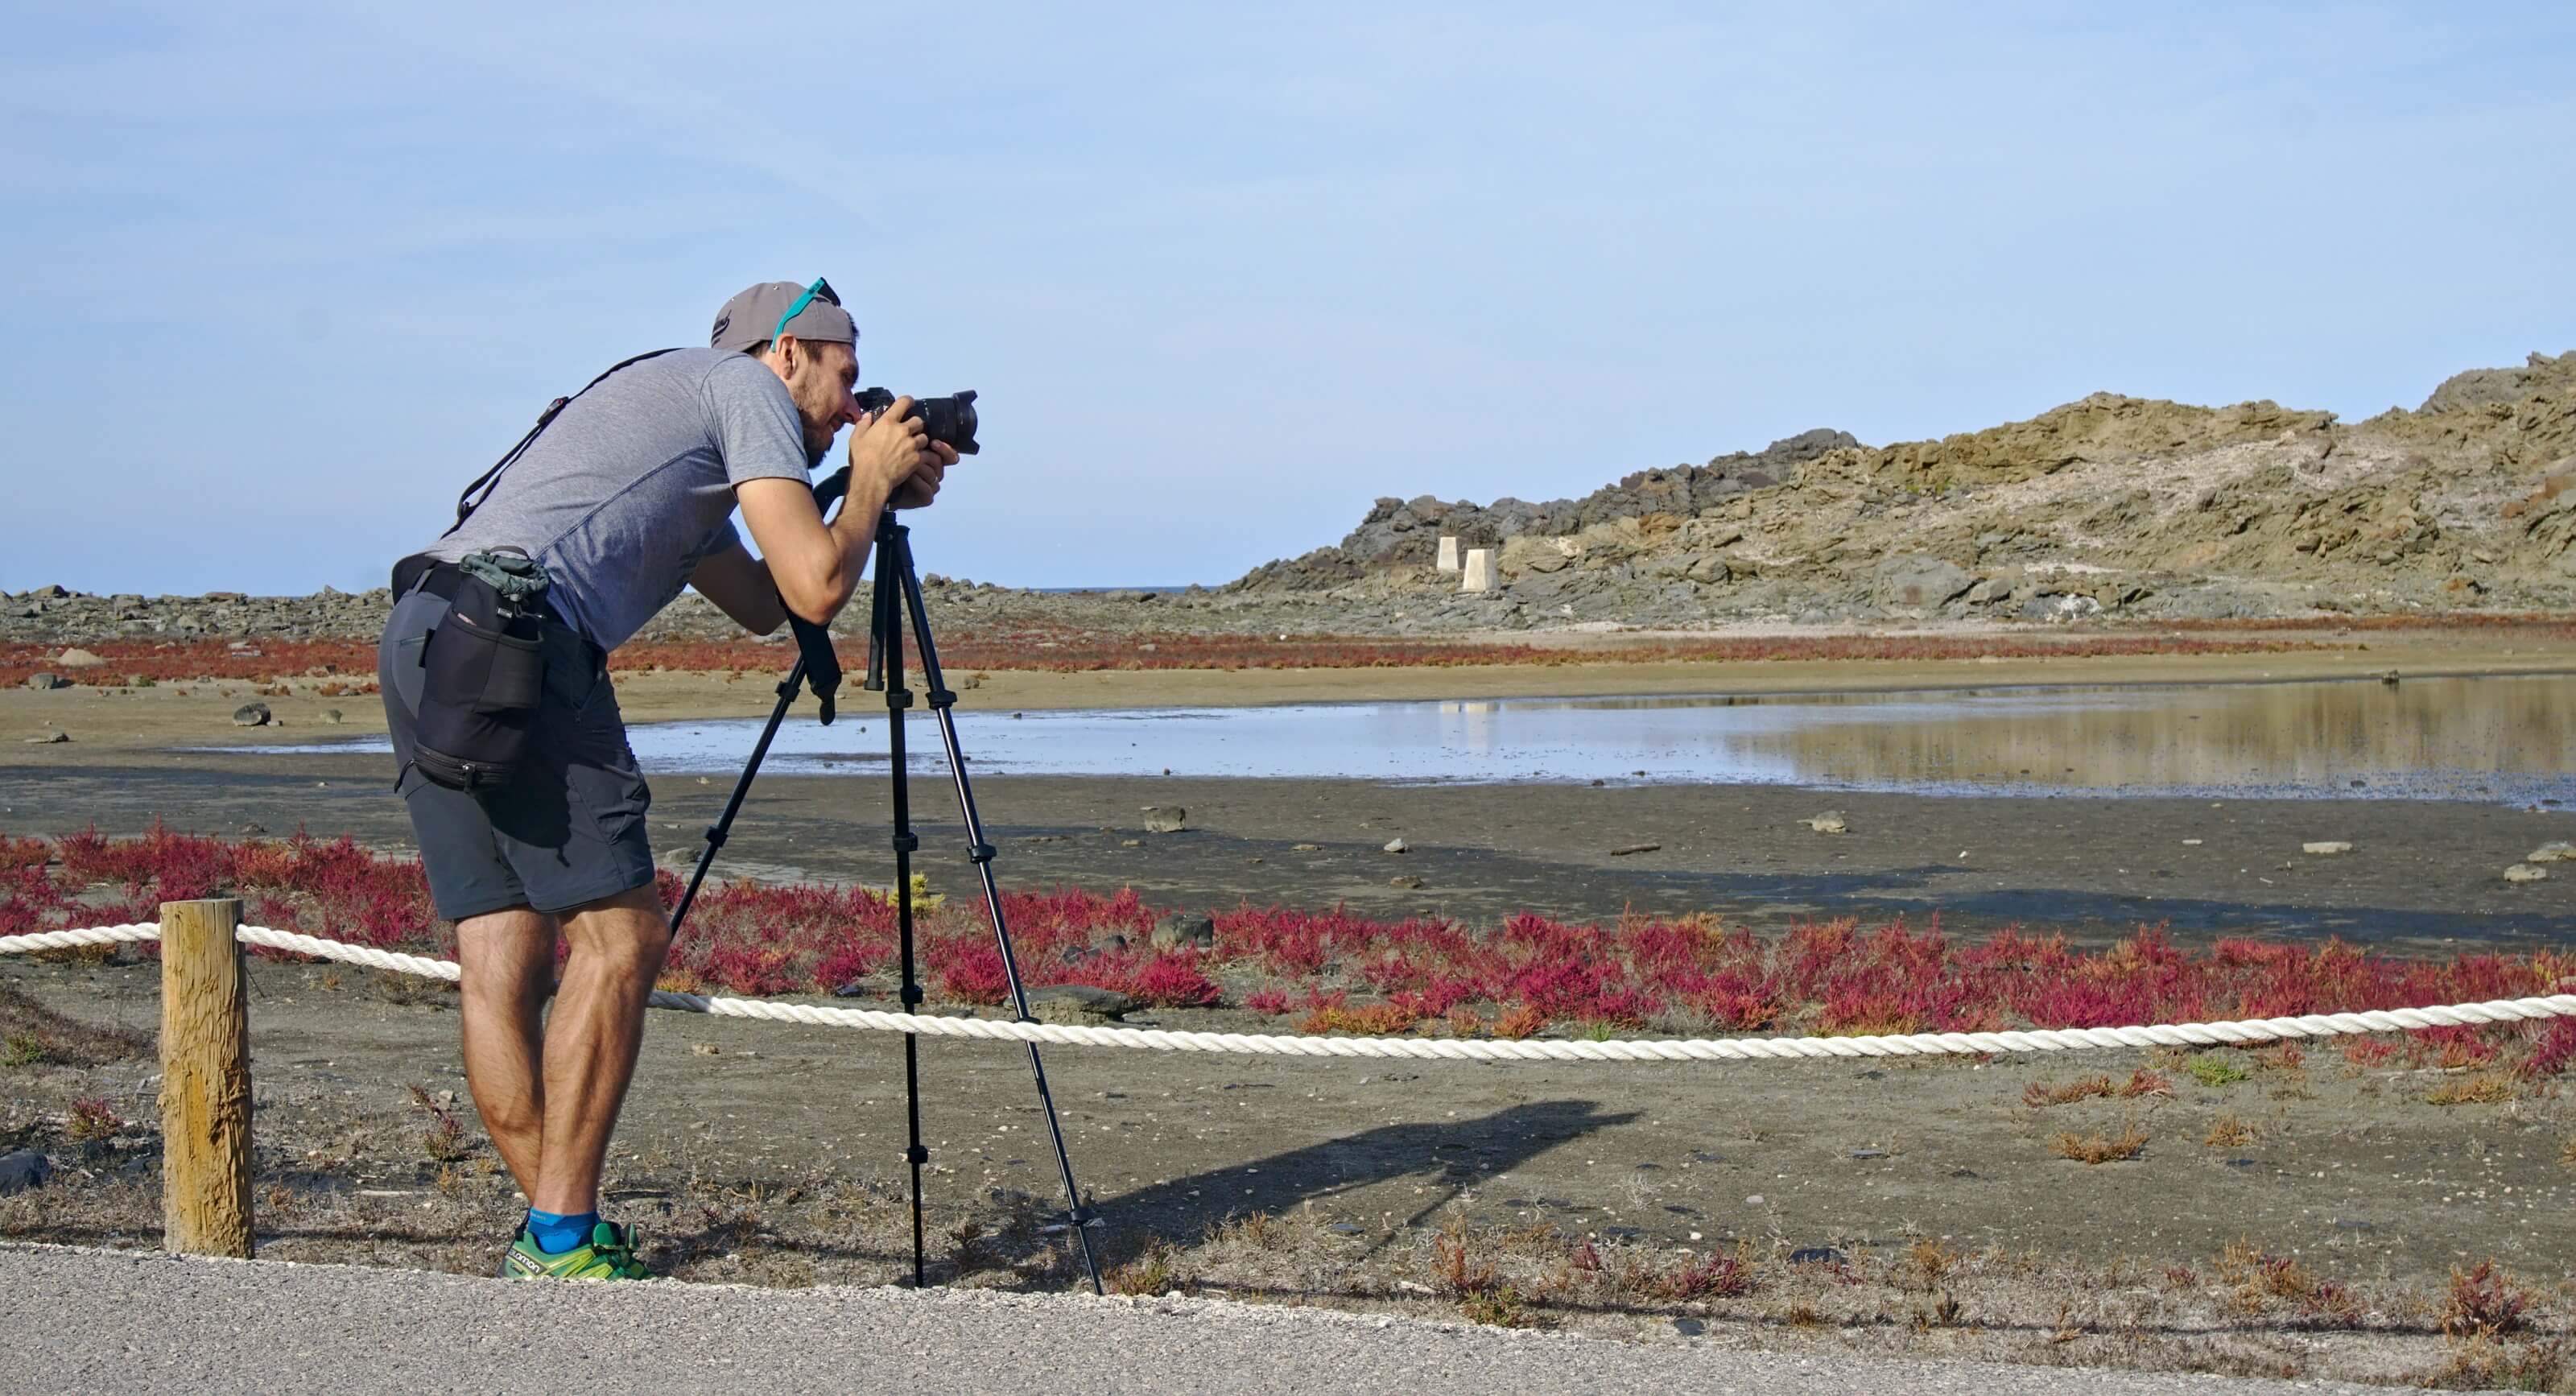
Tripod : Impossible to do without it… to take pretty pictures of the Northern Lights (and at night in general), you need a good tripod (because you will make long exposures which means that the camera must not move for several seconds)! So immediately forget about the mini tripod or Gorillapod with which you will have to lie on the ground to make your adjustments (you will already be cold enough as it is). What you need is a tripod that is large enough and above all stable (there can be a lot of wind in the northern countries 😉 ).
Personally, I have the Sirui T-025X Carbon because it is the lightest tripod I know (between 700 and 900gr which is very important for me when I carry all my equipment over several days of hiking) and who makes no compromise on stability.- Batteries : Camera batteries don’t like the cold! If you take pictures in negative (or just cold) temperatures, your batteries will seem to run out very quickly. They are not really empty in fact… just warm them up to give them back some strength 😉 . The trick is to always have 1 or 2 spare batteries in a warm pocket close to your body. This way when the battery in your device is too cold, you can simply replace it with another one and put it back in the warmth.
- A headlamp: Believe me, you’ll need a headlight to adjust your settings, install your tripod and walk to the perfect spot without falling. You could certainly use your smartphone, but you know how these babies enjoy the cold as well!
Camera settings for northern light photography
- Aperture: For this point it is not too complicated, open your lens as much as possible to let a maximum of light through. The only exception is if you have an element in the foreground that must be as sharp as possible (normally you will focus on the sky to infinity but we will talk about this again right after)
- ISO sensitivity : You should know that the higher the ISO, the more sensitive the sensor will be to light (so your image will be brighter) but the worse the quality of your image will be because of the noise. In general, more modern cameras manage better higher ISO and produce images of acceptable quality even at ISO 2-3000. What I advise you to do is to test night shots near your place (when it is not -30 😉 ) and to take several shots by gradually increasing the ISO. The idea is to determine a level from which you think the quality of the images is no longer acceptable to you (it’s a very personal thing). For example with my Sony A7ii, I try not to go higher than ISO 800-1000 because I find that beyond that the images are no longer good enough for me.

Example of a night shot taken a long time ago when I went too high in the ISO… the noise is much too pronounced. - Focus: Usually when you photograph the Northern Lights (or starry skies), you want to focus to infinity. But in practice, focusing at night is not necessarily easy. Already you have to focus manually because the autofocus will not work at night! (and you will end up with blurry pictures). And since you may not see much in your viewfinder, you may have to experiment a little bit to get a sharp picture.
What I advise you to do if you don’t have the little infinite sign on your lens (and even if you do), is to test during the day to focus on very distant subjects in order to find your settings. That way at night you will already have a good basic setting and you will only have to take 1 or 2 test photos to adjust a little and get sharp images.
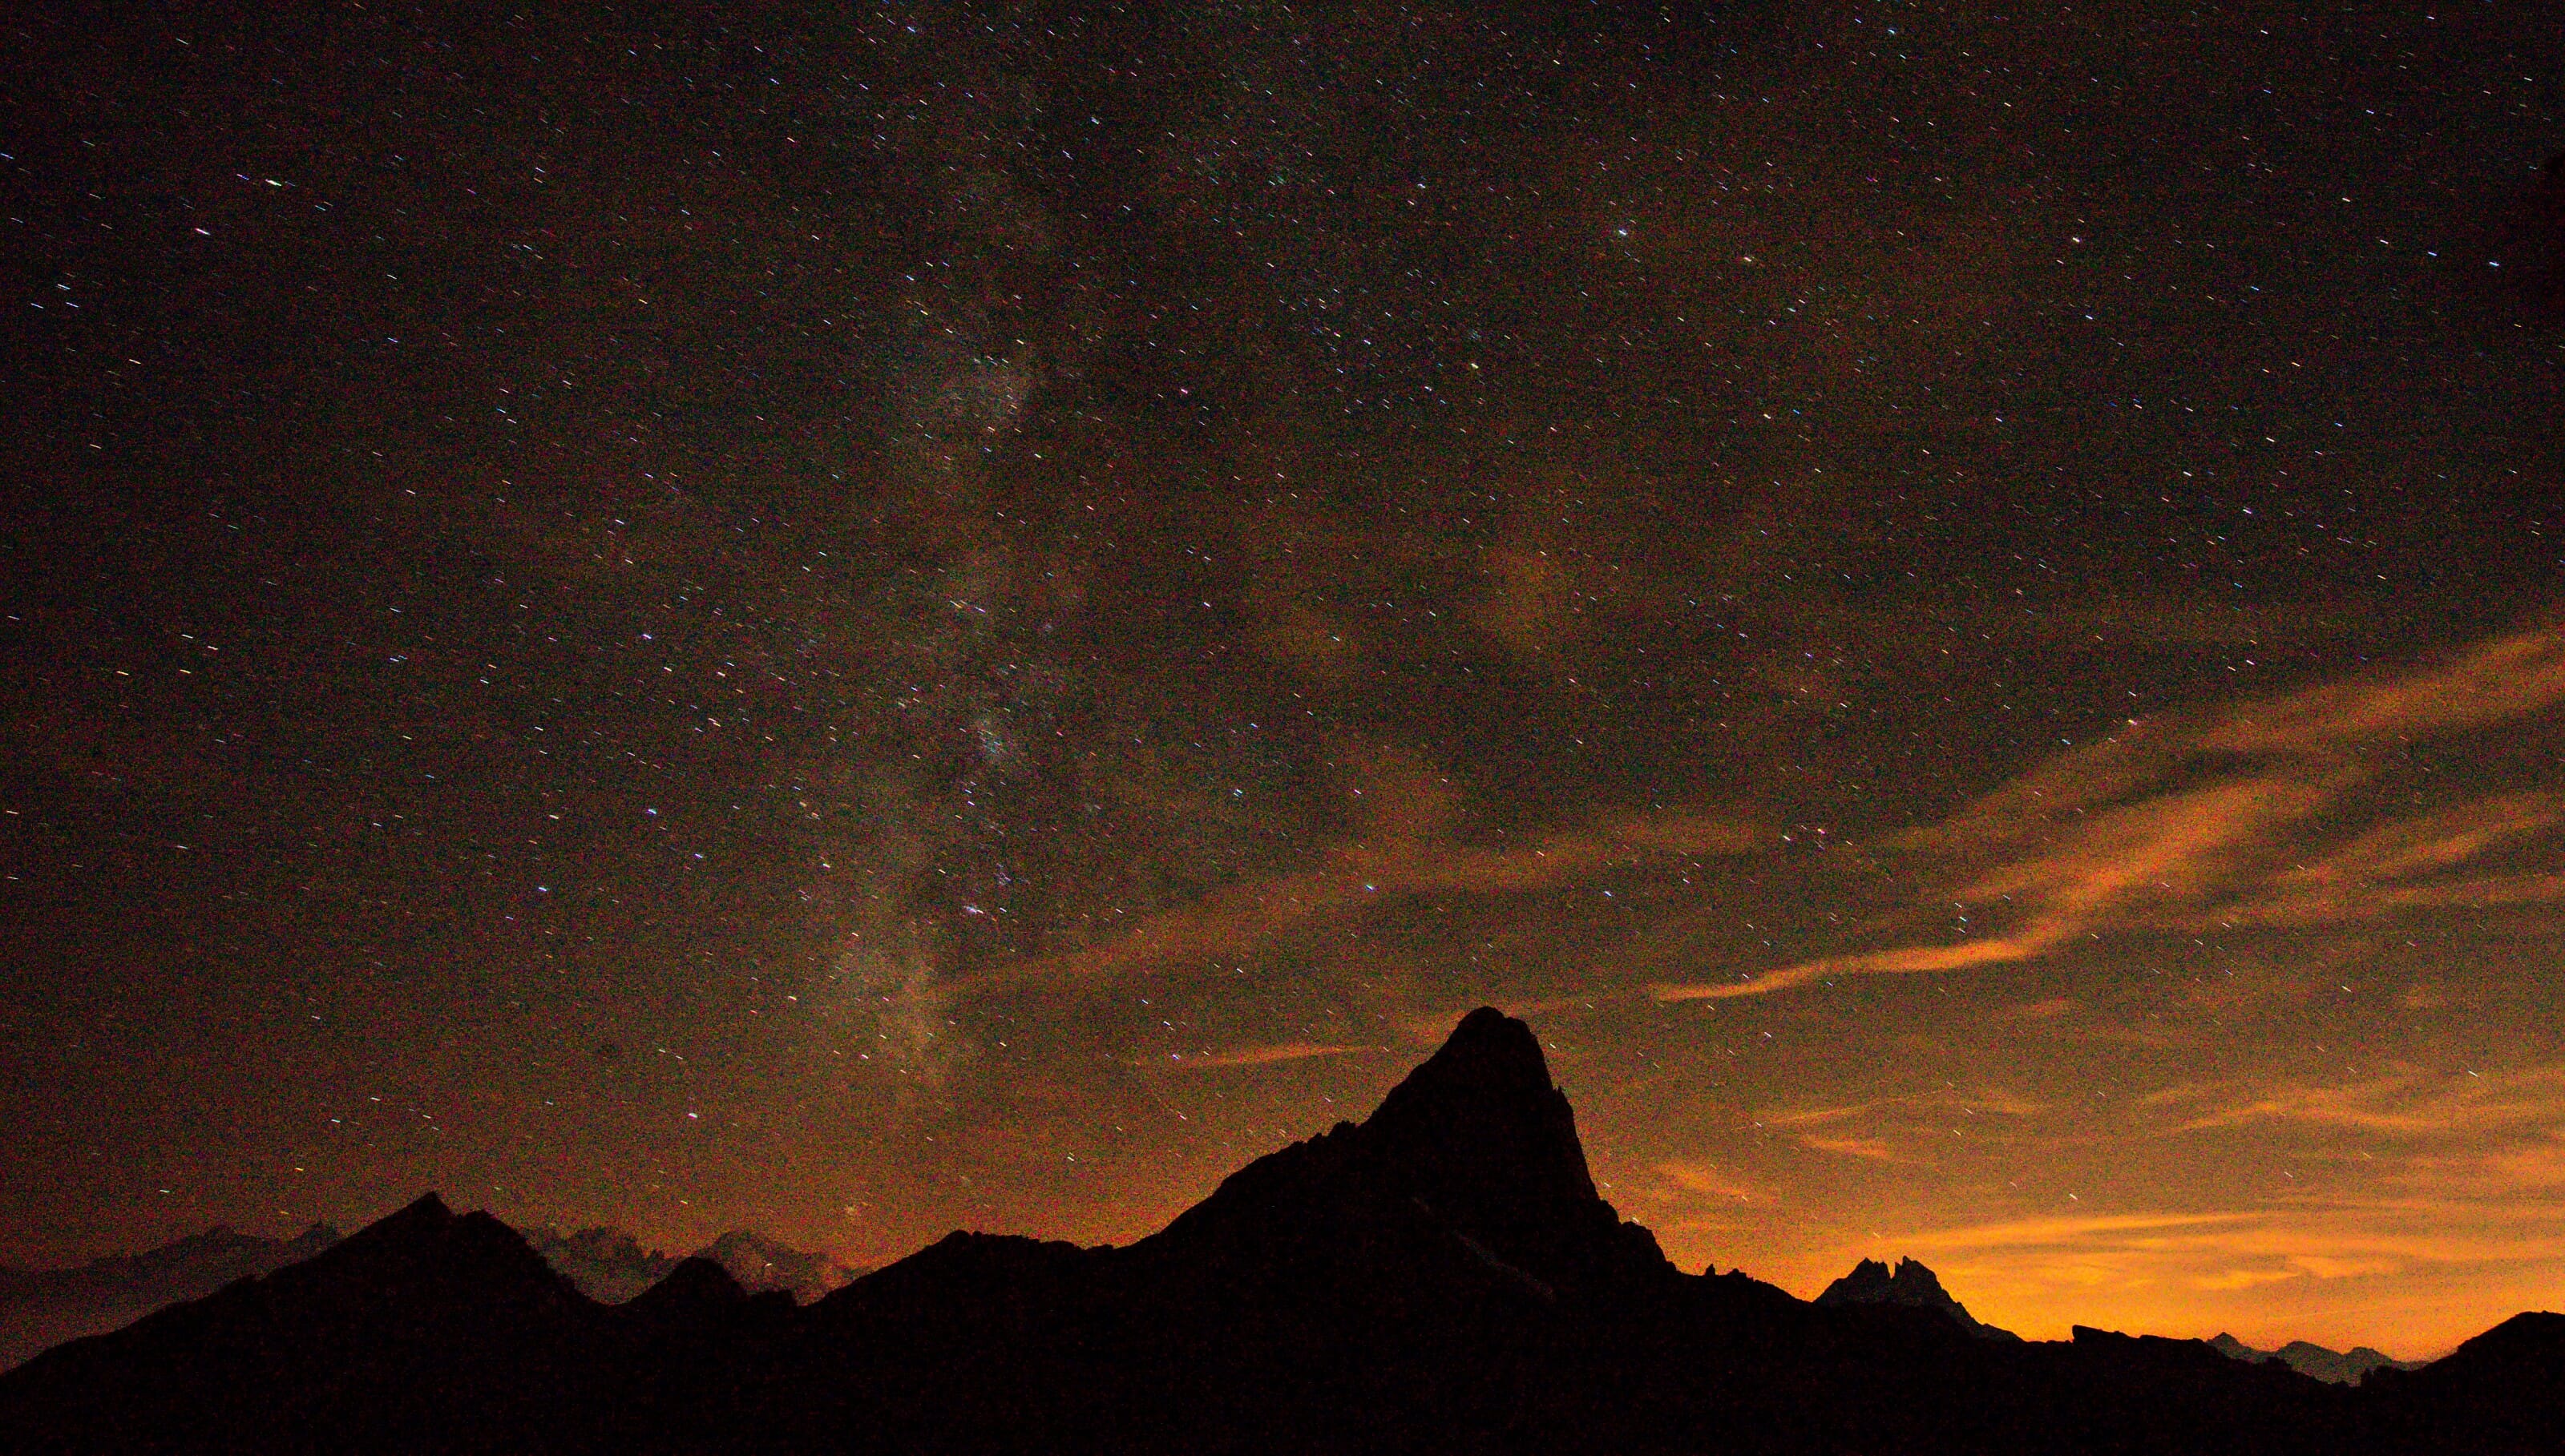
Note : if you have an element in the foreground in your frame that must be absolutely sharp, you may need to change these settings a little and focus on that element. - Exposure time : So the exposure time is, in my opinion, the key setting for taking beautiful pictures of the Northern Lights. People quickly tend to make very long exposures (20 – 30 seconds) to capture as much light as possible. But since the Northern Lights still move quite quickly, it gives pretty images with beautiful colors but the auroras will not be well defined. My advice would be to aim for exposure times around 3-4 seconds by opening the lens as much as possible and going up a bit in ISO if the pictures are still too dark. In this way, the auroras will be better outlined (sharper in a way) and the effect will be even better in my opinion.
But I still recommend that you play with the exposure time and ISO sensitivity to adapt your settings to the aurora and the look you want.
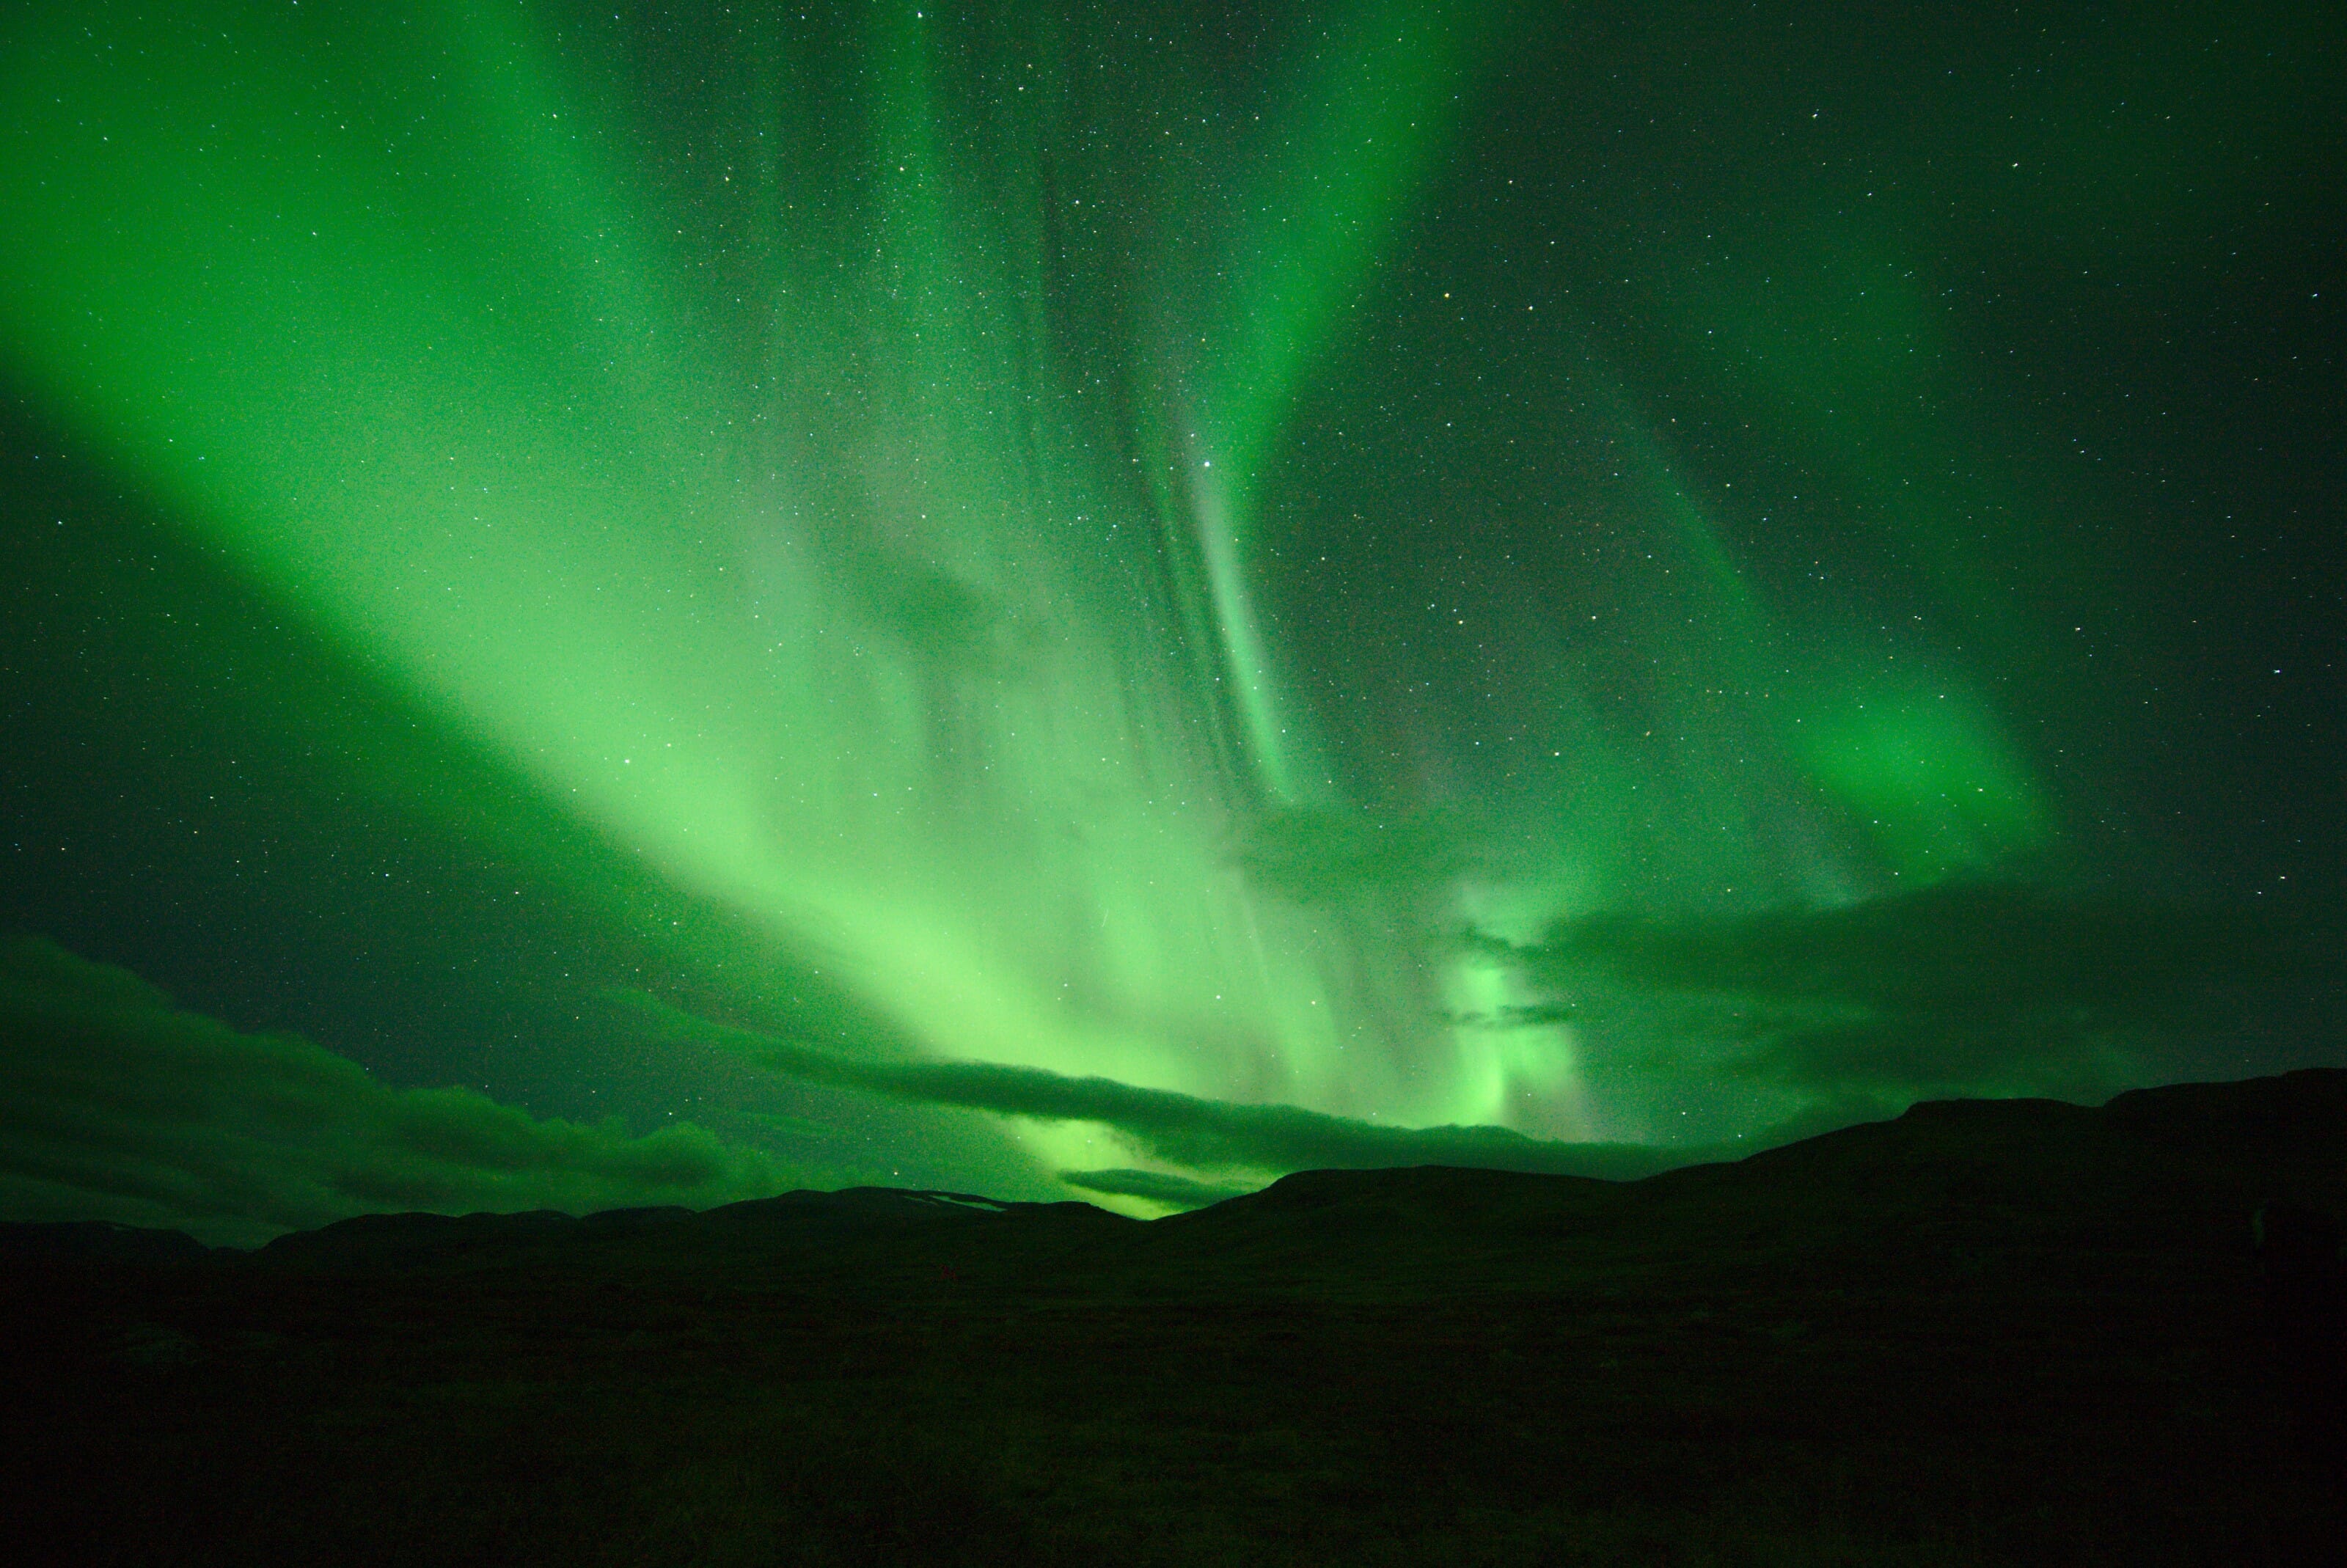
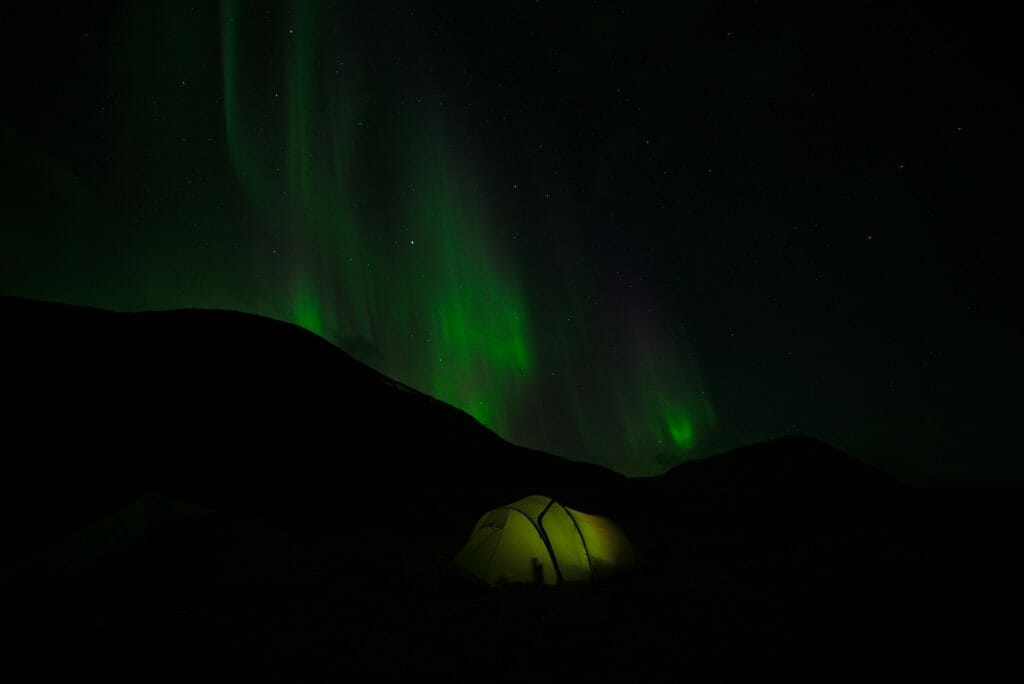
To give you an example, here is an image on the left with an exposure time of 4 seconds and on the right of 10 seconds. We can see that the one on the right is more fuzzy, less distinct.


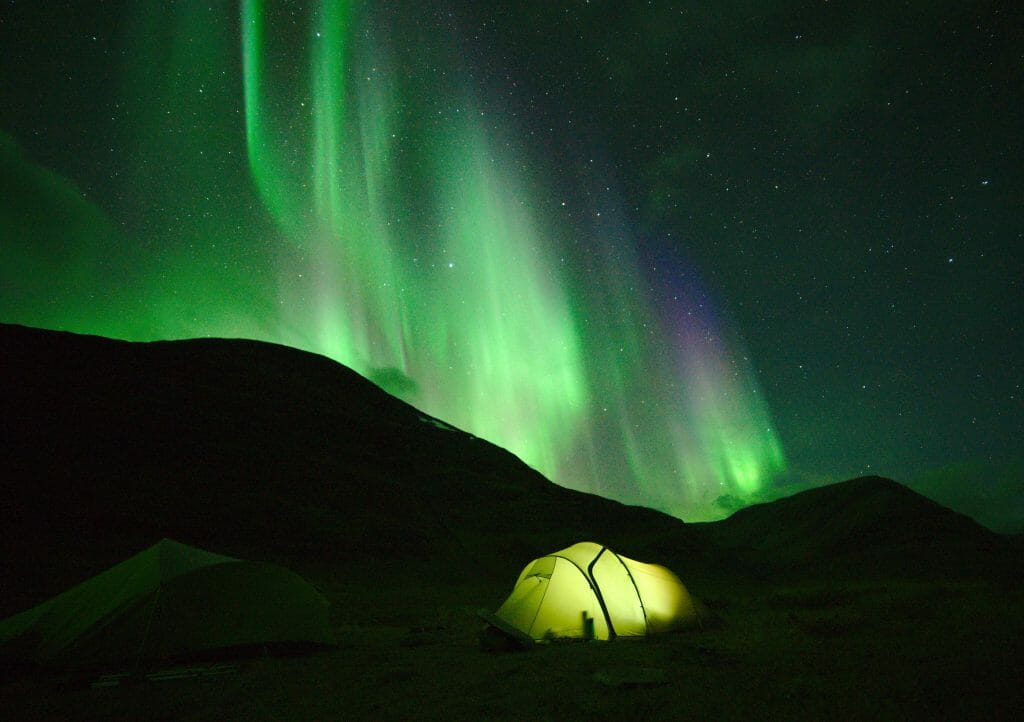
- RAW format : If you want to be able to bring out the best in your pictures in post-processing, you absolutely must use the RAW format (and not the compressed Jpeg format). This is true in all situations, but it is especially true for night photography where it will be impossible for you to bring out the stars or the northern lights without processing a RAW file with an editing software. To make you realize the difference, here is an image before and after editing… the processing is very simple and it is enough to push the exposure a little bit but you will never get such a result by processing a Jpeg file. (Note: I only pushed the exposure, I didn’t do any color retouching on this shot!)


- Disable the screen of your camera : When I shoot at night, I usually turn off the backlit screen of my camera and use only the viewfinder for two reasons. On the one hand it is a parasitic light source for photos and on the other hand it unnecessarily drains the battery which is already well used when taking long exposure shots.
Some additional advices
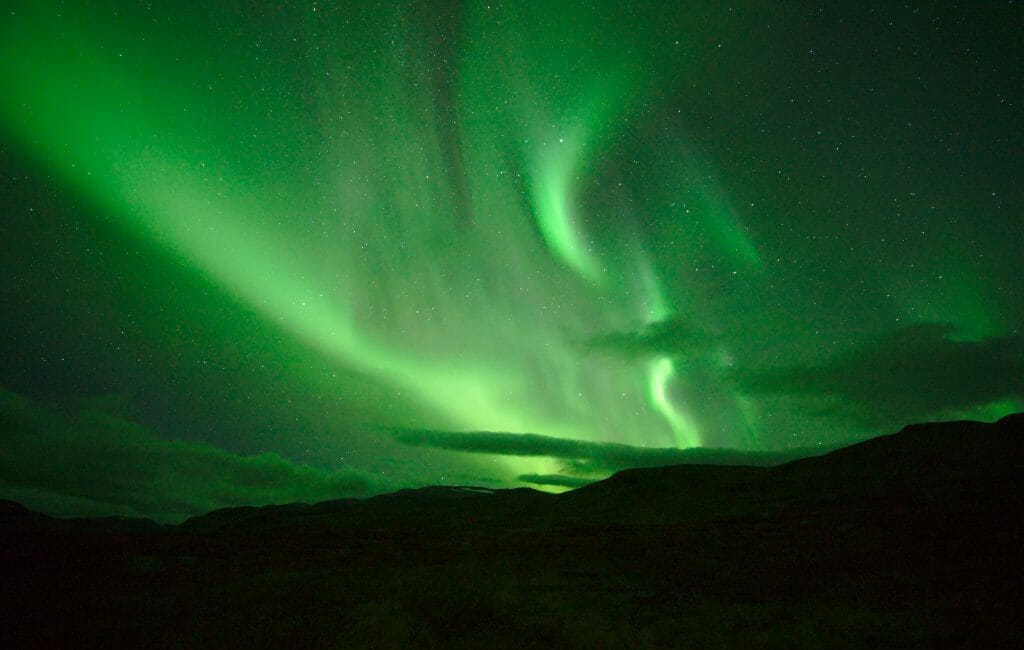
- Go out even if the solar and magnetic activity is not very strong : What I mean is that even if all the indicators are not at their best, you can still see beautiful Northern Lights (and especially take beautiful pictures). Moreover, even if you don’t necessarily see the Northern Lights very well with the naked eye, your camera will be able to see them much better. So get out and if you have any doubts, do a long exposure with your camera… You’ll know right away if you’re in front of some Northern Lights.
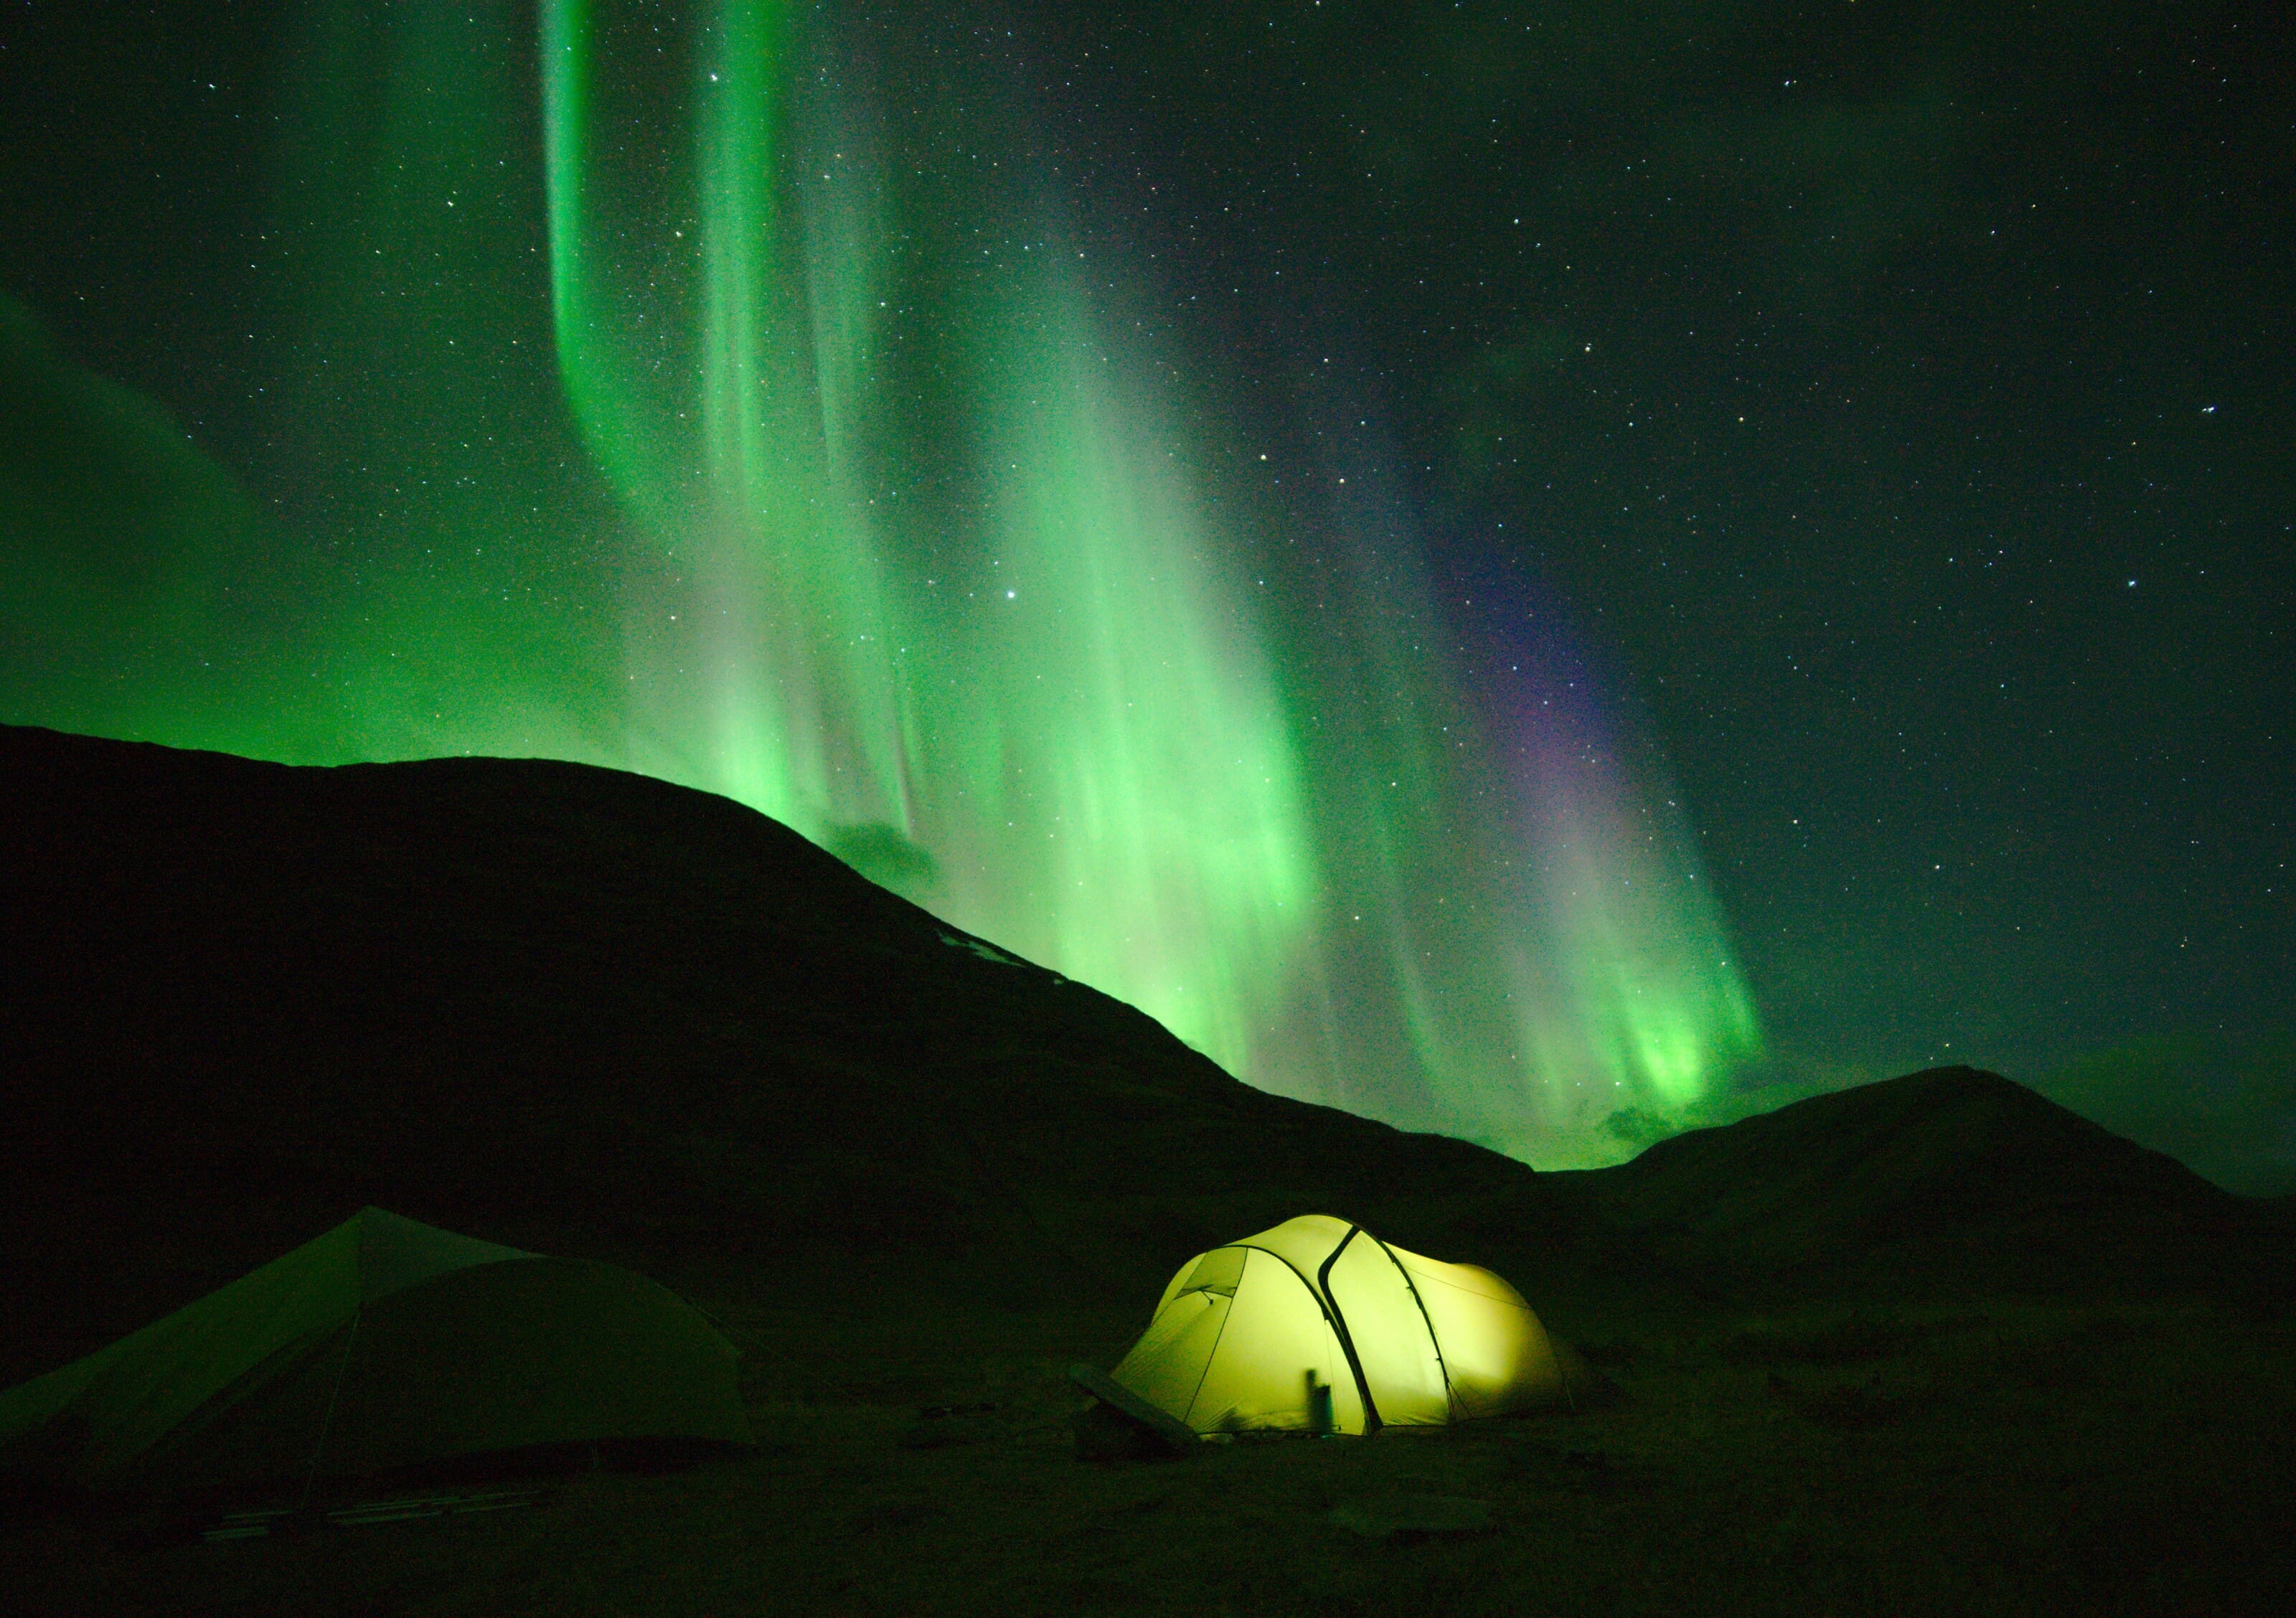
Small anecdote : That’s what happened to us the night we saw our first auroras… when we left the tent, we saw white trails in the sky but we weren’t sure they were northern lights (obviously because we had never seen them before 😉 ). And when I took my first picture, I saw an explosion of green in my viewfinder and I shouted: “ahhhhh, get out, it’s Northern Lights… it’s all green!!!!” It was that evening that I took the pretty picture with the tent lit and the beautiful aurora above and this one is also not so bad!
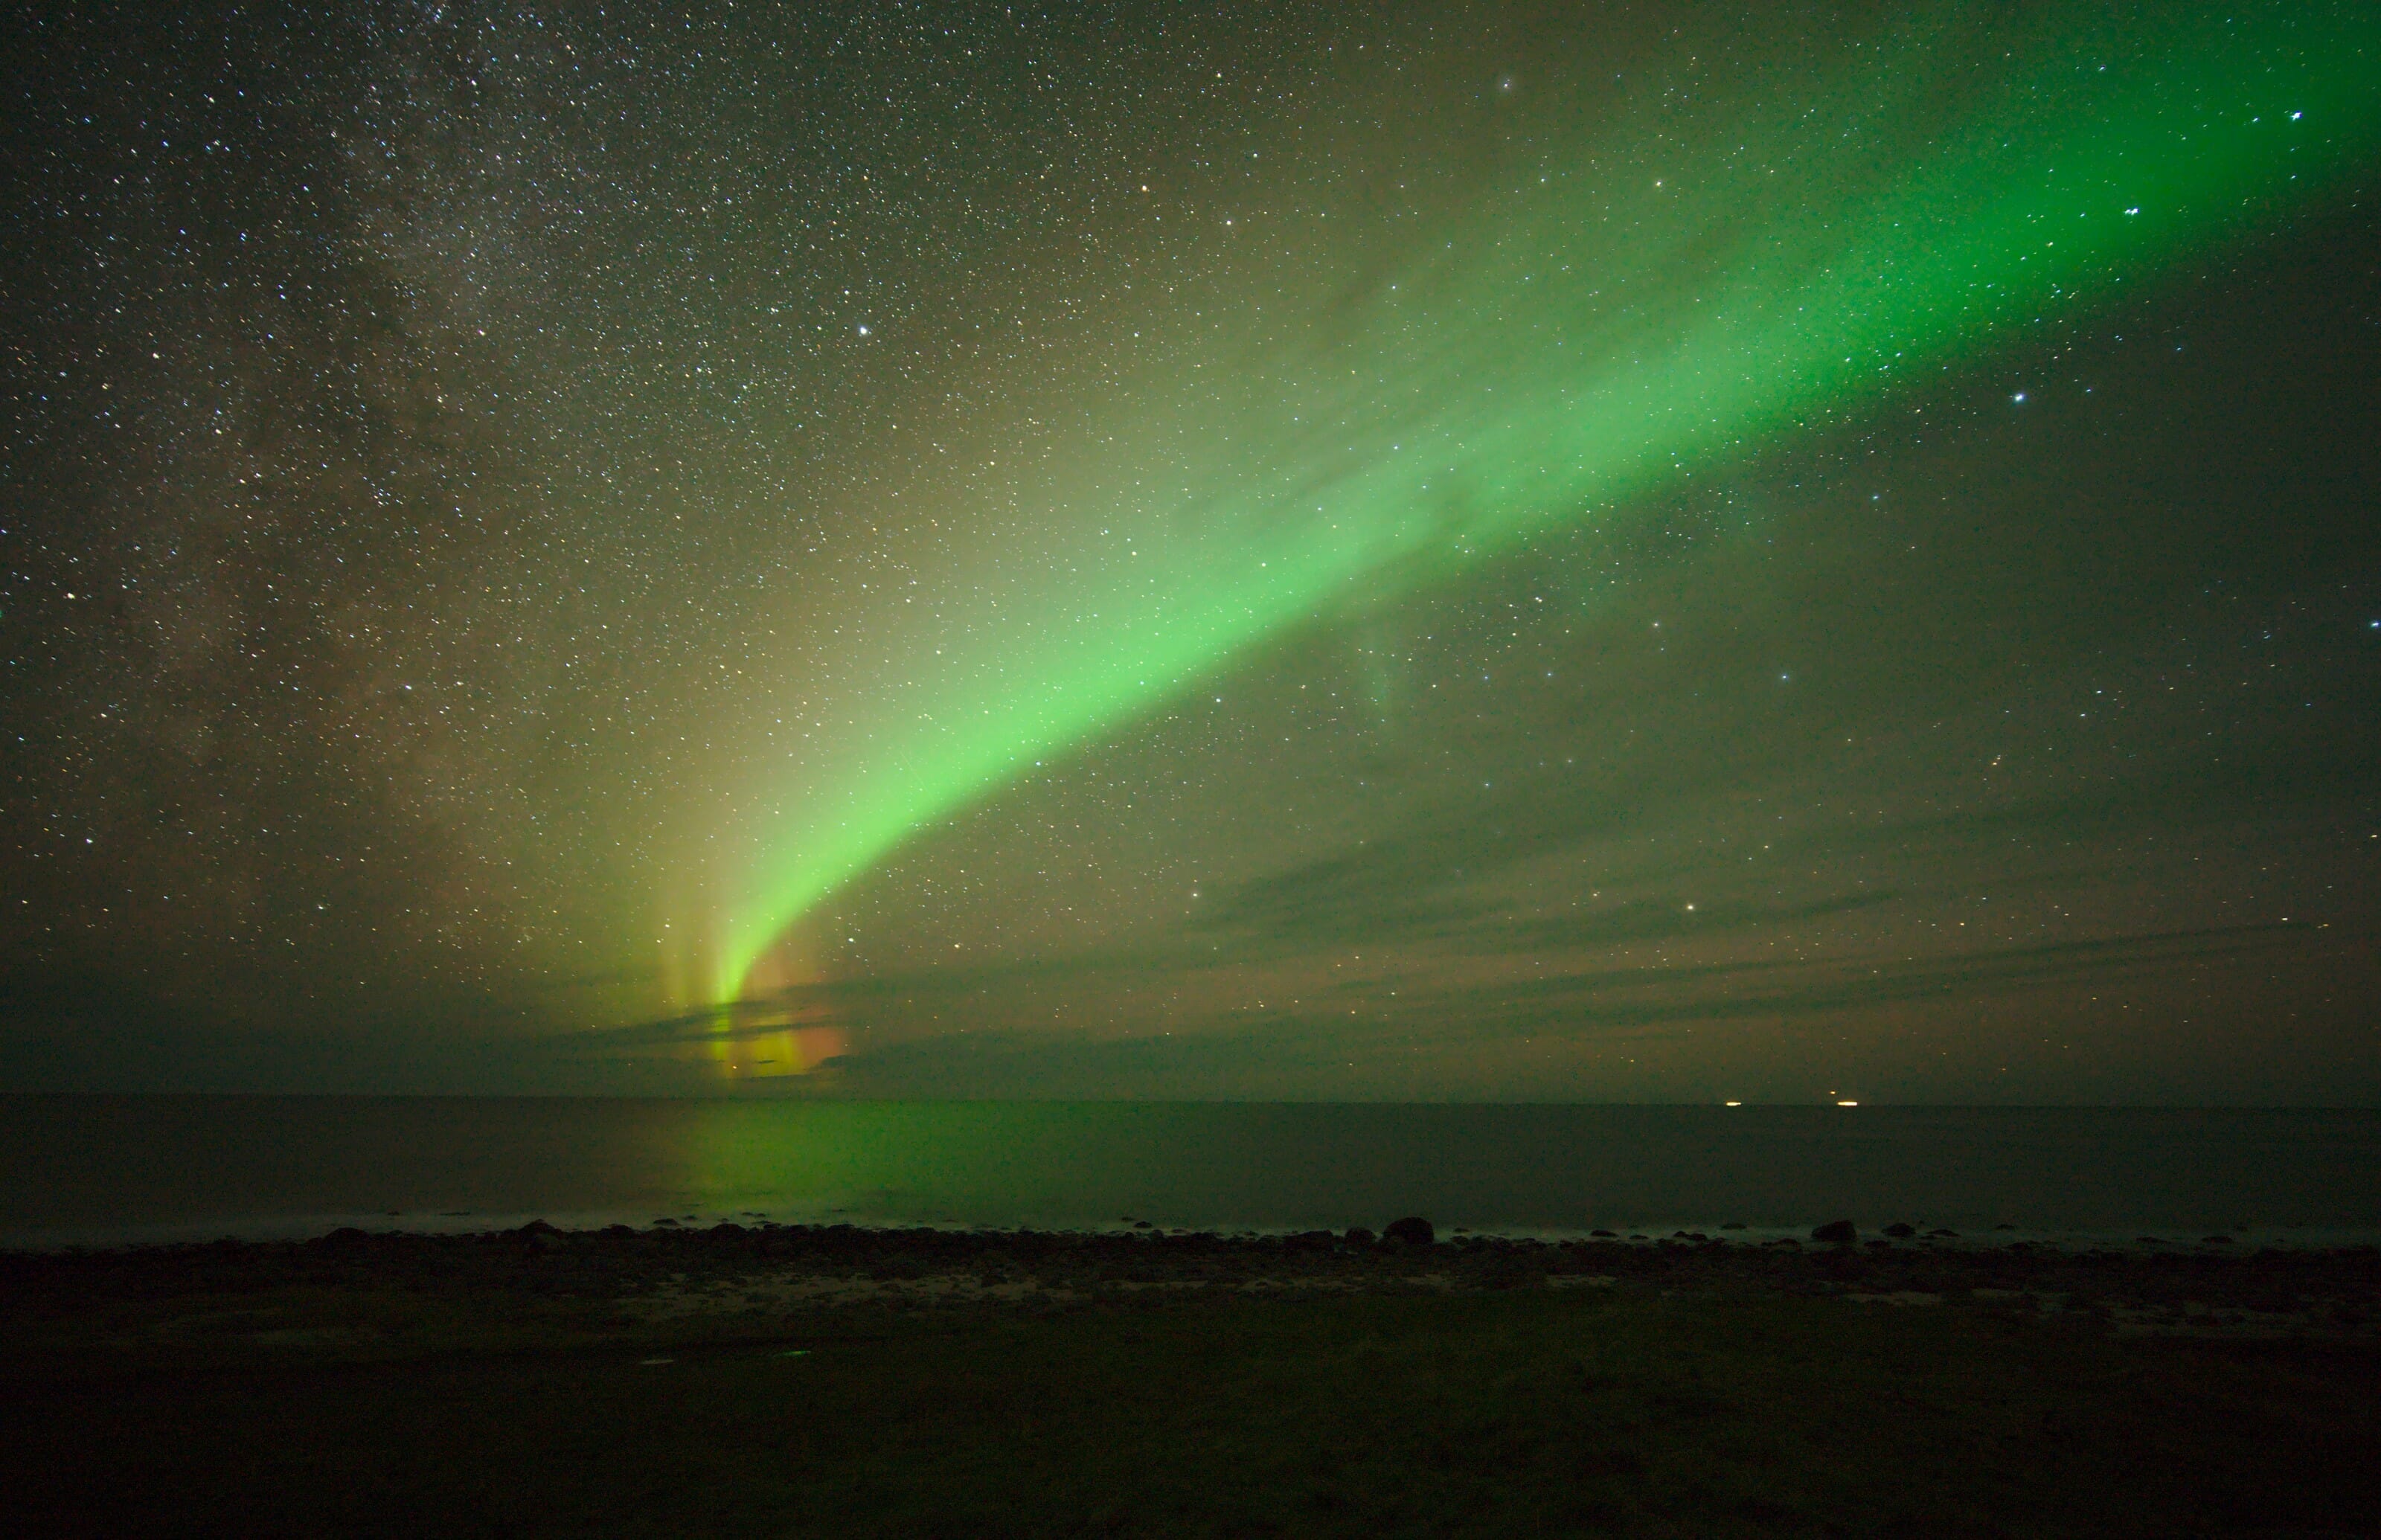
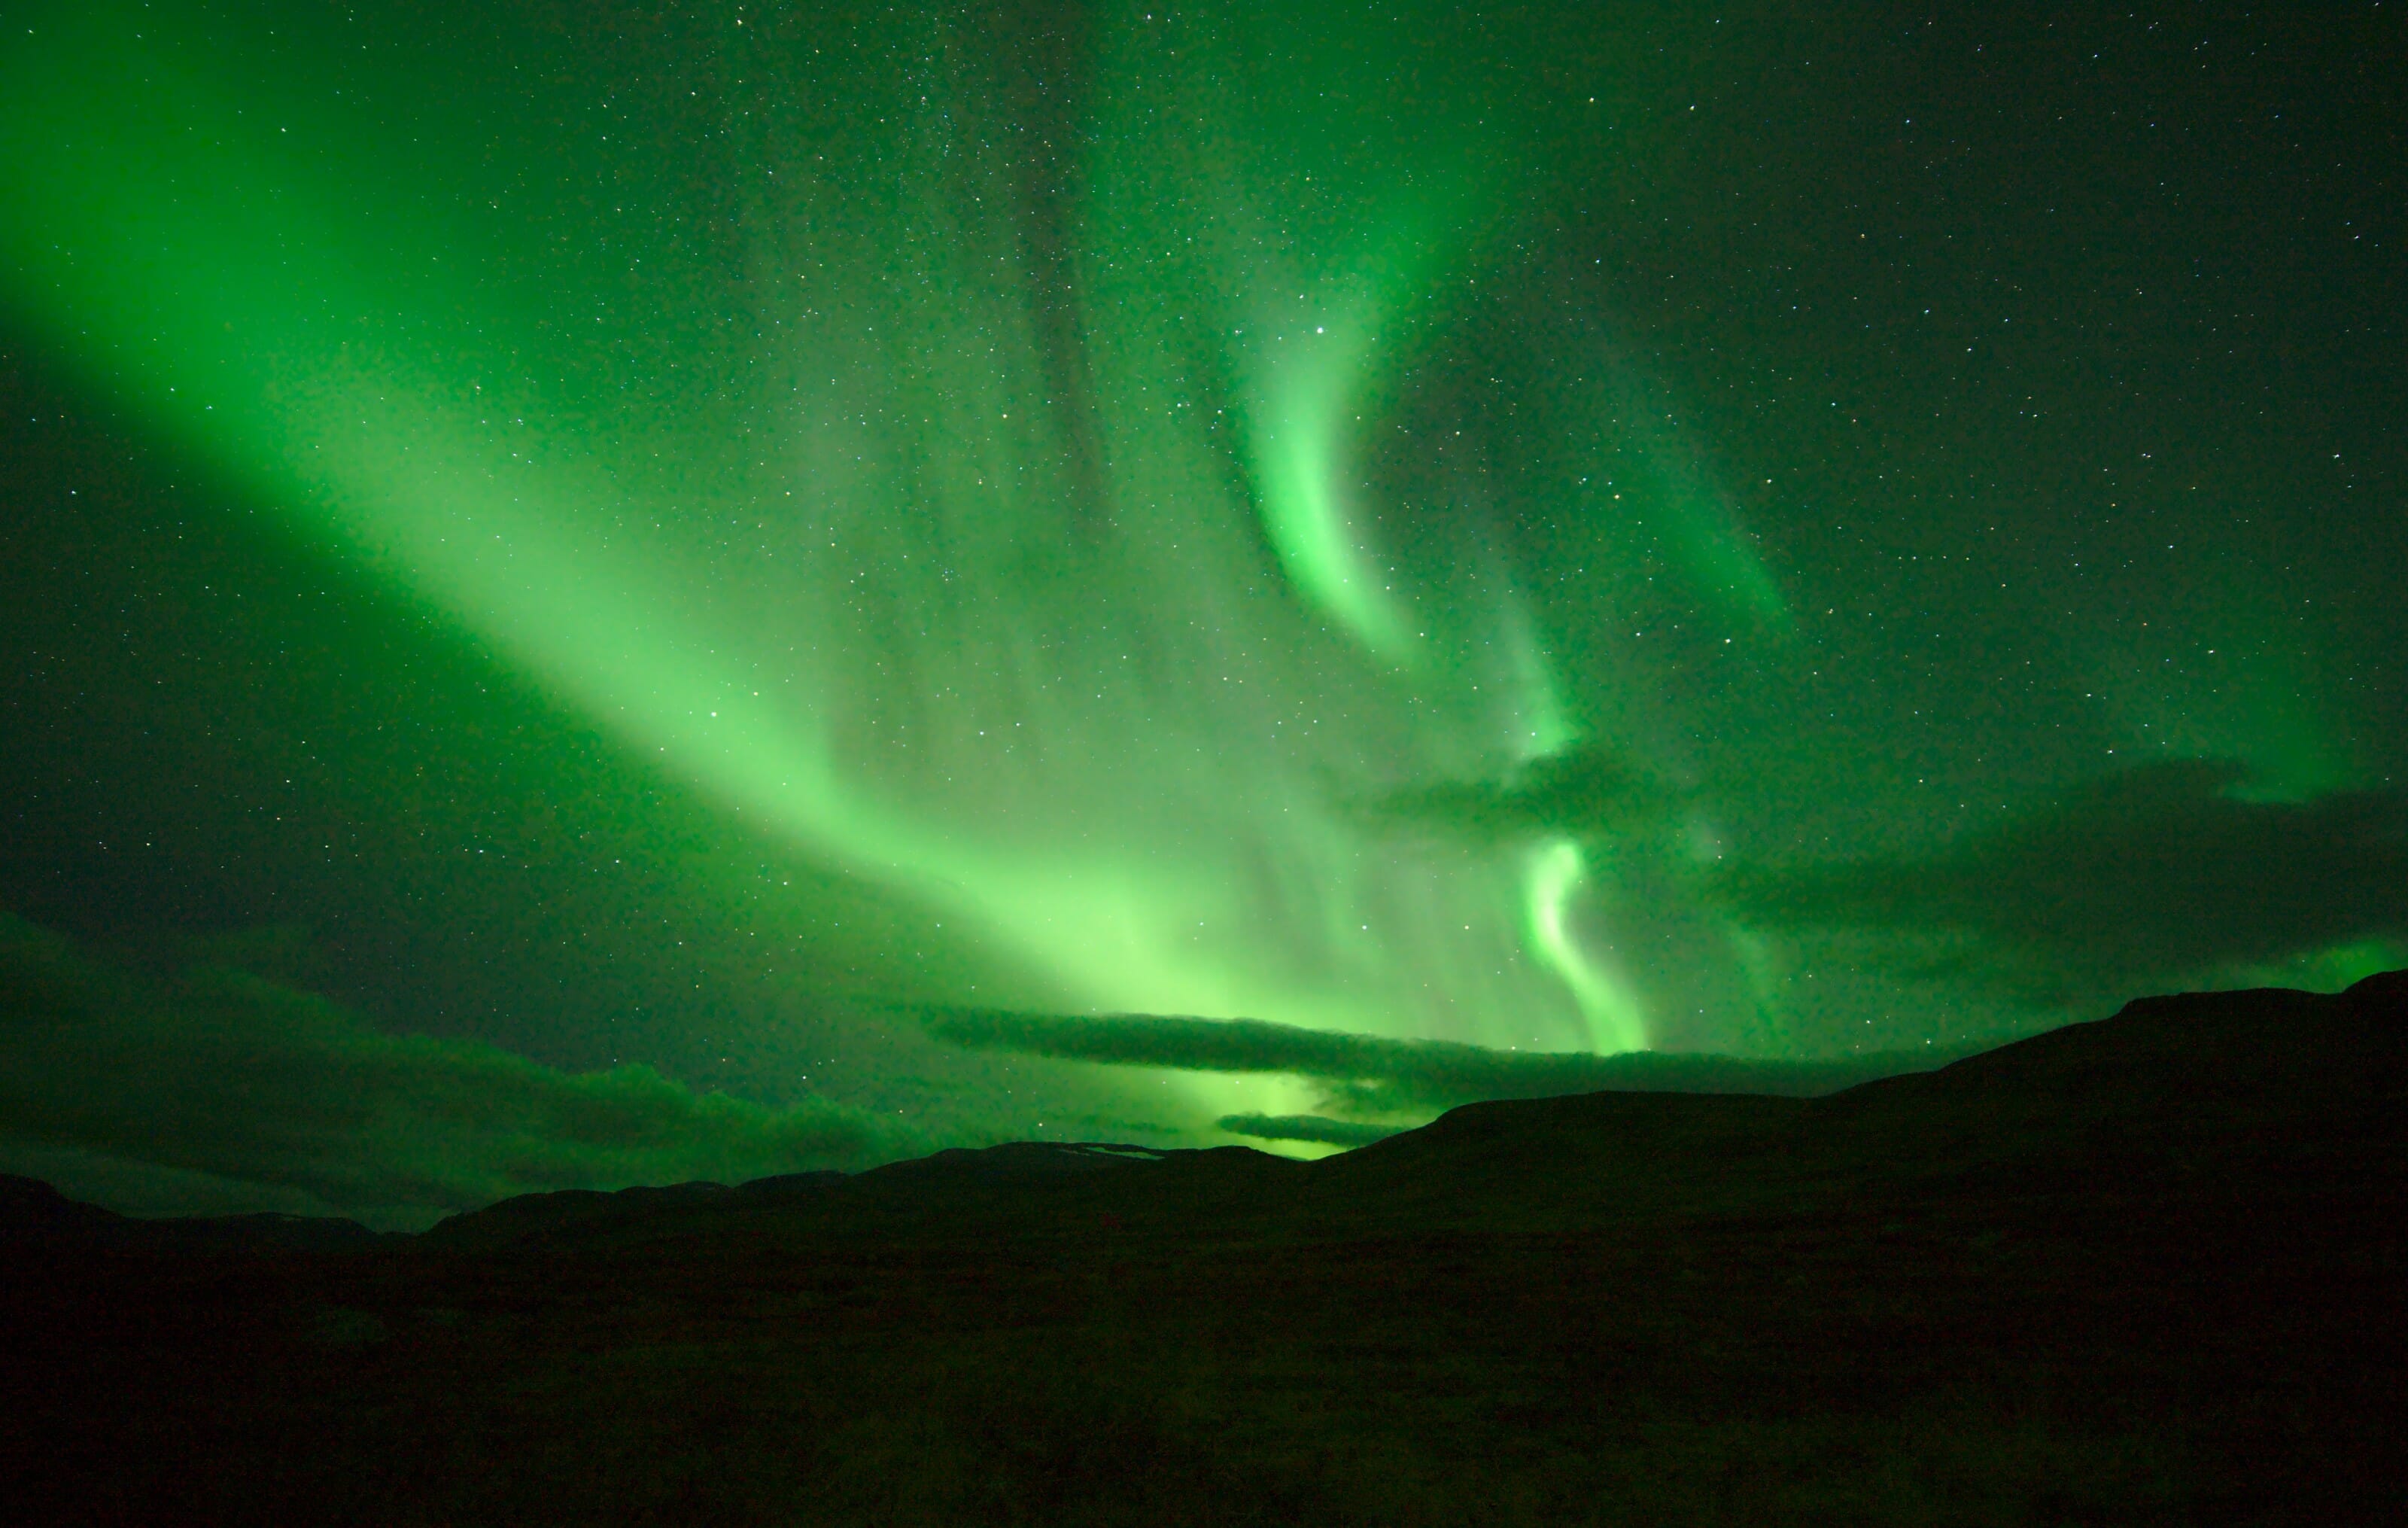
I promise you I didn’t see that with my eyes 🙂 - Stay away from light pollution : A rule that applies to night shots in general. It is better to move as far away as possible from cities or any parasitic light sources to take the best pictures with more intense skies.
- Avoid full moon evenings : This is the same as the previous point because the full moon generates a lot of parasitic light that will prevent you from properly bringing out the auroras or stars.
- Do some scouting : You can imagine that it is not easy to find the ideal photo spot in the middle of the night with headlamp ;). So spot the perfect location during the day and simply go back when it’s dark. For example, what I was doing during our trek on the Kungsleden is that after setting up the camp, I would go exploring the area to find nice photo spots in case there would be auroras in the evening.
- Prepare the equipment and camera settings as much as possible in advance : It is always easier to prepare the lens, tripod, batteries, headlamp… in the evening when you are still awake than in the middle of the night. The same for the settings, you might as well have already done the basic settings during the day so that you don’t have to worry too much about having a hard time with the headlamp afterwards.
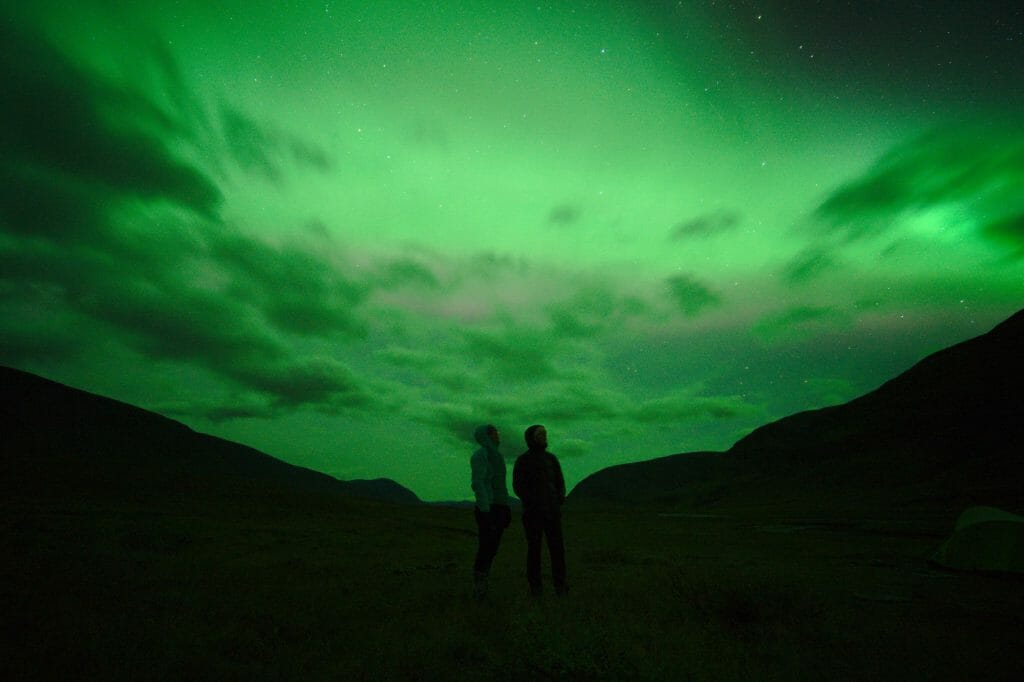
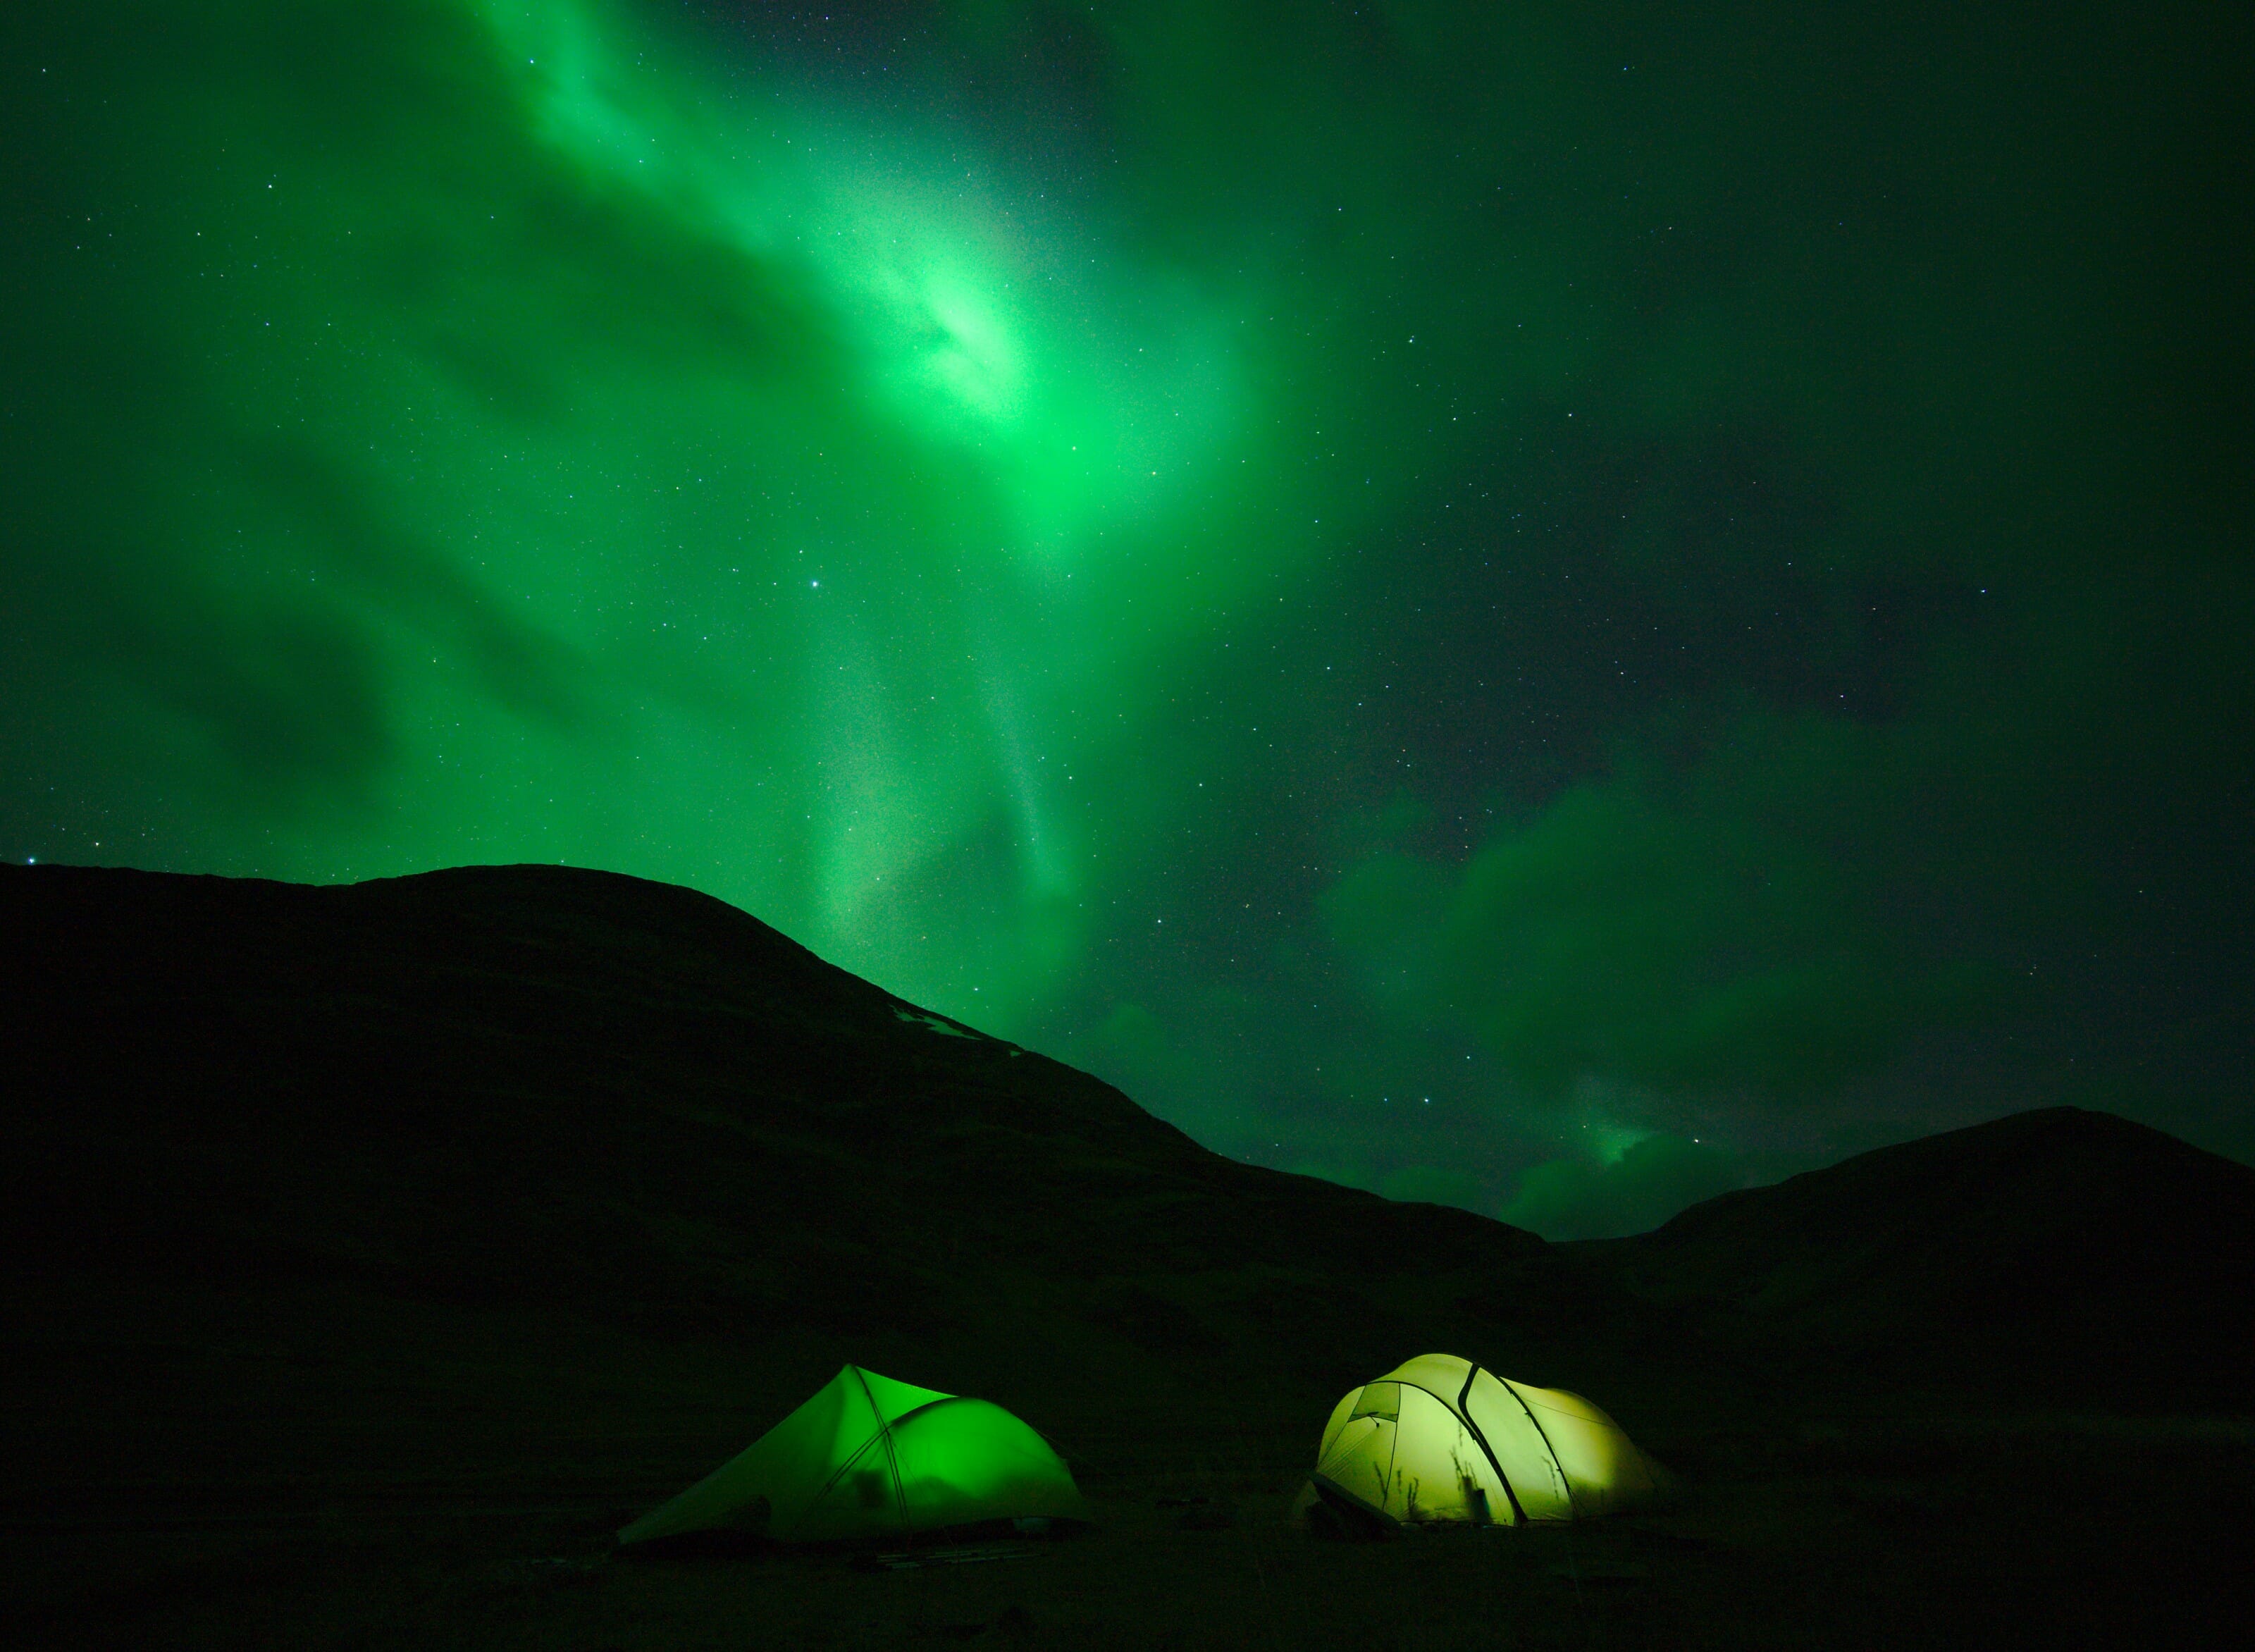
- Vary your framings : When you have 2-3 beautiful skies with well defined northern lights, try to vary the framing, include a decorative element in your photo (it could be a tent, a tree, a house, a lake or anything else that could make your photo more interesting).
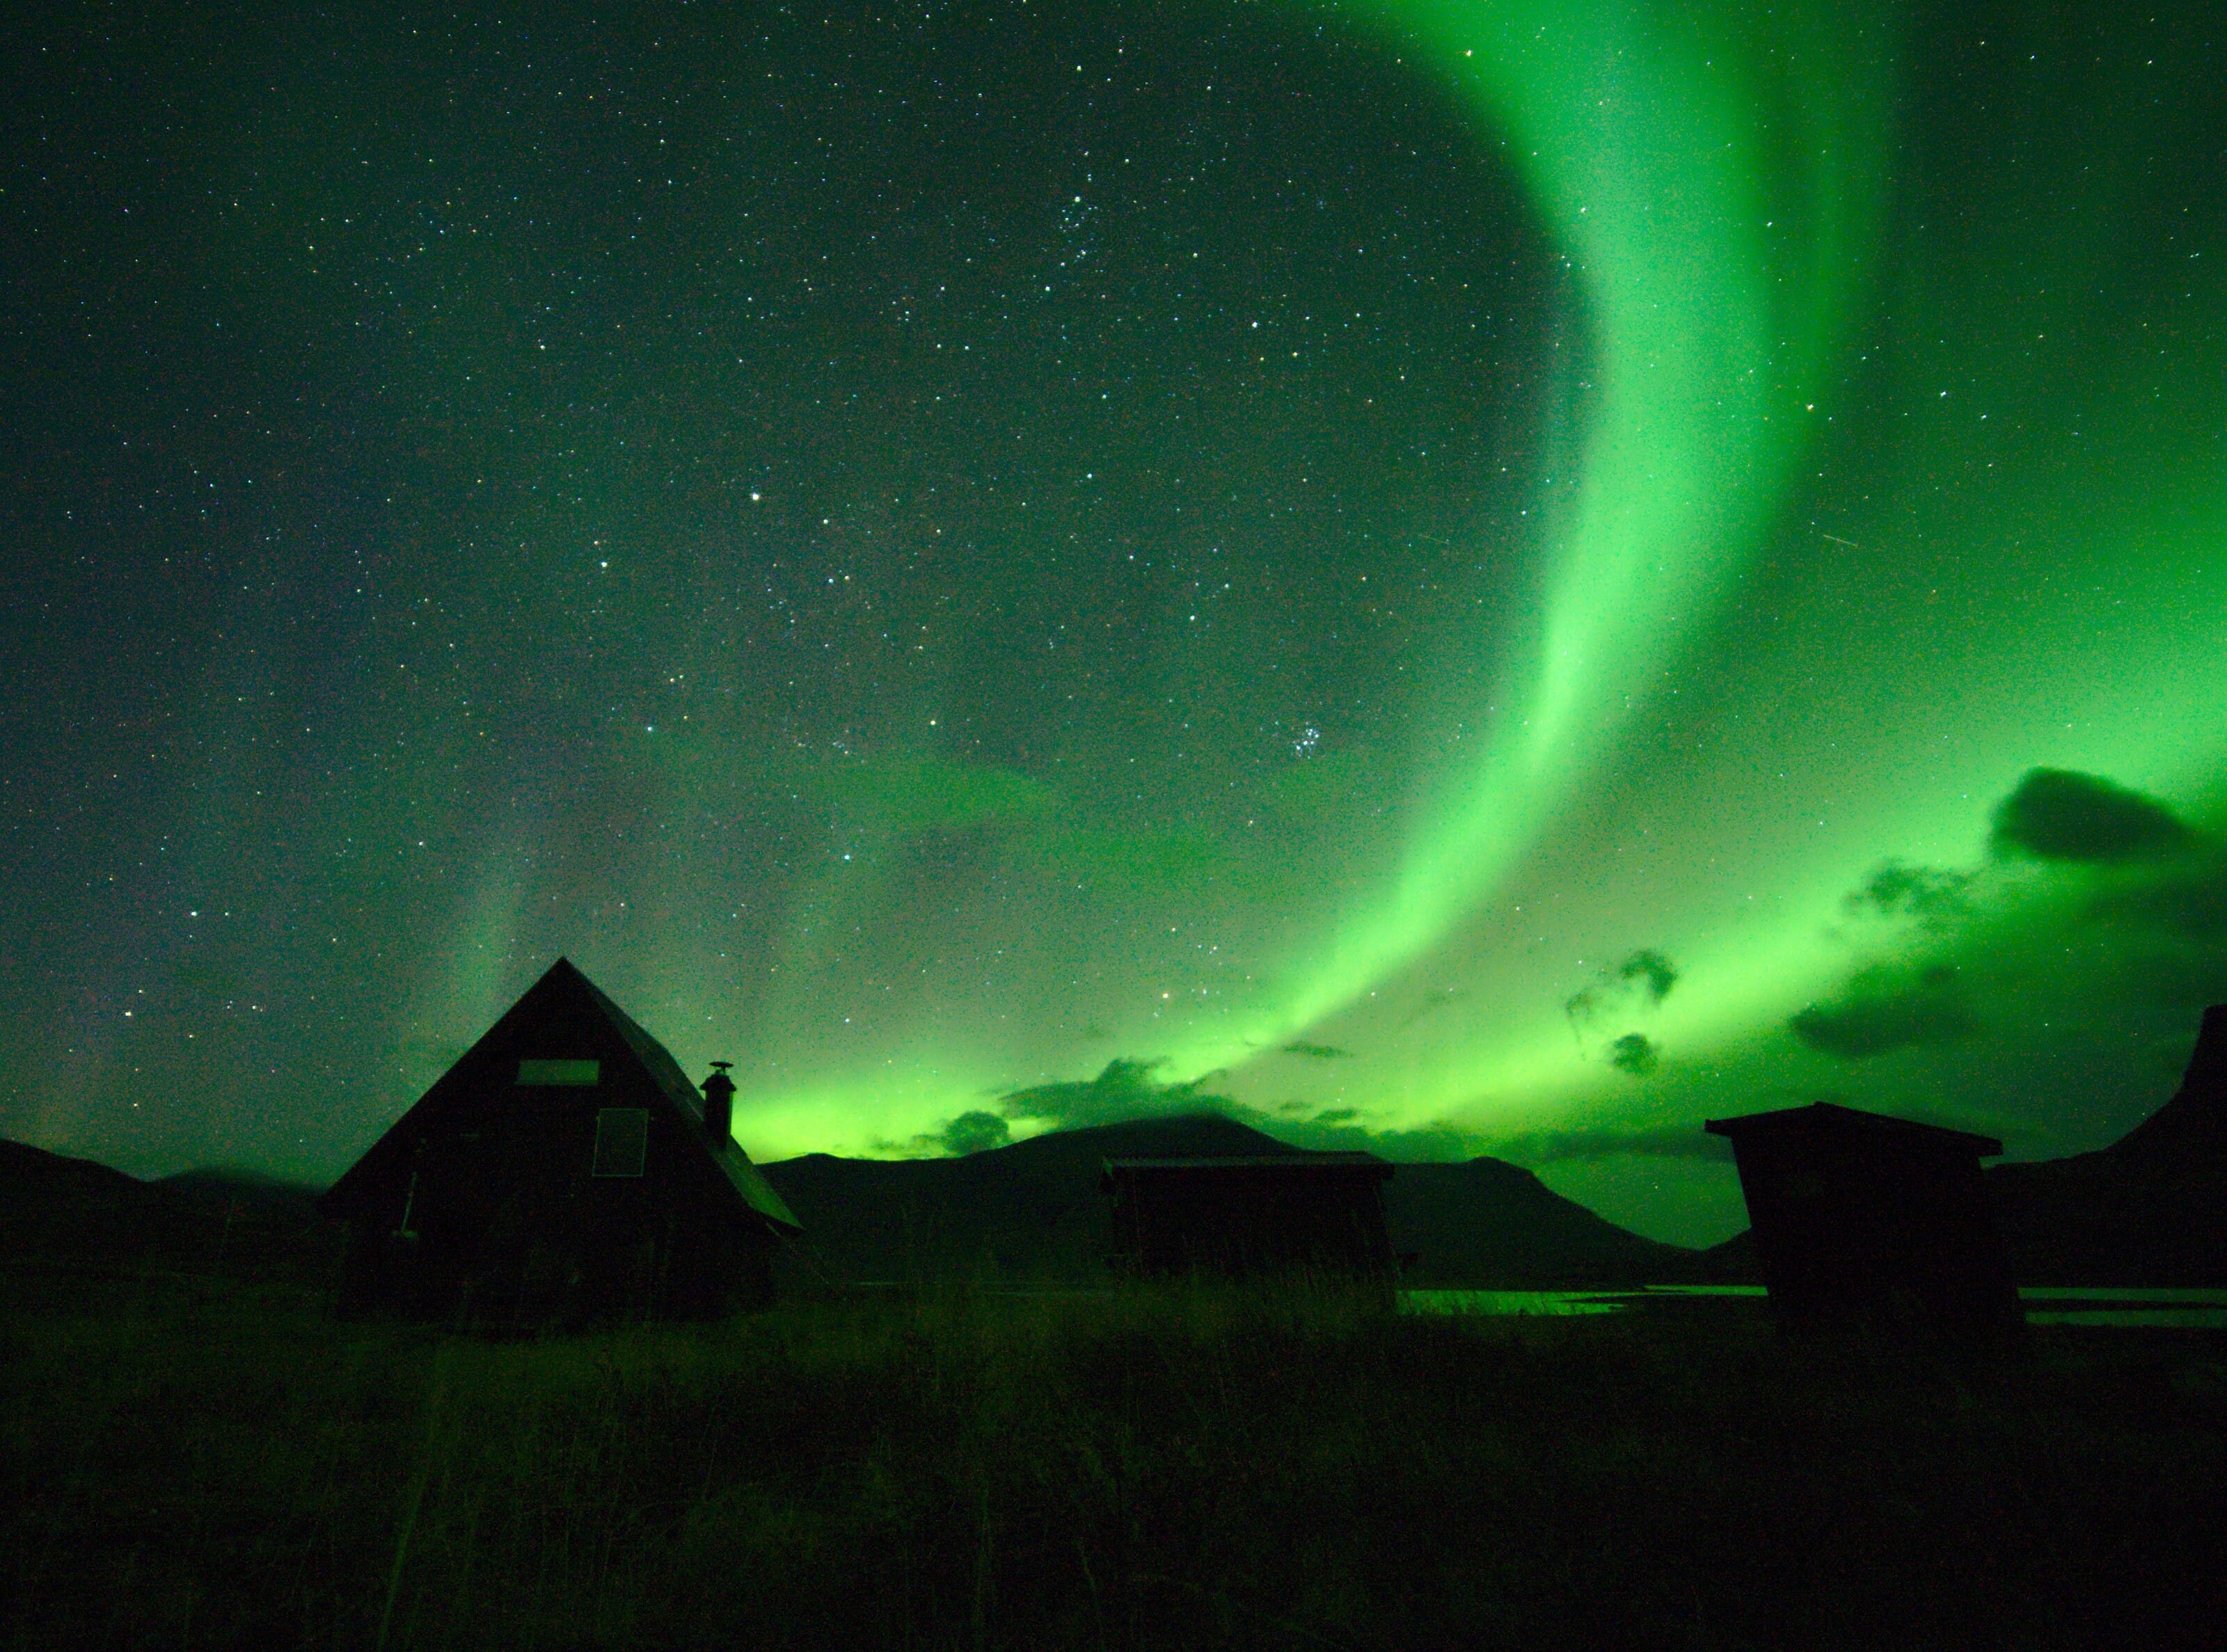
Well… I think you now have all the cards in hand to see and photograph the Northern Lights 😉 . Frankly if you dream of observing these beautiful lights, go for it, travel in the northern countries and especially go out as much as you can during the night when the sky is clear (even if your smartphone tells you that the chances are low). You’ll see, you won’t regret it! But hey… don’t forget to sleep though, huh 🙂
And if you have any questions or maybe additional remarks (I may have forgotten something), please feel free to contribute in the comments..
P.S. If you buy an item through one of our links, we will receive a small amazon commission that will help us maintain and grow the site. Of course, we only talk about the products we use and it won’t cost you anything more 😉
Join the discussion