When we chose the island of Tenerife as our winter destination, the Teide volcano was clearly a big influence. Well this 3718m high volcano is clearly a place where we wanted to hike! It is the highest peak in Spain and its volcanic / lunar landscapes will leave no one indifferent.
As you might expect, it is also an ideal playground for the nature and hiking enthusiasts that we are 😉 . And to tell you the truth, volcanoes have always left us with very strong impressions when travelling, as in Indonesia on the Rinjani, Ijen and Bromo volcanoes, or in South America with Cotopaxi in Ecuador or Parinacota in Bolivia. No wonder that we wanted to come and discover Tenerife and its Teide volcano!
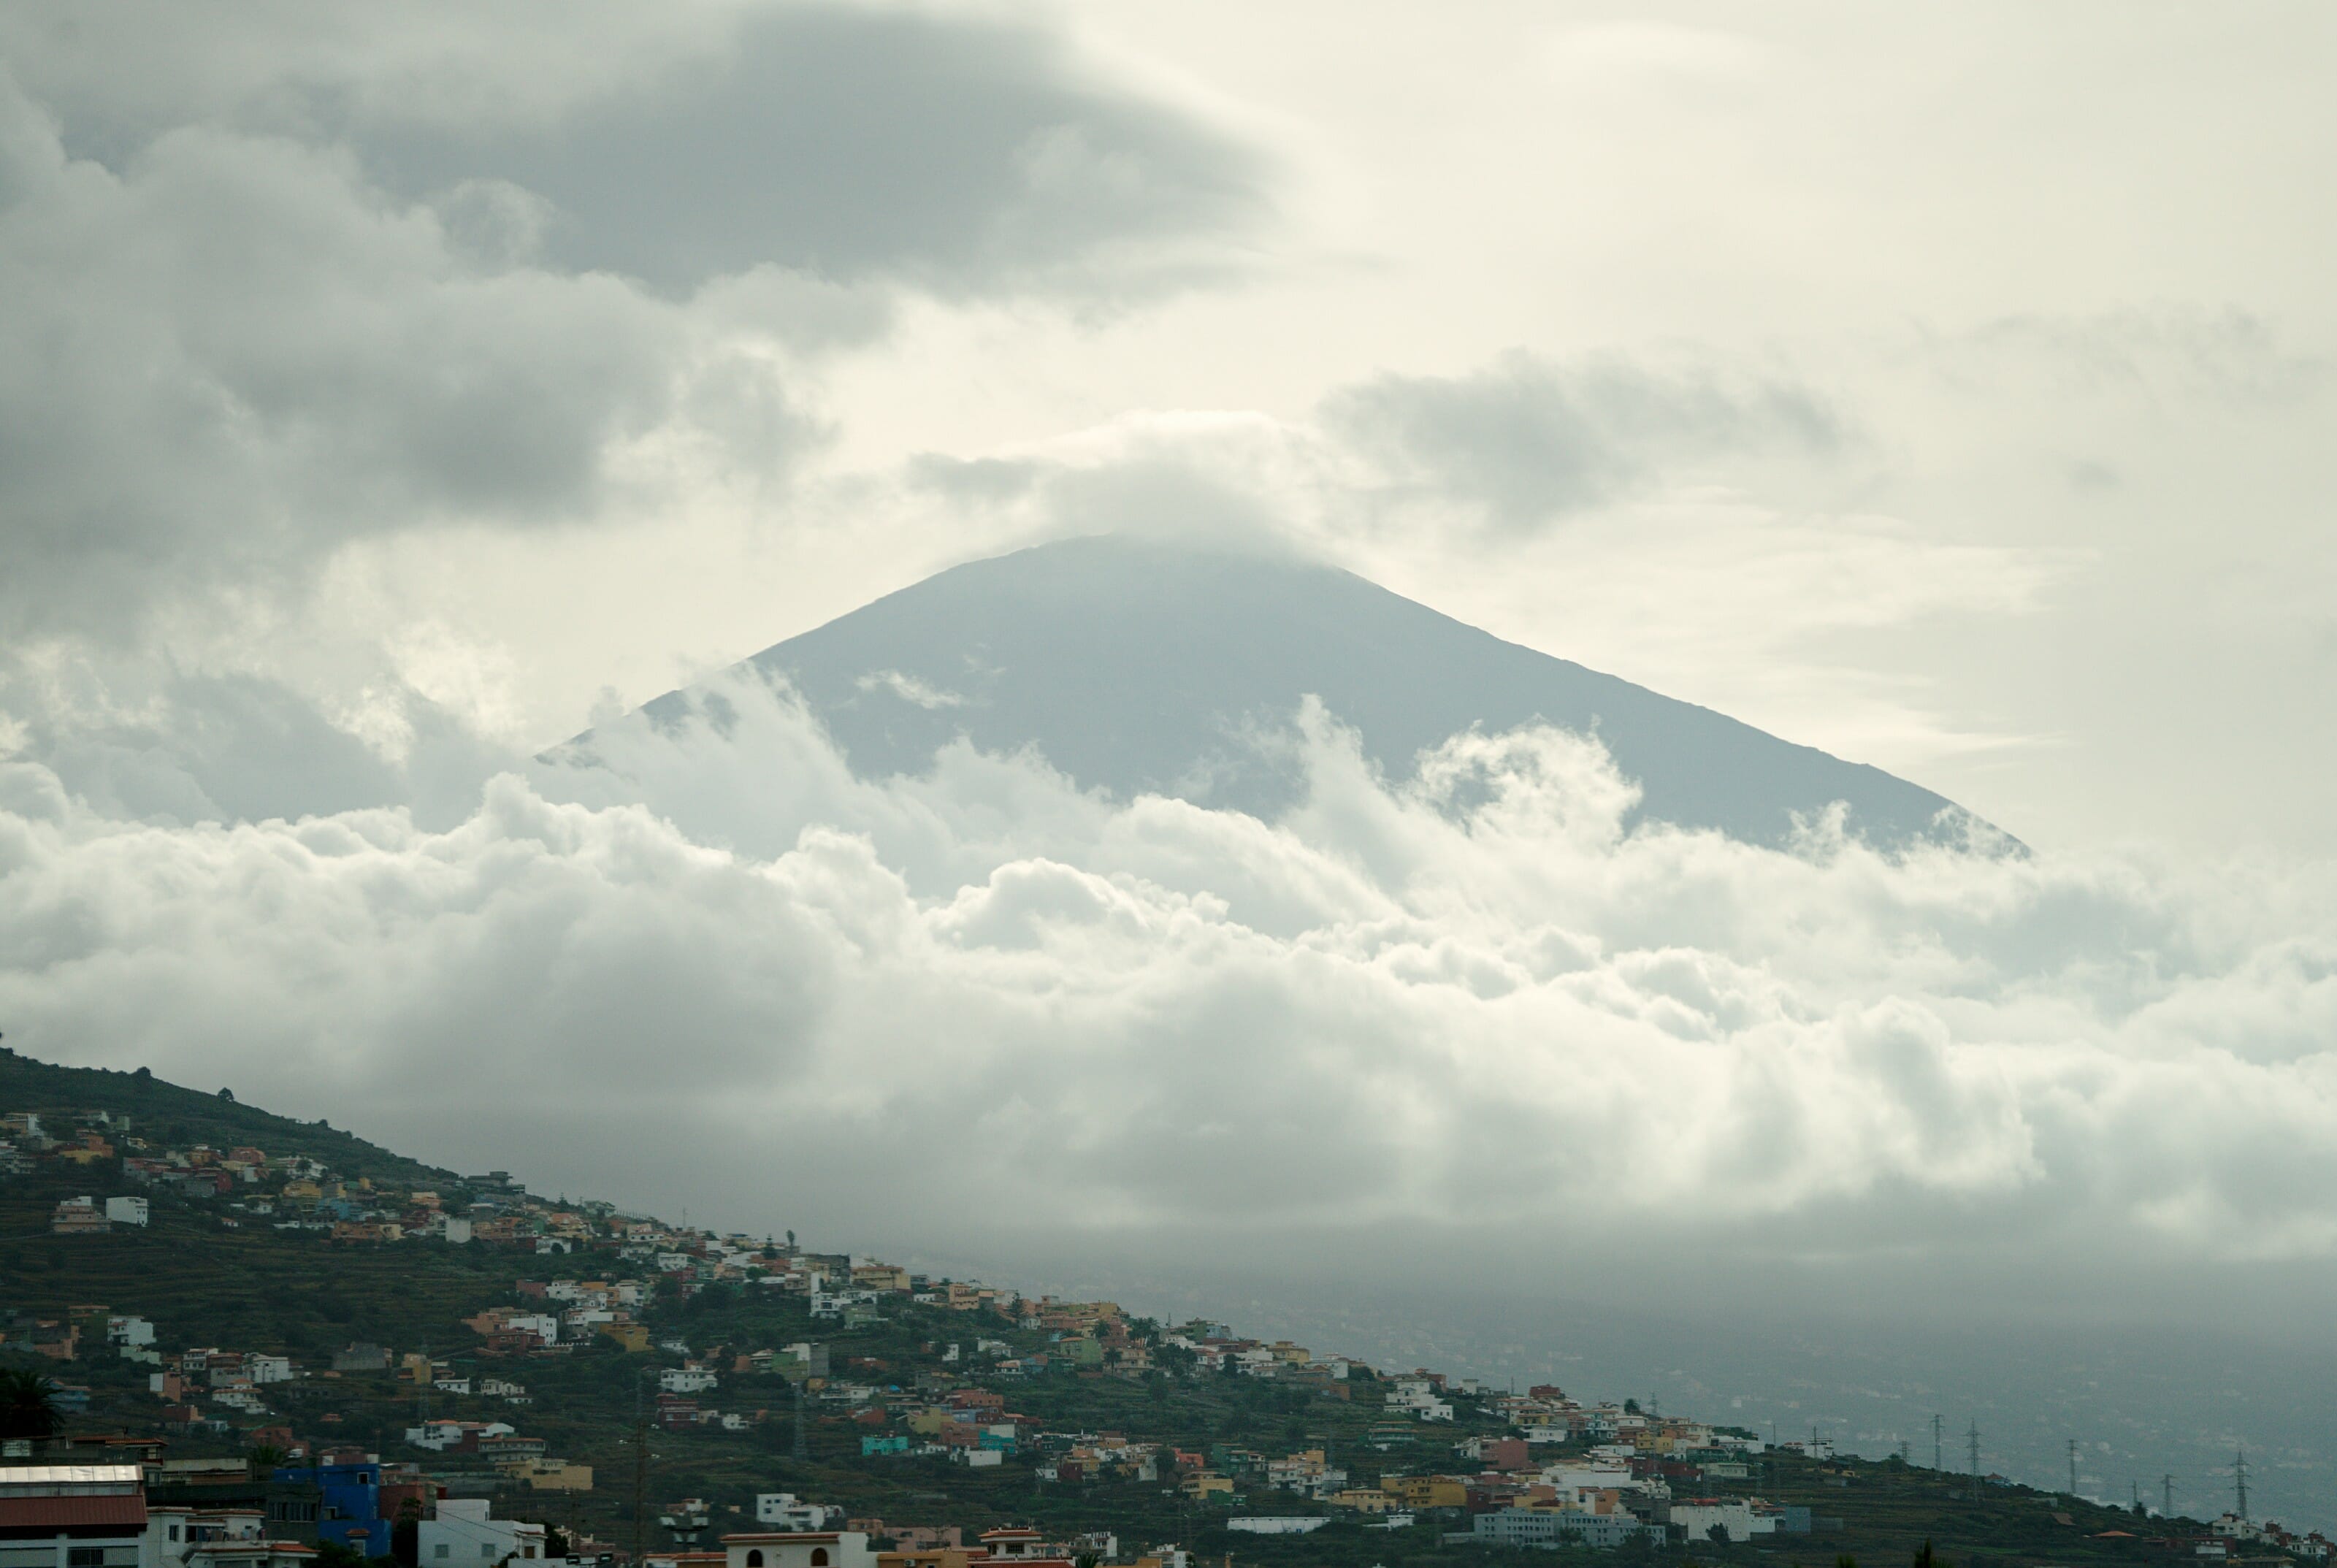
In this post, we will share with you our experience of the Teide National Park and give you some tips / hiking ideas to discover it in its most beautiful aspects.
The Teide volcano and its national park
Carefull!!! Wikipedia time 😉
When you have such a marvel on your island you might as well protect it (and protect yourself too since Teide is an active volcano and its last eruption dates back to 1909). The area around the Teide and its caldera is therefore protected by a national park that covers about 1/10 of the entire area of the Tenerife island. It is also one of the oldest national parks in Spain and has been a UNESCO World Heritage Site since 2007… No wonder there are so many people visiting it (more than 3 million tourists per year)

If you look at an image of the Teide taken from above, you will notice that the volcano is actually surrounded by a kind of large basin at 2000m altitude (the caldera). It is more or less the surface of this basin that is protected by the national park. Looking at this image, you may also think that the volcano seems truncated and you are right. In fact the original volcano was even bigger (something like 4500m) and collapsed on itself a long time ago forming the caldera. The Teide and Pico viejo in their current form only came later.
End of Wikipedia time 😉
There are 3 ways to visit the Teide National Park:
- By car: The only road that crosses the park (the TF-21) is spectacular and we really recommend that you do it at least once.
- With a tour: Many tour companies offer different day trips to the national park. Some involve hiking, others are more for taking pictures. See the tours
- On foot: There are many hiking trails through the park and they are the best way to discover all the hidden gems of the Teide national park away from the crowd.
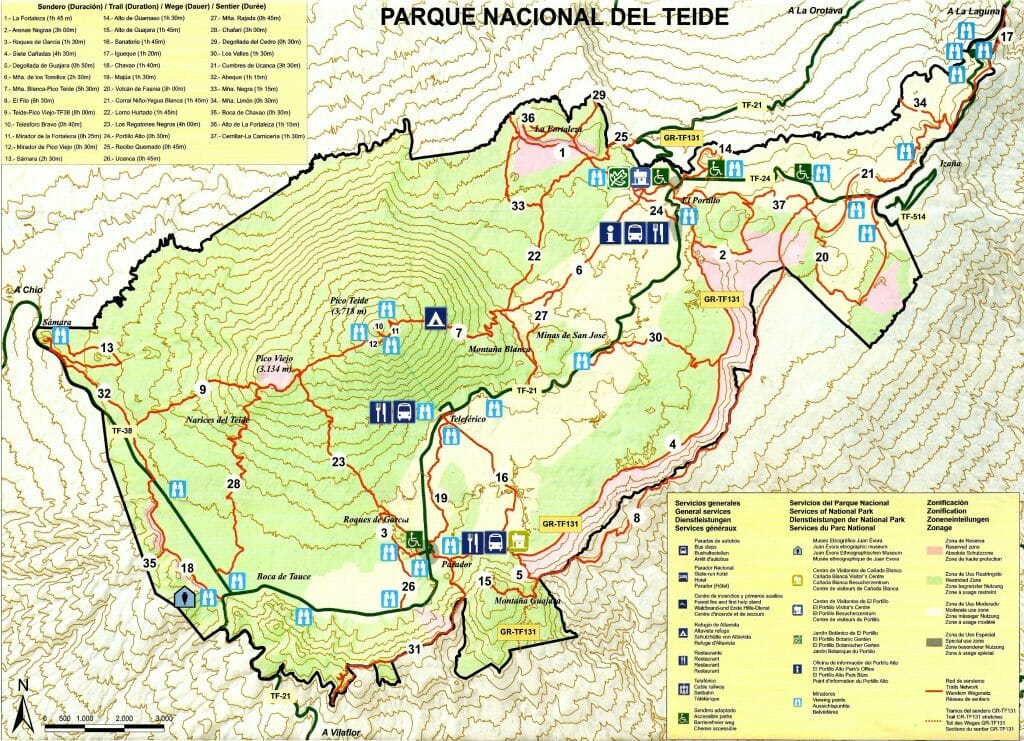
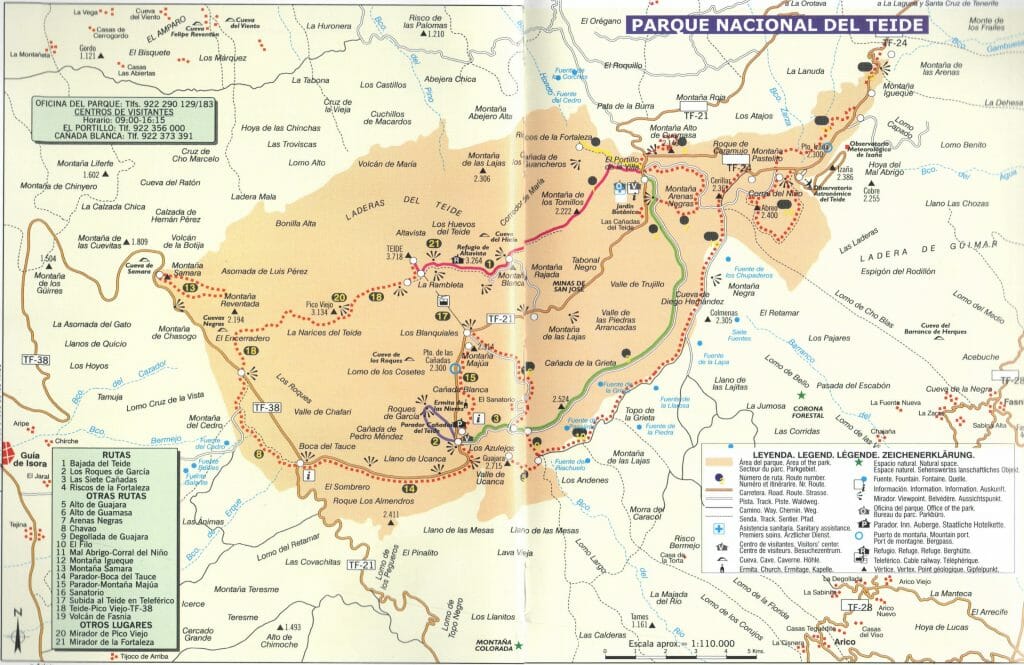
Here are two maps of Teide National Park that may be useful to you.
Camper Van

We didn’t do it in Tenerife, but since we bought our van, we really want to come back to Tenerife and discover the area this way. The island lends itself really well for vanlife in our opinion. 🙂
If you want to rent one directly on the island (probably the easiest solution), then you can go to the website Yescapa. They offer camper vans rented directly by van owners (with all required insurances). You could also check the Campstar website which compares the offers of the main vans/RVs rental companies.
Iy you need more infos about how to rent a Campervan or a Motorhome, you can also check our guide about this topic below
The weather on the Teide volcano
Tenerife has a little nickname: the island of eternal spring. So even this reputation is rather well founded (it is 20-30 degrees all year round and at sea level there is almost no season), it is not possible to summarize the weather in Tenerife so easily.
The simple fact of having such a large volcano in Tenerife creates strange weather phenomena (microclimates) and the weather can be completely different a few kilometres away on the island. For example, the south of the island is generally sunnier but also much drier and desert-like than the north, which is much greener. It is also very common to see clouds forming very locally (for example in La Laguna where it often rains) and a few kilometres further away the sun shines.
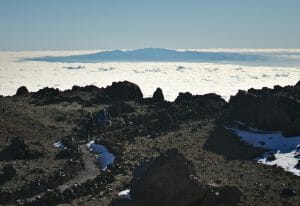
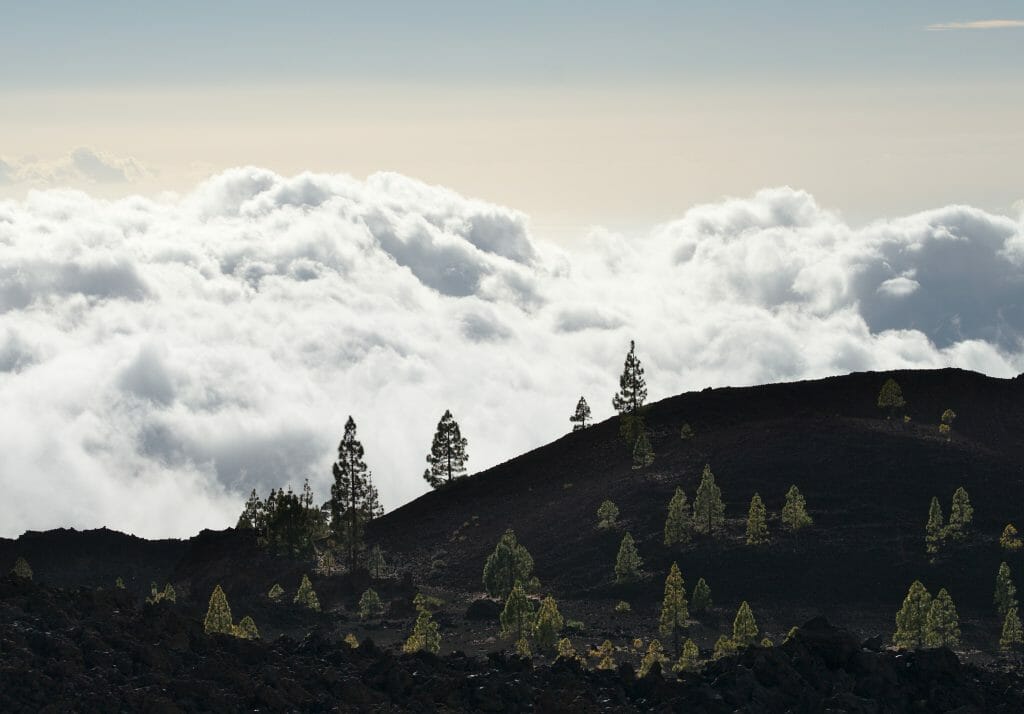
But there is a constant in Tenerife is that if you go up to the Teide, when you pass the level of the great pine forest that surrounds the caldera, you will be above the clouds and there is a good chance that you will be under the sun (in the 2 months we have been in Tenerife it must have rained only once on top… or better said, it snowed).
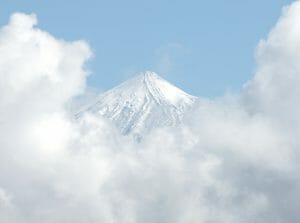
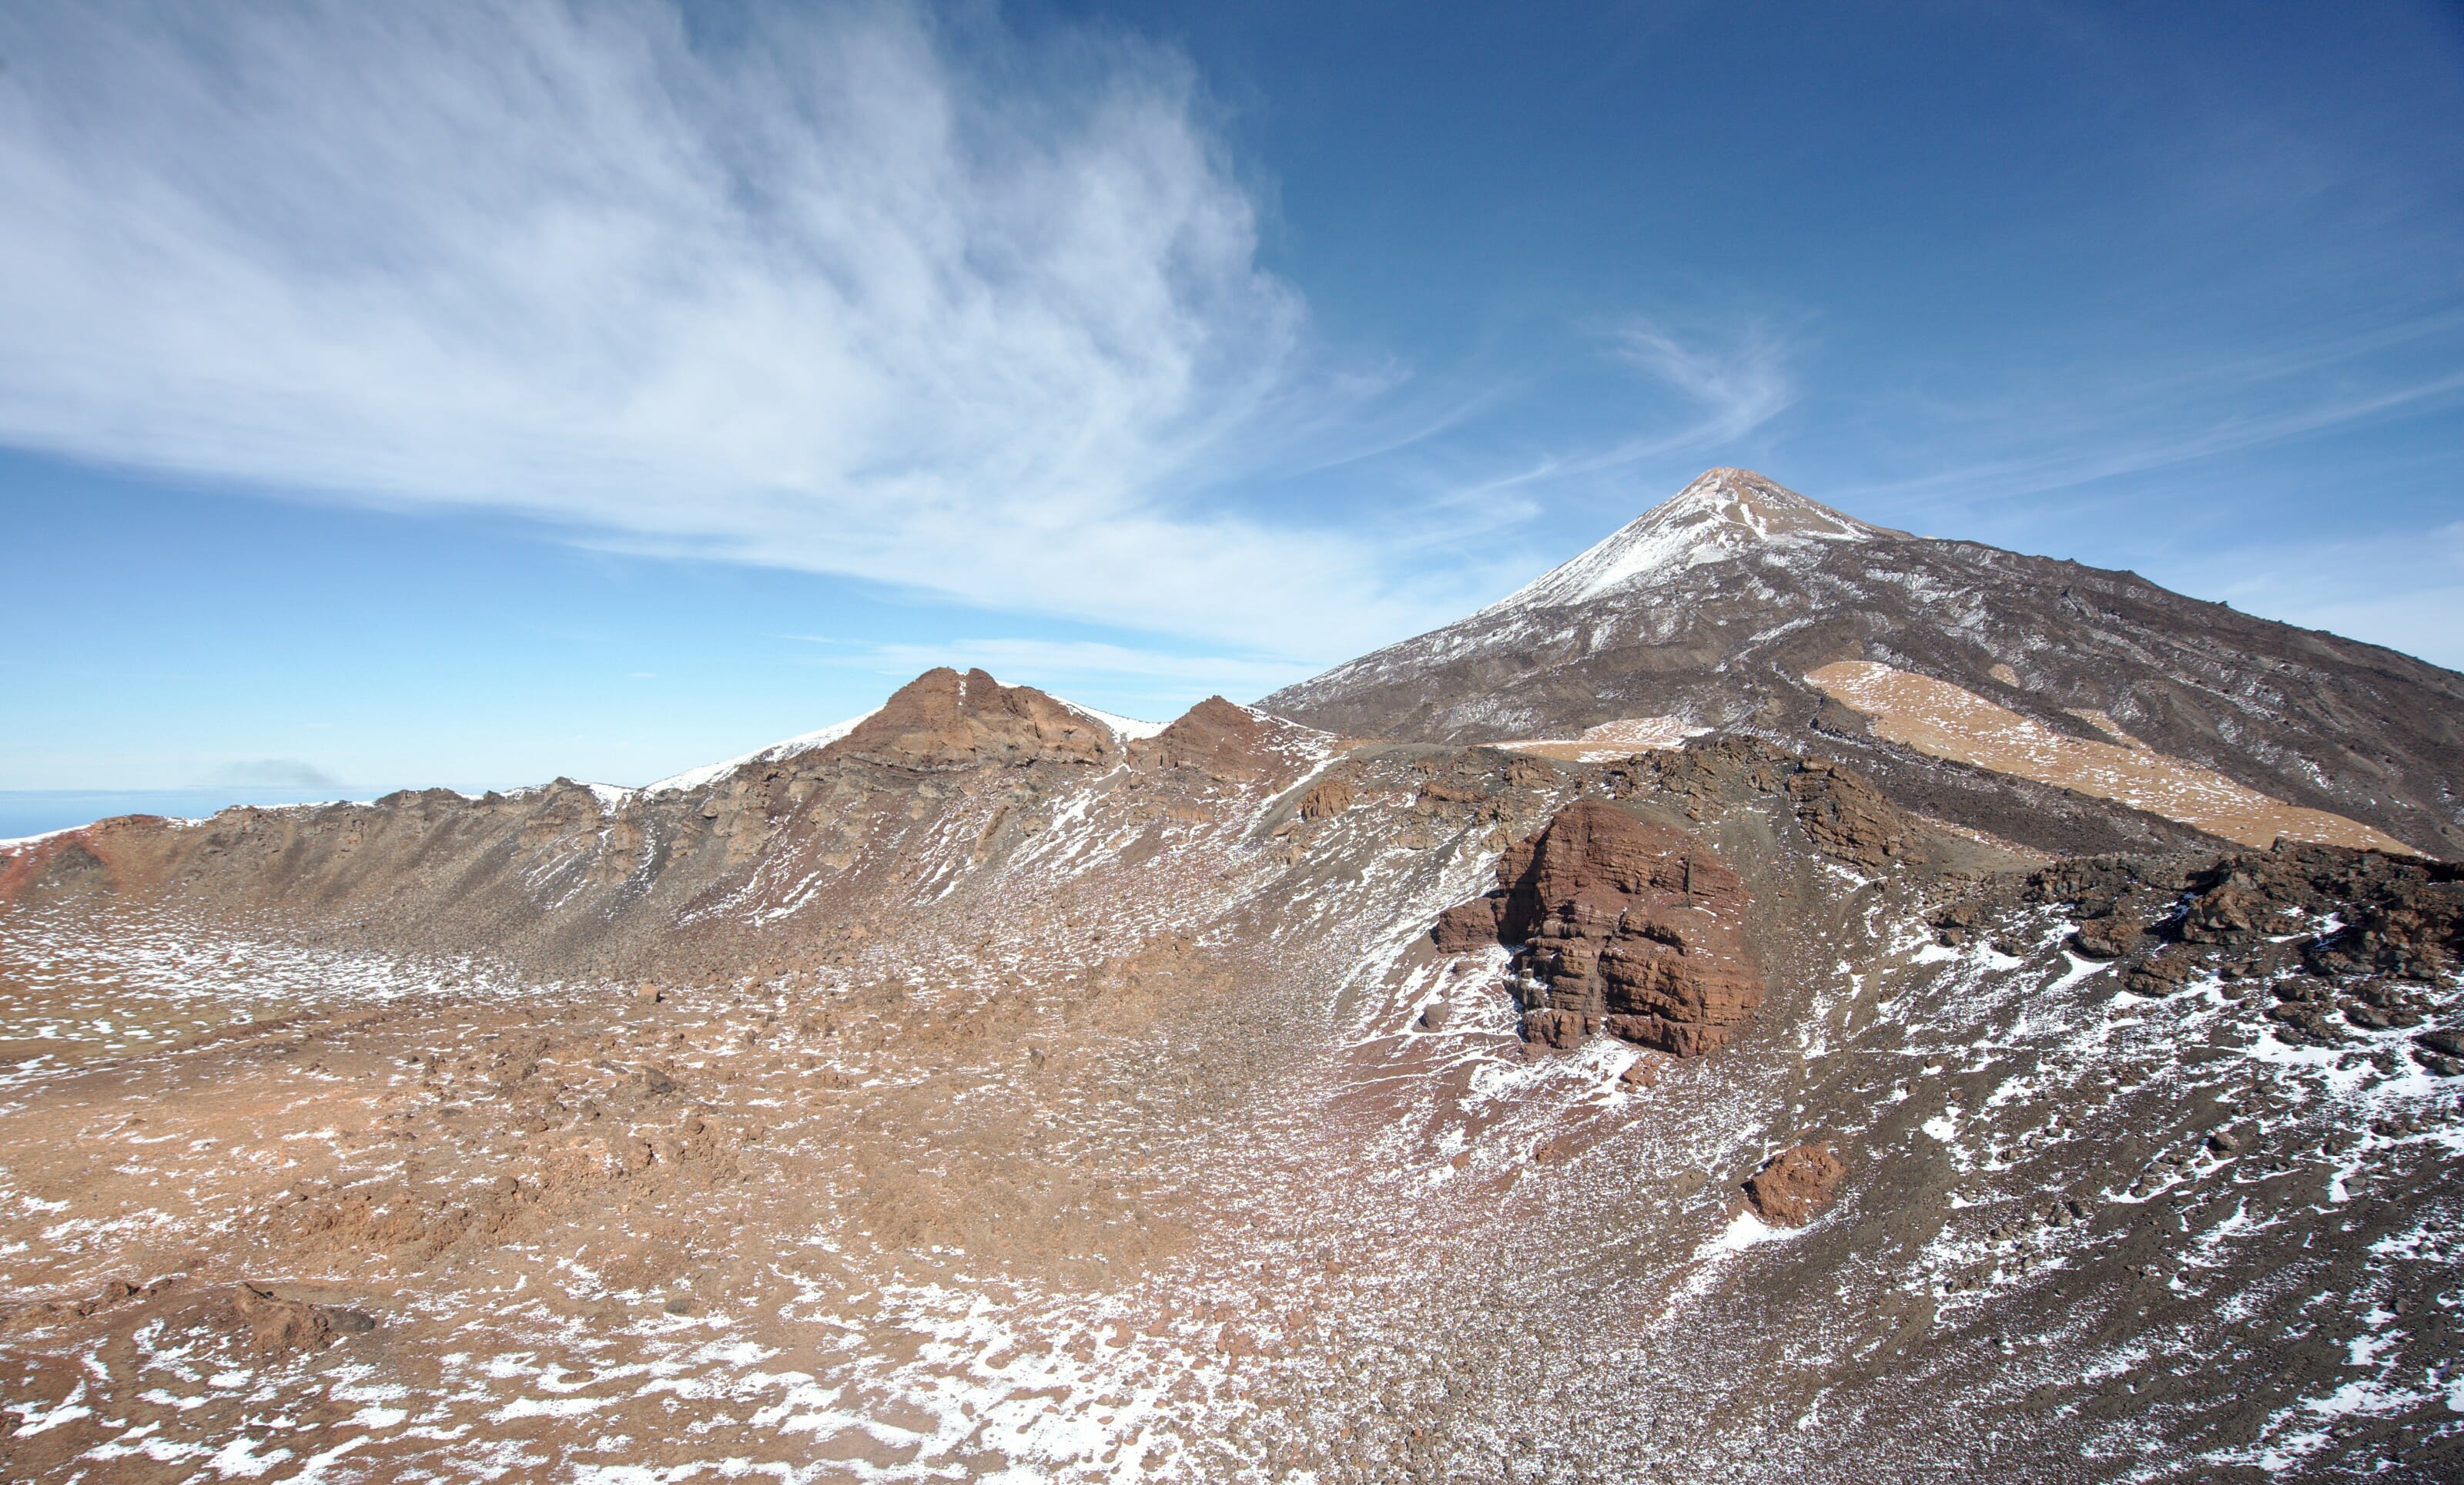
The Teide is also the only place on the island where you can really observe the seasons. It is not uncommon for the volcano to be covered in snow during winter (because of the “small drop” in temperatures:) and in spring you can observe many endemic plant species that bloom and are found nowhere else.
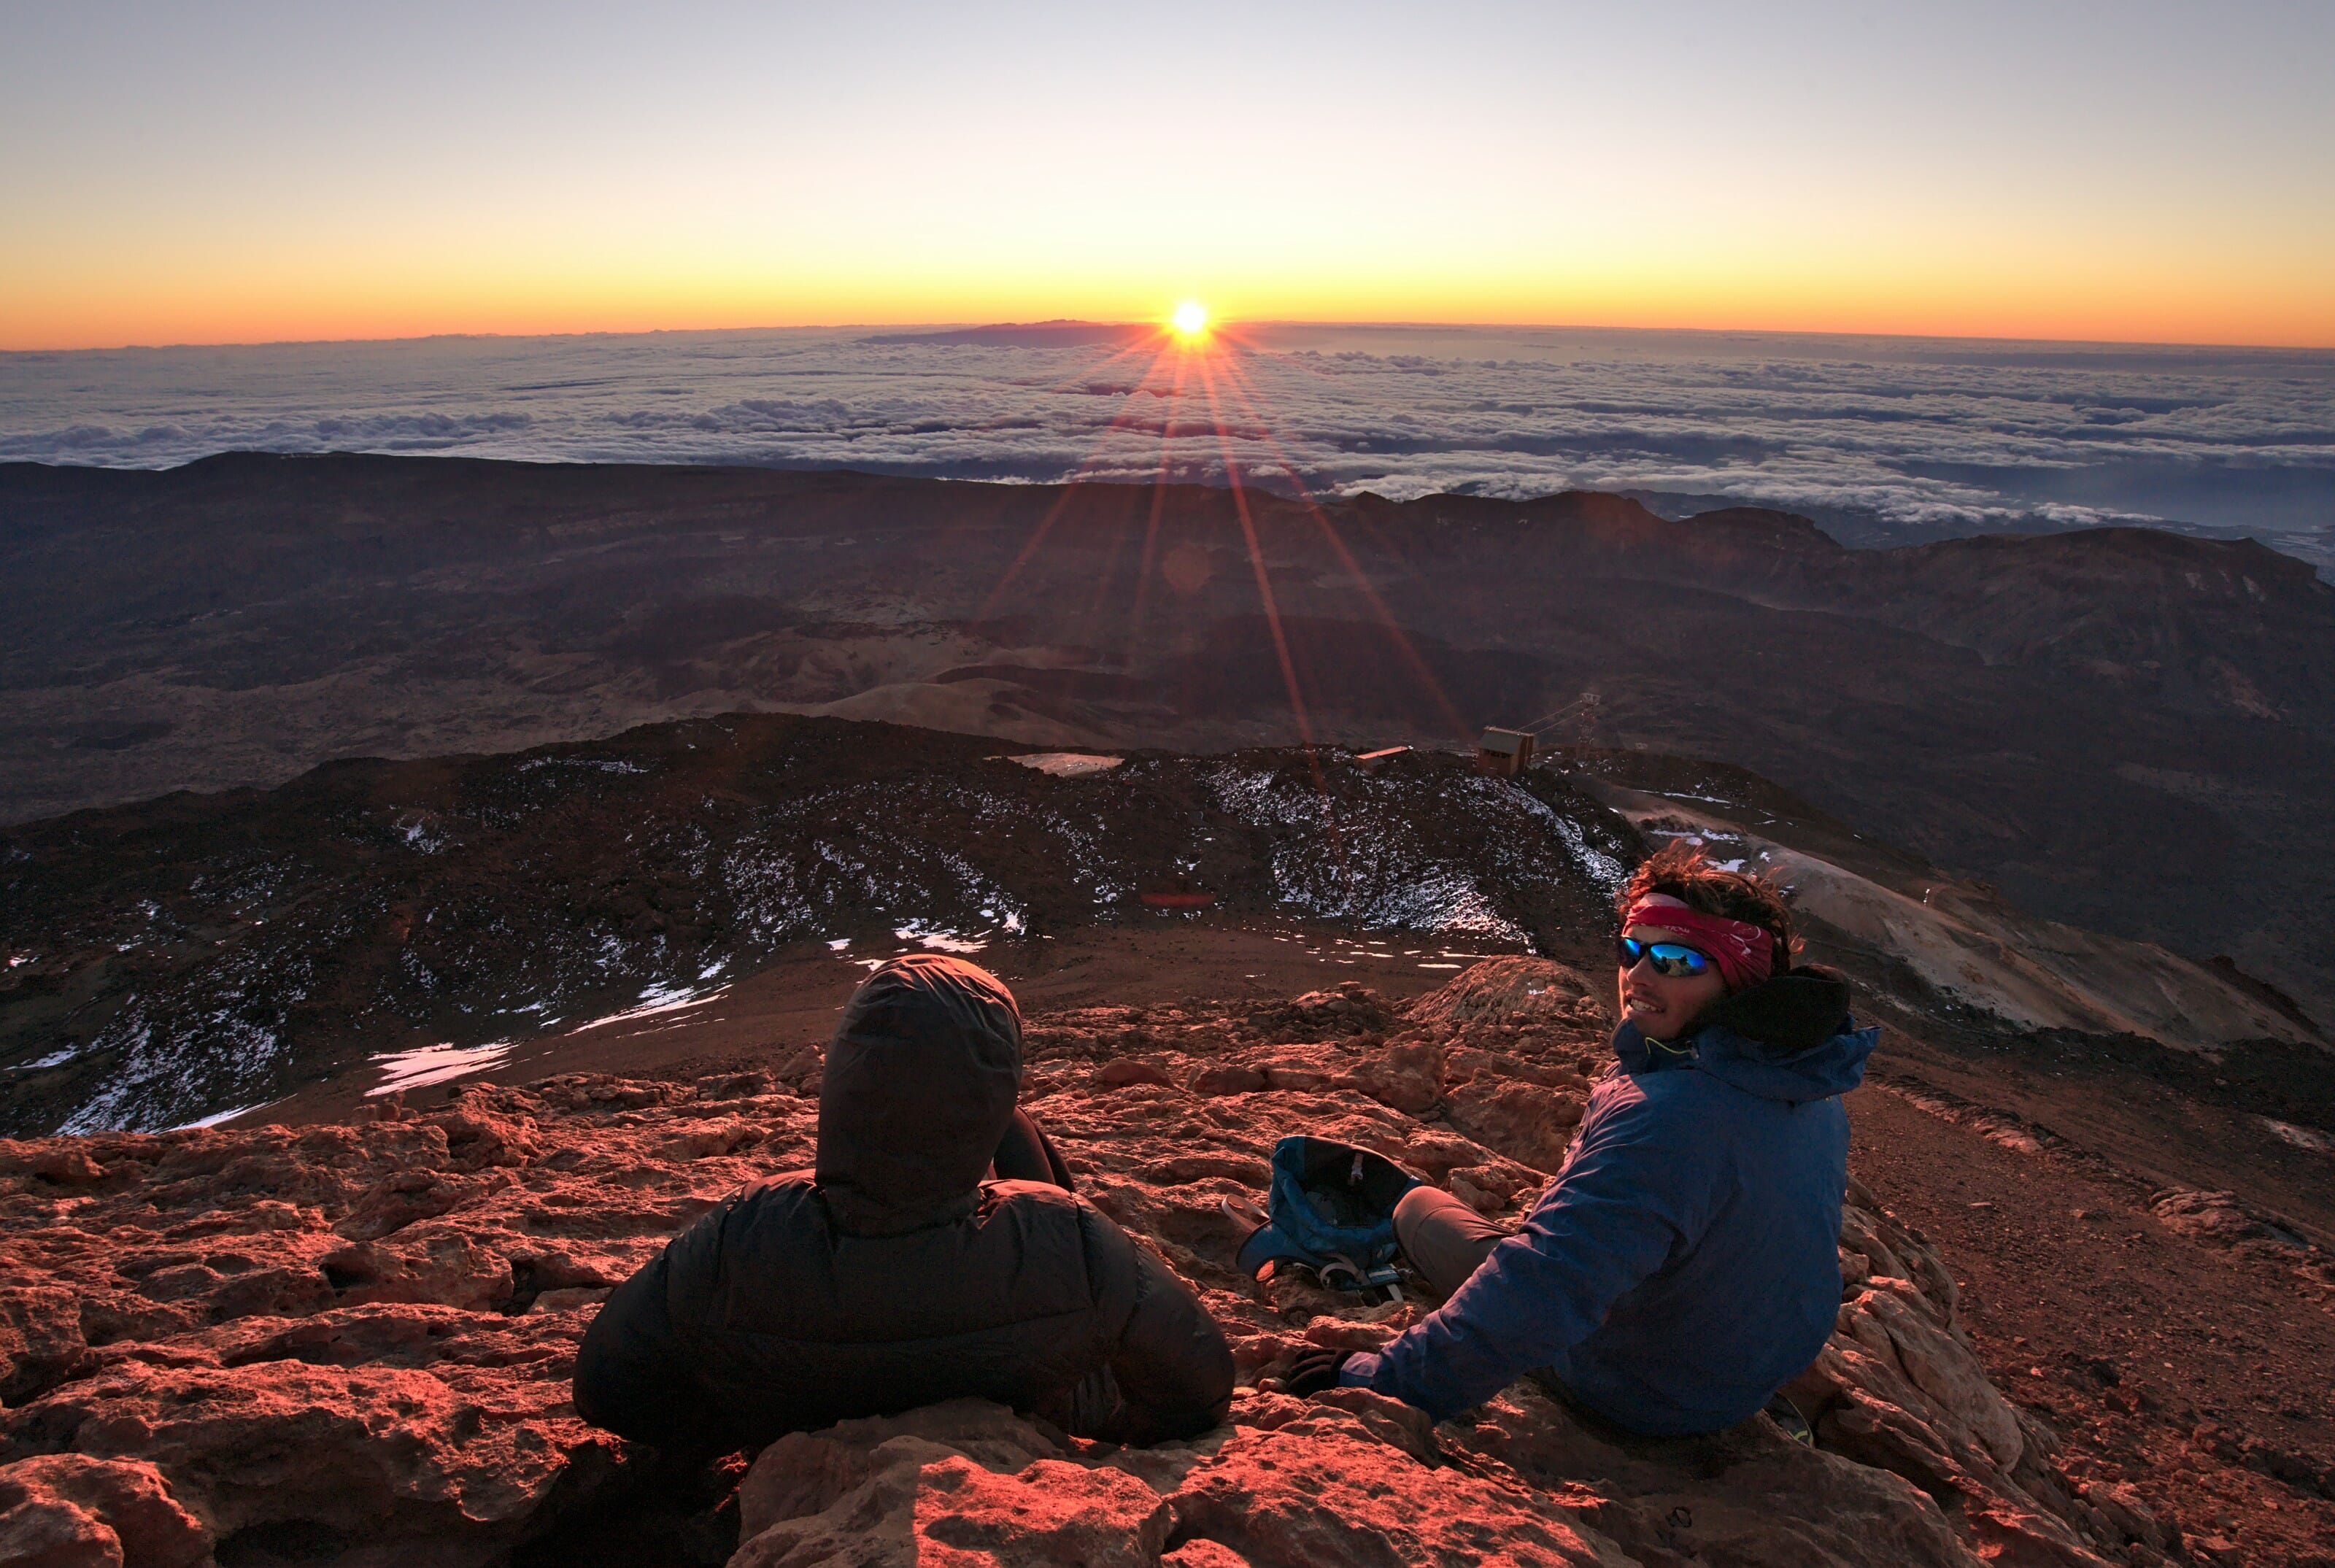
One last thing to know is the temperatures. Given the enormous difference in altitude between the sea and the top of the Teide, be aware that it can be very cold in the morning and evening in the national park. For example, I remember leaving one morning early to go hiking and it must have been 5 degrees at 2000m in the park (then as soon as the sun shines it immediately increase to 15-20 degrees). Or when we climbed to the top of the Teide, it was almost 0 degrees up there at sunrise! The conclusion is that it is better to have several layers to be able to dress according to the temperature.
We talk more about the best places to stay in Tenerife (in our opinion) on this page. In the Teide Park itself, there are not many options except for the Parador del Teide (a hotel that is located at the top of the park and not far from the beginning of the hike). The night costs about 100€ for 2 people, but it must be quite exceptional to spend the night up there (especially if you want to go out to admire the stars!)
Visit the Teide national Park by car (or by bus)
To get a first glimpse of the Teide, there’s nothing like a little road trip through the national park on the magnificent TF-21 road that crosses the caldera from side to side. To make it easier for you, we have prepared a small interactive map with the main points of interest not to be missed.
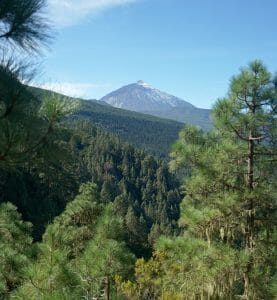
Whether you are driving up to the Teide from the south or the north, I really recommend you to stop at the different viewpoints that you will encounter on the roadside before entering the national park. The vegetation below 2000m is completely different and you will first cross a magnificent pine forest that covers the flanks of the Teide. The view of the Teide volcano is spectacular in some places.
Once in the park, there are several very interesting places where you can park and explore (let’s assume that you arrive on the Laguna – Orotava side. You will find all these points on the map):
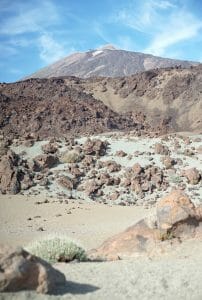
- Minas de San Jose: A very beautiful part of the park where the landscapes are a little less rocky and where you can go for a walk on the volcanic sand. The chance to hike on another planet!
- Montana blanca: A small car park at the beginning of the path that climbs to the top of the Teide by the south side. Even if the car park has been thought for people who hike up to the Teide, there are also trails to make shorter and less difficult walks from this point.
- The cable car: Parking at the lower station of the Teide cable car. We’ll give you more information about the cable car a little further down.
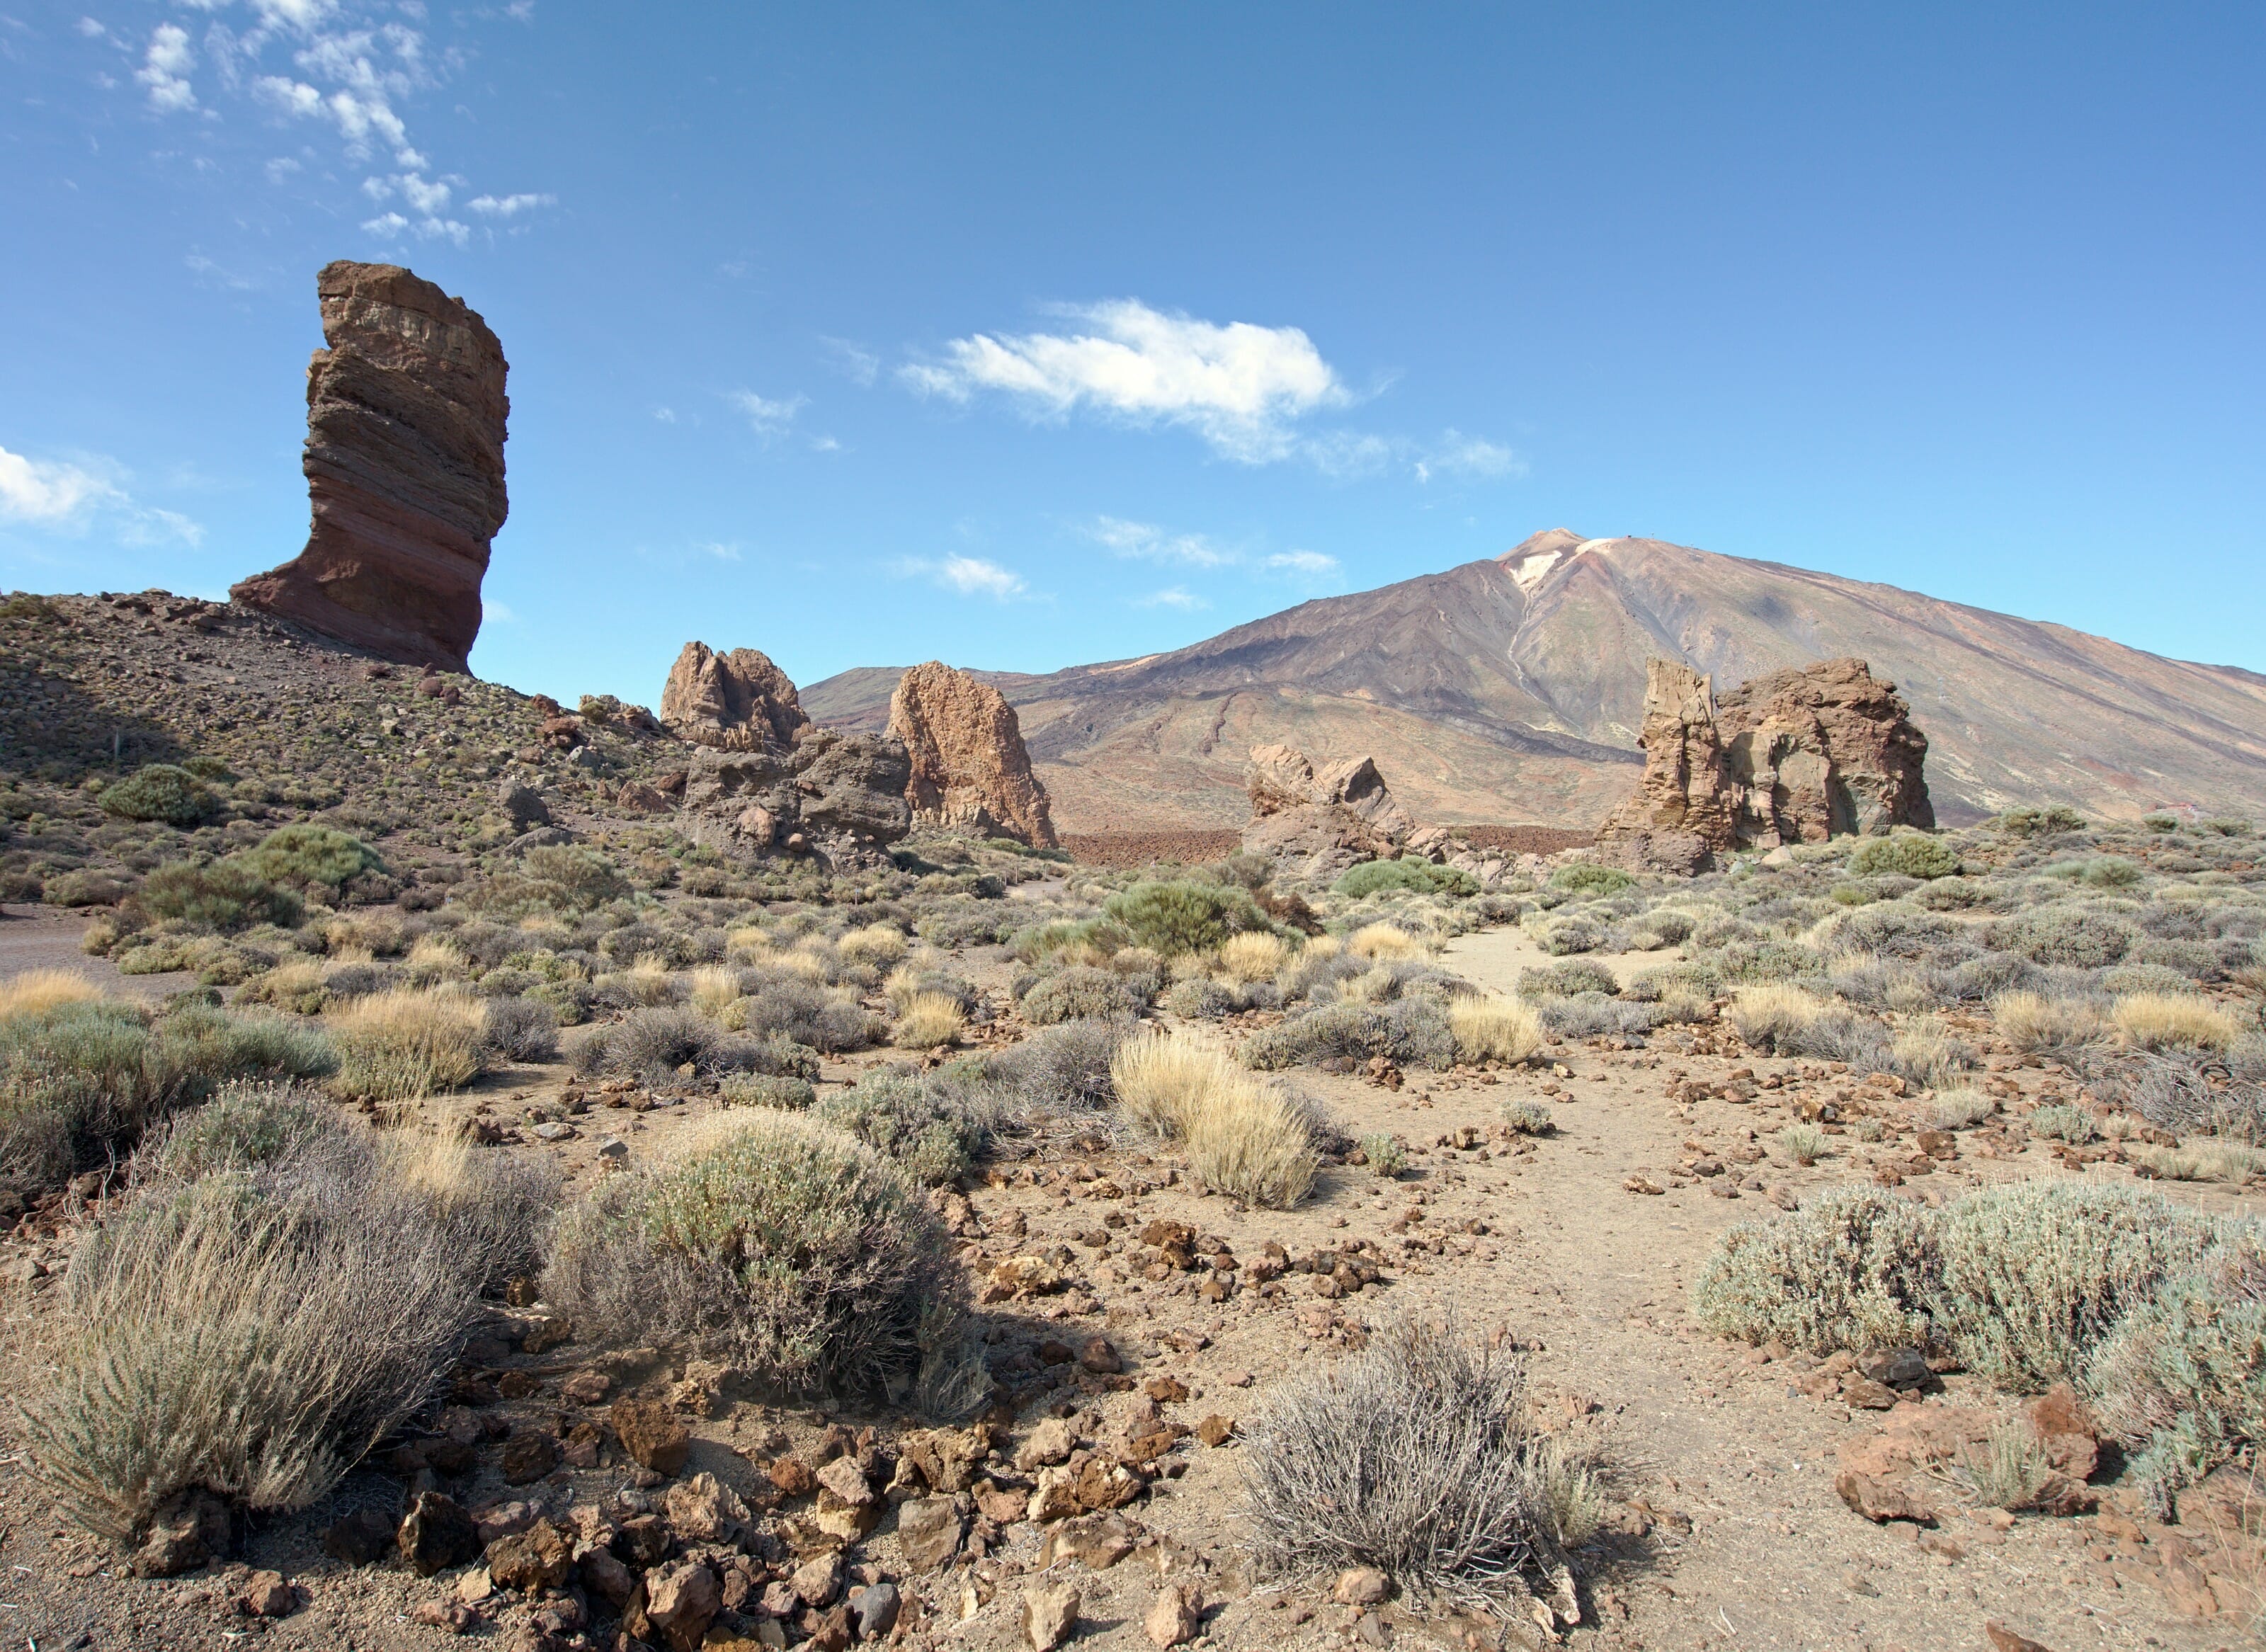
- Roques de Garcia: It is the largest car park in the Teide National Park and it is also the beginning of a pretty 3-4km loop around funny rock formations. We’ll give you more details about this hike below. The car park is generally crowded (there are quite a few tourist buses that stop there) but if you have the motivation to walk a little, you will quickly be on your own.
- Narices del Teide: Change of scenery to arrive in the black volcanic rock that testifies the last big eruption of Pico Viejo in 1798 (you will see very clearly the lava flow from this point). There too you will find a small car park which is the starting point for the hike to get to the Pico Viejo, which we will talk about below.
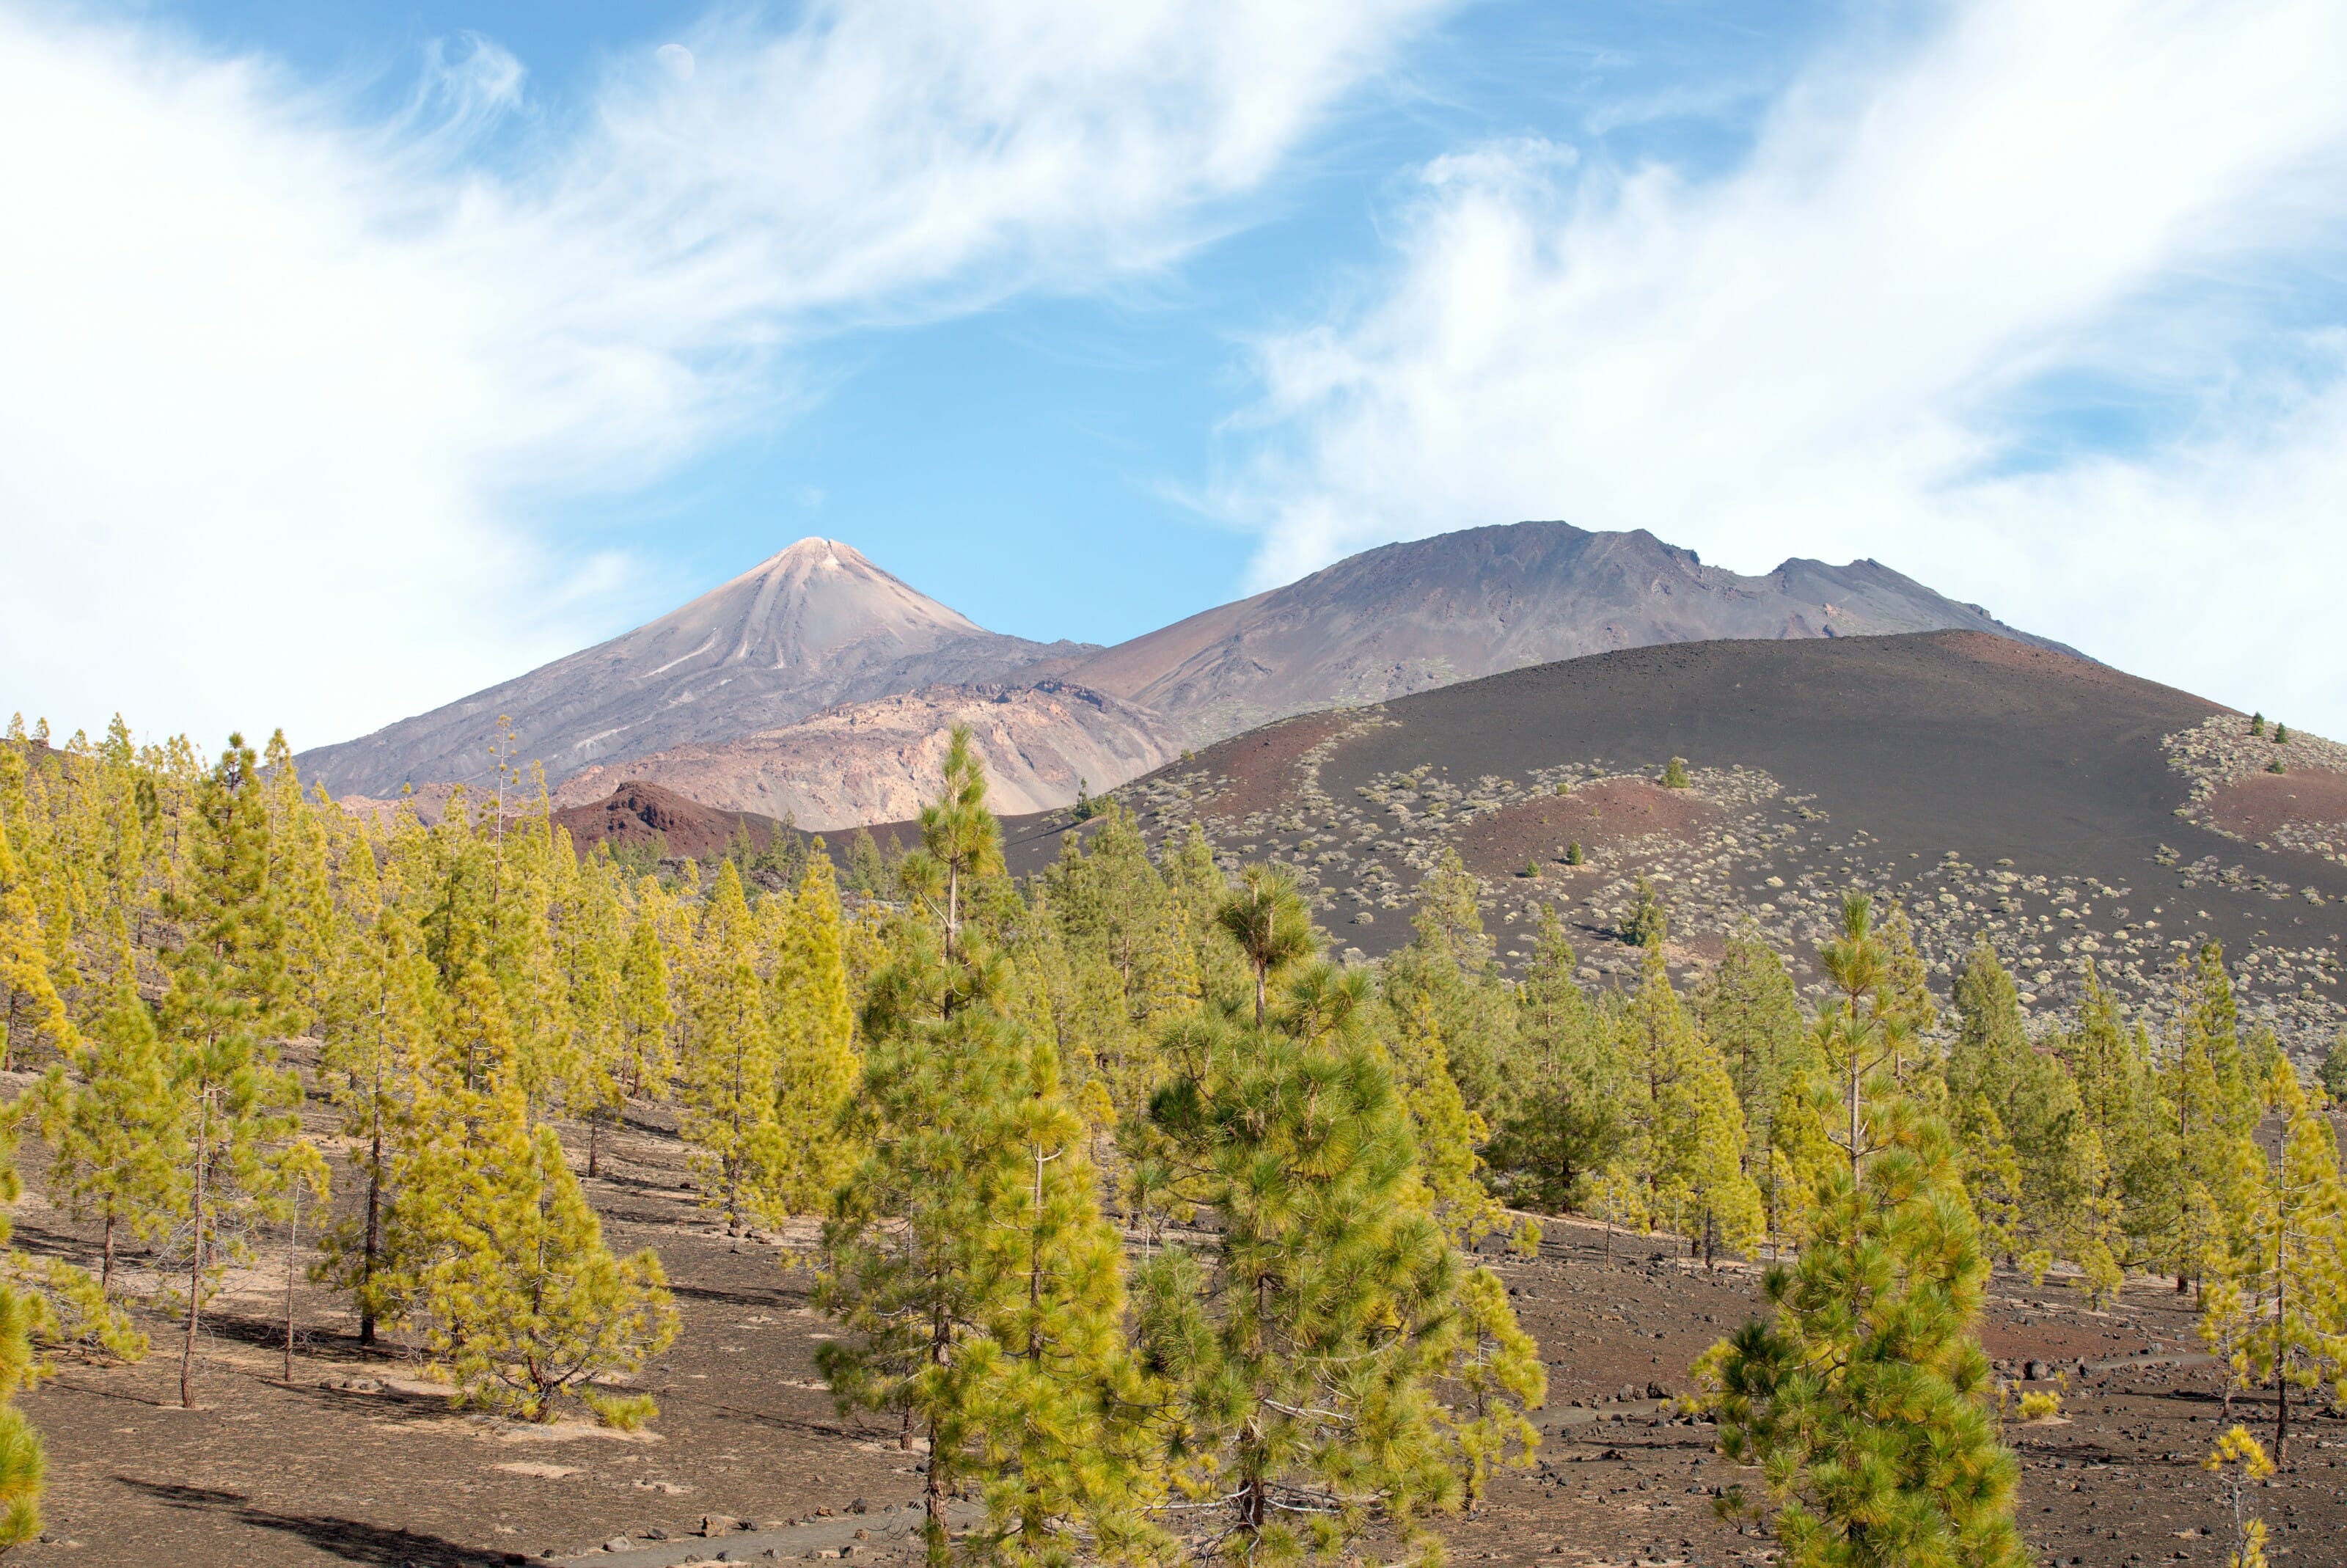
- Montana Samara: Located a little lower than the Narices del Teide car park, this point is an ideal starting point for walks in a part of the park where pines grow on volcanic sand (with a very beautiful view of the Pico Viejo and the Teide). It is a magnificent part of the park not to be missed under any circumstances.
Infos
- Obviously to make a Road-Trip to the Teide you need a car. As every time we have rented a car for the last 2 years, we used Rentalcars again to rent our car in Tenerife because it is on their site that we found the best prices.
- Leave early in the morning. As I said earlier, Teide Park is VERY touristy! Certainly the road is very wide and there is not too much traffic problem but the parking lots are all tiny and from the end of the morning, it is very difficult to park to go for a walk around the Teide.
- If you do not wish to rent a car, know that there are also several day tours leaving from different parts of the island. See the tours going to the Teide National Park
- Perhaps prefer the end of the day on the Narices del Teide, Montana Samara side for sunset.
- There are only 2 buses that allow you to go to the Teide without a car (the TF-342 from the south and the TF-348 from the north). Unfortunately, each of these 2 lines has only one bus that leaves in the morning and one that returns in the late afternoon.
Hikes in the Teide National Park
Well the car is great but let’s be honest, to experience the lunar landscapes of the Teide National Park to the fullest (and quietly), you will have to use your legs a bit ;). Below we have prepared a list (which will probably grow even more) of beautiful hikes to do around and on the Teide volcano.
Map Info: On the blog, you’ll find all the maps in interactive format via the AllTrails app (the one we use daily). If you want to download the trail of a hike to have it with you (on maps.me, your connected watch, another hiking app) –> you will find a download link above each map.
To download, simply go to AllTrails and if you don’t have an account yet, create one (it’s free). You will then have access to more than 30 formats to download our tracks and import them into the application of your choice.
If you want to access the maps offline from AllTrails, then you will need to upgrade to an AllTrails+ account (which we also have). By going through this link, you get a 30% discount (1.75€/month for one year instead of 2.5€/month).
To see all our Teide hikes at a glance –> Click here
las Roques de Garcia
Infos
- Distance 3.5kms
- Altitude change: +- 155m
- Level: easy
- Durartion: 1-2h
- Start: Parking de Roques de Garcia (on the map above)
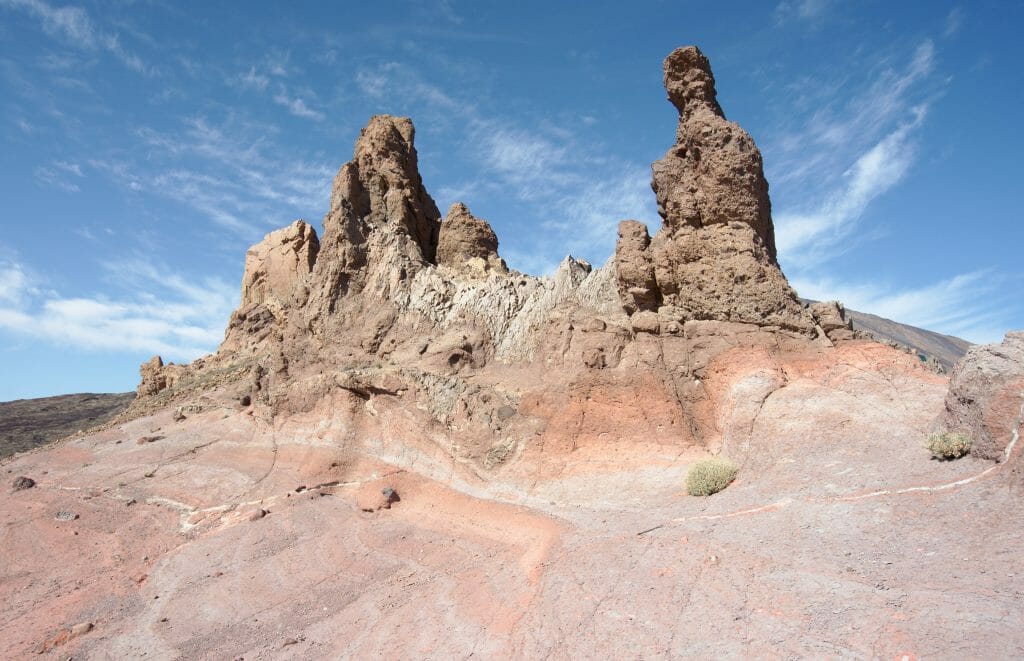
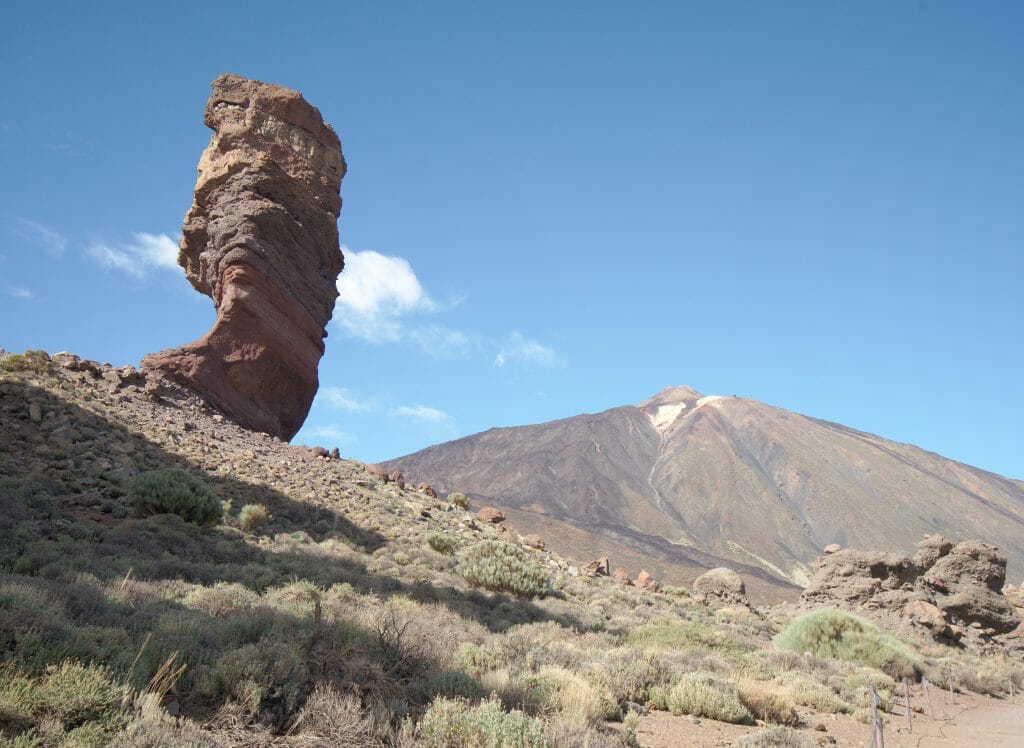
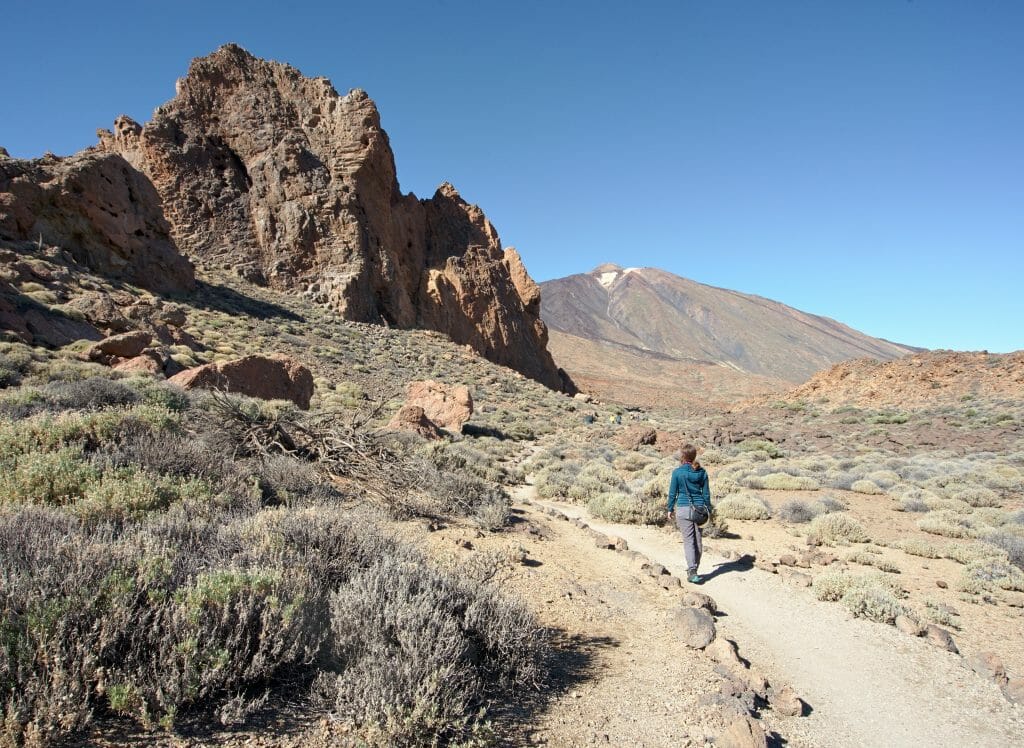
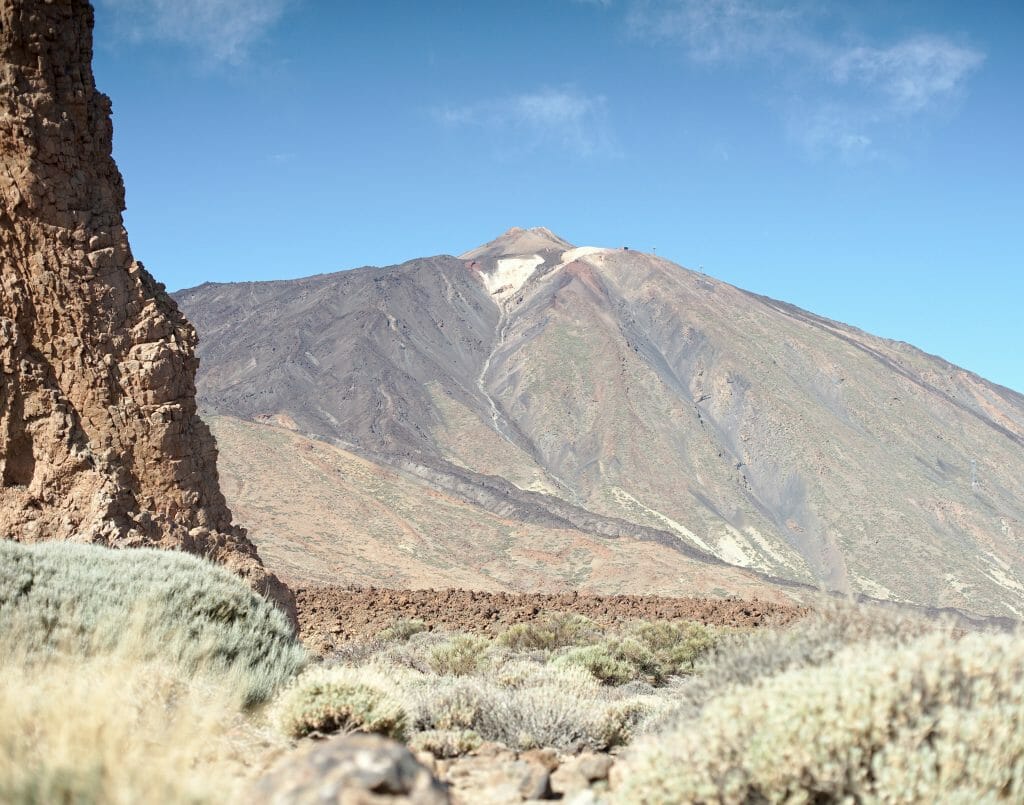
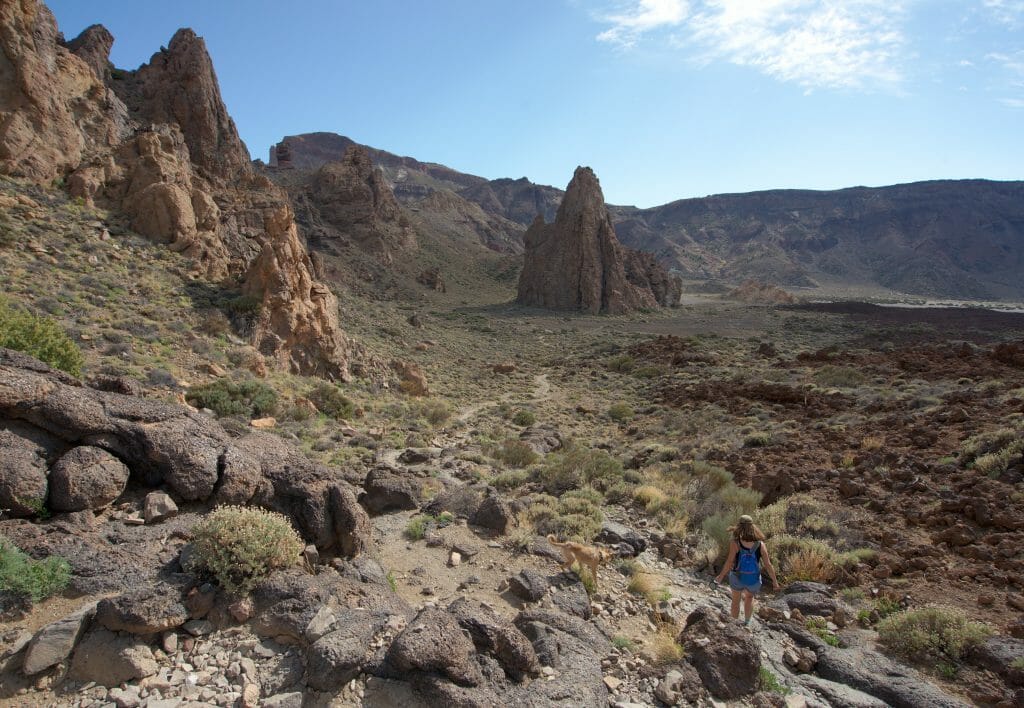
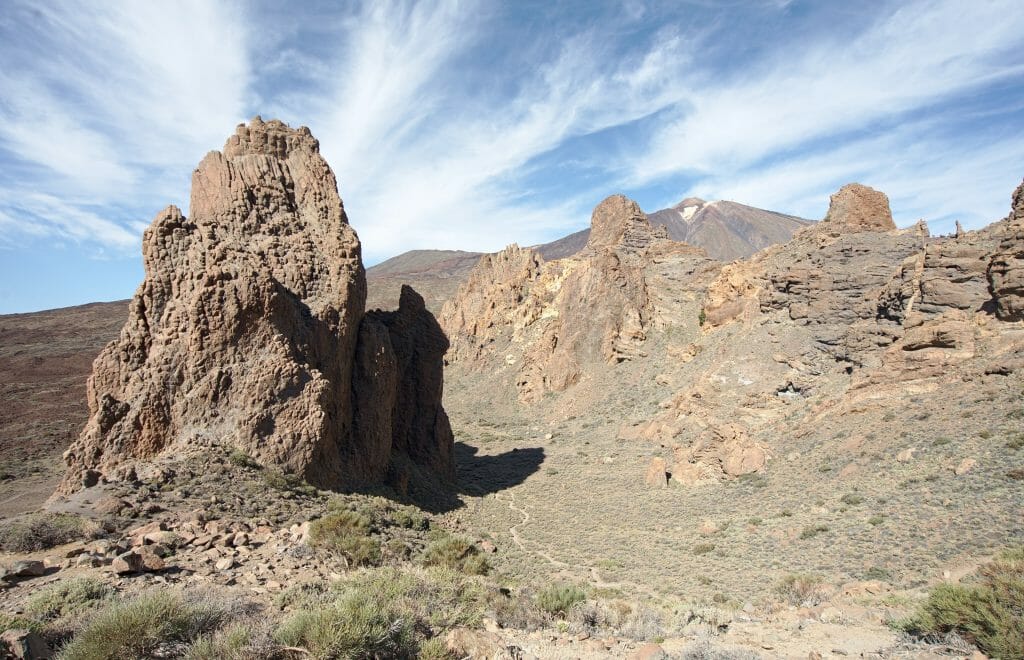
This is a nice walk that you can easily do during a day of road trip in the national park. The trail starts at the large Roques de Garcia car park and goes around funny rock formations with a very beautiful view of the Teide and the Caldera. Don’t worry too much about the crowd that you will find at the parking lot, as soon as you have walked 500m, you will be on your own! The well marked trail begins along the right-hand side of the rock formations to reach an information sign. The trail then becomes narrower while continuing in the same direction to reach a crossroads. Do not take the path that climbs on the right towards the top of the Pico Viejo (well, if you want, you can of course;)) but come back taking the path that goes down on the left to a plateau. Finally, the path goes up to the car park, passing to the left of a large rock called “the cathedral”.
Hiking on Pico Viejo
Infos
- Distance 13.9kms
- Elevation: +- 1100m
- Difficulty hard
- Duration 5-6h
- Start Parking de Narices del Teide on the map above
Now you have to know that this hike is on a whole different level than the previous one, it is better to have the full day to do this loop to have enough time. Moreover, I recommend you to be in good physical condition because it is 14km long hike with more than 1000m of climb / descent… and it can be very hot! (but it’s well worth it:))
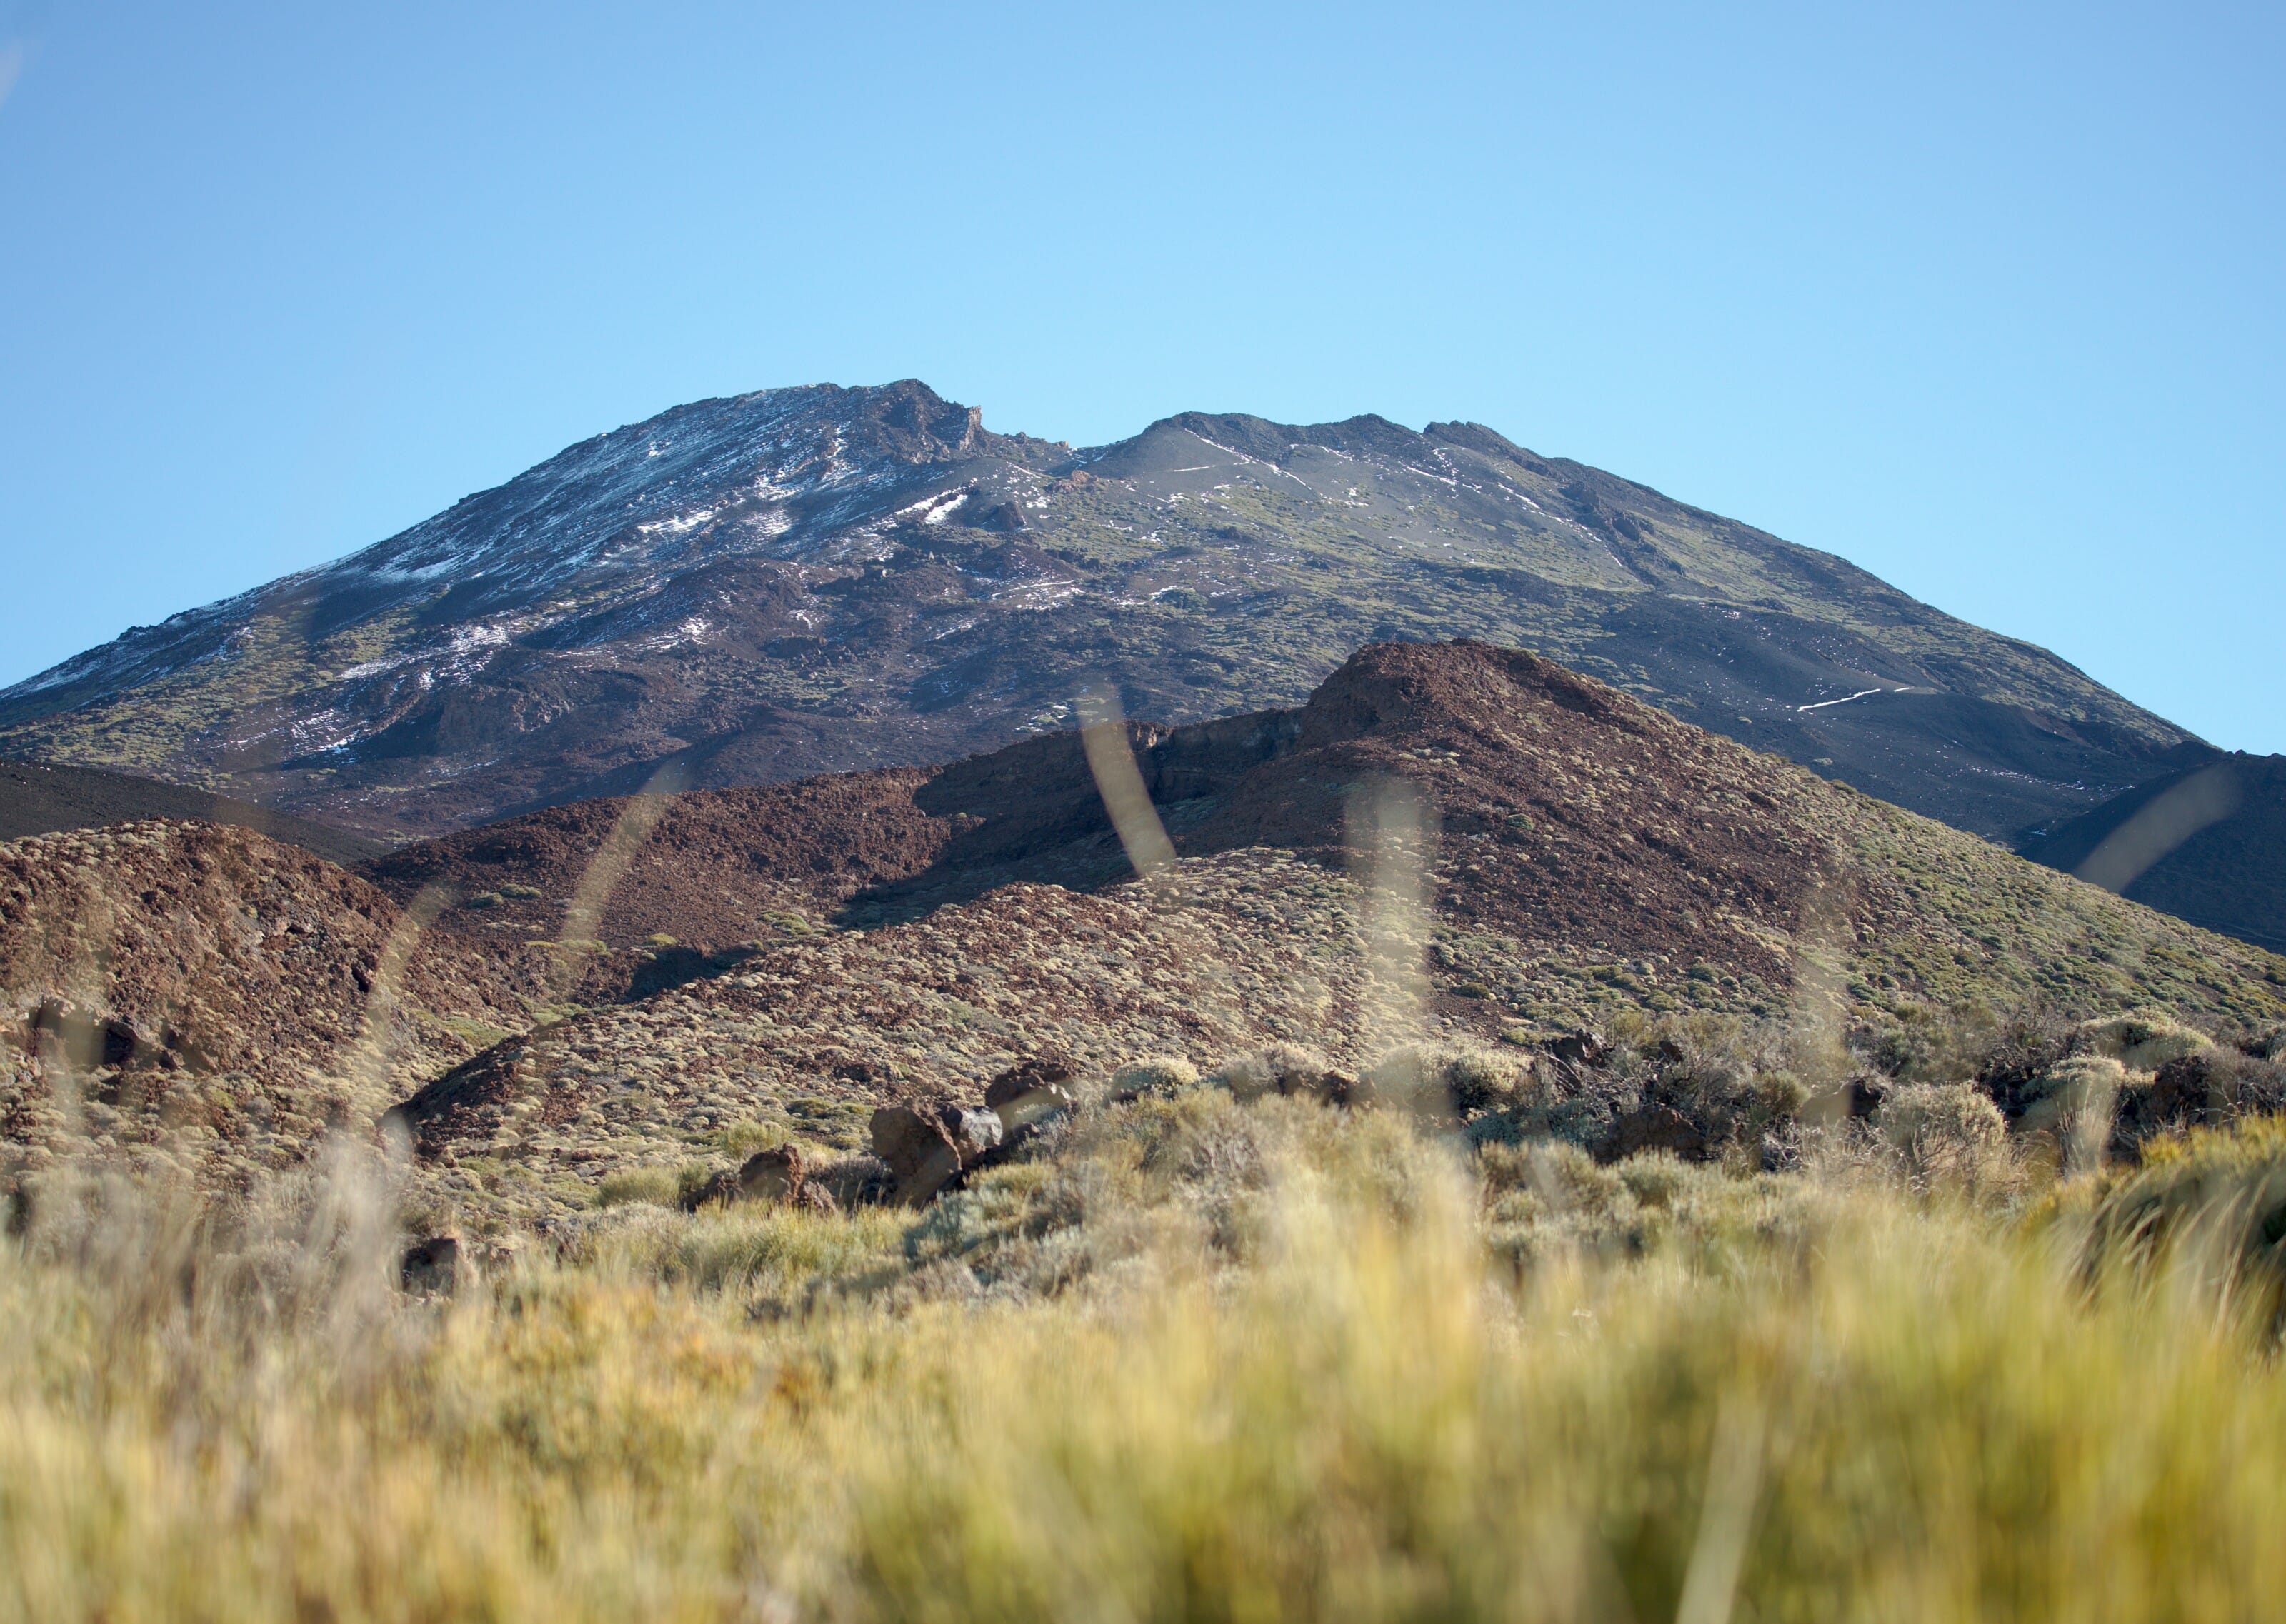
The path begins at the Narices del Teide car park and you must follow the number 9 trail indicated on the signs (and on the first map you find at the top of this post). The trail begins by descending along the TF-38 for a while into the black volcanic rock of the last eruption of Pico Viejo. After a little over a kilometre, you reach an area with a few trees and then an info sign indicating the Pico Viejo on the right.
This is where the serious things begins and we start the climb to Pico Viejo. First, we cross an area dotted with bushes and plants. Then, as the climb goes, the vegetation disappears and gives way to lunar landscapes. We pass Chio Mountain and if you look back and the weather is clear, we can see the island of La Gomera which seems to float away over the ocean. You arrive at a crossroads that allows you to either go up to the left to the Pico Viejo crater via “el Calderon” or to the right via the “Teide nostrils”. We chose the right path but in any case the two trails meet again at the crater of Pico Viejo.
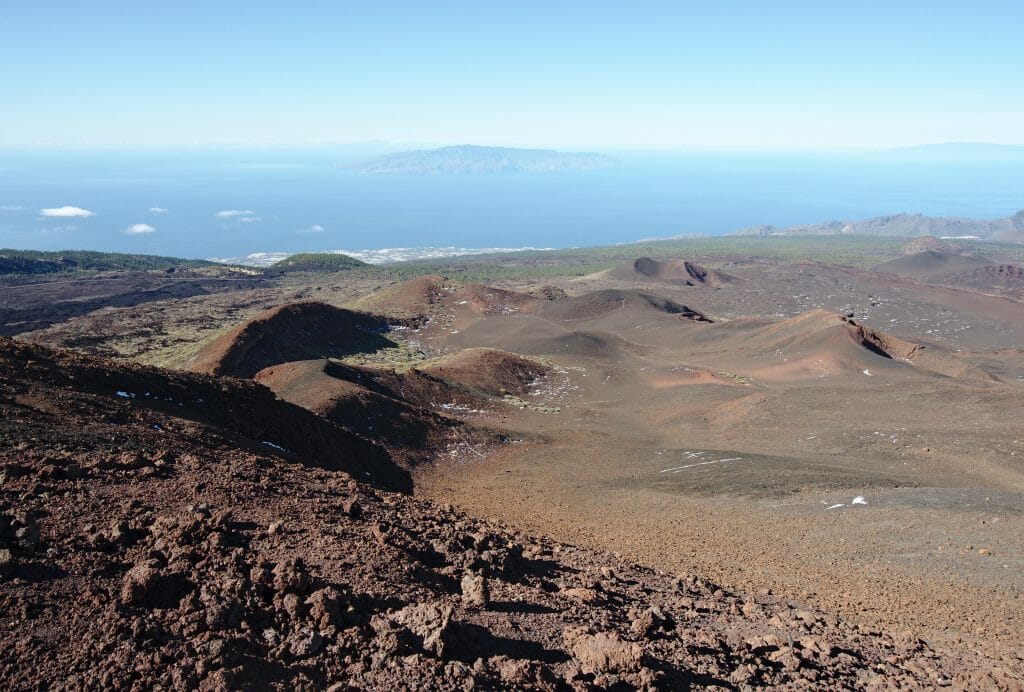
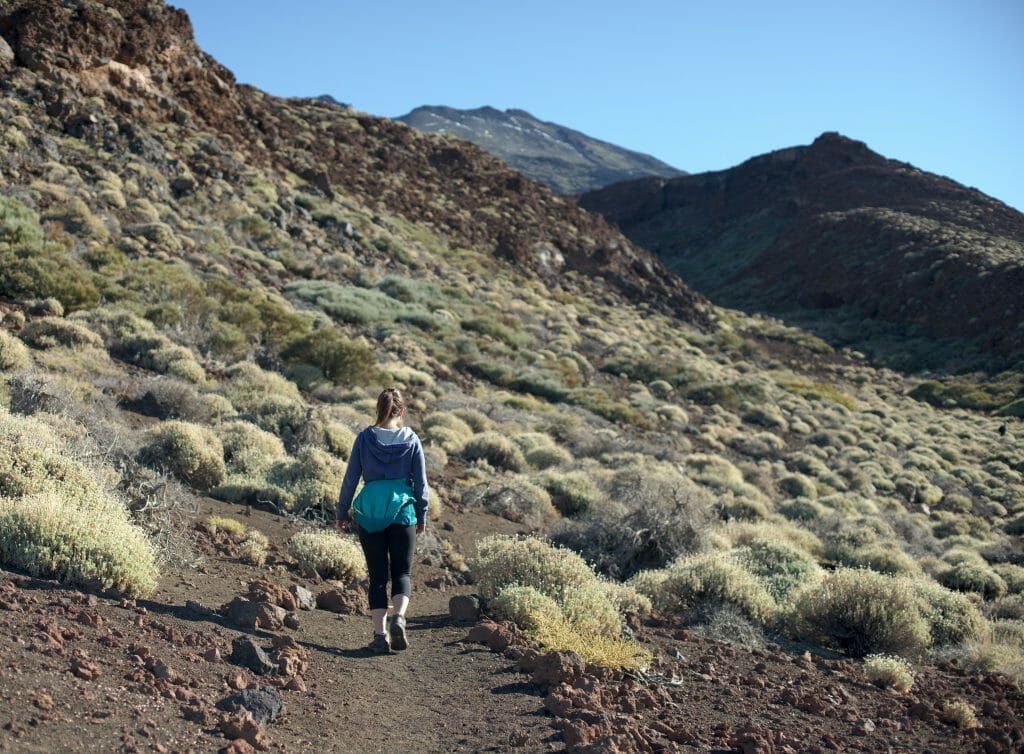
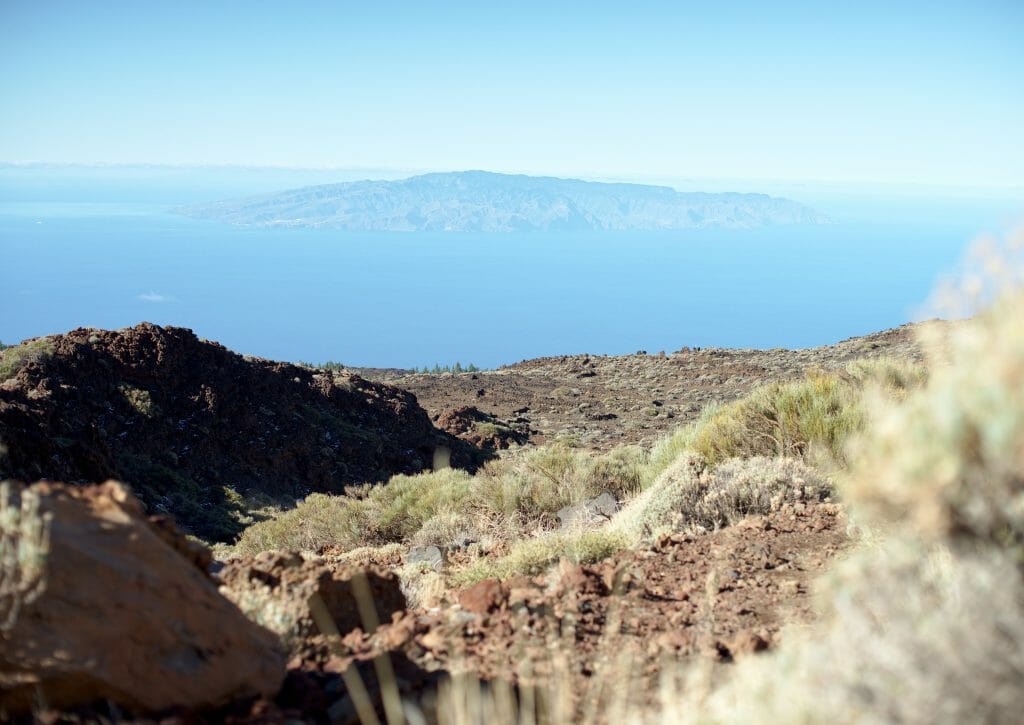
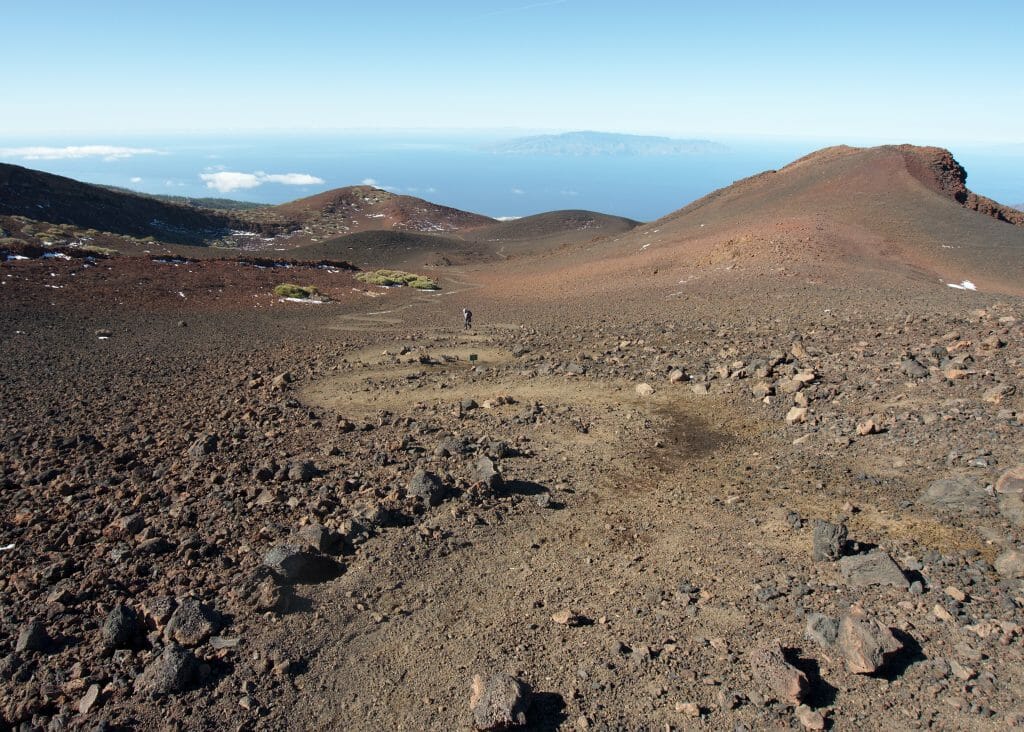
The ascent continues even more so. We pass over the “Teide nostrils” where the last big eruption of Pico Viejo took place. It is easy to imagine the violence with which the lava came out of there and flew down to the city of Guarachico. The climb is quite tiring because we walk on a kind of sand / volcanic rock. It’s a bit like walking two steps forward to move back one step.
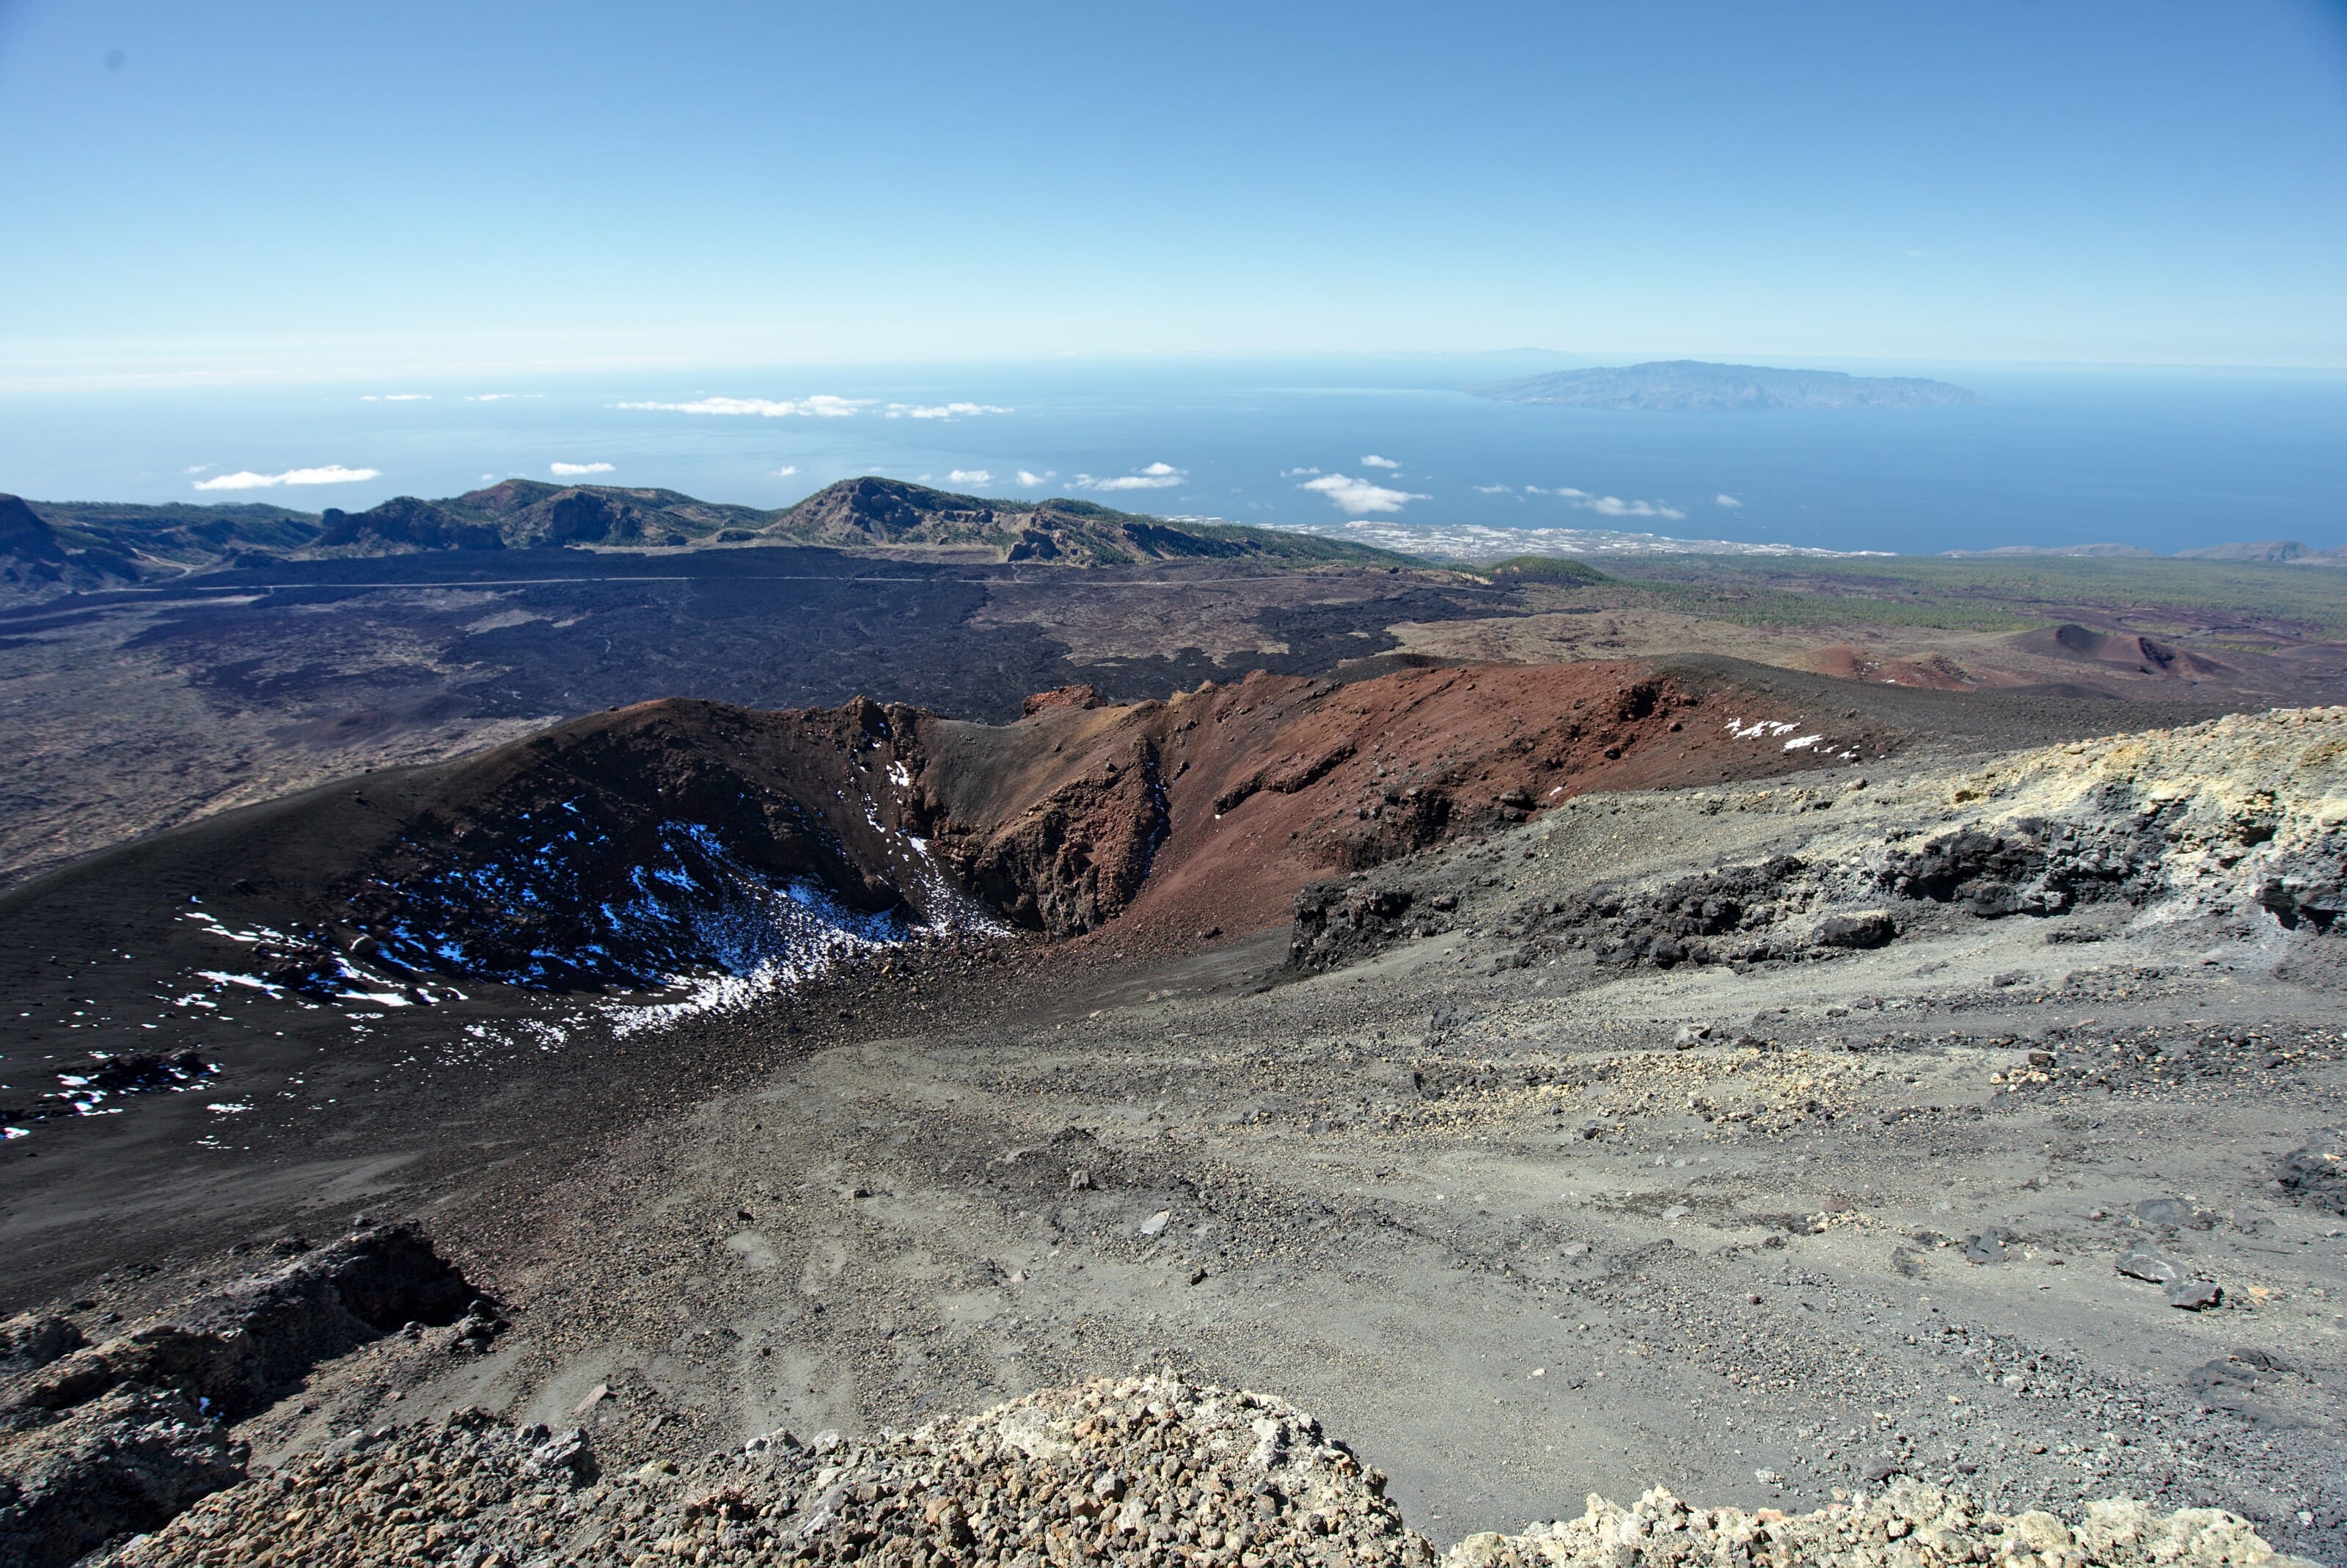
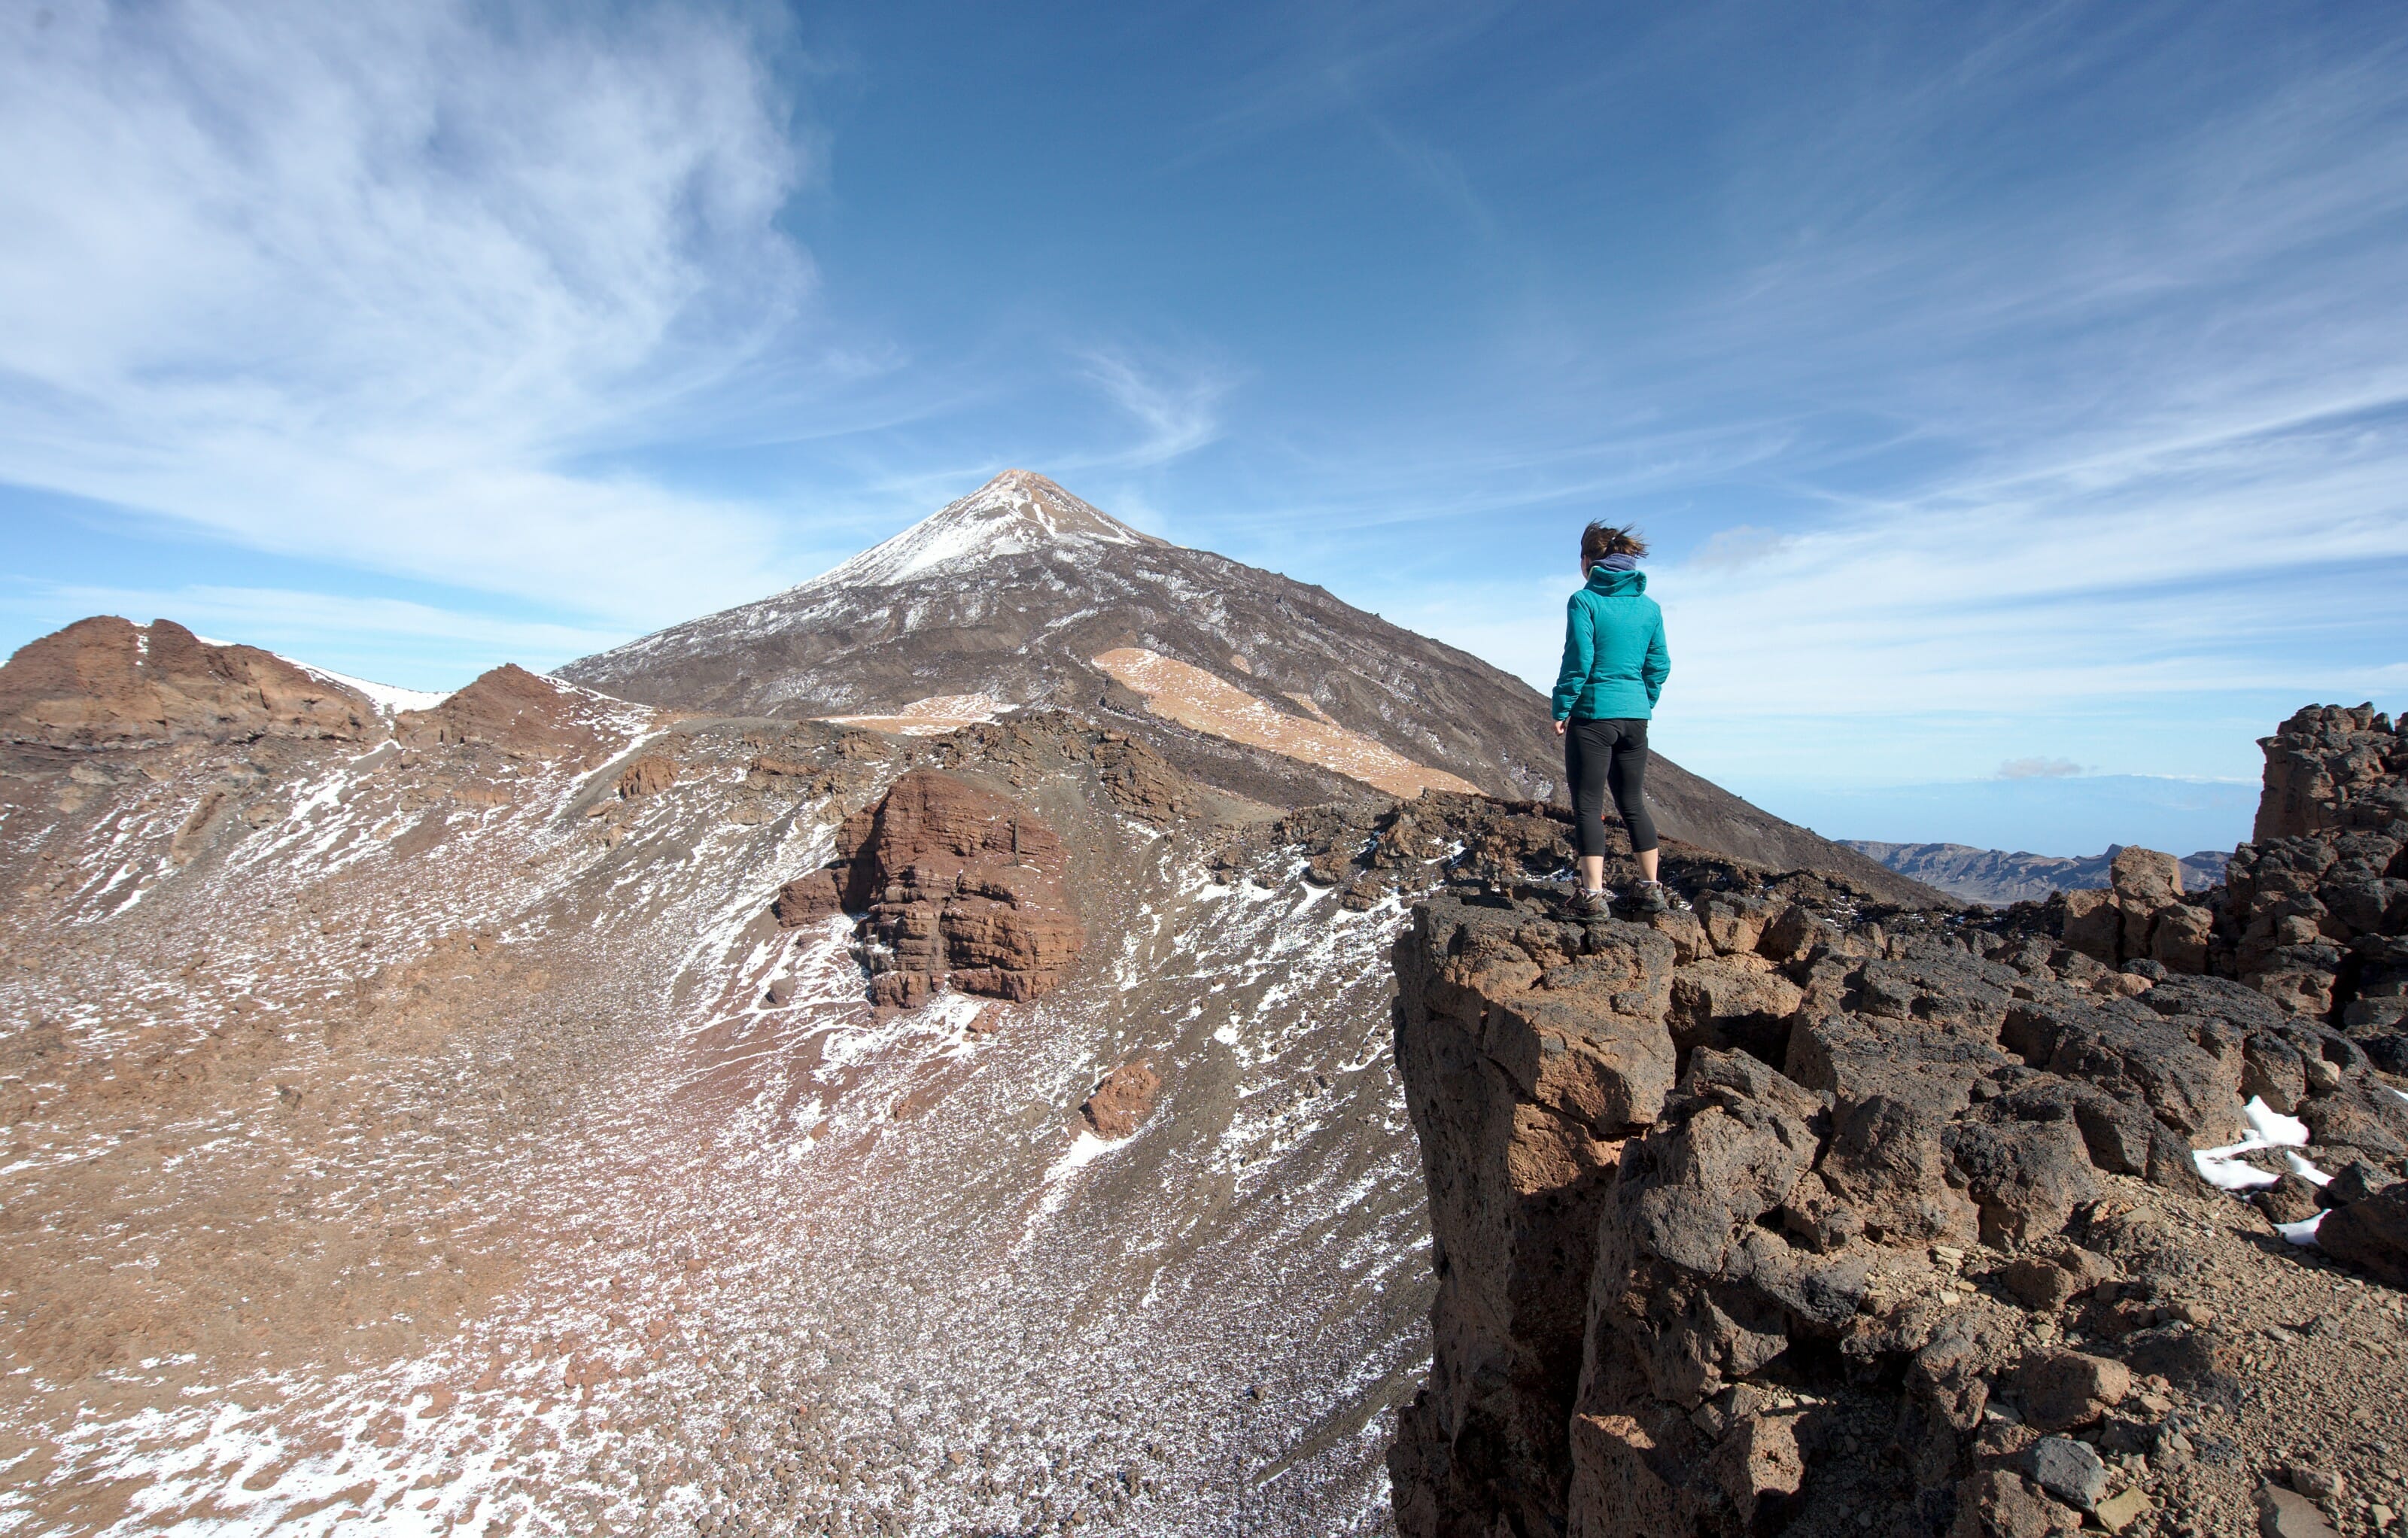
We then hike around the crater of Pico Viejo on the right to see the Teide rising in front of us. We take a path that climbs to the left until the southern peak of the crater (I recommend you to go there because it is a very nice viewpoint on the crater with the Teide in the back). We continue our hike to arrive behind the crater until we reach a crossroads. We do not take the main path which continues to climb up towards the Pico Viejo viewpoint and the Teide summit but we take a left to reach the Pico Viejo summit.
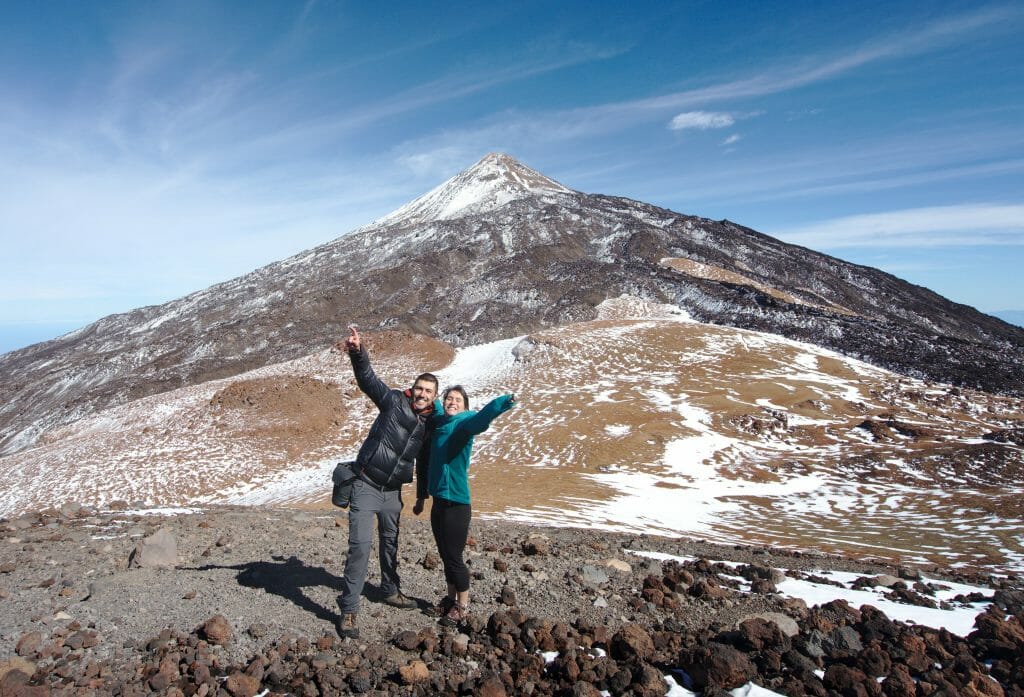
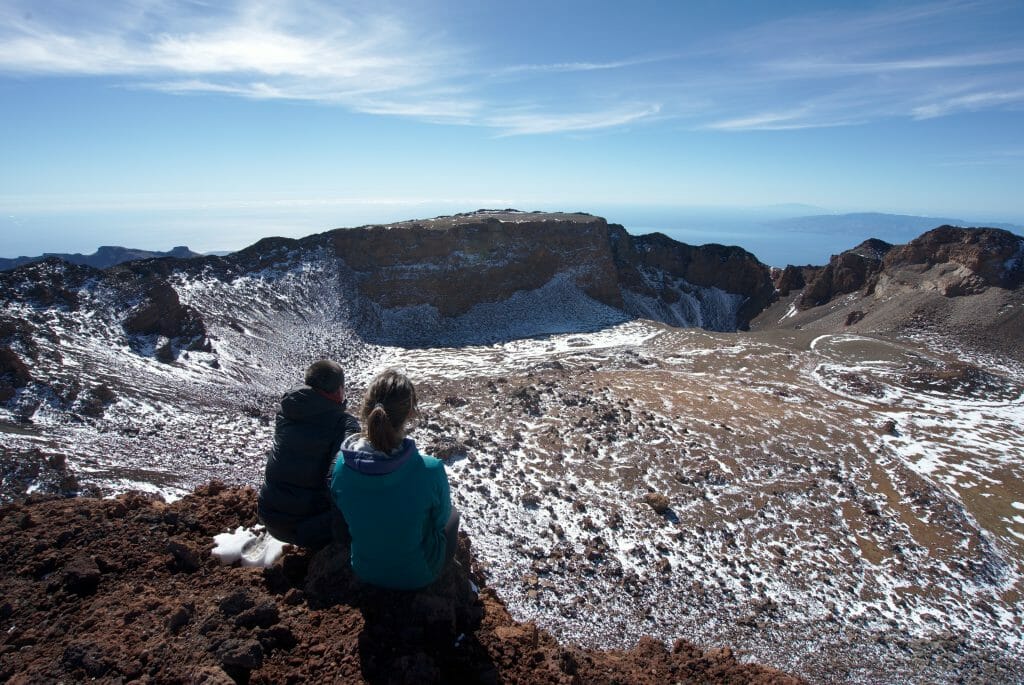
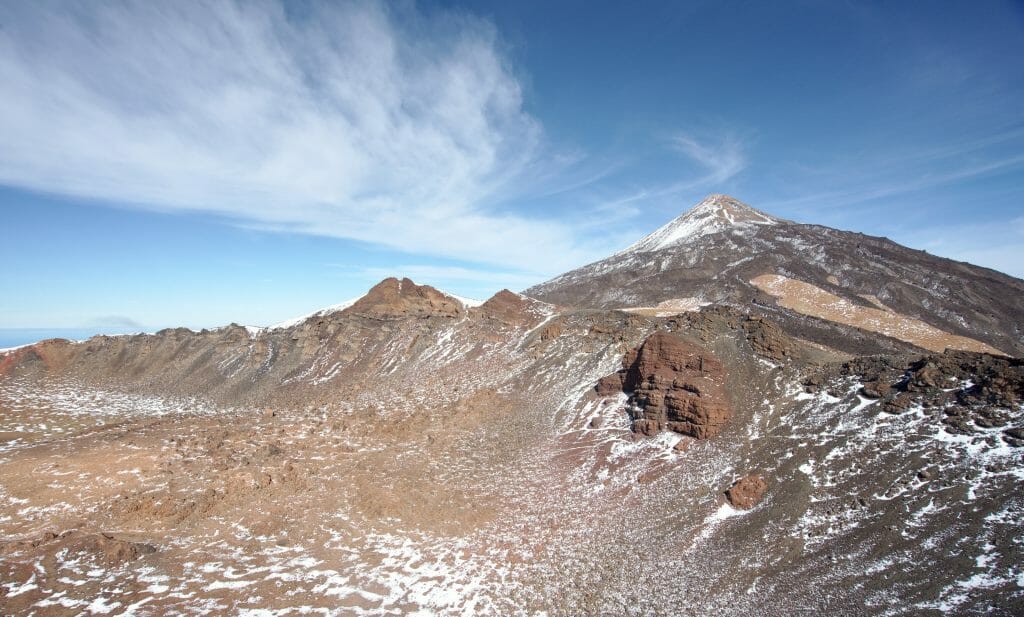
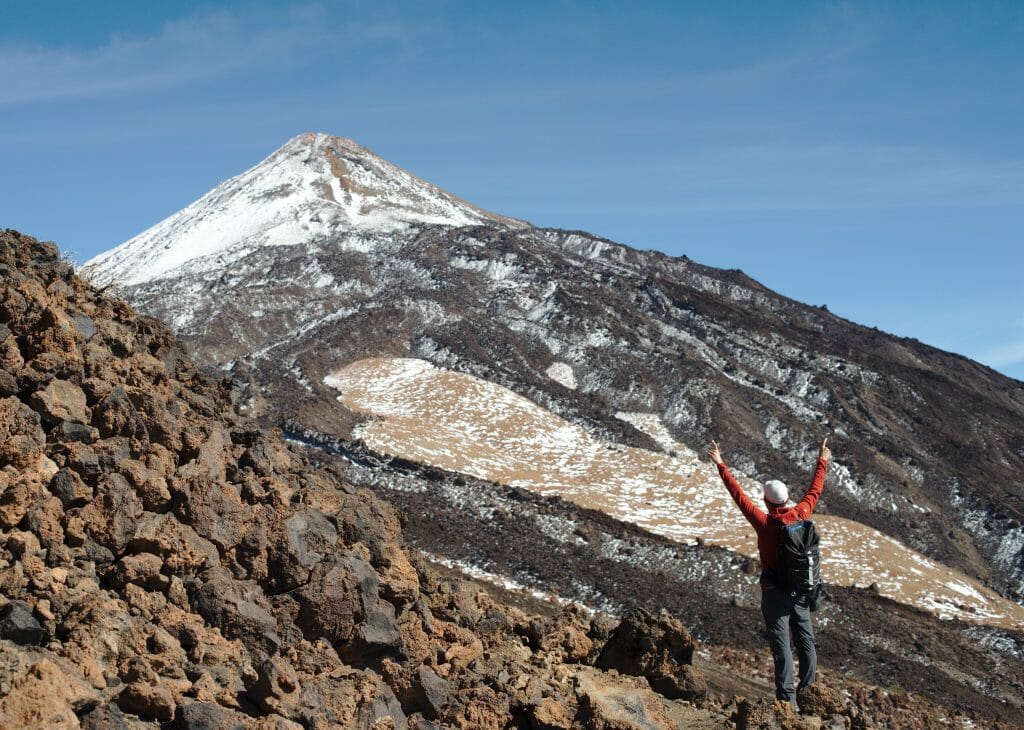
For the descent, we go around the crater by the same path as on the way up. Once above the “Teide nostril” we take this time on the left to pass just below the nostril crater. Then we reach for a short moment the path taken on the ascent to go down to the left directly to the car park, passing through the middle of the black rock formations. As the terrain is quite soft, the descent is much faster and less tiring than the climb (in my opinion).
Hiking to the top of Teide (Teide summit)
Infos
- Distance 8.1kms (one way)
- Elevation +- 1350m
- Difficulty hard
- Duration 3-5h to go up, 2-3h to come down
- Start Parking de Montana blanca (on the map above)
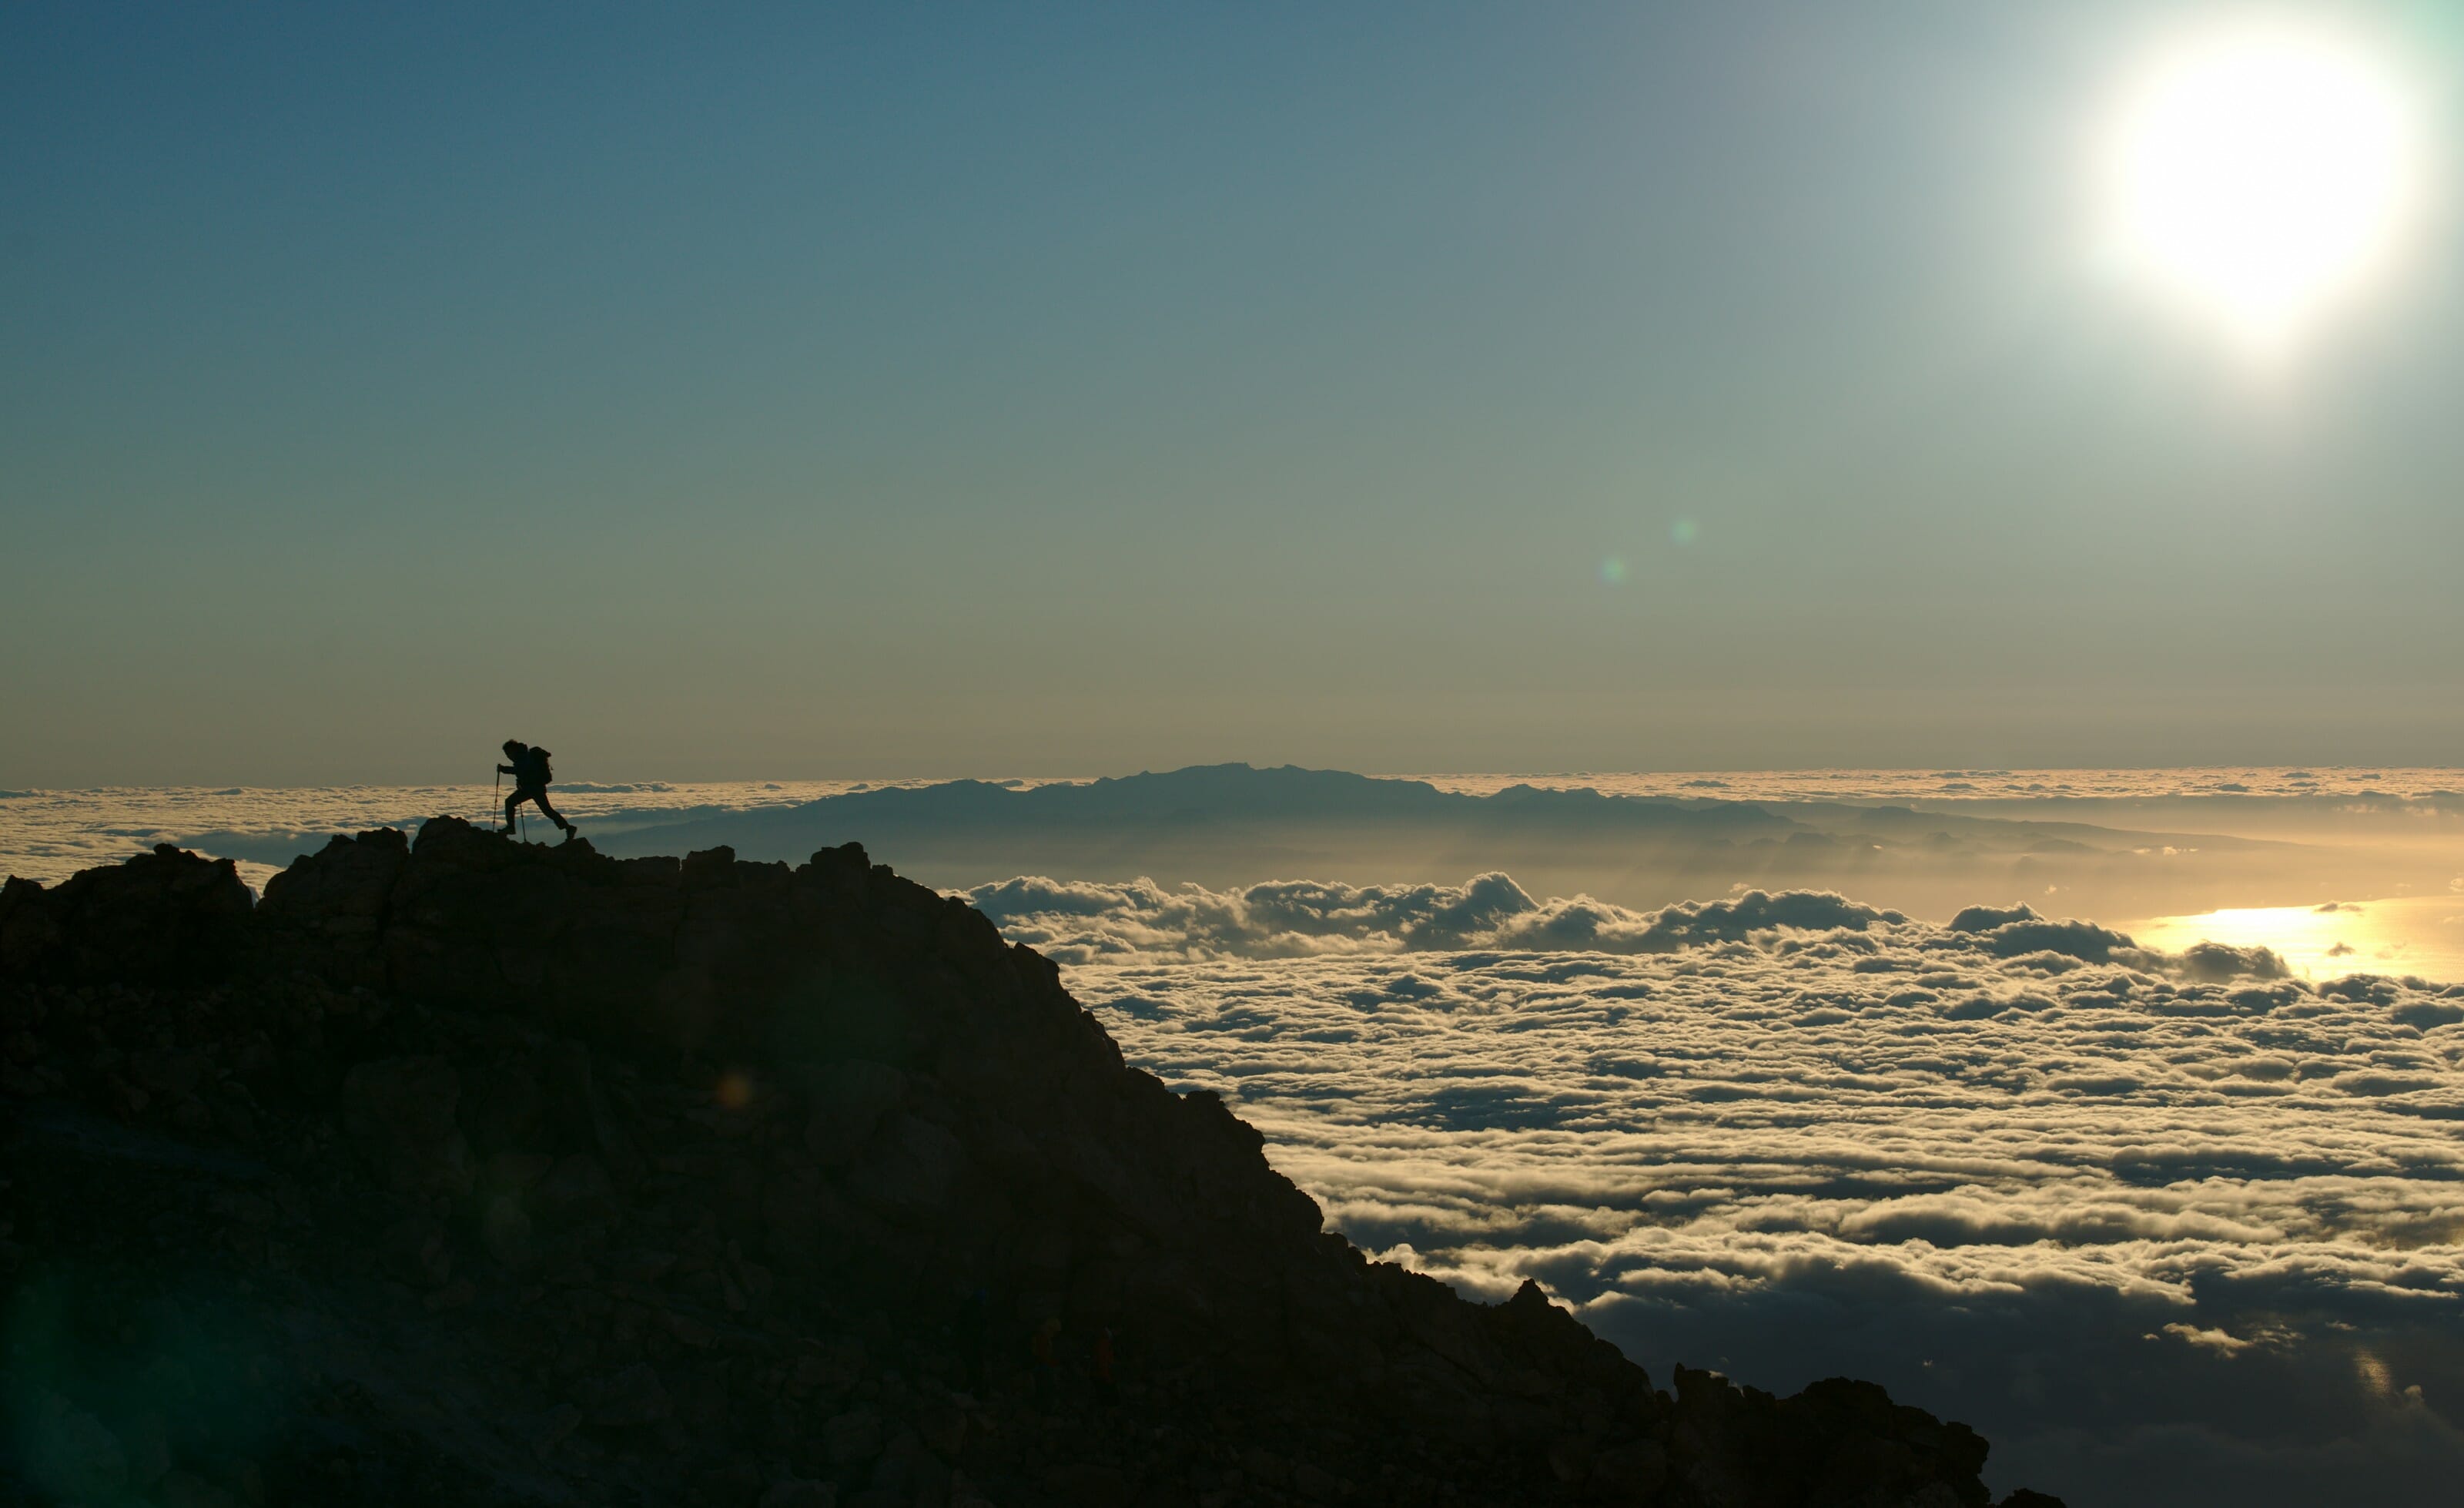
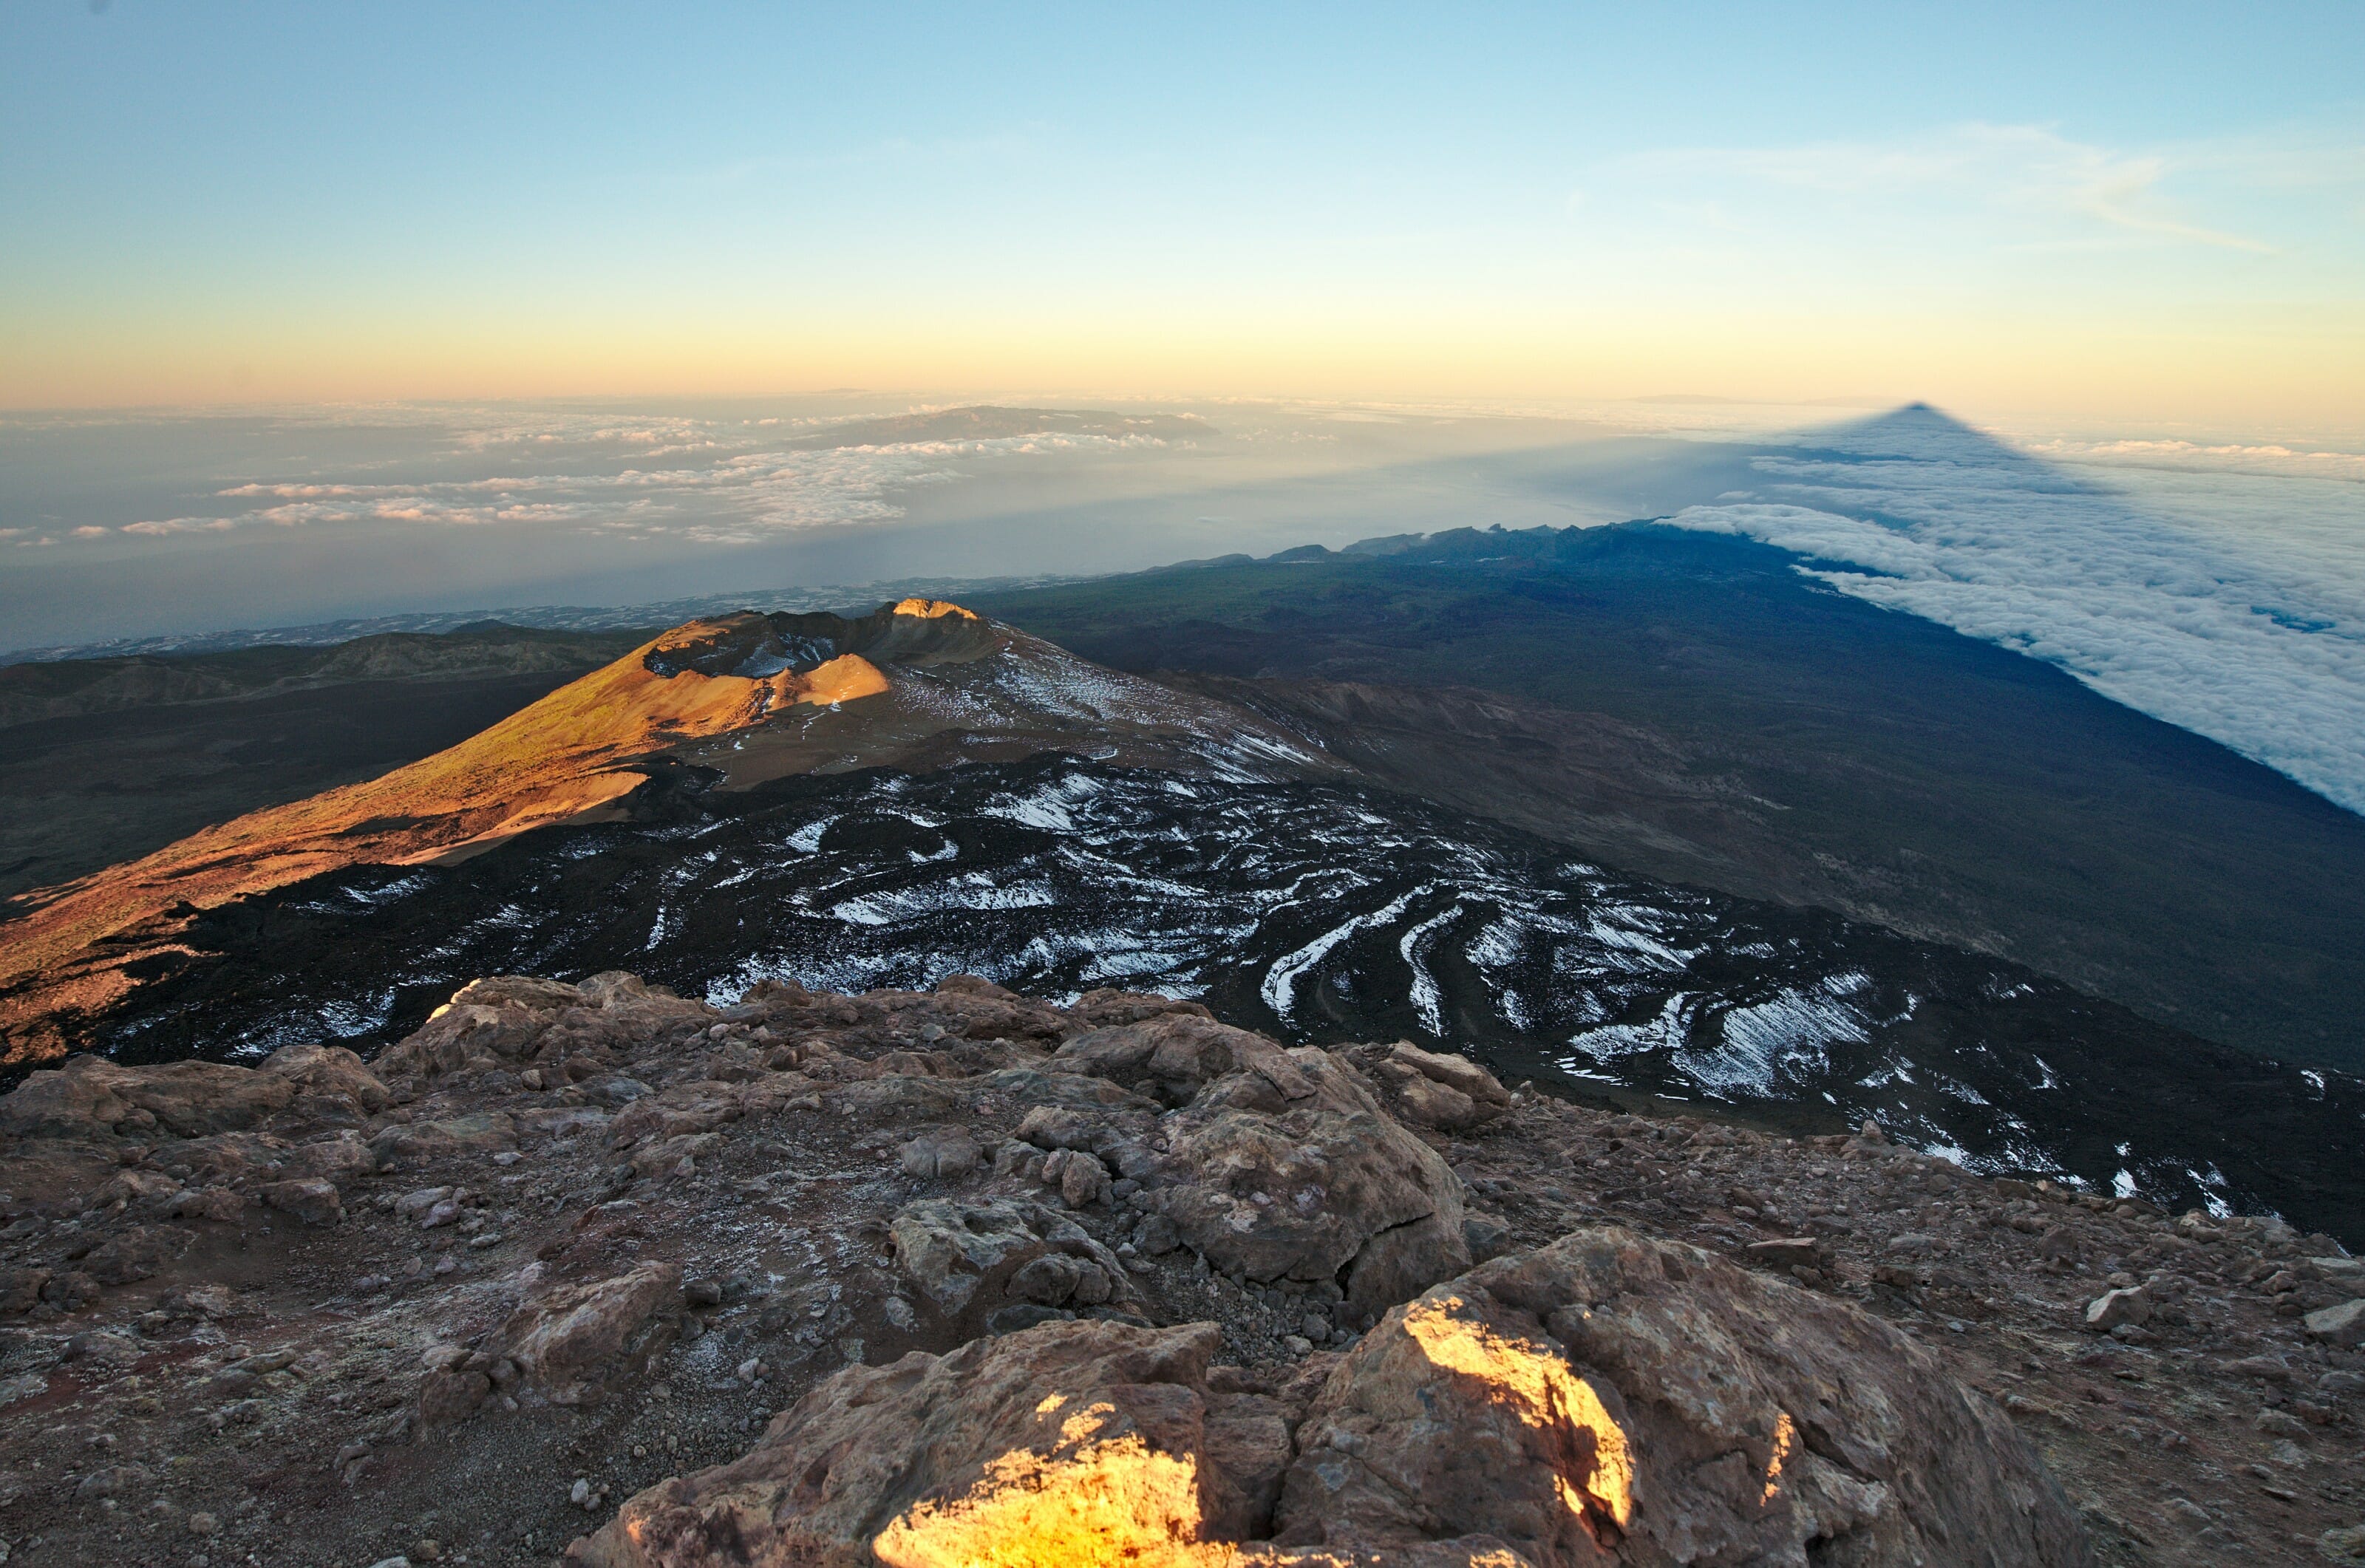
Obviously, climbing the Teide to watch the sunrise from the top was one of the things I absolutely wanted to do in Tenerife. The view from the summit is absolutely incredible, above the sea of clouds and you can observe the triangular shadow of the Teide which projects itself into the distance during sunrise and sunset.
So it certainly is a good climb of 1300-1400m from the car park to reach the peak of the Teide. But the path is well indicated and is not technically difficult. On the other hand, there are some unexpected points that can make this ascent more complicated than expected. So I wrote a complete blog post about the hike up to the top of mount Teide and the various ways to reach its summit (this post is already too long 😉 ) but here you’ll find a summary of what you need to know if you want to climb to the top of the Teide:
- From 9am onwards, you need a permit to hike the last section of the trail to the top of Teide (from the cable car top station to the summit). So even if I knew that a permit was needed, what I didn’t know was that you have to book it months in advance because there are so many applications! The permit is free and can easily be booked here but personally I didn’t want to book a date 2 months in advance without knowing about the weather conditions. That’s why we chose to climb up to the top of the Teide before 9am.
- Most people hike up in 2 days and sleep at the Altavista refuge to reach the top of the Teide at sunrise. This solution allows you to cut the hike in half and reach the top without a permit (before 9am)… the ideal solution a priori! In this case too you can easily book your night at the refuge on this site (for about 20 euros which is rather cheap) but the refuge was full several weeks in advance… It was therefore impossible to book only a few days in advance to keep a little flexibility with the weather.
- Do not underestimate the effects of altitude. So certainly the Teide is not at 6000m but if you spend your holidays by the sea, the difference in altitude with the summit is still huge (3700m). So hike up slowly, drink a lot and if you don’t feel well, don’t insist! We are not all equal with the mountain sickness.
So to avoid applying for a permit and booking the refuge, we decided to hike up the Teide by night from the Montana Blanca car park. So as you can read in this blog post, even if it’s a little adventure, the ascent of the Teide at night is totally doable 😉
So just for the pleasure, another small picture of my friends Faustine and Rémi at sunrise at the top of Teide
If you don’t feel confident enough to do this hike by yourself at night, consider hiring a local professional mountain guide. With Fabienne we are used to prepare and do this kind of hike on our own… but the climb to the top of Teide can be challenging. So by hiring a mountain guide, you will not have to worry about the timing, the itinerary and you will have someone you can trust if it gets difficult. Plus a guide will give you a better experience by explaining you about the nature, history and geology of the area.
If you’re interested, we teamed up with Palvigo, a local outdoor specialist, to offer you a 5% discount on their climb to the top of Teide by night with a local mountain guide (180€/person). You just need to fill out this form below with the details and they will come back to you as soon as they can and offer you 5% discount.
The beautiful Samara hike
Infos
- Distance 5kms
- Elevation +- 250m
- Difficulty easy
- Duration 2-3h
- Start The Samara Mirador Parking lot (on the map above)
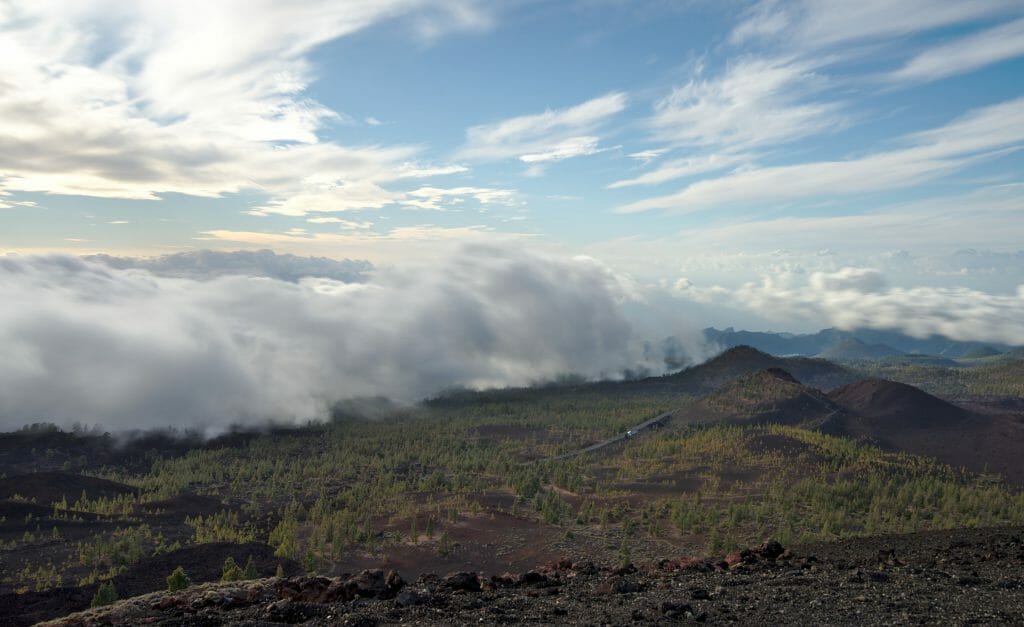
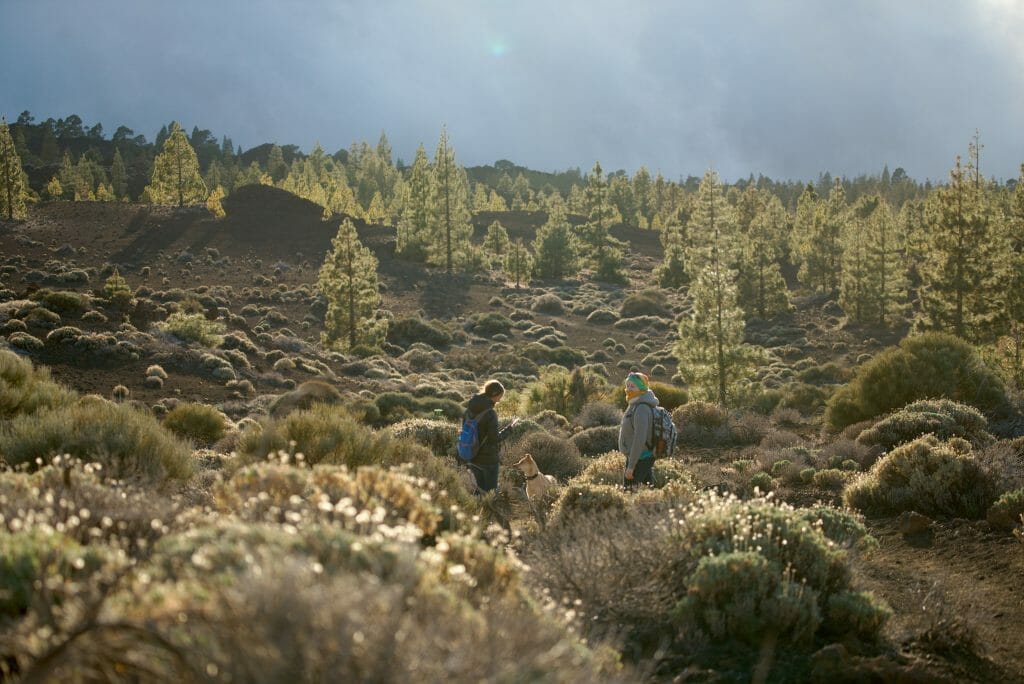
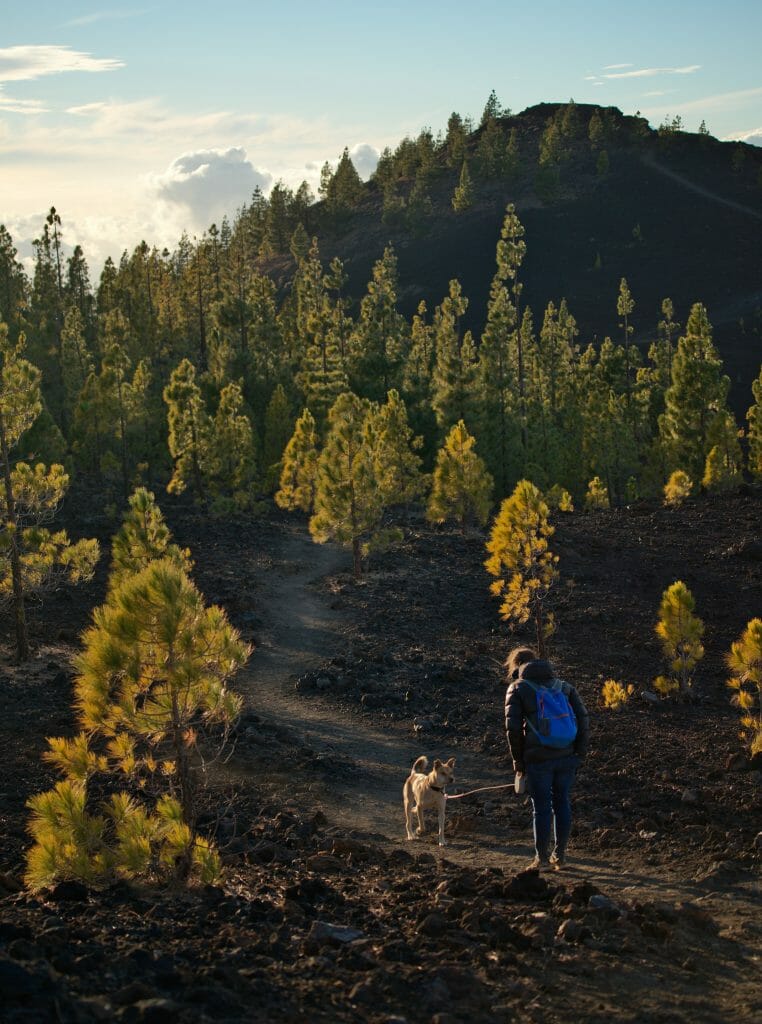
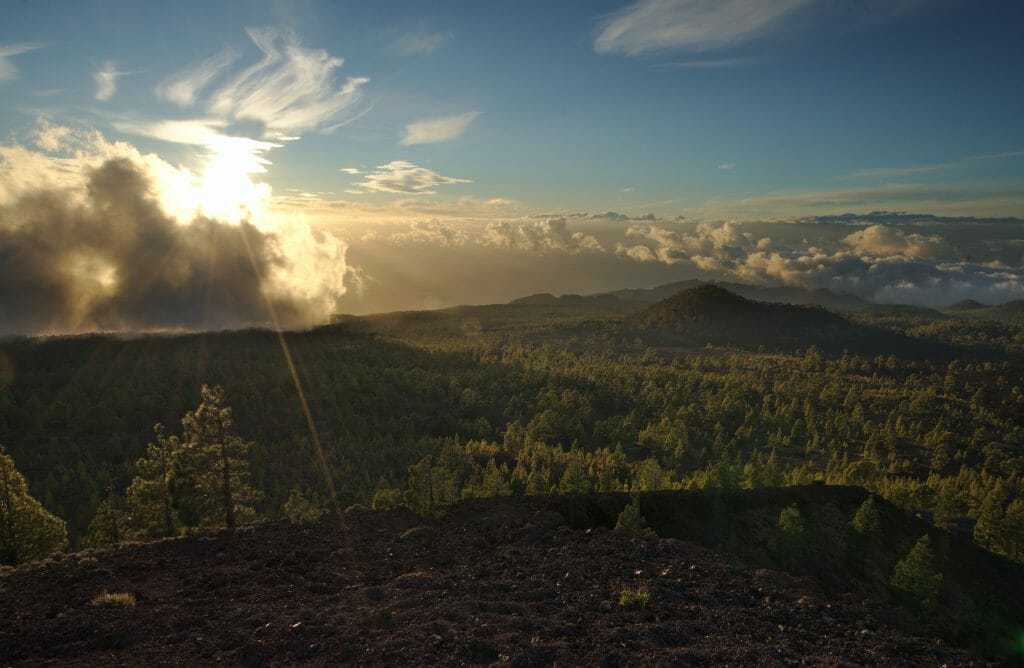
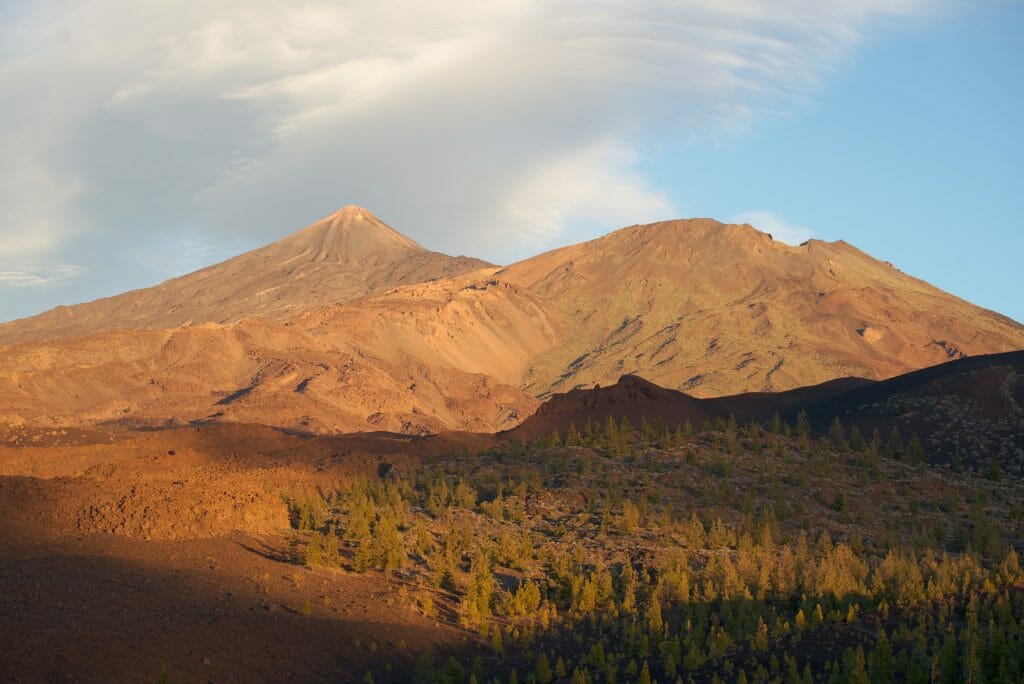
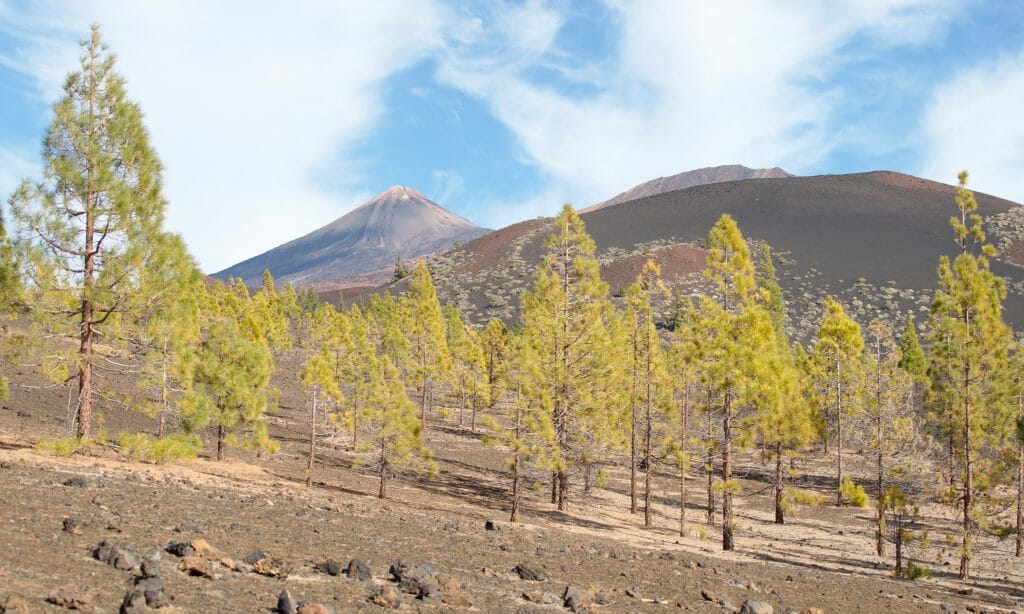
This hike is maybe our favorite in the Teide National Park…. Indeed, this small loop goes through a part of the park that is rarely visited and yet is really beautiful with its pines growing in the volcanic sand. In addition, this part of the park is facing south and we really recommend you to come here in the second half of the afternoon to see the sunset 🙂
The loop starts at the parking lot of Samara. We take immediately to the right following the indications of path number 13 (which we will follow all along). The trail gently climbs through the pines with Montana de la Botija facing us and then goes around it to return to the starting point on the other side. Once you reach Montana de la Botija, you will see several paths that allow you to climb to the top, which I strongly recommend you to do since the view is sensational. Once you have almost returned to the starting point, you can also take to your right to climb up to the Mirador de Samara which also offers very beautiful panoramas (especially at sunset)
On top of montaña Guajara
Infos
- Distance 9.2kms
- Elevation +- 600m
- Difficulty moderate
- Duration 4-5h
- Start Parkingnext to Canadas del Teide
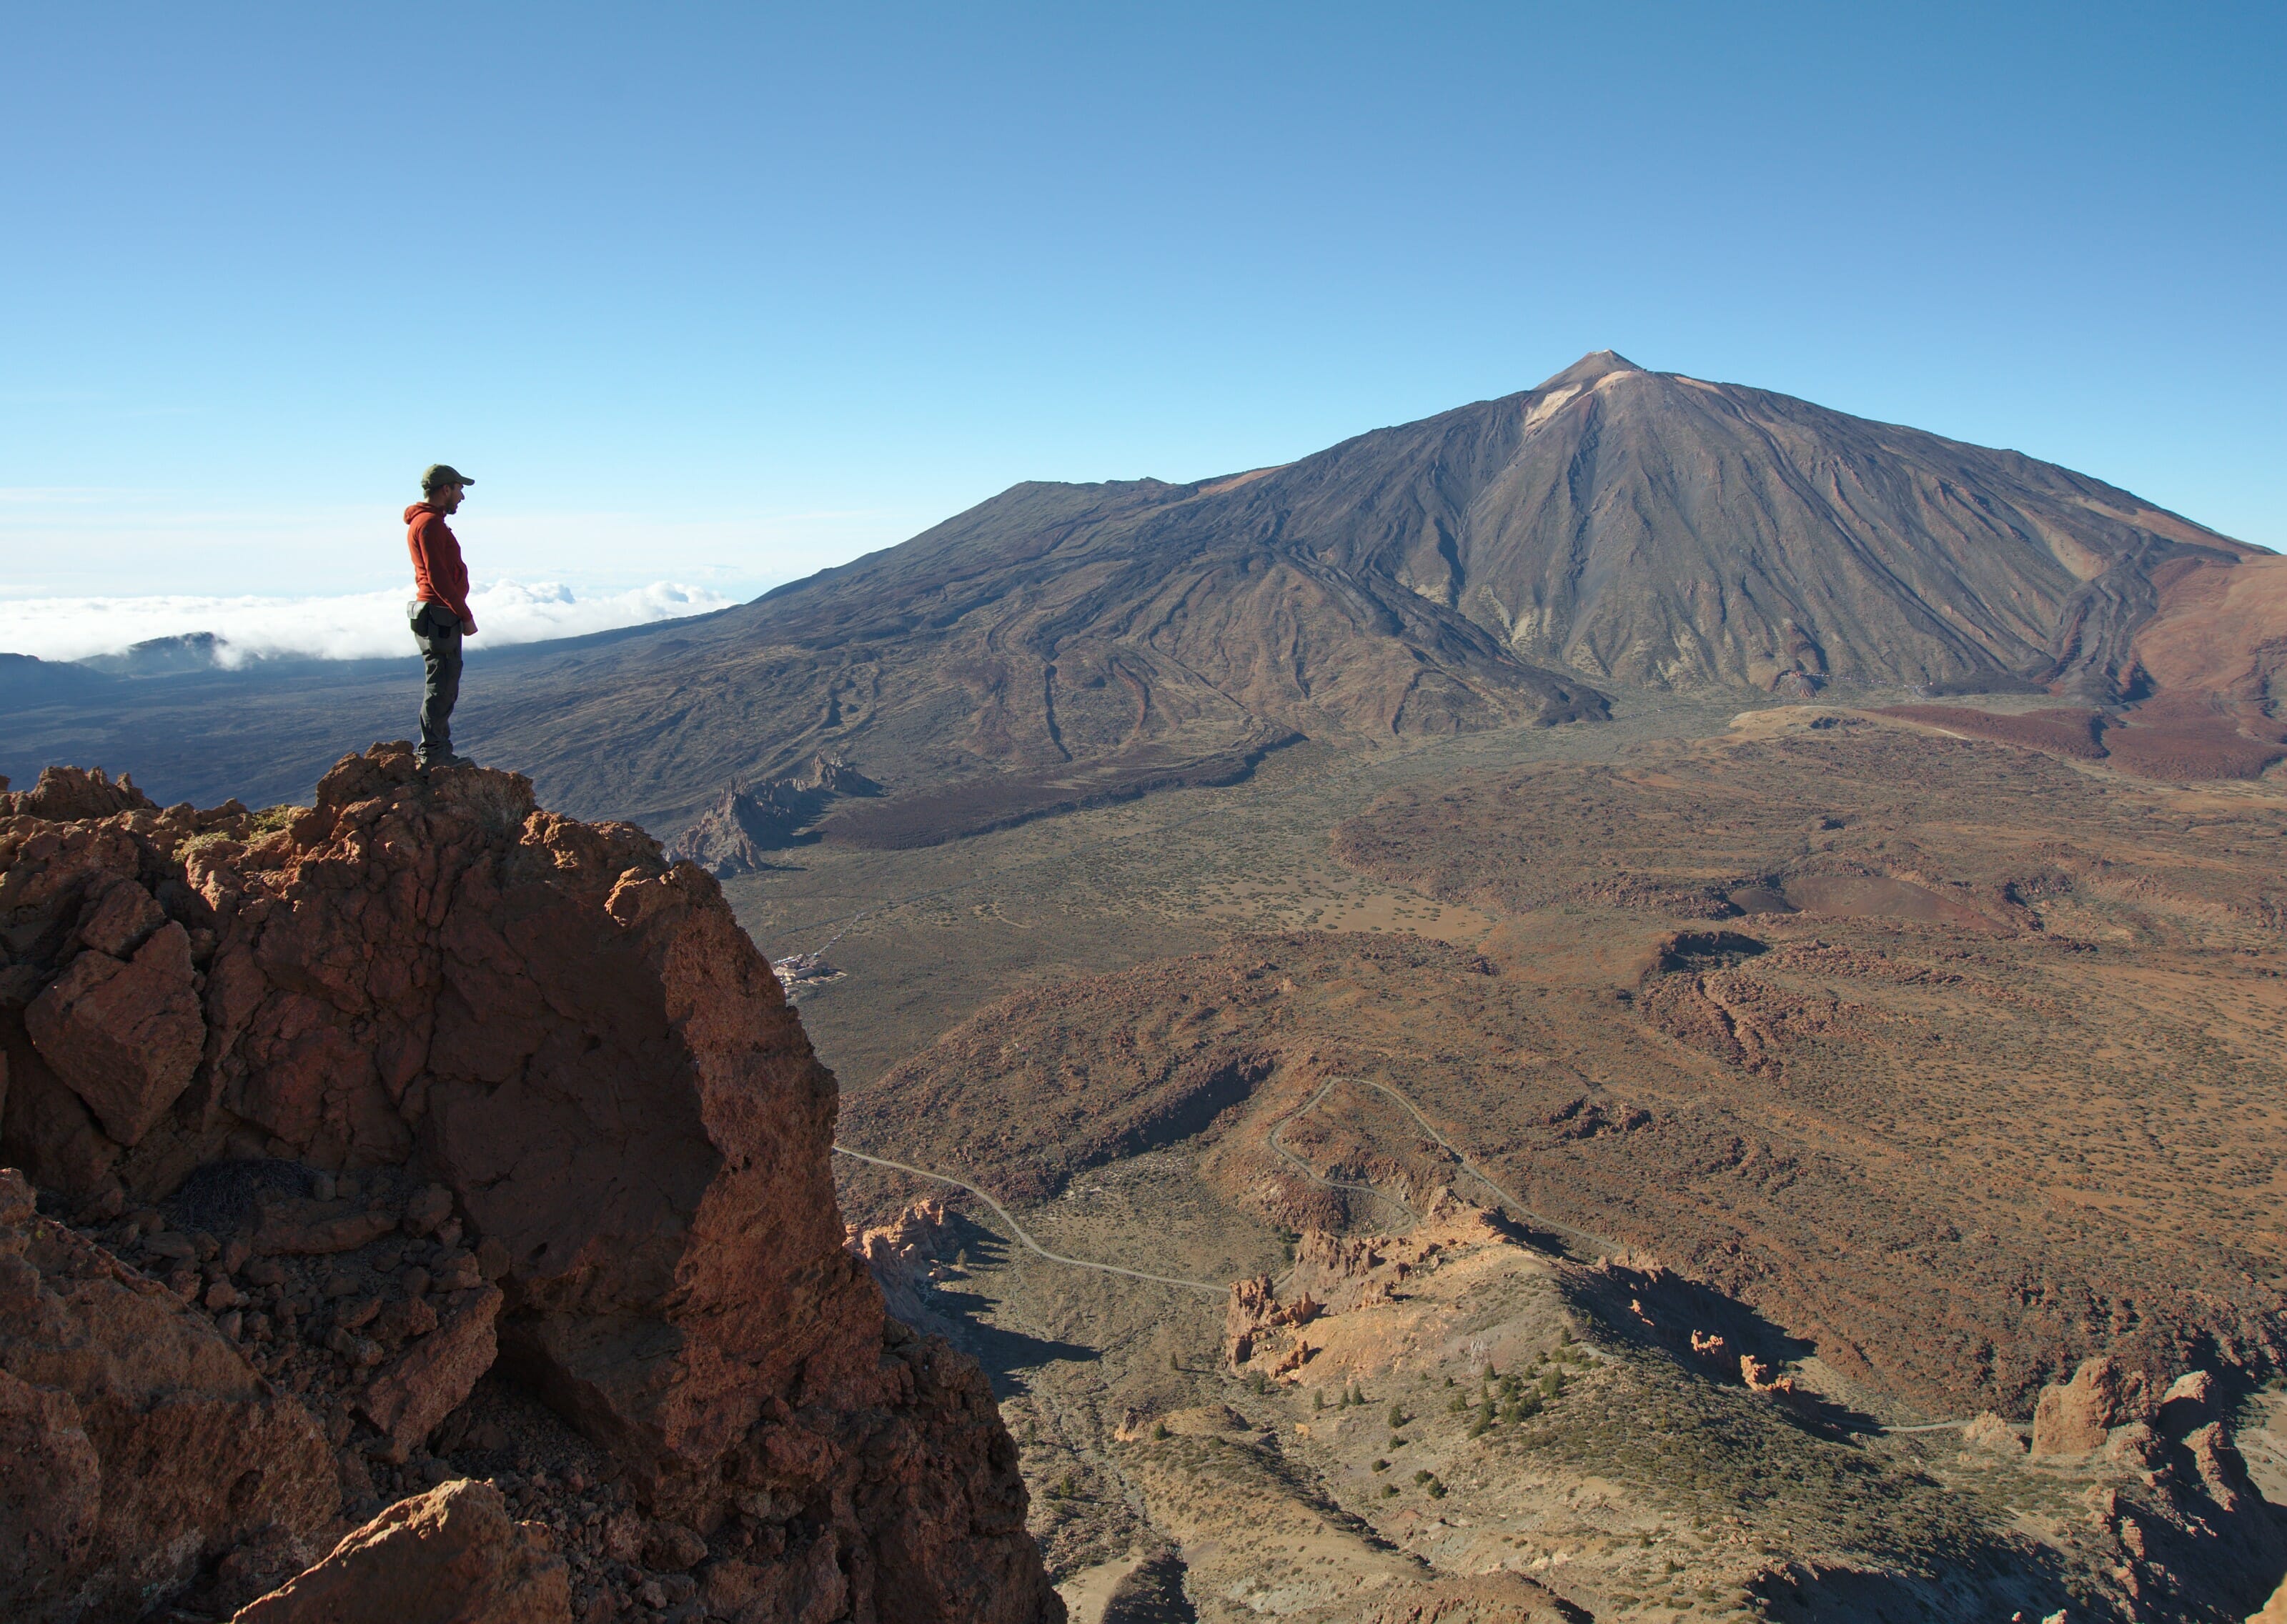
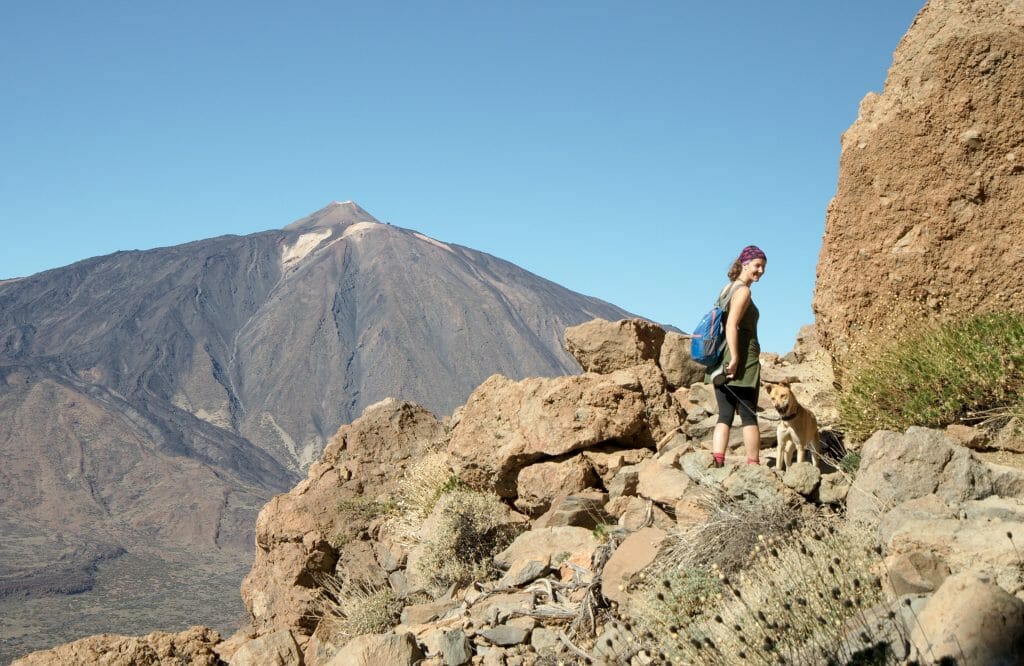
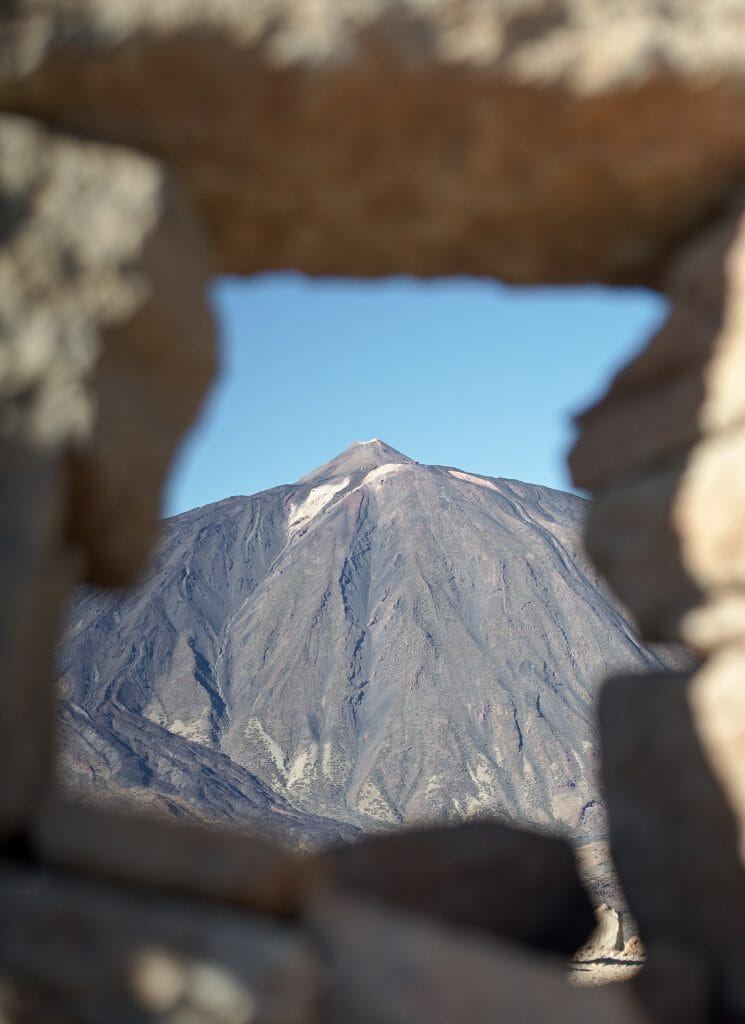
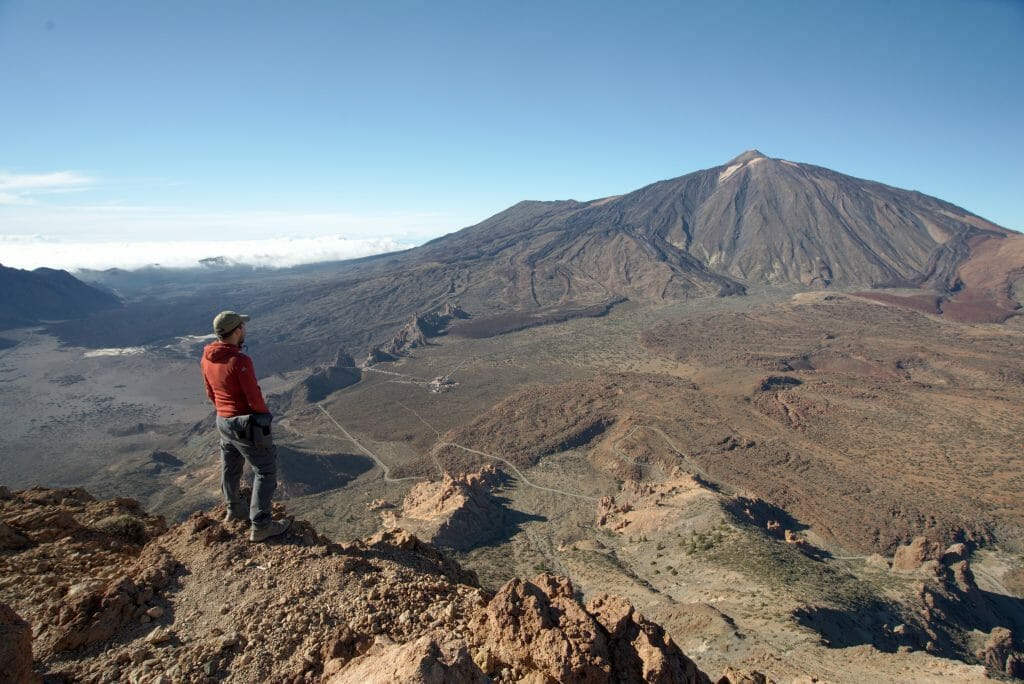
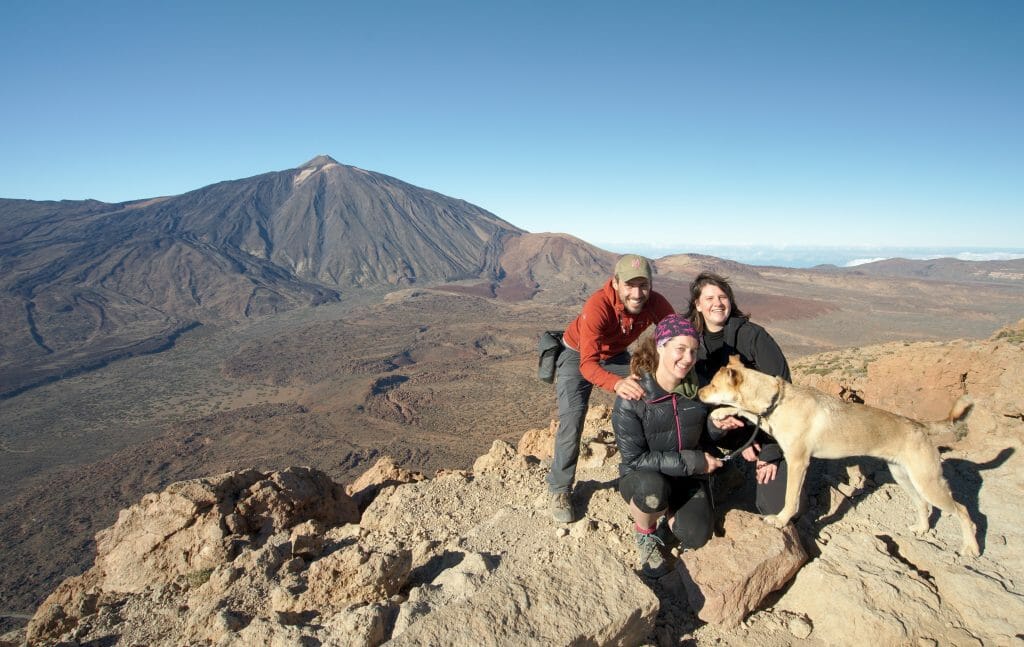
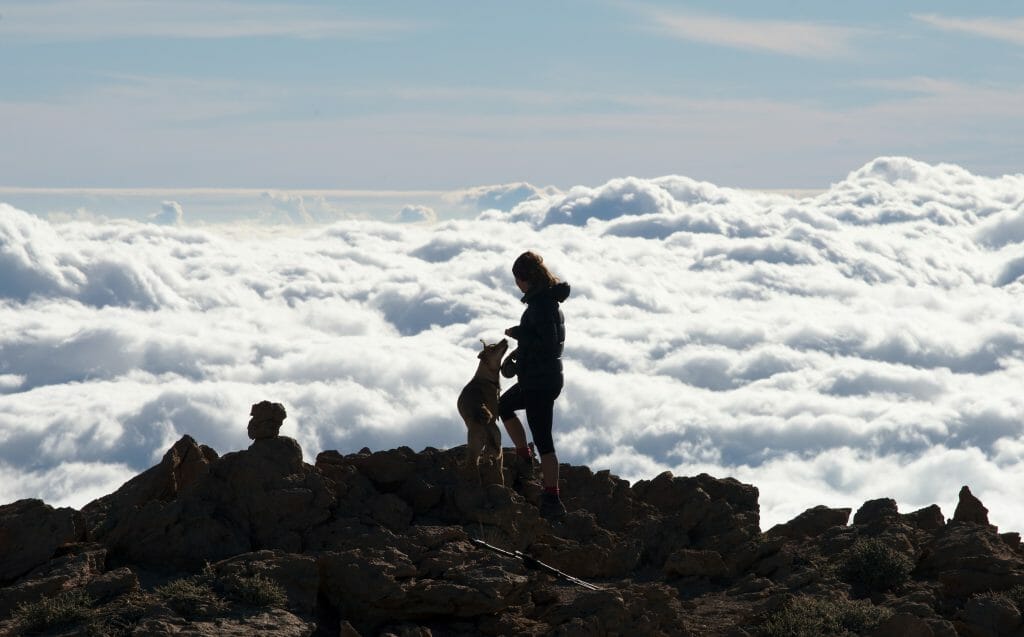
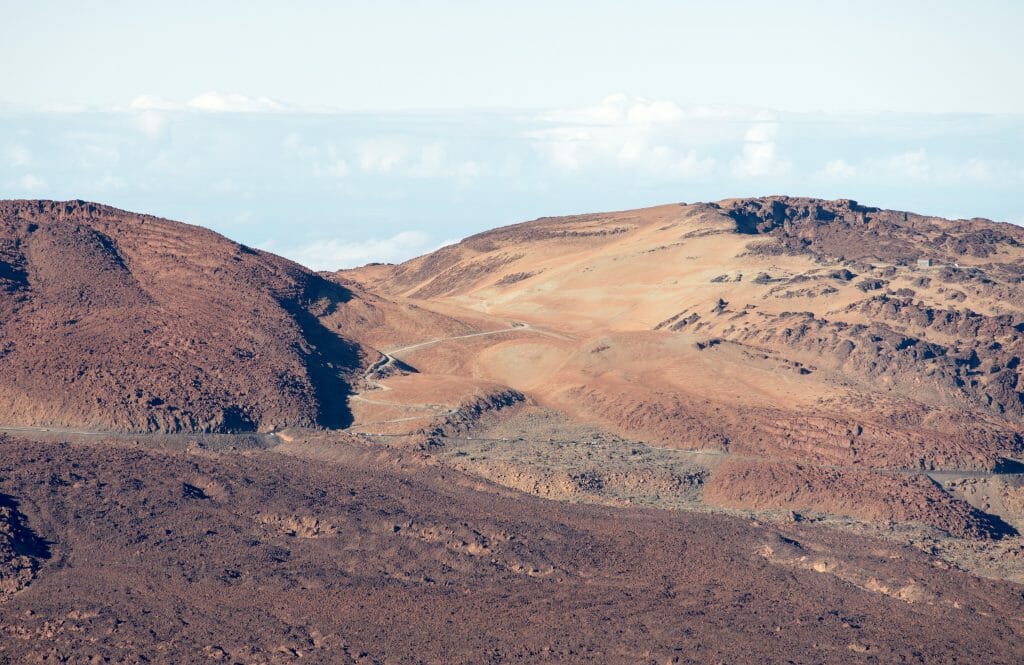
Mount Guajara (2718m) is in fact the highest mountain in Tenerife after the Teide and Pico Viejo. In our opinion, it is also the place where we have the most beautiful view of the Teide in the whole national park. The hike starts at the the hotel and restaurant Paradores parking lot, just next to the bus stop. We take the path that starts just behind and reach the 7 Canadas trail. Once you have reached the track, continue opposite on the path that goes up towards Mount Guajara on the right (we recommend that you hike up this side because it is the steepest slope). The path is a bit steep but not difficult and we already have a very nice view of the Teide behind us.
At the pass, take the trail on the left that goes up towards the summit. The path goes under a rocky cliff and then turns left into a corridor (here it climbs a little steeper). After the corridor, the path is flatter again and it is easy to reach the top of Guajara Mountain. You will find a shelter there which was also the site of an old observatory with a magnificent view of the Teide volcano.
For the descent nothing complicated… we took the option to follow the ridge and therefore take the most direct path but it is also possible to go back a little further and take a left on a slightly less steep path. After the descent we reach the 7 canadas trail to return to the parking lot and complete the loop.
Small hike in the Corona Forestal
Infos
- Distance 5-6kms
- Elevation +- 100-200m
- Difficulty easy
- Duration 2-3h
- Start There are several parking lots along the road
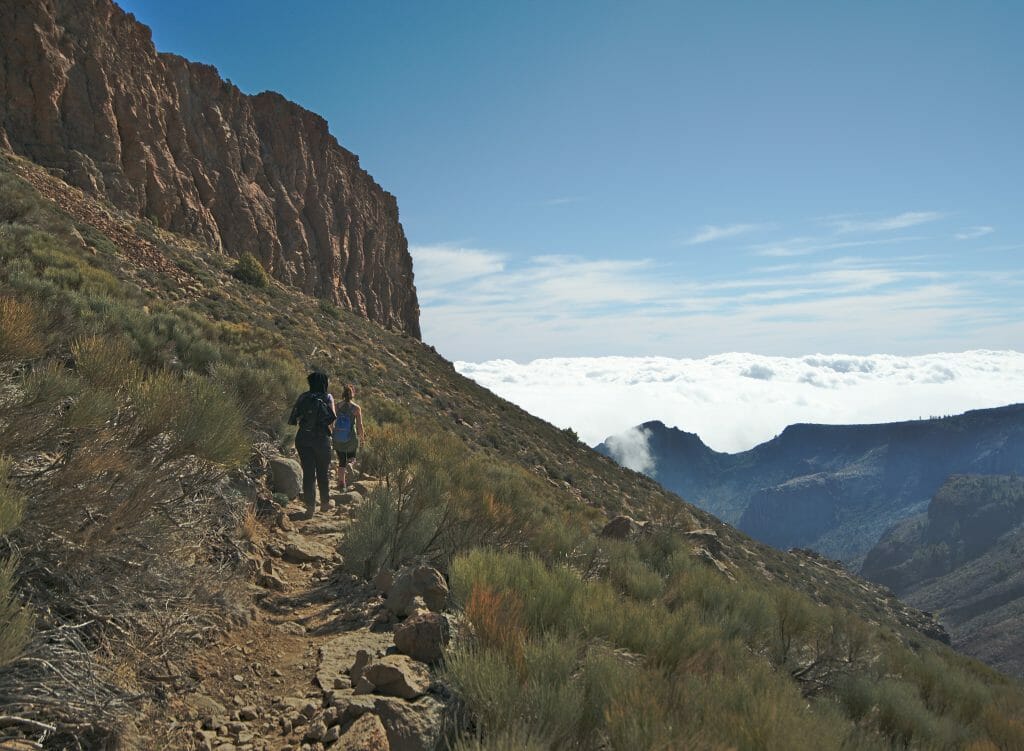
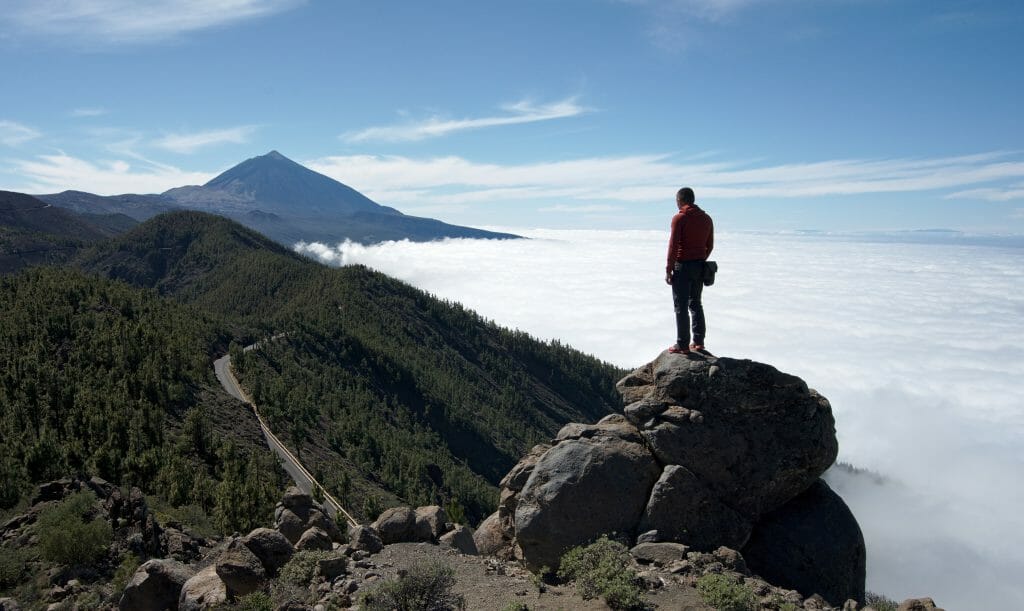
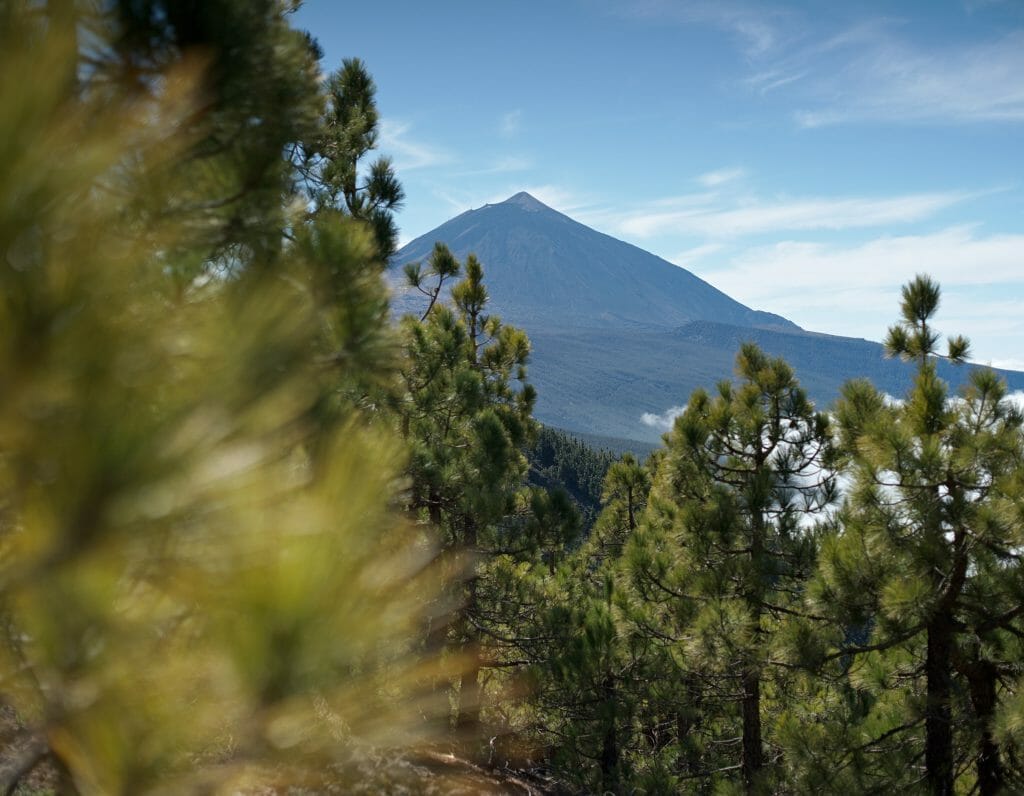
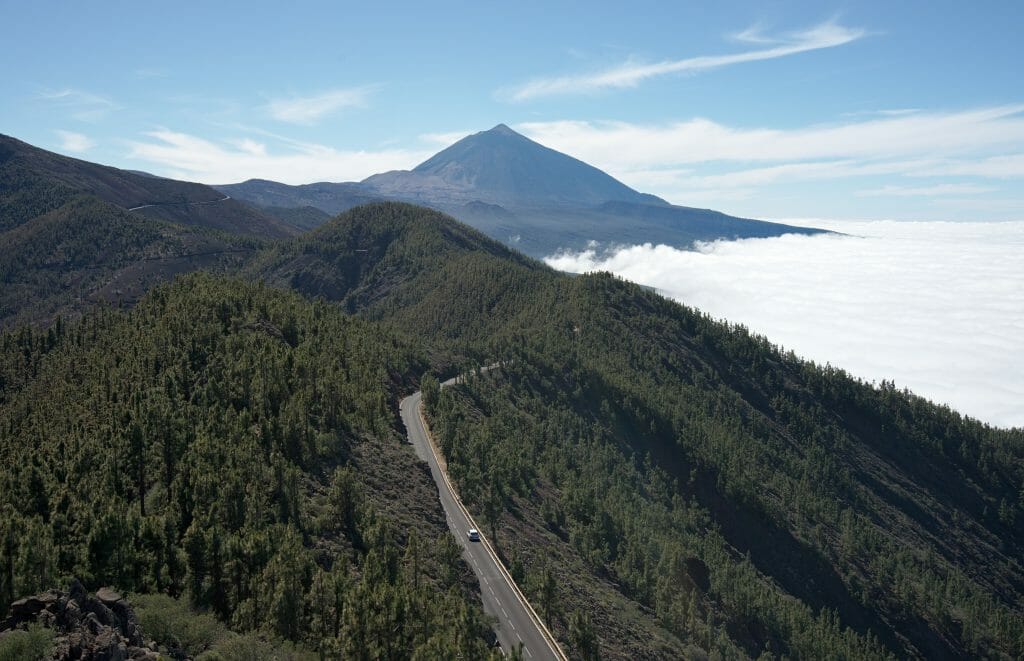
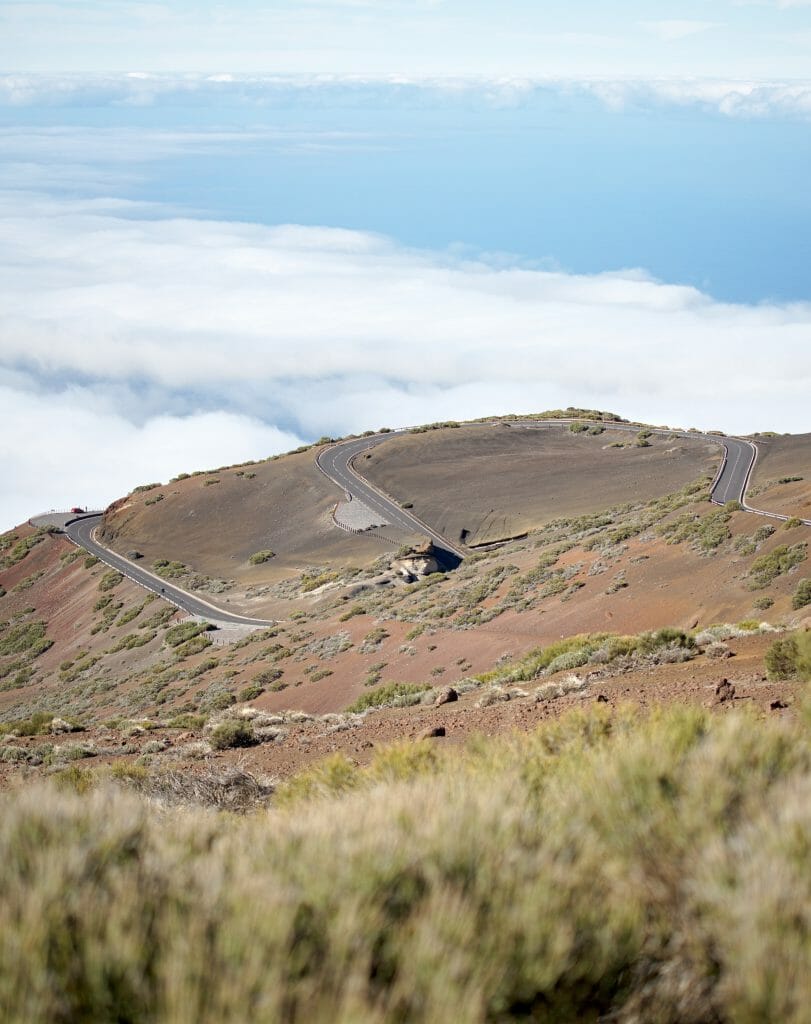
I called these two small walks “Corona Forestal” (or forest crown) because they are simply located in the large area of protected pine forest that surrounds the Teide volcano. You can see on the map above that I actually indicated 2 small hikes along the road that goes up to Teide from La Laguna. I like this area very much because we are on a large ridge that gently goes to the Teide in the middle of this magnificent pine forest. You will have some spectacular views of the volcano and the surrounding area.
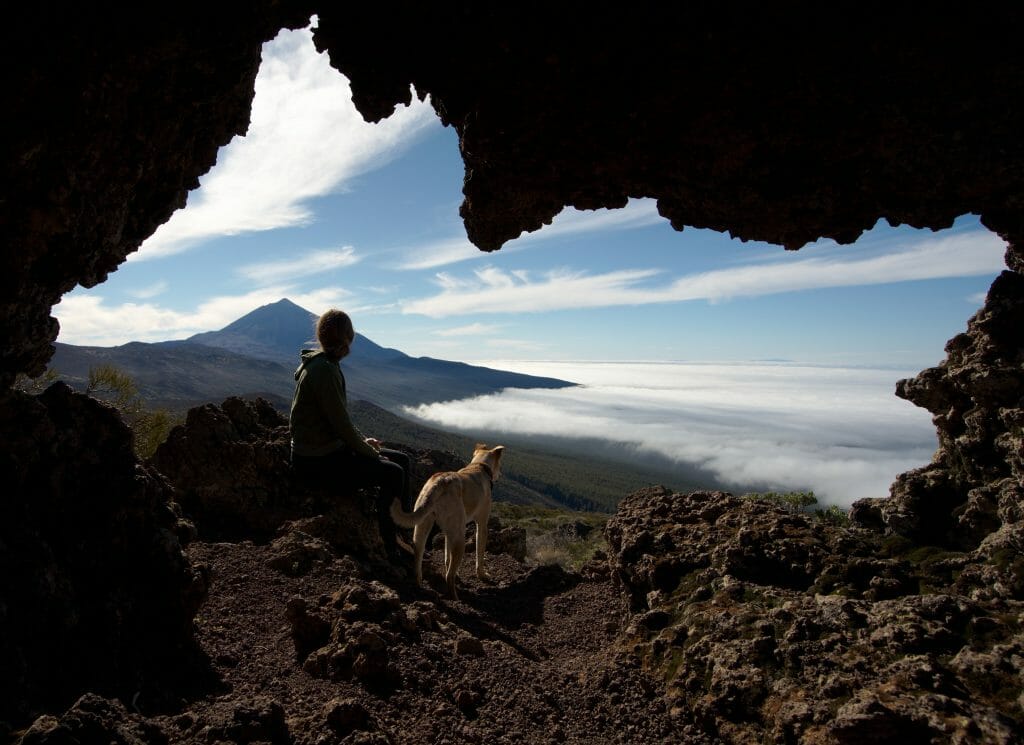
In fact, to do these little hikes you have to park at the level of the red and green flags (and take the car between the 2 hikes). The first one is a little lower and crosses the forest to access great openings with gorgeous views on the volcano. The 2nd is a short loop to a nice and picturesque rock… judge for yourself
The Teide cable car
There is indeed a cable car that goes almost to the top of the Teide (up to 3555m to be exact)! So I have to tell you that I’m not a big fan of this kind of facilities, but with more than 3 million tourists a year visiting the park, it was almost inevitable. So if you want to climb almost to the top of the Teide without sweating, it is possible every day from 9:00 to 17:00 (19:00 in summer) for the amount of 27€ for the round trip (which you can buy on this site).
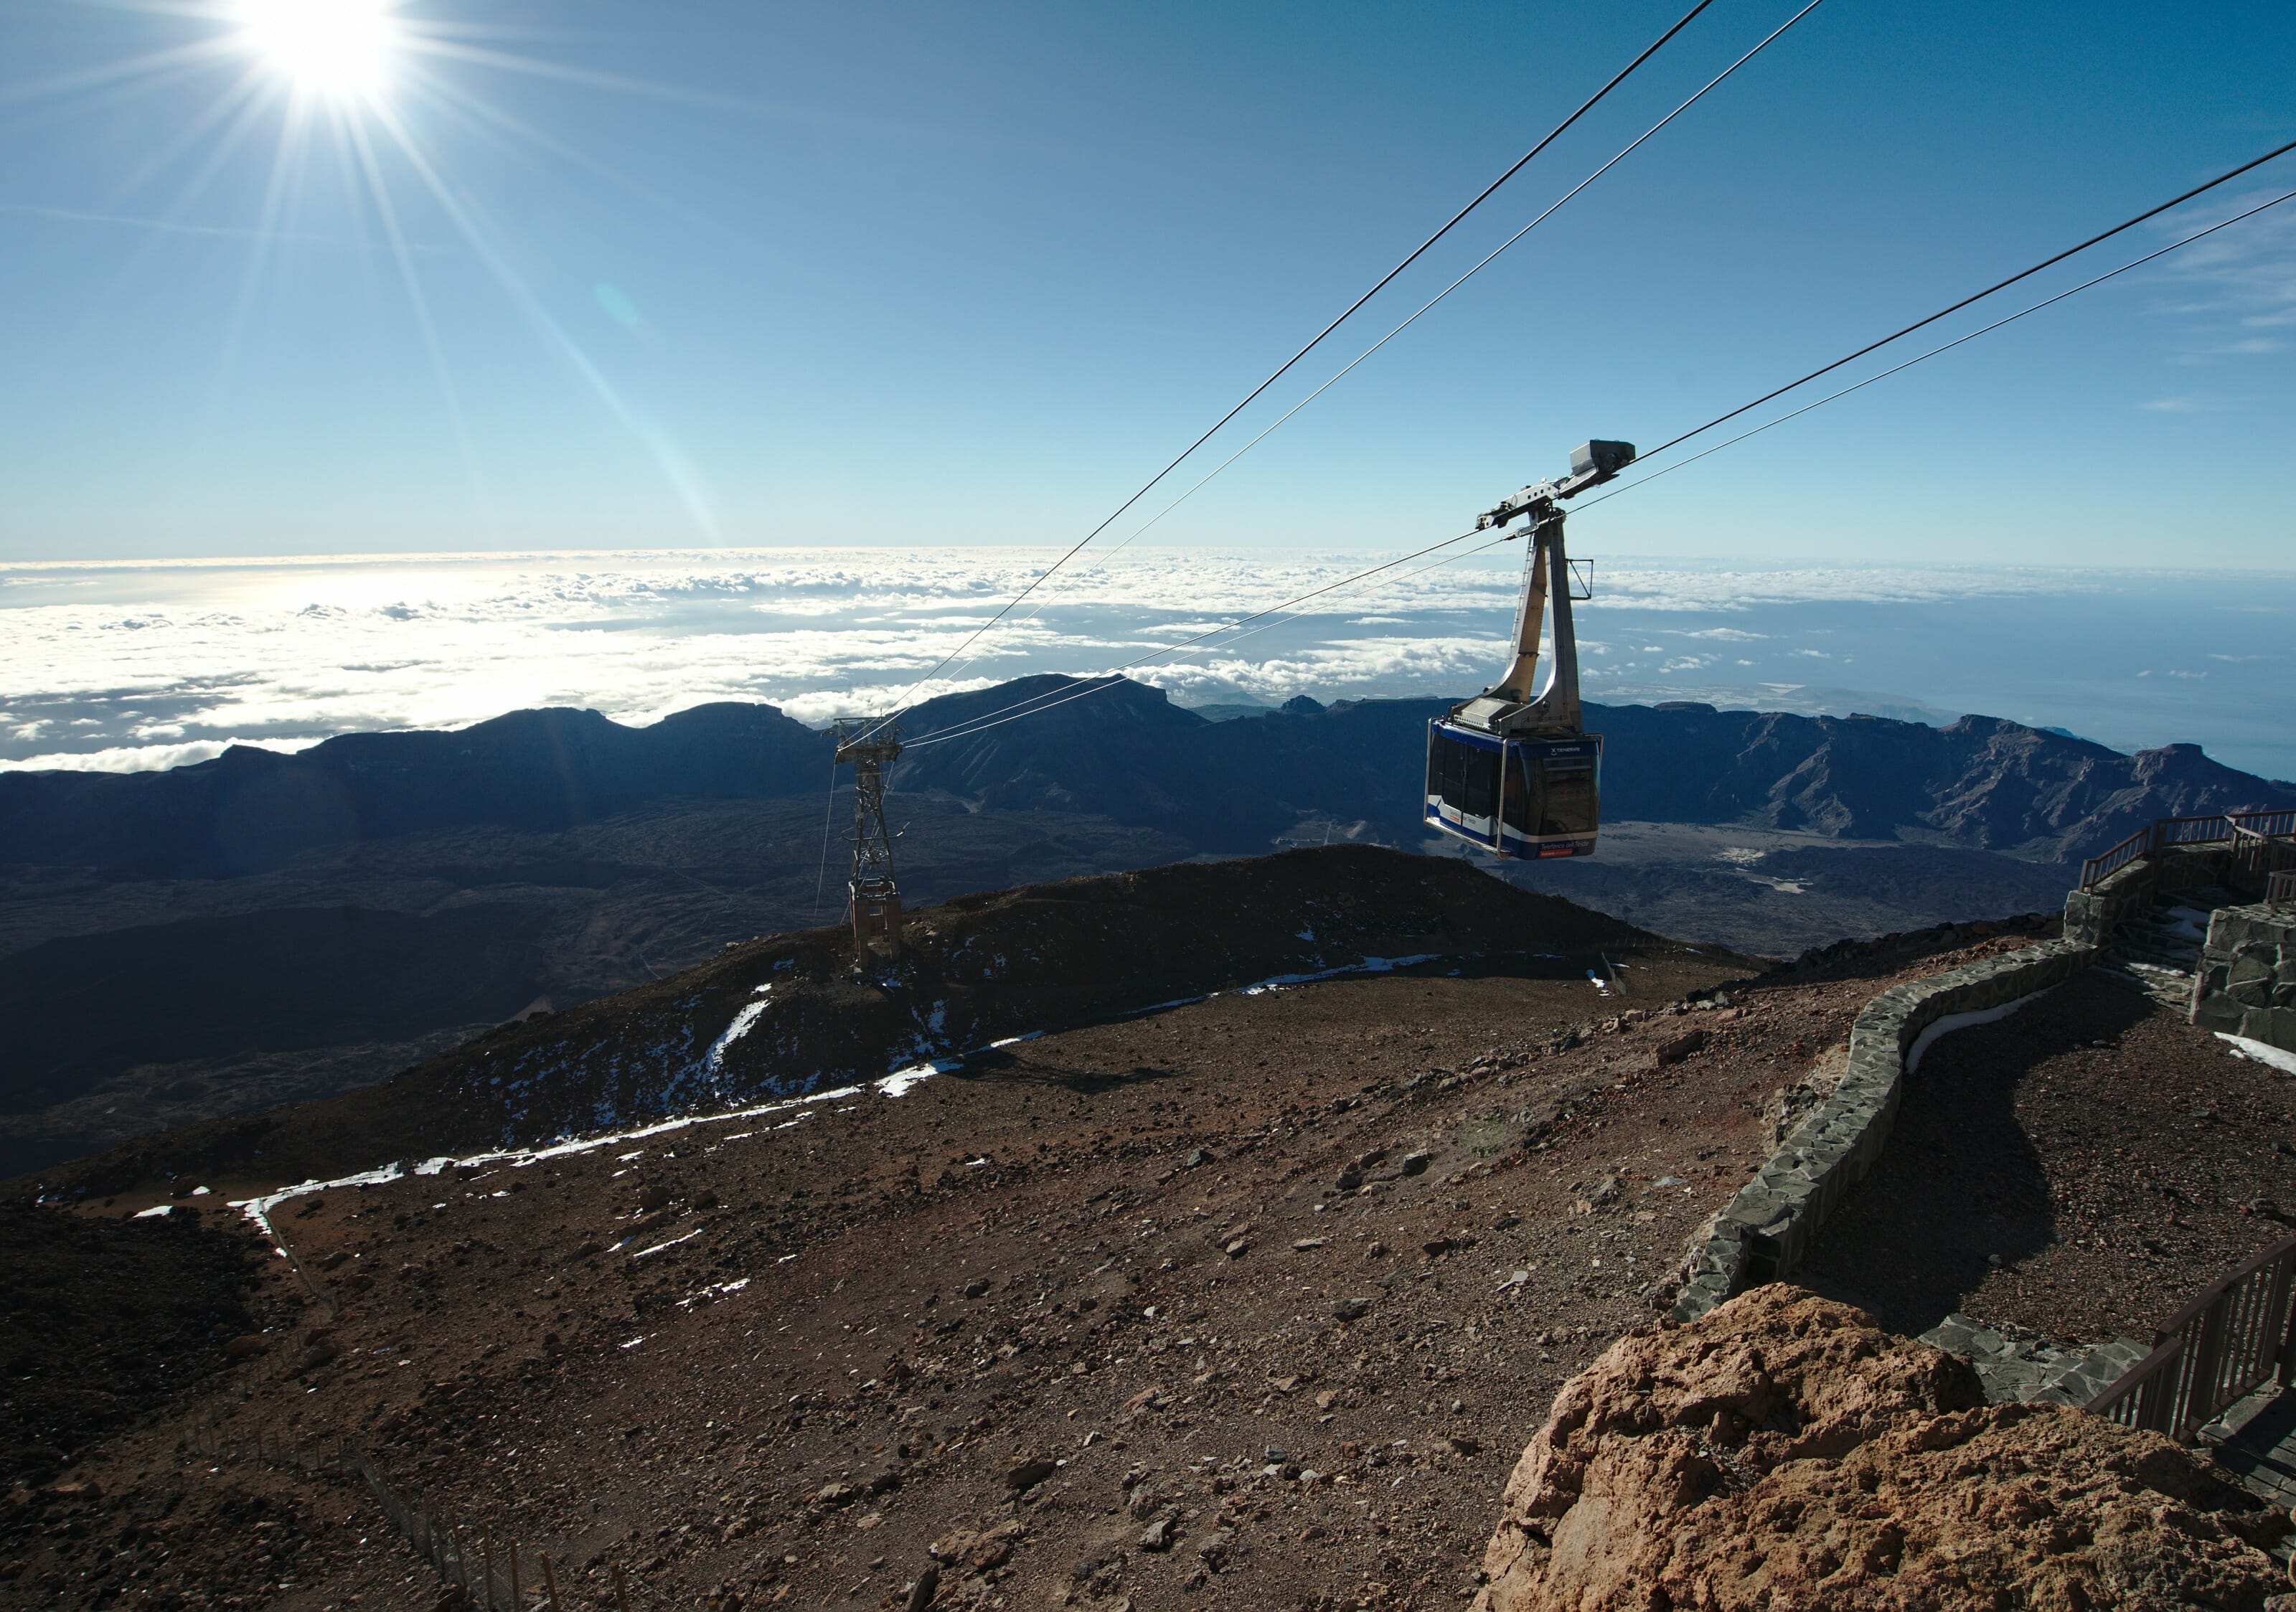
However, if you want to climb to the top of Teide, as I told you earlier, you will need a permit that needs to be booked several months in advance. The view from the cable car’s arrival on the Caldera is not too bad though and you can also take a short walk to the Pico Viejo viewpoint or the Fortaleza viewpoint without a permit 😉
Star watching from the Teide National Park
This is an activity I hadn’t necessarily thought of before our arrival, but it turns out that Teide National Park is one of the best places in the world to see the stars and the milkyway (there is a very important scientific observatory that can be visited). Indeed, at more than 2000m and far from any light pollution, the Teide is the ideal place to observe and photograph the starry sky.
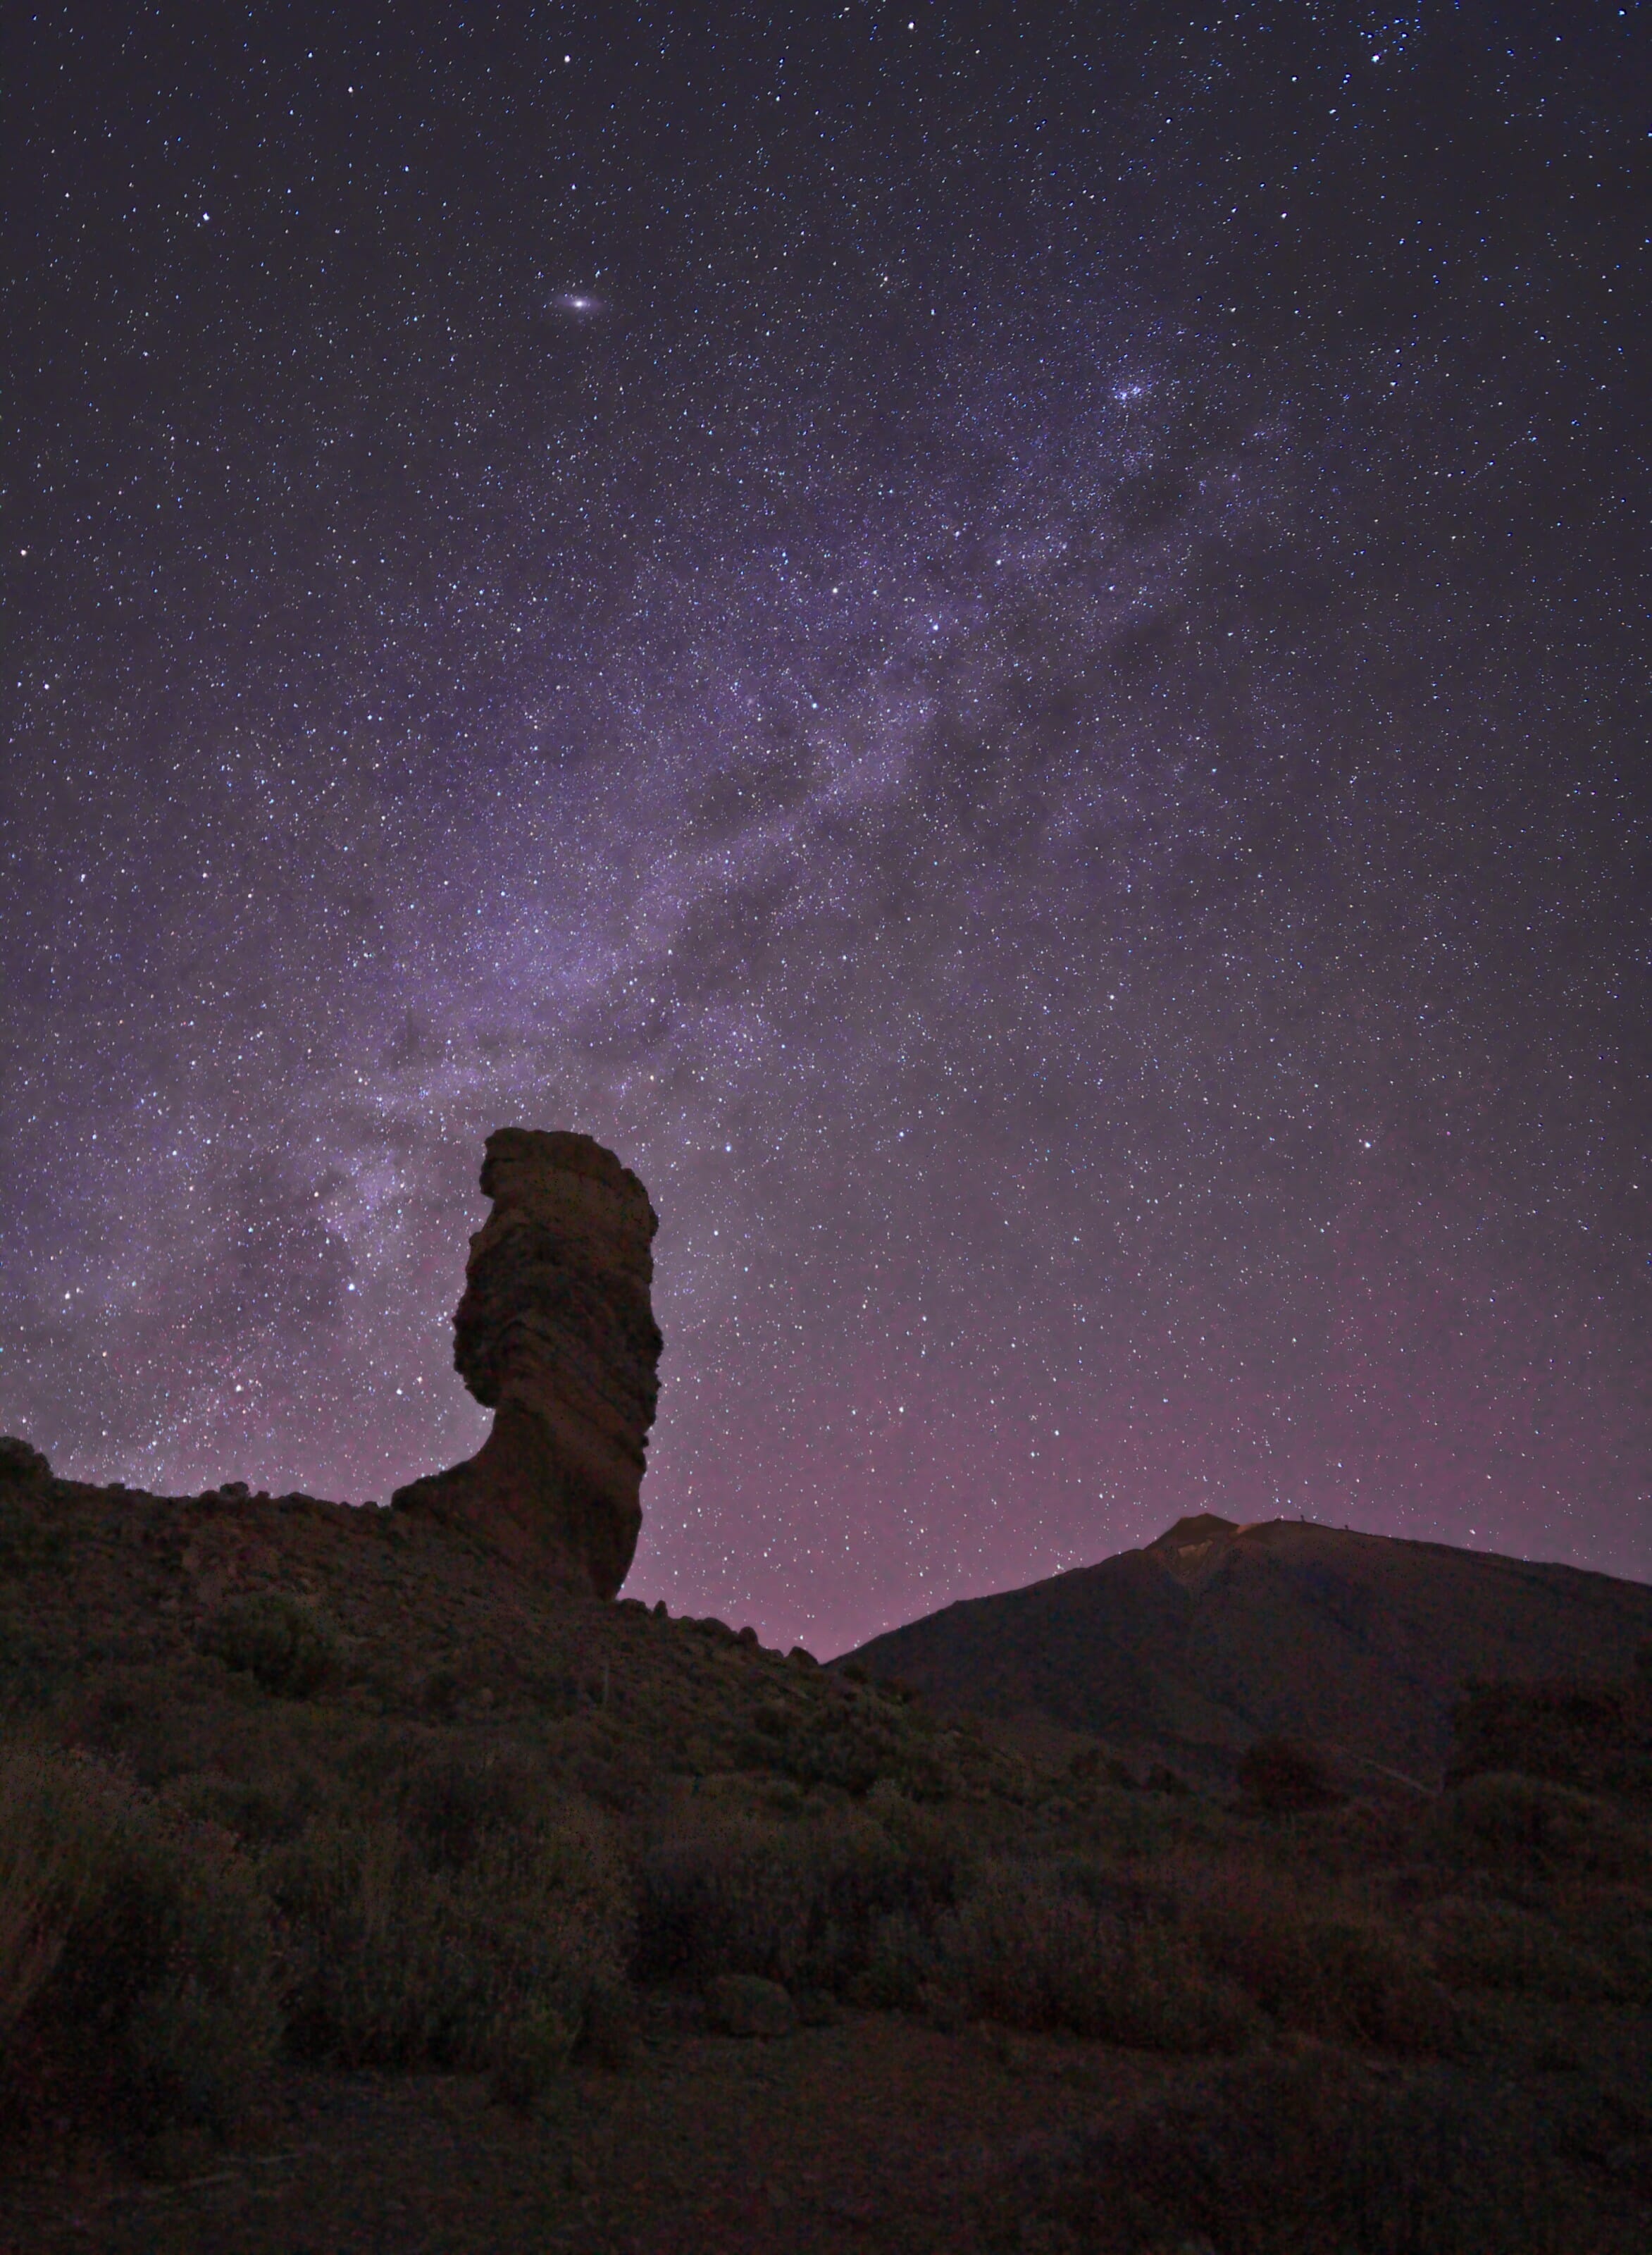
The most important thing you need to think about if you want to admire the stars and the Milky Way is to climb up to the Teide if possible on a new moon night. Indeed, it is the nights when there is no moon where you can best observe the sky and photograph it. In addition, to observe the Milky Way, the best time to do so is in spring because the galactic centre (the brightest part of the Milky Way) is in the open sky at night.
And if you want to take beautiful pictures at night, you need of course a camera with a fairly large sensor (Full Frame or APS-C), a wide angle lens with sufficient aperture (f2.8 and below) and a tripod for long exposures. In my case, I have a Sony A7iii body with a Laowa 15mm f/2 FE Zero-D lens and a very light Sirui T-025X Carbon tripod. For more details on choosing a camera, you can also take a look at this guide I wrote.
Guided night tours
In our case, we always came to Teide “on our own” at night (sometimes with colivers, but always without a guide). For us, the main thing we wanted was to see the Milky Way and to photograph it. However, if you are interested in astronomy it is also possible to do night hikes with a guide who will explain more about the stars. These 3 hour hikes are organised once a week and cost 16€ per person.
We hope that this post about the Teide National Park will be useful and help you prepare your visits to the highest peak in Spain. But believe us, Tenerife has much more to offer than the Teide volcano and the southern beaches. This island has an exceptional diversity and we still have some nice surprises in store for our next posts (well actually you can find our favorite spots on this island here).
In the meantime we wish you a great start to the new year 2019 and we look forward to seeing you soon.
Pin it on Pinterest

P.S. This article contains some affiliate links for services such as Rentalcars, Getyourguide or Civitatis. Of course, we only recommend services or objects that we use ourselves and that we consider interesting for you. If you use one of our links to make your purchase or reservation, we will receive a small commission (you won’t pay a penny more) that will help us to continue our work on this blog and offer free and independent content.
Thank you so much for all the information! I appreciate it tremendously! 🙂
glad you like it 😉
Awesome stuff. Tha k you for the very detailed descriptions of trails and walks
you’re welcome 😉 Glad you liked it!
Guys!
Thanks for this post and descriptions of trails.
At last I found a good and simple explanations on trails around Teide!
All the best!
Glad you found it useful Magdalena 🙂
Thank you! This is very helpful and your photos are beautiful!
Thanks Emma! Glad you found it useful 😉