We just got back from 8 days in the Grand St. Bernard region where we did a great 7 day hike: the St. Bernard tour (we will tell you more about it soon. Update: The blog post about the Tour du Saint-Bernard is live). When we talked about our hiking project around us, everyone started to ask us if we were going to go see the famous Lacs de Fenêtre. We admit it, we had already vaguely heard about them but without really knowing that they were actually just a stone throw away from our route.
Some research later we thought it would be a shame to be so close to it and not even pass by! So we opted for a day of "detour" on our itinerary and stayed 2 nights instead of one at the hospice du Saint-Bernard to go on this beautiful day-hike.
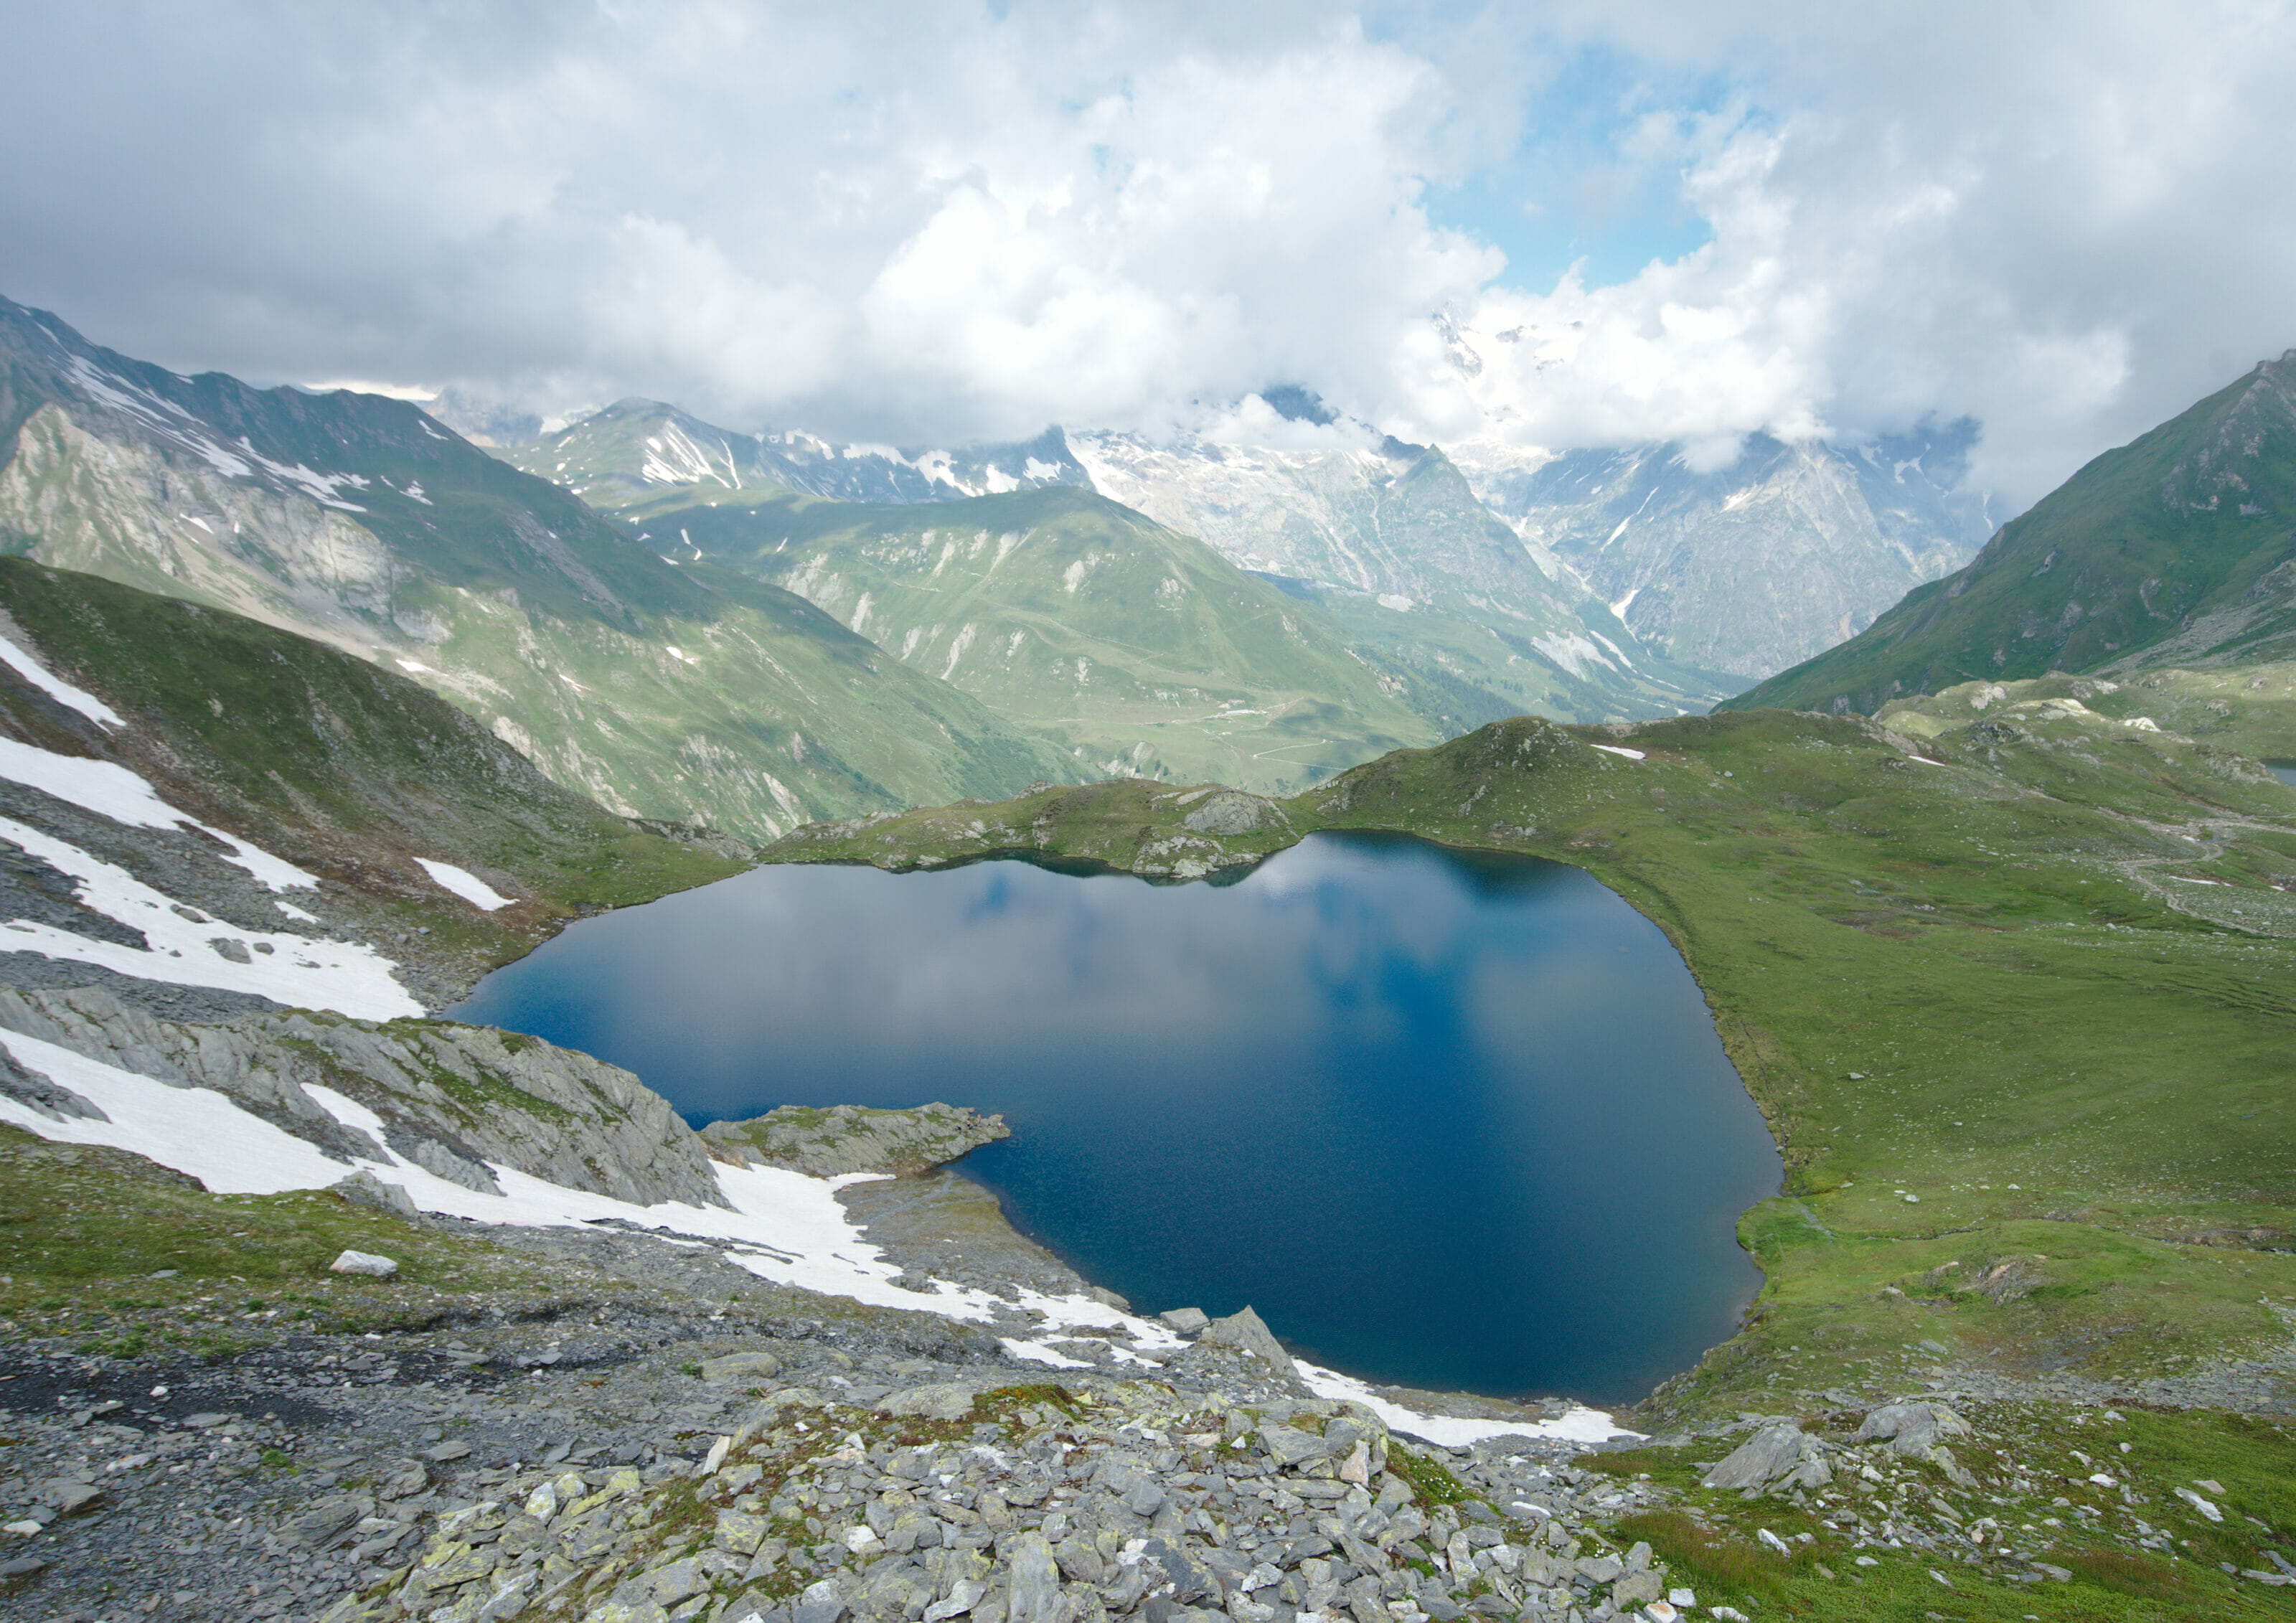
- Discover 8 mountain lakes on the Lacs de Fenêtre circle hike!
- Hike start: The Saint Bernard Pass
- The Fenêtre de Ferret Pass
- The Pointe de Drône: a more challenging alternative
- The lacs de Fenêtre
- The Bastillon pass
- Descent into the Combe de Drône and the lakes of Lé
- Return to Saint-Bernard via the Col des Chevaux
- Hike to the Lacs de Fenêtre: Useful Infos
- The Grand Saint Bernard Hospice
- The Saint-Bernard dogs
Discover 8 mountain lakes on the Lacs de Fenêtre circle hike!
In fact, if this hike is well known, it's mainly because it allows you to pass by 8 magnificent mountain lakes in a single day! We have all already heard about the famous 5 lakes hike in Zermatt or the 5 lakes hike in the Pizol area... ehhhhh well today we propose you the 8 lakes hike of the Saint-Bernard, Na!
Note: this name is not official at all... it's just us who decided to call it that way because the tour passes 8 lakes (even a bit more if you count the little extra pegs but we thought we wouldn't push it) and also because we find it a bit sad that when people think mountain lakes they often think of the same hikes 😉 There is nothing "secret" about this route but believe us, it is a little less popular than its "cousins" in other valleys.
Hike start: The Saint Bernard Pass
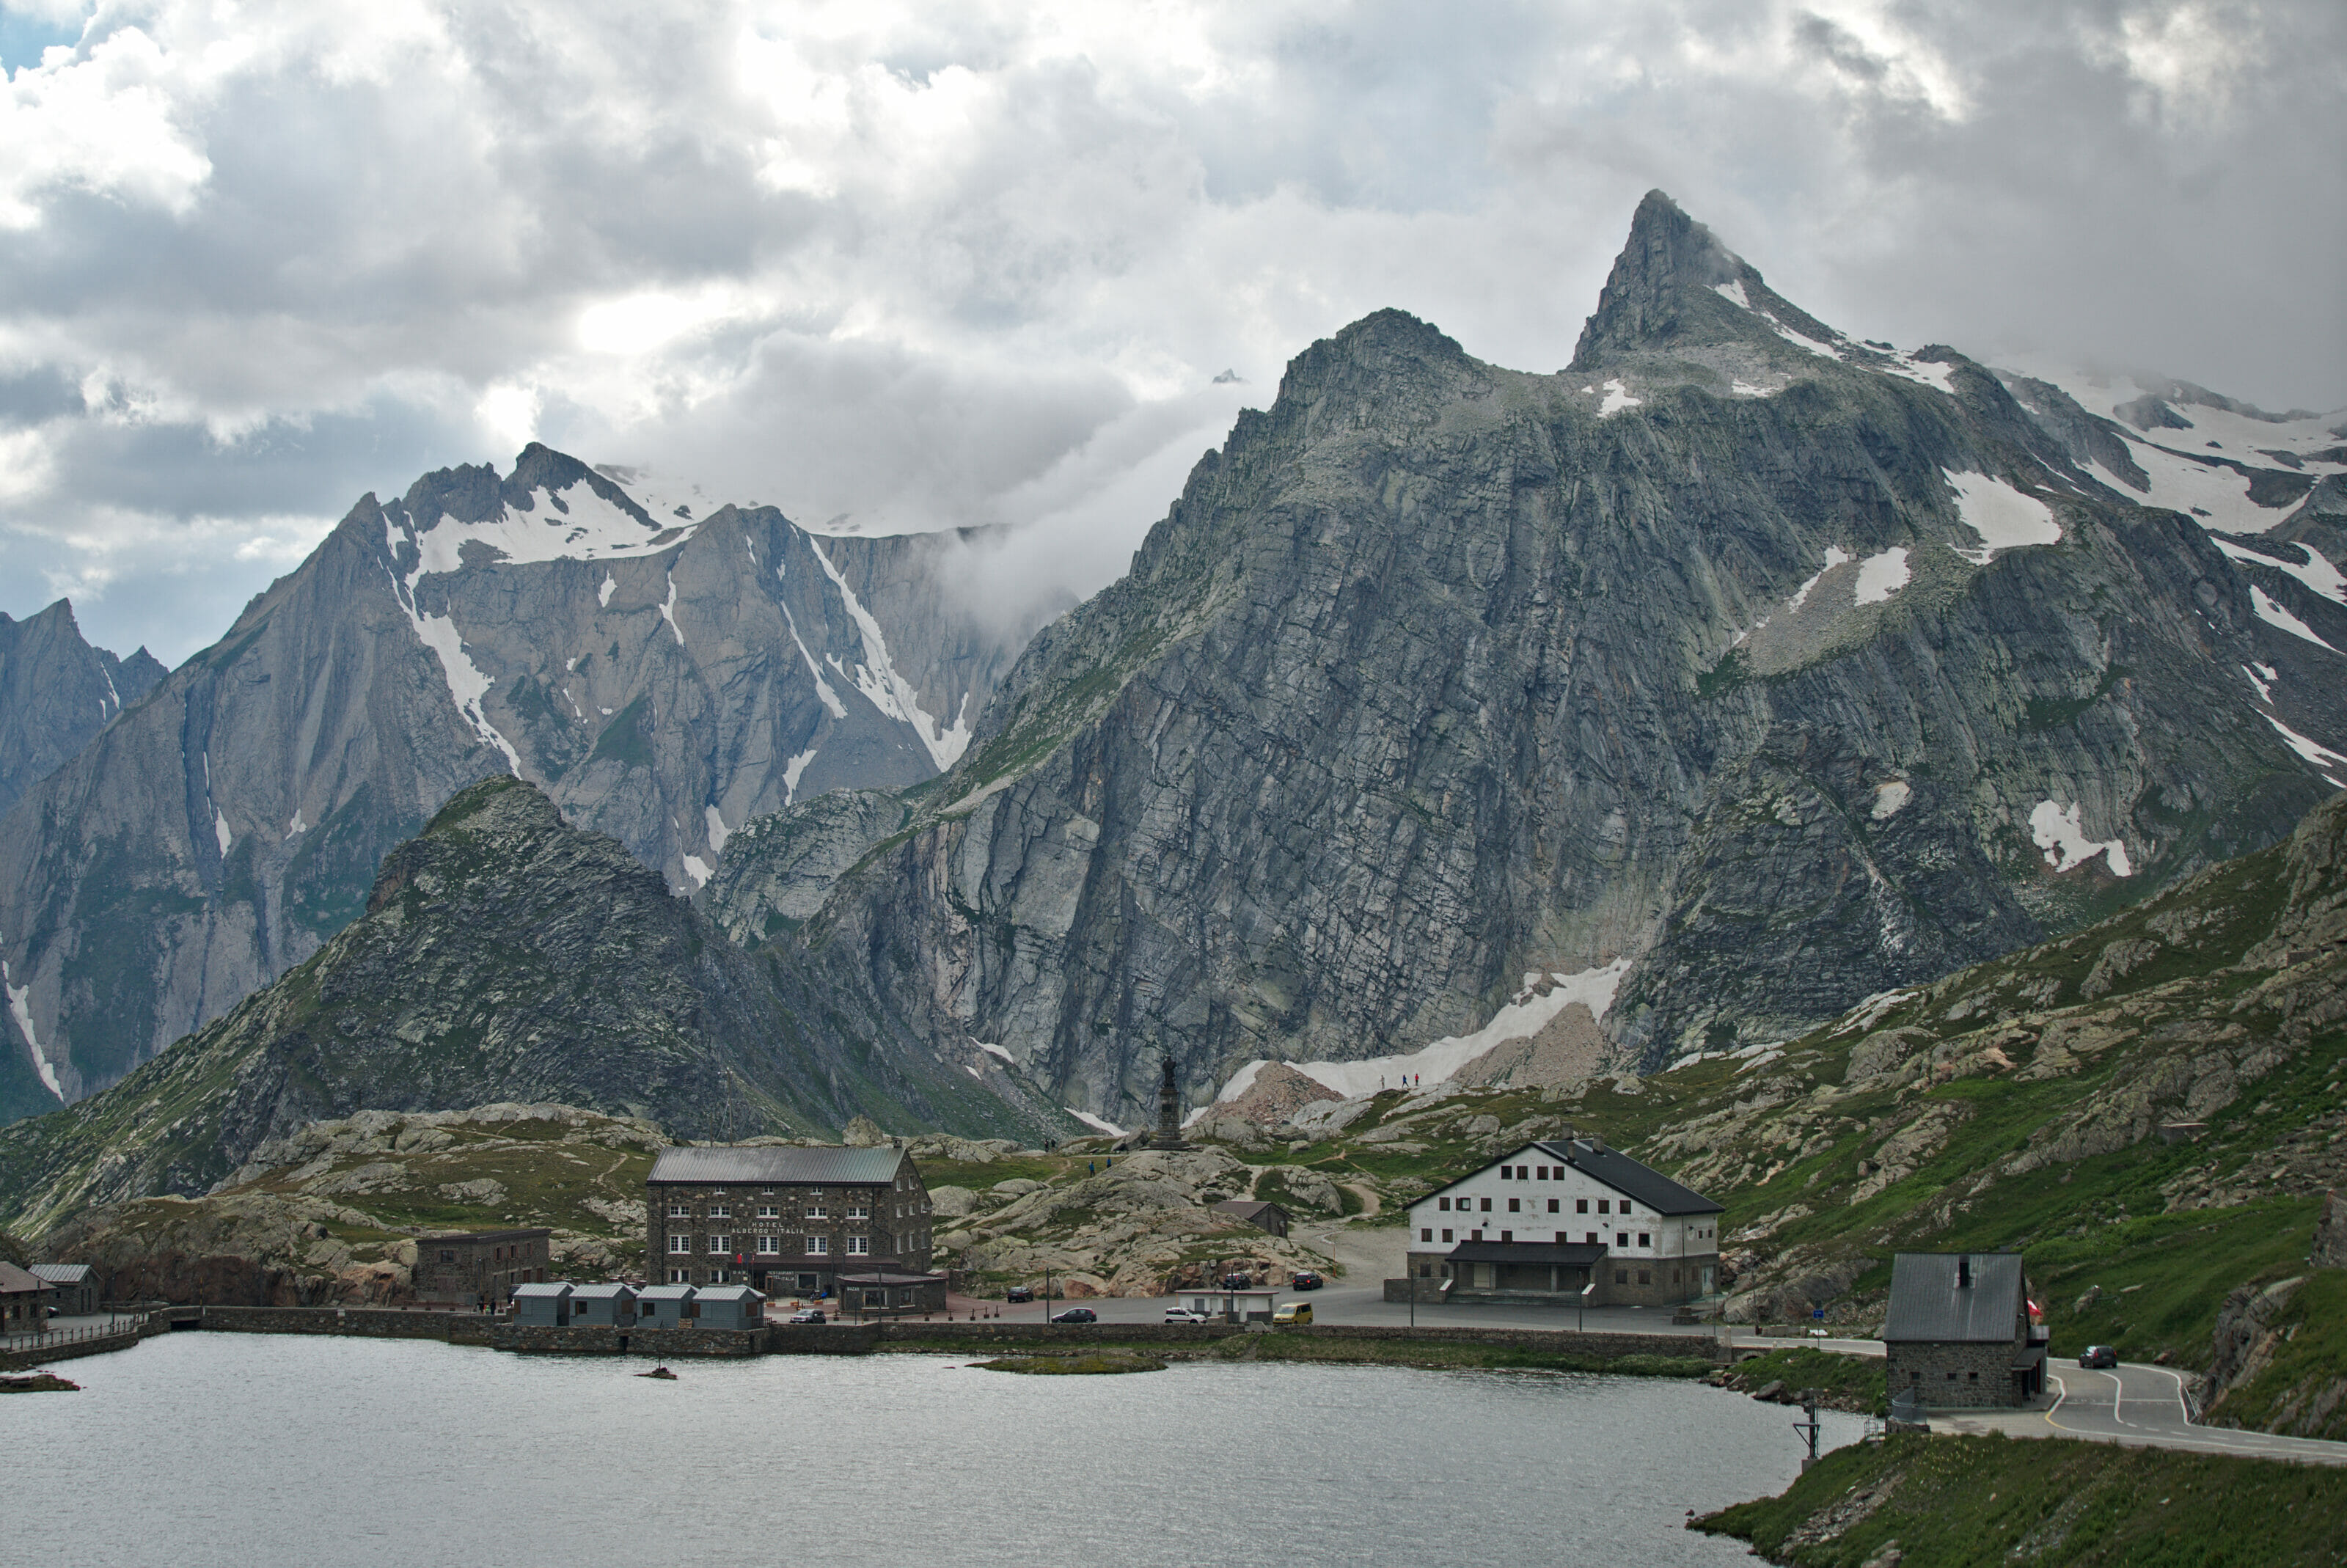
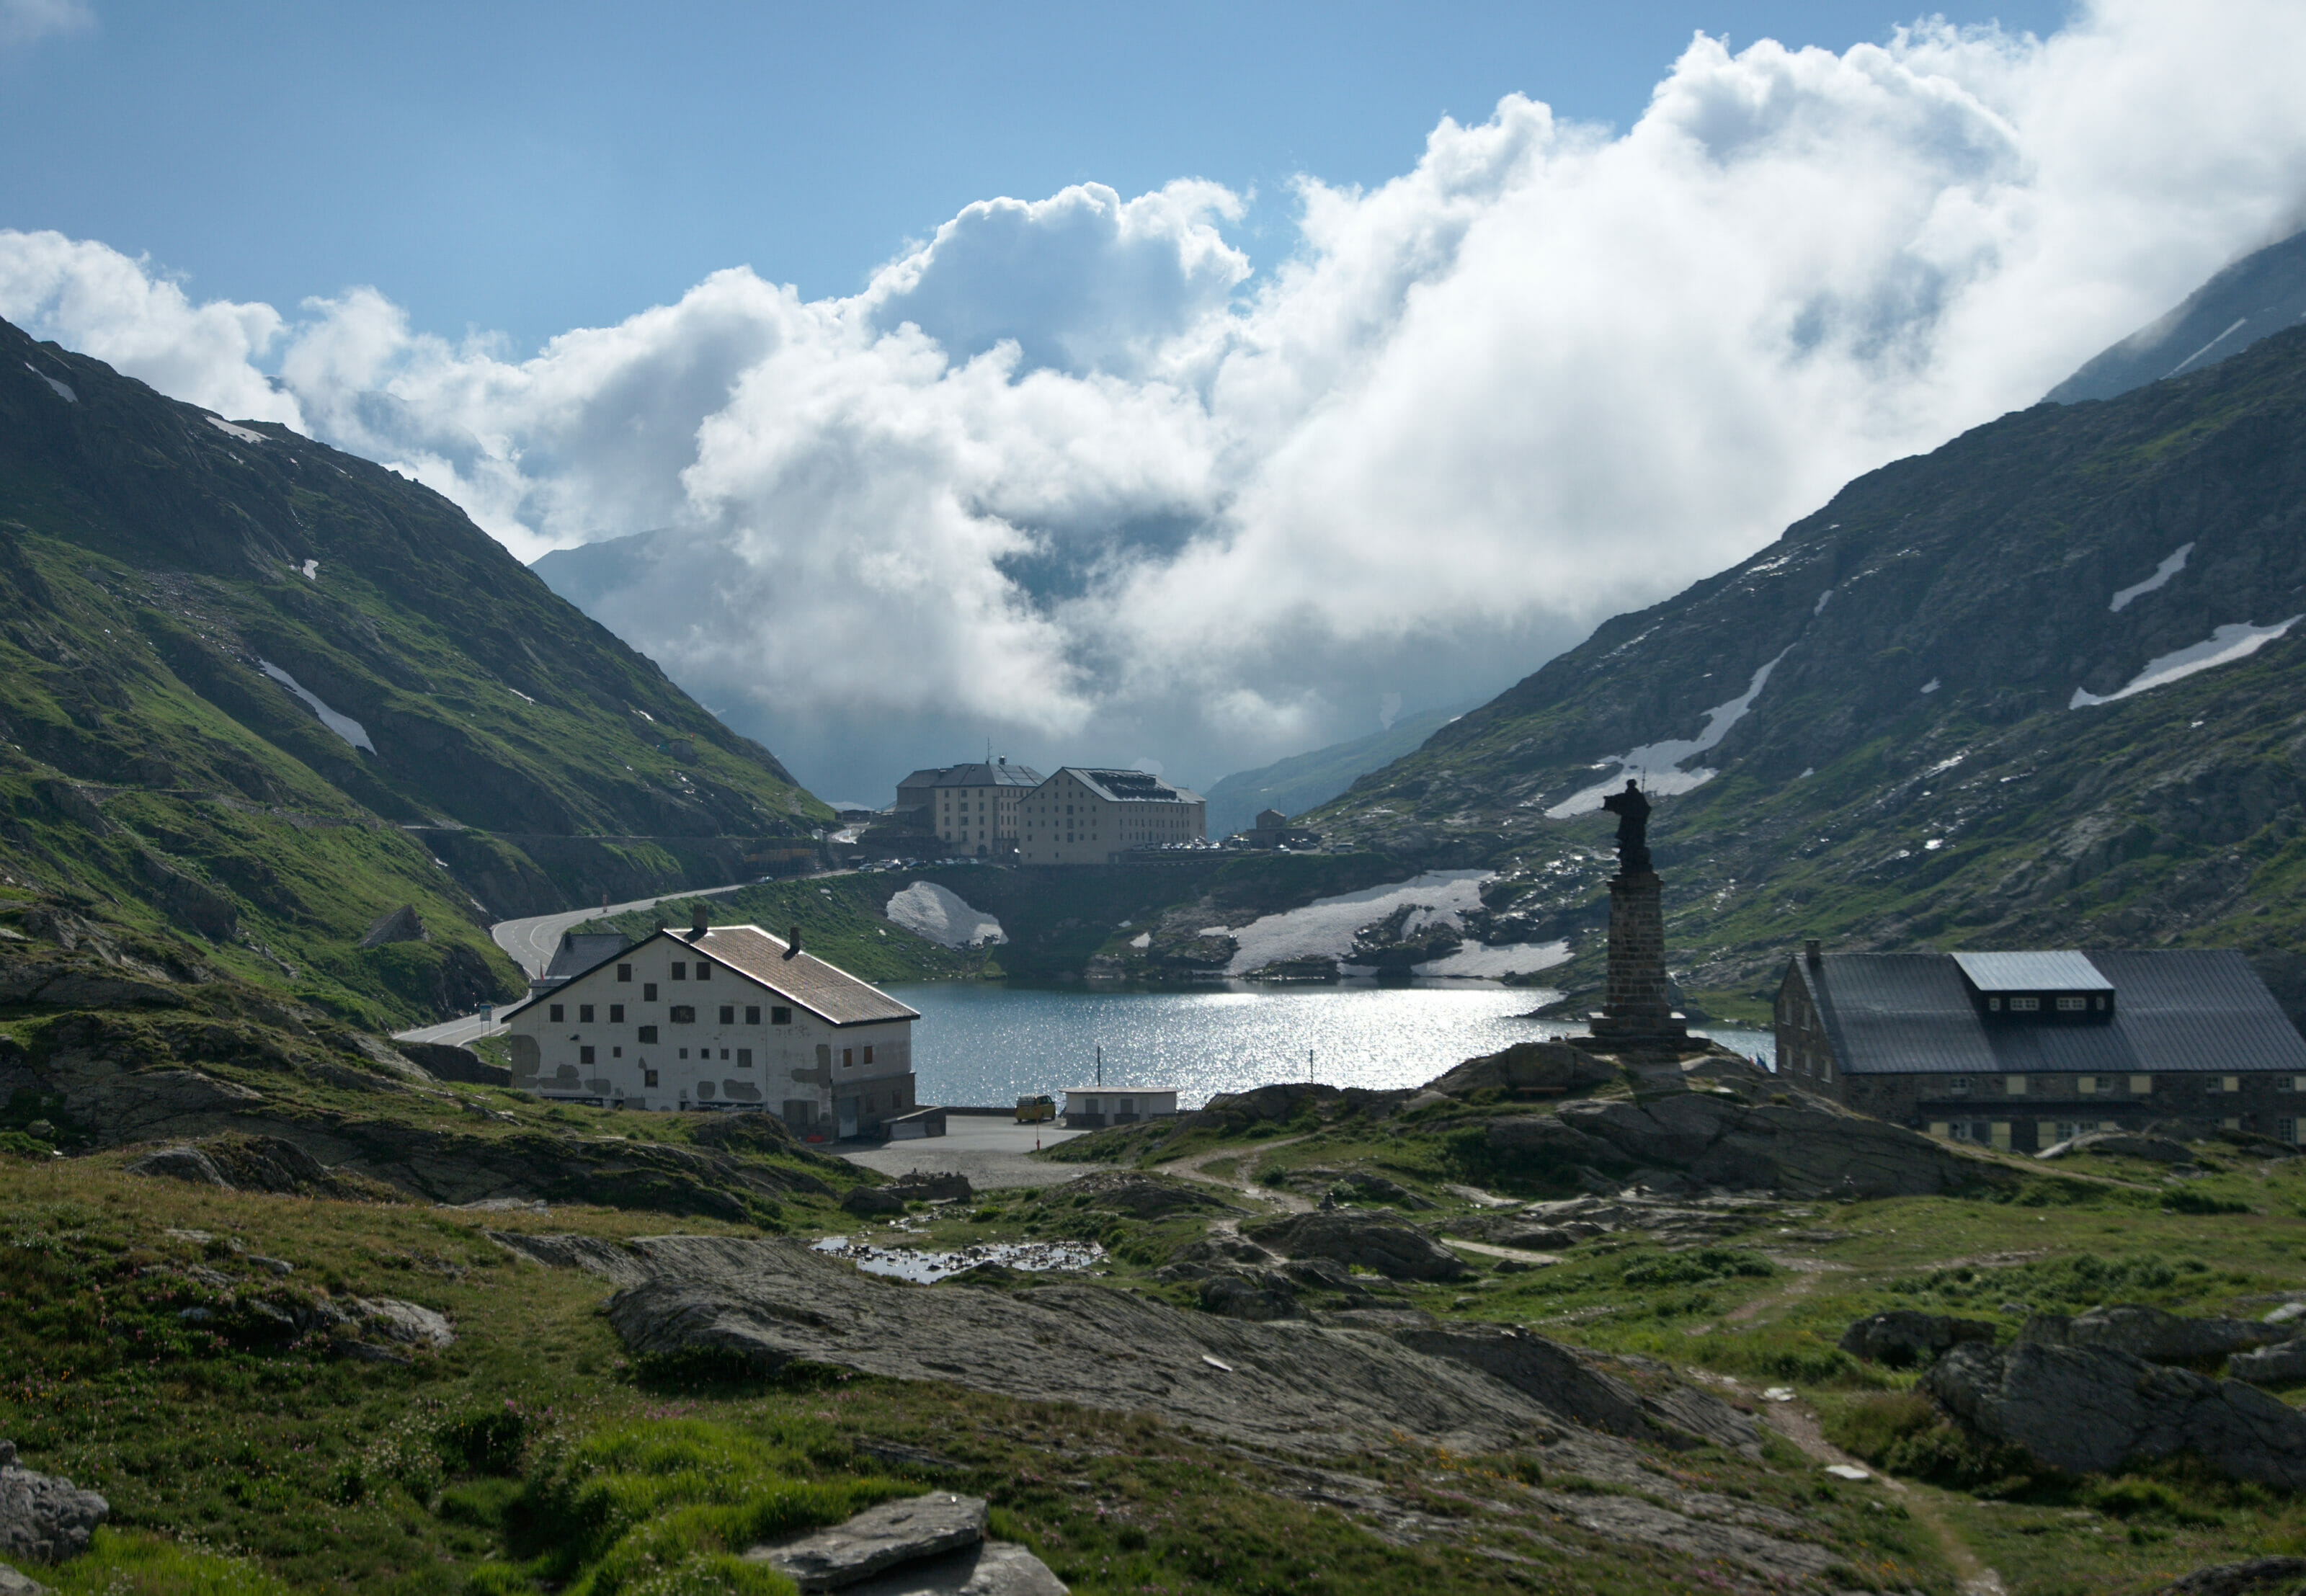
The hike starts at the St. Bernard Pass, just on the border between Switzerland and Italy. The first part of the hike takes place on the Italian side of the lake! We begin by walking along the lake up to the big statue of Saint-Bernard (we are talking here about Saint-Bernard de Menthon, the man who founded the hospice at this pass and not about the big slobbering doggies 😉 )
From the statue we go down along the path in the direction of Valle d'Aosta, cross the road and then follow along the road for a short stretch before attacking the climb at the level of a farmhouse.
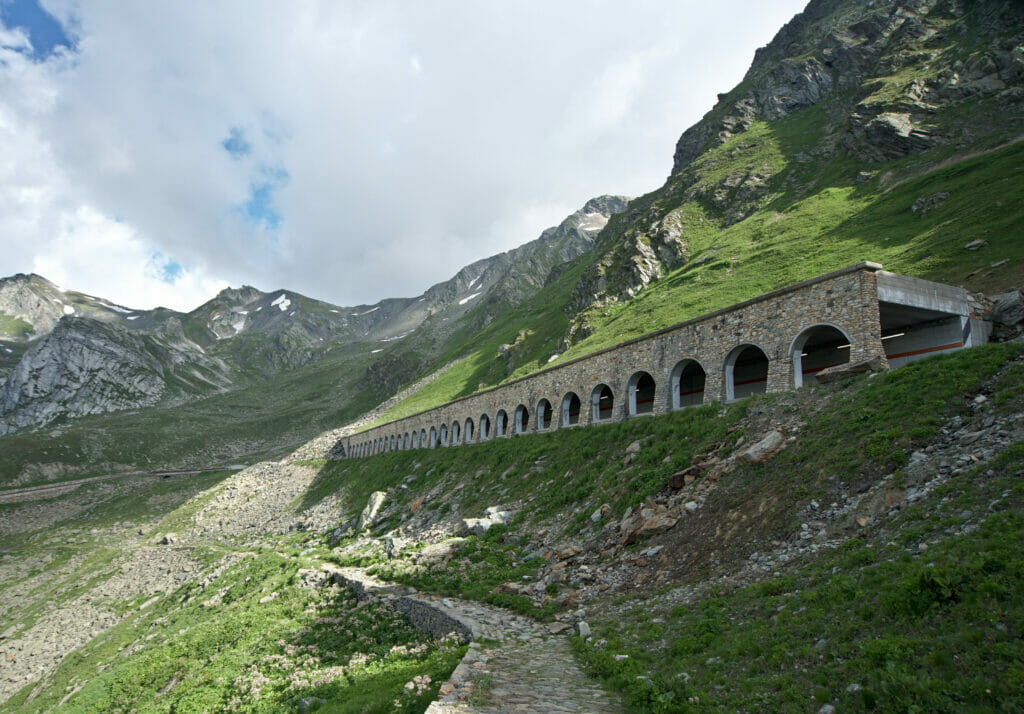
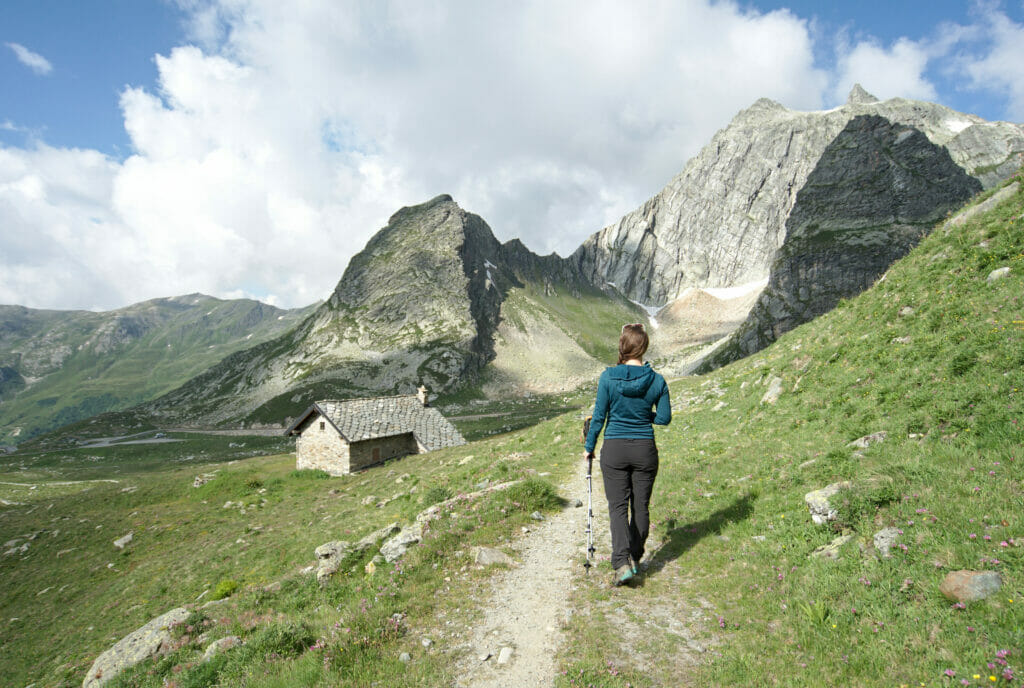
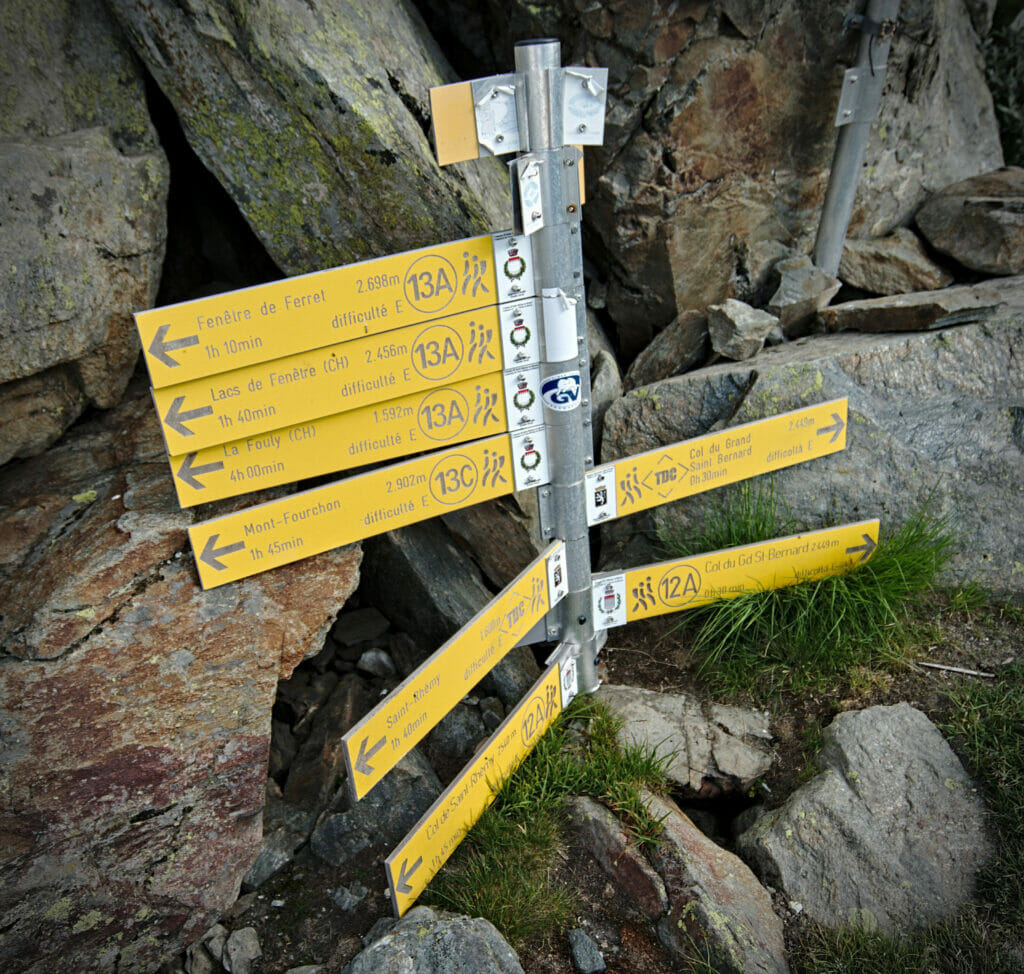
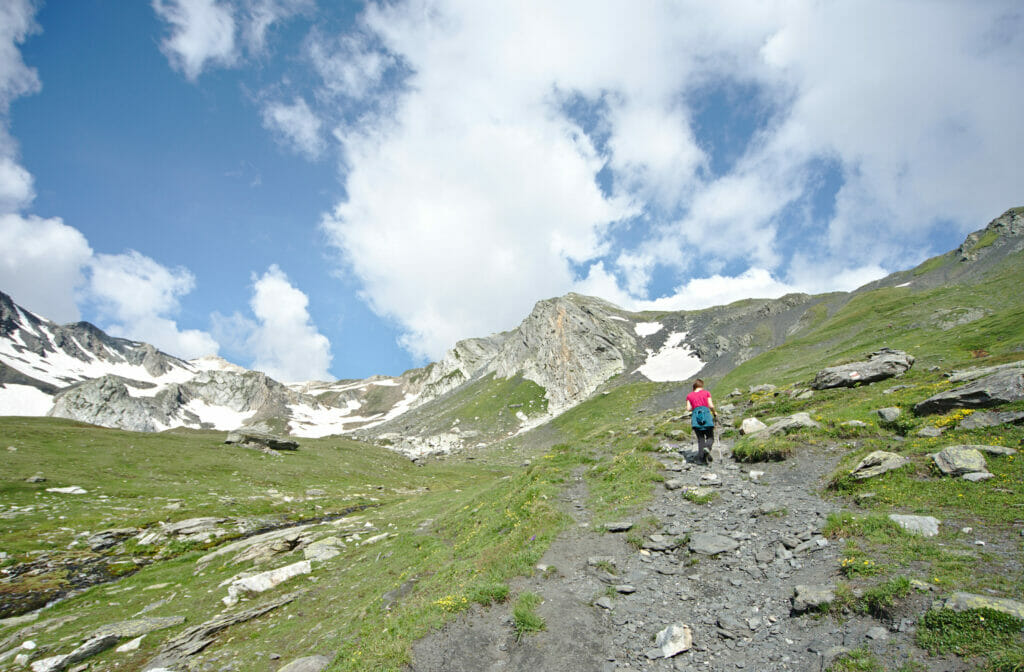
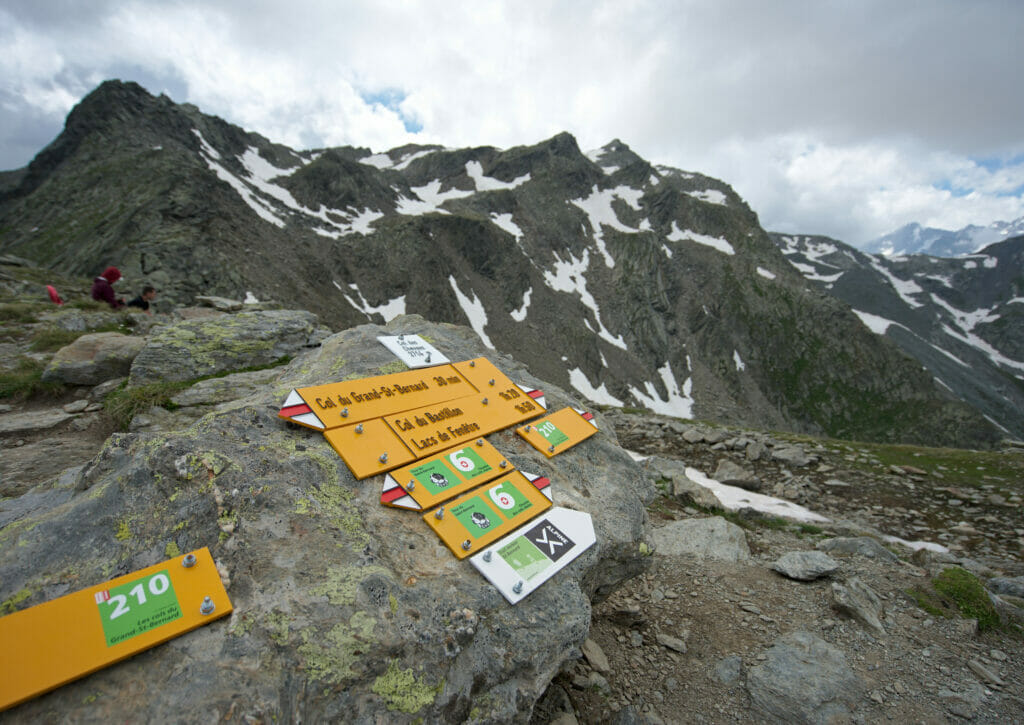
Note: we thought that the path was relatively poorly indicated on the strech that leaves the statue... There are many small paths that go a little in all directions. It doesn't matter which one you take, the idea being to join the road below, cross it and then stay on the upper path towards the farm. From the farm you follow the path 13A towards the Fenêtre de Ferret. On the way up there is just one crossroads where you have to be careful to follow to the right, crossing the small brook. Continuing to the left, one arrives at Mont Fourchon (we let you guess who made the mistake by having our eyes on the peaks rather than the markings on the ground ;).
The Fenêtre de Ferret Pass
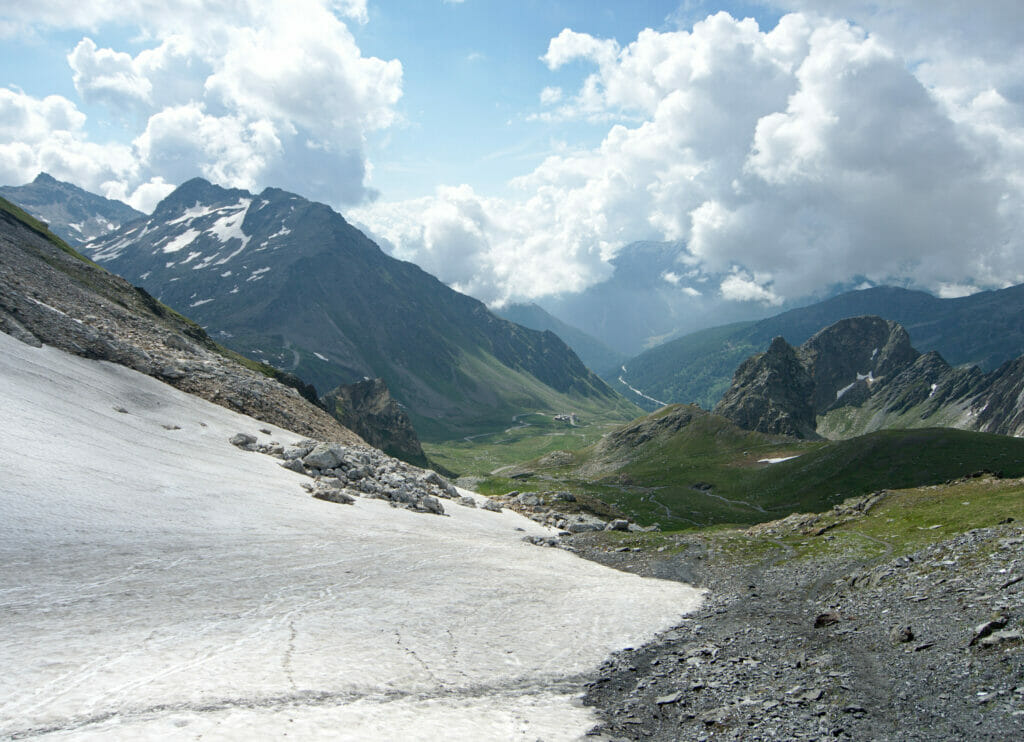
In mid-July, there were still a few last little snow patches to cross just before the pass (nothing very dramatic). From Fenêtre de Ferret you can already see the lakes below but above all you have a breathtaking view of the Mont Blanc massif and the Mont Dolent right in front of you! It's funny, because even if we live in the mountains and we are so to speak "used" to being surrounded by peaks, it's still quite amazing for us to find ourselves facing these "giants". Our Dent-du-Midi massif suddenly seems soooo tiny in comparison 😉
The Fenêtre de Ferret is really an easy pass. There is absolutely no difficulty, either on the Swiss or Italian side (because yes, as soon as you pass the pass you already come back to Switzerland). The slope is gentle on both sides and even if there are still a couple snow patches at the beginning of the season these are not a problem!
The Pointe de Drône: a more challenging alternative
While preparing our hike we hesitated a little bit about the route to follow. There are in fact 2 variations of this loop; the second one passing through the Pointe de Drône.
This itinerary is apparently VERY scenic because from the summit you can see the entrance and exit of the St. Bernard tunnel. The problem? This alternative is also quite a bit more challenging. Not being especially comfortable with heights I kind of forced Ben to take the "easier" route. No doubt Benoit would have gone this way if he hadn't married a girl afraid of heghts. 😉 If contrary to me the more vertiginous paths don't scare you, know that there is this alternative. We've put the map of this alternative route later in the article.

Update 2022: During our hike on the tour des Combins, we made the most of our stop at the Saint-Bernard pass to finally climb to the pointe de Drône. So indeed, this route (rated T4 on the CAS scale) is much more aerial than the trail through the Ferret window. To give you a better idea, here are some information and pictures of this passage.
From the Saint-Bernard hospice, it is simply a matter of going up behind the dog museum towards the Grande Chenalette. The first part of the climb to the top of the old ski lift (concrete platform with a Swiss flag) is not difficult. But then things get tough.
To get to the top of the Grande Chenalette, there is a tricky section with several ladders - small rungs - handrails. So if you are not afraid of heights and you have a good footing, it is not a big deal… But if not, I don't recommend you to go there. Here are some pictures to give you an idea of this passage:
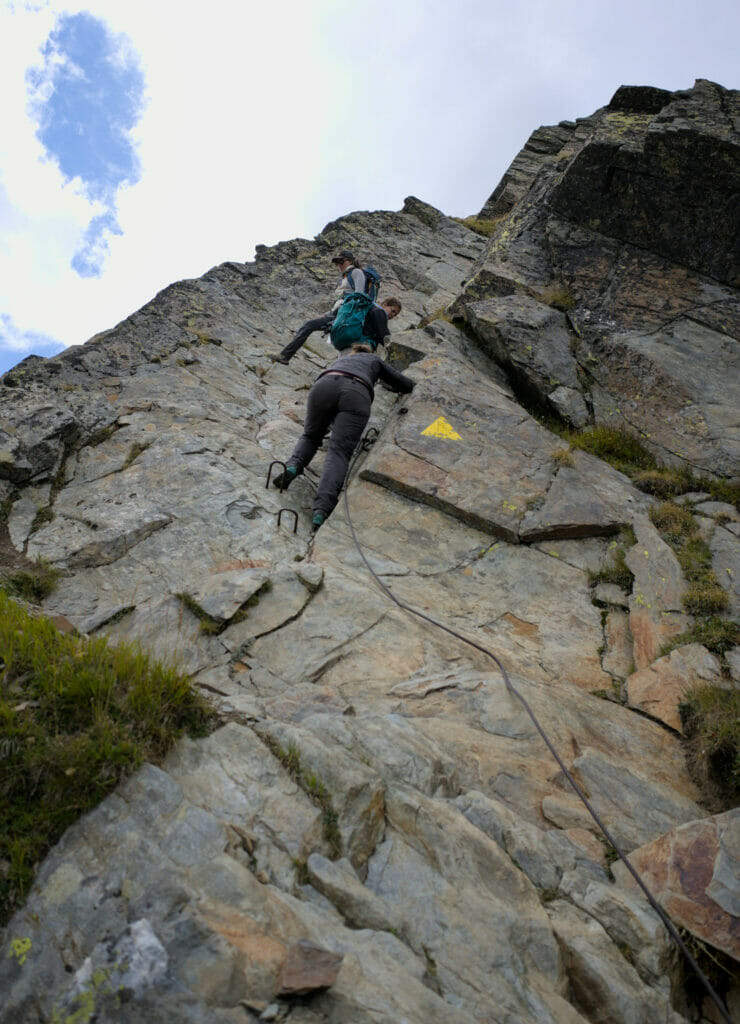
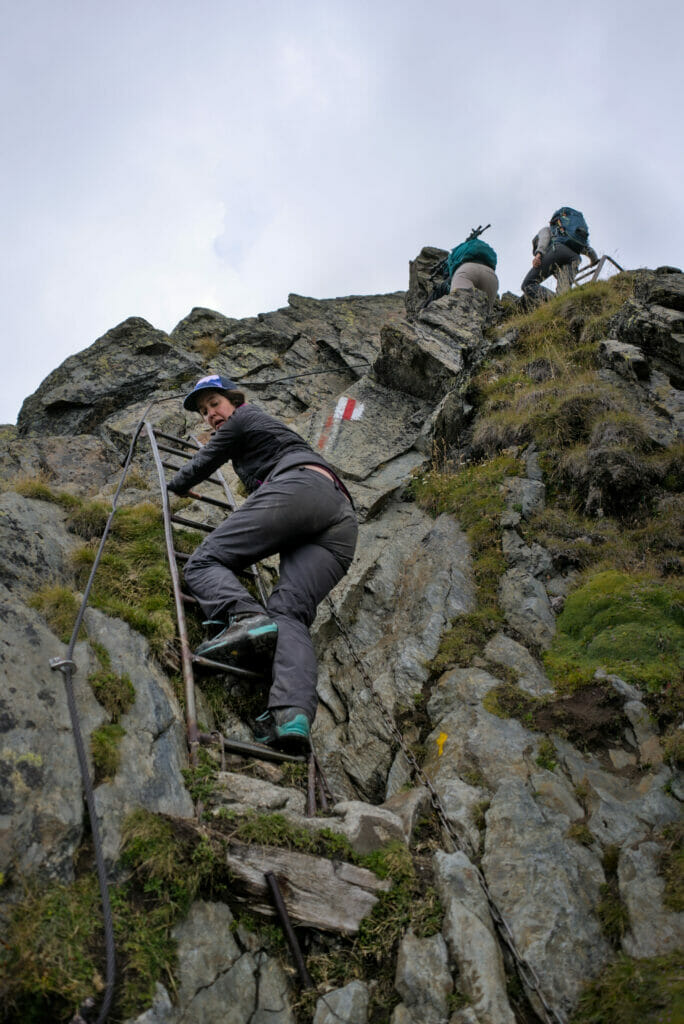
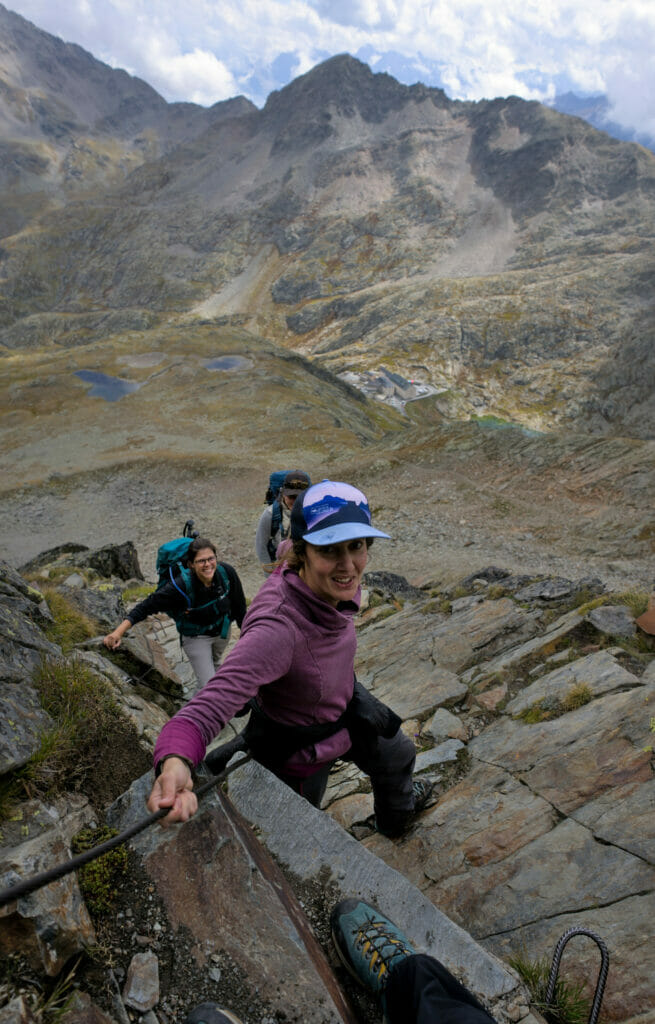
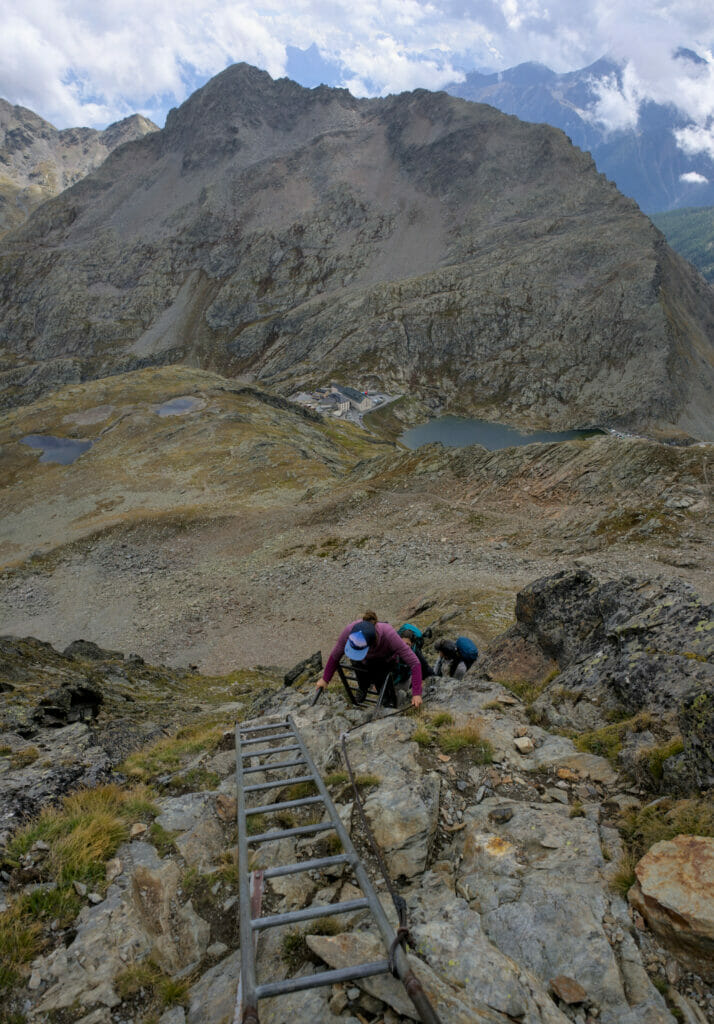
Once at the top of the Grande Chenalette, you will already have a magnificent view of the Mont-Blanc range, the Combins range and the Saint-Bernard pass below. Judge for yourself (despite the rather cloudy weather we had that day):
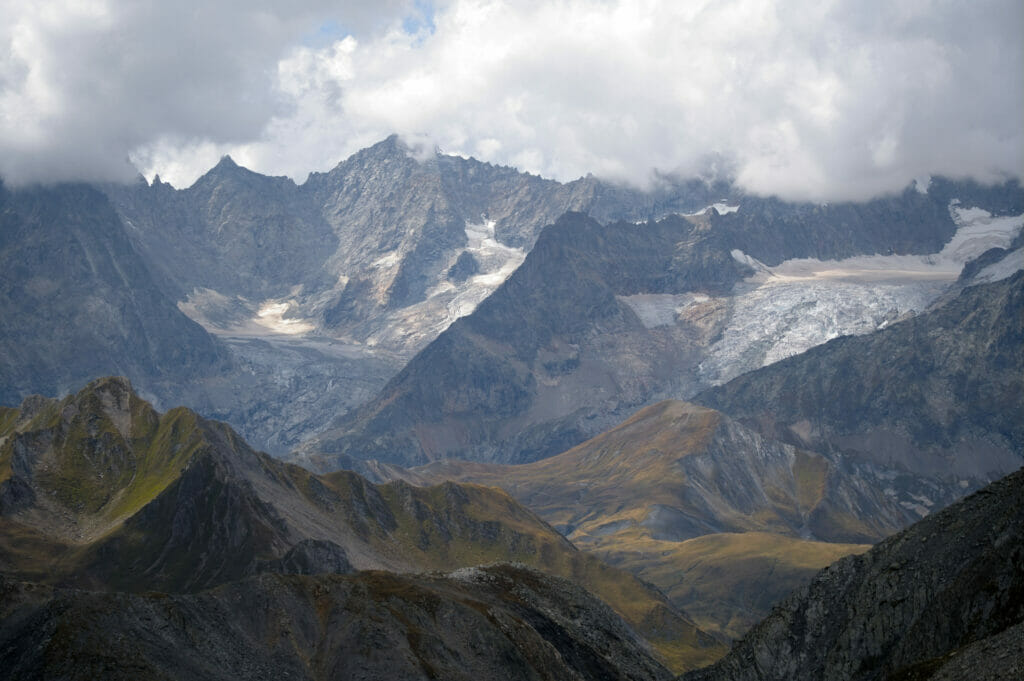
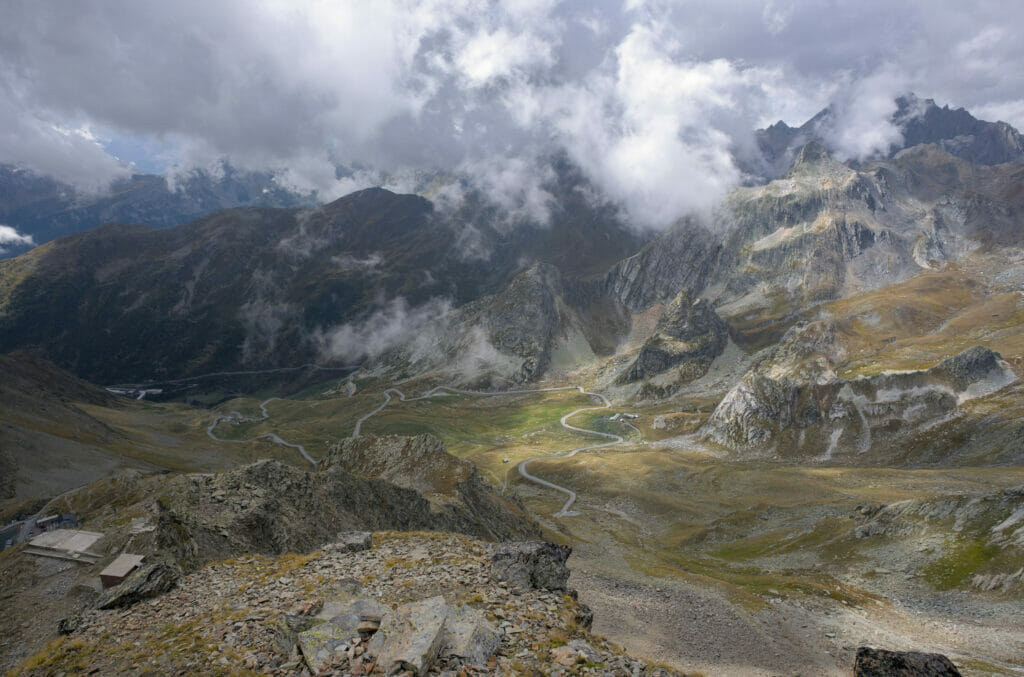
To reach the Pointe de Drône, you just have to go down a little bit and then hike up along the ridge until the top marked by a cross. There are 1-2 passages with a handrail but if you have reached the top of the Grande Chenalette it will not be a problem.
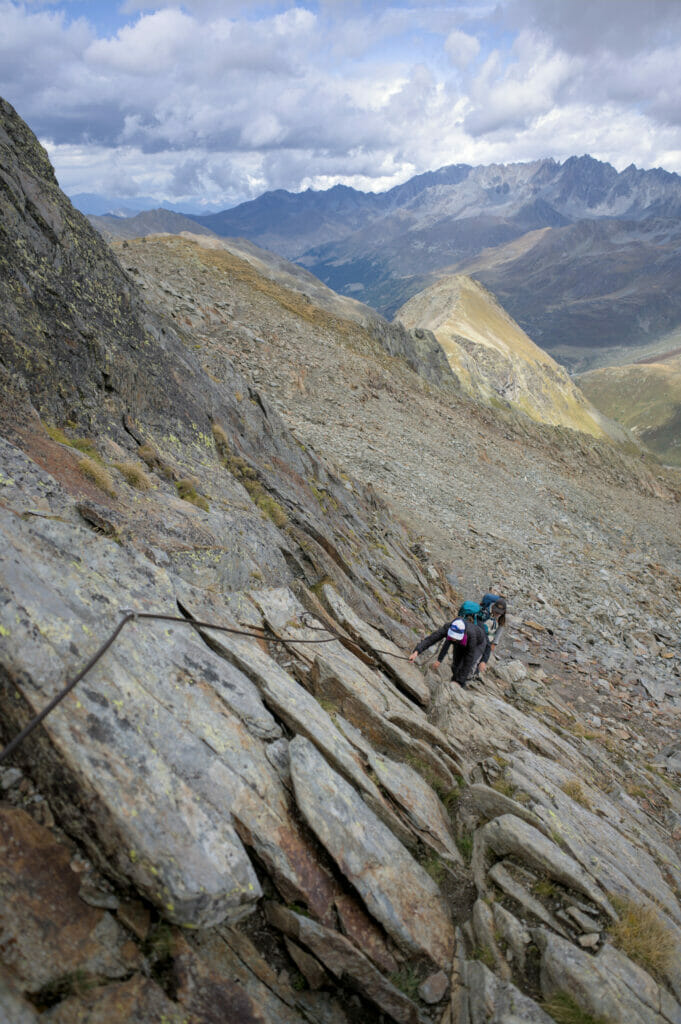
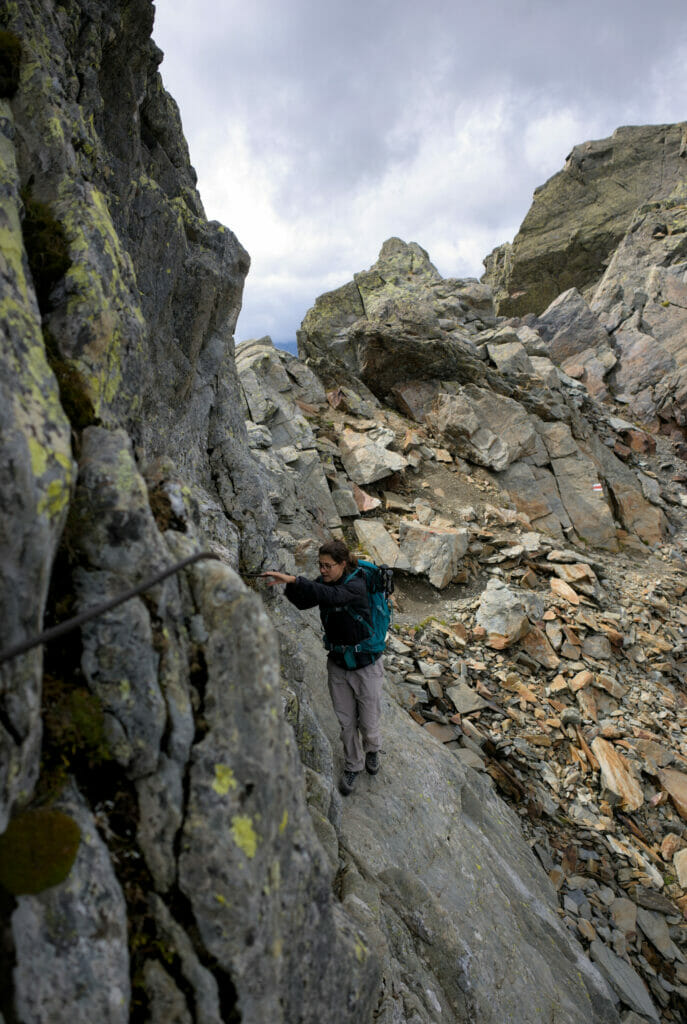
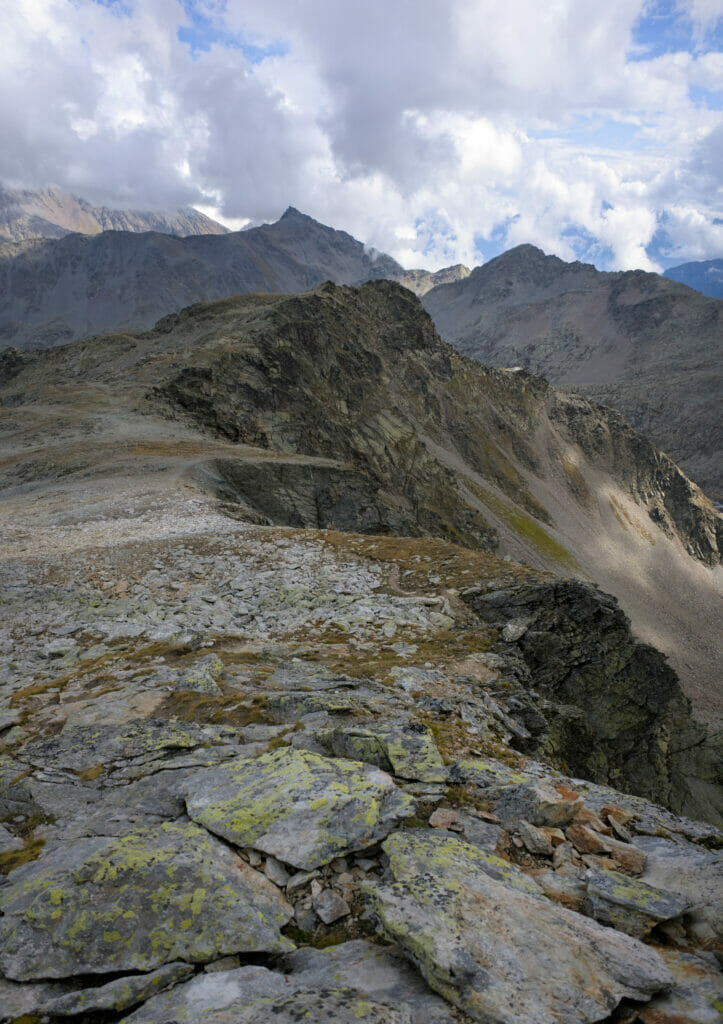
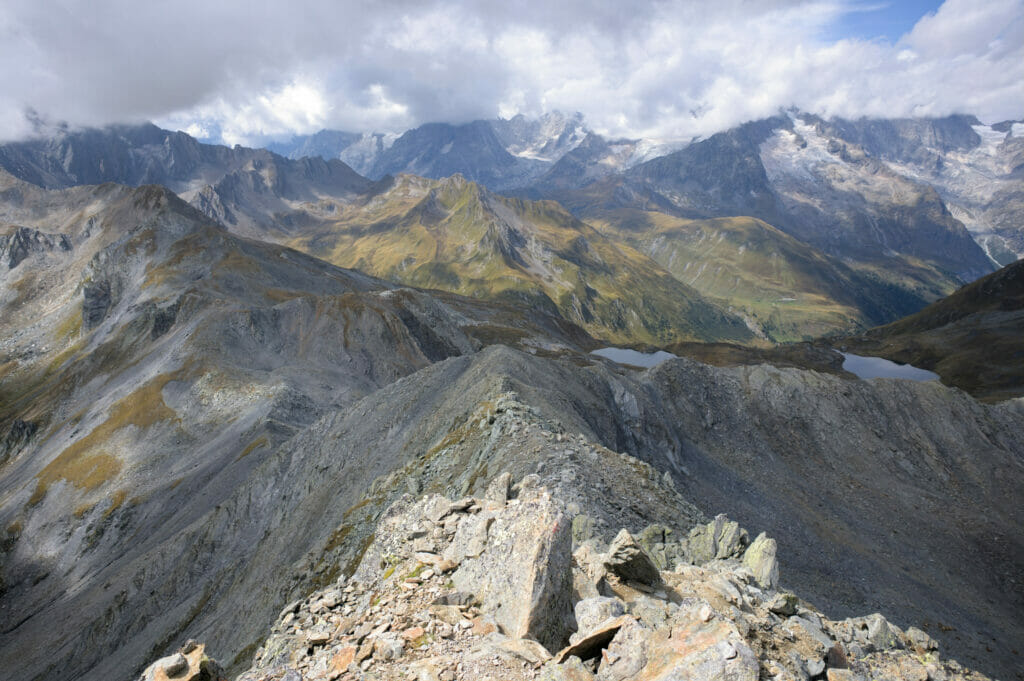
The view from the top of the Pointe de Drône is magnificent. If you are a little more lucky than us, you will have a fantastic 360 degrees panorama on the Mont-Blanc and Combins ranges, the lakes of Fenêtre, the lakes of Lé etc…
And if you want to continue to the lac de Fenêtre to hike the full loop, you "just" have to go down the ridge you see on the picture below to "la fenêtre d'en Haut", then go down to the lakes (see the blue route on the map below)
The lacs de Fenêtre
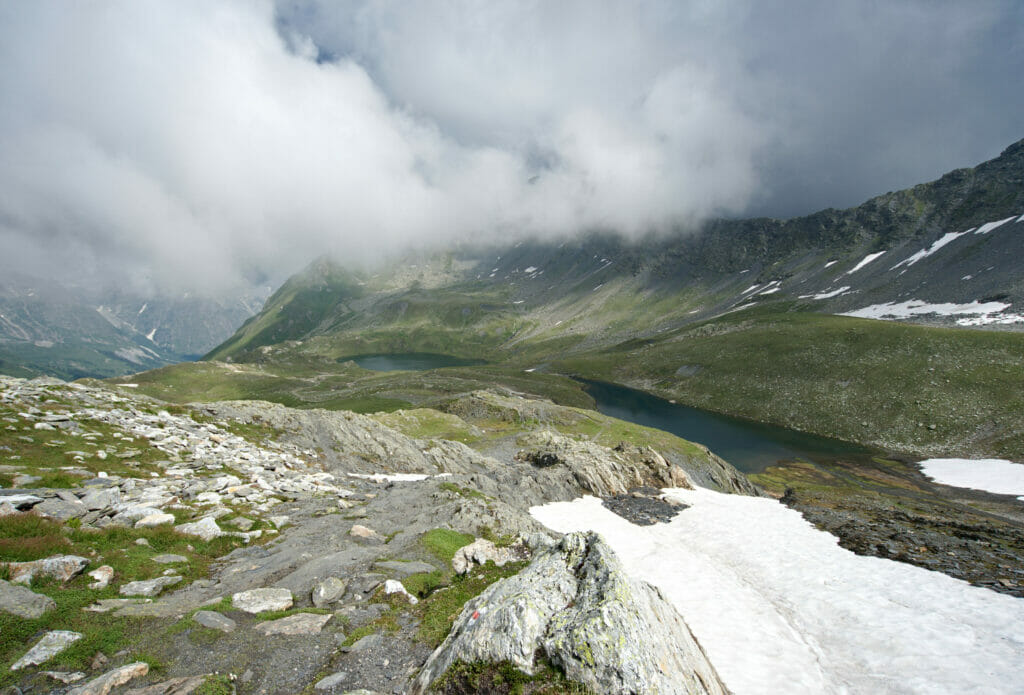
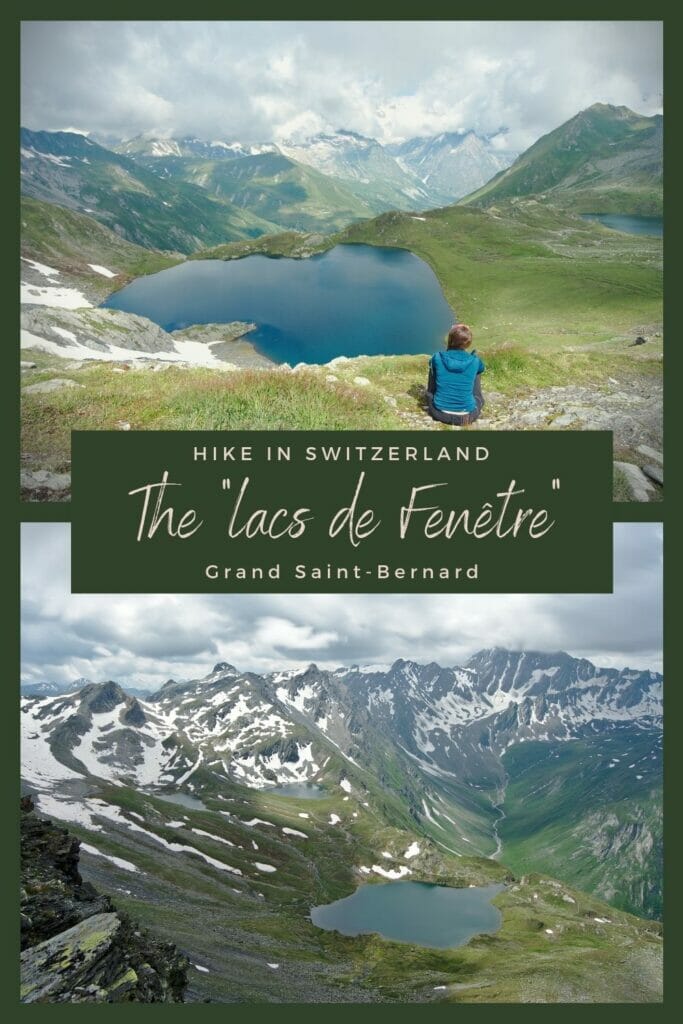
From the pass, the descent is nothing but pure happiness. We dive gently down towards the 3 lacs de fenêtre and it is definitely well worth taking some extra time to go explore the different viewpoints!
Once you reach the lakes there are several trails that allow you to walk around them easily. We won't give you any particular advice here, but we strongly recommend that you allow some extra minutes in your timing to linger a bit around here.
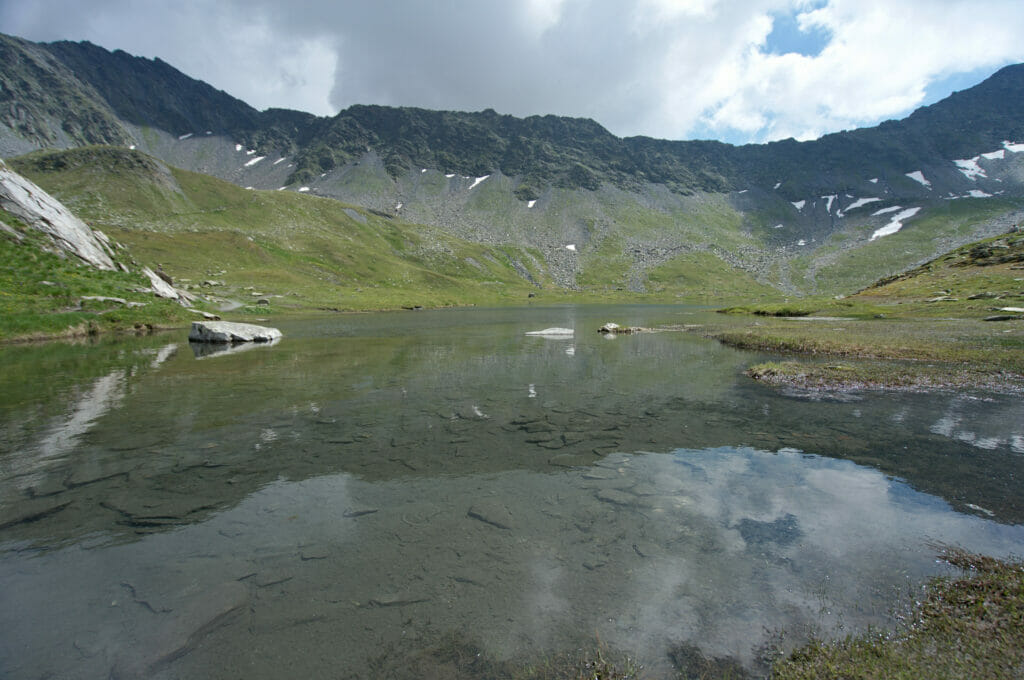
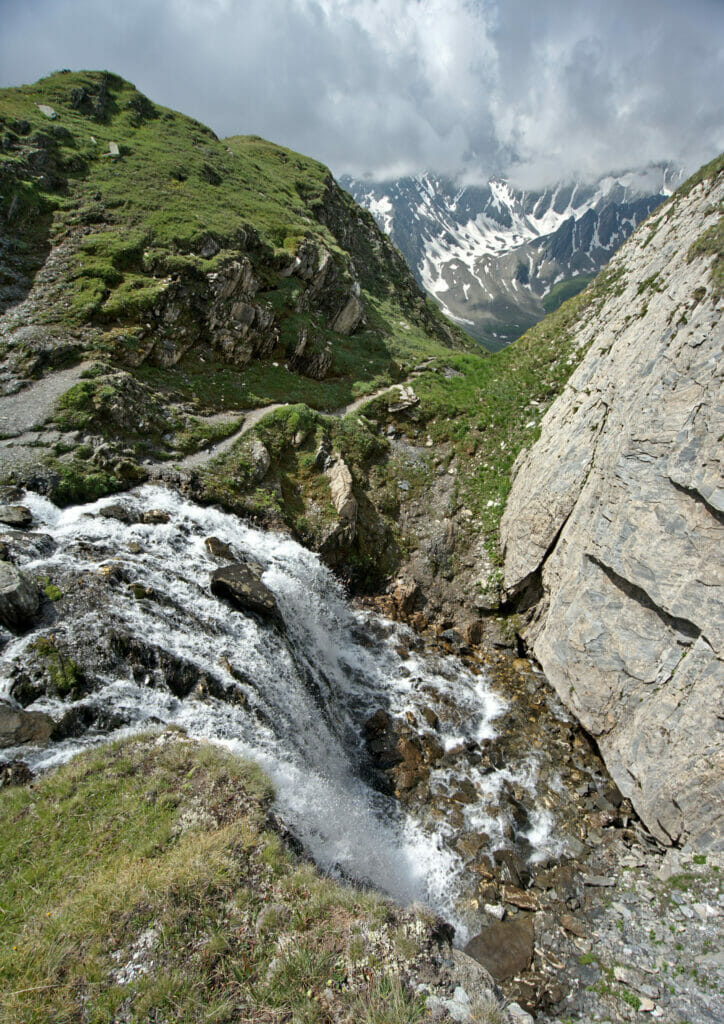
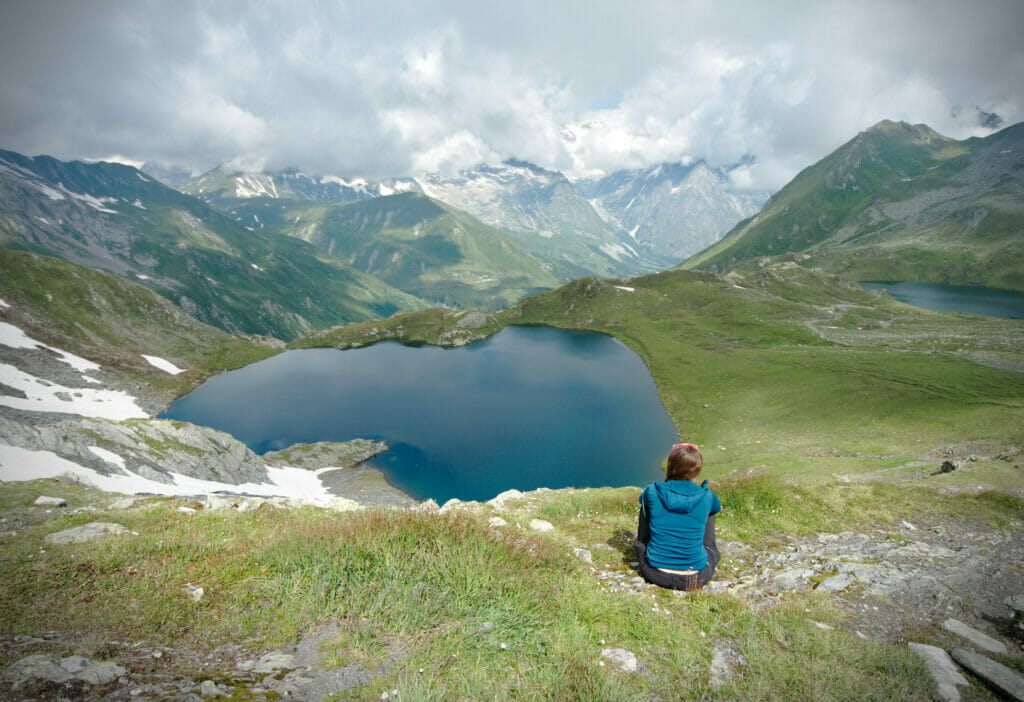
While we were sitting by the lake for the picnic, we were surprised to see 3 Italian hikers who, when they got at the lake, started to take off all their clothes to jump into the water! Brrrrr... We could still see the last pieces of ice still floating on the surface and I guarantee you that it did not tempt me at all! Even Benoit, who is usually quite brave when it comes to getting in the water, didn't let himself be tempted.
The Bastillon pass
After a good break at the lakeside we resumed the hike. As we were leaving the biggest lake I started to turn our map in all directions... I observed the "wall" in front of us and according to my phone the pass was "that way".
Hmmm... no matter how hard I looked, I couldn't figure out where the path would lead us. So we just started to follow the official trail and as we went along the "program" started to become clearer:
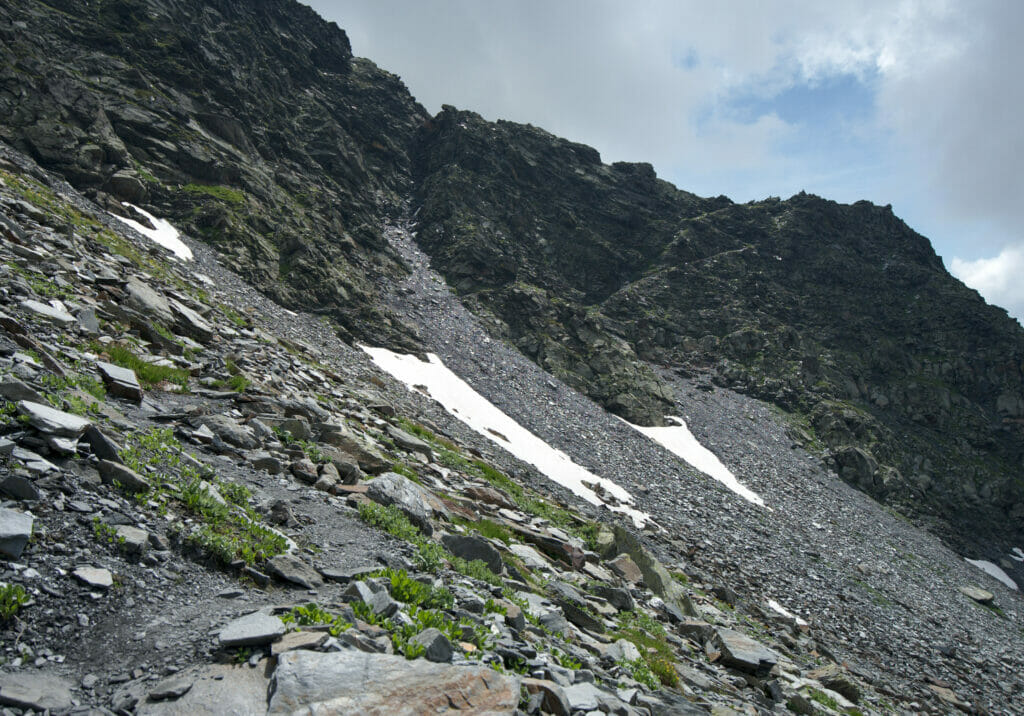
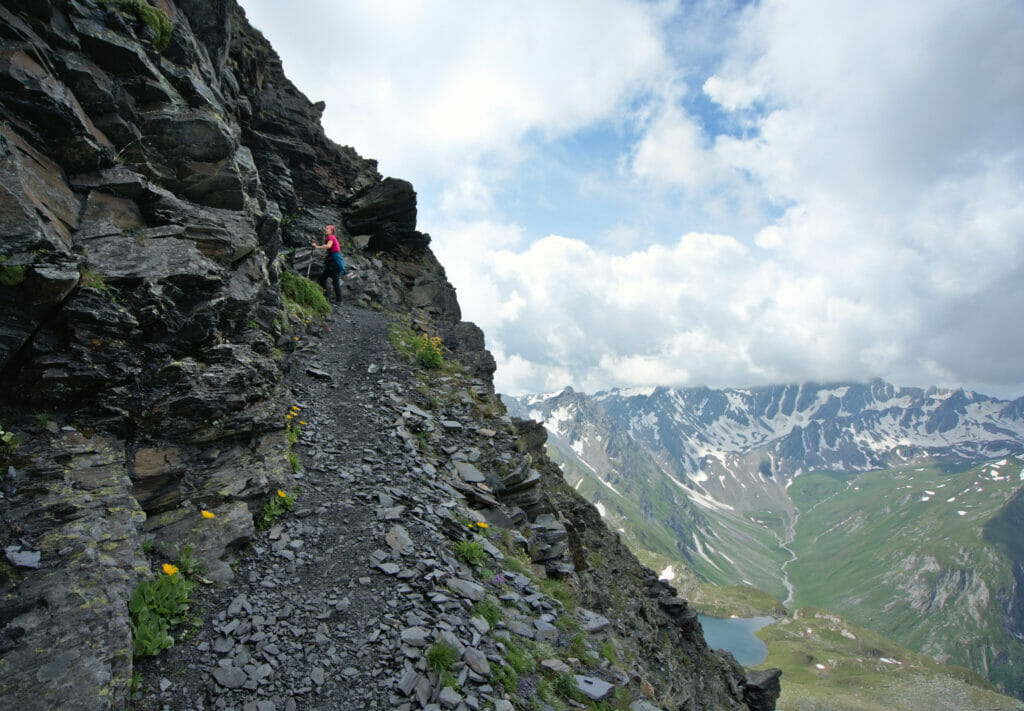
It's funny, because as so often, this pass will have looked much more impressive from afar than it was "in real life". Even if we're not going to lie to each other, it's still pretty steep! The trail is not what we will call a highway, but at least it had the merit of being wide enough to allow me to be comfortable all the way up.
At the top, it is worthwhile to go a bit further on the right side (coming from the lakes). Indeed, from the pass itself you can't see the 3 lakes, but if you go a little bit further you really have a breathtaking view!
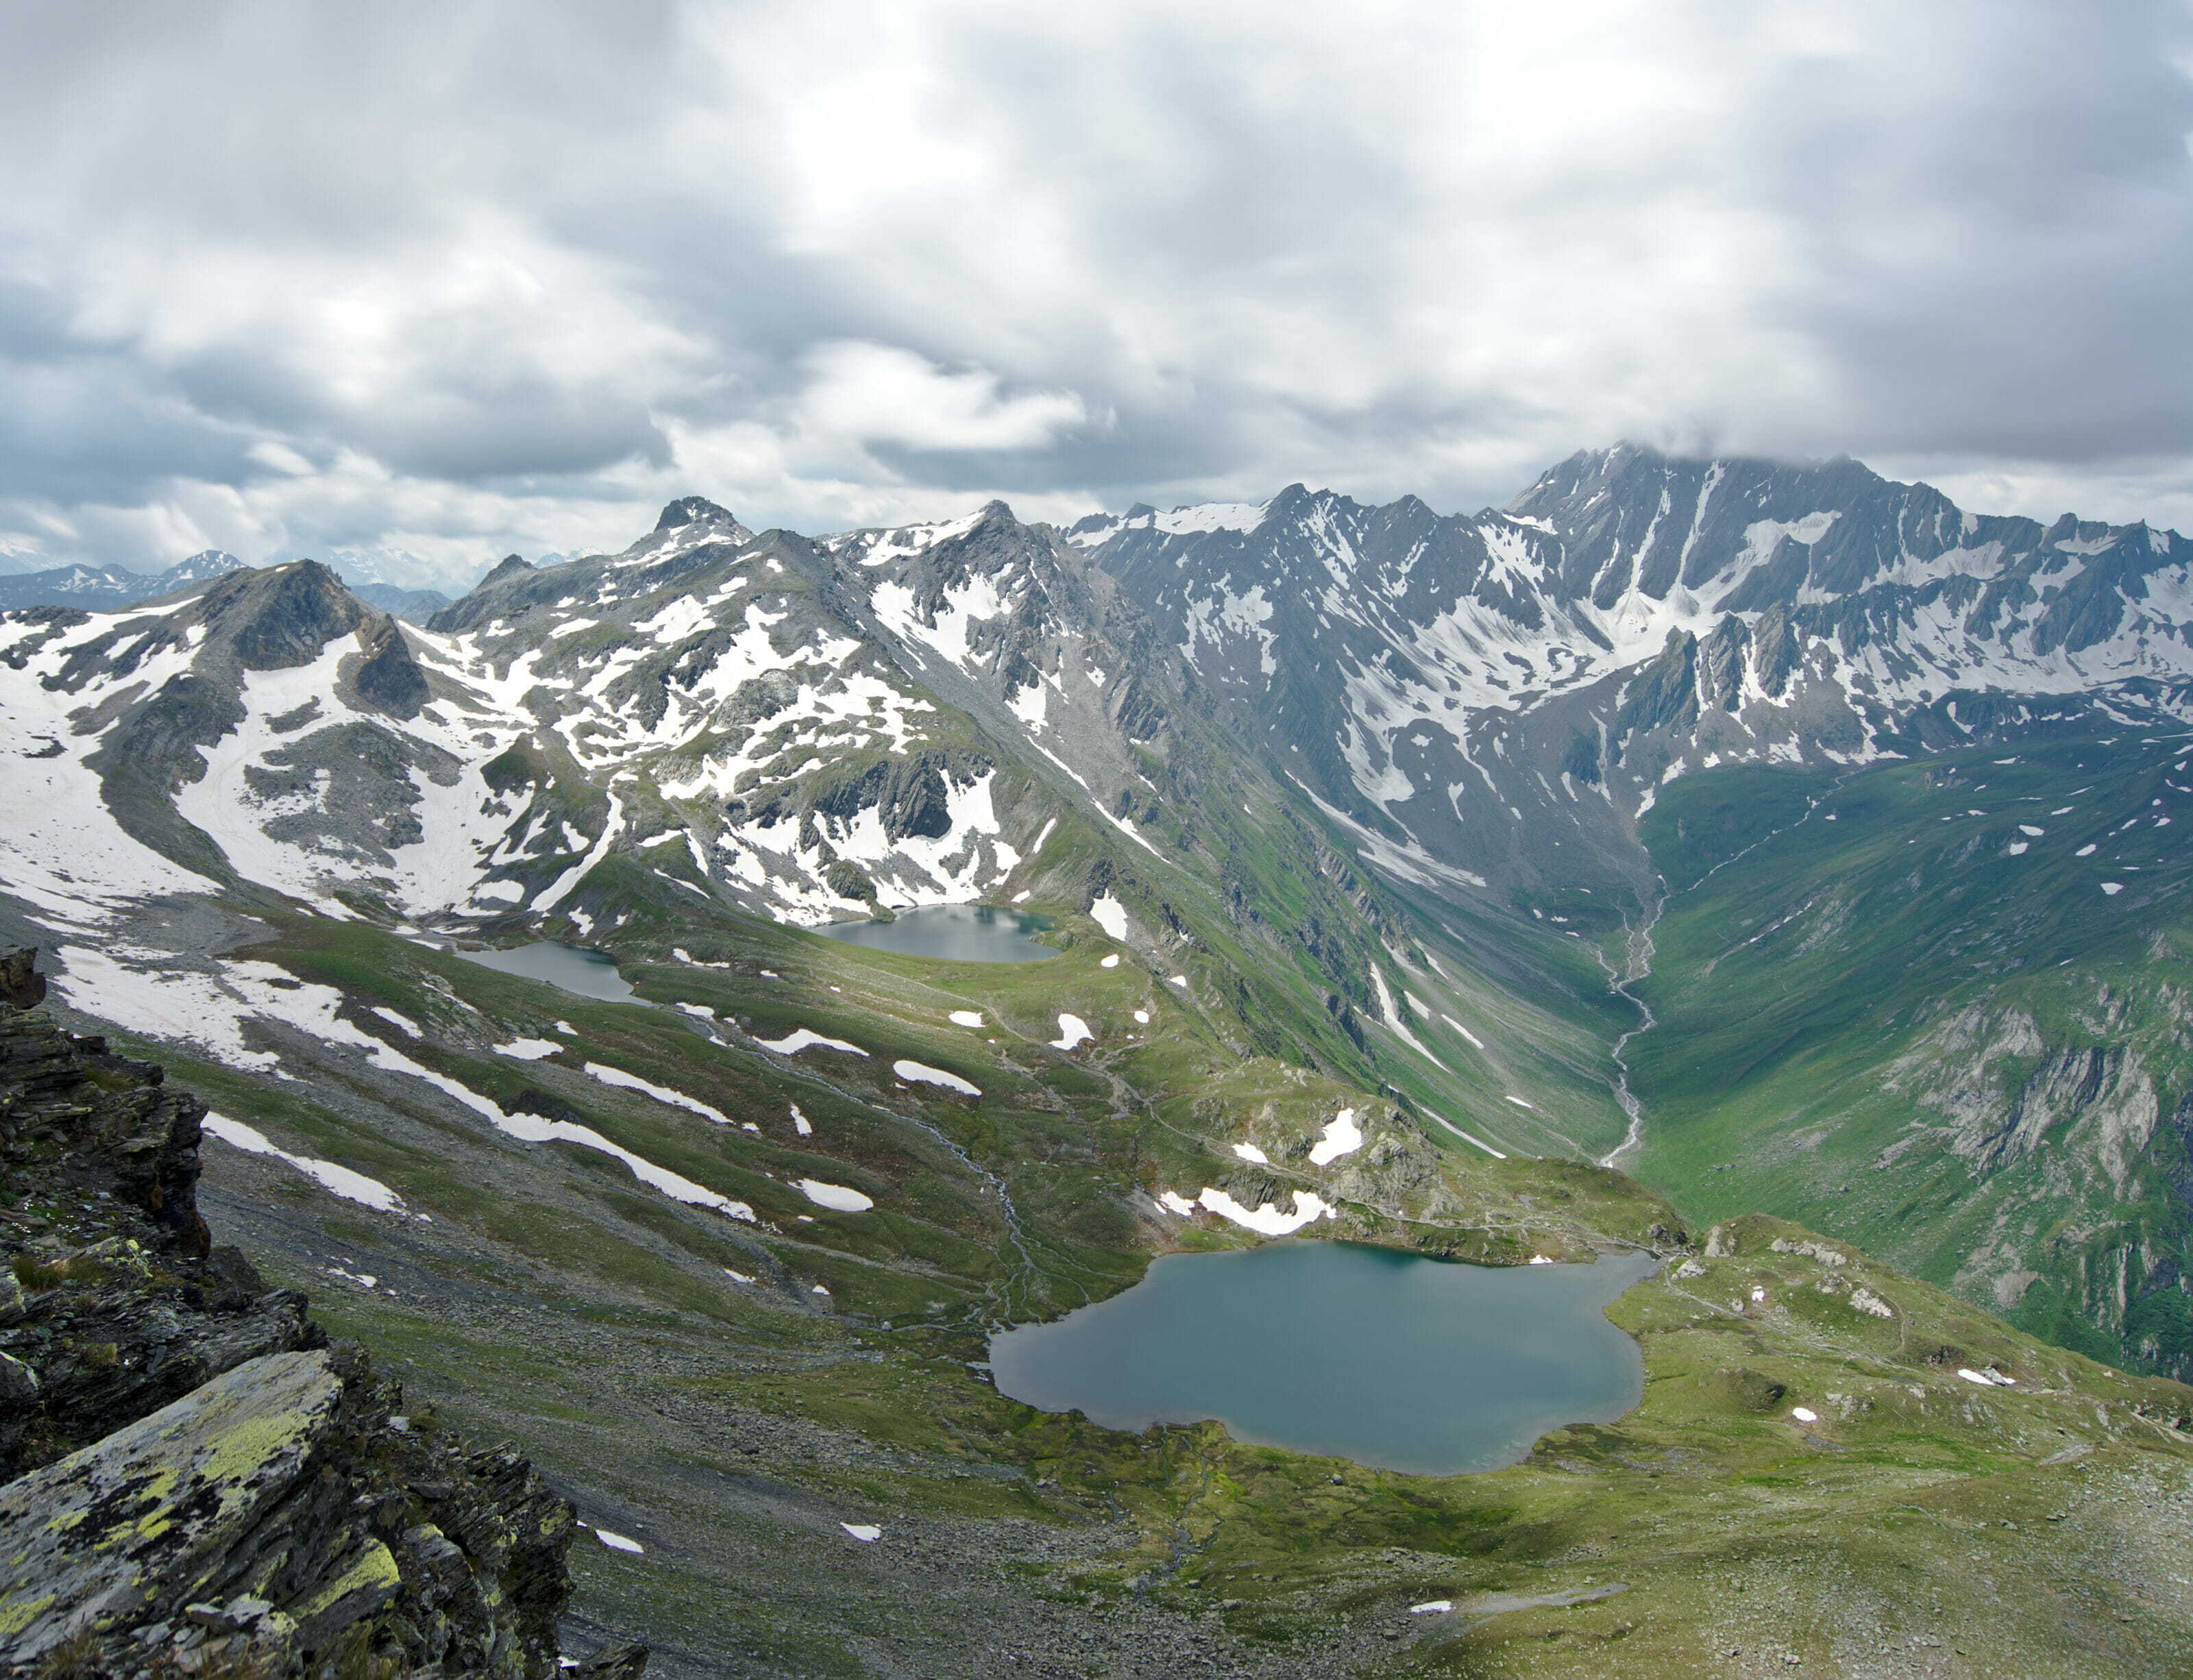
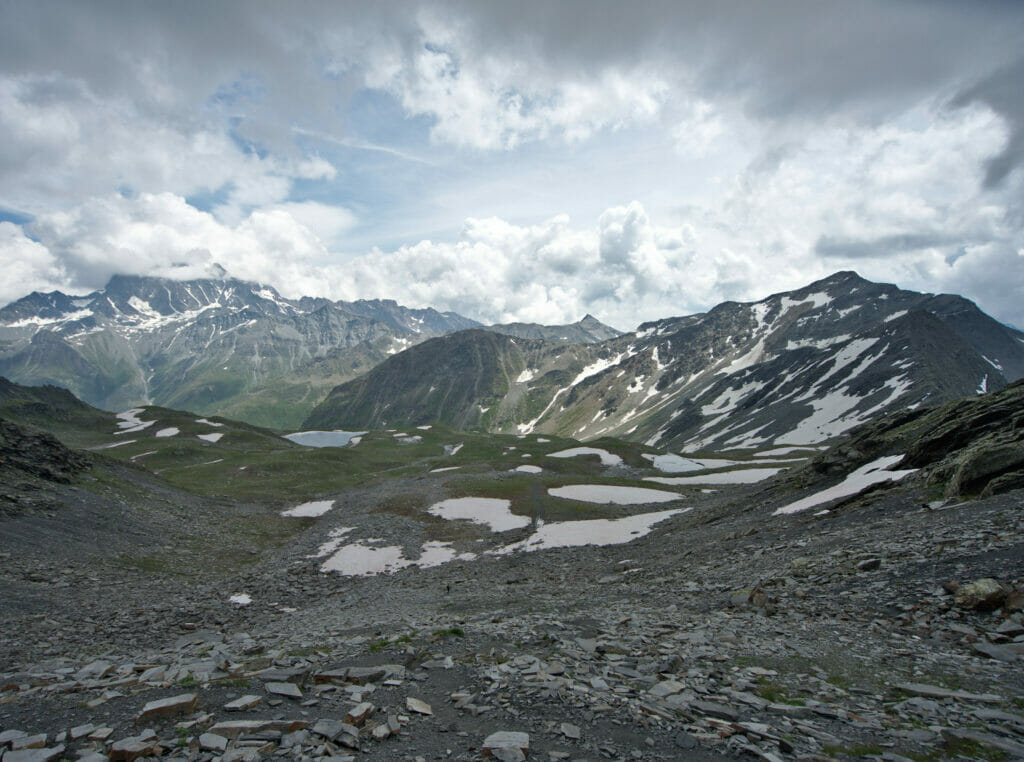
From the pass you also enjoy a very nice view over the Lé Lakes.
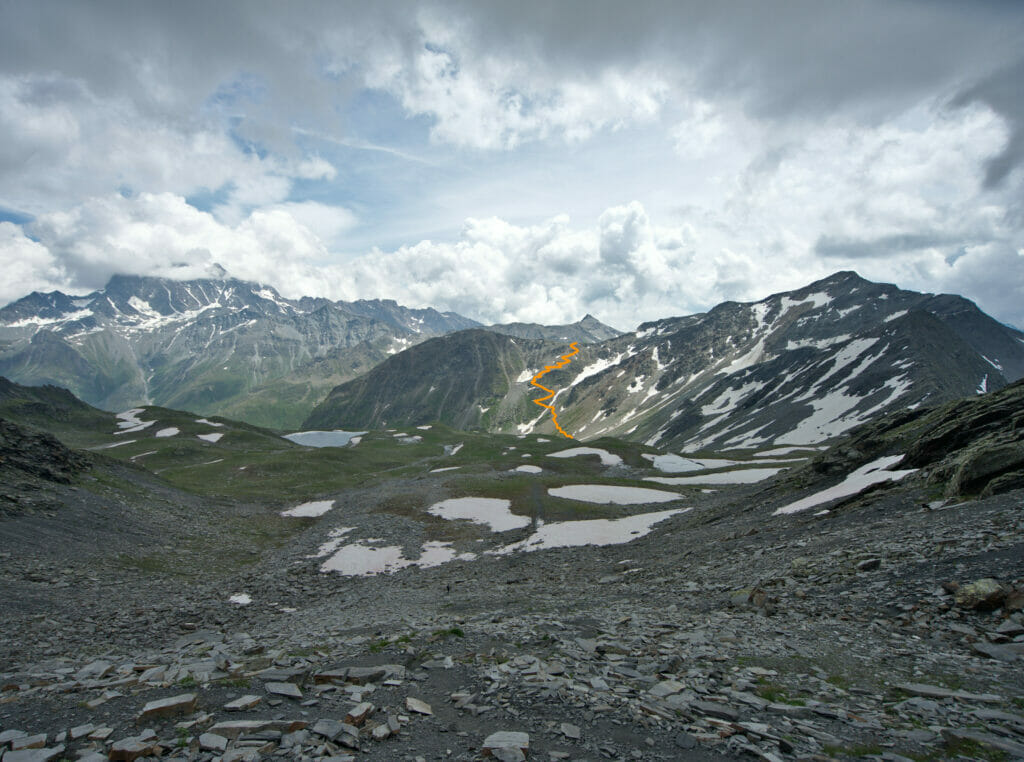
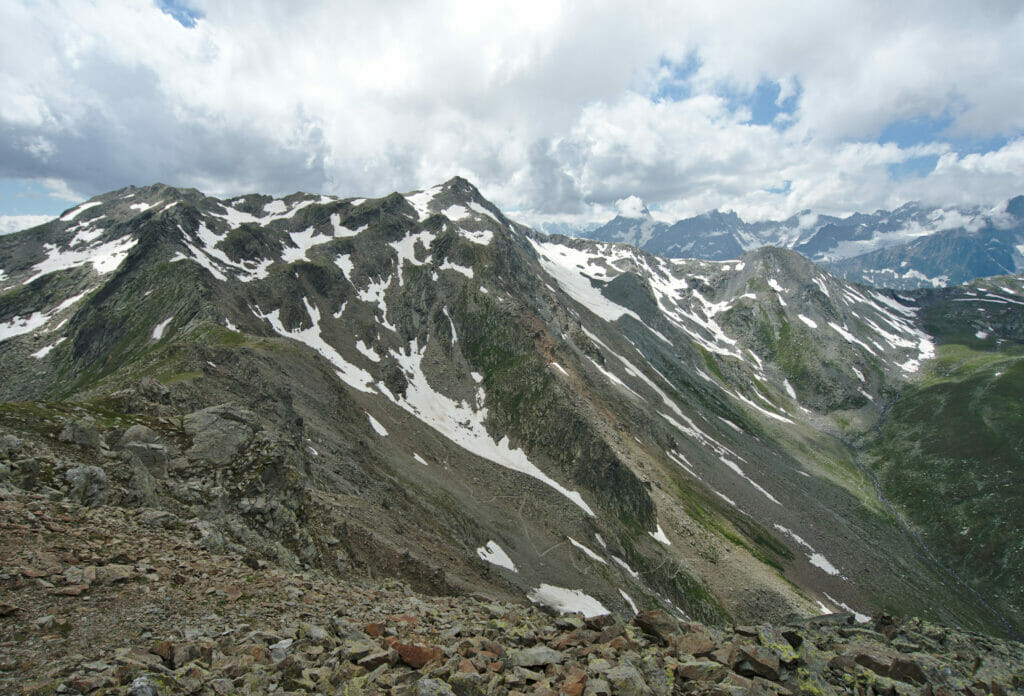
If you look closely, you can even see where the Col des Chevaux passes on the other side of the coomb! Let's play a game: can you find the path to the Col des Chevaux below? I've put the track on the second picture in the gallery 😉
Descent into the Combe de Drône and the lakes of Lé
The descent from the Col du Bastillon to the lakes of Lé is much gentler than on the other side! The stony path winds gently towards the lakes. There are 3 lakes Lé, but they are much less well known than the lacs de fenêtre, but they are as well very pretty. They are smaller, but since they are more in the shade there is also ice on them later in the season!
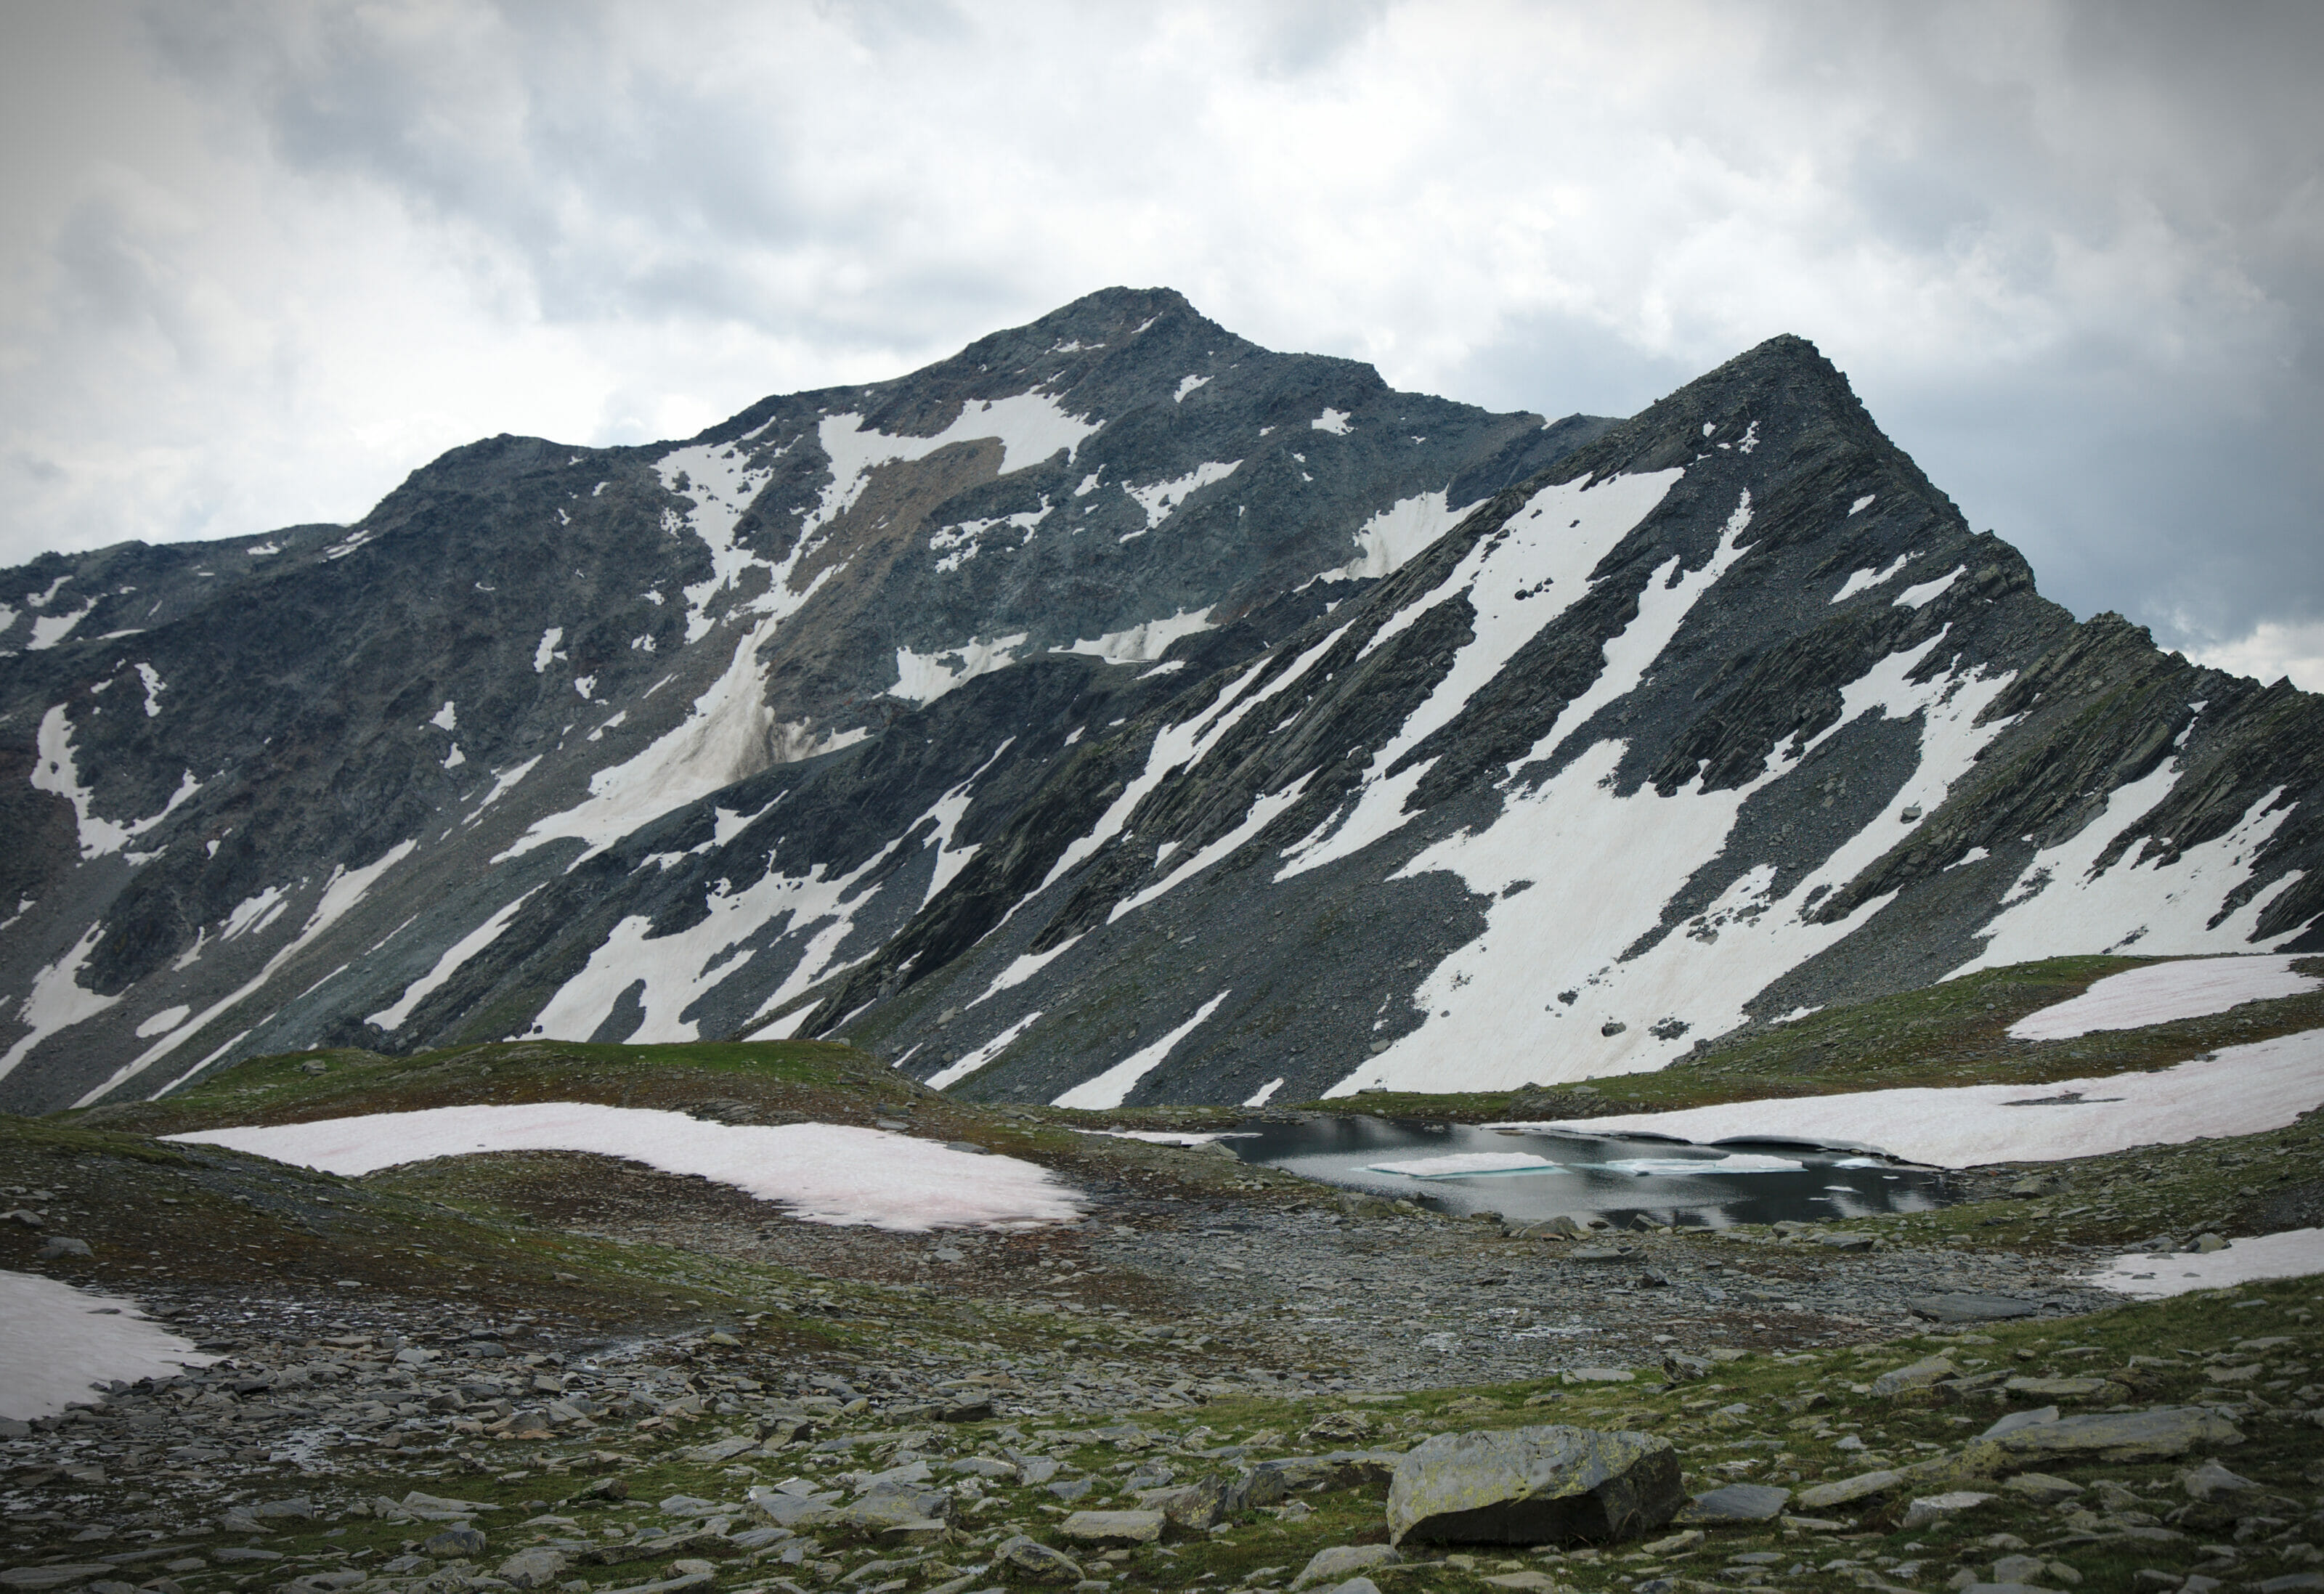
The weather having become a little overcast we did not especially hang around the lakes (it is cold at this altitude as soon as the sun disappears) and above all we still had to pass the col de Chevaux to return to the hospice ;).
This was actully our second time going over this pass. The day before we arrived from Bourg-Saint-Pierre and we had already taken this pass except that that time we came from the bottom of the valley and not from the Bastillon pass.
Return to Saint-Bernard via the Col des Chevaux
Once we passed the 3 lakes of Lé, we continued to descend a little further before turning right on the long path that crosses the scree in the direction of the Col des Chevaux. The first part of the ascent is quite gentle and there was only a small snow patch left to cross as we passed (it must be almost gone as I write these lines).
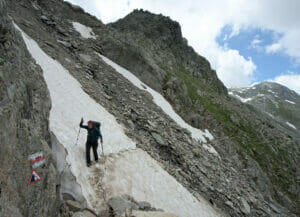
I must admit that the passages of snow in the steep slopes are not especially my favorties (you will surely notice my not at all reassured look on the picture 😉 ). But rationally speaking, this one really didn't present any major issue since a lot of people had already left traces and above all it was almost flat 😉
The last part of the ascent to the col des chevaux is a little steeper but it has the merit of being quite regular and despite the slope it is not super exposed to the void. In other words, it's really doable, even for someone who is not super comfortable with heights like me! And as a bonus, you might also have the chance to see these flowers growing in a totally improbable place!
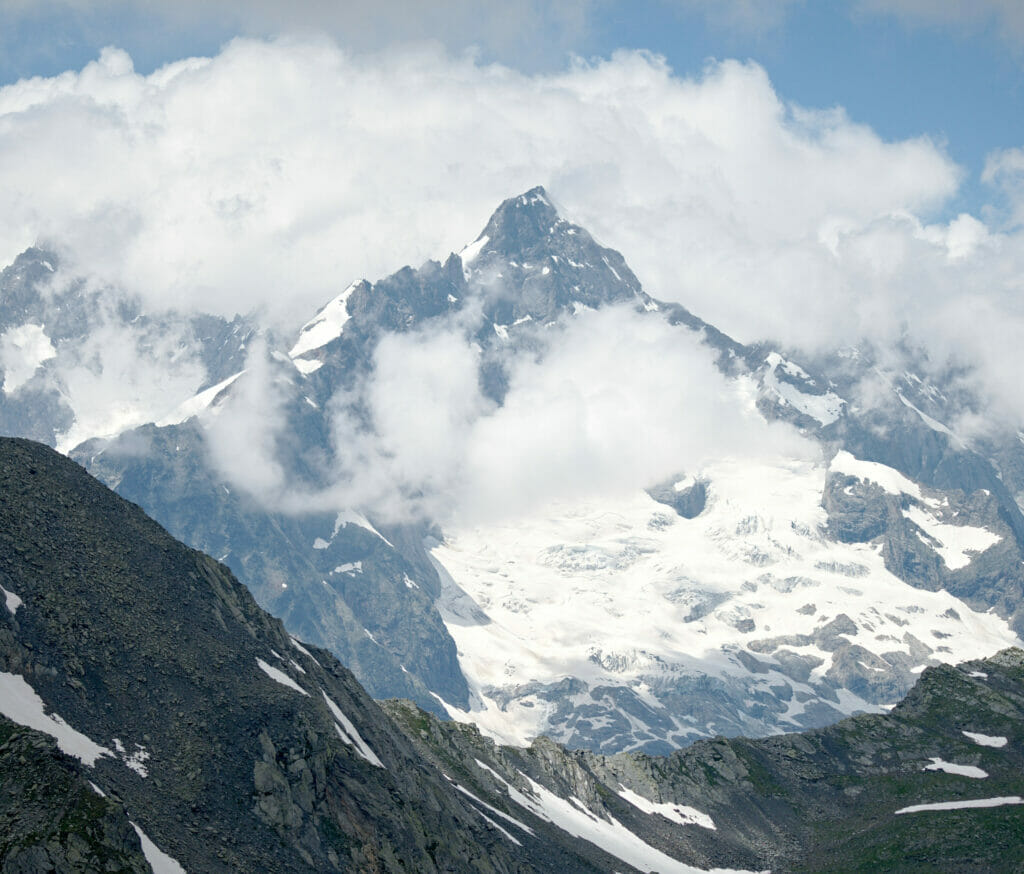
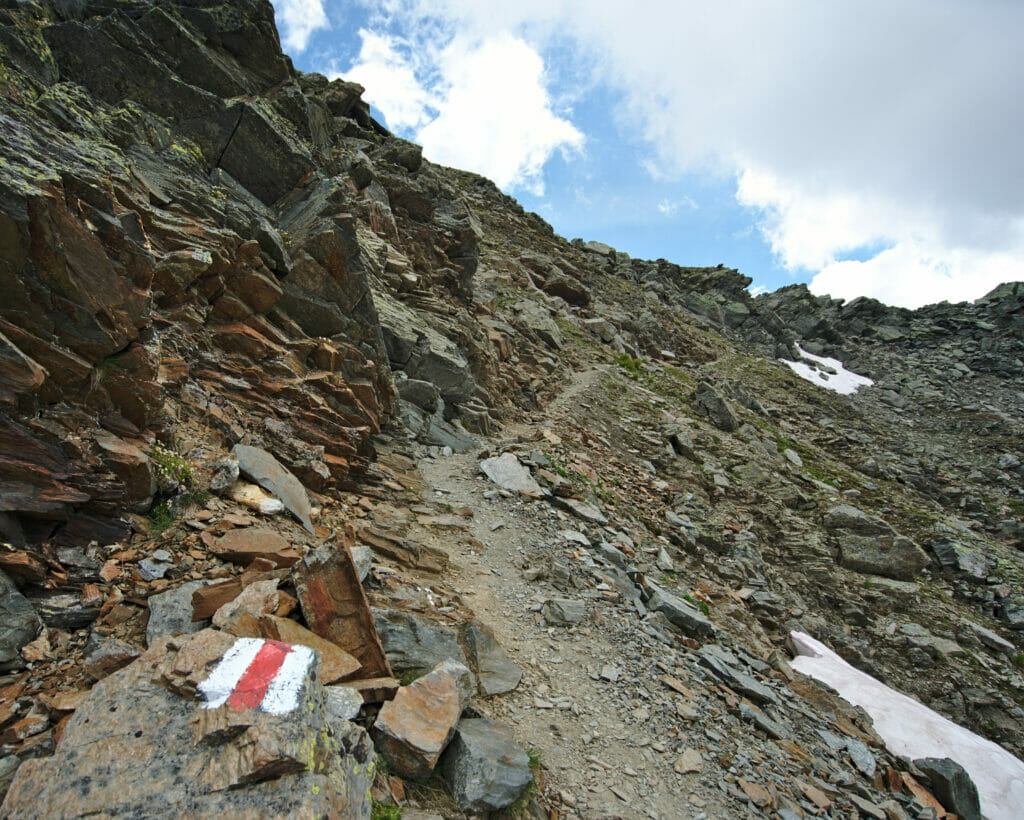
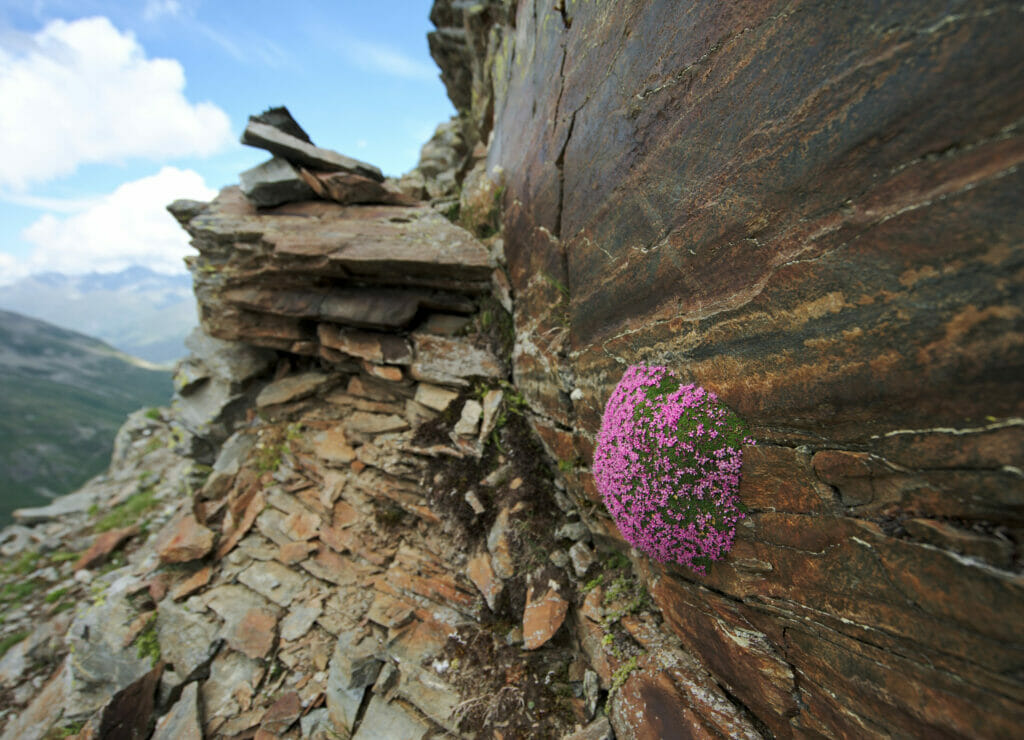
At the top of the pass, if you still have a bit of energy left, we advise you to climb to the Pointe des Lacerandes which is just above the pass on your left (arriving from the lakes of Lé). The panorama from there is superb!
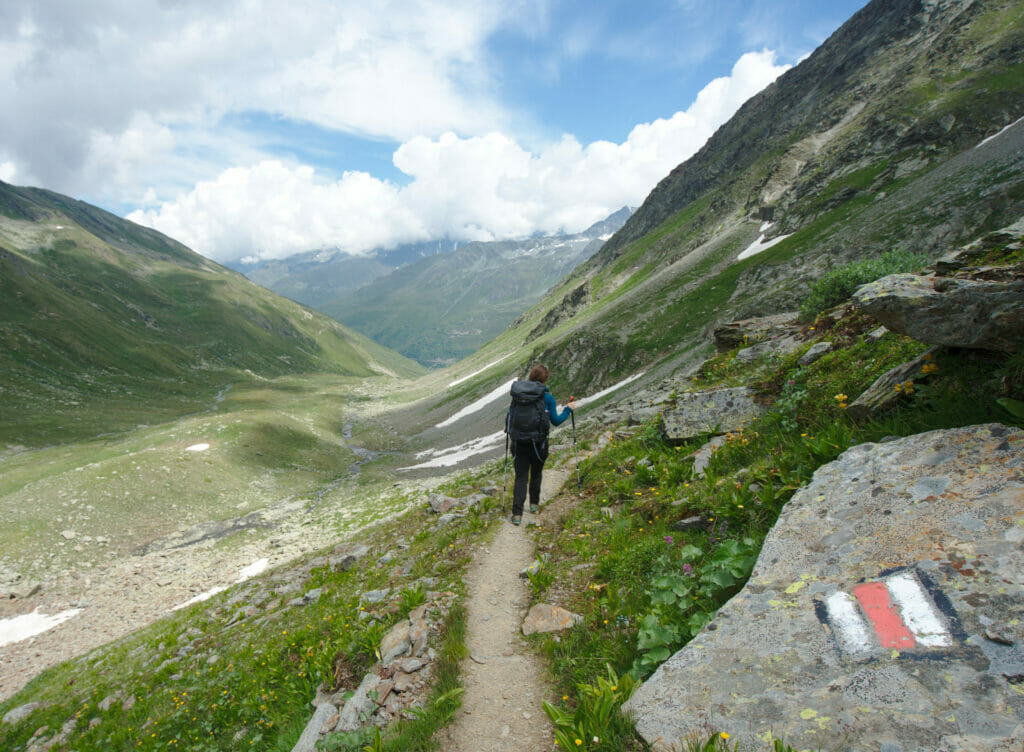
More Photos of the Col des Chevaux (on the third photo you can see the path going up in zig-zag):
Hike to the Lacs de Fenêtre: Useful Infos
If you wish to do this hike, we have concocted a map that should help you to find your way around. As mentioned before, there are 2 variations of this hike:
- The red route, the one we did that passes by the Fenêtre de Ferret (easier)
- The blue route which passes by the summit of the Pointe de Drône (more challenging but apparently even more scenic)
The two routes are relatively equivalent in terms of distance (about 12km) but the blue one has a little more altitude difference as it goes up to the Pointe de Drône (2949m) while the red one "only" goes up to the Fenêtre de Ferret and its 2698m. You can download our track through the AllTrails website via the links below (you just need a free account).
The red route (the easier one):
The blue route (more challenging):
The 2 routes are loops and it is therefore perfectly possible to do them in both directions. Nevertheless, if like me you prefer "going up steep" than "going down steep" we advise you to do them clockwise as described in the article. The Bastillon pass as well as the Col des Chevaux can be impressive when going down in the other direction.
Walking time: Count between 4h and 5h30 of walking time to complete the loops (according to your rhythm) 😉
The Grand Saint Bernard Hospice
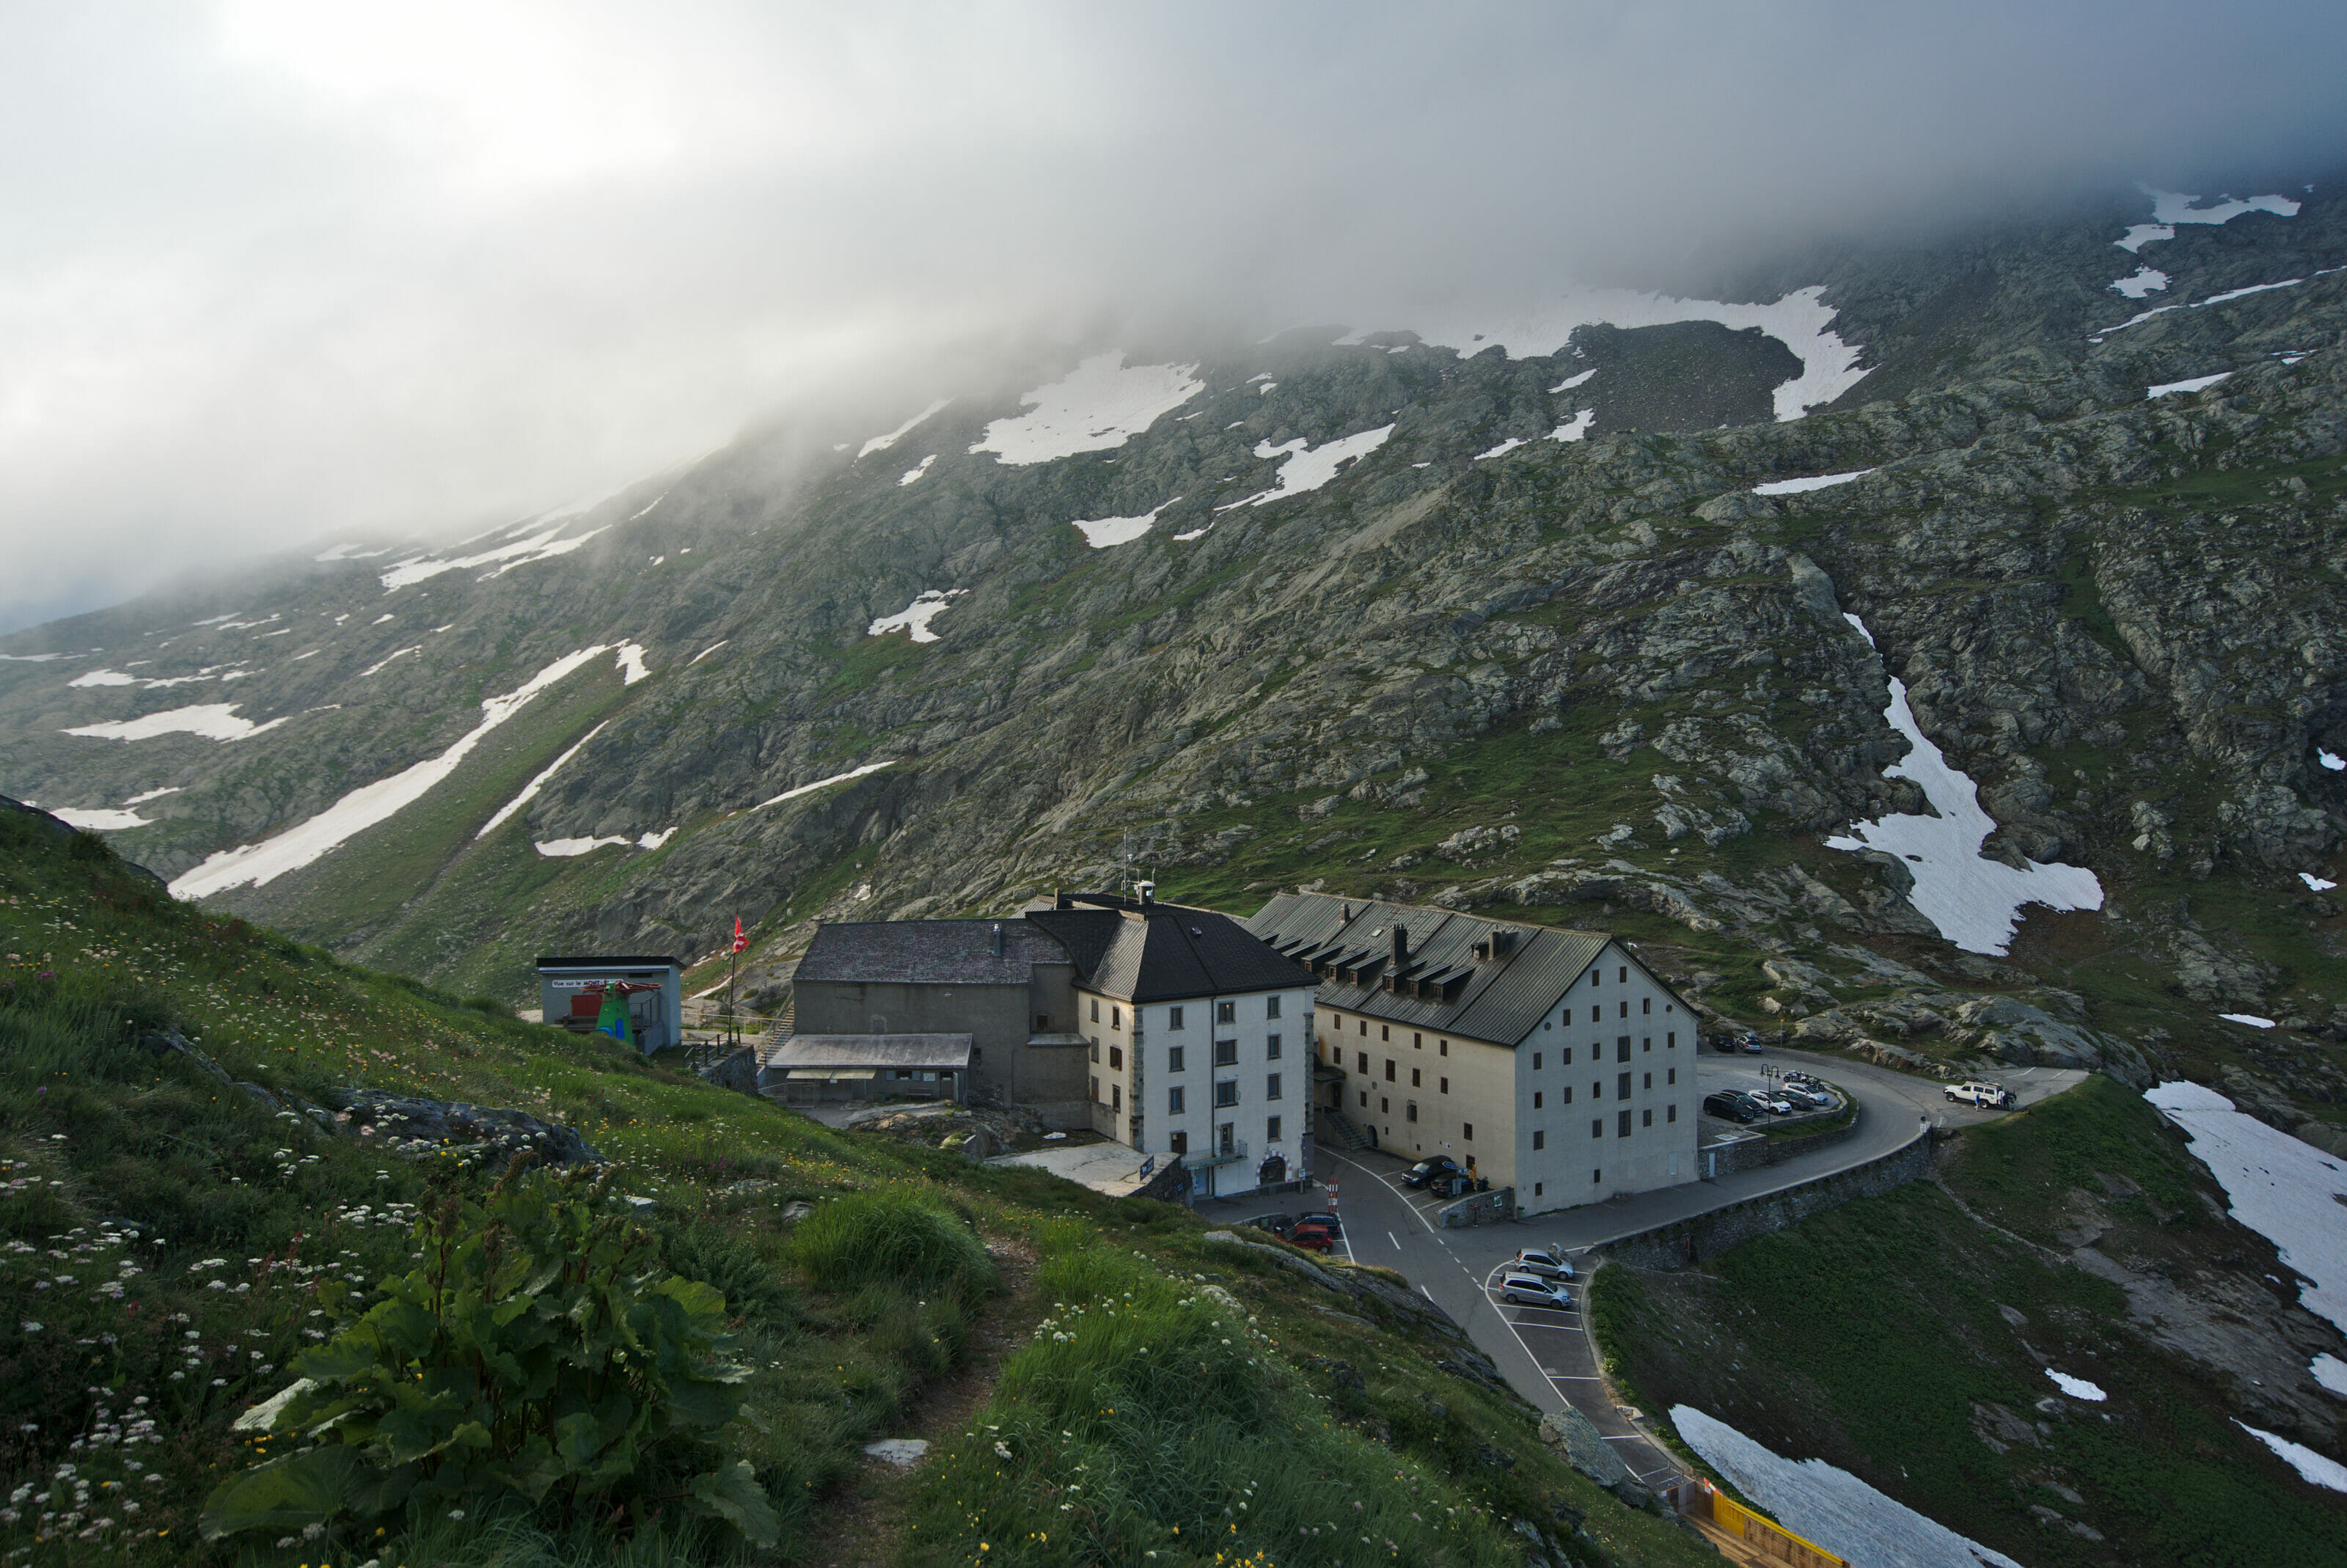
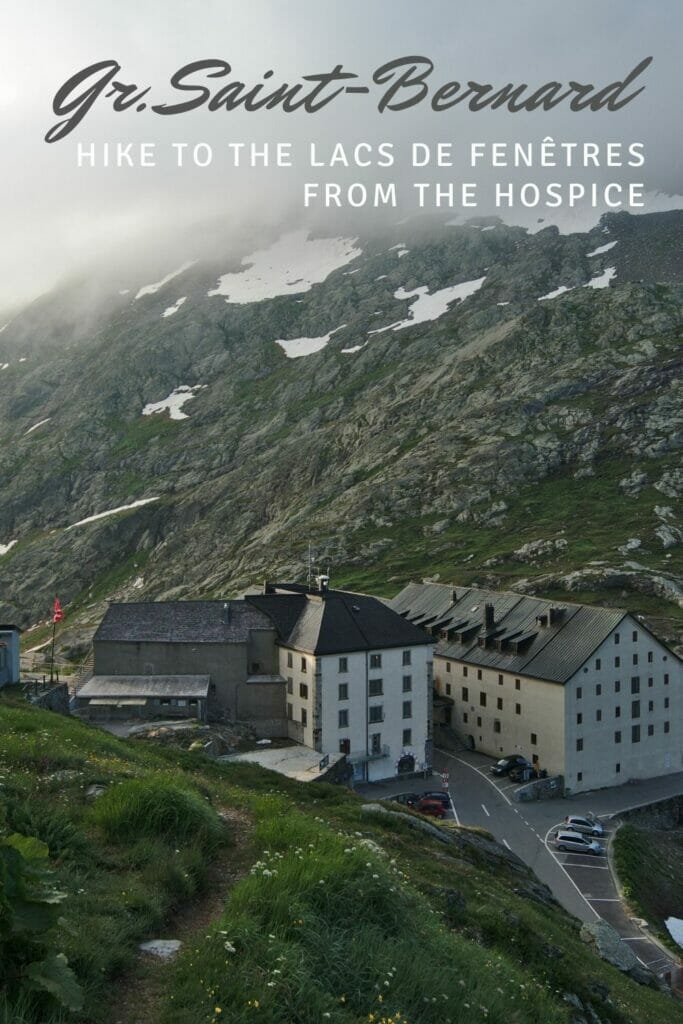
Before finishing this first article and telling you more about our full tour in the next one, we wanted to add a small paragraph on the hospice at the Great St. Bernard Pass. We spent 2 nights there and we really enjoyed this original experience. It's not every day that you get to sleep in a religious hospice run by canons!
This hospice was originally founded in the 11th century by a certain Saint-Bernard de Menthon. Living in Italy, he had noticed that many merchants crossing the pass arrived exhausted in his country and especially that many of them were victims of banditry. He therefore decided to build a hospice on the pass so that travellers could stop safely. Over the years the hospice has grown more and more and has become a place of accommodation for the pilgrims of the Via Francigena, hikers but also people passing by on the road. Next door there is also the hospice hostel, a more modern building with nice rooms that include private bathrooms.
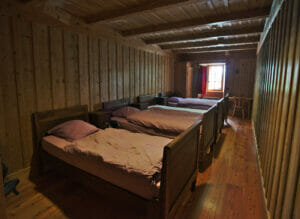
During our visit, we decided to sleep at the hospice and not at the hostel. Managed by canons, this place is really unique! They offer dormitories (full as we passed by because there was a school-trip with lots of children staying there) but also shared rooms. The building has been well renovated and the toilets and showers upstairs are super modern, but the rooms and dormitories have kept a certain "retro" touch which gives it its charm.
In the morning one is woken up to music and the sound of bells regularly calls for mass or prayer (there is a church directly in the hospice). We are not particularly religious but we really enjoyed this little immersion in a religious community! We had some very nice encounters and shared some excellent moments with other travellers and hikers.
As far as prices are concerned, the hospice is also quite unbeatable! The night in the dormitory costs 32.00 CHF with breakfast or 50.00 CHF with dinner! In a room it costs 47.00 per person with breakfast or 65.00 with half board. More information on their website. (in french only)
If you prefer to stay in a more "confortable room", we can highly recommend the "auberge de l'hospice" which is located right accross the road (same location, same view, but nicer rooms). They have double rooms with ensuite bathroom. Also, they do accept dogs in some of their rooms, which is not case at the hospice. On the picture above, the white building is the "auberge" while the larger grey one is the hospice.
The Saint-Bernard dogs

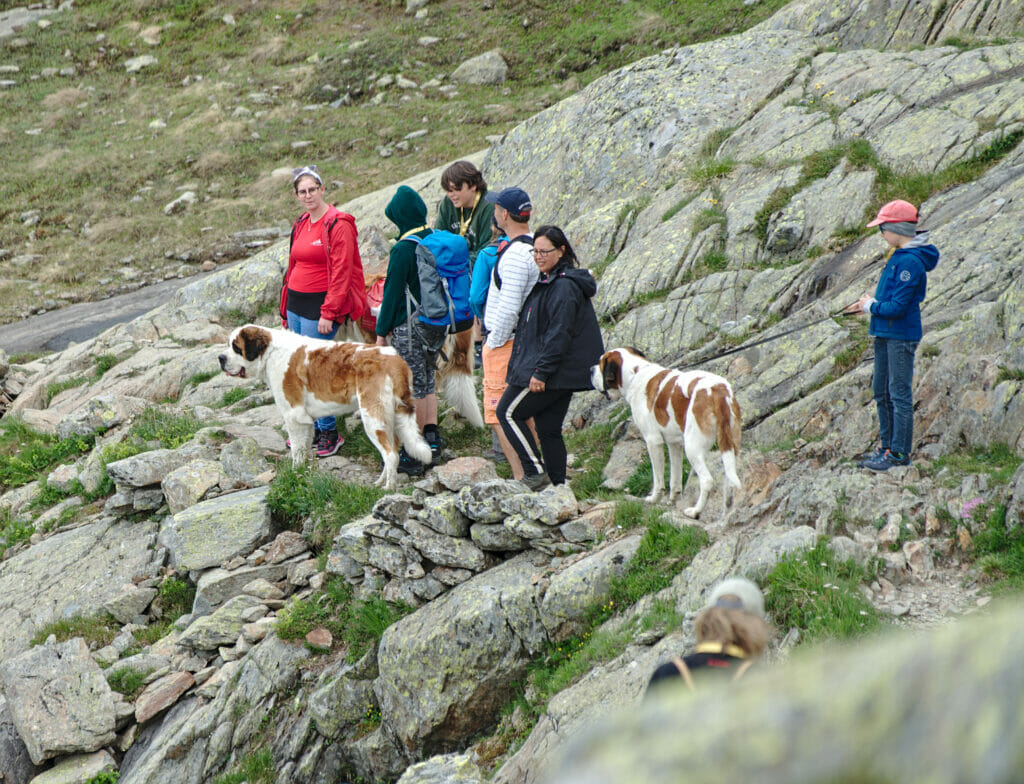
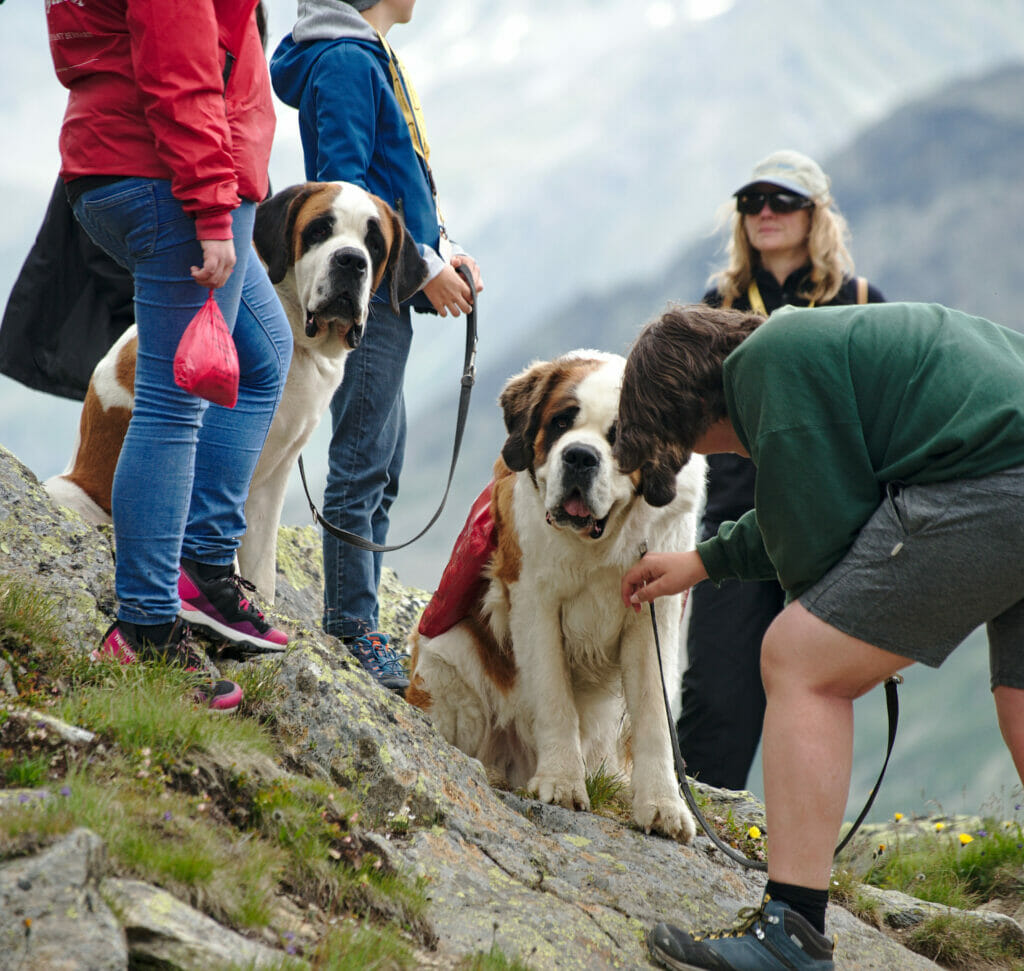
To finish the article I wanted to make a little parenthesis about dogs! They are known for their imposing size, but did you know that they take actually their name from this pass? In fact, in the mid 1600's the hospice started to crossbreed large dogs in order to have a breed "that looks impressive" to defend itself and keep the hospice from robbers. Over the years they began to use these dogs to rescue travellers in the snow (at the time, many were caught in avalanches or lacked strenght when climbing the pass).
I can reassure you, nowadays it is relatively unlikely that you will find yourself having to be rescued by a big Saint Bernard with his little barrel of schnapps, but if you come during the summer months (July-August) you will surely have the opportunity to meet some! The breeding of the dogs was entrusted to the Barry Foundation in Martigny in 2006, but during the summer months some dogs go back to the hospice for walks. These walks are paid for but even if you don't do them, you will still have a chance to see them. We passed a group on a walk down from the Col des Chevaux and I must admit that it gave us a nice smile to see those big furry balls (unfortunately no schnapps hanging from their neck in case you were wondering ;)).
That's it for today! We hope you enjoyed this article on this lovely hike from the Great St. Bernard Pass! We hope to see you soon for a complete article on our superb 7-day hike around this pass.
Are you planning to visit Switzerland by train? We advise you to read our article which will allow you to compare the Swiss travel pass with the half-fare card. The article also includes 3 examples of train routes through Switzerland and the associated budget depending on the ticket you take.
If you prefer not to take a travel pass, but rather take advantage of the Supersaver tickets and day passes, then go to this post for all the details.
This stay in the Saint-Bernard region was carried out in collaboration with the tourist office of the Pays du Saint-Bernard. We were hired to come to the region and share with you our favorites. The region gave us carte blanche to plan our route, choose our accommodation etc... The whole stay was planned by us and nobody knew that we had a travel blog. We warmly thank the Pays du Saint-Bernard for trusting us with this project.
Pin it

Join the discussion