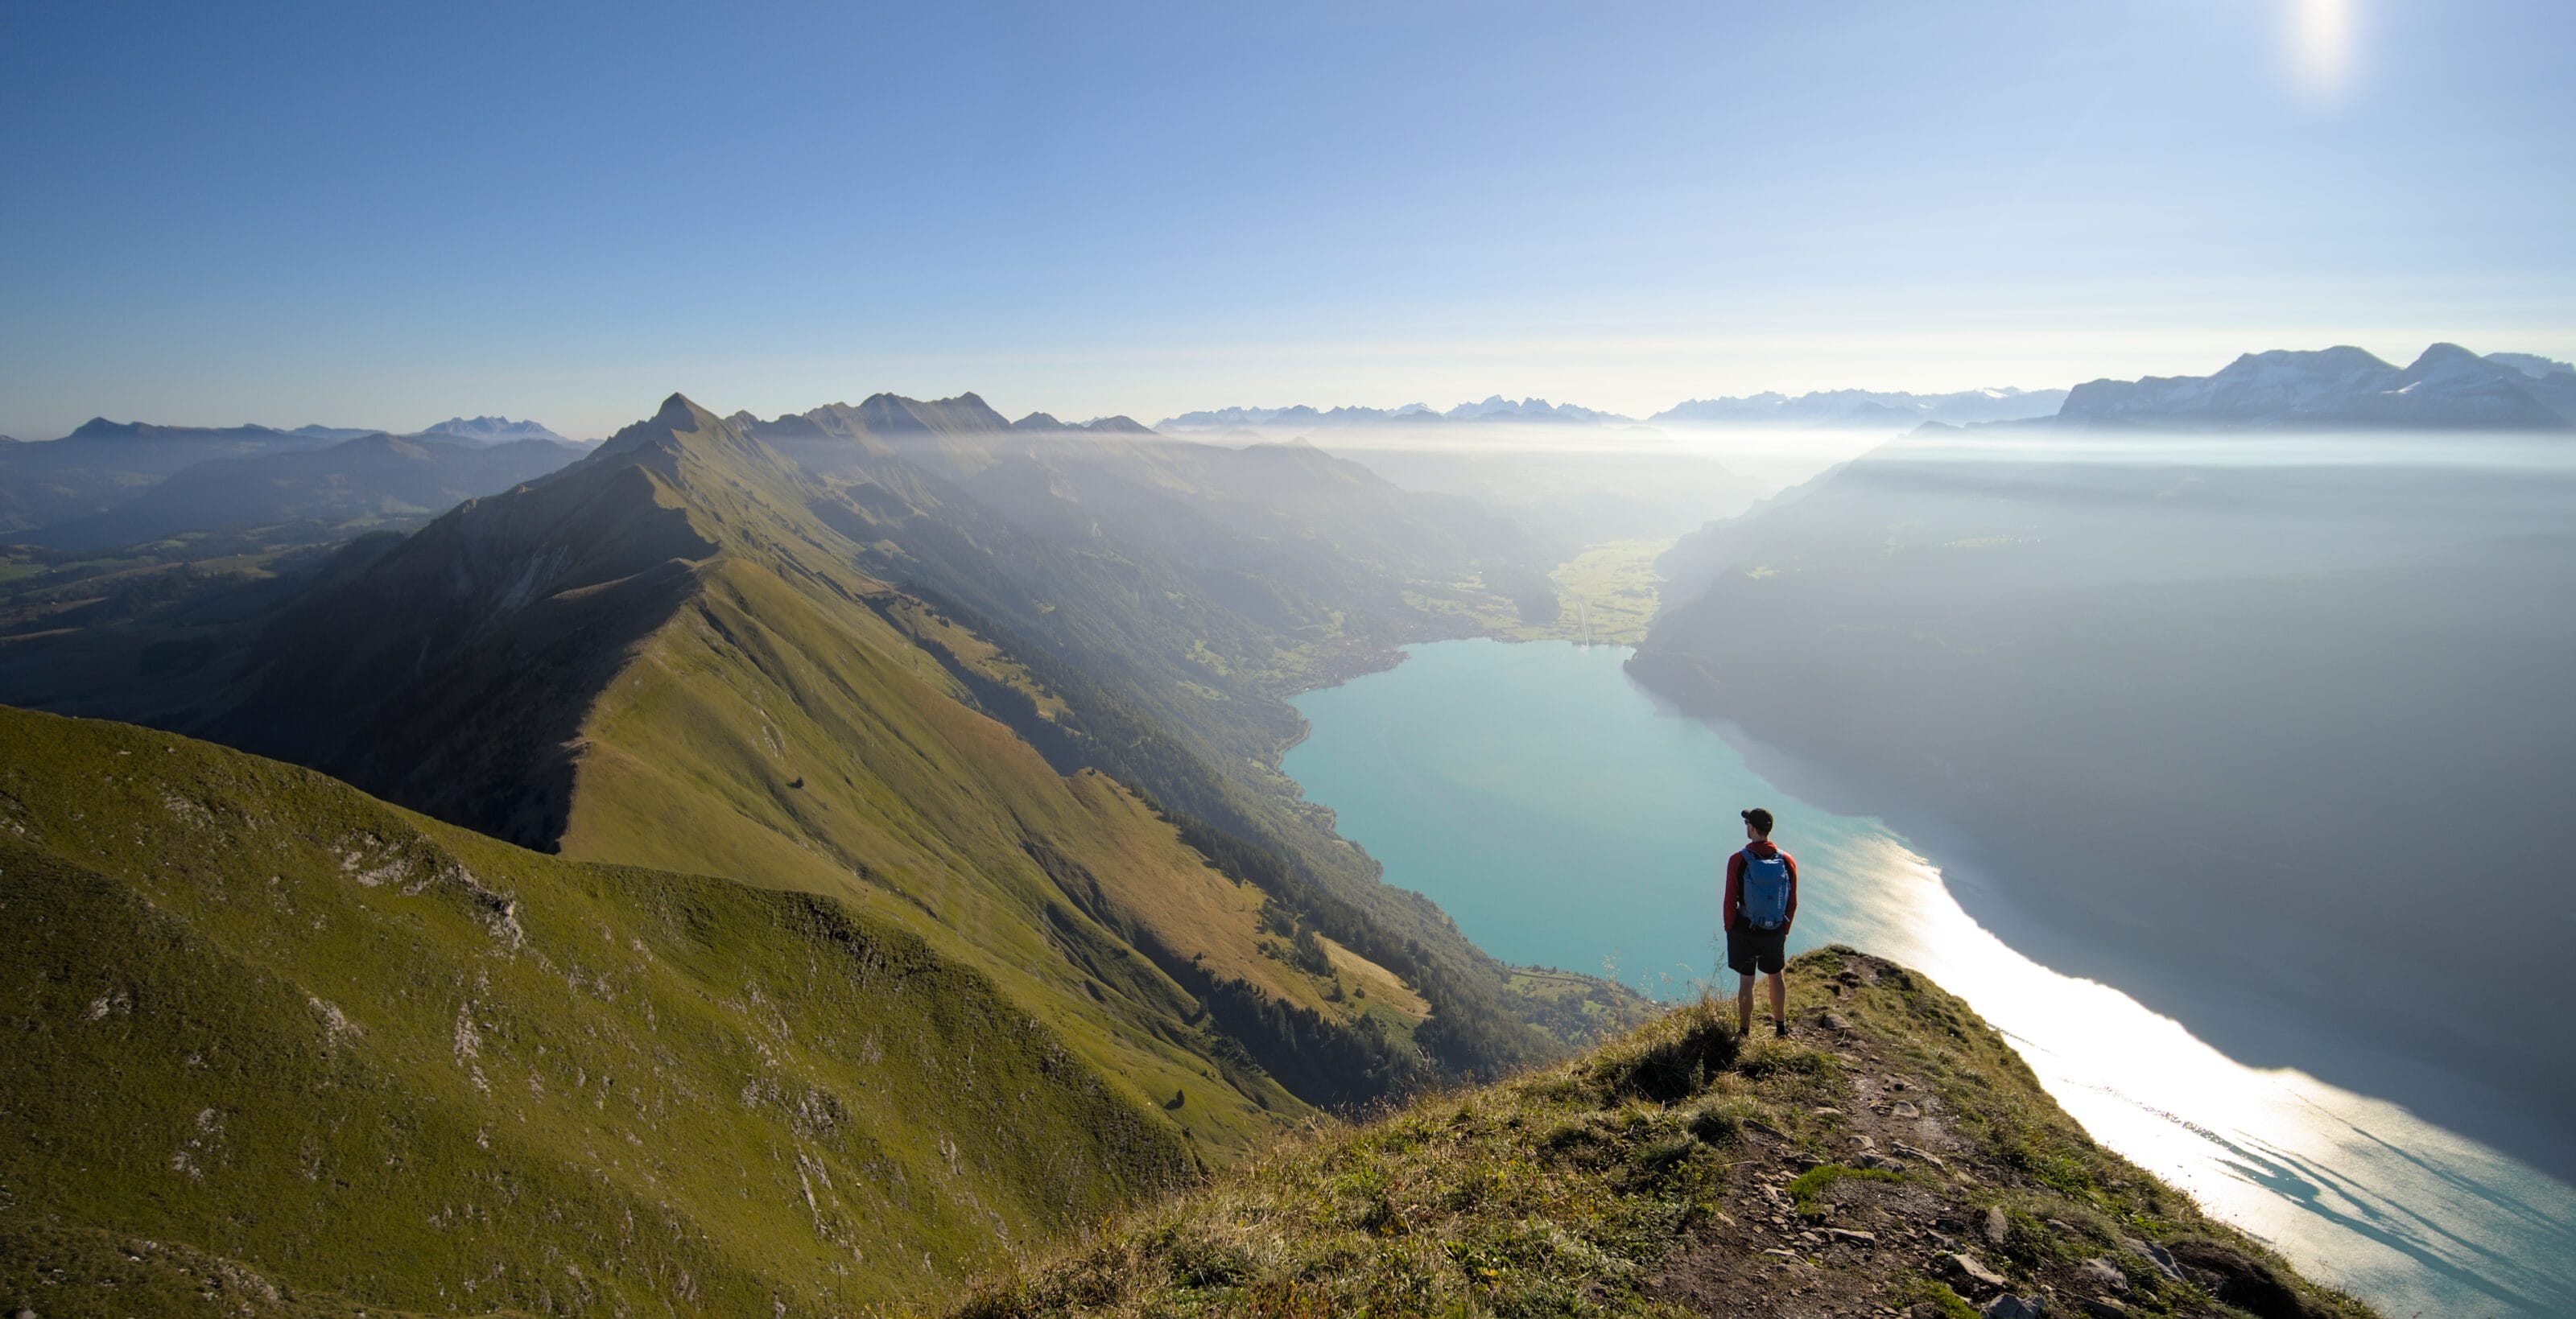
For several years I’d been dreaming of hiking the famous Hardergrat, this stunning ridge overlooking Lake Brienz between Interlaken and the Brienzer Rothorn. I first discovered this hike when I opened the book Run the Alps Switzerland from our publisher Helvetiq (a book I highly recommend). The breathtaking photos of the long grassy ridge above the lake made quite an impression on me at the time!
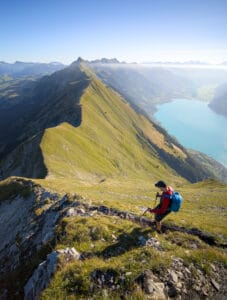
Since that day, I’ve tried several years in a row to organize an excursion to the Hardergrat with friends without success (difficult to find a date, bad weather…). But our visit to the Brienzer Rothorn in 2022 reignited the flame and all I had to do was meet the right person (Austris) in our coliving to get us started on this awesome adventure.
When I did some research on the Hardergrat online, I had quite a hard time finding precise information on the actual difficulty of the hike, its different itineraries, escape routes… Some articles describe the Hardergrat as “Switzerland’s most dangerous trail”, others as the country’s most beautiful hike. Some people even discourage attempting it, while others find the difficulty of the route exaggerated.
Anyway, in this article I’ll try to remain as objective as possible and give you all the information you need to prepare for the Hardergrat (and therefore decide whether or not you can attempt this ridge).
What’s the Hardergrat exactly?
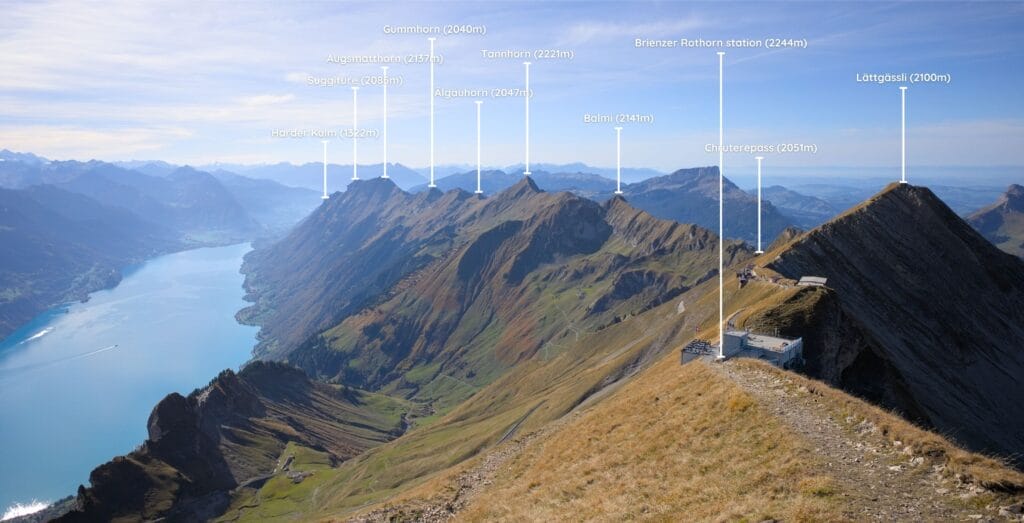
It’s a spectacular ridge overlooking the picturesque Lake Brienz between the towns of Interlaken and Brienz. In fact, if you want to be precise, even though the whole ridge is mainly known as the Hardergrat (grat in German means ridge)… It’s actually made up of the Hardergrat (on the Interlaken side), the Riedergrat in the middle and the Brienzergrat (on the Brienz side).
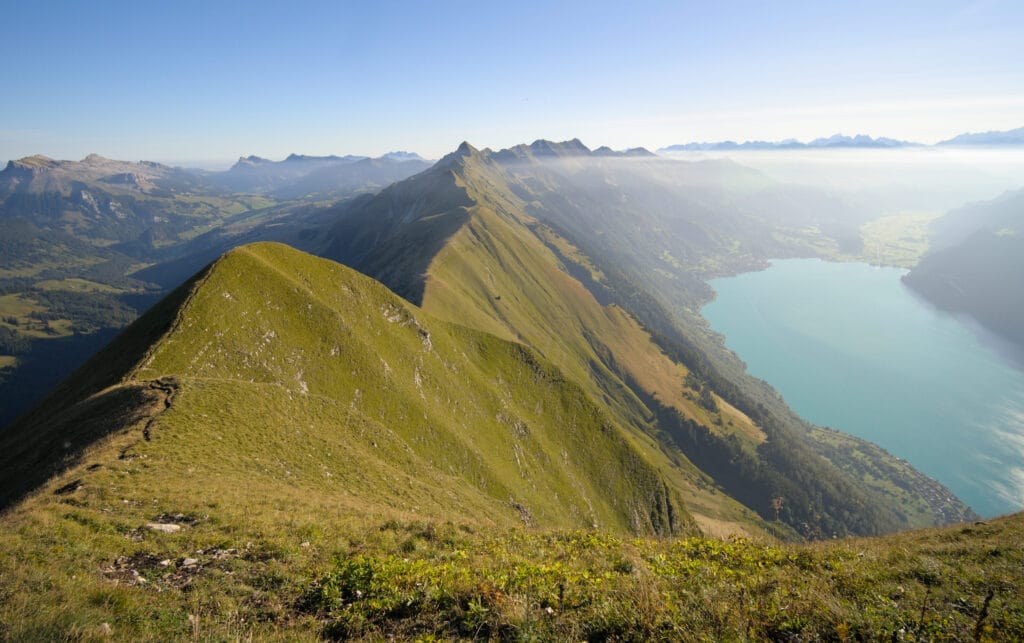
The part people most often refer to when talking about the Hardergrat is the route between the train station at the top of the Brienzer Rothorn and the top of the Harder Kulm funicular. This part is a little over 20kms long, with quite a few ascents/descents in between 😉 . Here’s a picture of the whole ridge taken from the top of the Brienzer Rothorn:
But as I’ll explain below, due to public transport schedules, it can be complicated to do just this part of the ridge, and you may have to start in Interlaken or Brienz (which makes the trip substantially longer).
The difficulty level of the Hardergrat
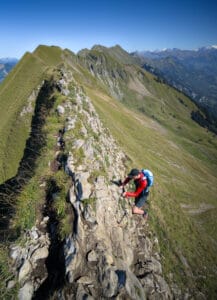
So the difficulty is always rather subjective and individual 🙂 … So to remain as unbiased as possible, let’s talk about the Swiss Alpine Club’s difficulty scale for hiking. Most of the Hardergrat ridge is rated T3-T4, with a short T5 section just after the Tannhorn from Interlaken (I’ll post plenty of photos to give you a good idea later in this post)… So this is clearly not a hike for everyone, all the more so when you consider the distance and vertical gain (we’re talking over 20kms and 3000m of D+-).
Moreover, it’s a grassy ridge and therefore very slippery/dangerous in wet conditions. So don’t set out on the Hardergrat after a rainy day, and wait for dry conditions. On the other hand, even if part of the trail is not officially signposted, it is clearly visible and marked all the way.
Last but not least, it’s impossible to refill with water on the entire Hardergrat ridge! So you’ll need to carry plenty of water with you! We did the hike at the end of September and, despite the cool temperatures, we drank 4-5 liters of water per person… Just imagine what it’s like in the middle of the summer heat (there’s no shade to shelter from the sun either 😉 ).
Regulations for bivouacs and drones on the Hardergrat
I’ve already been asked the question several times… given that the hike is so long, wouldn’t it be better to bivouac along the way? Well, the answer is quite simple… it’s forbidden to bivouac on the entire ridge, as most of it is in a wildlife protection zone. In fact, you can see a lot of ibex, wild goats and deer on the Hardergrat… So if you don’t want to disturb the wildlife, respect the rules and avoid camping up there.
The same applies to drones! It is forbidden to fly them in this area.
The different Hardergrat itineraries
There are several ways of hiking the Hardergrat. It’s possible to do it in either direction (which changes the elevation gain quite a bit), to take the funicular up to the Harder kulm or the steam train up to the Brienzer Rothorn, to do the whole ridge up to the Brunigpass or even to do the whole loop on foot from Interlaken or Brienz (only for very fit trail runners 😉 ) .
Below, I’ll take you through the various options you have, and then you’ll just have to choose 😉
The Harder Kulm funicular and the Brienzer Rothorn train
In Interlaken, there’s the Harder Kulm funicular, which can save you almost 800m of D+ on the way to the ridge. The problem… is that the first funicular doesn’t leave until around 9.10 a.m. (timetables are here). So it’s a bit inconvenient when you consider that there are at least 20 kms to go, with a fair amount of ascent.
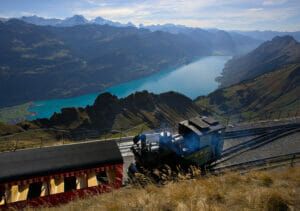
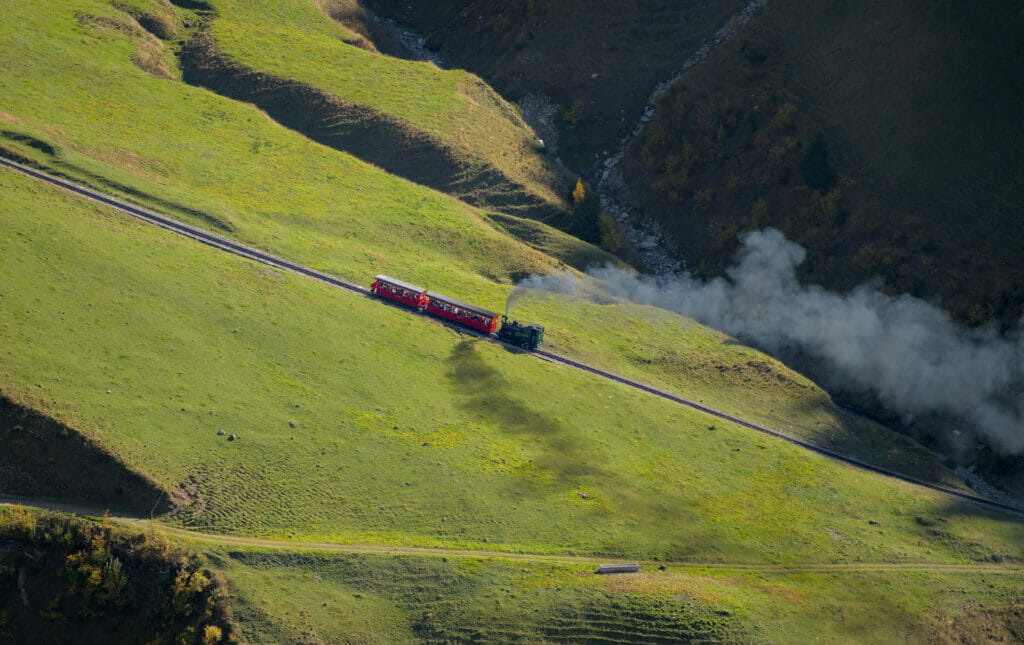
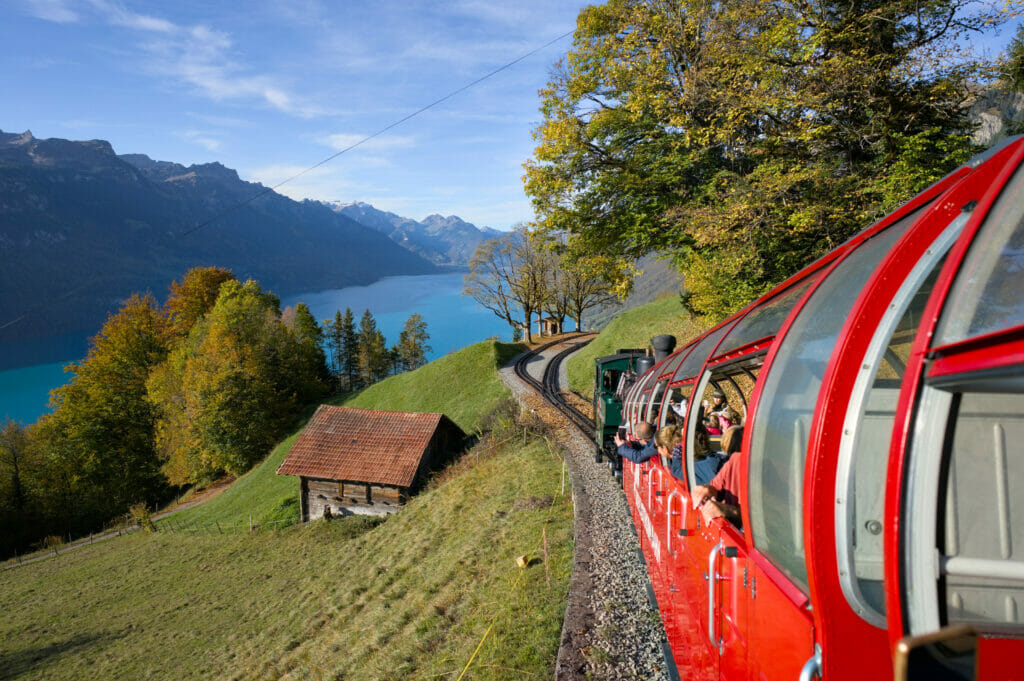
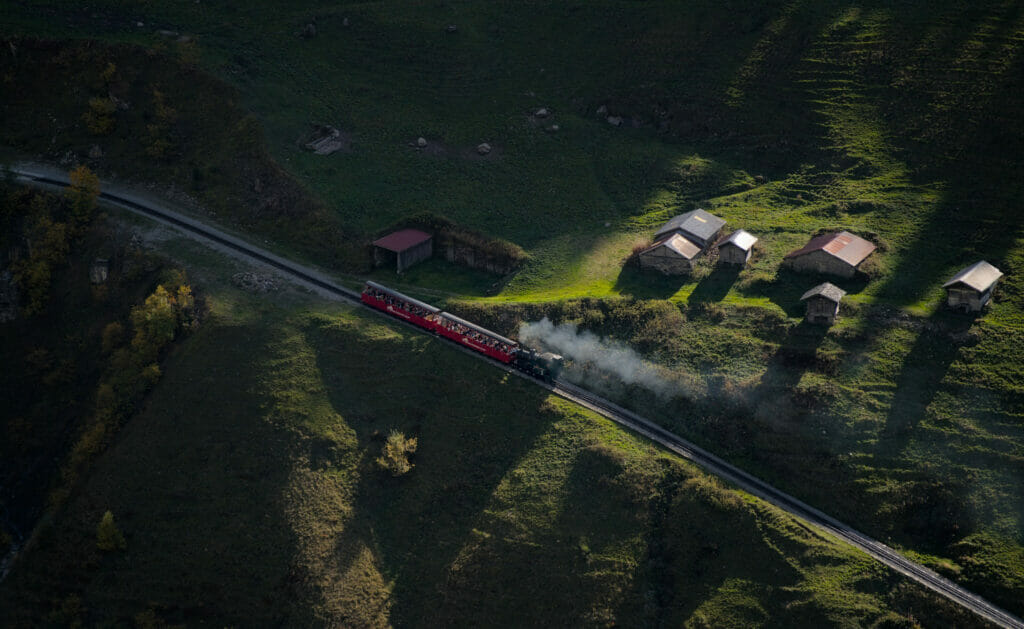
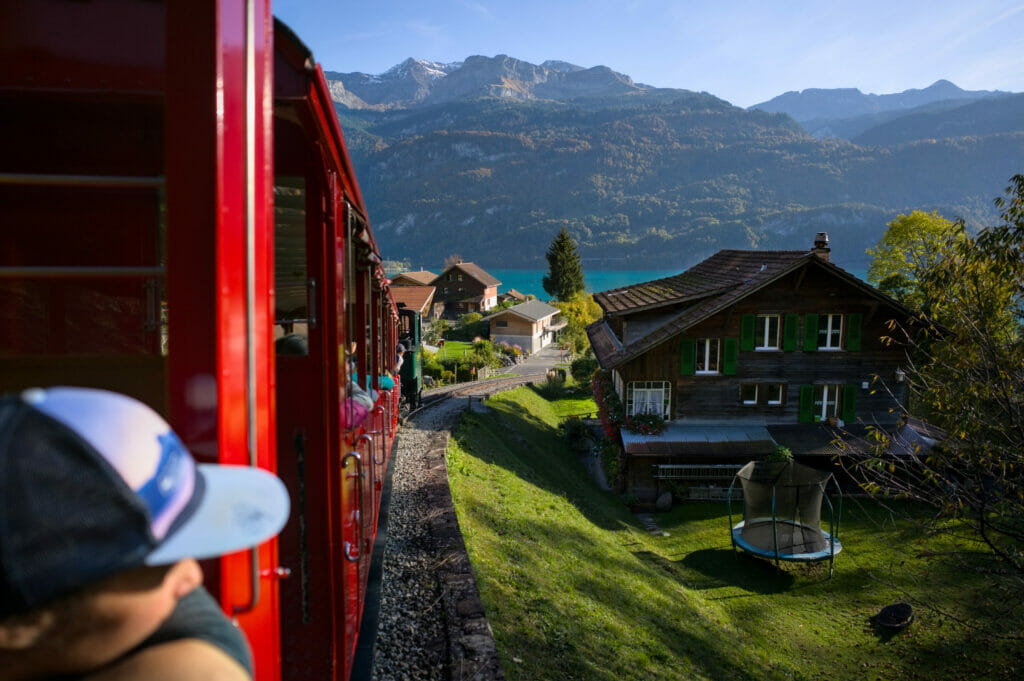
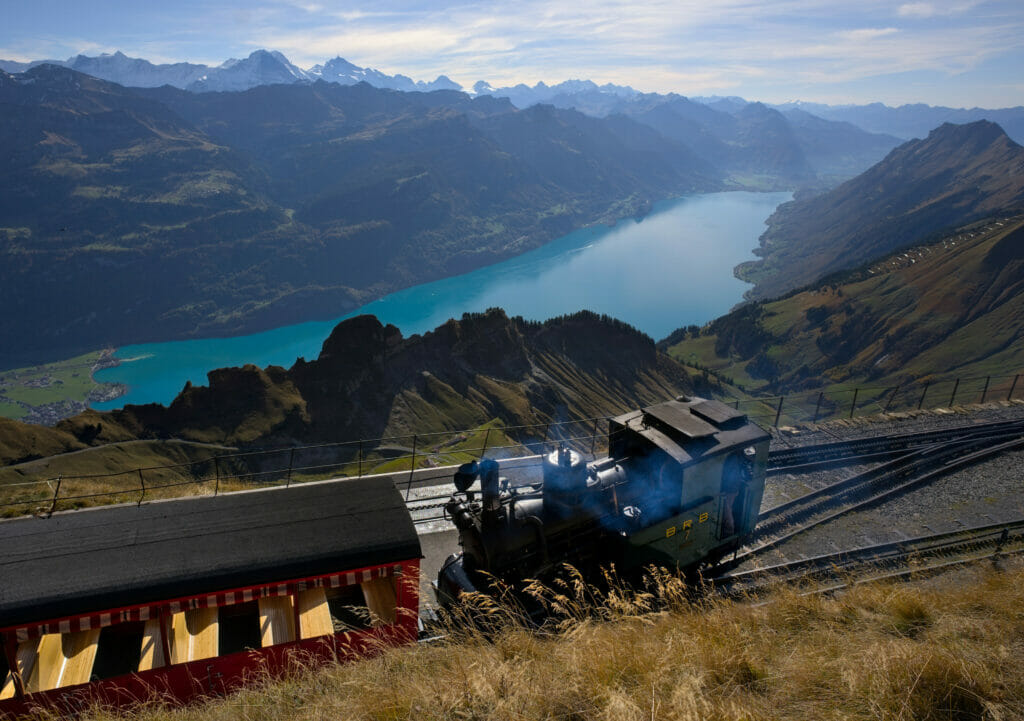
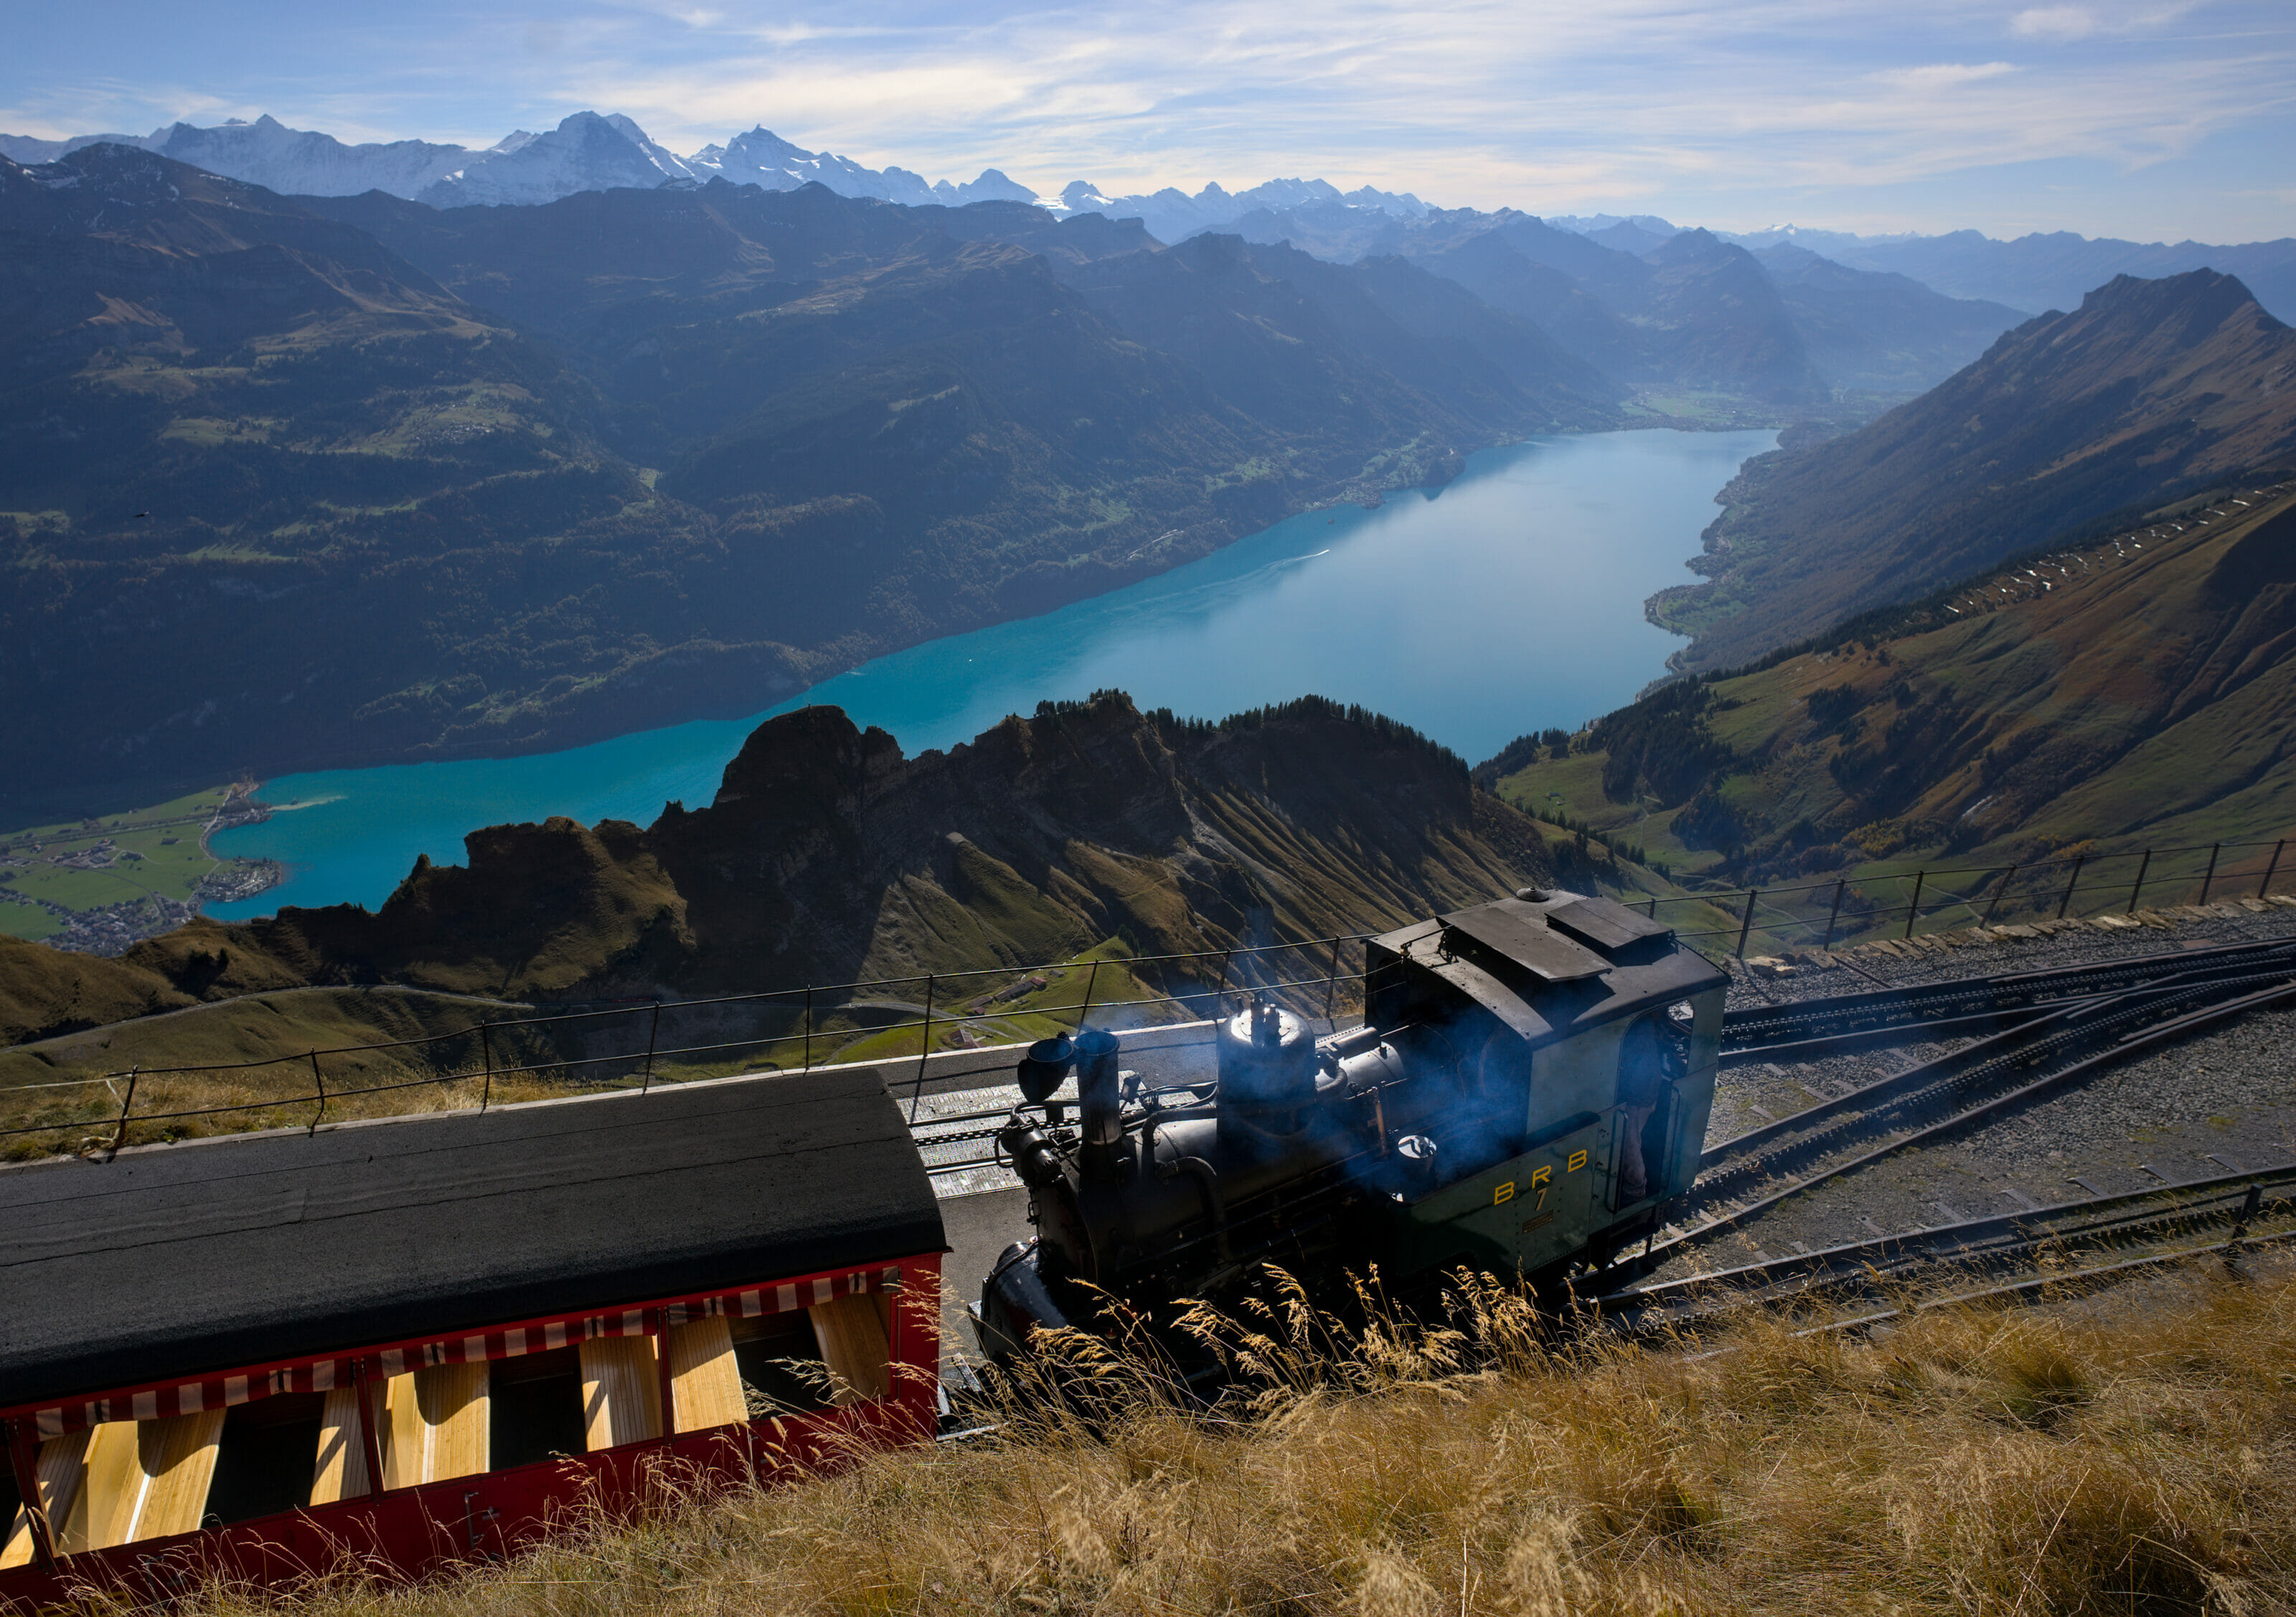
On the other side, from Brienz, there’s a magnificent historic steam train that can take you up to the summit of the Brienzer Rothorn (and thus save you almost 1700m of D+). Here too, the problem is that the first train doesn’t usually leave until around 8:30 a.m. (except on Saturdays and Sundays in high season… timetables are here) and it takes 1 hour to get to the top. Also, the price of the train is rather high, even if it’s understandable given the maintenance costs of the steam locomotives.
Note: There’s also a cable car that goes up from the village of Sörenberg (timetable here), but public transport connections from Sörenberg aren’t great.
From the Brienzer Rothorn to the Harder Kulm
If you want to do the shortest version possible, the best solution is to take the train to the top of the Brienzer Rothorn (or the gondola from Sörenberg), as the last descent from the top of Harder Kulm is usually quite late (until October at 9.10pm).
Moreover, by leaving from the Brienzer Rothorn, the train will have already saved you a fair amount of elevation gain… which is already a good thing considering the length of the hike.
- Distance: just over 20 kms
- Elevation change: around 1300m of D+ and 2200m of D-
Note: There’s also a hotel at the top of Brienzer Rothorn… To be honest, the price per night is very reasonable, so if you want to enjoy an evening in a magical setting before tackling the Hardergrat (you could even have an early start then), this could also be a very good option.
From Interlaken to Brienzer Rothorn ( the option we chose)
If you don’t want the hassle of dealing with public transport and prefer the uphill to the downhill (which is my case), the best alternative in my opinion is to leave Interlaken very early. This way, you can walk up to the Harder Kulm and then tackle the Hardergrat in the direction of the ascent (although there are quite a few descents too 😉 ).
This seemed to be the most interesting option to me… As we didn’t want to worry about public transports (so rather hiking than trail running), we preferred to leave earlier (4:30 am in Interlaken) to have more time on the trails and enjoy the incredible scenery.
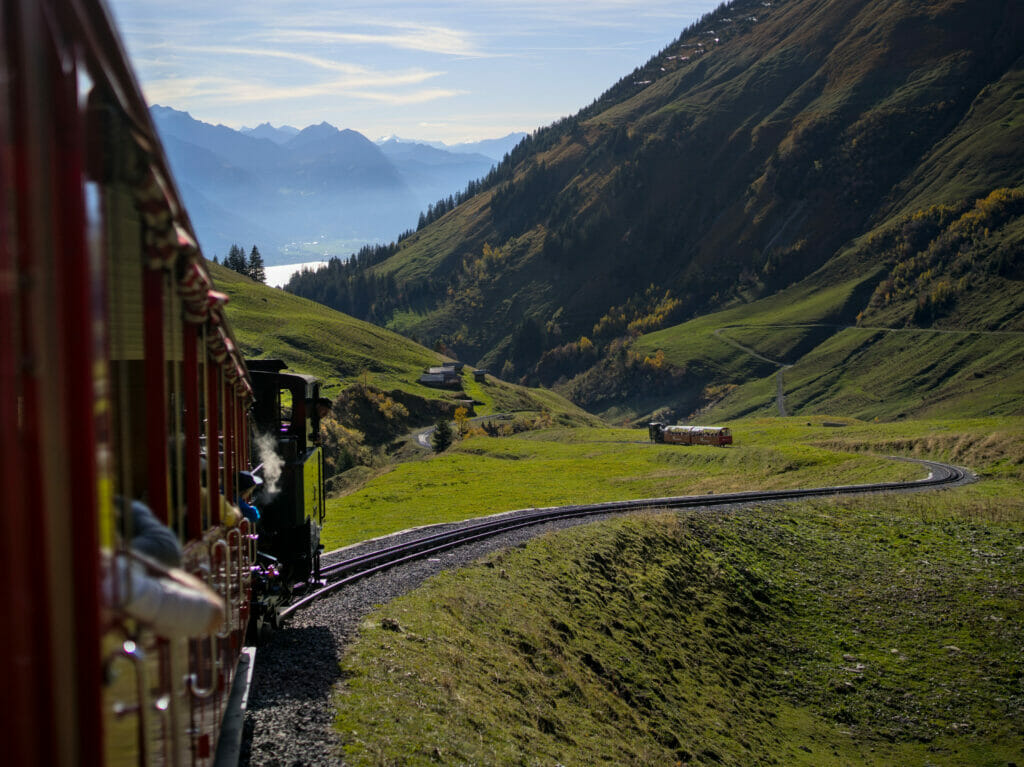
From the top of the Brienzer Rothorn, we took the steam train back down. It’s truly an amazing train and a unique experience 🙂 (and we didn’t really want to hike back down to Brienz 😉 )
- Distance: 24,2 kms
- Elevation change: just above 3000m of D+ and 1400m of D-
The entire ridge from Interlaken to Brünigpass
For experienced trail runners who really want to complete the whole ridge, it is of course possible to continue from the Brienzer Rothorn down to the Brünigpass. Be aware, however, that this will add quite a descent to an already long day. But I imagine that if you’re considering this option, it’s because you know you’re physically up to it 😉
From the Brünigpass, you can take a bus or train back to Interlaken.
- Distance: 36,5 kms
- Elevation change: 3700m of D+ for 3300m of D- 😉
Note: If you don’t want to take the public transportation, you can always walk back to Interlaken… but we’re talking about a 50+ km adventure that most people (including me 😉 ) can’t possibly manage.
Our journey on the Hardergrat between Interlaken and the Brienzer Rothorn
So we opted for option 2, setting off early in the morning (4:30am) from the Interlaken train station parking lot. We chose this option because we didn’t feel like running (although we did walk at a good pace)… personally, I was also bringing all my camera gear (camera body, 3 lenses and tripod) because I wanted to bring back some nice pictures of the Hardergrat. With that plus water and food, I certainly wasn’t packing light… hence the decision to hike and not run 🙂
We were 3 at the start of this adventure: Austris (a Latvian climbing enthusiast who has been living with us since July), my sister Sabine (who was keen to attempt a section of the Hardergrat) and myself. Logistics-wise, we slept in the van on the outskirts of Interlaken and parked at the train station, just a stone’s throw from the start of the hike.
But if you don’t have a van at hand, there are several campsites in Interlaken or plenty of other accommodation (although not necessarily cheap… Interlaken is a VERY touristy area).
From Interlaken to Harder Kulm
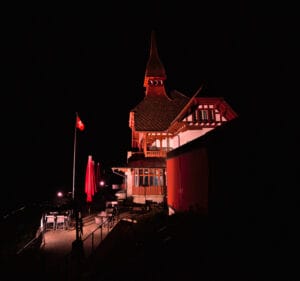
After a hearty breakfast in the van, we make our way to the Harder Kulm funicular station, where the trail up to the Hardergrat also begins. The night is clear, but as it’s late September, it’s already quite cool in the morning (5-6 degrees max).
We start the climb with headlamps and at a good pace… first of all, it’s a good way to warm up and I’d love to be on the ridge when the sun rises (that’s the photographer talking). As a result, I think we cover the first 4.5 kms and 750m of D+ in just over an hour. It’s still pitch dark when we reach the Harder Kulm panoramic restaurant at the top of the funicular.
from Harder Kulm to Augstmatthorn
From the summit of Harder Kulm, we continue to hike up through the forest towards the first peaks of the Hardergrat. So far, the trail is quite straightforward, except for the fact that we’ve already climbed over 1000m 😉
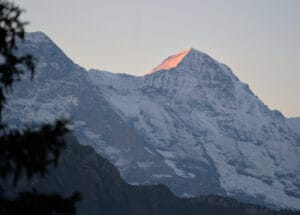
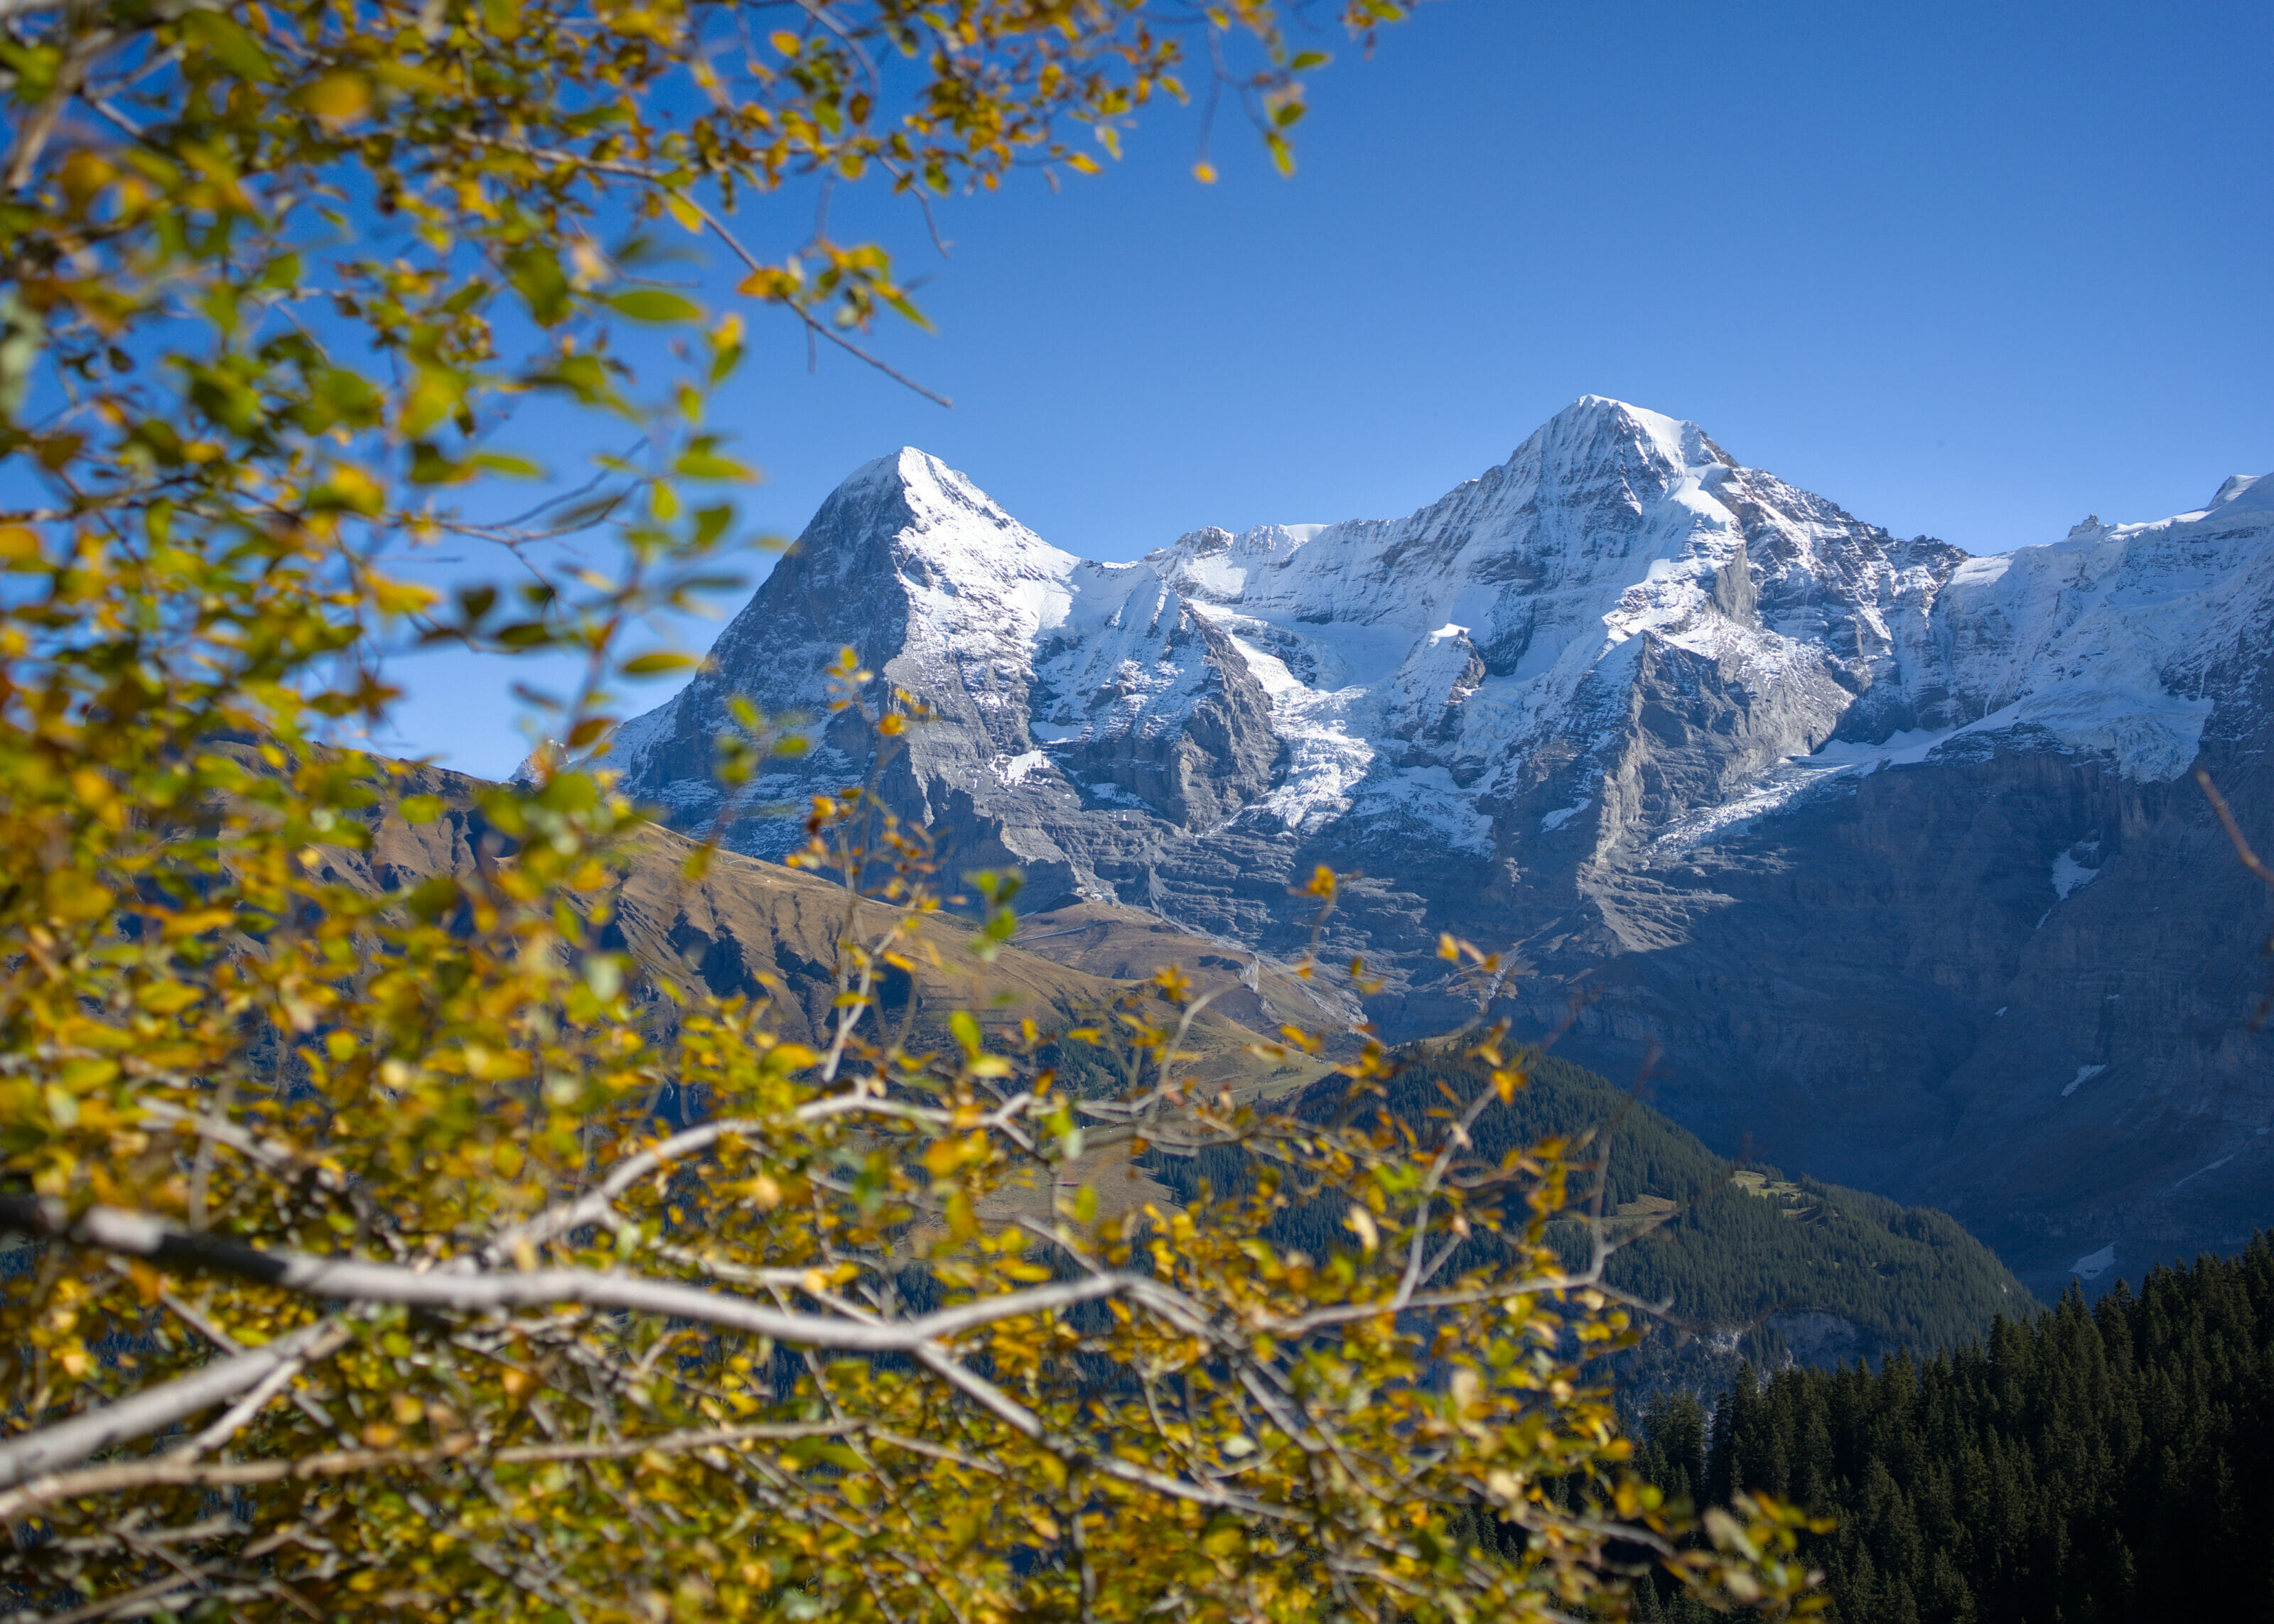
After a few kilometers, mainly in the forest, the trees gradually disappear and we can enjoy the sunrise over the Bernese Alps and Lake Brienz on our right. We can notably admire the famous Eiger – Junfrau and Mönch peaks just across the lake, towards Lauterbrunnen.
We reach a clearing with a magnificent viewpoint just in time for sunrise. The scenery is stunning, with the beautiful morning light over Lake Brienz and the 1st big Hardergrat summit (Suggiturm 2085m) looming up in front of us. To complete the autumnal ambience, we can hear the deer bellowing in the background… how lucky!
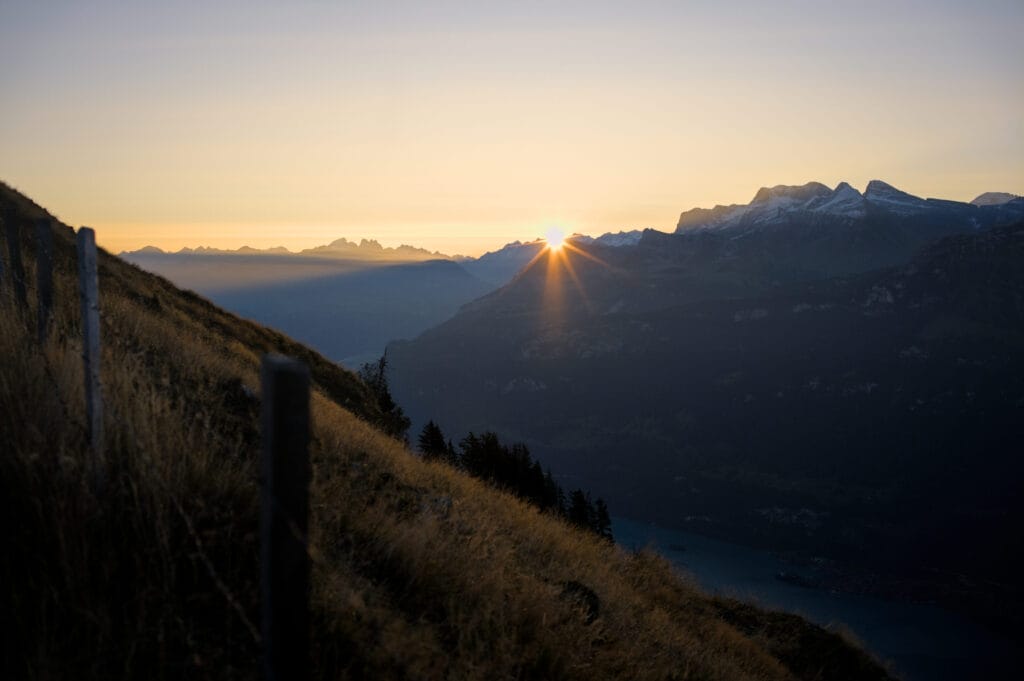
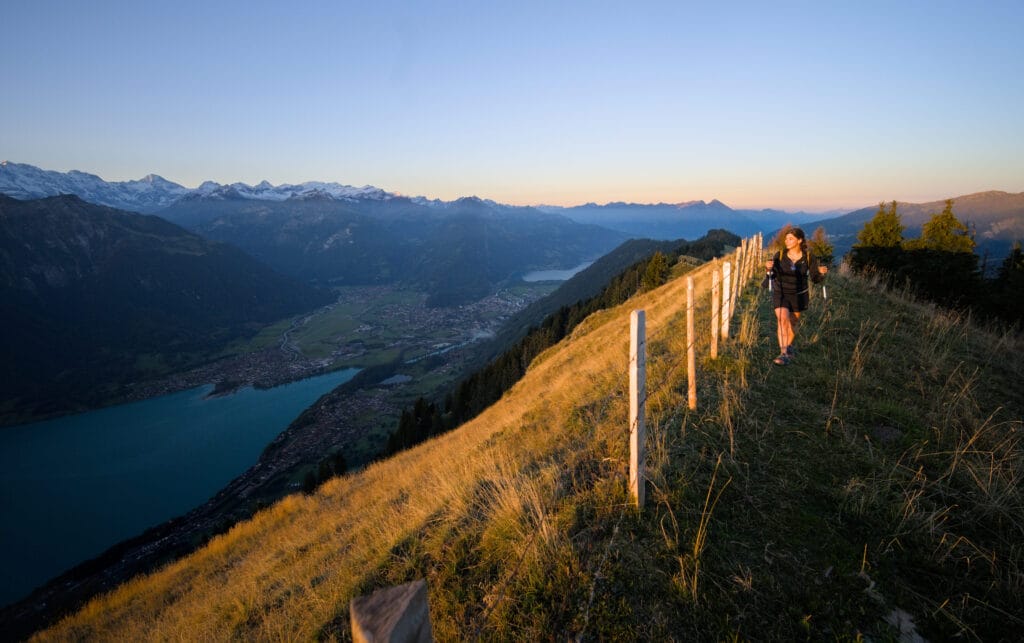
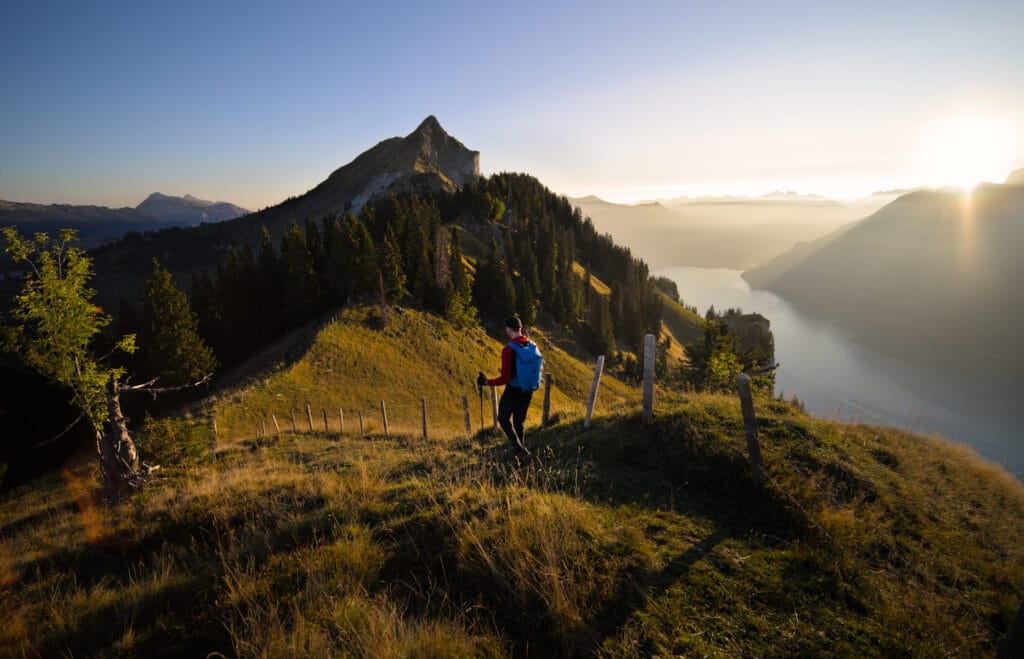
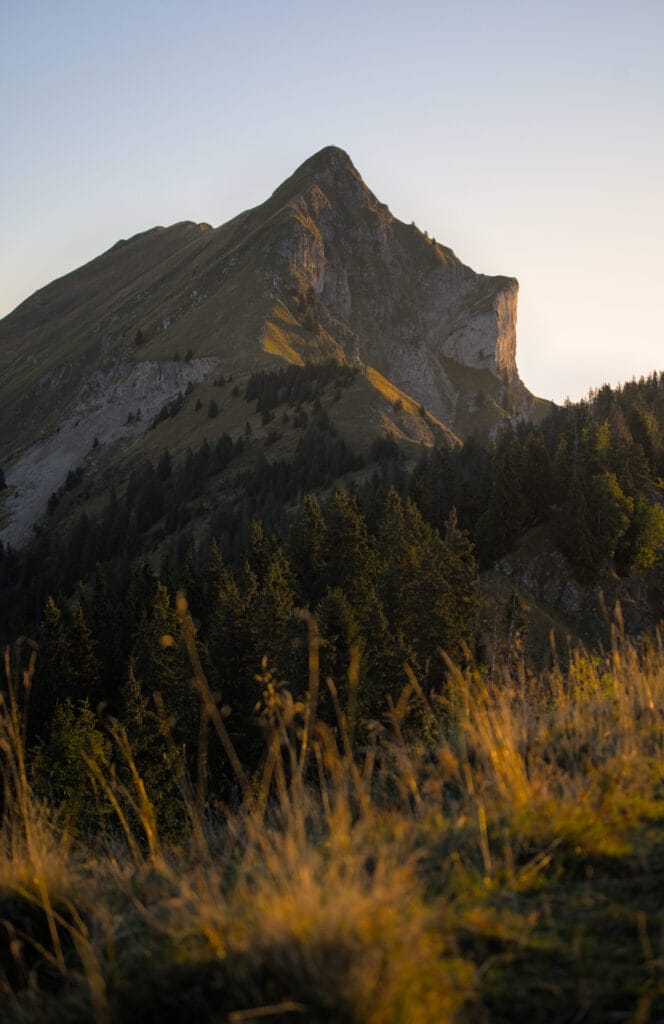
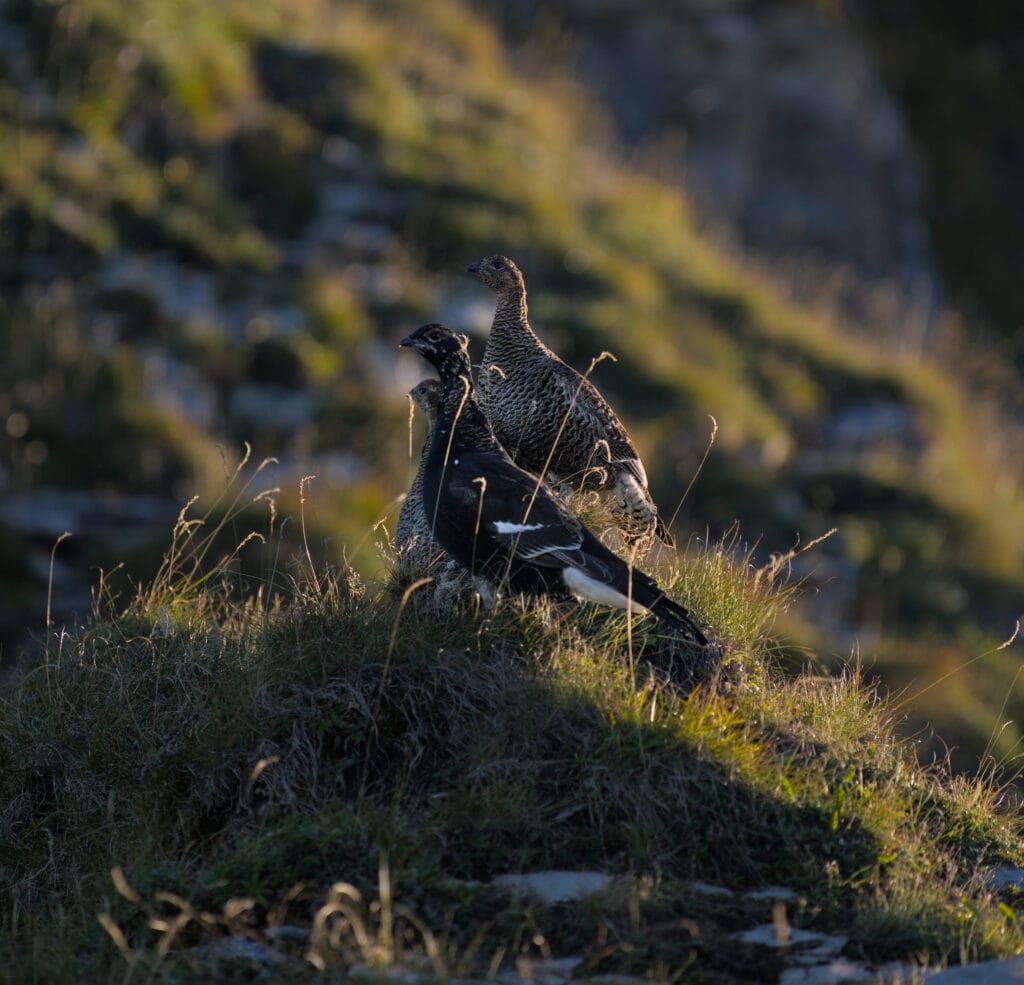
After a well-earned break and a few snacks, we start the ascent towards Suggiturm. Still no particular technical difficulty, but it’s the 1st steep climb on the Hardergrat. On the path, we come face to face with a small group of ptarmigan (or so I think 🙂 ). This was our 1st encounter with wild animals of the day… and not the last, as you’ll see.
On top, we get our first glimpse of the long ridge that awaits us to reach the Brienzer Rothorn. What a view! Well worth a souvenir photo 🙂
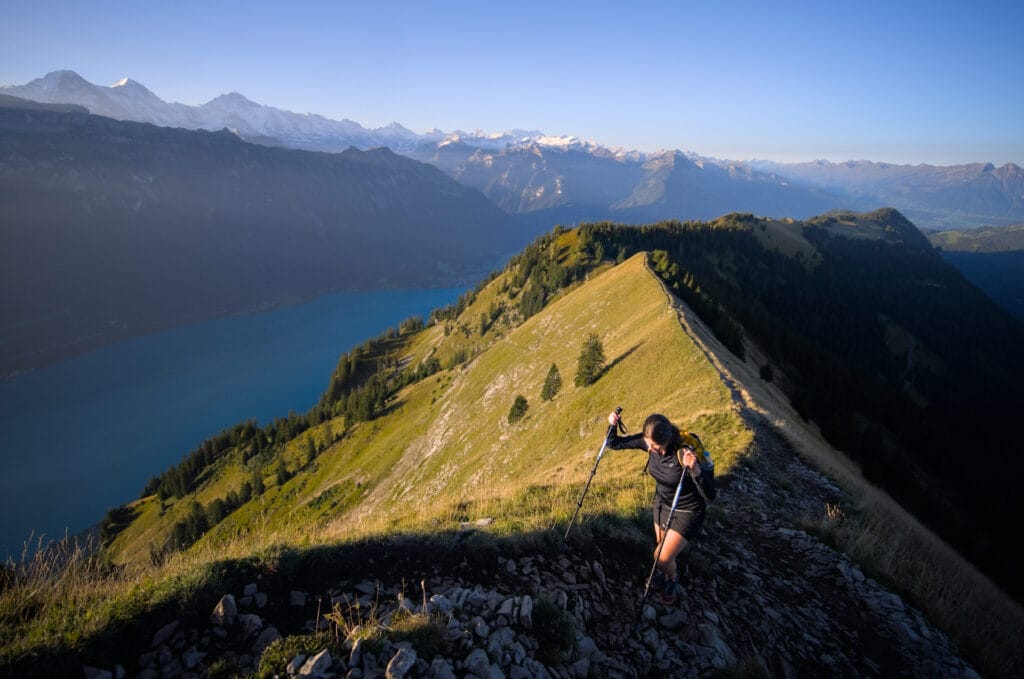
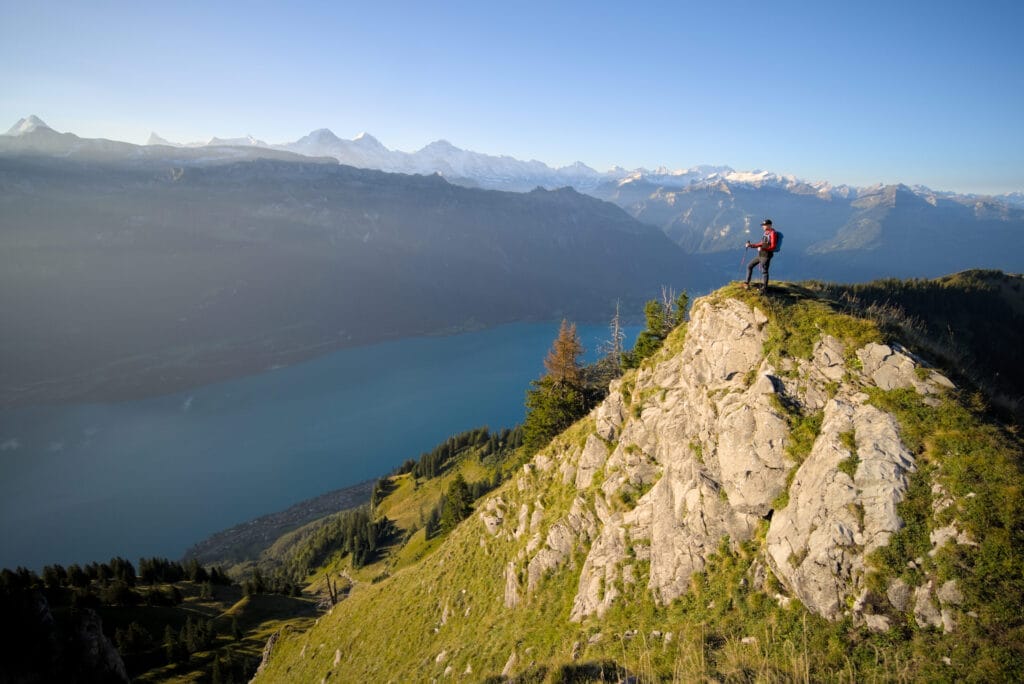
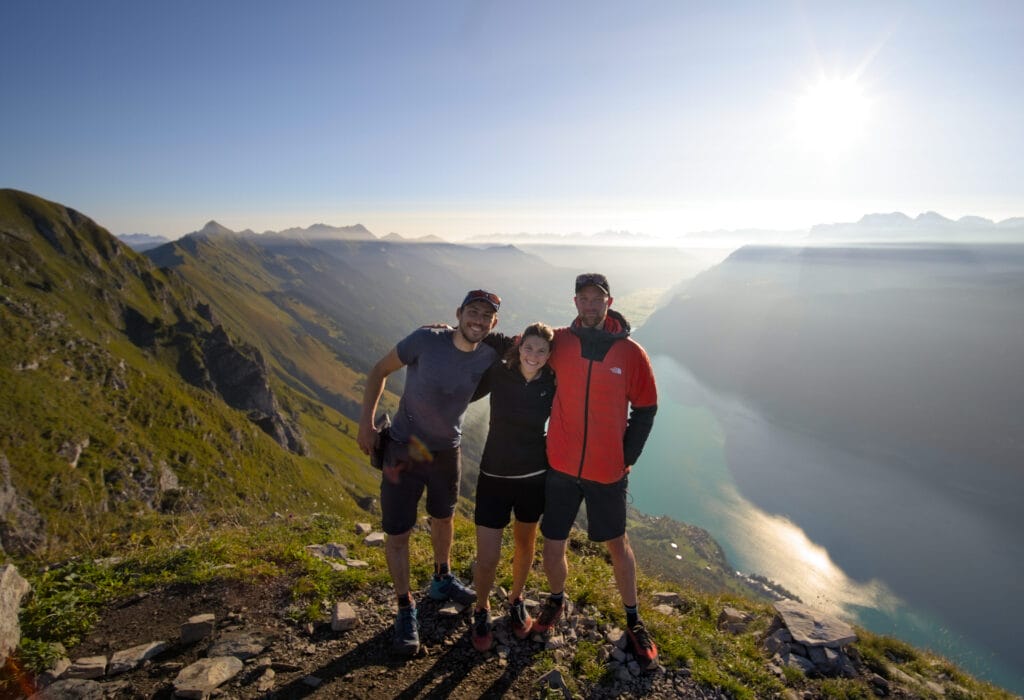
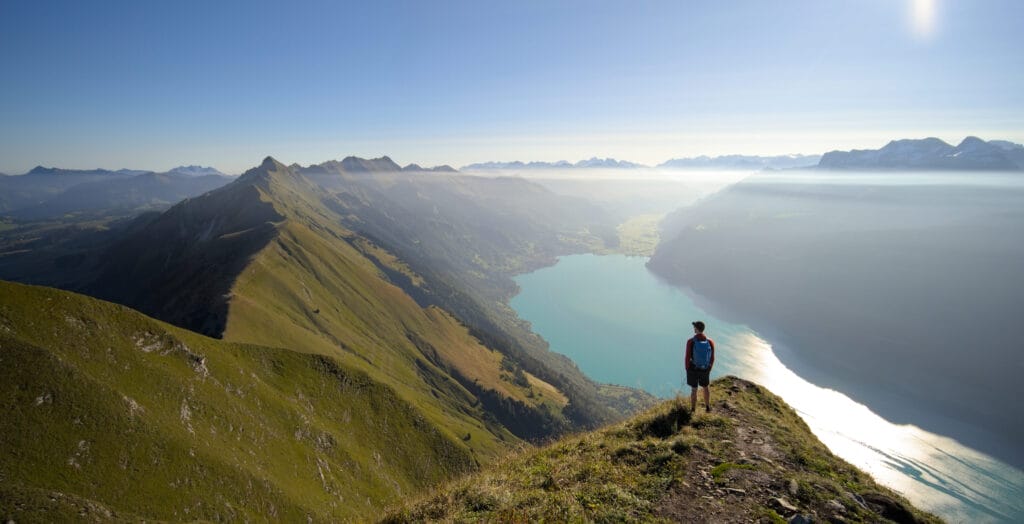
It’s really from this point that you feel like you’re walking on the Hardergrat ridge. The view is completely cleared all the way to the end, and you really get a sense of how far you have to hike 😉
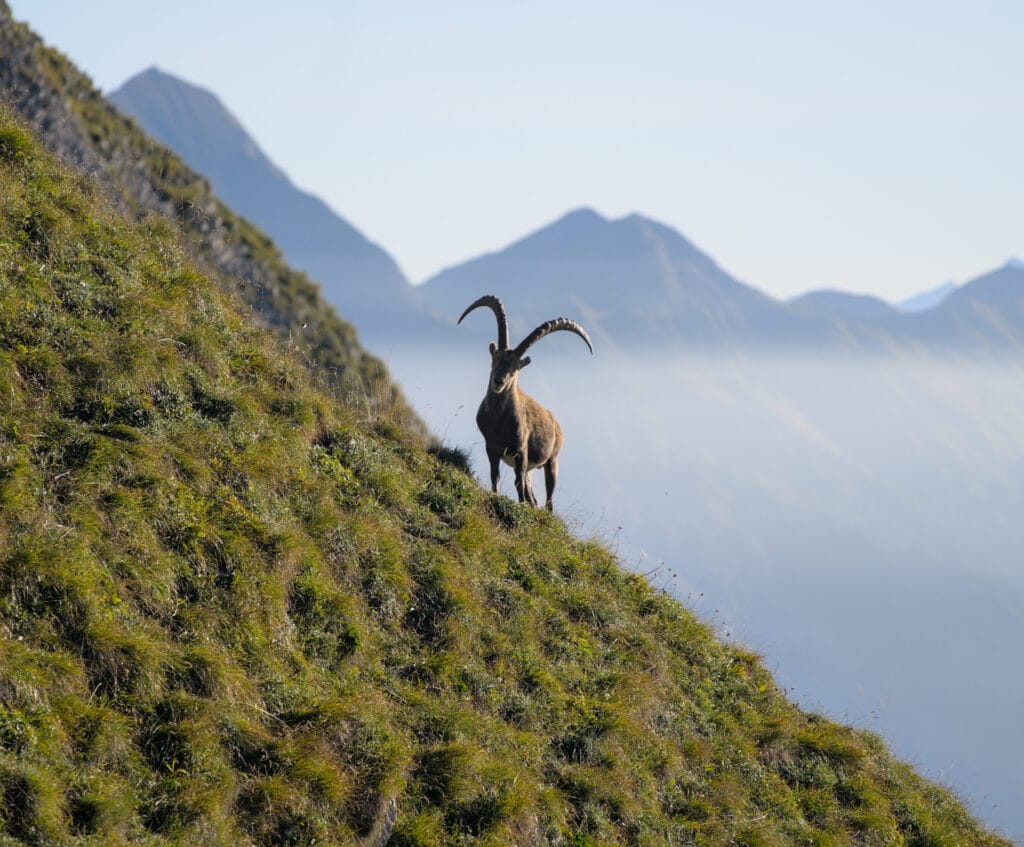
We continue towards the summit of Augstmatthorn, which is in fact not far from Suggiturm. Along the way, we come across a majestic ibex that doesn’t seem very afraid of us… He takes a moment to observe us, then disappears behind the ridge.
The view from the summit of Augstmatthorn (2137m) is spectacular! But it’s also from this point that things get serious and the trail gets a bit more technically challenging 🙂 . That’s why a lot of people climb to the Augstmatthorn from Lombachalp and then do a loop via the Suggiturm (but I’ll talk more about that in the easier alternatives).
From Augstmatthorn to Tannhorn
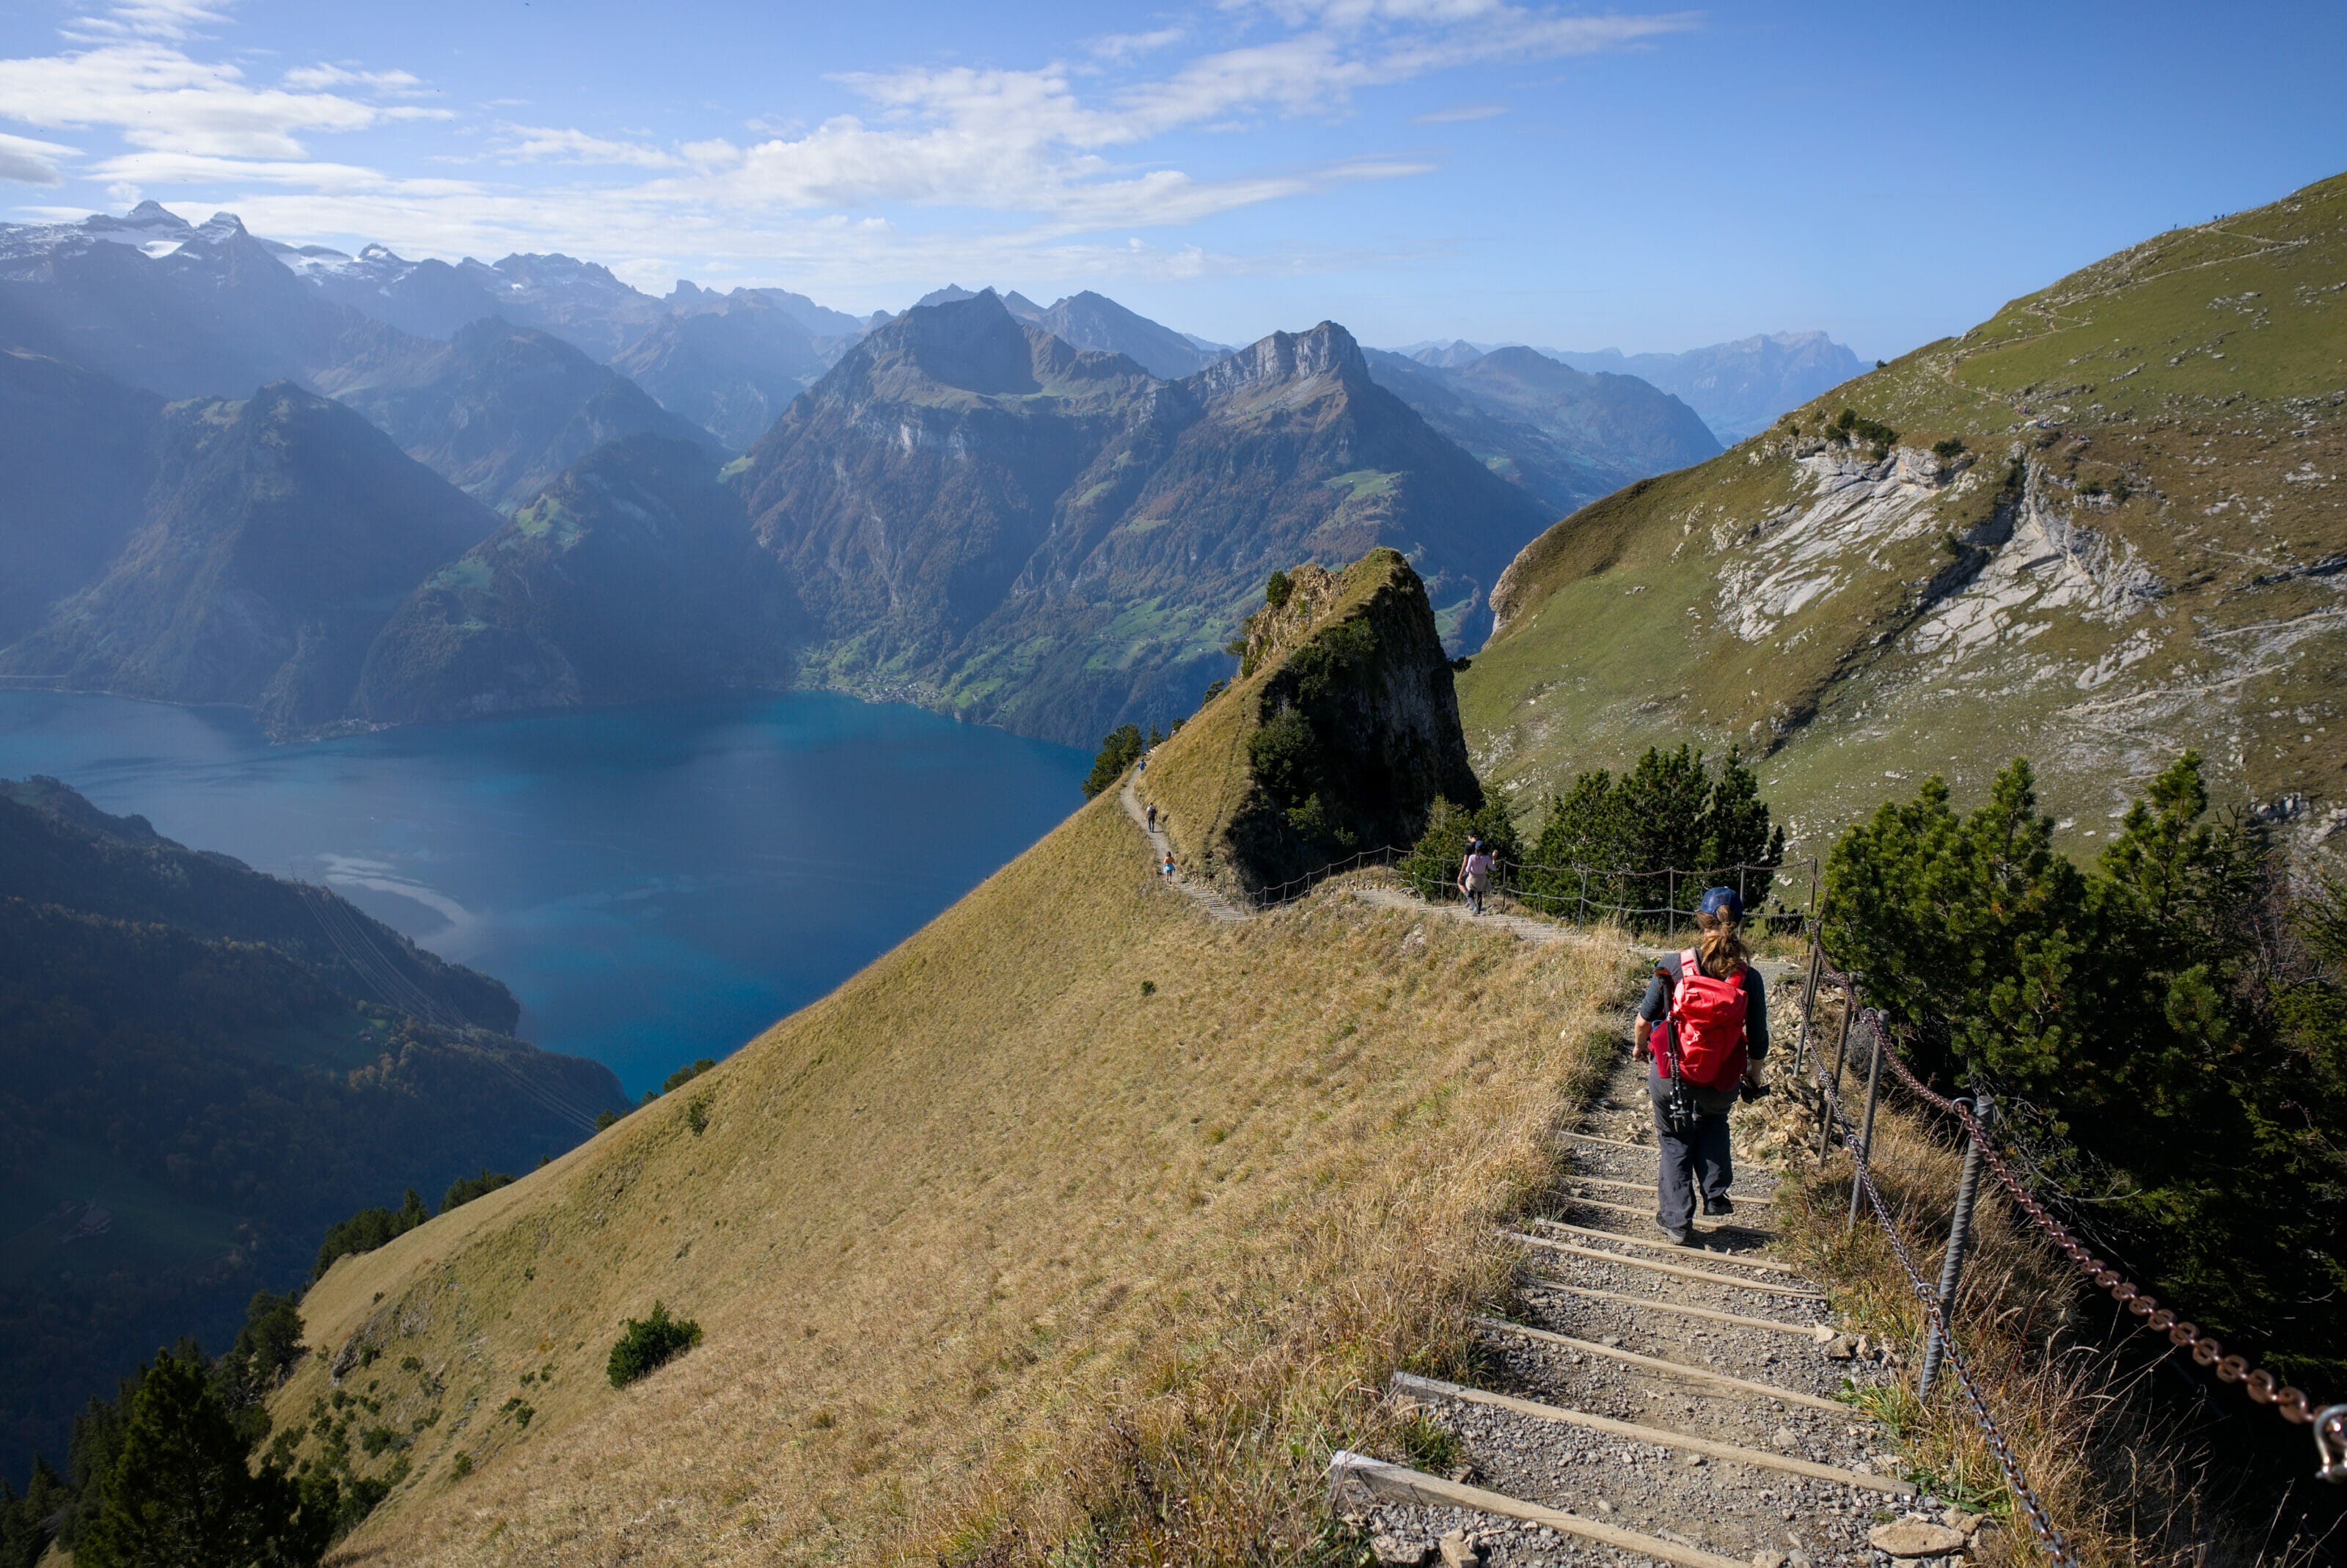
The sign at the top of the Augstmatthorn immediately sets the tone: white-blue-white for an alpine hiking trail. The descent towards Blasenhubel is steep and technical (it’s best not to slip here). But it’s also well equipped with a chain, as is often the case in Switzerland, so I’d say it’s about T4 difficulty.
But to help you make up your own mind, here are a few images of this part of the hike.
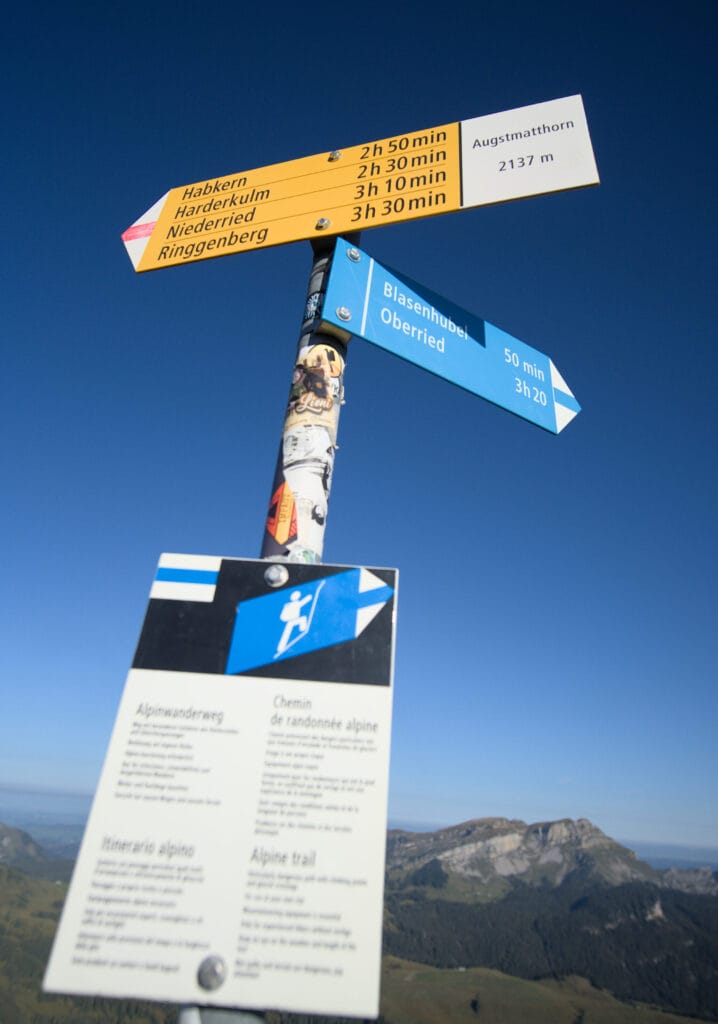
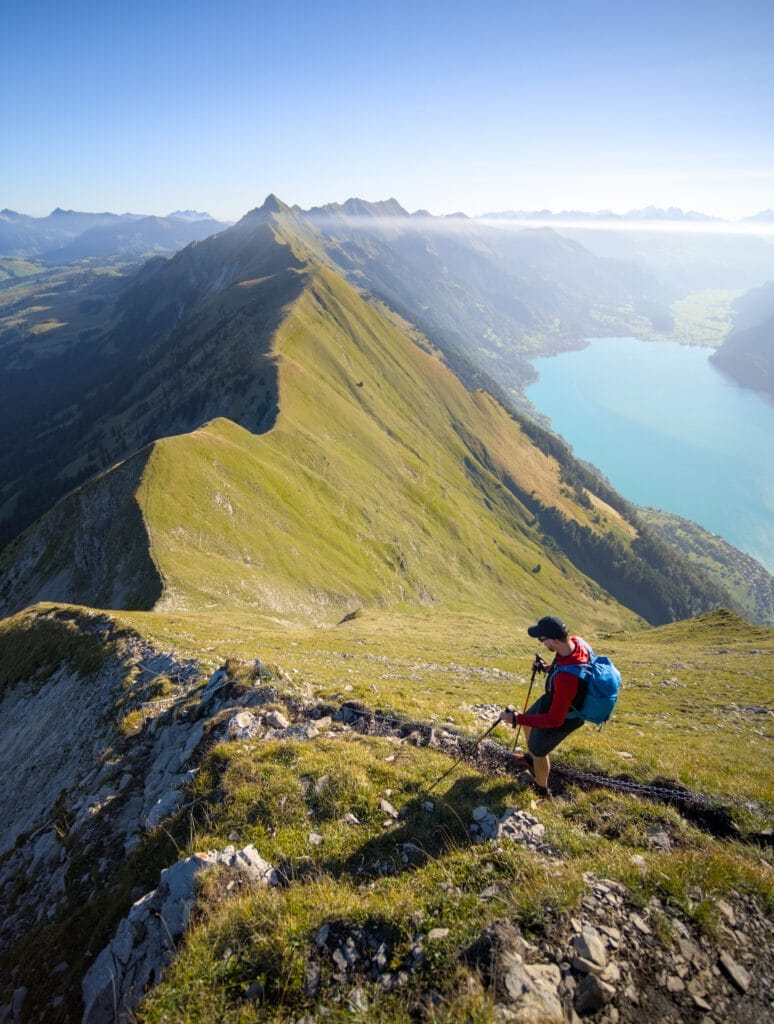
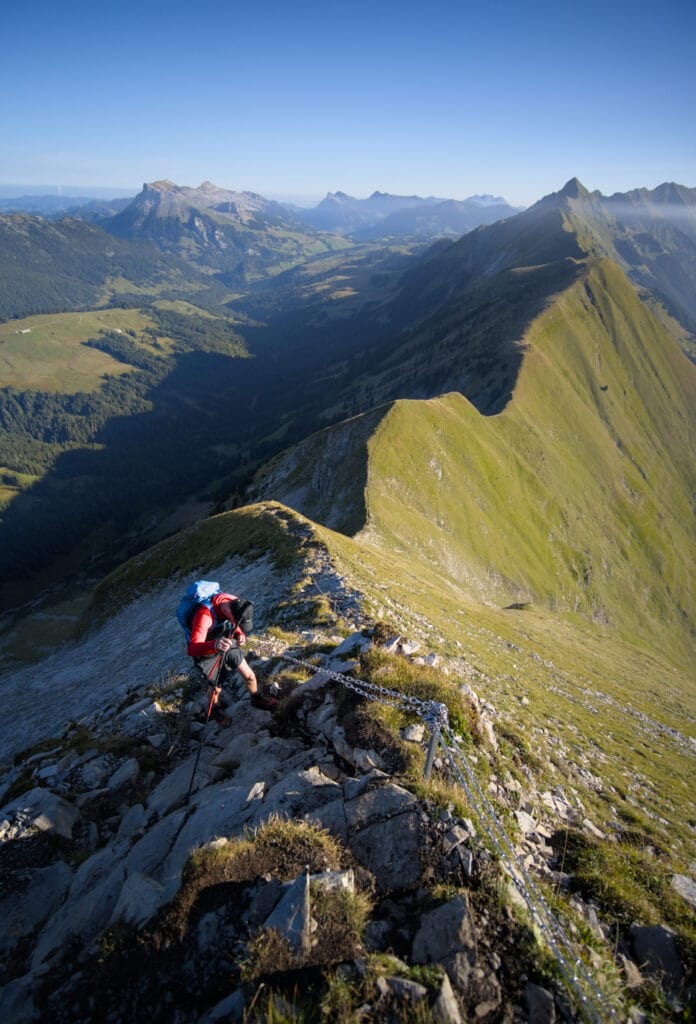
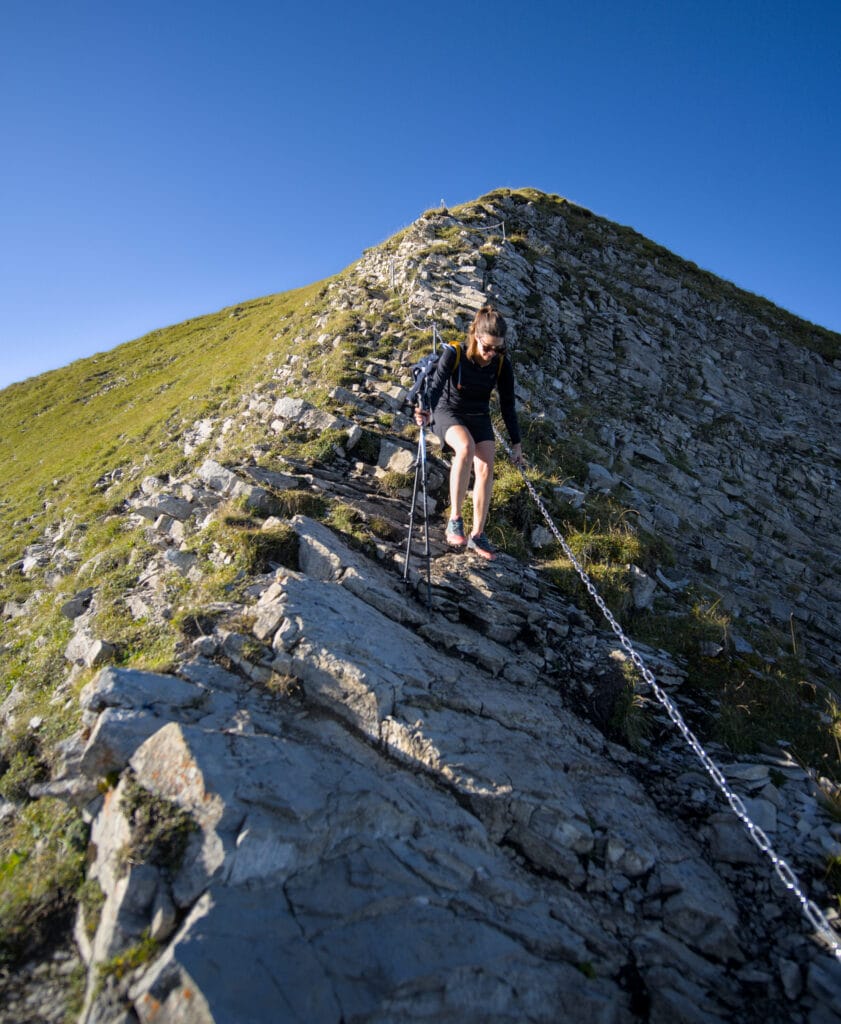
Note also that once at Blasenhubel, you can also leave the Hardergrat by taking the path down to Oberried (2h30 indicated walking time).
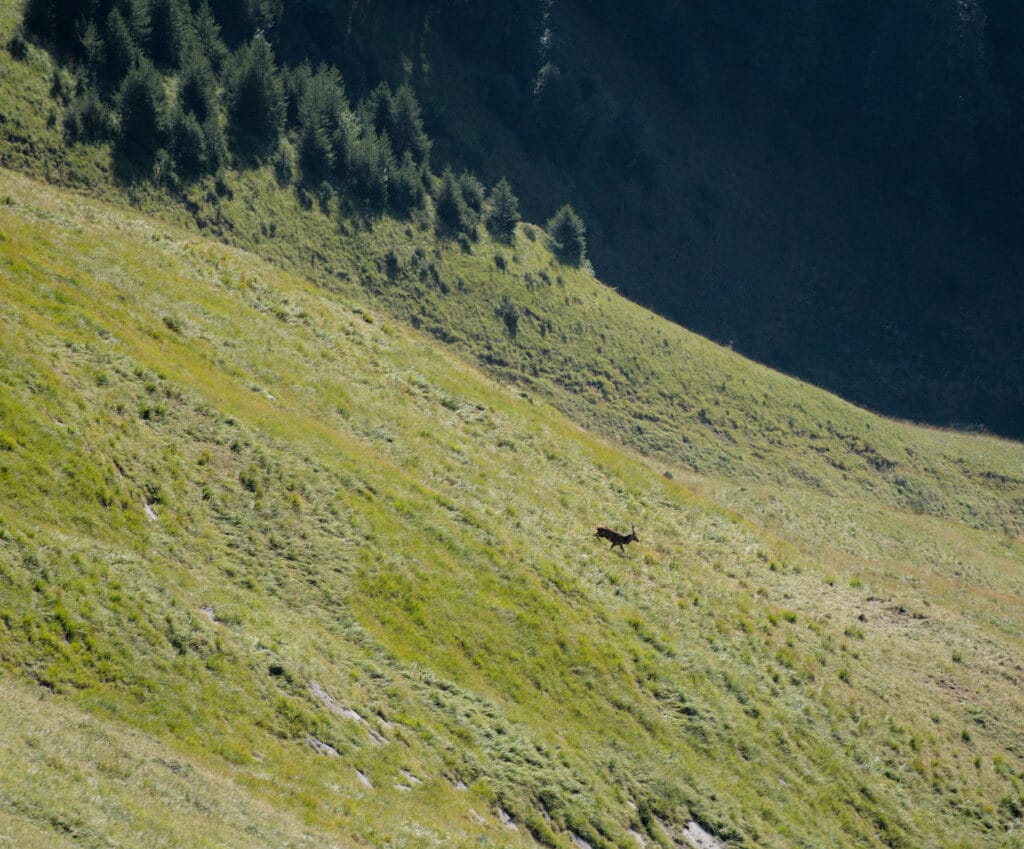
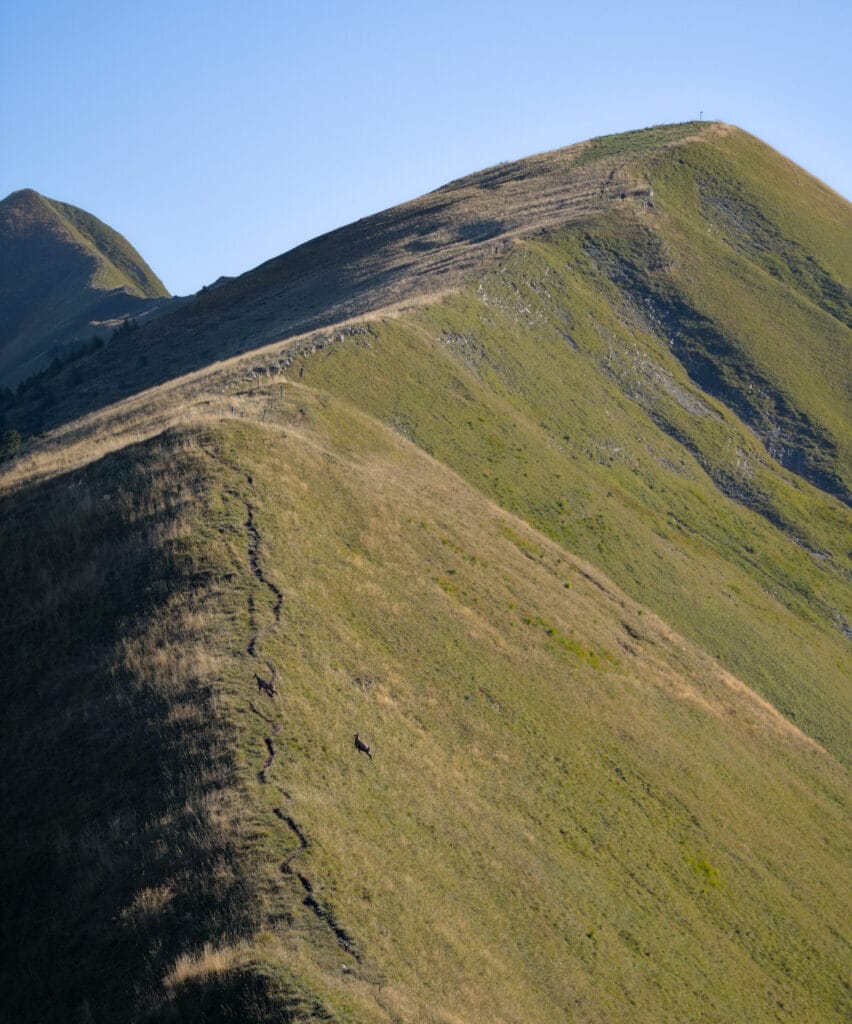
From this point, we begin a festival of ups and downs 🙂 and the trail is no longer officially signposted (although still very well marked). But it takes a little more than that to scare us… and besides, we’re lucky enough to spot a whole bunch of wild animals in this area. Wild goats, deer, stags… we’re spoiled to see so many of them.
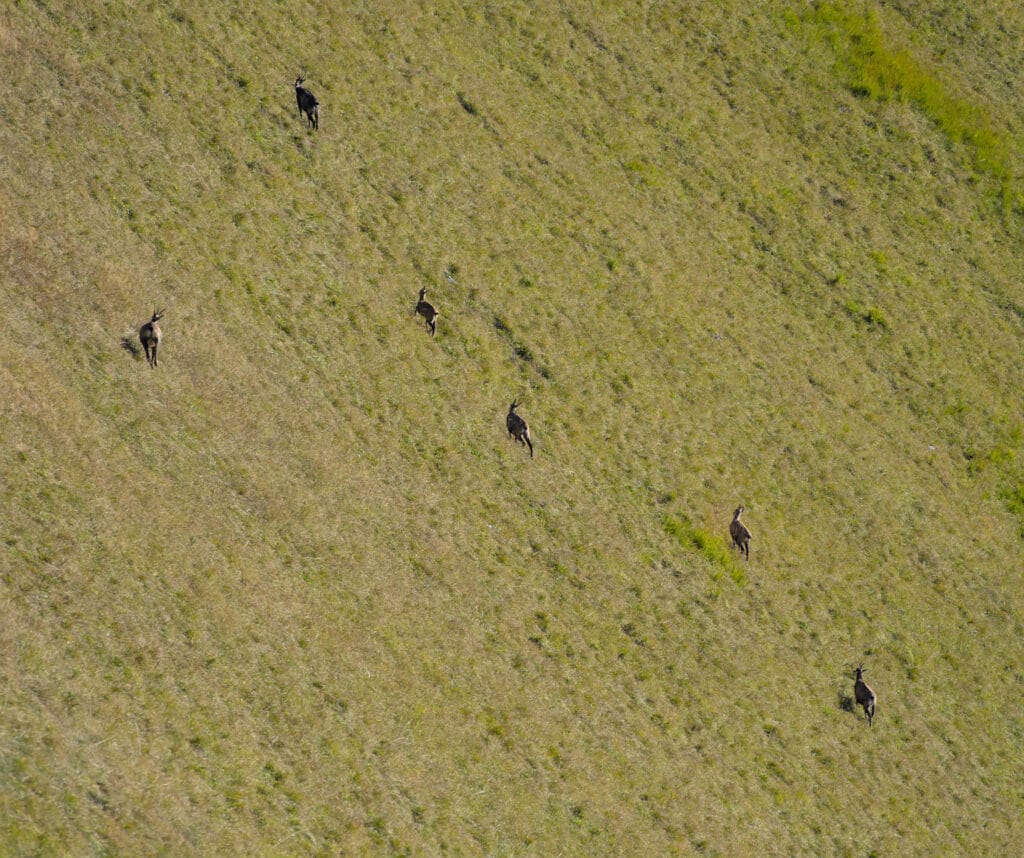
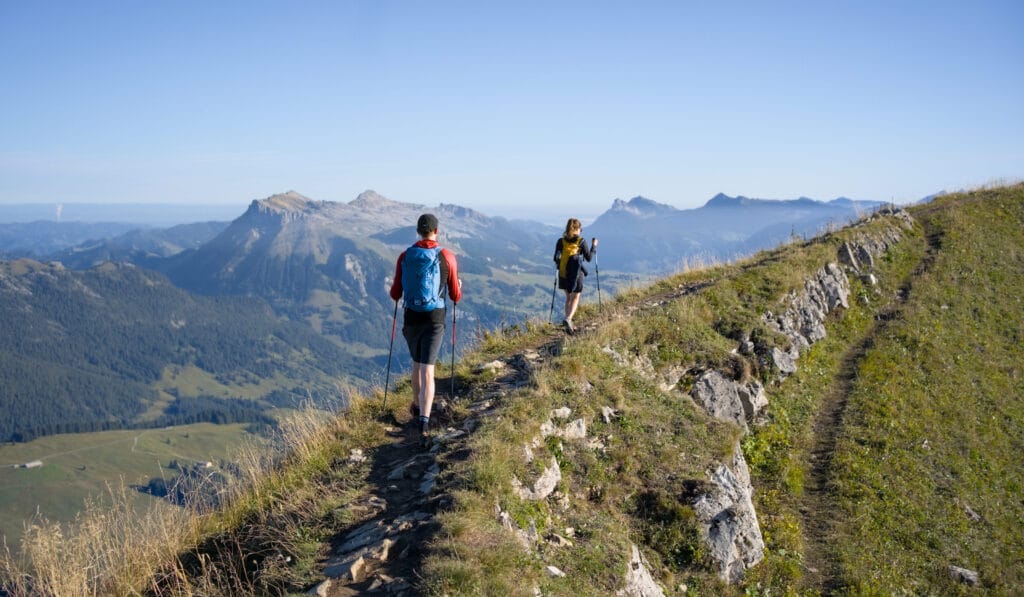
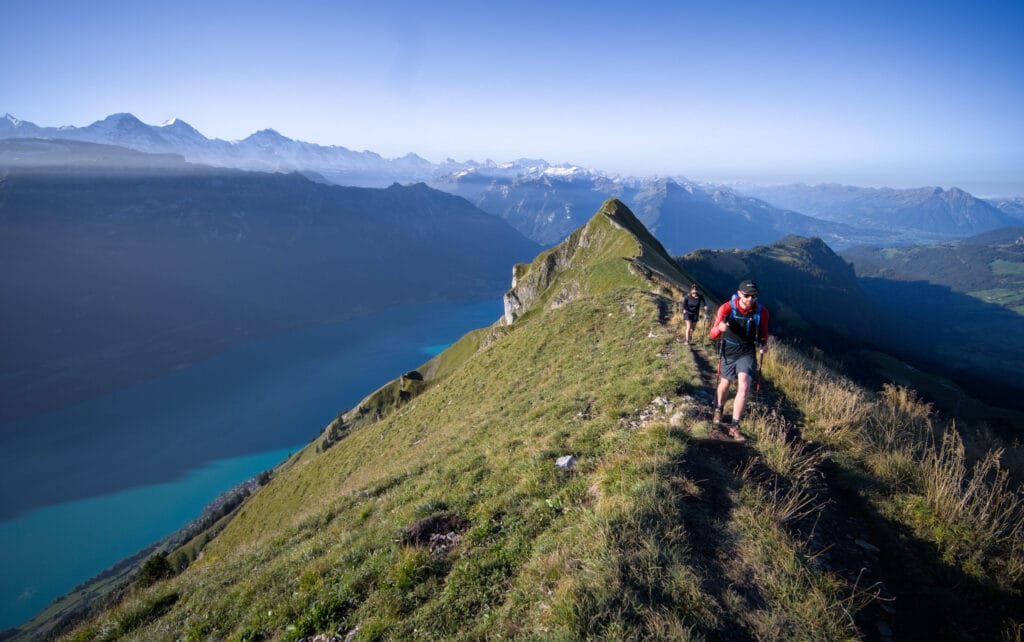
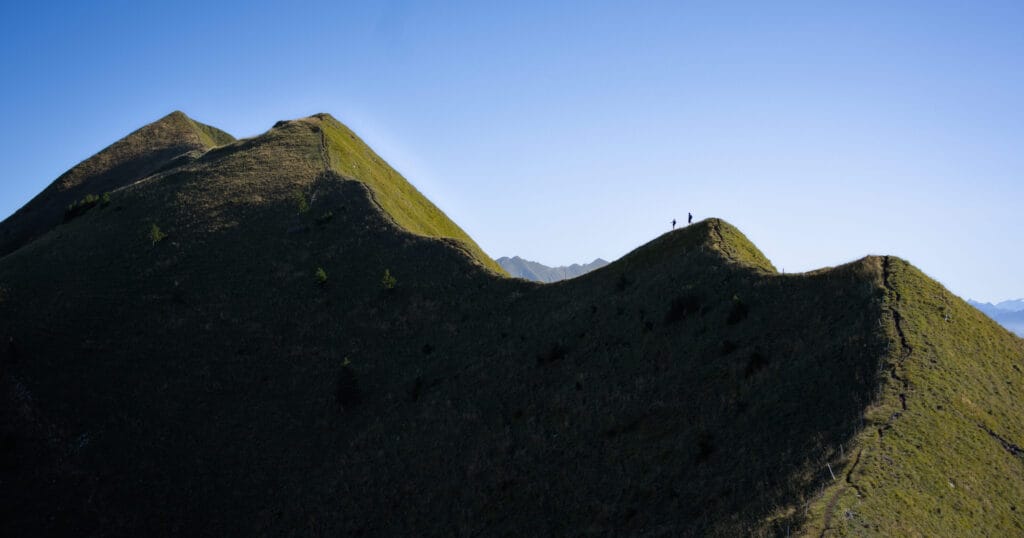
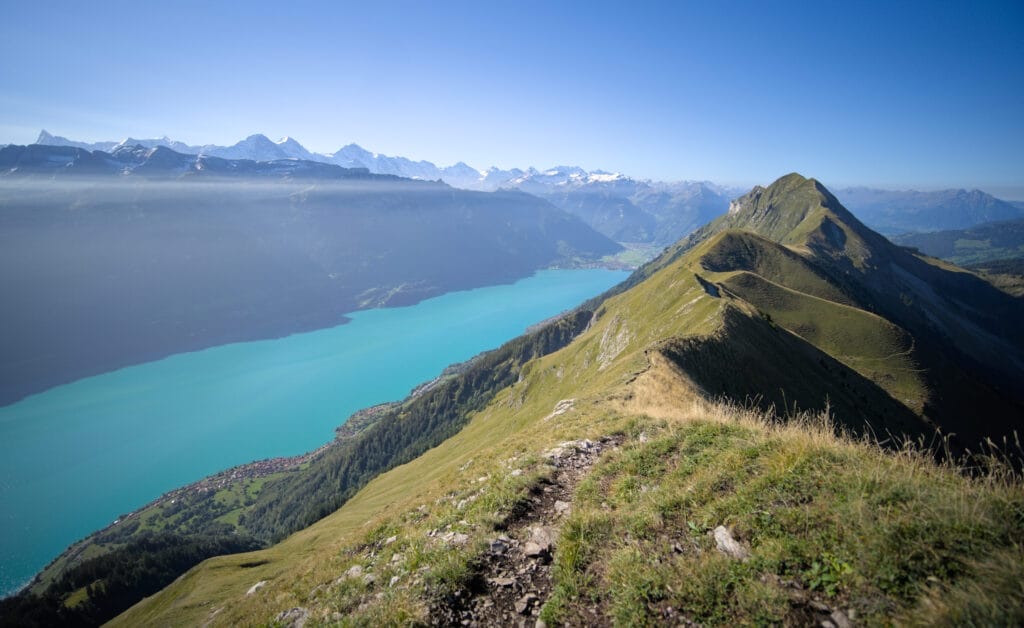
We start climbing towards the Gummhoren. We are overtaken by a pair of faster trailers, which gives me the perfect opportunity to photograph them on the ridge. Behind us, the first peaks of the Hardergrat gradually fade into the distance, and Lake Brienz shows off its turquoise hue as the sun rises. It’s hard not to stop every 5 minutes with such a panorama!
This part is pretty easy, so we may as well enjoy the scenery and give ourselves a break before the rest of the program.
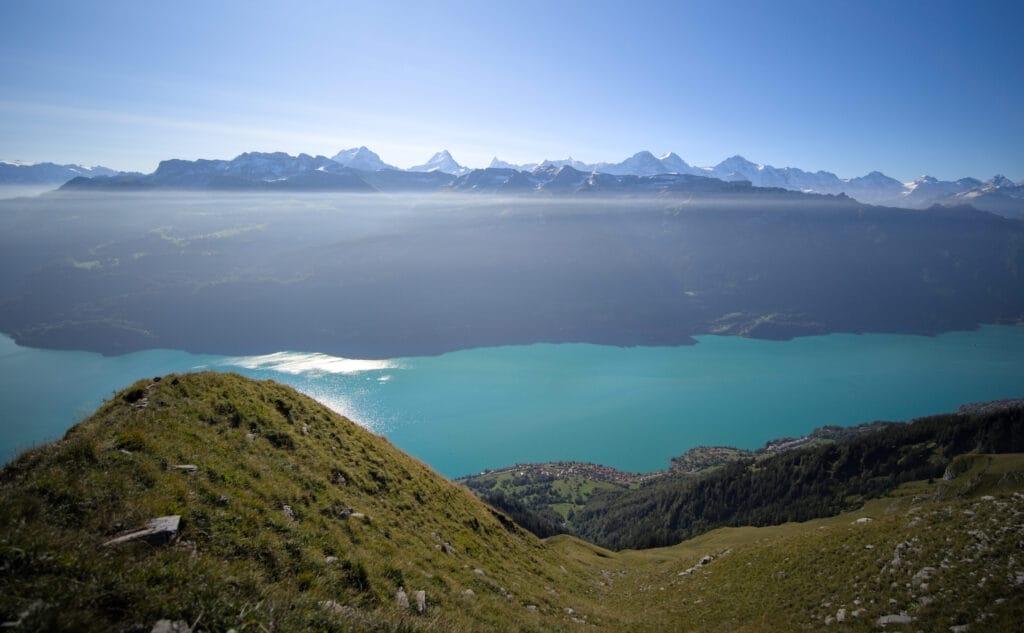
From the Gummhoren summit, there’s a fairly steep descent followed directly by a good climb up to the Schnierenhireli summit (2070m). Although you may have to use your hands at times, I didn’t find this section any more difficult than that (maybe T3)… But then again, after more than 15 kms and quite a bit of ascent, we’re starting to feel our legs too 😉
We then descend to the Älgäulücke on a steep path (not dangerous in dry conditions, even if you sometimes have to use your hands). On our left, we come face to face with a herd of ibexes resting in the shade.
This is also the moment my sister Sabine decides to come back down from the ridge (from Älgäulücke there’s also a trail leading back down to Oberried)… After 17.5kms, she’s starting to feel tired and prefers to call it a day. But it’s been so cool to share this adventure with her so far.
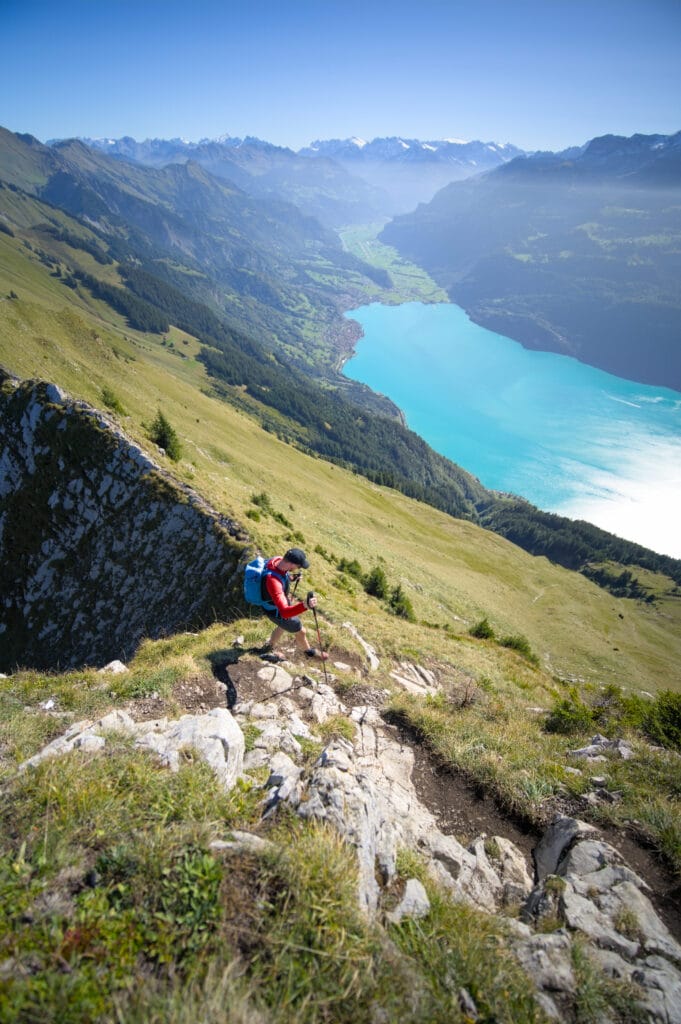
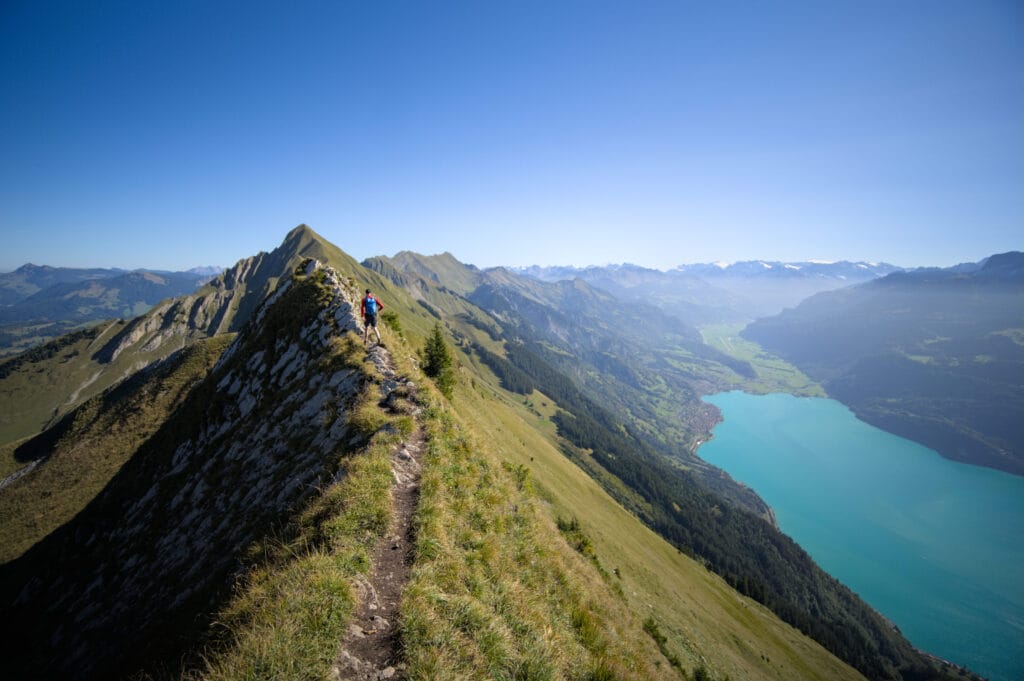
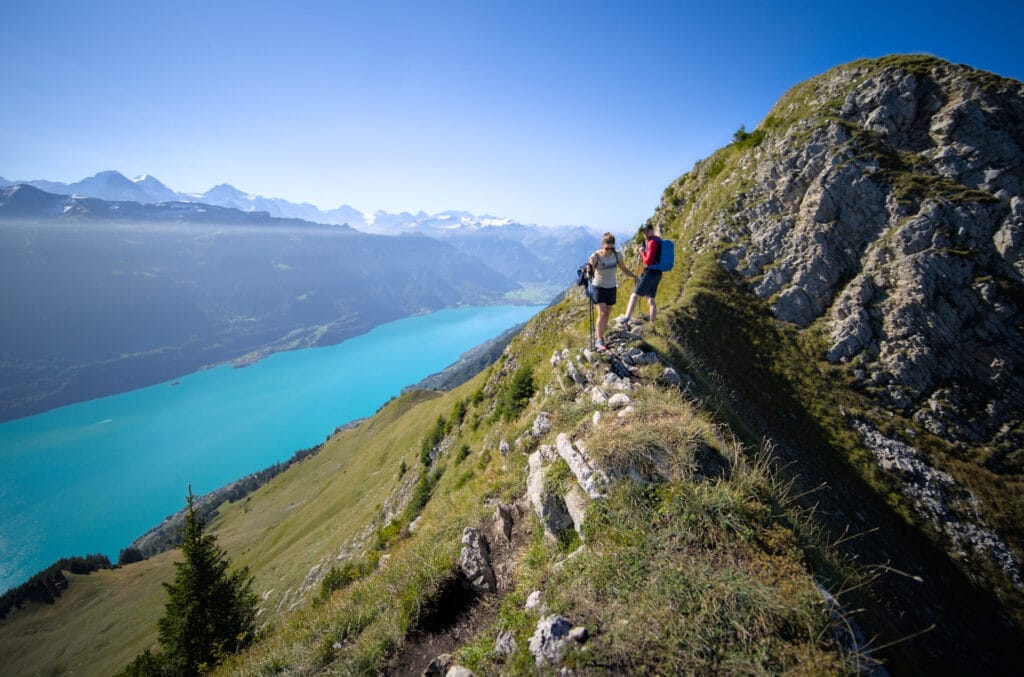
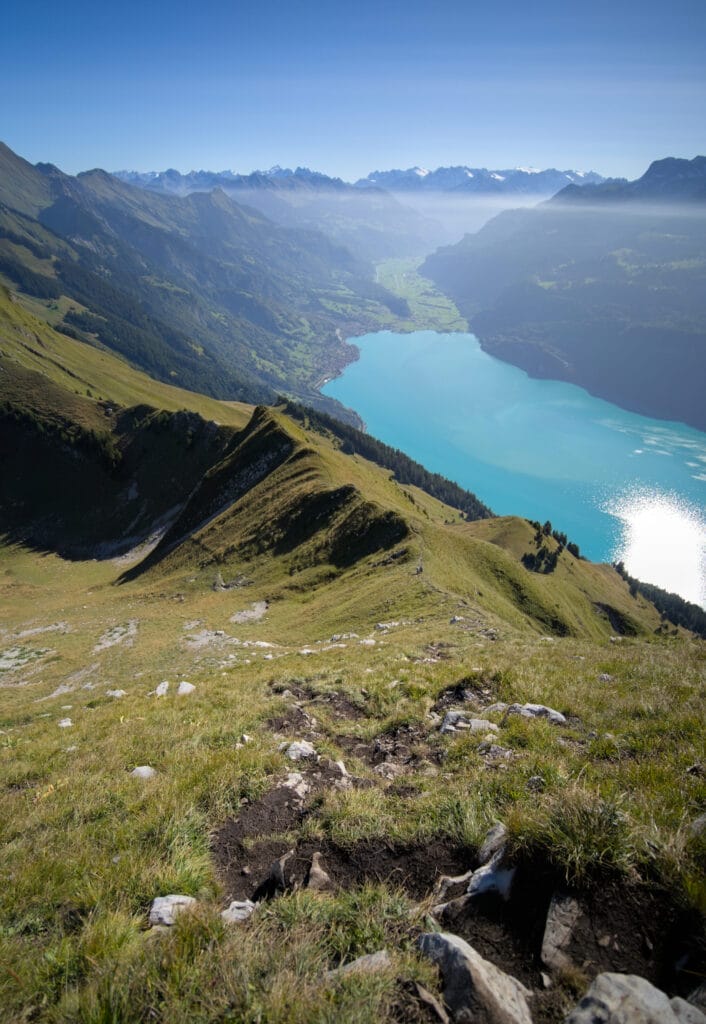
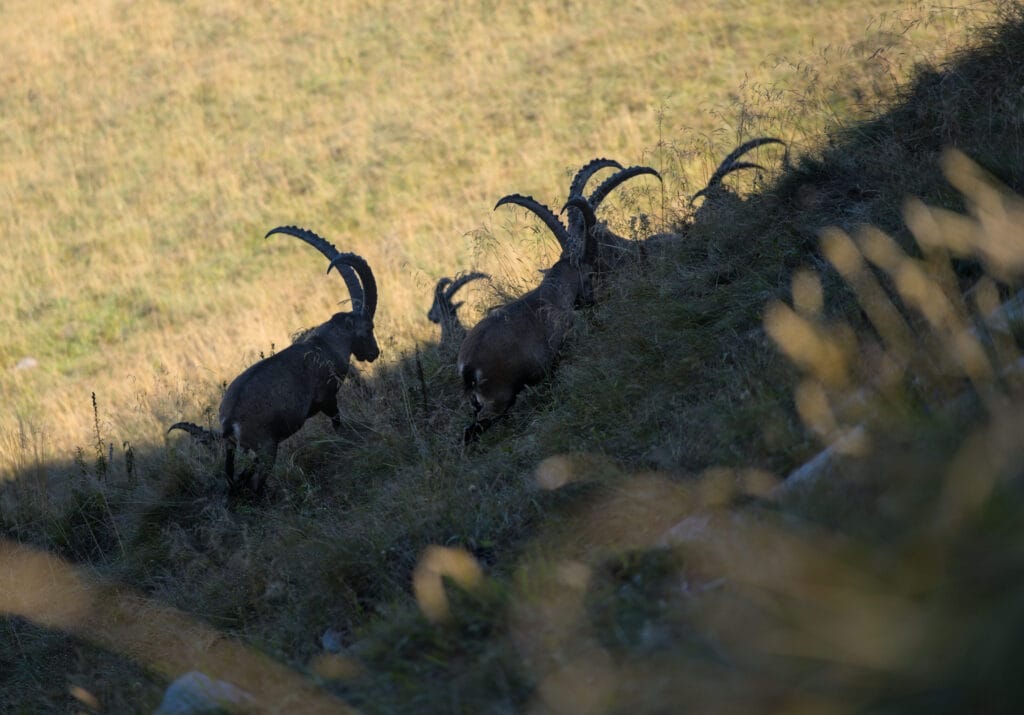
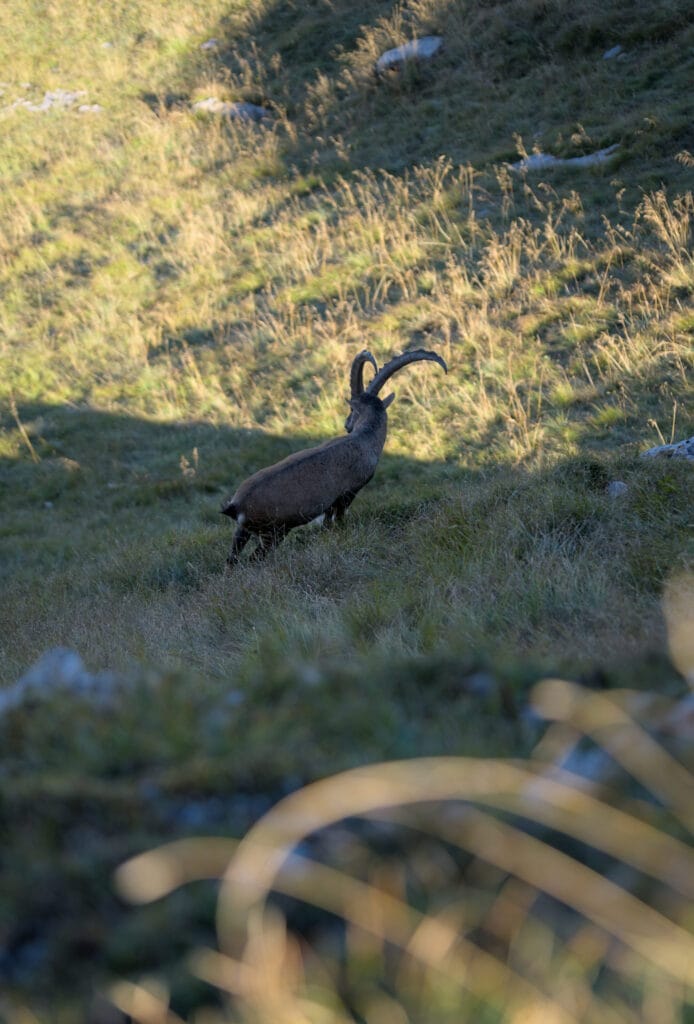
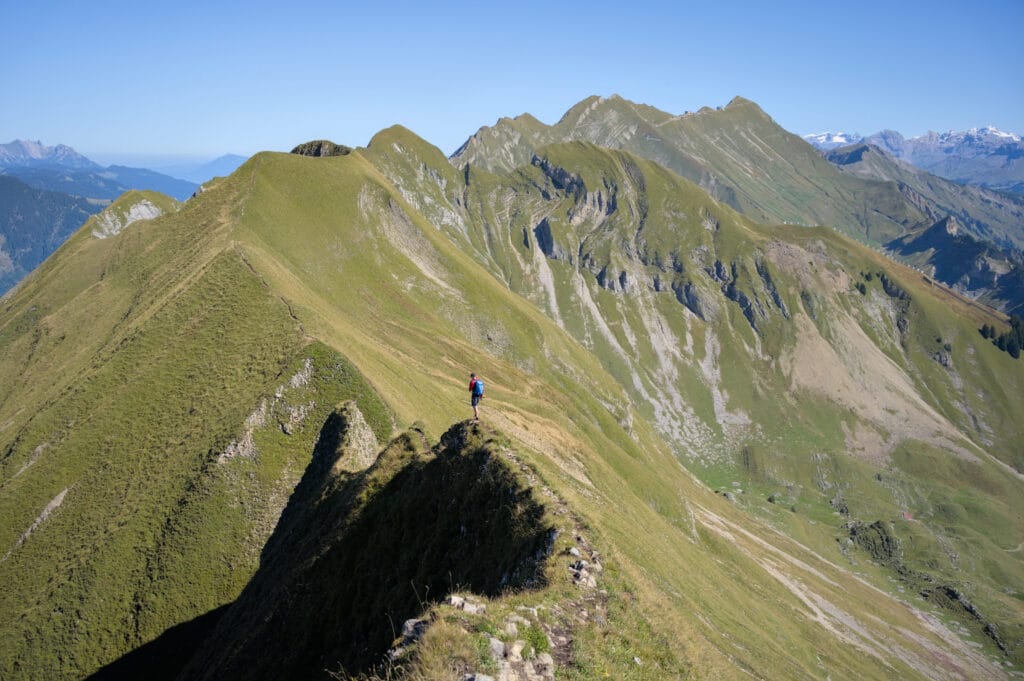
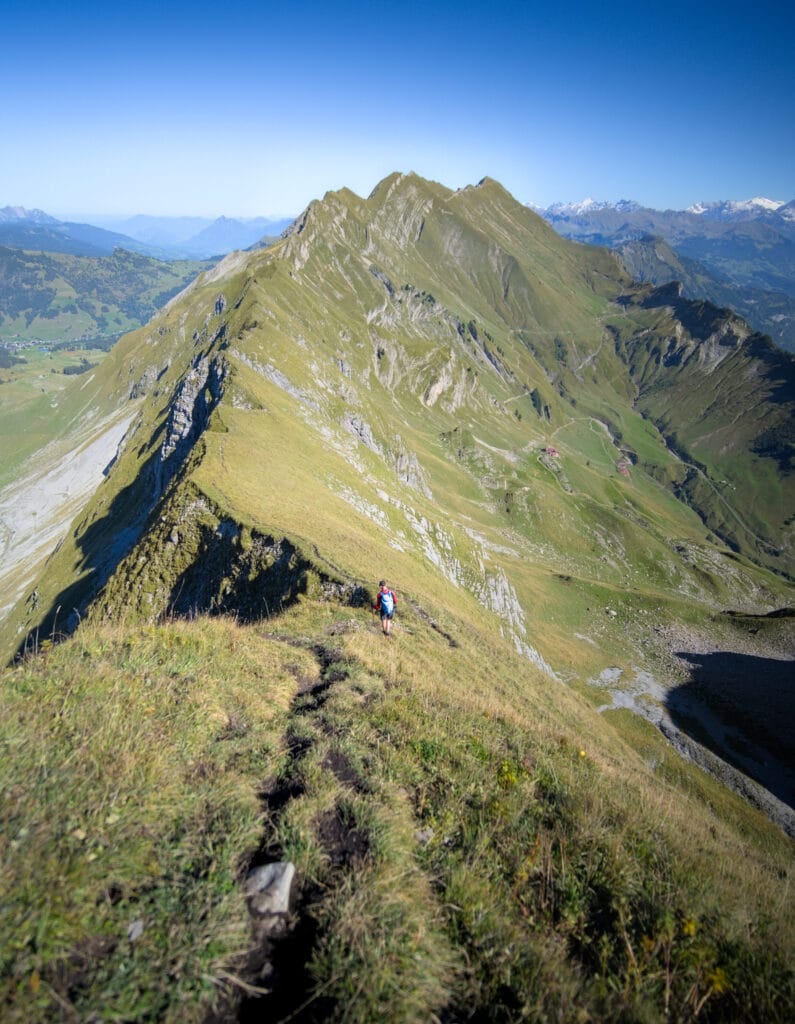
The two of us continue towards Älgäuwhören (2047m) and the notorious Tannhorn (2221m) (I say notorious because just after the Tannhorn is the most difficult part of the Hardergrat). We’re still pushing on with another steep climb (but still no more difficult than T3, I’d say). In front of us, the ridge leading to the summit of the Tannhorn is impressive!
In a way, it’s the ridge of all ridges! A beautiful, narrow, grassy line with the trail running along the ridgeline… quite frankly, it’s pure bliss 🙂
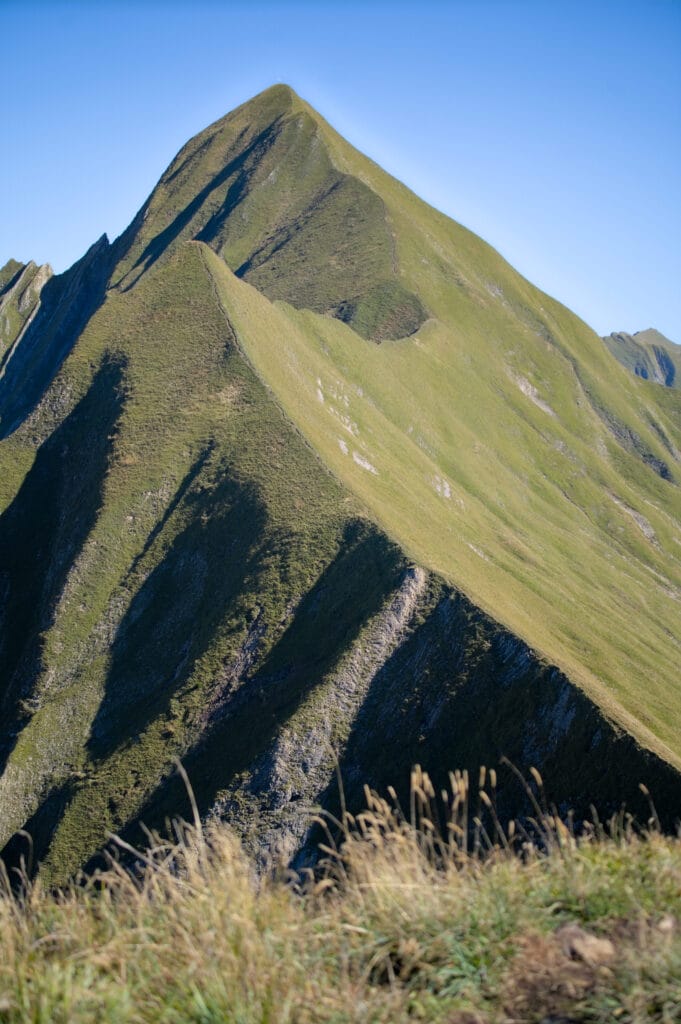
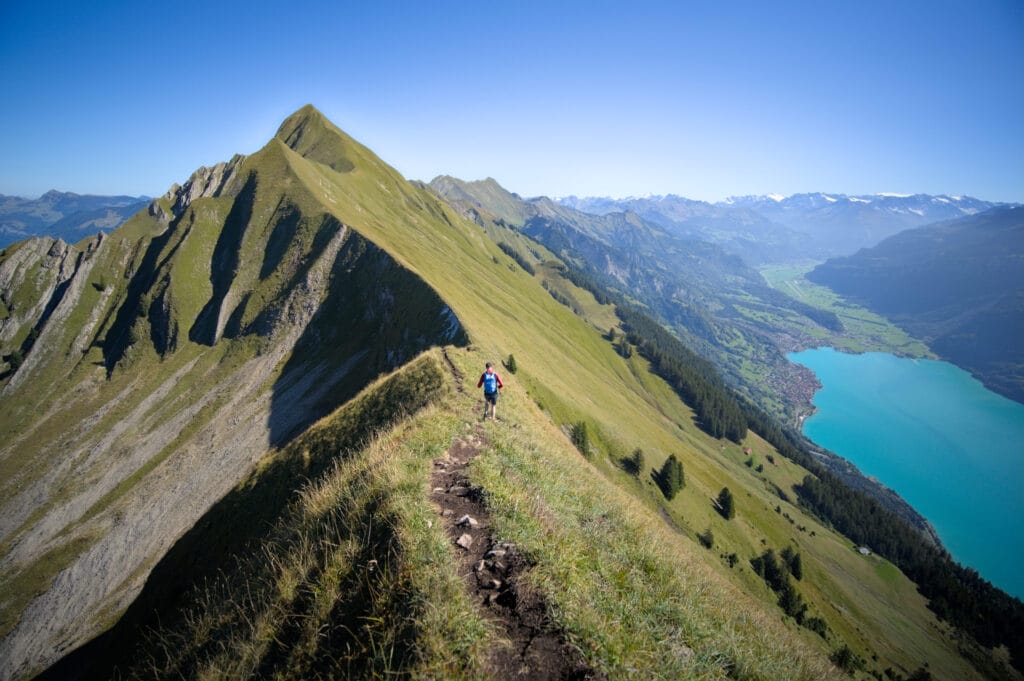
It’s a real feast for the eyes, and even if we start to feel the climbs, we quickly forget our aching feet when hiking through such landscapes 🙂 . So far, I’d say that the main difficulty of the Hardergrat is really the succession of ascents and descents, rather than the technical difficulty. You do need to be in good physical condition to do them all 😉 .
When we reach the top of Tannhorn, we take a well-deserved pic nic break before tackling the most exposed part of the ridge and the last 5-6 km to Brienzer Rothorn.
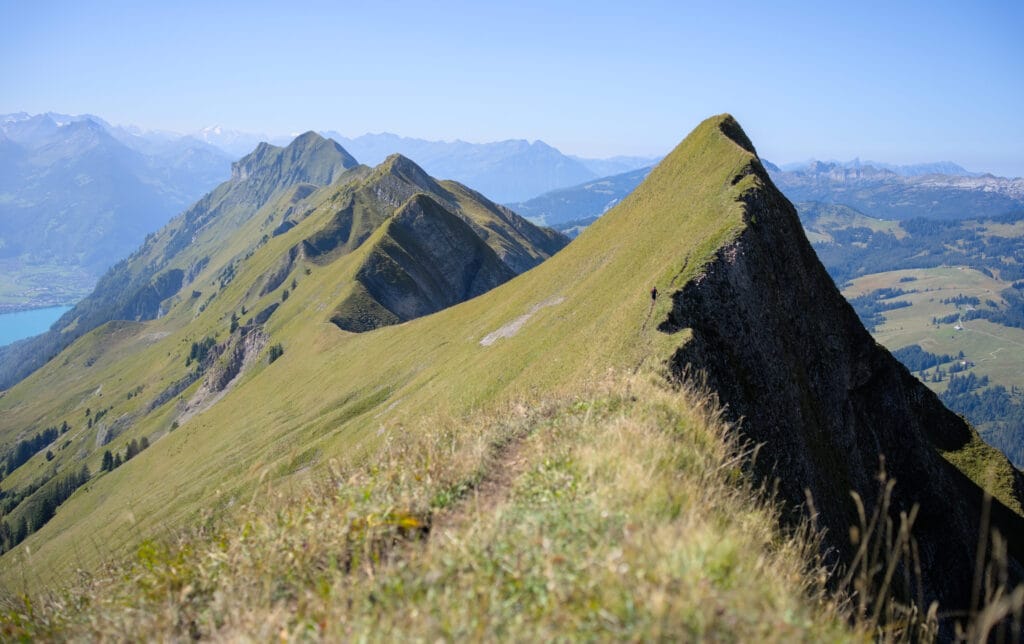
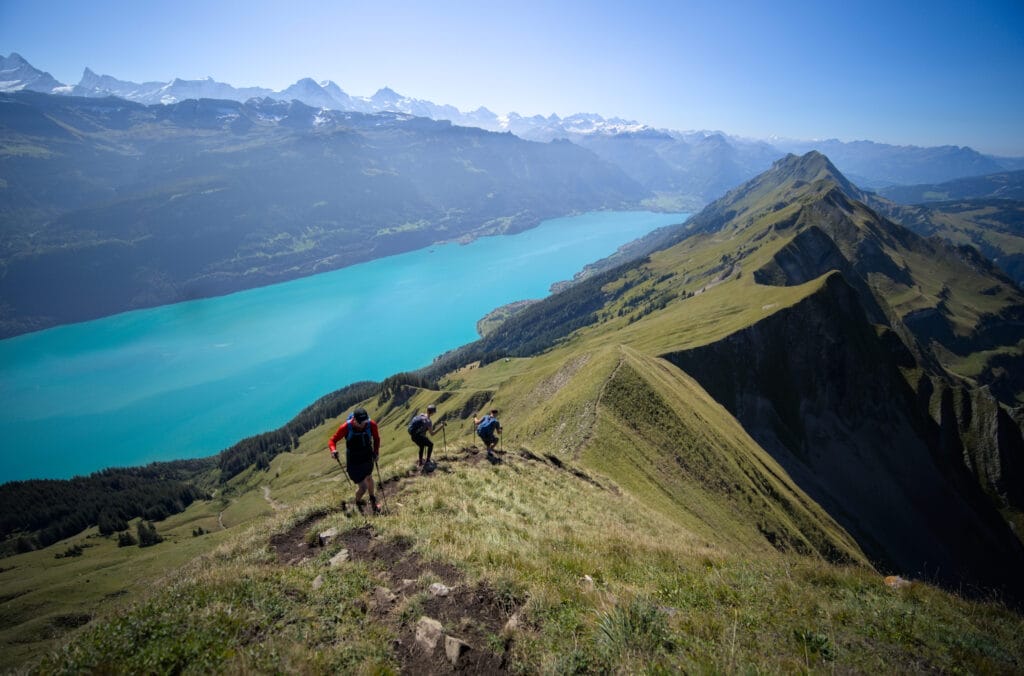
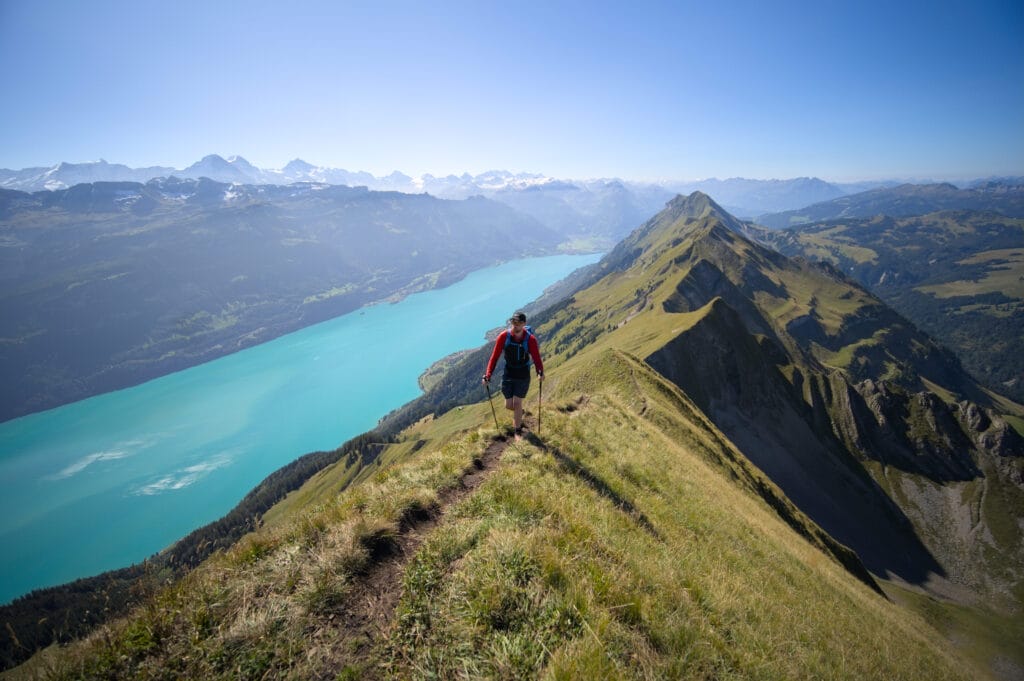
From Tannhorn to Brienzer Rothorn (+ pictures of the difficult passage)
So I have to say I had some trouble finding photos on the internet for the T5 passage just after the Tannhorn. Probably because it’s not really the place where you want to grab your camera and take pictures lol 😉 . But since I’m a dedicated blogger, I made an extra effort to take as many photos as possible of this tricky passage.
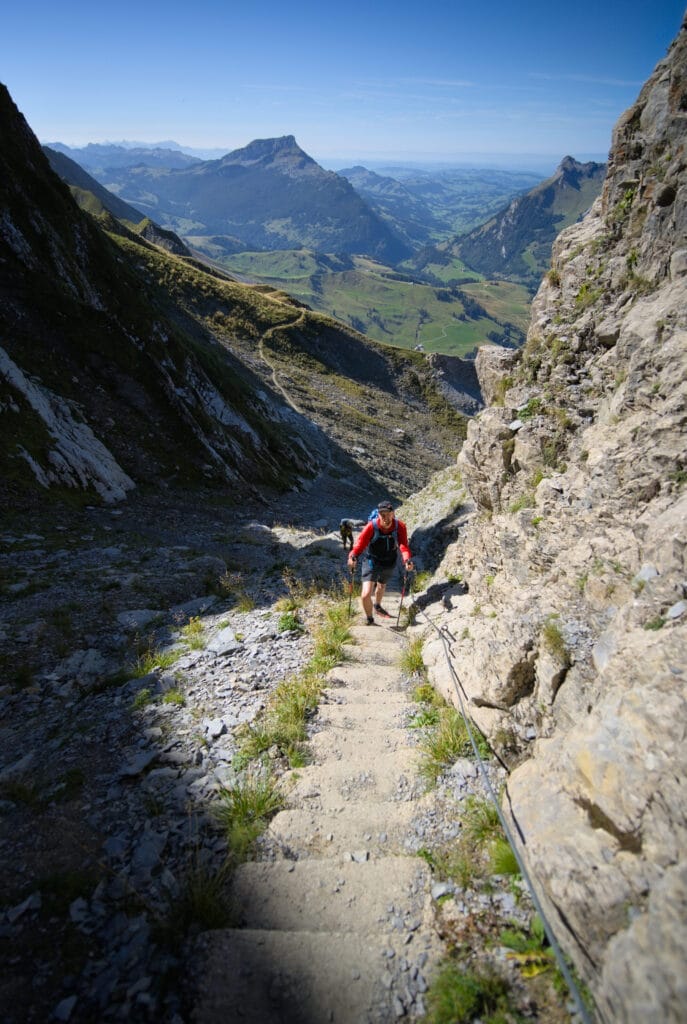
And indeed, this is the most difficult section of the entire Hardergrat. On this passage, it’s best to be confident on your feet and not to be afraid of heights. You can’t fall here, so just concentrate and watch where you put your feet (and hands). This being Switzerland, the most difficult section is equipped with a handrail.
Here are the photos, and I’ll let you judge for yourself whether this passage is too difficult for you or not.
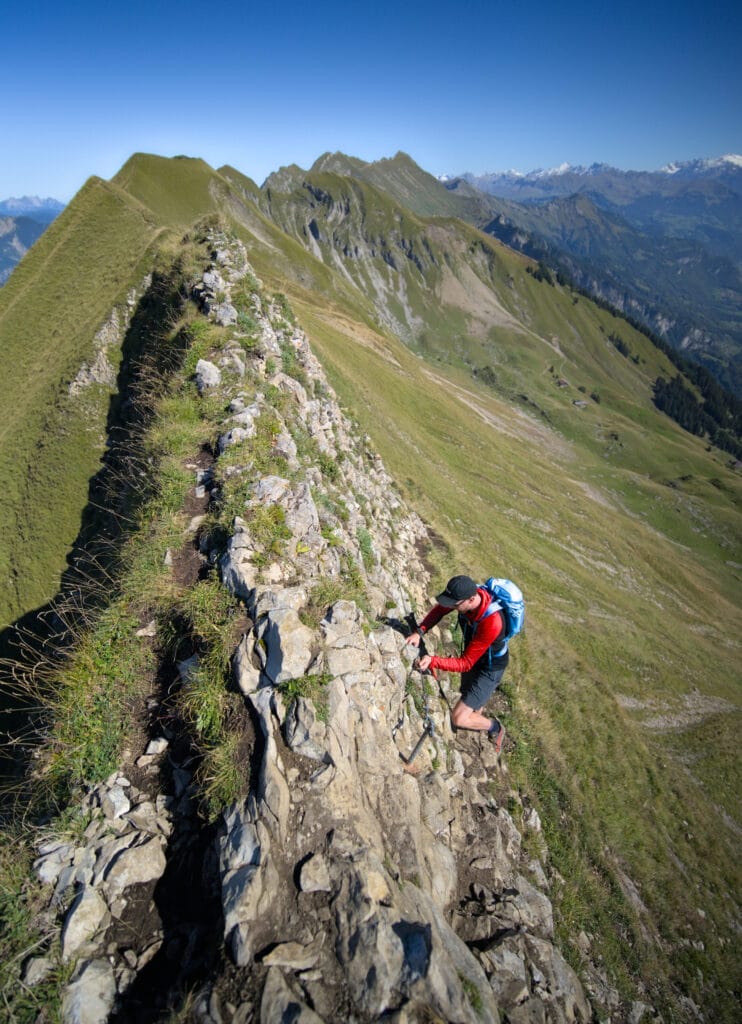
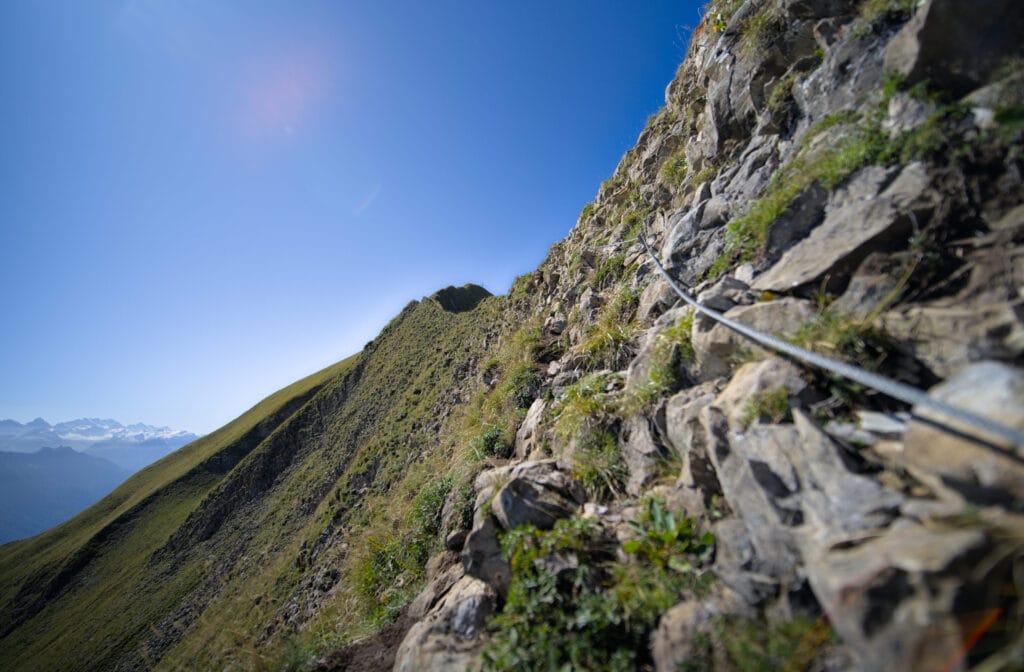
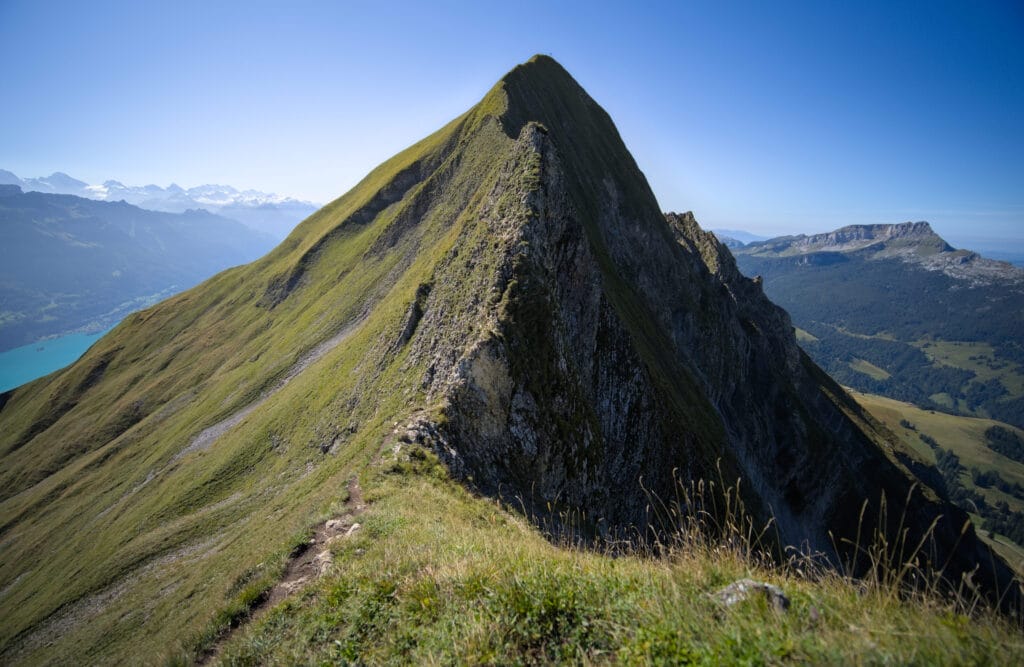
If you’ve made it through this passage, the last 5km to the summit of the Brienzer Rothorn should be no problem. We climb up to the Balmi summit (2141m) and then cross the Wannenpass to the Briefehörnli. There’s just one small, more exposed passage where you have to descend a short traverse (2-3m long, but with gaps on both sides) to climb back up on the other side and continue on the ridge (I forgot to take a photo of this passage).
Finally, once you’ve reached the Chruterepass, the end is just a “formality” (well, it’s still 200m of D+ to the train station… not so easy after all those kilometers). All that’s left is to climb a steep staircase to the steam train station just below the summit of the Brienzer Rothorn.
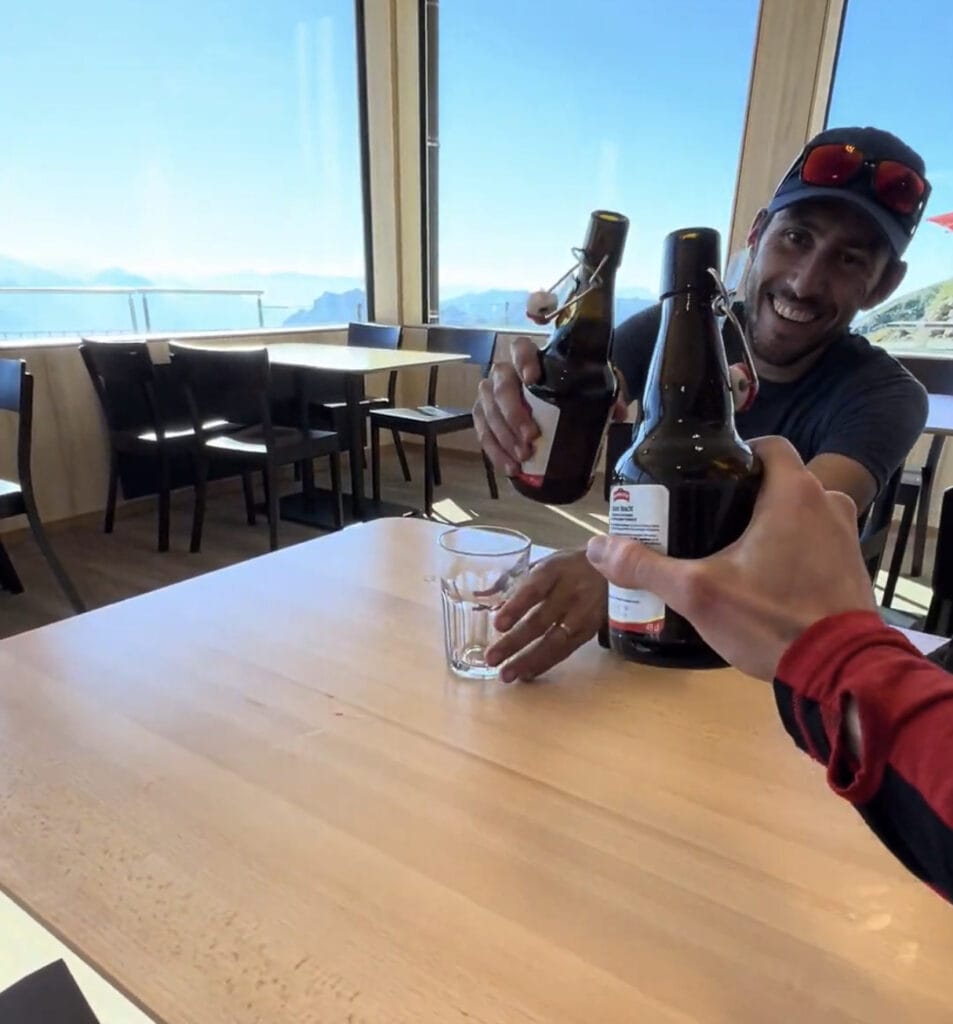
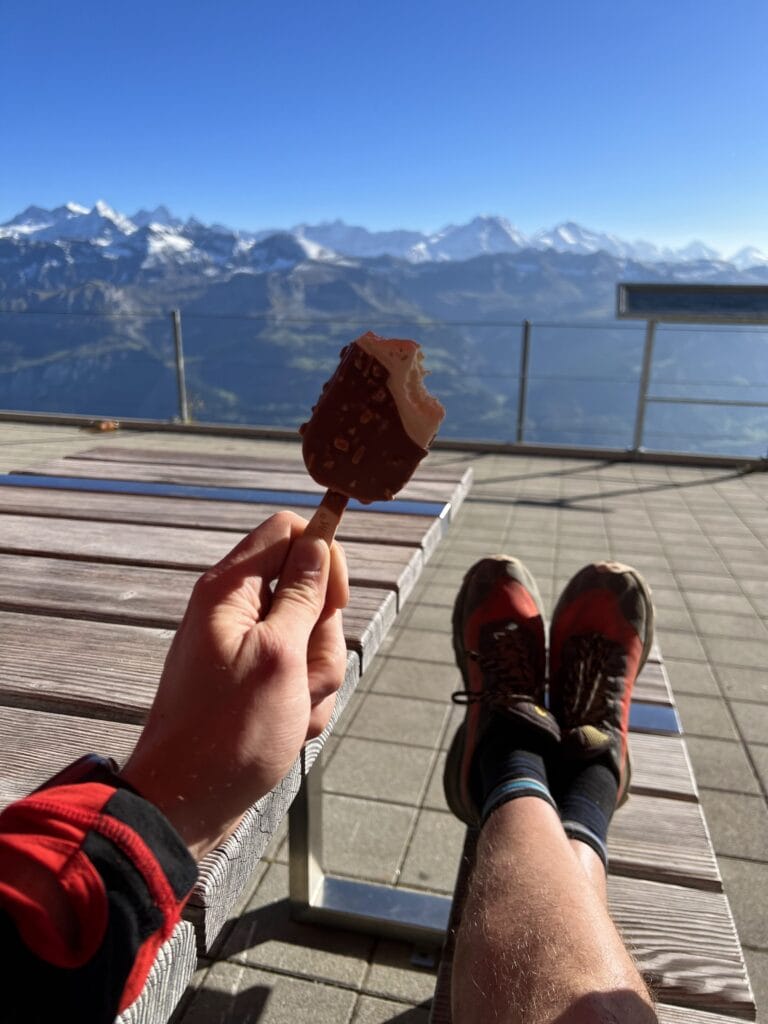
And if you have the time, do as we do and treat yourself to a well-deserved beer at the restaurant just above the station. The view from the terrace is splendid, and you can admire how far you’ve come before catching your train 🙂
Ride down on the Brienzer Rothorn steam train
As for us, after the more than 24 kms we had up our sleeves, we were quite happy to take the train back down to Brienz… But of course, if you’re still up for it, there’s nothing to stop you walking the last 12 km between the Brienzer Rothorn and the Brunigpass 😉 .
Honestly, as I said at the start, the train isn’t exactly cheap, but it’s a unique experience. It’s certainly one of the only places in the world where you can take an old steam train like this to the top of a mountain 🙂 . I’ve put a few photos below to whet your appetite, but you can read our article about this for more info.
Our Hardergrat adventure in video
If you want to see videos of our adventure on the Hardergrat, my buddy Austris has posted 2 real cool instagram reels which you can see over here:
- Full Hardergrat video
- Insta 360 video (it makes it look more impressive than it really is 😉 … By the way, as I write these lines, this video has had almost 3 million views.)
Useful infos for the Hardergrat
How to get to the Hardergrat?
Nothing complicated here… You can easily get to Brienz or Interlaken by train (see timetables here). If you prefer to come by car, there’s a large pay parking lot next to Interlaken train station and several smaller ones around Brienz train station.
I’ve already mentioned the steam train, funicular and gondola timetables above!
What time of year is the best for the Hardergrat?
So the season for doing the Hardergrat is quite long. Obviously it depends on the conditions (whether there’s still snow or not), but you can probably do the hike from the end of June to the end of October if you’re lucky.
On the other hand, as I’ve already mentioned, one of the Hardergrat’s difficulties is that it’s impossible to refill with water along the entire ridge. Moreover, there’s no place to shelter from the sun, and it can get very hot in the middle of summer, since we’re not that high up. So if you do the hike in July/August, you’ll be carrying a lot of water!
So in my opinion, September or October are probably the best months to do the Hardergrat.
What to take on the Hardergrat ( gear, food )
Well, that’s a bit personal too, and will depend on whether you’re hiking or trail running the Hardergrat. But to give you an idea, here are the essentials in my opinion:
- plenty of snacks
- 3-5 liters of water minimum
- cap and sunglasses
- hiking or trail poles (it depends on your preferences, but personally I was happy to have them, and I could always hang them on my backpack during the more technical sections)
- trail shoes with good grip (i.e. no slick soles after 3 years of use, if possible)
- sun cream
- an interactive map on your phone (or a paper version) to show you the various options if you want to shorten your adventure.
Easier alternatives to the Hardergrat
I’m well aware that doing the whole Hardergrat ridge isn’t necessarily accessible to everyone. So if you’d still like to enjoy these incredible landscapes without walking more than 20 kms, here are a few options for you:
from Lombachalp to Augstmatthorn
In summer, there are buses up to Lombachalp (you can also drive up and park there), and from there it’s a lovely 6 km loop up to the Augstmatthorn and Suggiturm.
from Planalp to Brienzer Rothorn
This is the classic hike that you can do with the steam train’s “hiker” ticket. With this ticket, you can take the train up to Planalp, hike up to the Brienzer Rothorn and then take the train back down.
This is the option Fabienne and I chose during our autumn road trip in 2022. So for all the details about this hike, just go and read our post about it 🙂
Useful links
- I’ve found this page to be a very good resource for preparing the Hardergrat.
- If you’d like to read another point of view on the Hardergrat against this hike (even if I don’t necessarily agree with this post), click here.
That’s it, I hope this article has given you a better idea of this certainly spectacular itinerary (but not suitable for everyone). As I’ve had a bit of trouble finding good articles online, I’ve tried to share with you as much information and photos as possible to help you decide whether or not you can tackle this hike. I hope you find it useful.
And as usual, if you have any further questions or comments, don’t hesitate to leave a comment below 🙂
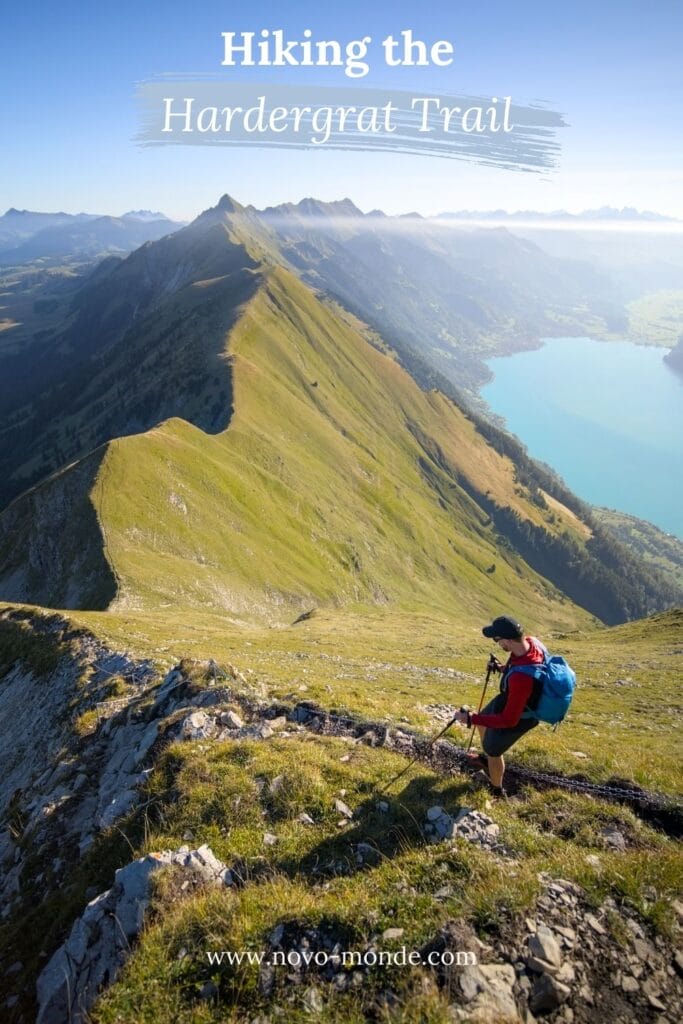
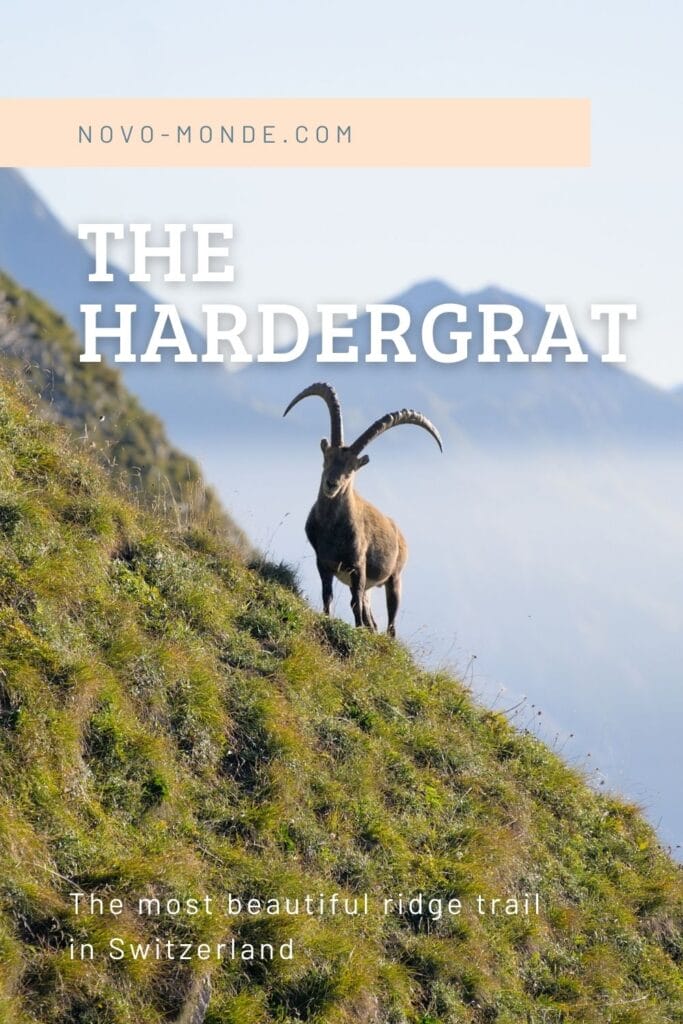
Pin it on Pinterest

Join the discussion