After a restful break of 2 months in Quito and Benoit’s ascent of Cotopaxi, it’s time to hit the road again! We were full of energy when we resumed our backpacks towards Latacunga for the next part of our South American journey! Our spirits were high, and the trekker’s tan (socks and T-shirt) had almost disappeared. In short, it’s the perfect time to get back on track and continue our trip to Ecuador. This return couldn’t be more perfect with these 4 days of trekking on the Quilotoa Loop! In this article, we’ll tell you about this unforgettable hike. Enjoy reading!
- Introduction to the Quilotoa Loop
- Quilotoa Lagoon in 1 day
- What to pack for the Quilotoa Loop?
- Arriving at Quilotoa
- Day 1 of the Quilotoa Loop: hike from Quilotoa to Chugchilán
- Day 2 of the Quilotoa Loop: rest in Chugchilán and a view of the coast
- Day 3 of the Quilotoa Loop: from Chugchilán to Isinlivi
- Day 4 of the Quilotoa Loop: from Isinlivi to Latacunga via Saquilisi or Sigchos
- The Quilotoa Loop: the review of this Ecuadorian must-see
We took this trip in 2014, but the article was completely revised and updated in December 2023. If you see any price changes or have additional information that might be relevant, please feel free to leave us a comment!
Introduction to the Quilotoa Loop
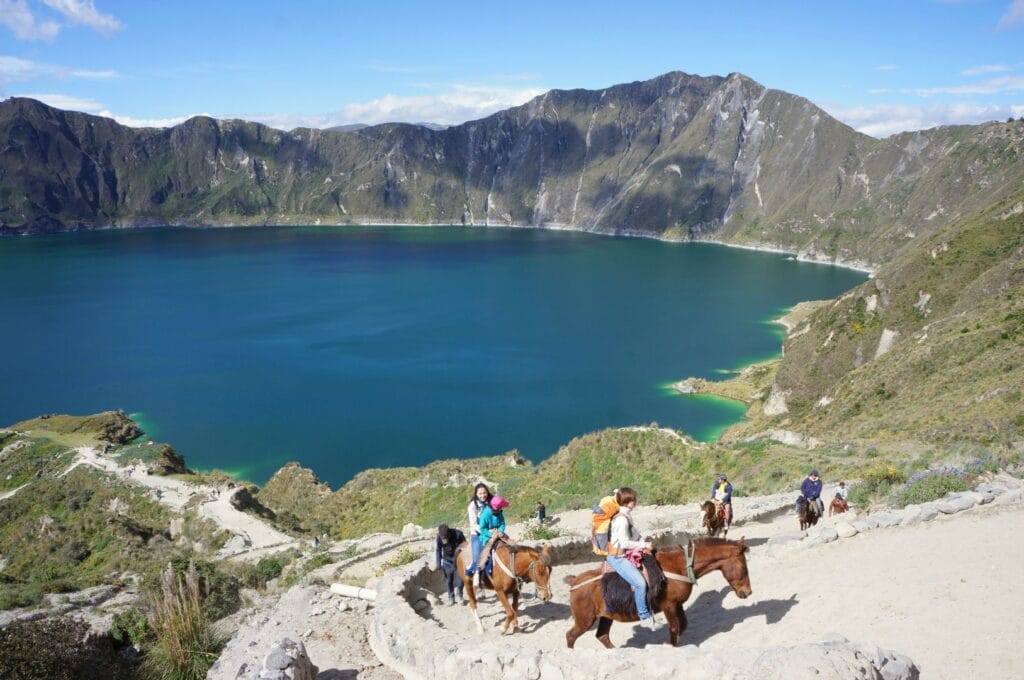
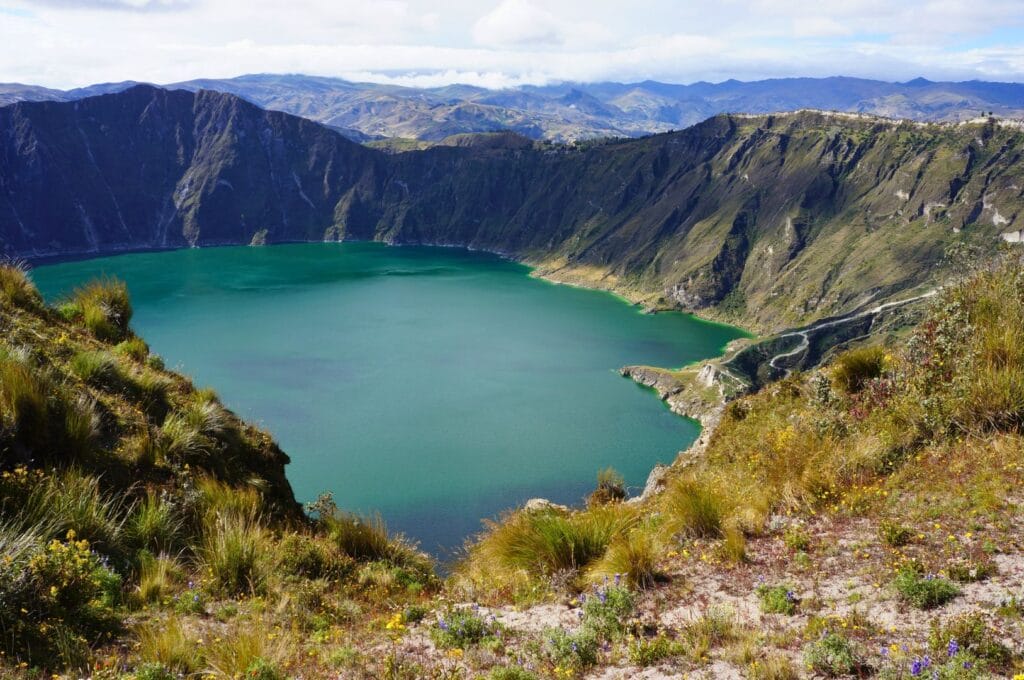
The Quilotoa Loop is a multi-day trek starting (or ending) at Quilotoa Lagoon. This laguna, located at the caldera of an extinct volcano for over 800 years, is truly the highlight of this trek. Turquoise waters invaded the caldera of this extinct volcano over 800 years ago!
The trail passes through small villages in the Ecuadorian Andes, all set against a magnificent rugged backdrop. The truth is, you don’t have to walk the whole loop; there are two portions to be done by transport: from Latacunga to Quilotoa and from Sigchos to Latacunga. Latacunga is the meeting point for hikers who will then head towards the first stop: the lagoon or Sigchos, depending on the direction you’ve chosen. In total, the loop (well, the trek portion) is between 26 and 40 km long, depending on your final day’s program. In short, it provides good training before tackling the legendary Torres del Paine in Chile or Machu Picchu a bit later!
It is possible to reach each village of the loop by taking one of the local vans passing by or by hitchhiking. However, be prepared to wait more or less on the side of the road.
Which direction to take the trek?
We started clockwise, beginning directly with Quilotoa crater, but it is entirely possible to start from Sigchos via Latacunga and finish at Quilotoa. A nice reward after this trek! However, the Quilotoa Loop is a bit more challenging counterclockwise due to a steeper positive elevation gain. So, it’s up to you to decide based on your fitness level!
How many days for the trek?
Doing the Quilotoa Loop is an excellent way to acclimate, whether you plan to climb Cotopaxi or any other volcano/peak during your stay in Ecuador. We did the trek in 4 days, but most travelers complete the Quilotoa Loop in 3 days.
Again, it depends on the time you have and your travel itinerary. For us, we fully enjoyed the trek, but we weren’t in a hurry. You also have the option of only doing the first section or spending a day at the lagoon. We explain everything just below.
Accommodations on the Loop
Rest assured right away: there’s no need to carry camping gear, whether it’s a tent or a sleeping bag! In each small village, you’ll find a hostel or a small hotel to recharge after each stage. The room price is around $20, and breakfast and dinner are included. Practical! Although this trek is well-known, you should still encounter a handful of hikers on the trails. However, we strongly recommend booking hotels to avoid any unpleasant surprises. Sometimes there are only 2 hotels in the village!
Quilotoa Lagoon in 1 day
Are you pressed for time and have no choice but to dedicate a day to Quilotoa? Several solutions are available to you, depending on whether you want to organize everything yourself or opt for an organized tour.
On your own
There are only 2 hours of road between Latacunga and Quilotoa (we explain how to get there in the first day section). So, it is entirely possible to arrive early at Quilotoa, walk on part of the trail around the lagoon, and return to Latacunga in the evening.
Guided tour
Many tours will allow you to discover the beauty of Quilotoa Lagoon in just one day. Here is our selection of tours from Quito:
- 1 day in Quilotoa and Cotopaxi National Park: In this all-inclusive tour, you will discover laguna de Quilotoa and Cotopaxi National Park in one day;
- starting from the Ecuadorian capital, this tour takes you through the lagoon, Toachi Canyon, and Tigua, known for its artisans.
- if you plan to visit Quilotoa Lagoon on a Thursday, don’t miss this tour, which also takes you to the Saquisili market, one of Ecuador’s most beautiful markets. Bonus: an Ecuadorian lunch is included!
Other tours depart from Baños, Guayaquil and Riobamba and offer short hikes, cultural visits, and kayaking on the lagoon.
This article contains affiliate links to partner sites. When you use our links to book accommodation, a car, or an activity, you don’t pay anything extra, but we get a small commission. This helps us to offer you free, independent, and ad-free content. Thank you for your support!
What to pack for the Quilotoa Loop?
Here is a list of essentials to pack in your backpack for the Quilotoa Loop:
- warm clothing;
- waterproof windbreaker;
- 2 or 3 spare base layers;
- good hiking shoes;
- hiking poles;
- snacks some hotels offer lunch boxes, and there are also grocery stores to assemble a small meal);
- water;
- a hat;
- sunscreen;
- a small first-aid kit.
Note: Don’t forget to download the traces of each day to have maps on your phone before starting. The trails are not perfectly marked, and hikers often get lost due to the numerous small paths.
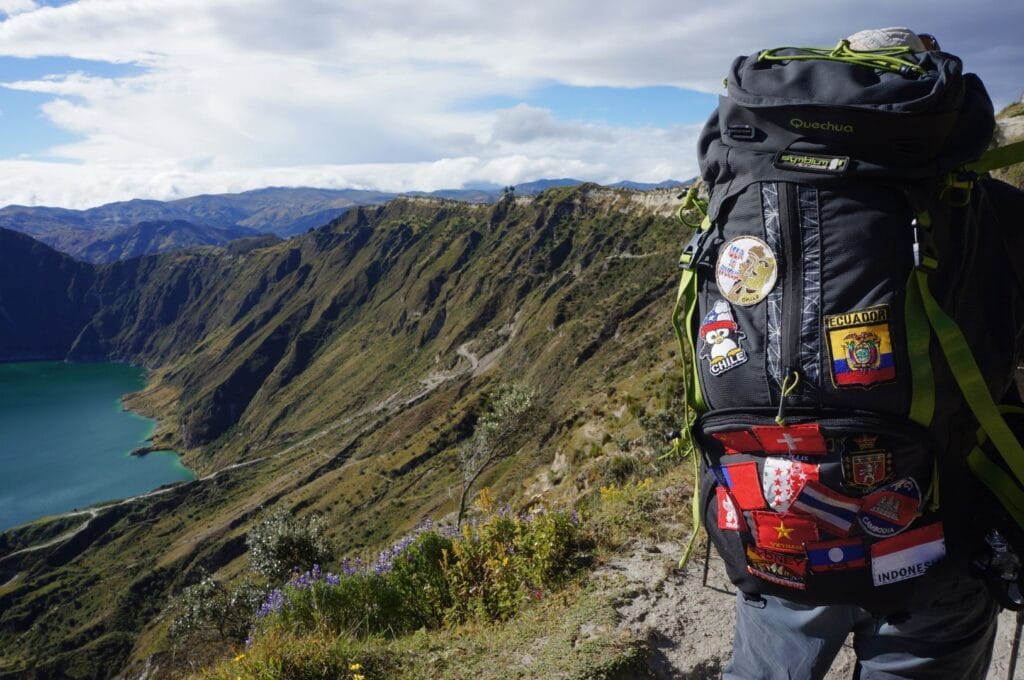
Arriving at Quilotoa
From Quito to Quilotoa via Latacunga
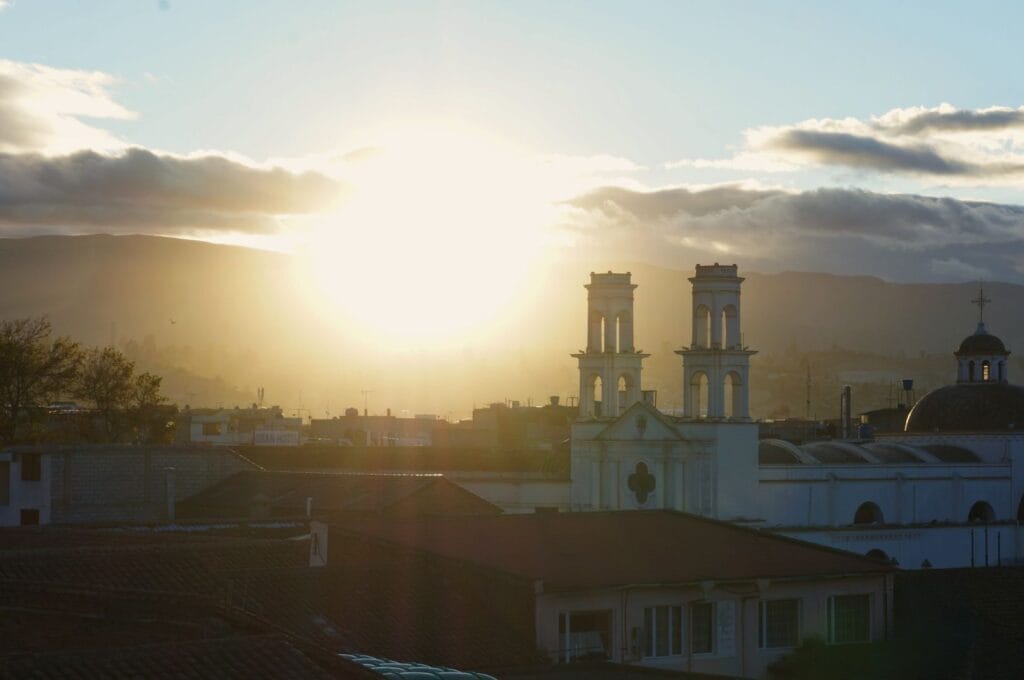
The resumption of the journey is tough for this long-sleeper. At exactly 5:40 a.m., we leave our apartment in Quito towards the Quitumbe terminal to catch one of the first buses to Latacunga, a small town located just under 2 hours from the capital. There, we dropped our big bags at a nice hostel before taking a bus to Quilotoa with our belongings for a few days.
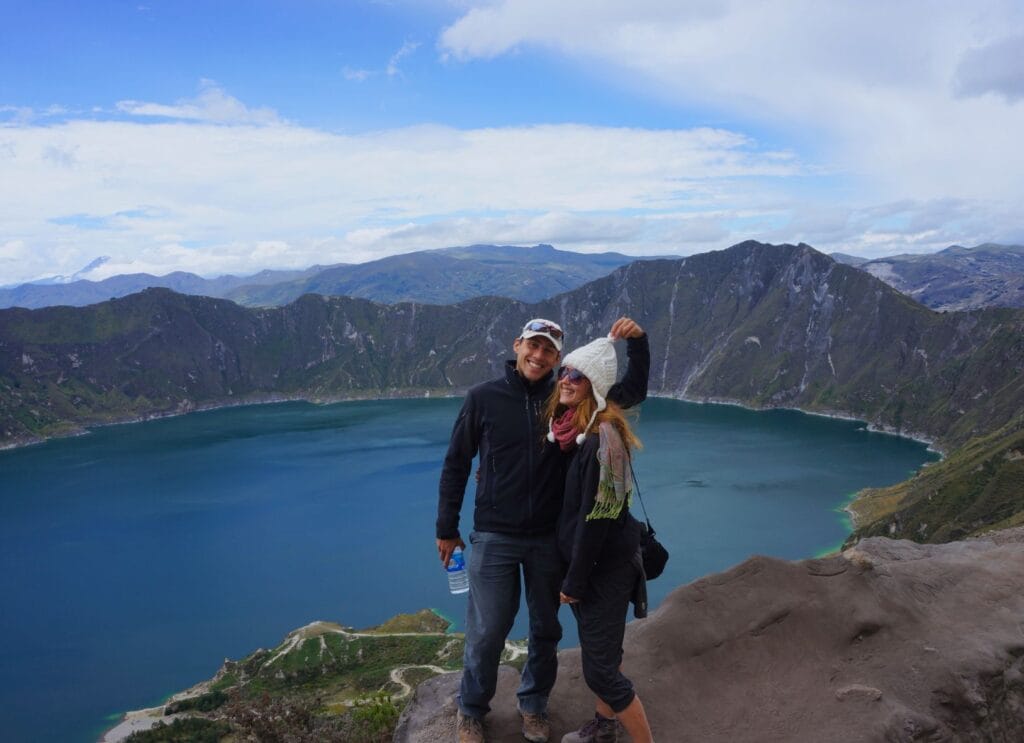
But for once, we are not alone on the roads. We decided to do this trek with Coleen, a South African who has seen a bit of the world. After emigrating to Australia and then to Germany, she worked for 6 years in Oman and today teaches English in Quito. Phew! Let’s just say she’s a fascinating lady, and her good mood and boundless energy led us during these 5 days!
After dodging a few scams at the bus station, we finally arrived in Quilotoa around 1 p.m. Once we found our cozy nest for the night, we had a quick soup before putting on our trekking shoes to get a closer look at Quilotoa Lagoon!
Hotels in Latacunga: There are several hostels where you can leave your bags (for free or for $1 per day per bag). We chose Hostal Café Tiana Latacunga, where we stayed for 3 nights after the trek, and it was really good! It’s the perfect place for backpackers to have a base after the loop or to visit Cotopaxi National Park! But we also recommend Cloud forest Family House, in Latacunga, which offers budget rooms with breakfast included.
Bus from Latacunga to Quilotoa: There are plenty of direct buses making the journey. Find all the Latacunga-Quilotoa bus schedules here (and here for Quilotoa-Latacunga). The ticket costs $2.5 for about a 2-hour drive. An alternative exists: take a bus to Zumbahua (there are plenty, ticket price: $1.5). Then, take a van to Quilotoa. This will cost you $10 per trip, to be shared among passengers.
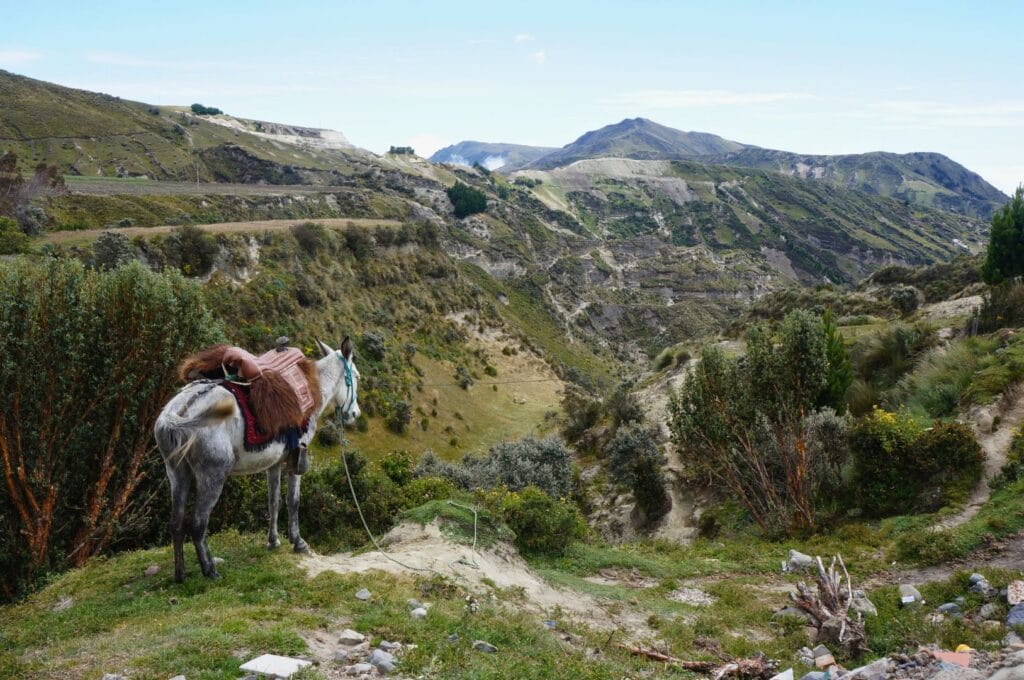
Discovering Quilotoa Lagoon
Descent to the edge of the laguna
To descend to the lagoon, nothing could be simpler, there is only one path! After 35 minutes of descent in sand and small gravel, we find ourselves in the heart of a volcano. Exhilarating!
But then, the way back up is already more challenging! At 3800 m above sea level, the 300 meters of elevation gain in the sand is not a walk in the park. But considering what awaits us in the coming days, we cannot reasonably take a mule to go back up (for a few dollars). We were too proud for that! Carry the map with you by downloading the Quilotoa Lagoon trail here.
During the climb, we kept motivating ourselves with the idea of enjoying a beer at the top with a view of the sunset. Well, no! That was without counting on the cold in the evening and the icy wind that freezes your insides! In short, we finished the hike huddled around the hostel’s stove with a hot tea! And after a good meal, it was straight to bed!
The tour around the lagoon
We descended to the water’s edge (in red on the map), and you have the option to go around the lagoon instead (in blue). This will take you about 4-5 hours depending on your endurance. Note that the second day of the Quilotoa Loop will have you hike a portion of this trail.
Hotels abound in Quilotoa village: we stayed at Hosteria Chukirawa right in front of the crater. This charming hotel offers double rooms as well as dorm beds starting at $23 with breakfast and dinner included.
Quilotoa Lagoon is not theoretically free. At the time, entry to the village costs $2-3. There is no office, no ticket check, just a little lady with her tickets at the bus stop! But it seems that this local tax no longer exists

Day 1 of the Quilotoa Loop: hike from Quilotoa to Chugchilán
At 7 a.m., Benoit urges me to wake up. I struggle to leave the warmth of the 8 duvets to join the icy breakfast room! Well, no heating in Ecuador! So, during the night, we tried to beat the cold with 4 kg of duvet on us. To tell you the truth, the thermometer was hovering around 0 degrees… Without heating, it was indeed chilly!
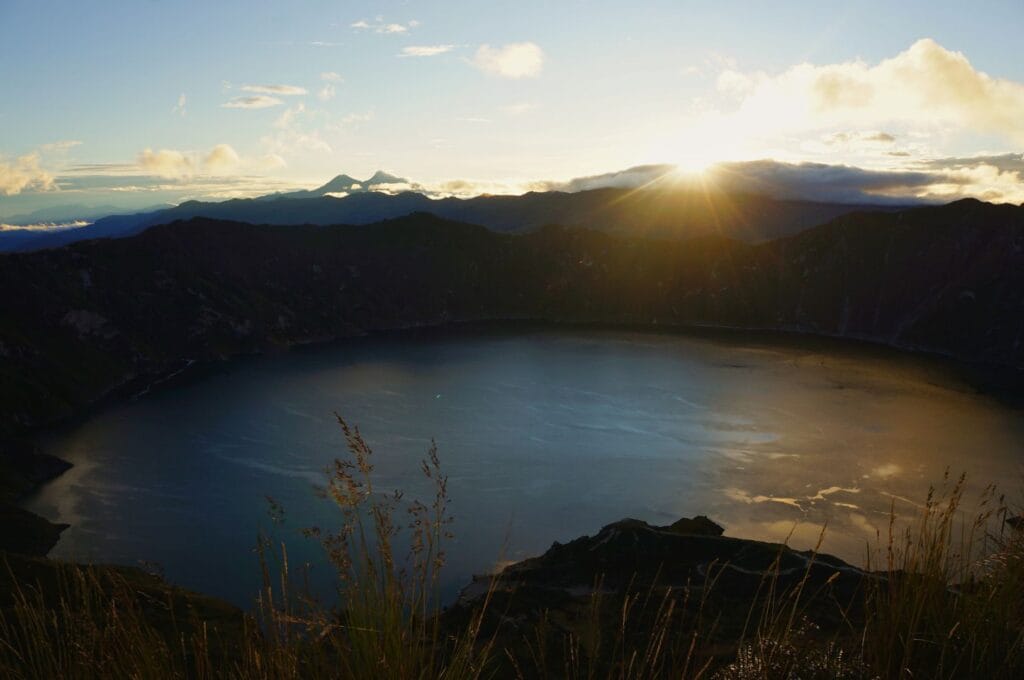
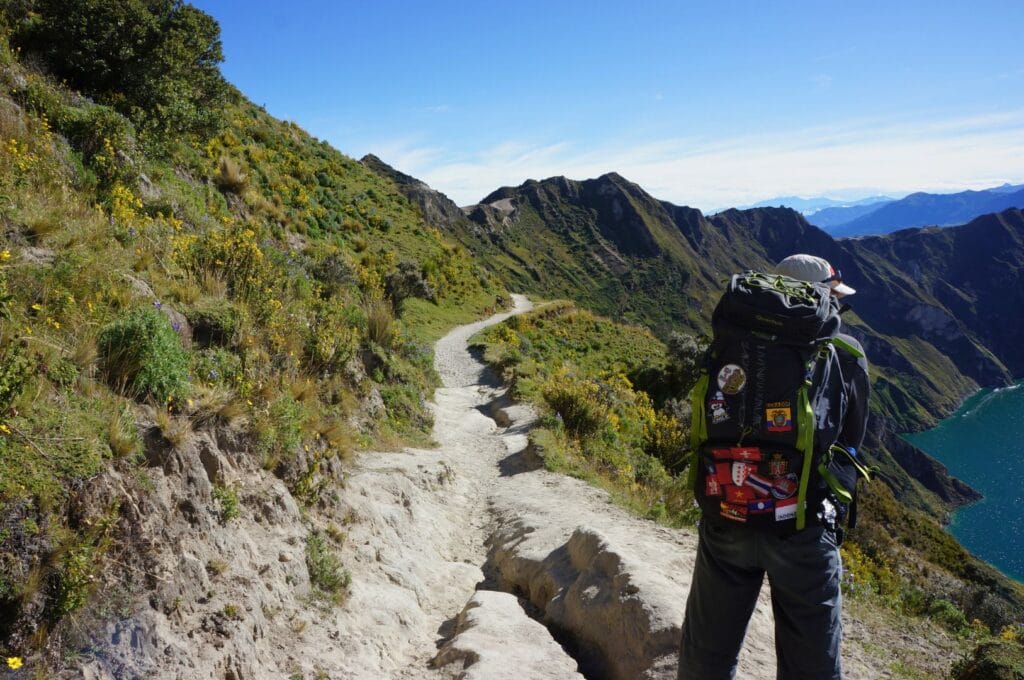
Along the laguna de Quilotoa
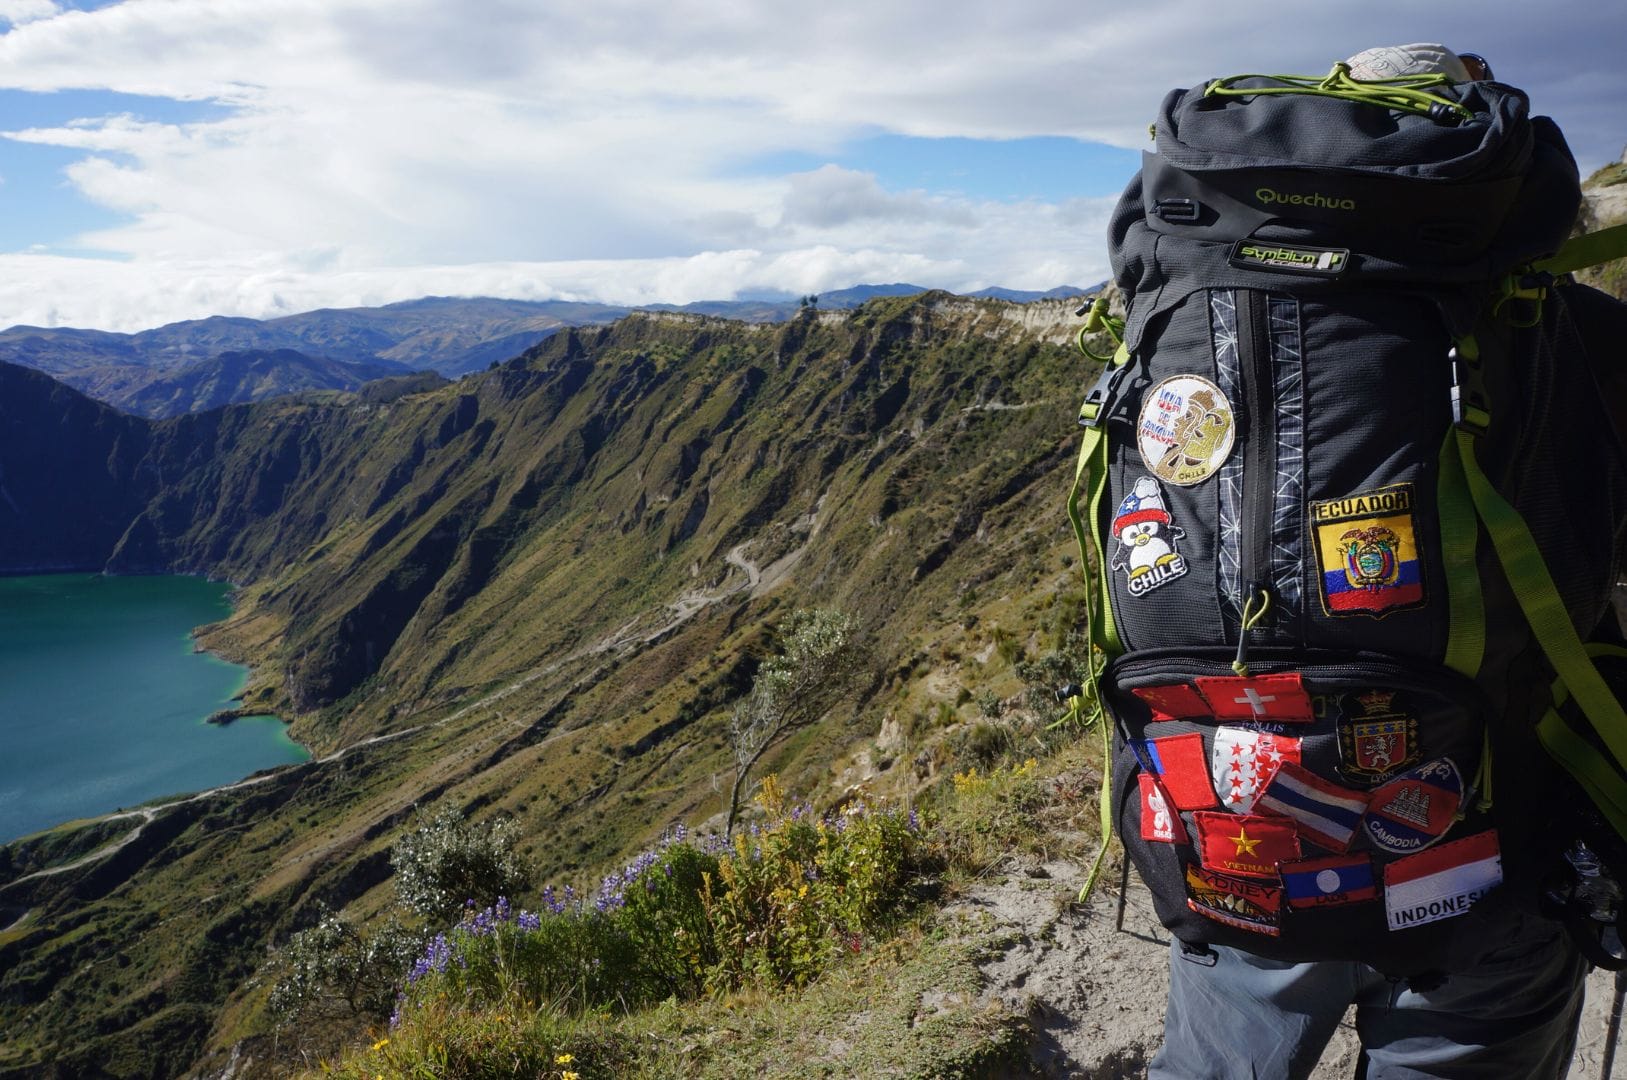
The plan for the day is a 12 km walk with breathtaking views! The trail begins by skirting the volcano crater for about 2 kilometers. In terms of views, it’s safe to say that we were not disappointed! In short, the Quilotoa Lagoon in all its splendor!
The hike is really easy in this first part, with incredible landscapes. So, without any problem, we reached the village of Guyama in just under 2 hours. A short break to regain some strength, and we start the most challenging part of this walk: the descent into the Rio Toachi canyon!
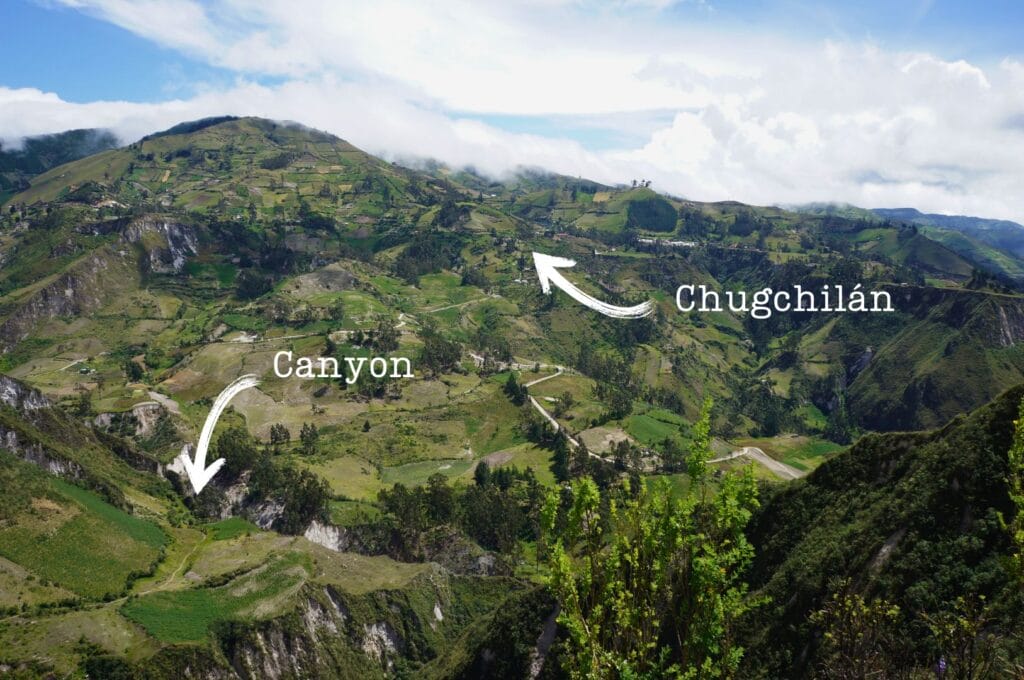
A dizzying descent into the Toachi Canyon
The trail is well marked, but it’s a steep descent, I must warn you. To give you an idea, here’s the cliff we descended.
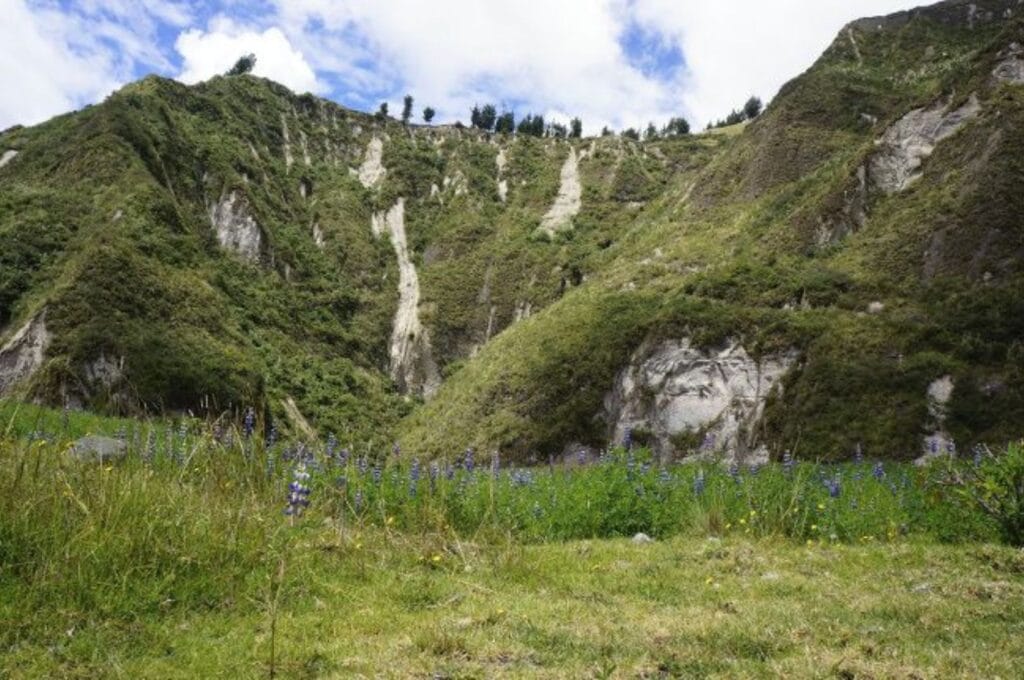
After that, we had to cross a small bridge and then follow the trail to ascend. Hmm… The problem is that we found the bridge, but no trail! In front of us, an almost vertical wall of extremely fragile rock, about 20m high! In short, we spent a serious moment at the bottom of the canyon, debating with our fellow hikers met along the way. After searching, unsuccessfully, for another way out, we embarked on a ridiculous climbing session!
To paint the picture for you, there were 5 of us:
- Ben, the ultra-athlete who loves climbing;
- Fabienne, who has vertigo;
- Coleen, the 62-year-old lady;
- a Brazilian marathon runner in her fifties with a 15 kg backpack;
- a young Englishman with an unknown name.
While we were thinking about the best way to climb without killing ourselves, the young Englishman left (French style), and without us realizing it, he was already at the top. He threw us a friendly:
No other ways, guys, you have to grab onto the trees and roots to climb! Be careful, the ground is unstable! Good luck!
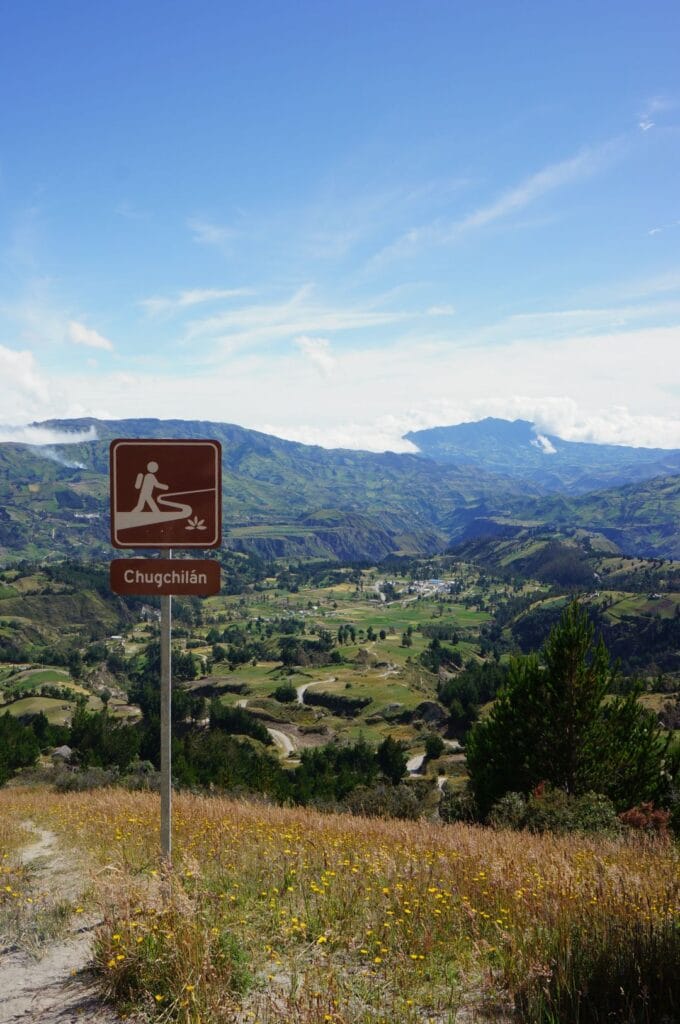
Arrival in Chugchilan
Grrrr… I remember his smiling face making fun of the situation! In short, poor Benoit was left to his own devices with his 3 damsels in distress. But all’s well that ends well, we got out of it like bosses! Me in front, with Benoit behind to catch me in case of a fall, and hiking sticks in hand to lift the other two travelers to the top.
What a story! Later on, we learned that under normal circumstances, there is indeed a trail to go up. But a few days before our passage, there was a landslide, and that’s why we ended up facing this wall!
The rest is a piece of cake. A 1.5-hour climb to the village of Chugchilán and a well-deserved beer!
Quilotoa-Chugchilán hike: 13 km, 4-6 hours of walking, 1000 m downhill and 500 m uphill. Find the GPS track of the hike here. For a written description, you’ll find the trail details here. This section is a bit tricky… There are two trails: the red on the map, more challenging, and the green, more accessible. Without knowing, we took the red one. Today, the trail has been redone, but it’s still delicate because one of the bridges over the Sigue River has collapsed. However, it would still be possible to pass, but at least you are aware of the situation 😉.
Hotels in Chugchilán: Cloud Forest Hostal offers rooms starting from $22 per night, including a great dinner and a champion’s breakfast! It’s genuinely a great place with hot water, a super-friendly owner, his wife is a real chef, and an epic game room! As a bonus, a spa and a steam room to unwind after this second day of the loop!
Day 2 of the Quilotoa Loop: rest in Chugchilán and a view of the coast
This third day of the trek is not just any day! Benoit celebrates his 30th birthday AND Switzerland plays against Argentina in the 8th round of the football World Cup. According to the Ecuadorian schedule, the kick-off was scheduled for 11 a.m. Let me explain, it was incompatible with a day of hiking… That’s why we did the Quilotoa Loop in 4 days instead of 3 😉.
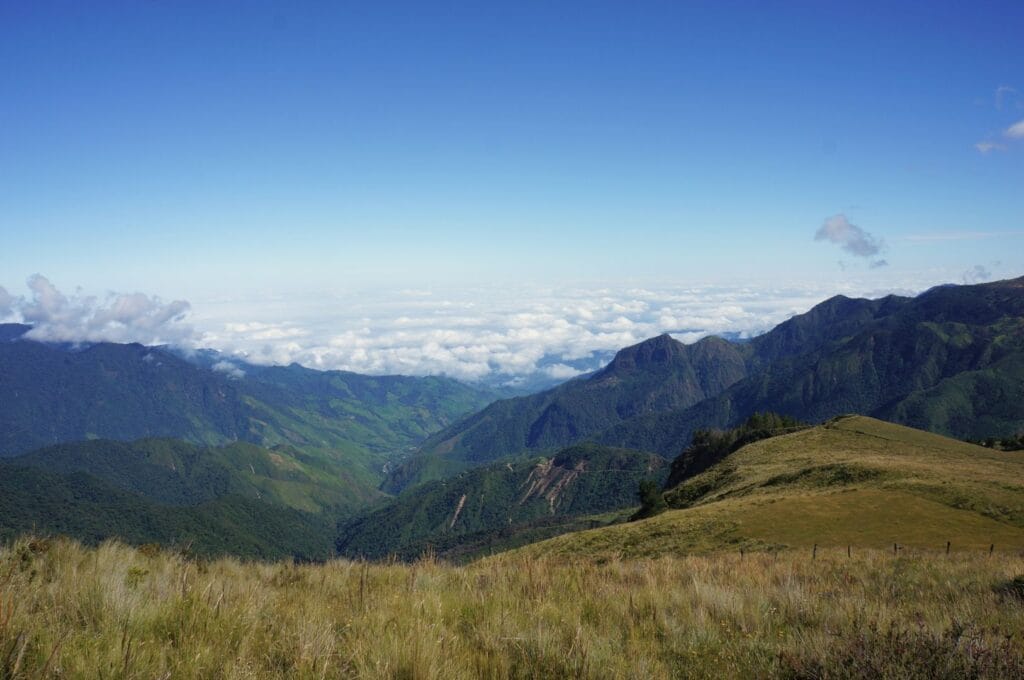
We decided to get up early to go for a little walk around Chugchilán and be back in time to support the Swiss in front of our TV.
The walk of the day took us to the top of the hill overlooking Chugchilán. Its particularity? Climbing for 1 hour 30, you can have a view of the coast! In short, we could have seen the ocean, but that was without counting that the clouds had also decided to join the party! Grrr… Find the route of the walk here.
Well, I’ll spare you Benoit’s mood swings during the match, his almost 3 heart attacks due to crossbars and other things, and our honorable defeat, 1-0 against Argentina in nearly 120 minutes of intense stress!
We spent the rest of the day enjoying our great little hotel, chatting with other travelers, and planning the walk for the next day.
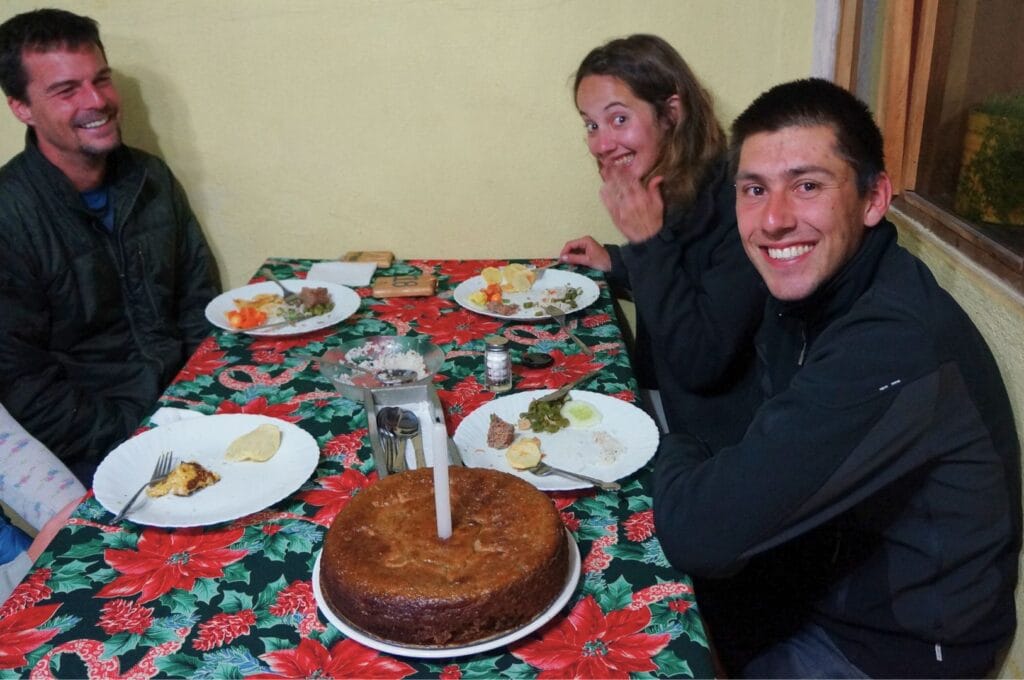
In the evening, the owner of the Cloud Forest surprised us by bringing a birthday cake for dessert. Let me tell you, we were all moved and well-fed too!
Day 3 of the Quilotoa Loop: from Chugchilán to Isinlivi
A trail and some (de)tours
A little disappointed by Switzerland’s (logical) defeat against Argentina the day before, we set off for our 3rd day of hiking to continue this Quilotoa loop. This section between Chugchilán and Isinlivi is known among travelers to offer many opportunities to get lost along the way. Ouch, ouch, ouch, that bodes well!
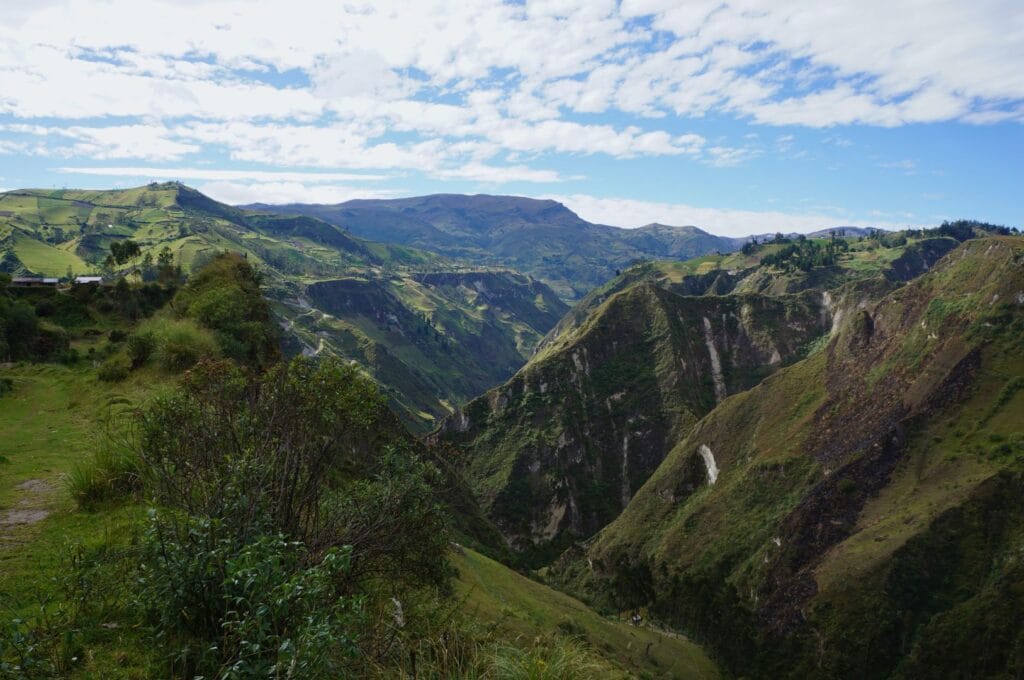
Oddly enough, although we are usually quite good at getting lost while hiking, this time everything went well. Well, let’s say, except for 2-3 detours! Not the case for the 3 Germans we met along the way as they were doing the hike in the other direction. We will learn later that they finished the hike with a headlamp before climbing into a local farmer’s van!
A breathtaking hike
Honestly, this hike will probably remain one of our most beautiful walks! Don’t miss stopping at the viewpoint overlooking the Toachi Canyon in Chinaló! The trail passes through the bottom of the canyon, crossing many small villages, and a eucalyptus forest before climbing through the fields to the village of Isinlivi. For us, this section is simply beautiful.
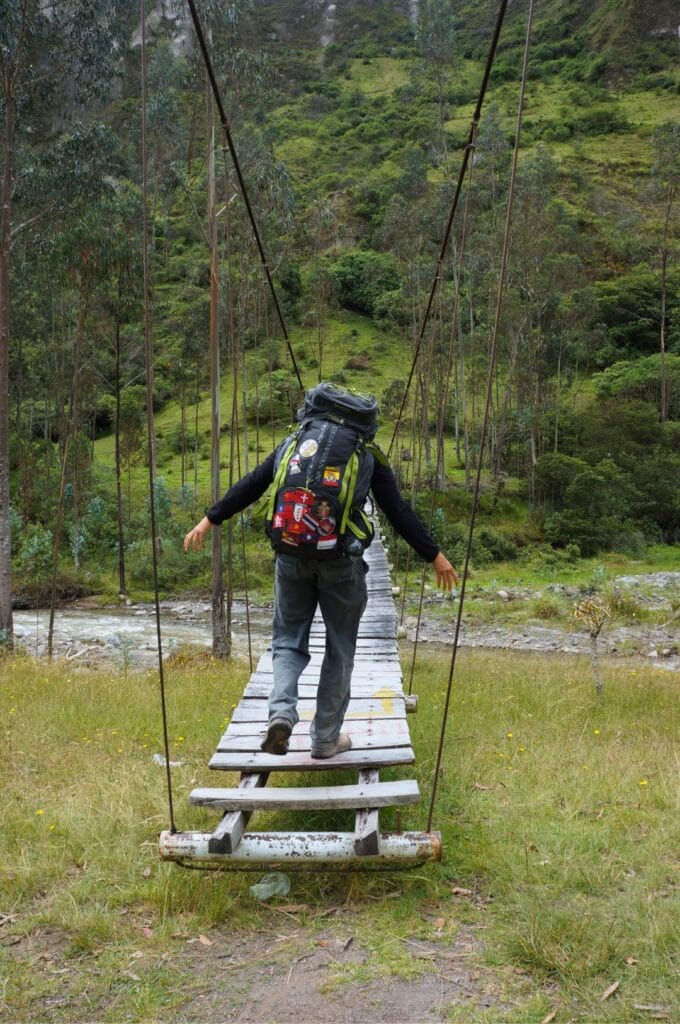
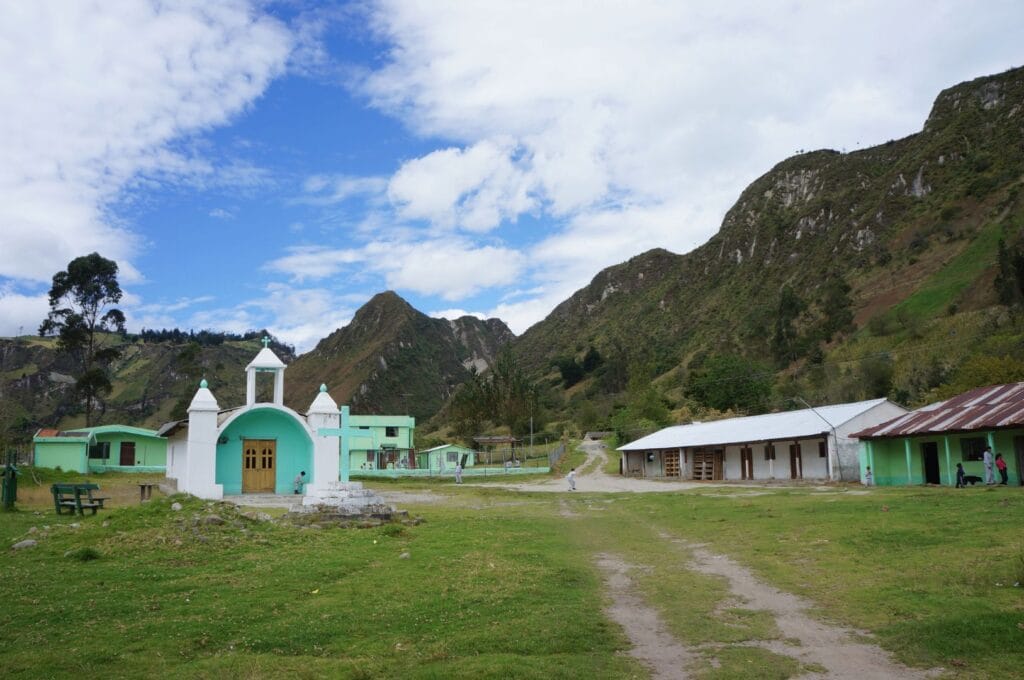
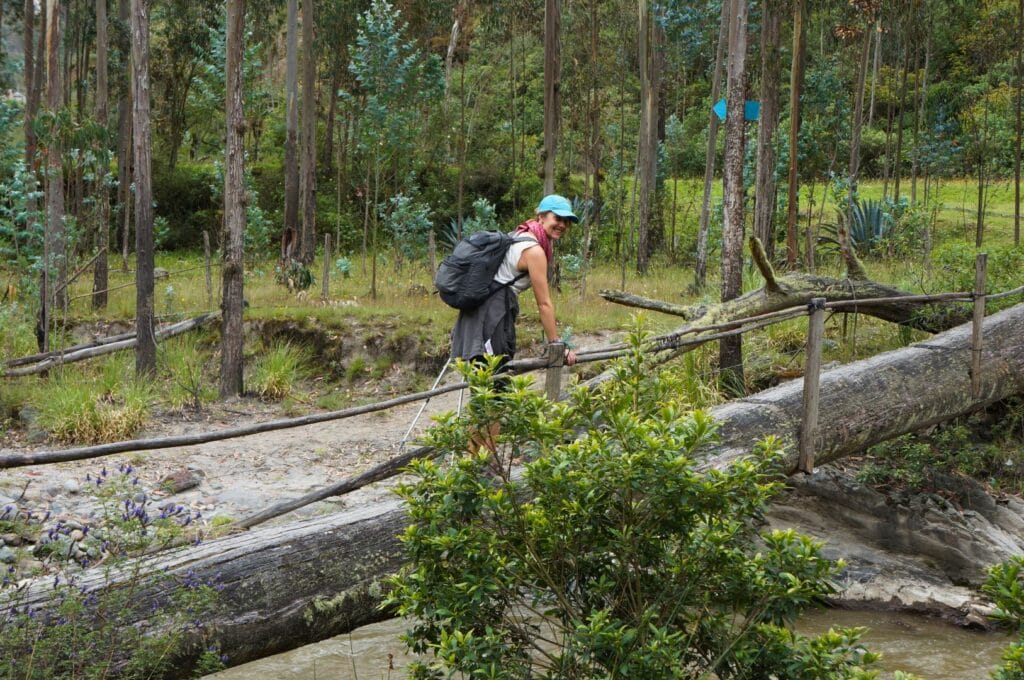
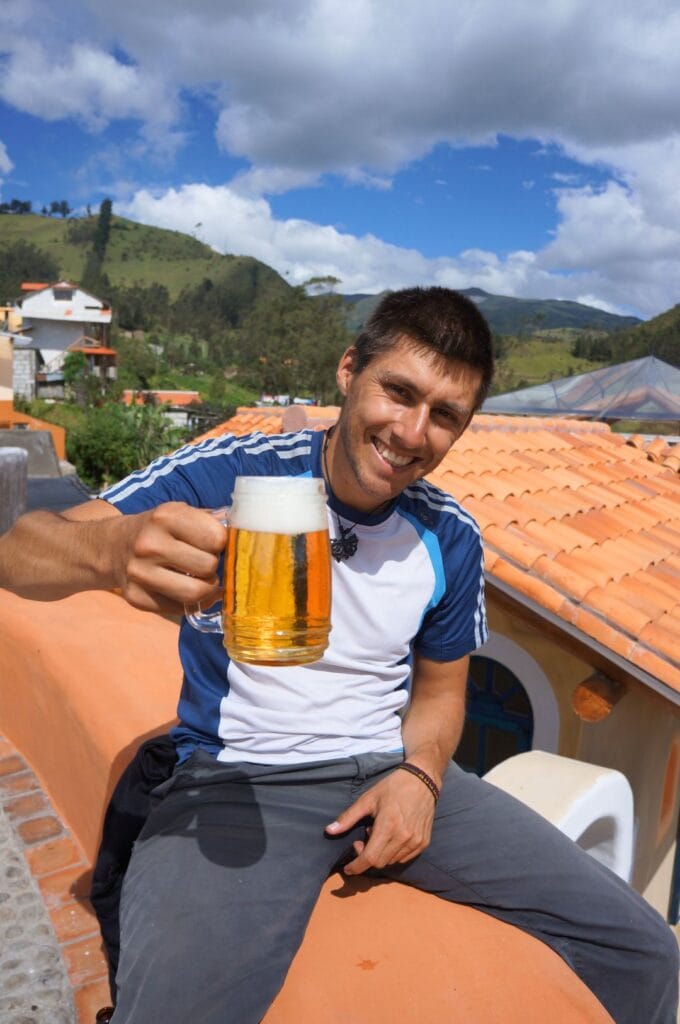
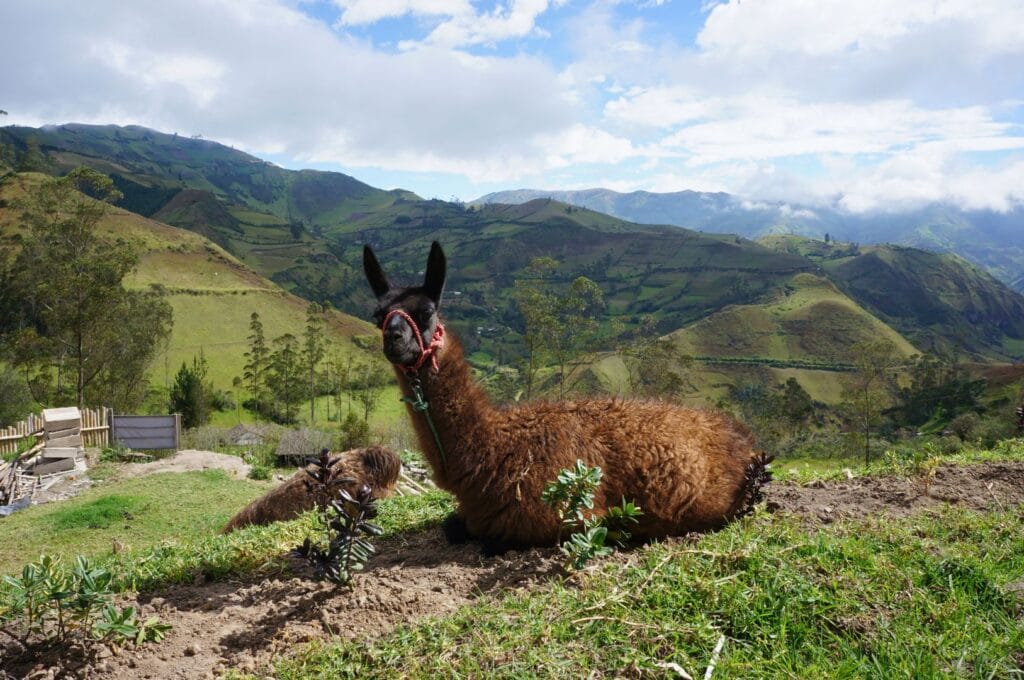
After about 5 hours of walking, we finally reached the village of Isinlivi and the Llullu Llama, our charming hotel for the night. We spent the end of the day enjoying the view, the llamas, savoring a good cold beer, before immersing ourselves in the warmth of the stove!
Chugchilan-Isinlivi hike: 13 km, 4-6 hours, 500 m negative elevation, 500 m positive elevation (if we’re not mistaken; we probably climbed 1-2 extra hills). Again, two trails are possible after Itualo. The red one is steeper than the green one as it leads to a second viewpoint on this section. The green one will take you across a wooden bridge that happens to be an entire tree trunk! This one is probably nicer as you progress through the valley along the river. In any case, we loved this part with the eucalyptus! Afterward, you could very well go to the viewpoint, turn back, and take the green trail. Truth be told, that’s more or less what we did… Download the GPS track here. For more detailed written instructions, here’s the trail description.
Hotels in Isinlivi: we can only recommend the Llullu Llama Mountain Lodge! It’s simply one of the loveliest little inns where we stayed during our trip around the world! The establishment offers beds and rooms starting from $20 per person, including breakfast and dinner. This place is simply idyllic, and the food is divine. In short, the ideal place to rejuvenate after a hike!
Day 4 of the Quilotoa Loop: from Isinlivi to Latacunga via Saquilisi or Sigchos
As mentioned in the presentation of the lagoon, for this final stage of the trek, you have the choice to walk to Sigchos, take transportation to Saquilisi, spend the night there, or return to Latacunga. On our part, we opted for the second option to go to the indigenous market of Saquilisi.
Indeed, every Thursday, the small town of Saquilisi hosts an artisanal and traditional market of the region. According to our guide, it’s a must! So, we decided to visit. The only problem is that Isinlivi is not exactly the hub of Ecuadorian public transportation. It’s straightforward; to reach Latacunga, there are two buses per day. The least we can say is that they are very (too!) early! Don’t ask us about the why and how of these outdoor sleeping schedules, but that’s how it is!
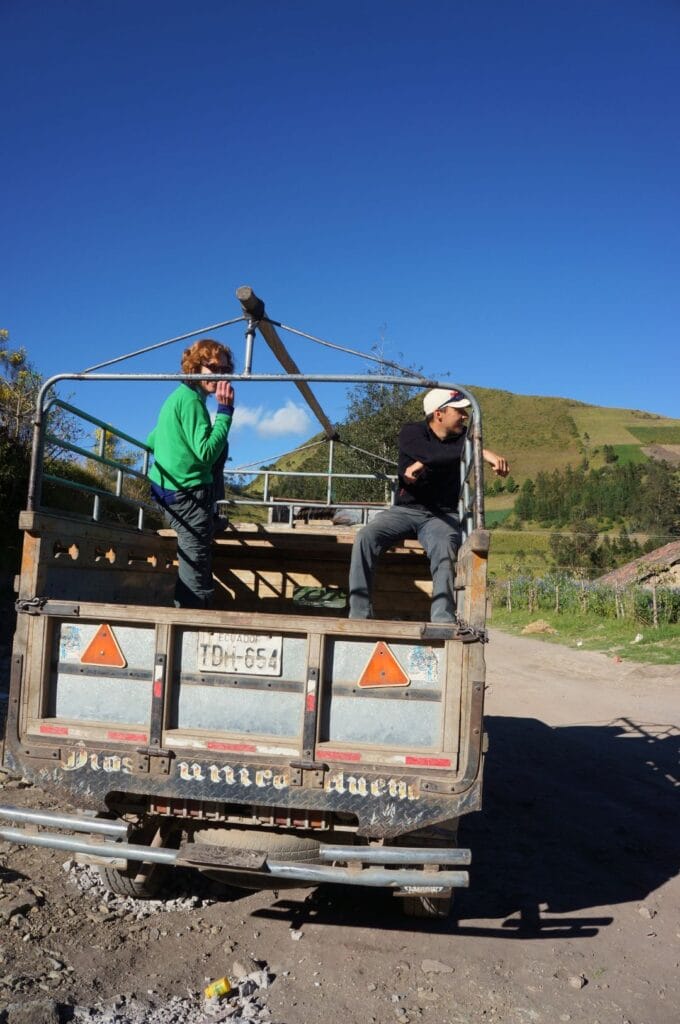
Transport from Isinlivi to Saquilisi: when the milkman acts as a taxi
However, there is an alternative. The milkman passes every day between 8:30 a.m. and 9:15 a.m., and for the modest sum of $1.5, he allows passing travelers to sit in the back of his van to go either to Sigchos or Toacazo.
Well, this schedule already suited us more! At 8:15 a.m., we set out towards the milkman’s pickup point. Except that, on the way, we met an employee of a painting company who was going to Saquilisi! So, with $2.5 less, we settled in the back of his van!
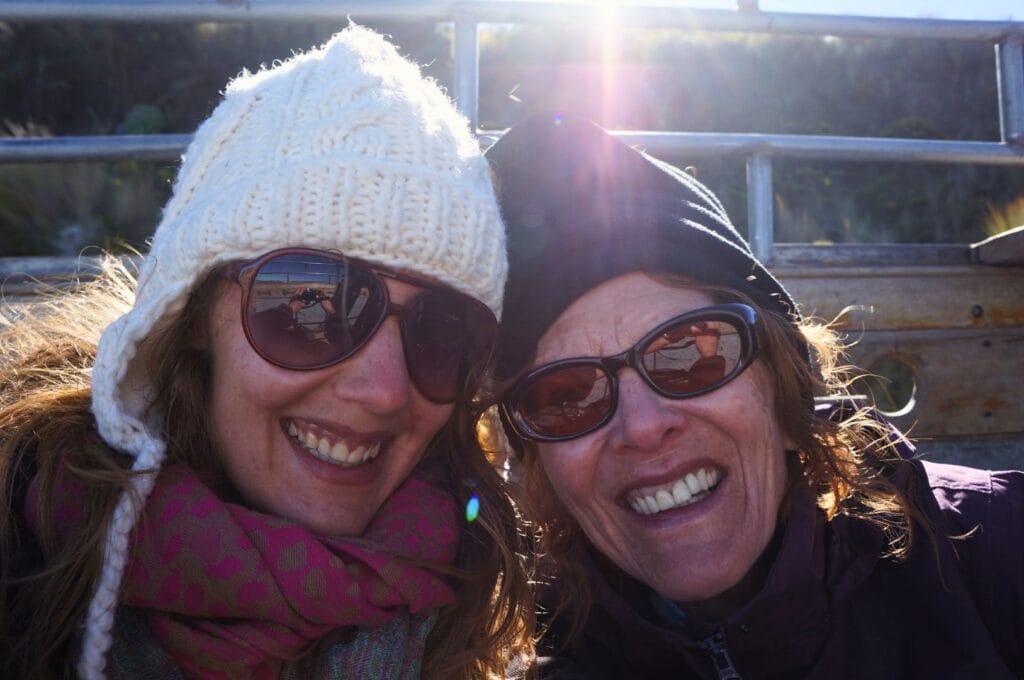
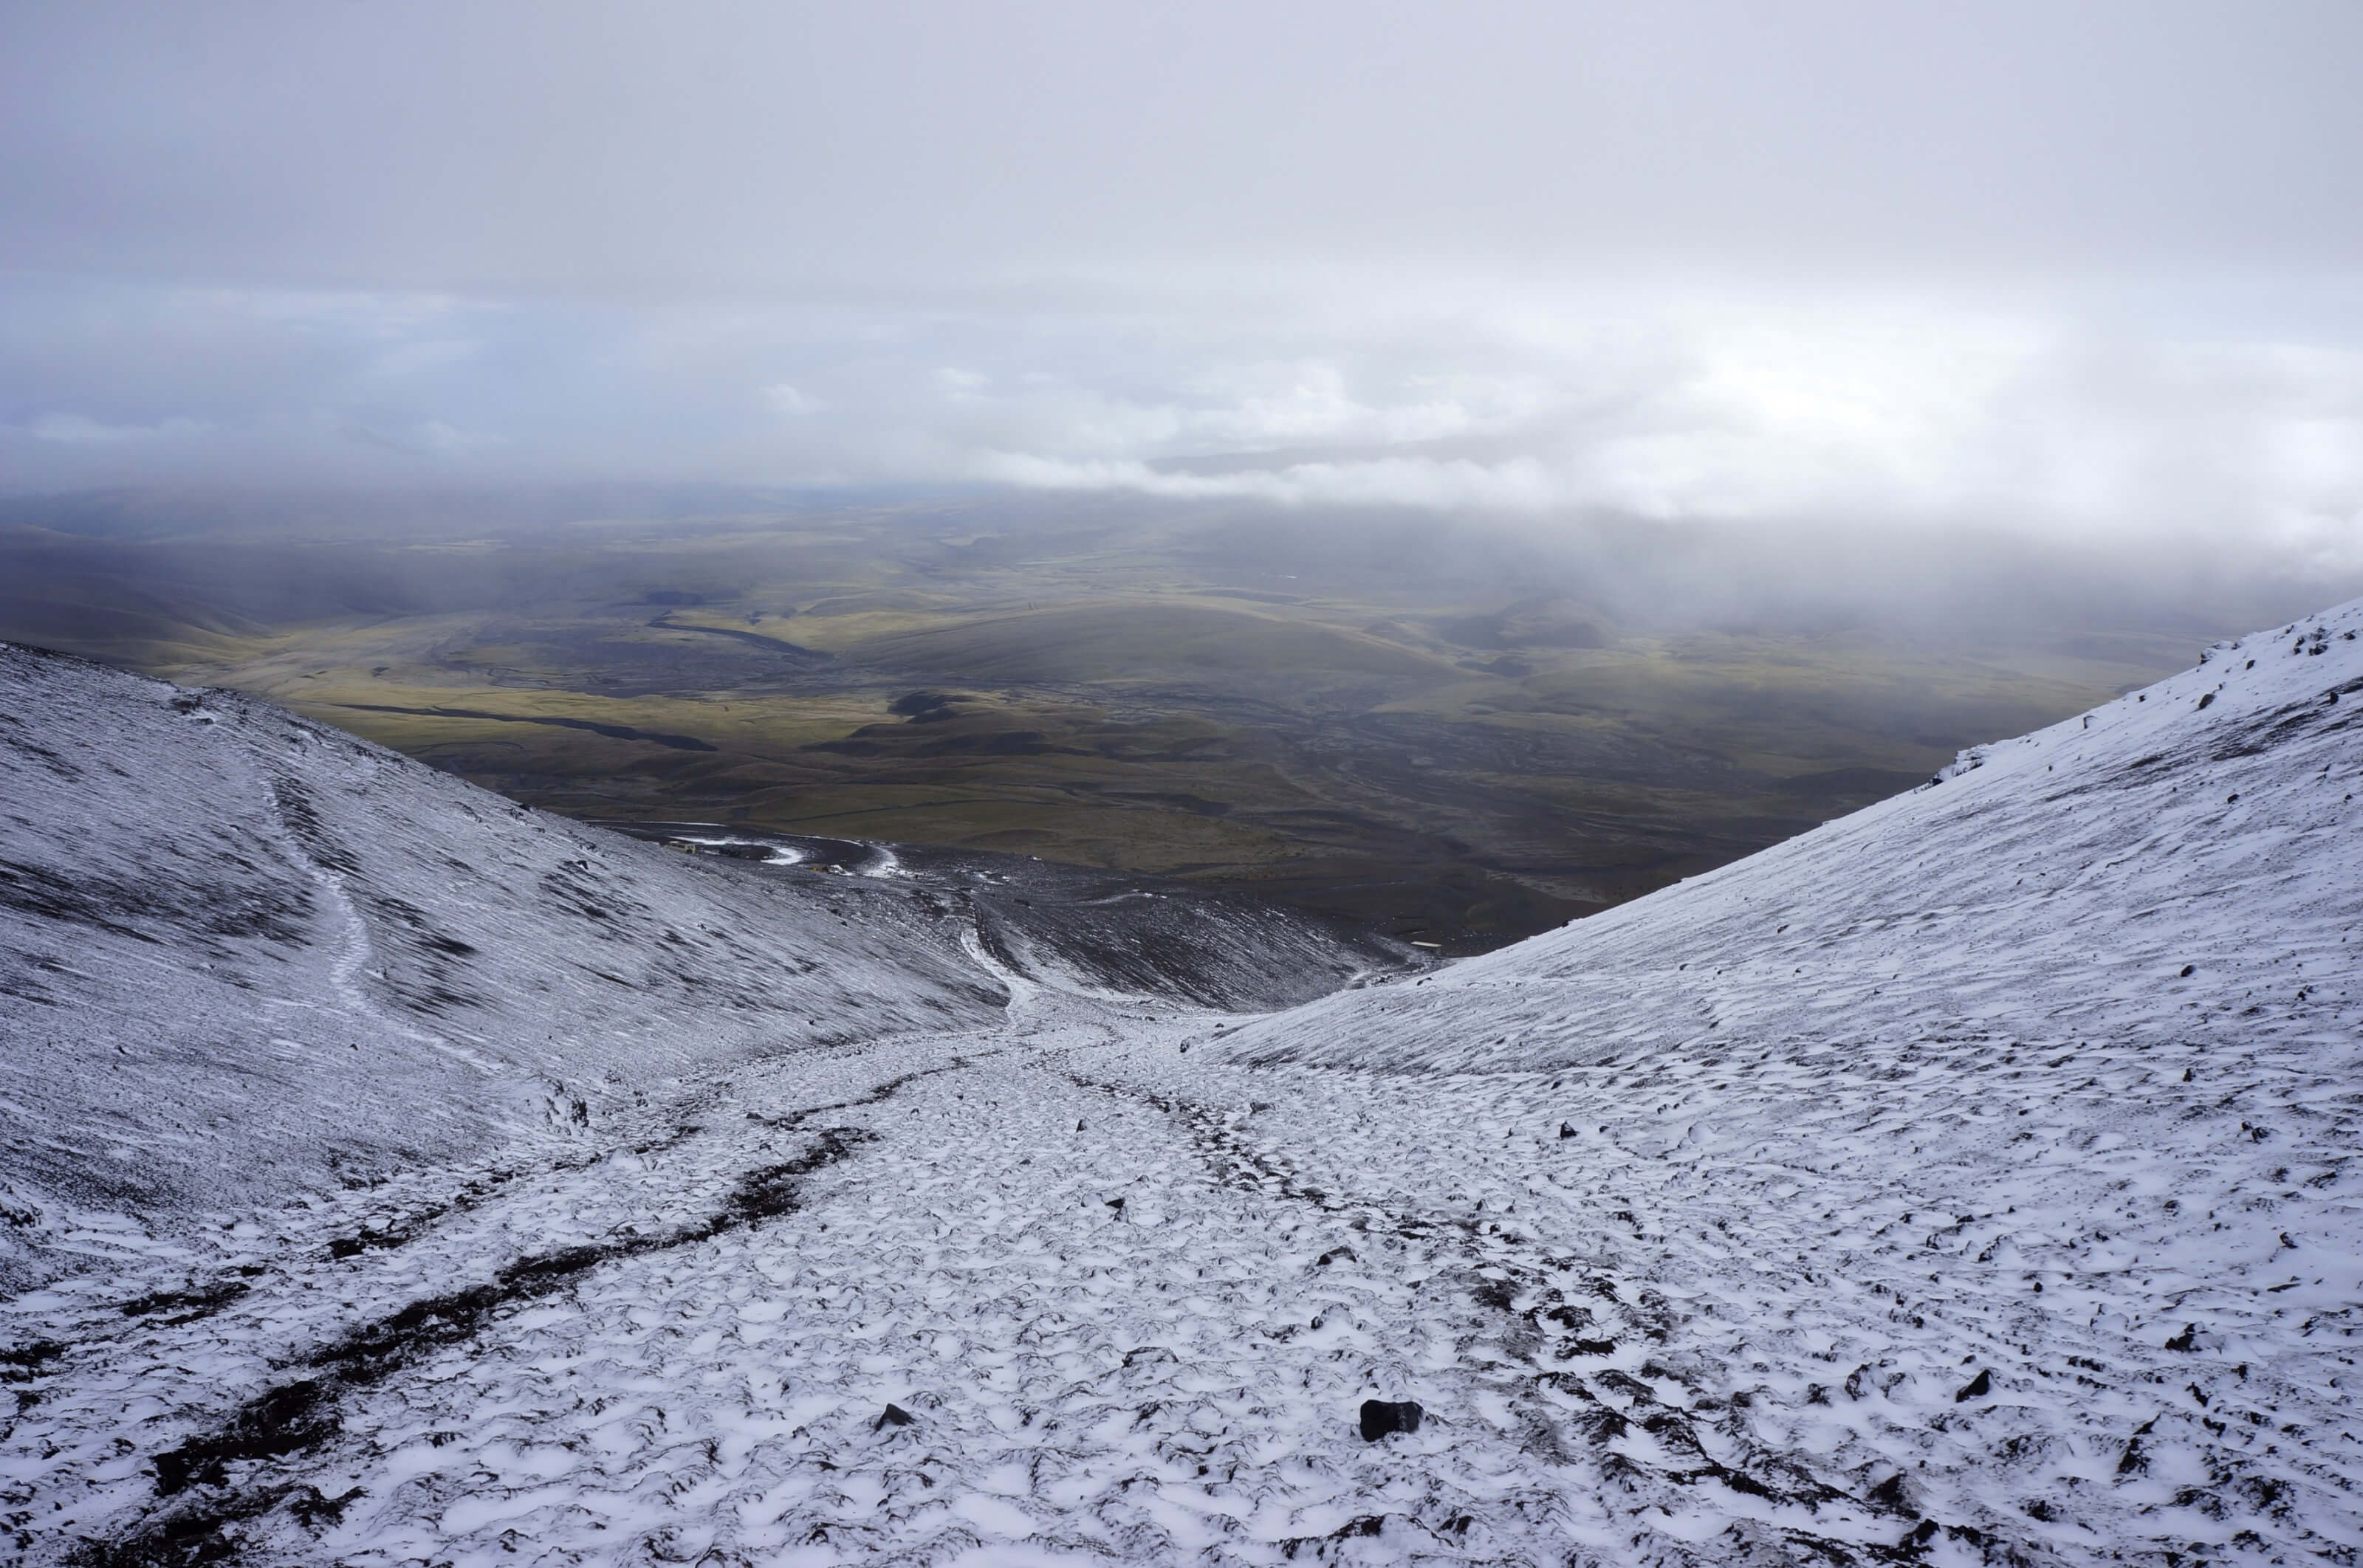
The advantage of the painter over the milkman? He was going directly to Saquilisi without stopping to deliver milk or taking any detours. What we didn’t know when getting on was that the painter wouldn’t take the classic road. No, no… He opted for a shortcut, the old mountain pass road, a little journey that took us to over 4000 meters above sea level! How can I put it… We were seriously cold in the back… Well, we were shaken like plums because of the bad condition of the road, but it’s probably one of the most spectacular roads we’ve taken!
If you want to walk the Isinlivi – Sigchos section, download the trail track here. It will take you about 3 hours.
Hotels in Sigchos: we didn’t go through Sigchos, so we can’t recommend a specific address among the handful of hotels, but they are all quite reputable among travelers.
Buses from Sigchos: from Sigchos, you have the choice to take one of the buses to Latacunga (2.5 hours of travel) or Quito (3 hours by road).
Saquilisi market
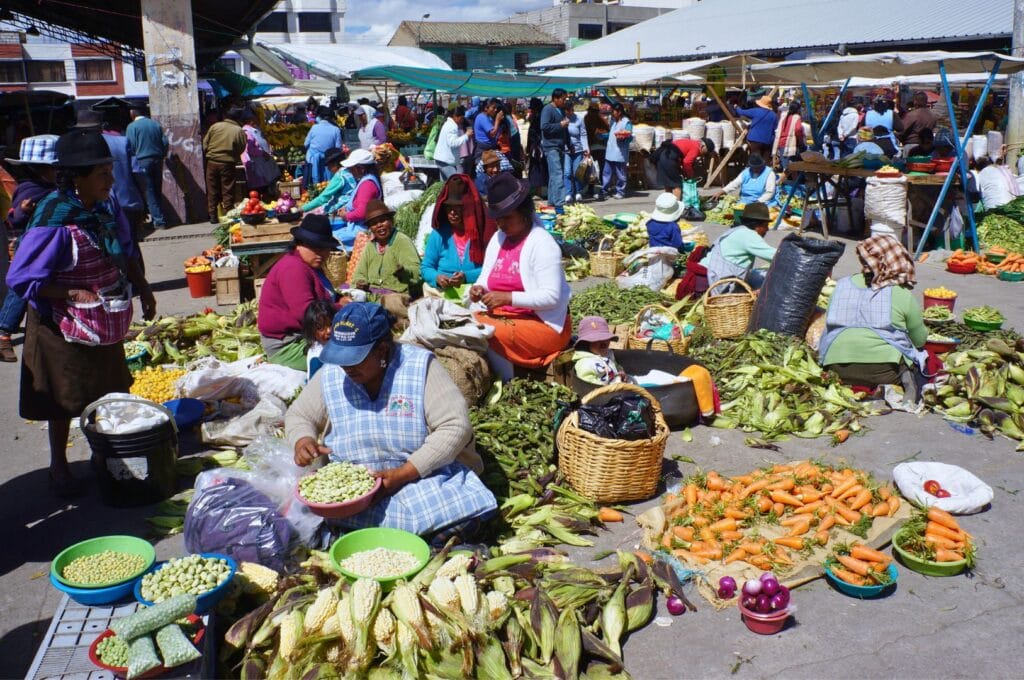
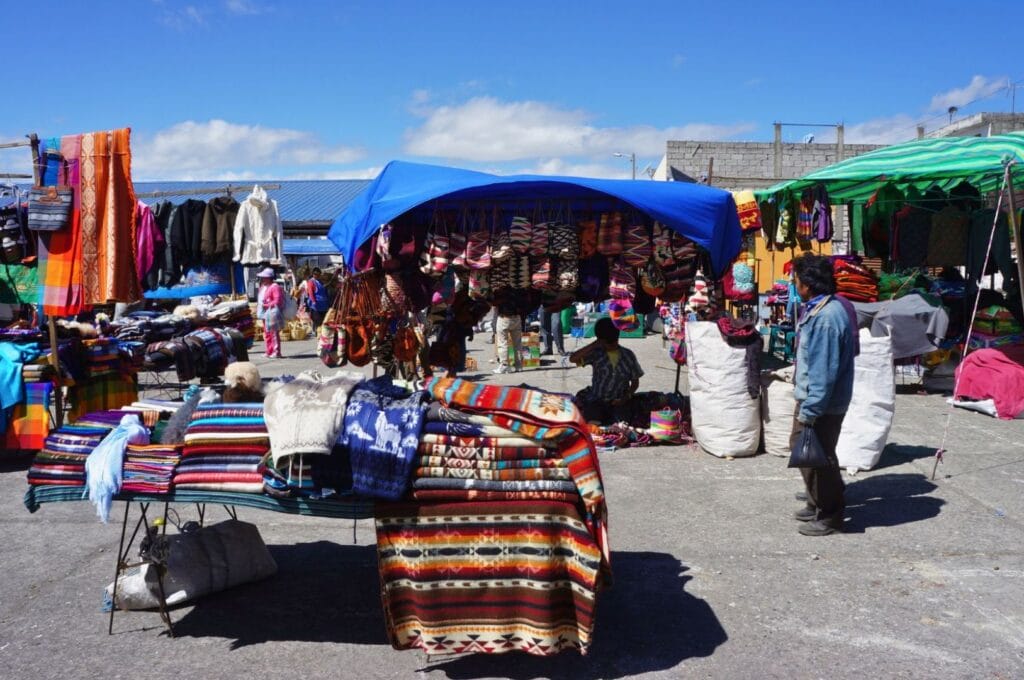
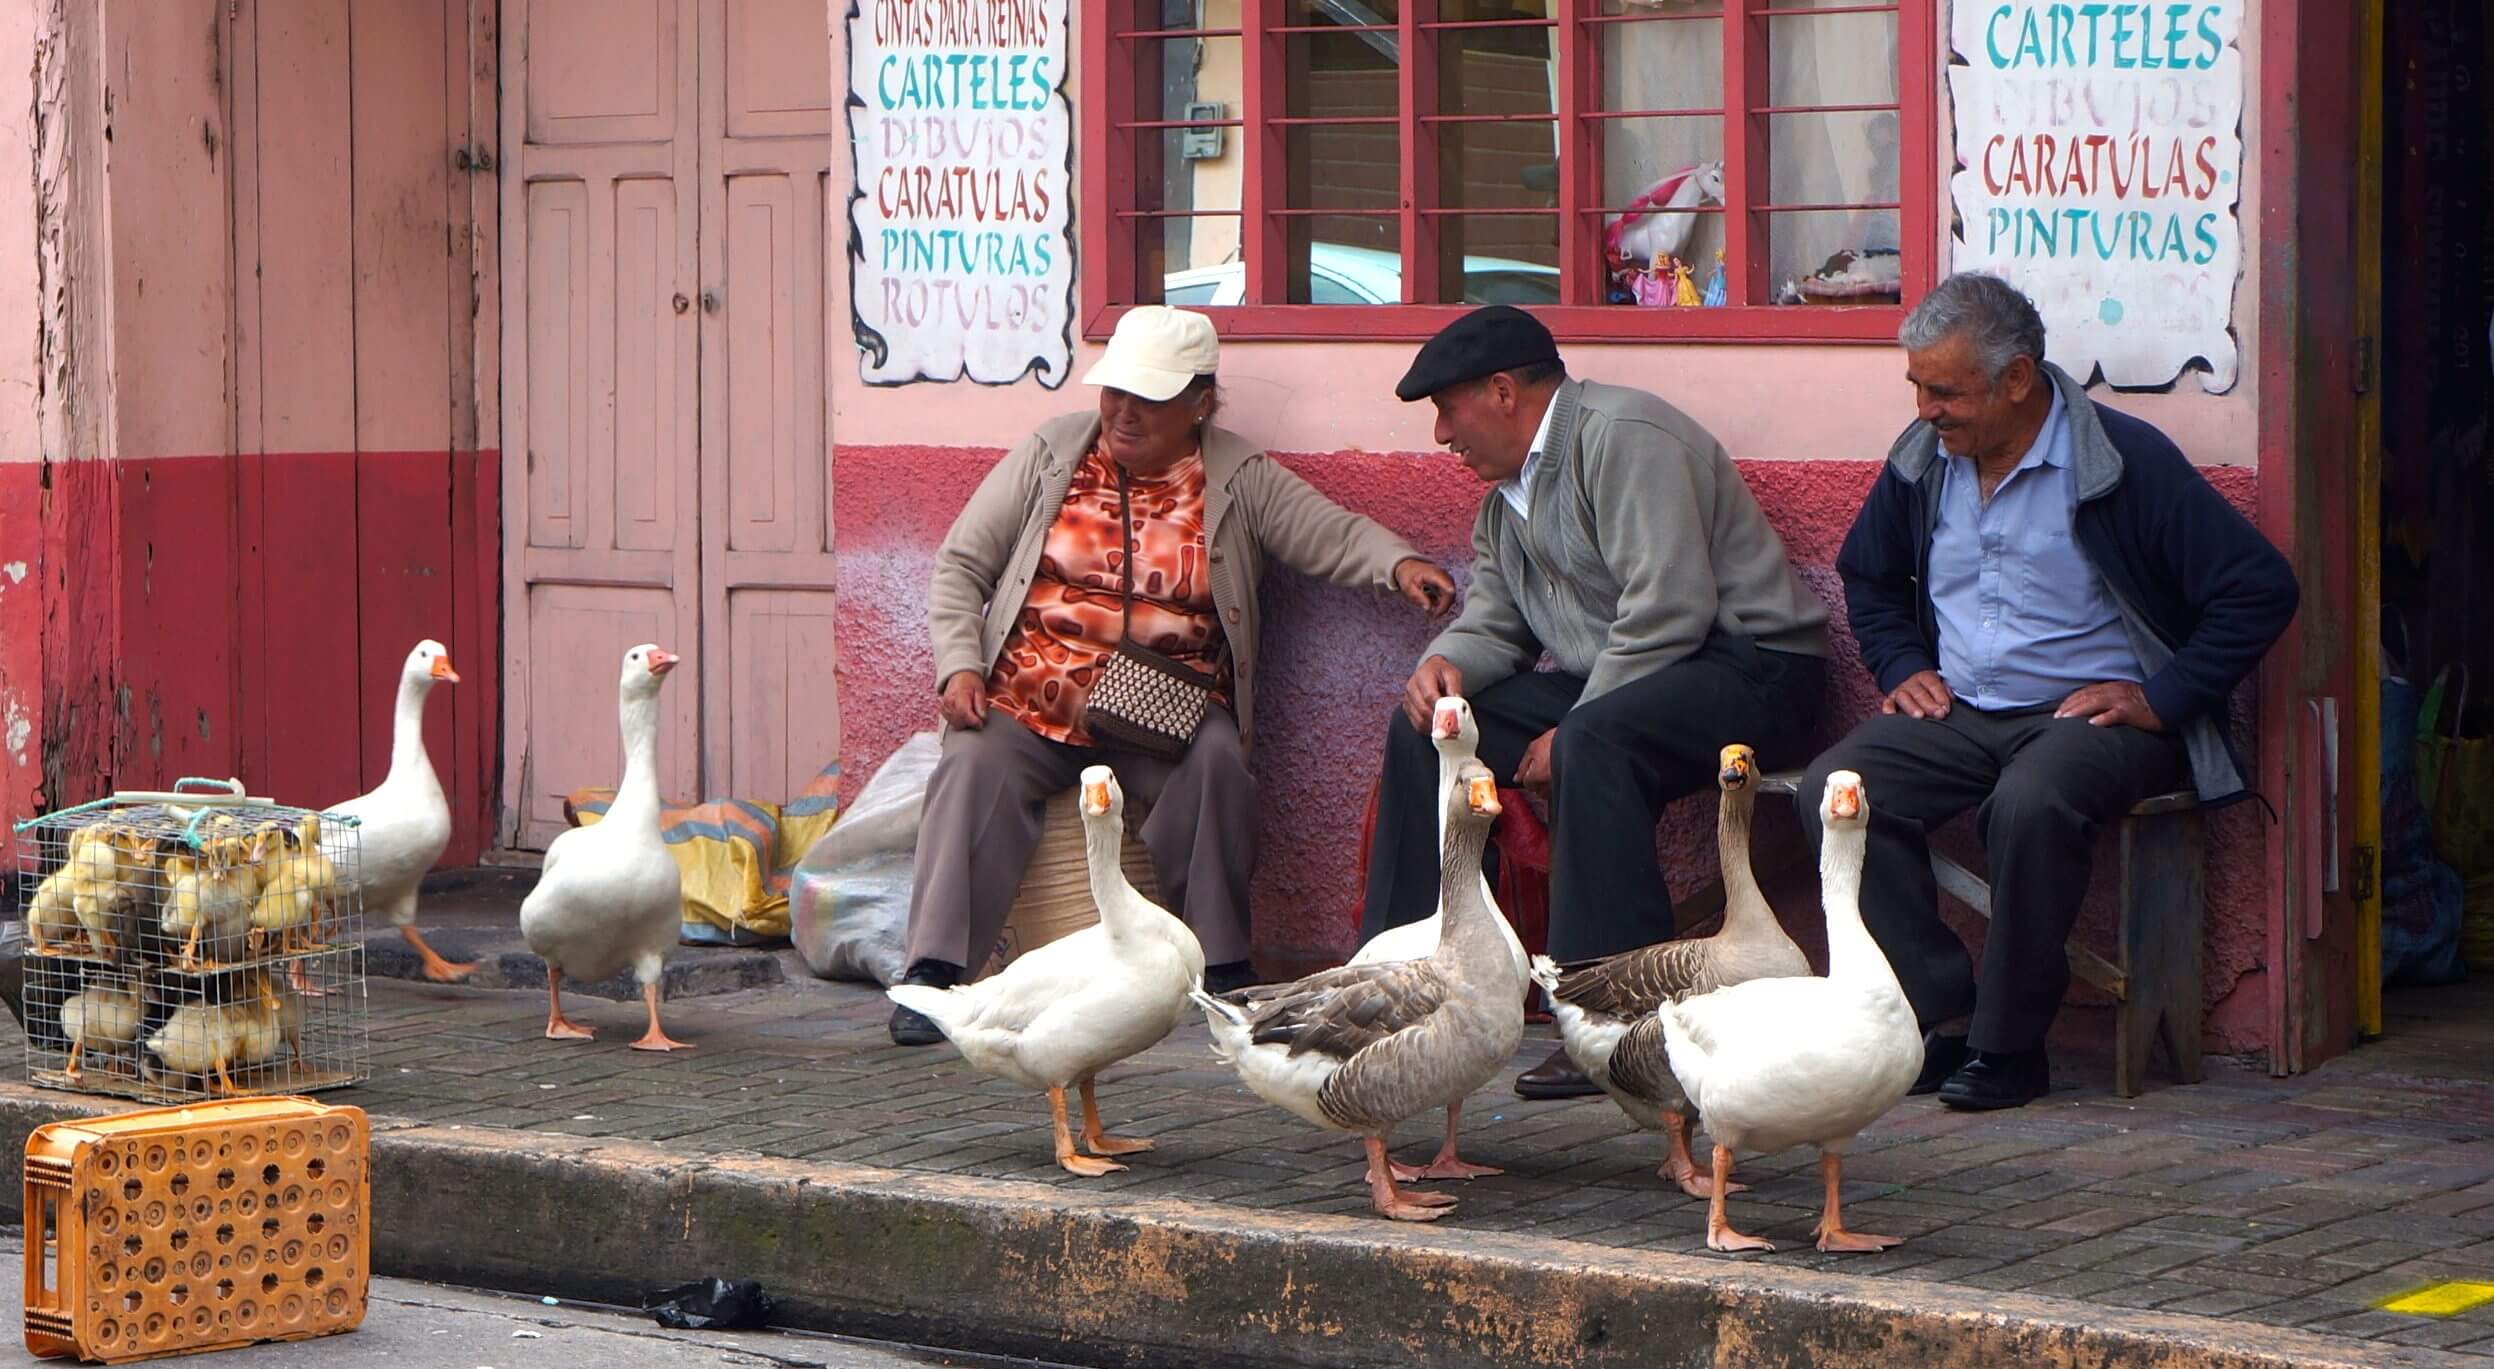
After 2 hours of travel, here we are at the Saquilisi market. In fact, it’s one market, but it’s so extensive and diversified that it includes several markets in 1: an animal market (alpacas, pigs, sheep, llamas, among others), another more touristy (ponchos, blankets, hats, wool sweaters, etc.), a market for fruits and vegetables… In short, don’t miss one of the most beautiful markets in Ecuador, less touristy than the Otavalo market! This market is a great way to conclude these few days of trekking in the Quilotoa area before returning to Latacunga and continuing the Ecuadorian journey!
The Quilotoa Loop: the review of this Ecuadorian must-see
This 4-day trek marked the beginning of the second part of our trip in Ecuador, and we can say that it has already set the bar very high for the rest of the adventure in South America! What we really found great is the distances between the different villages! Between 12 and 14 km per day, it’s just the ideal distance to take your time, take photos, and most importantly, not be too tired to start again the next day!
The icing on the cake of the Quilotoa Loop is undoubtedly the accommodations and the food. We didn’t expect much before we left, but I believe that the Llullu Llama and the Cloud Forest easily make it into our top 10 best small hotels! When is your turn?
We talked about the incredible diversity of landscapes in Ecuador. This will be confirmed in the next article because our next meeting is with the Amazon rainforest! See you soon!
Pin it

Join the discussion