We’ve often discussed our gear for several-day treks with our tent, or more generally about bivouacking… But for some reason, we’ve never told you about what we pack when we go on a day hike / trek (although this is the type of hike we do most often).
It’s true that we often think less about day-hikes than about multi-day/week adventures… But even if it’s not that complicated, a day hike requires preparation, and you need to pack a few things in your rucksack.
So my goal in this post is to detail what you need to think about before setting off on a day hike / trek, and to help you pack the right things in your backpack. Let’s get started!
Different types of day hikes
Although it may seem obvious, I wanted to start this post by reminding you that not all day hikes are alike. You won’t take exactly the same gear with you if you set off on a 20kms hike with 1000m of elevation gain in the Alps, or on a 10kms coastal hike in Brittany. The effort is just not the same, the type of terrain is very different, the difficulty of the trail can differ greatly, and so may the weather…
That’s why it’s important to know the type of day hike you’re getting into! Which brings me to the next point that is too often overlooked: how to prepare for a day hike?
Things to do before going on a day hike
We’ve been doing a lot of hiking for over 10 years now, and one thing that has always amazed me is the number of people who set off on a hike without knowing the distance, altitude difference or difficulty of the route they’re about to take. In fact, the number of people who injure themselves while hiking is constantly rising, and now stands at 37,000 a year in Switzerland.
You need to prepare for a day hike, and there are a few things you need to do before you go:
- Draw up your itinerary on a hiking app (we use Alltrails): As far as we’re concerned, we always trace the itinerary of our hike on Alltrails BEFORE we leave. This allows us to know exactly how many kms we’re about to cover, the elevation gain +- and also to have a ready-made GPX track to use throughout the hike. We explained why we use Alltrails in this blog post, but you can of course use the hiking app of your choice.
- Find out as much as you can about the route: Having a track of the route is a good start, but it won’t tell you if there are exposed or technically difficult passages… Doing a little research beforehand will help you avoid taking on itineraries that are too ambitious for you.
- Check the weather forecast before you go: check for thunderstorms, the wind strength and the temperature where you’re planning to hike. This will enable you to take the right equipment with you, or give up if necessary.
- If you’re hiking alone, inform a friend or family member of your itinerary.
If you do all this before each of your day hikes, you’ll avoid many unpleasant surprises.
Important things to pack on a day hike
Let’s start with the gear we think is absolutely necessary for your day hikes:
The hiking shoes
I’m sure you’re not planning to go hiking barefoot lol 😉 . But at the same time, we see a lot of posts like “top 10 best shoes for day hikes” on the internet… and yet the best shoes for day hikes will very much depend on your preferences and the terrain you’ll be venturing onto.
In our case, when we go on a day hike, 80% of the time we take low-cut trail / approach shoes (with a little more protection and cushioning than minimalistic shoes). These are truly versatile shoes, relatively light and comfortable, and suitable for most types of terrain. There’s a good reason why we’ve put together a comparison of the best shoes of this type, since their versatility also makes them ideal for travel.
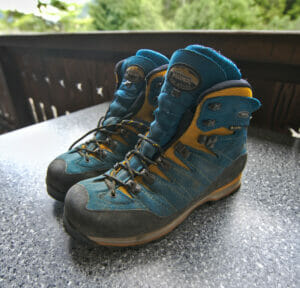
If you’re venturing into rockier mountain terrain, you may prefer hiking boots with higher uppers, which offer better ankle and foot support. In fact, this is also the type of shoe we prefer when we head off into the mountains for several days with our big backpacks. As far as we’re concerned, we really like Meindl and their Air Revolution system, which we highly recommend. Over the years, they’ve earned our trust, and we’ve never been disappointed! (for comfort, support and waterproofing).
The backpack
As for the backpack, I’d say it depends on whether you’re going for half a day or the whole day (so you’ll need to bring a picnic and maybe a bit more stuff).
- Half-day: You can clearly set off with a light backpack under 20 liters, as you’re probably not going to be taking a lot of stuff with you (drinks, snacks, waterproof layer). I’d even say you could go with a trail vest if you want to be as comfortable/light as possible. For backpacks, you’ll find great models from Decathlon or Osprey, and Decathlon also offers great 10 or 15-liter trail vests that can be very convenient for hiking (I have the 10-liter that I often take on fast hikes when I’m running at times).
- Full Day: If you’re going for a full day hike, you’ll clearly want to pack a bit more stuff, including a picnic, more drinks, maybe a bit more clothes… But a backpack between 20 and 30 liters should do the trick for the day (if you need more space, it’s probably because you’re taking a few too many things with you). Here again, we recommend you take a look at Decathlon or Osprey.
The hiking clothes
When it comes to clothing, the most important consideration when choosing clothes for a day hike is clearly the weather (which is why it’s so important to check the forecast carefully on the hiking day). If you look at the forecast on the day itself, it’s usually quite reliable, and you won’t need to overload yourself with unnecessary clothing.
On the other hand, even if it’s a little less important for a day hike than for a multi-day one or a long-distance trip, the so-called onion technique is still a good idea. It involves thinking of your clothes in layers that you can add or remove according to weather conditions:
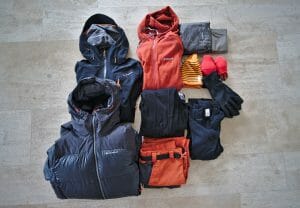
- a 1st base layer: We’re talking here about your short- or long-sleeved T-Shirt (which is also warmer or cooler, depending on the season). Choose materials that let sweat escape and dry quickly without retaining too many unpleasant smells, such as merino wool. See on decathlon
- a 2nd insulating layer: This is a layer whose main purpose is to keep you warm. It will therefore be very different (or even non-existent) depending on the season. In summer, you won’t necessarily need one, but depending on the temperature, you may need a simple hoodie, a softshell (for men or women, for example) or even a thick down jacket. We like down jackets because they keep you warm and are very lightweight.
- a 3rd protective layer: this is perhaps the most important layer, as it will protect you from the worst of the weather, even if it’s also the layer that will most often remain at the bottom of your rucksack. As far as I’m concerned, even if the weather’s looking pretty good, I almost always have my ultra-light Arcteryx Gore-Tex (340gr) at the bottom of my backpack. The weather can change, the wind can pick up and with the sweat you can quickly get a bit cold. So I find that having a light protective layer at the bottom of the bag is almost always a good idea.
As for the rest of the clothes, I’m not going to go into too much detail, as everyone will have their own preferences… Personally, I like hiking pants that turn into shorts, but I know that others will prefer leggings or shorts.
A filter bottle
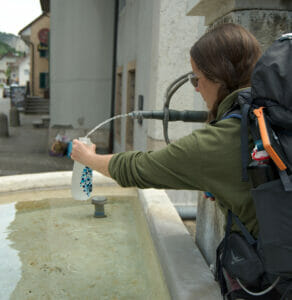
For me, a filter bottle is a must-have when hiking in places where water is readily available (like our home in the Alps). We particularly like Katadyn’s water bottles, which are very light and easy to fill in any stream, thanks to their soft construction. We’ve had BeFree 1L water bottles for years, although Katadyn has now released a slightly more robust model that we would certainly have bought if it had existed back then. On warm days, this means you won’t have to carry 2-3 liters of water in your rucksack, and you can fill up in rivers without any risk.
Snacks or food

As far as food is concerned, there’s nothing special to recommend for day hikes. But even if you’re only going for a few hours, make sure you at least have something to snack on to keep you from getting hungry along the way 😉 .
Sun protections
Wherever you are (but even more so if you’re hiking in the mountains), remember to protect yourself from the sun. So take with you:
- a cap / hat
- sunglasses
- sunscreen
Phone charged with a hiking app for navigation (+ GPX track)
Of course, if you prefer the good old paper map, that’s also possible… but for our part, we’re more fond of hiking apps and GPX tracks. As we said earlier, we always draw the itinerary of our hike beforehand on Alltrails. And since we use the premium version of the app, we can also download the map and view it offline, even if we don’t have a network.
But if you don’t want to pay for the premium version of Alltrails, you can also download the GPX of the hike (in KML format) and then display it with the Maps.me app, which lets you view offline maps for free. We did this for quite a while before upgrading to the premium version of Alltrails.
Small first-aid kit
You don’t need to have all your emergency gear with you for a day hike (ideally it shouldn’t weigh more than a hundred grams). But it seems to me that having a minimum amount of stuff is always a good idea, whether for yourself or to potentially assist an injured hiker. Here’s a short, non-exhaustive list of important things to put in your first-aid kit:
- Tweezers (for splinters)
- a few normal and anti-blister bandages
- a tick remover if you’re hiking in high-risk areas
- 1-2 compresses
- some adhesive tape
- disinfectant for wounds
Cash and credit / identity card
I always carry a bit of cash in my backpack, as more than once I’ve been unable to use my credit card to pay (for example, in mountain cafés or huts). And if something does happen, it’s always a good idea to have some cash and your ID card with you.
Optional gear for a day hike
Even if these items aren’t necessarily essential on a day hike, I usually still take the following items with me:
Hiking sticks
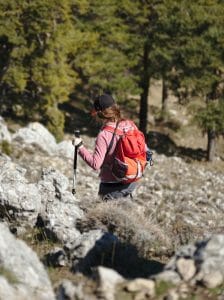
As far as I’m concerned, I’m a big fan of hiking sticks! They allow you to distribute some of the effort on your arms, take some of the load off your knees and also stabilize you when the terrain is difficult. For the past few years, unless the hike is really easy (by which I mean flat, not too long and on easy terrain), I’ve been taking hiking poles almost systematically. I’ve also started using them when I go trail running, as I find them very practical, especially uphill.
Obviously, when it comes to buying trekking poles, it’s the weight that’s going to run up the bill. Standard aluminum trekking poles from decathlon weigh around 240gr each and cost less than 20€ per pole. On the other hand, the more trail running-oriented carbon models weigh around 140gr each, but still cost 100€ a pair.
The swiss army knife (or any multi usage tool)
It’s not a must-have, but as a good and respectable Swiss, I always have my Swiss Army knife in my bag. It’s useful for cutting the bread/cheese, for opening a bottle of wine or a beer, but I’ve also used scissors, a screwdriver, a can opener, tweezers, a pen… So it’s certainly a more useful item on a long hike or trip, but I still carry it almost all the time in my bag.
The camera (and useful hiking accessories)
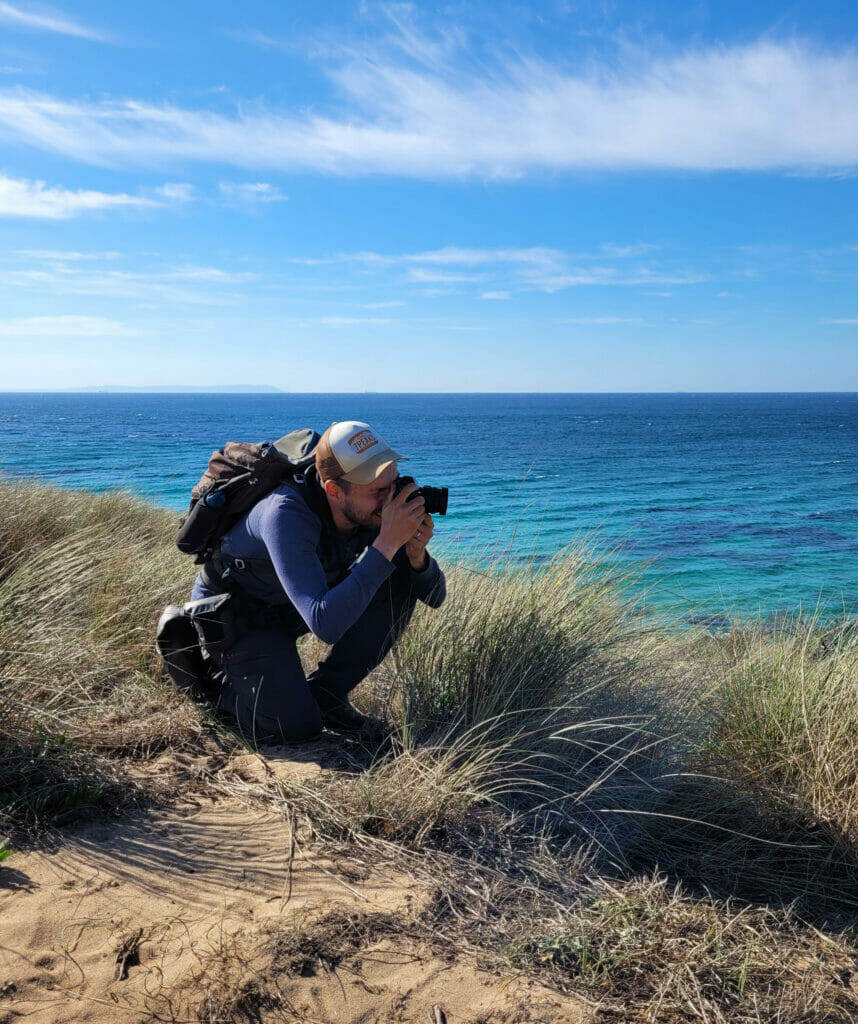
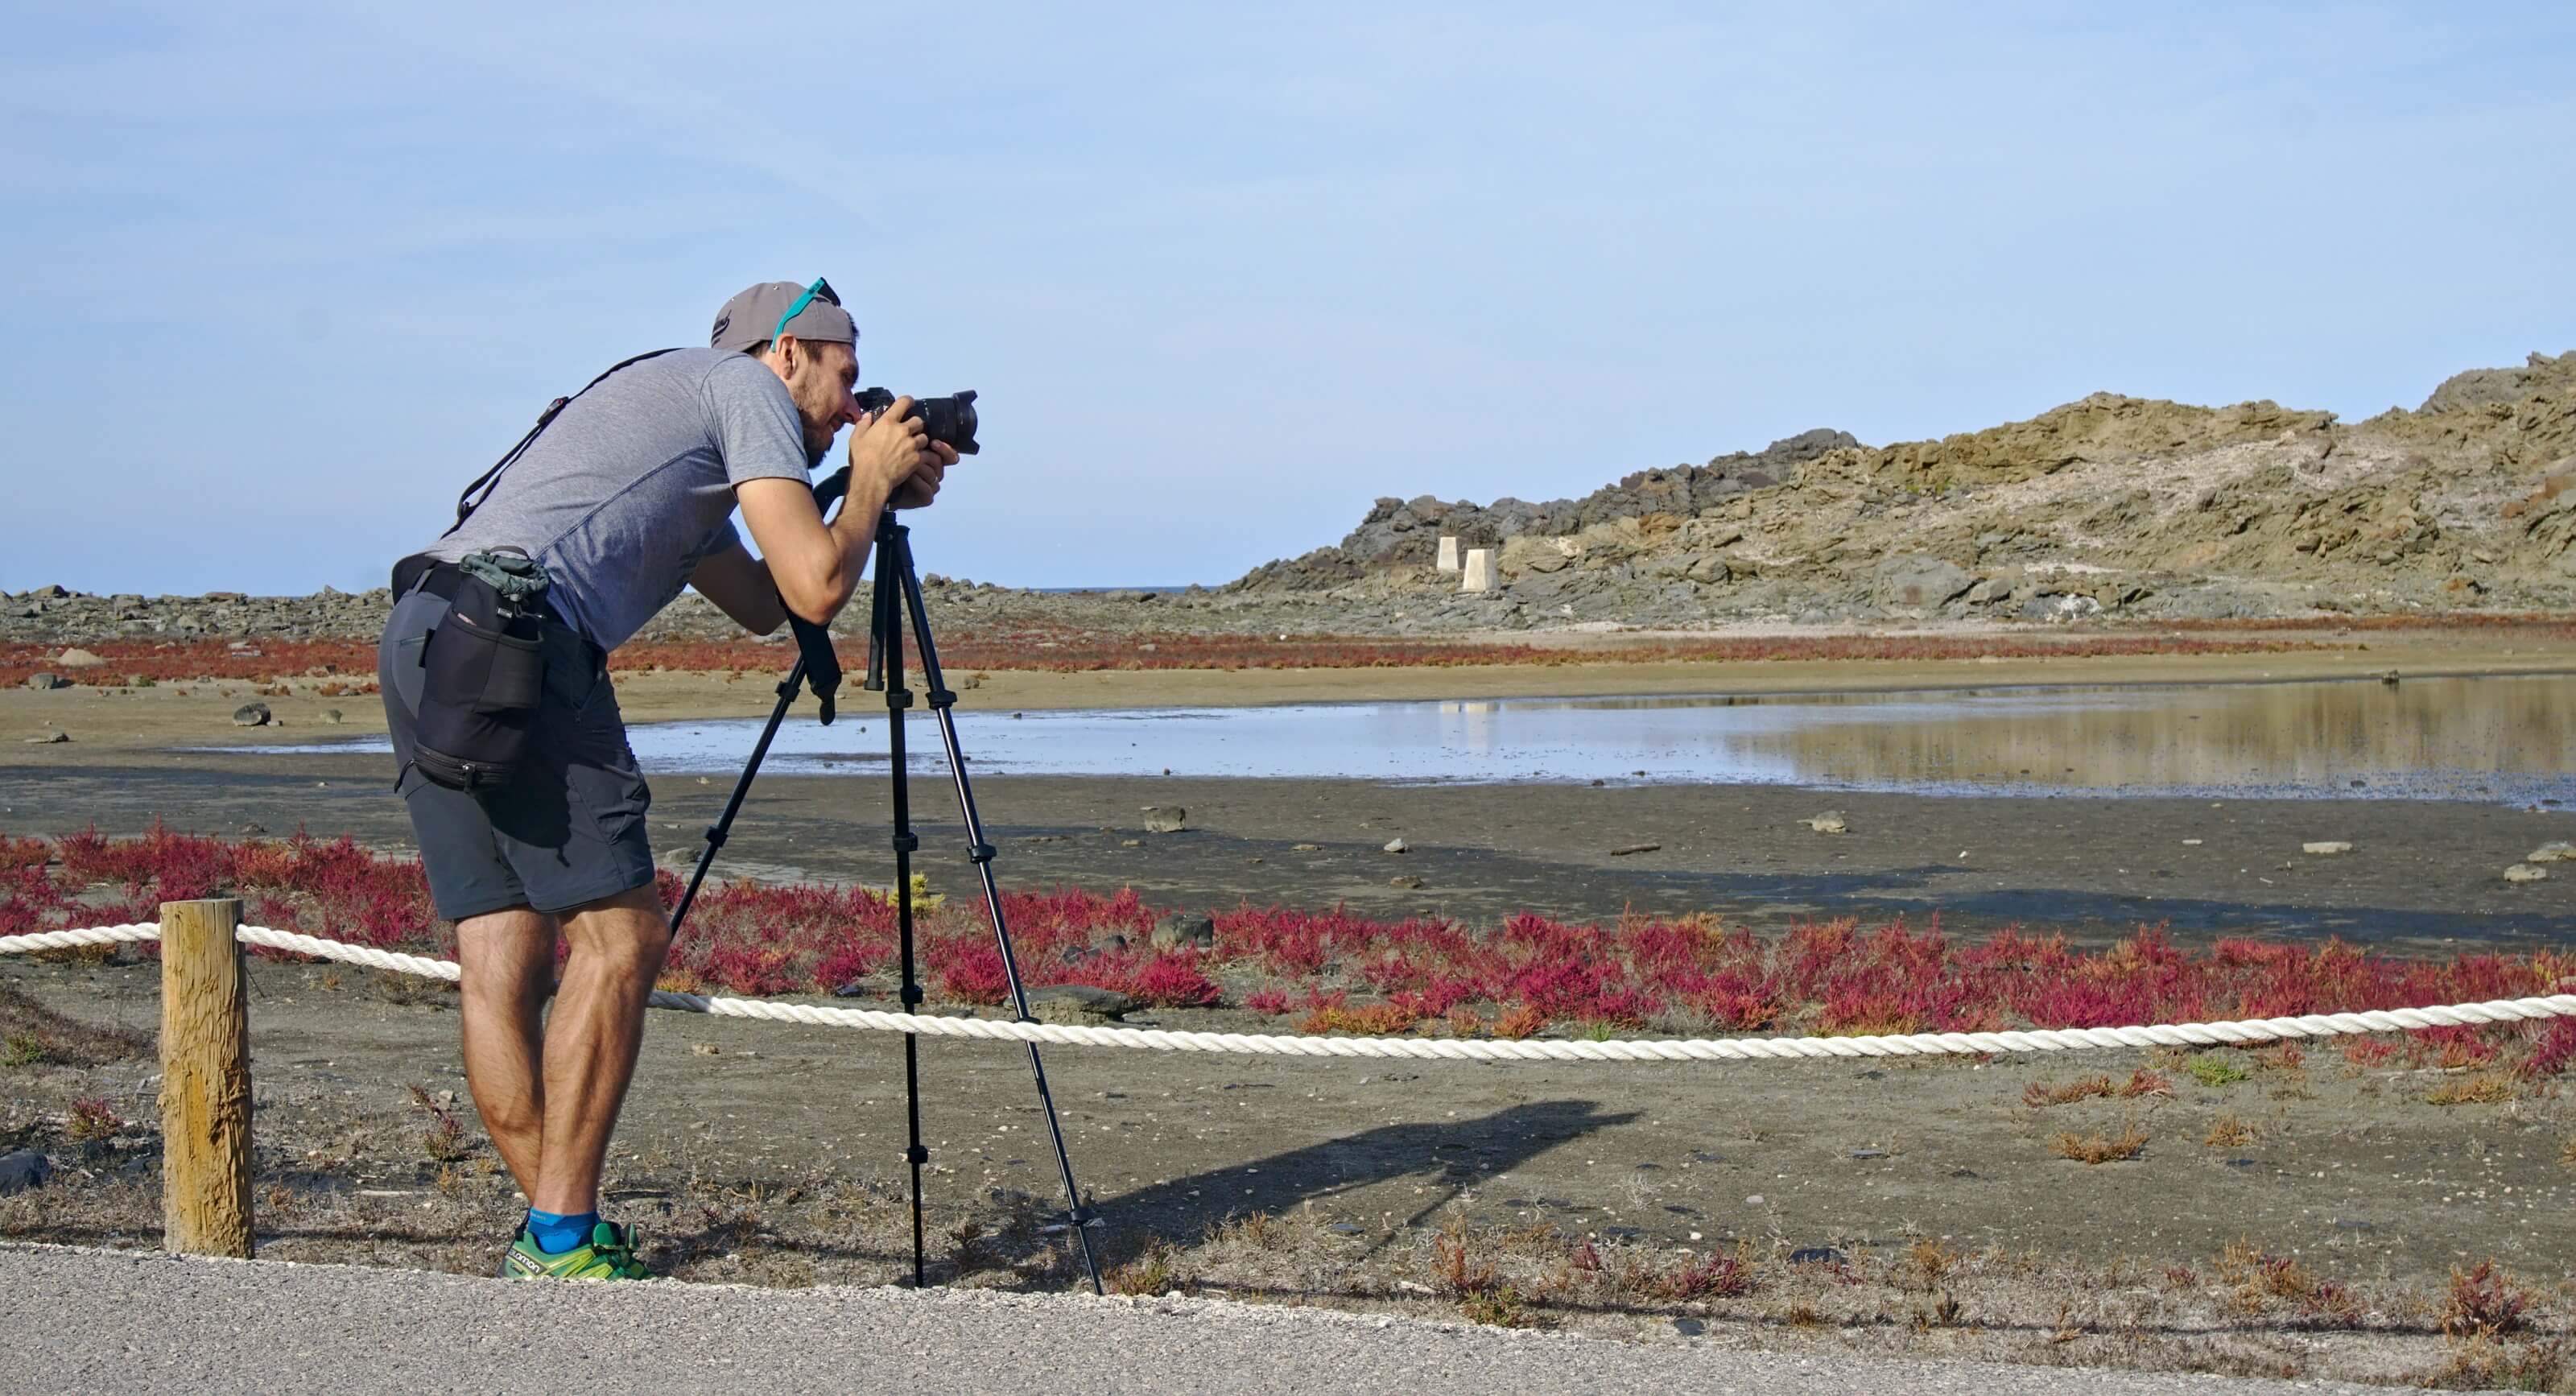
As you can imagine, I always carry my camera with me when I go hiking! It’s obviously not an essential item, but if you like beautiful images, there’s no question about what a good camera can produce compared to a smartphone. The idea here is not to give you advice on how to choose the best camera for hiking (I’ve talked about that in detail in this article), but perhaps to tell you which accessories are really practical for hiking:
- Peak design Capture pro clip: This is an incredibly handy accessory for hiking, allowing you to clip your camera onto your backpack strap (or belt). No more straps with your camera constantly moving around your neck during hikes. Thanks to this clip, you’ll always have your camera within easy reach. A must-have for hiking photographers!
- Lens pouches that attach to your belt: Storing your lenses in your backpack during a hike is the best way to not use them (because you don’t want to stop to open the bag and change lenses). For my part, I use pouches that I can clip to my belt, so I can easily change lenses whenever I want. Peak Design used to make great pouches, but unfortunately they’ve stopped making them, but Lowepro makes some pretty good ones too.

A small bag to collect waste
Unfortunately, it’s not uncommon to find some waste along the way when you’re on a day hike. If you have a small bag with you, you can pick it up and leave the hiking trails cleaner than they were before your visit.
I think I’ve covered the most important points in preparing for a day hike. If there’s anything else that you would take with you on a day hike, please don’t hesitate to leave us a comment below.
Pin it on Pinterest

Join the discussion