In 2019 we had come to Andalusia to visit a friend who lives in Malaga. At that time, we decided to spend the day at the caminito del Rey. We keep a wonderful memory of this trip, but what marked us the most was our small frustration to have come to el Chorro by train (and not to have had more time to discover the surroundings which looked magnificent).
In 2022, we were back in the area and this time with our van! We took the opportunity to spend a few days in the surroundings and explore the other trails of the park. We take you along?
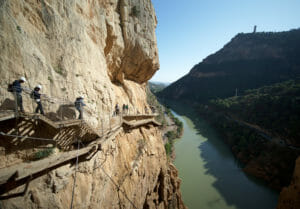
If you arrived on this article because you are looking for ideas of hikes "other" than the caminito del Rey then do not move, you are in the right place! 🙂 However, if you want to have information about the way of the kings, we give you appointment in our dedicated article.
The surroundings of the Caminito and el Chorro: presentation
It is almost a little ungrateful, because the fame of the "Caminito del Rey" is overshadowing the whole natural space that hosts it… If many people have already heard about the "most dangerous path in the world" (which is not at all, by the way), few knew the existence of the park before coming here. And we are the first ones!
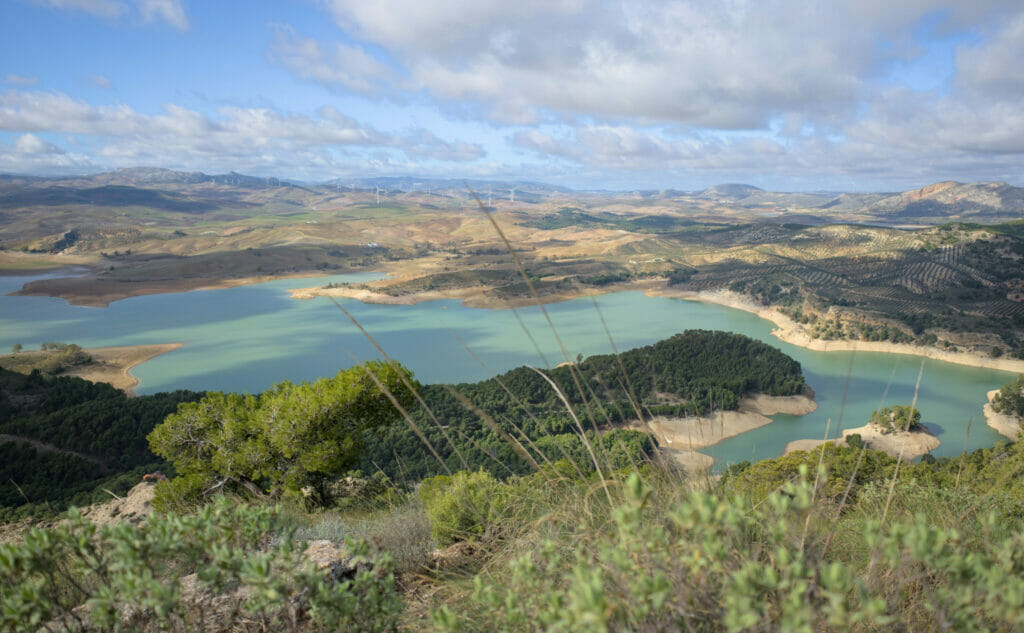
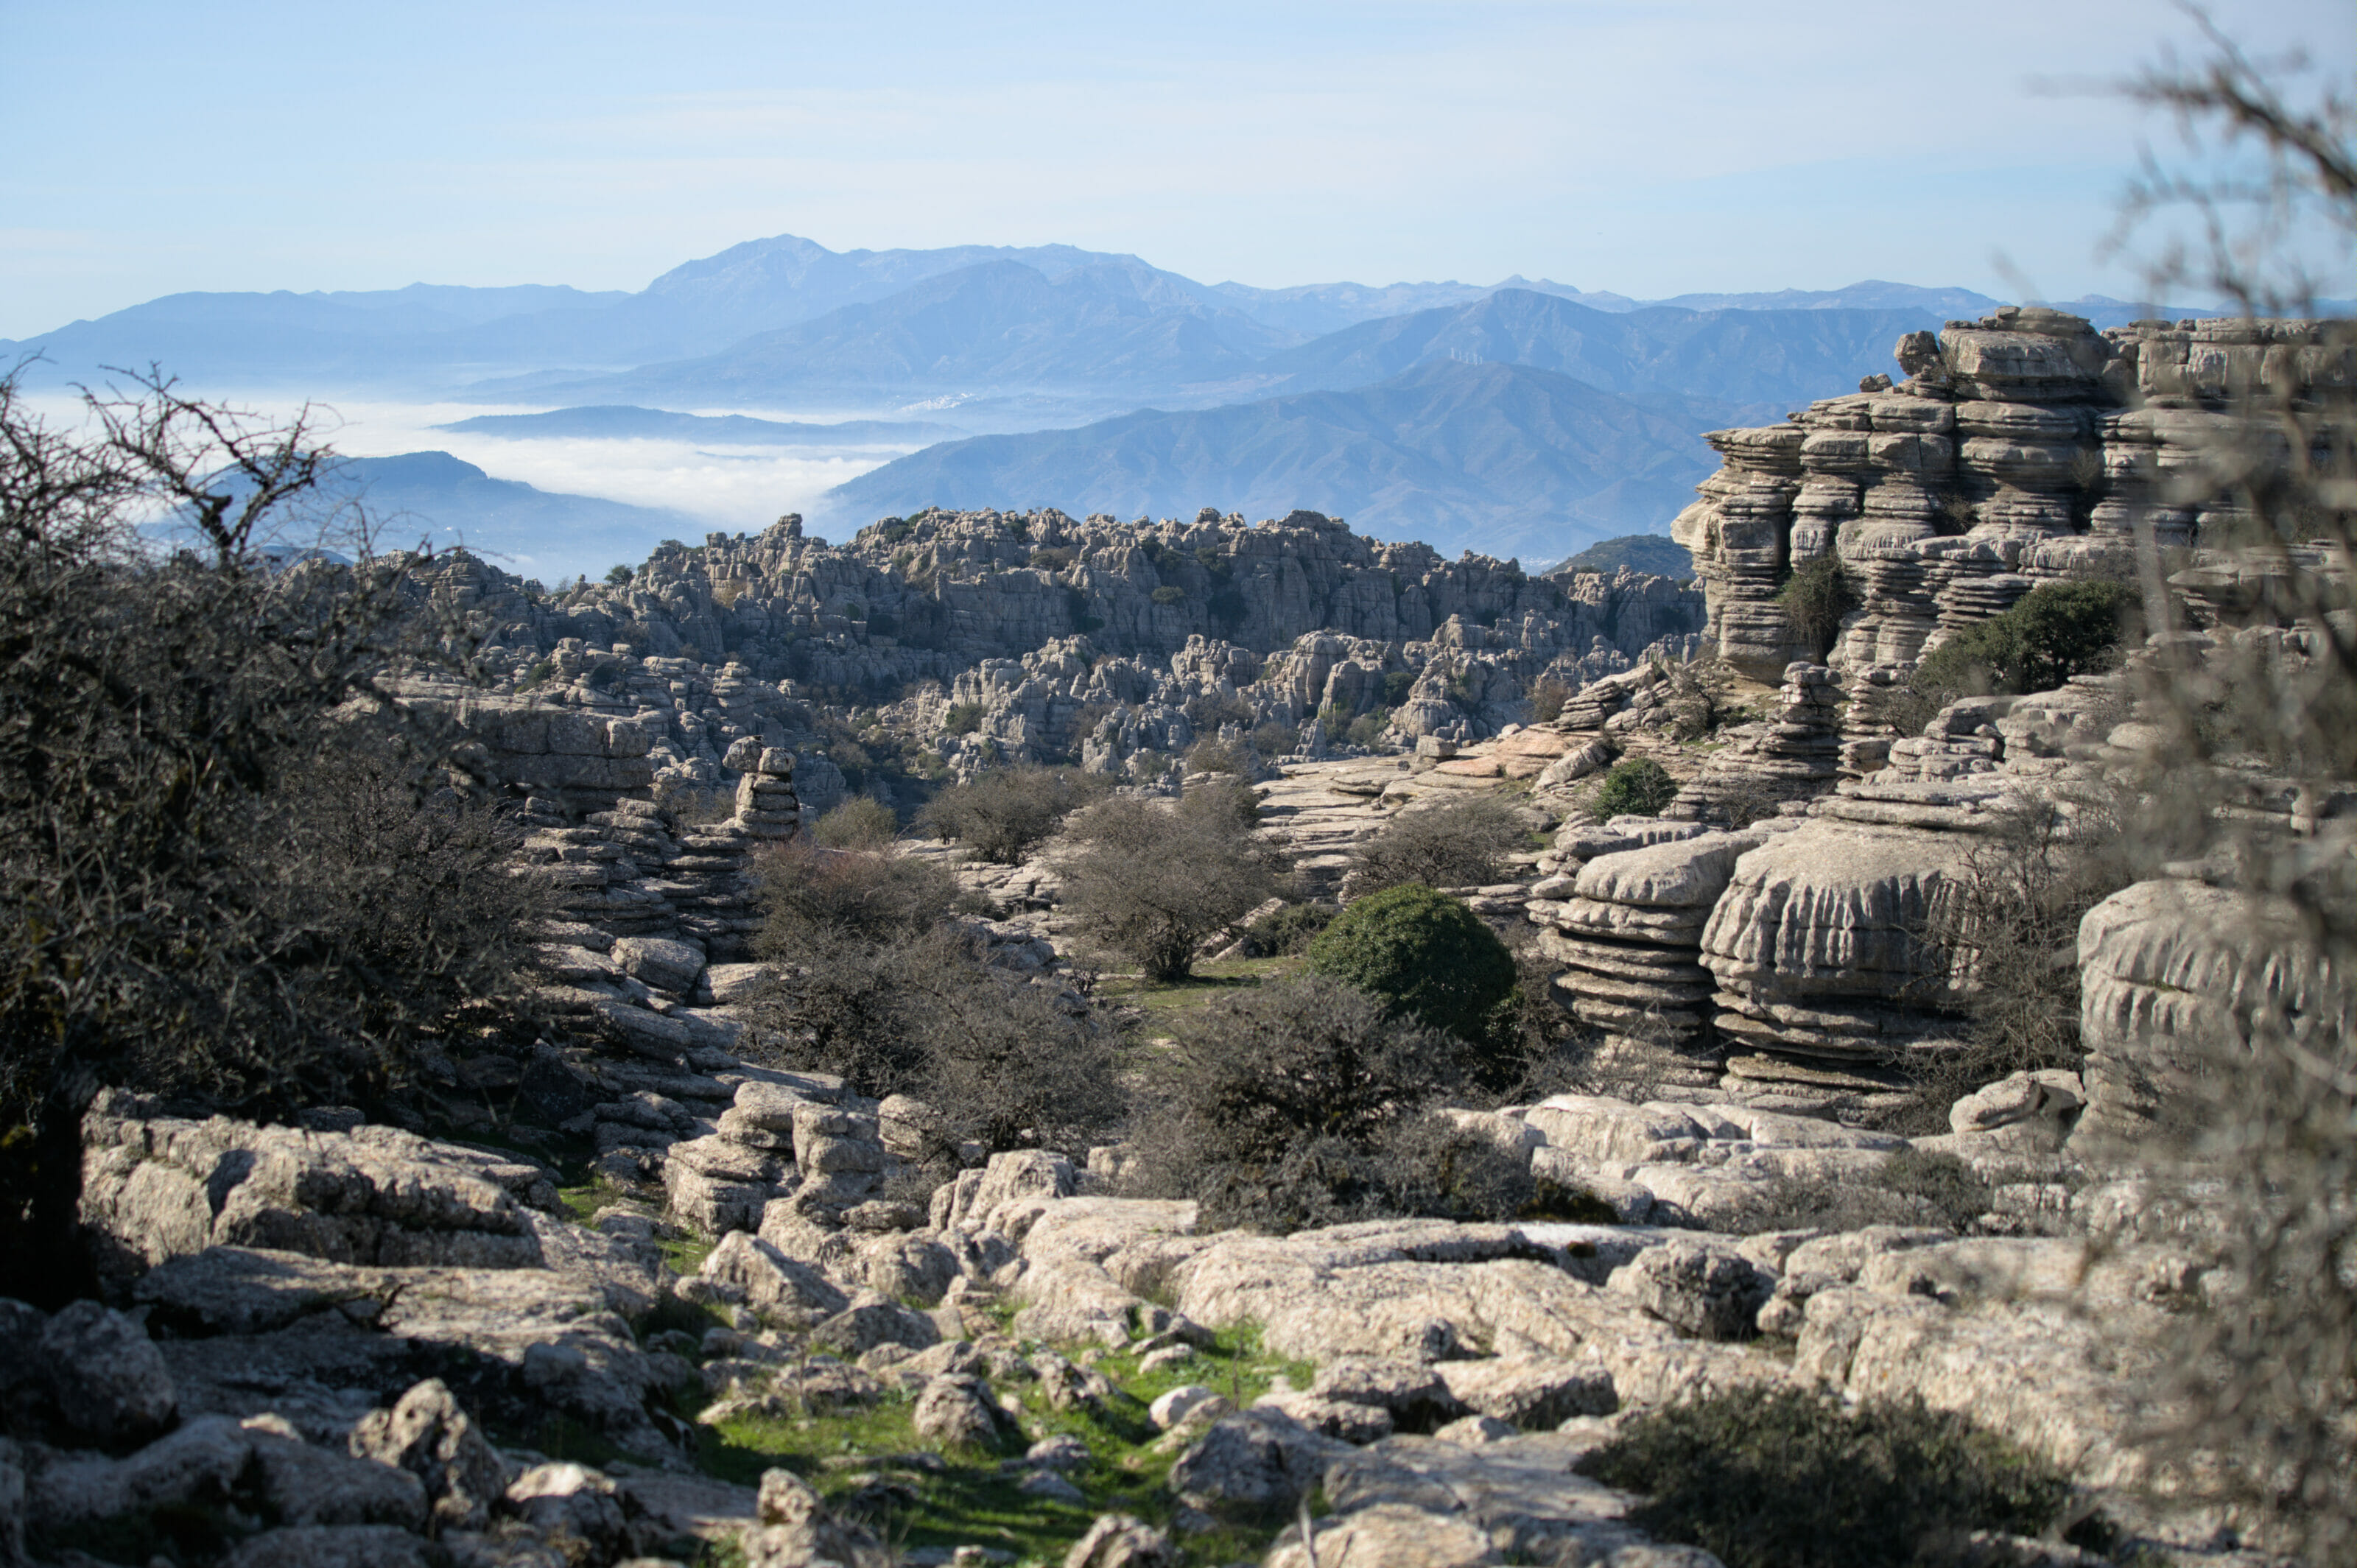
In fact, it is while coming here by train the first time and then from the shuttle that we said to ourselves that there was certainly a lot of other things to see around here… Intuitively, we opened Maps.Me and we saw that dozens of trails left towards the various summits which surround the canyon in which the caminito was installed. The region is really wild! There are some small towns and villages like el Chorro or Ardales, but there is also a whole area in which there is strictly no human trace as far as the eye can see!
The Mirador de tres Embalses
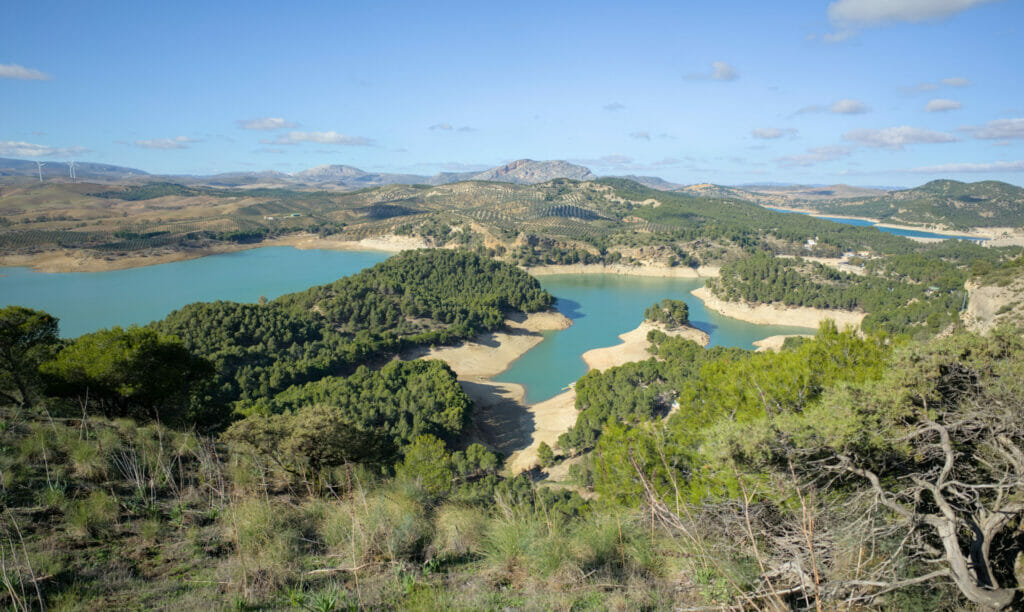
The viewpoint
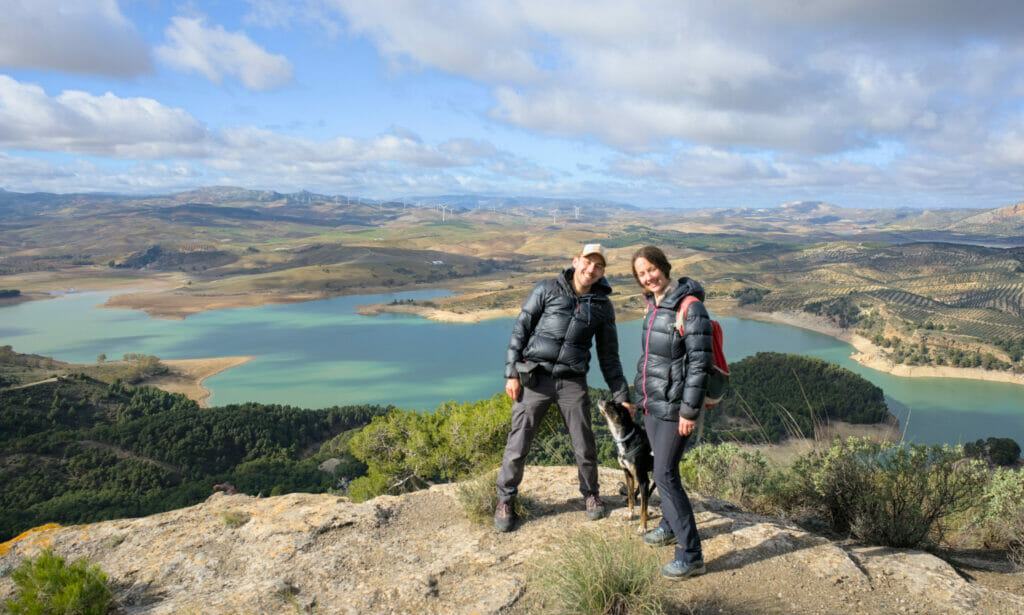
We arrived in the area from the north. We had done a lot of driving that day and we were looking for a little spot to have a picnic and stretch the dog's legs before going to the campsite. It is on Google Maps that we spotted this viewpoint on our road and we decided to stop there to eat.
There is no parking lot to access, but a small clearance on the side of the road leaves enough space for 4-5 cars to park. Most of the people come just to admire the view and leave immediately, so there is not much to worry about.
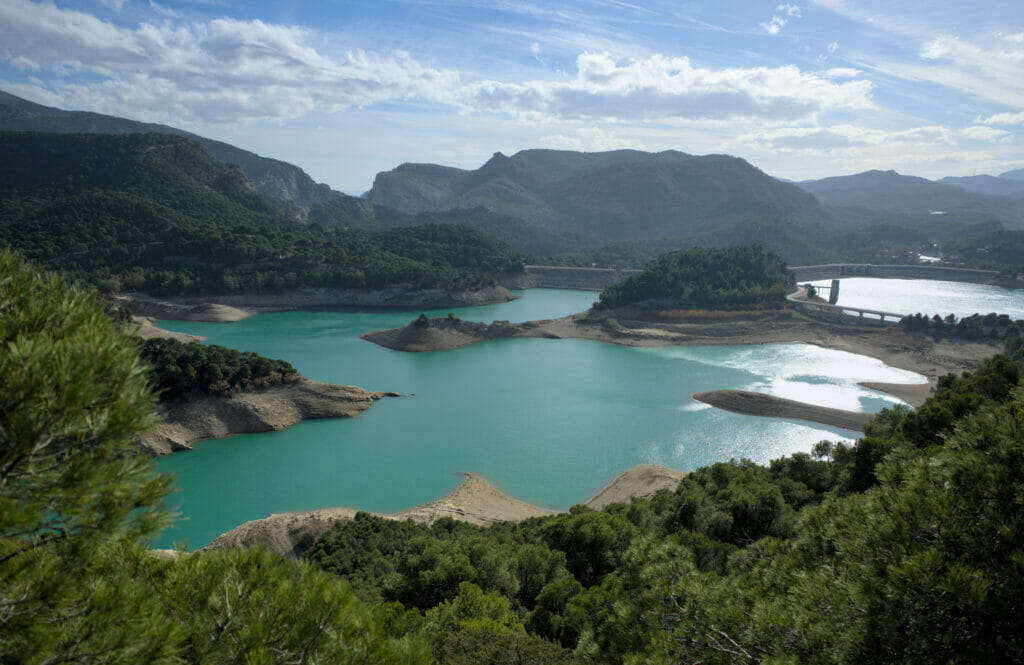
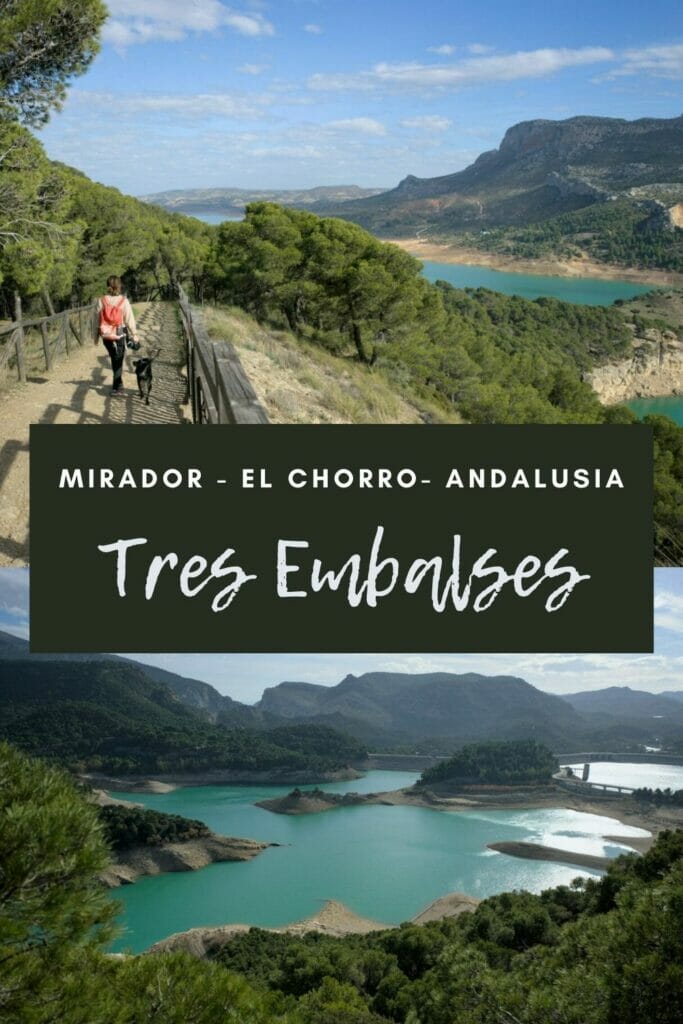
From the road, a staircase and then a small path go up to the mirador. The view from there is really magnificent! You can't see the canyon so much, but on the other hand you have a superb panorama on the different arms of the artificial lake "Embalse del Guadalhorce".
Our hike around the mirador de los tres embalses
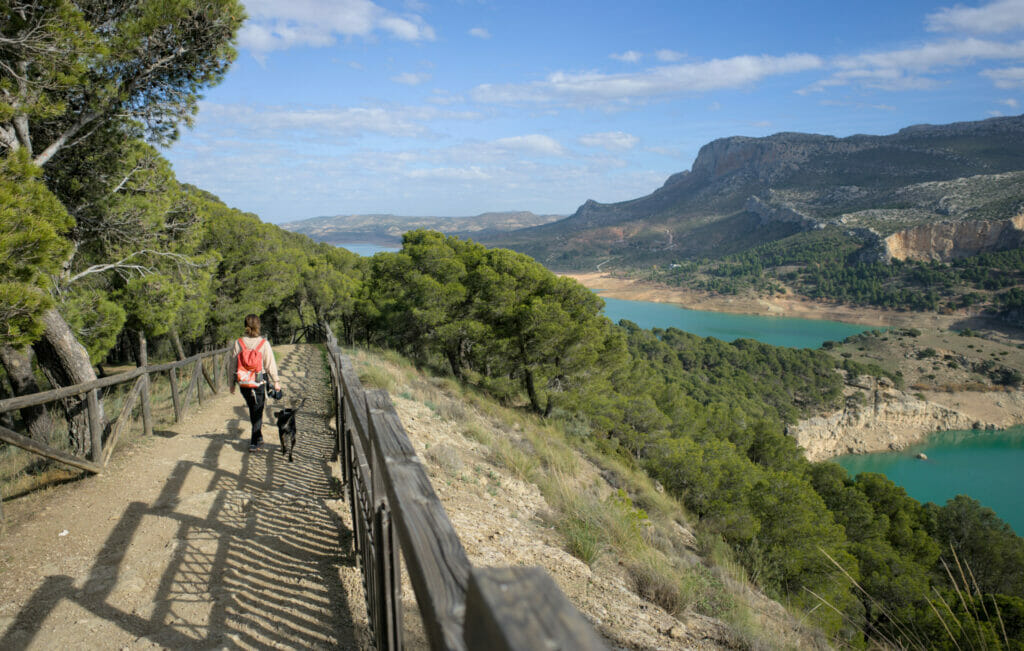
The point of view is clearly the "best place" but since we wanted to stretch the legs of the dog, we opted for a small loop. We had not necessarily anticipated to share it by here but in the end it is a small hike which we found quite pleasant.
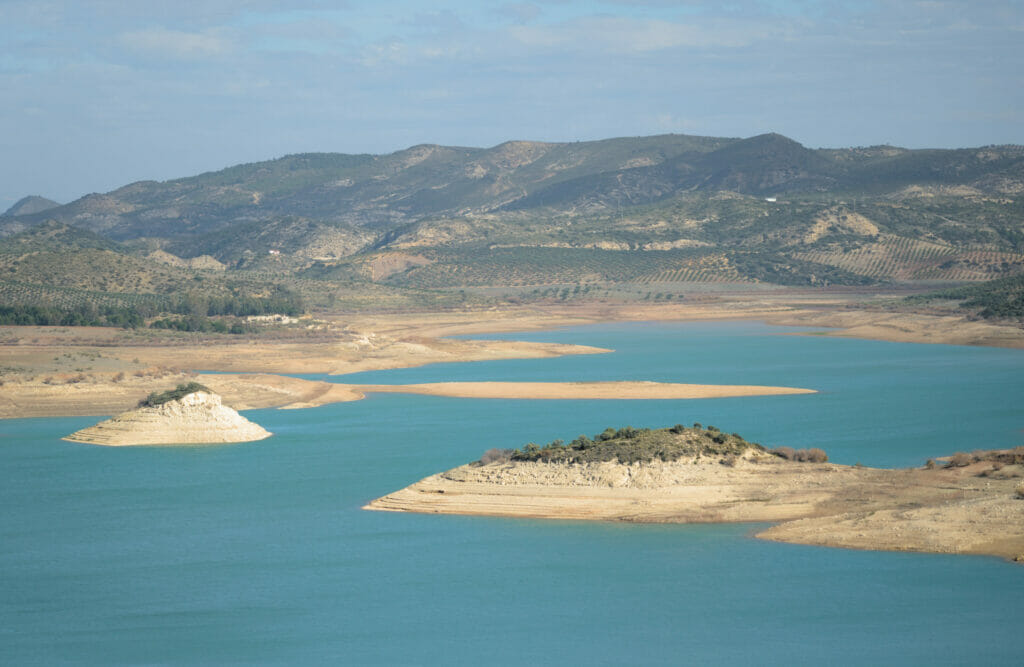
From the mirador we first started to follow the ridge in the direction of the north. Arrived at a small parking lot, we took to the right in direction of the lake. From there, a nice path goes back through the forest to the dam. The last part is not the most exciting because we have no other choice than to follow the road to return to our starting point, but considering that the traffic remains rather moderate on this side of the park, we shall say that it makes it well 😉
Anyway, if you also have a dog to walk for 1 hour or simply if you are in the mood to follow the lake a little, here is the map of our mini-hike from the mirador of tres Embalses:
Hike to the Mirador de las Buitreras and the Pico Convento
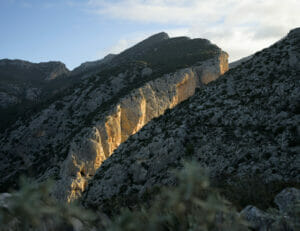
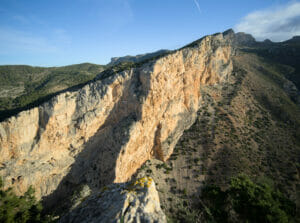
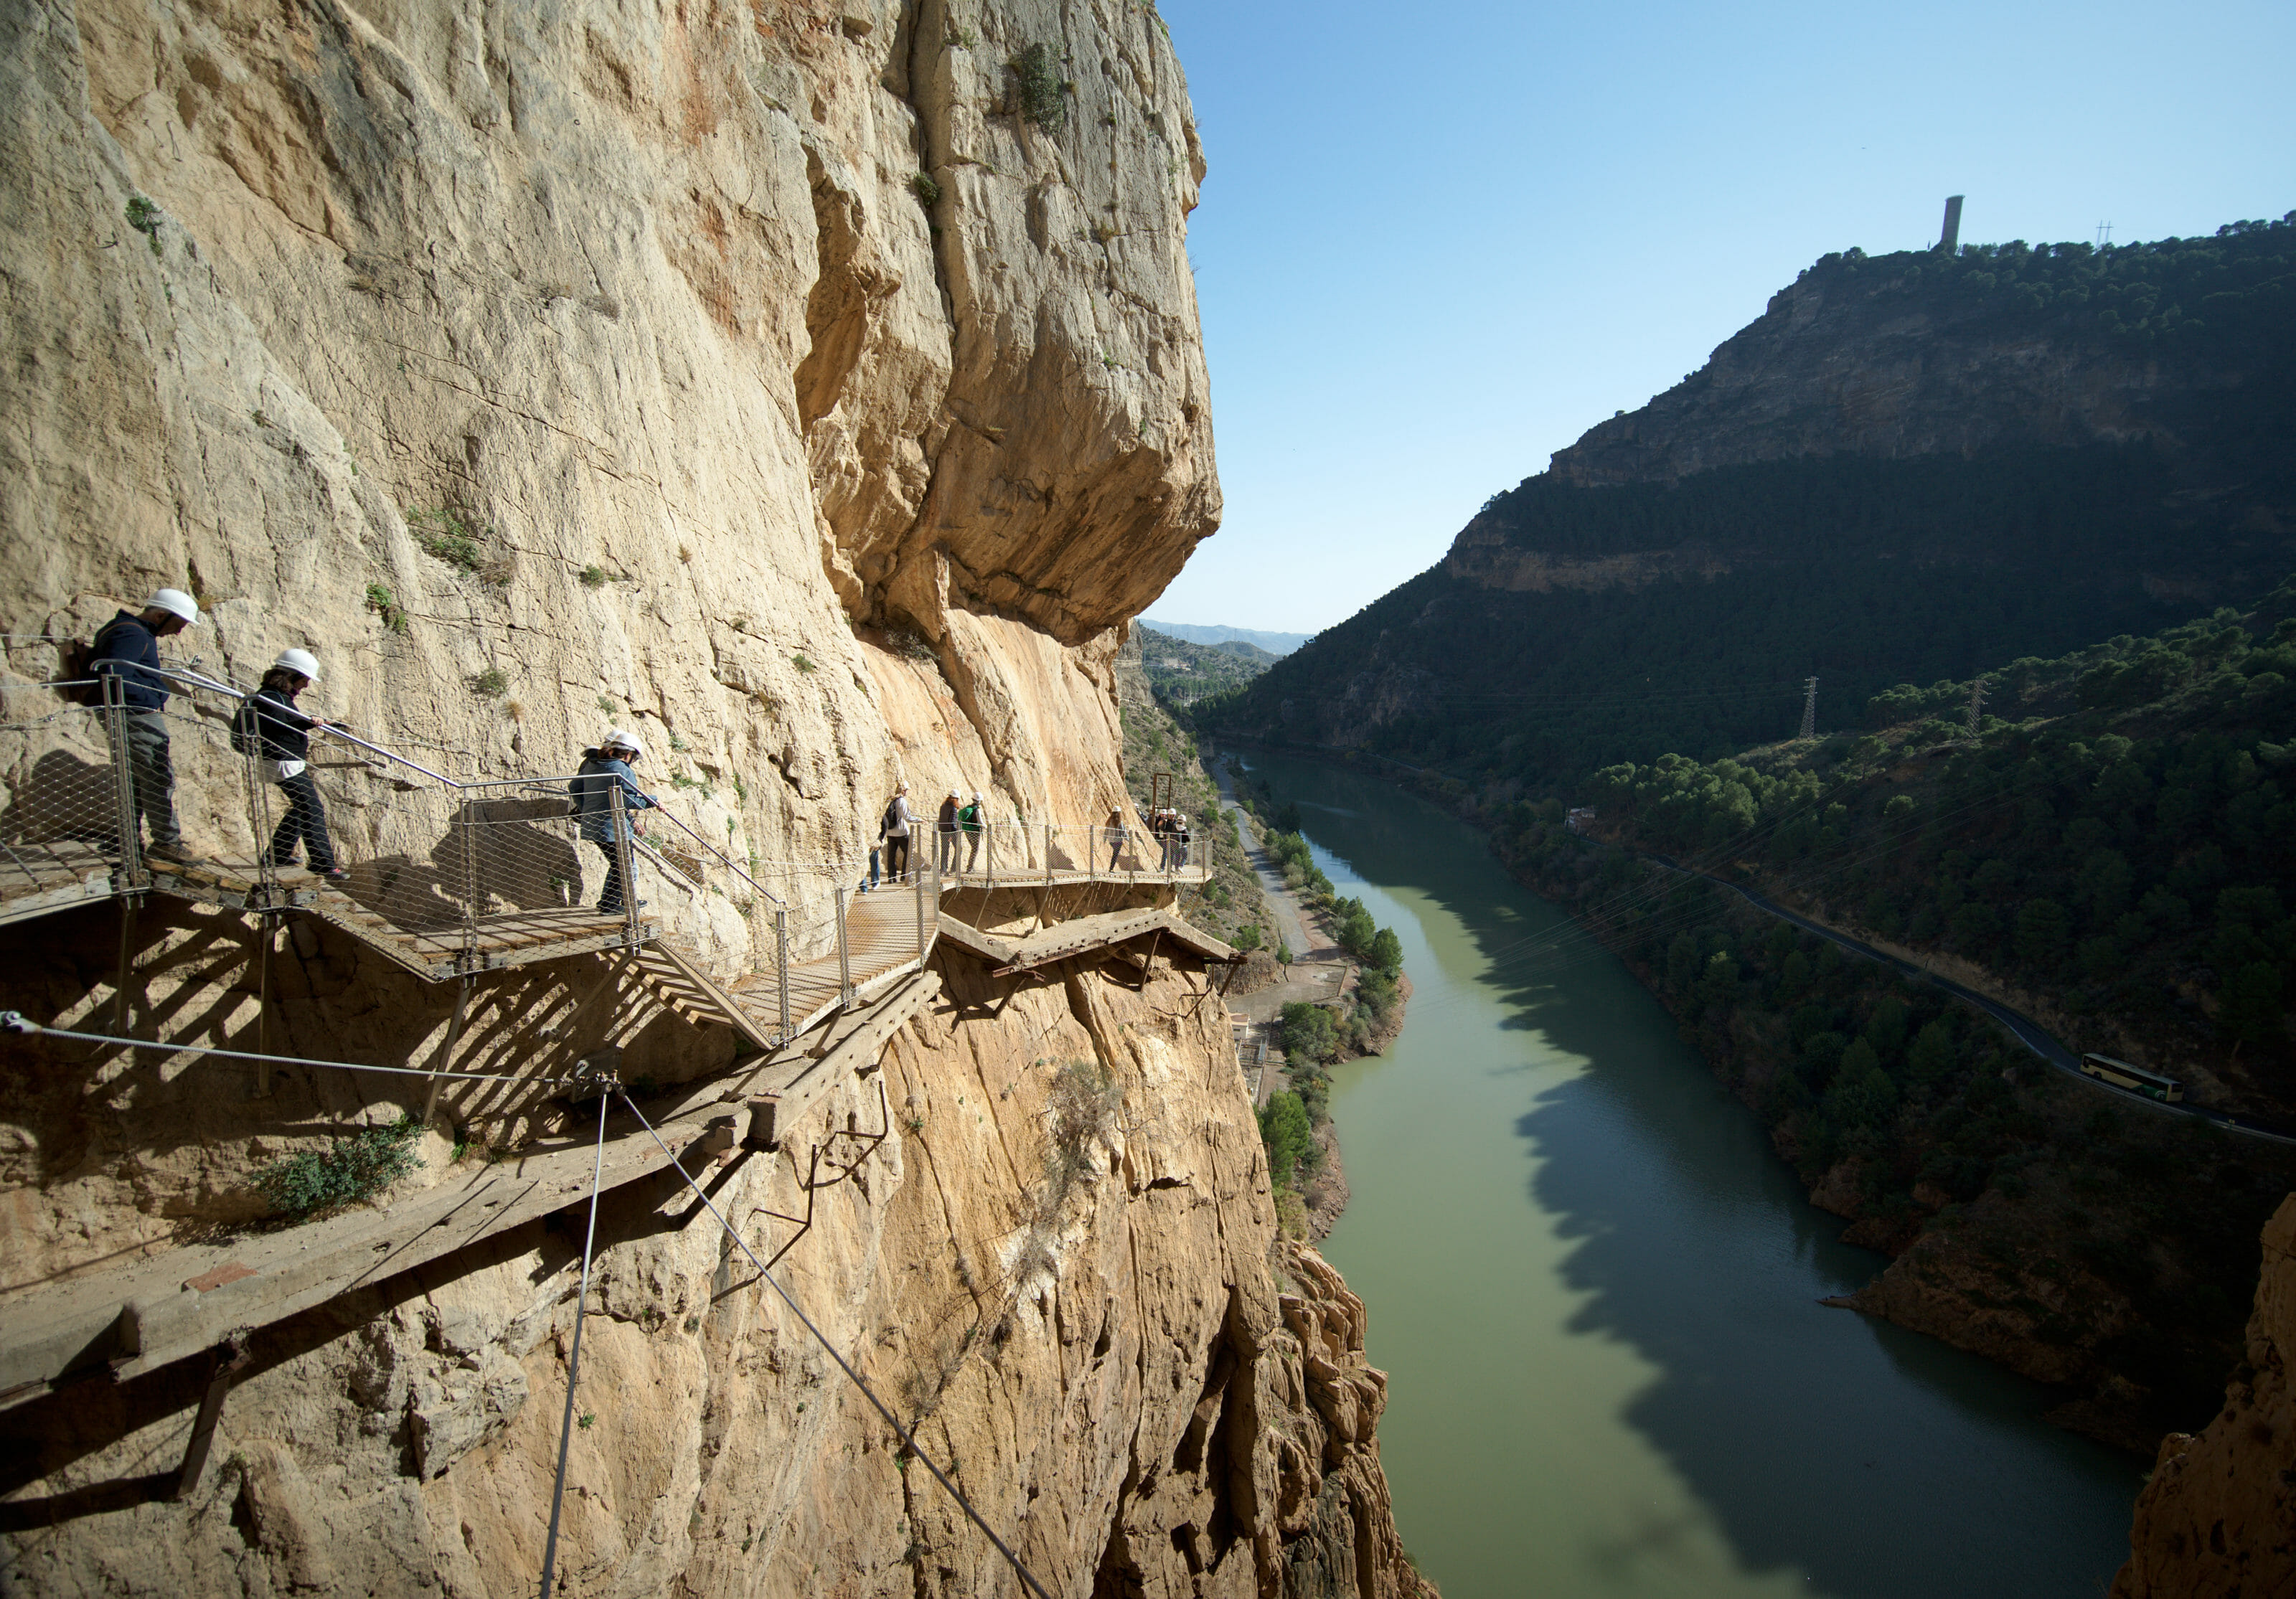
When we came to do the caminito del Rey in 2019, we were super impressed by the entrance to the Gaitanes Gorge, with this cliff that seems to fall steeply!
On the internet, we had seen pictures of these cliffs "taken from above" and it was clear that we wanted to go and see it closer 😉 It's just crazy to see what Mother Nature has created in some places… I mean… It looks so surreal as a landscape, don't you think?
We were based at the campsite which is just at the beginning of the caminito and it is thus on foot that we left in search of this point of view which is called the Mirador de las Buitreras.
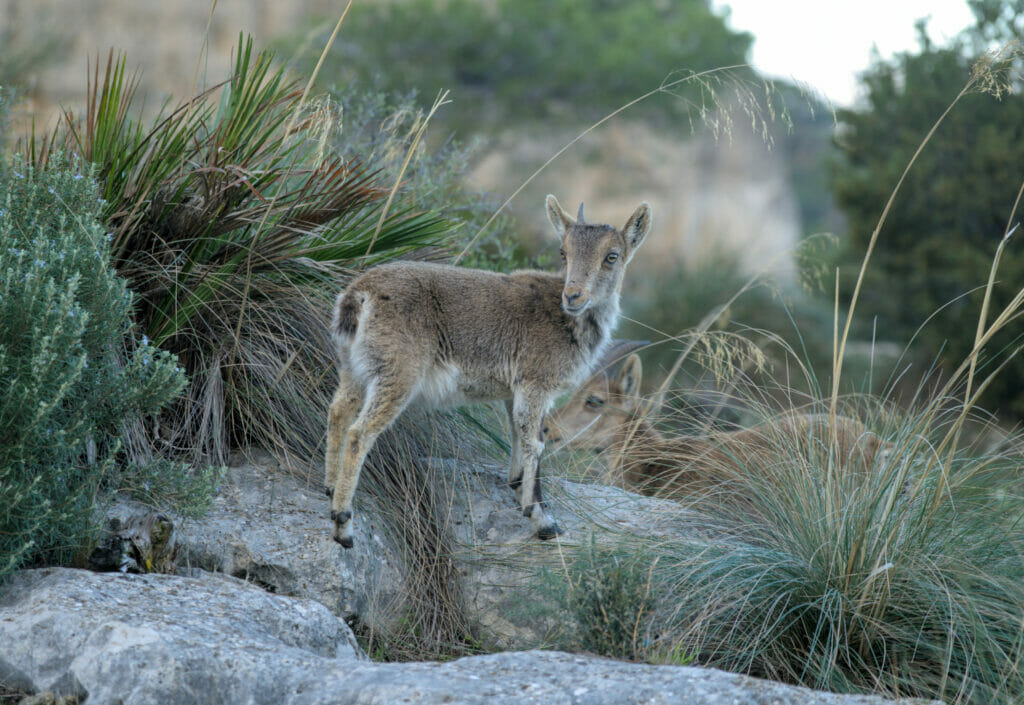
To get there, we start by taking the tunnel that is along the main road and that allows us to reach the beginning of the caminito. At the exit of the tunnel we take to the right and after 100 m we leave the main path of the caminito to take the track that goes up on the right. The path is really easy and climbs in a winding path towards the viewpoint. In this place we saw a lot of ibex and even a "unicorn" version of the species with only one small horn 😉
Viewpoint over the Caminito and the Gaitanes Gorge
To get to the viewpoint itself, you have to leave the track at a big bend and go straight until you get to the edge of the cliff… From there, the view is just "Wouahhh". In fact, you can see almost the whole caminito del rey from there.
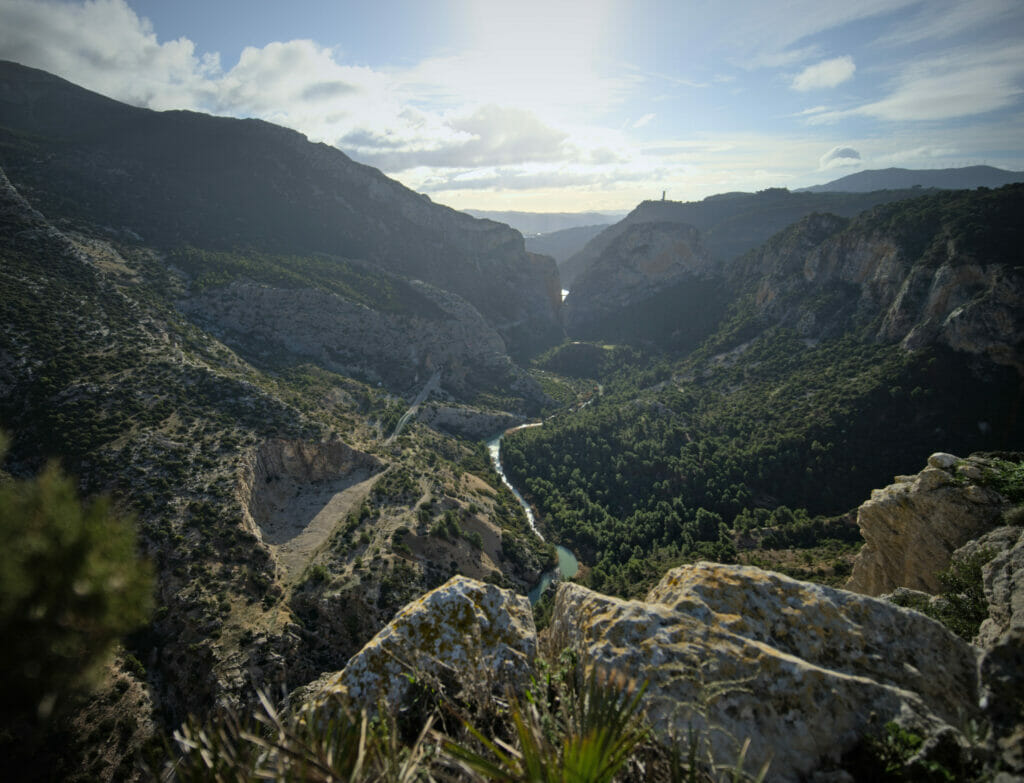
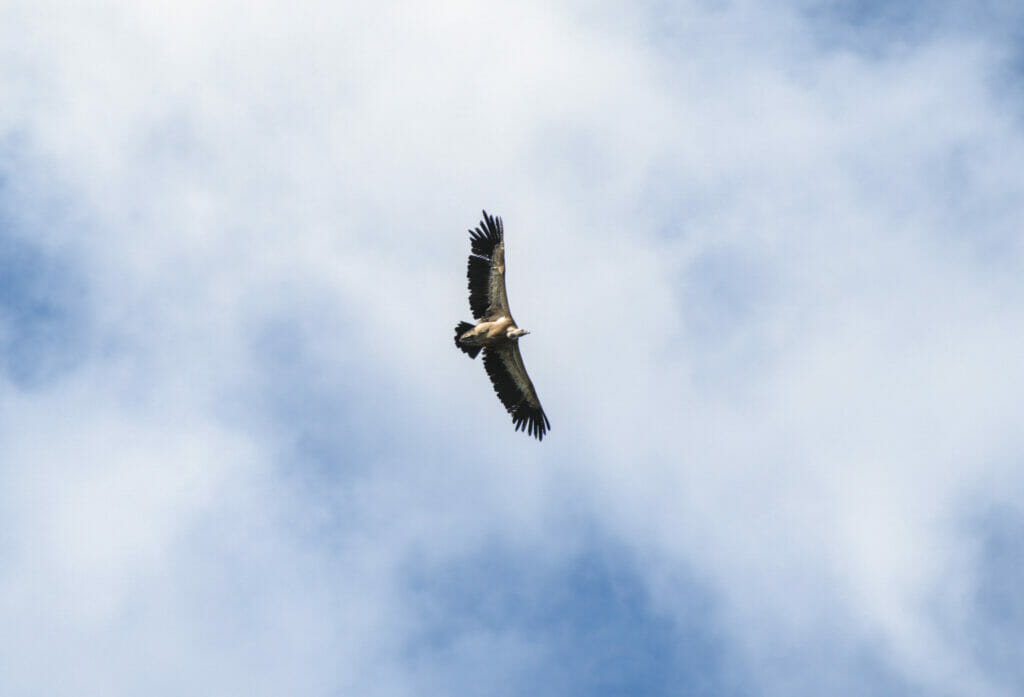
From the mirador, we went back to the track and we continued the climb in direction of the Pico del Convento, one of the highest peaks of the area. The view is exceptional and the least we can say is that we are close to the vultures that nest in the area! They passed us at the height of the head, it was very impressive (I admit that it was almost frightening at times).
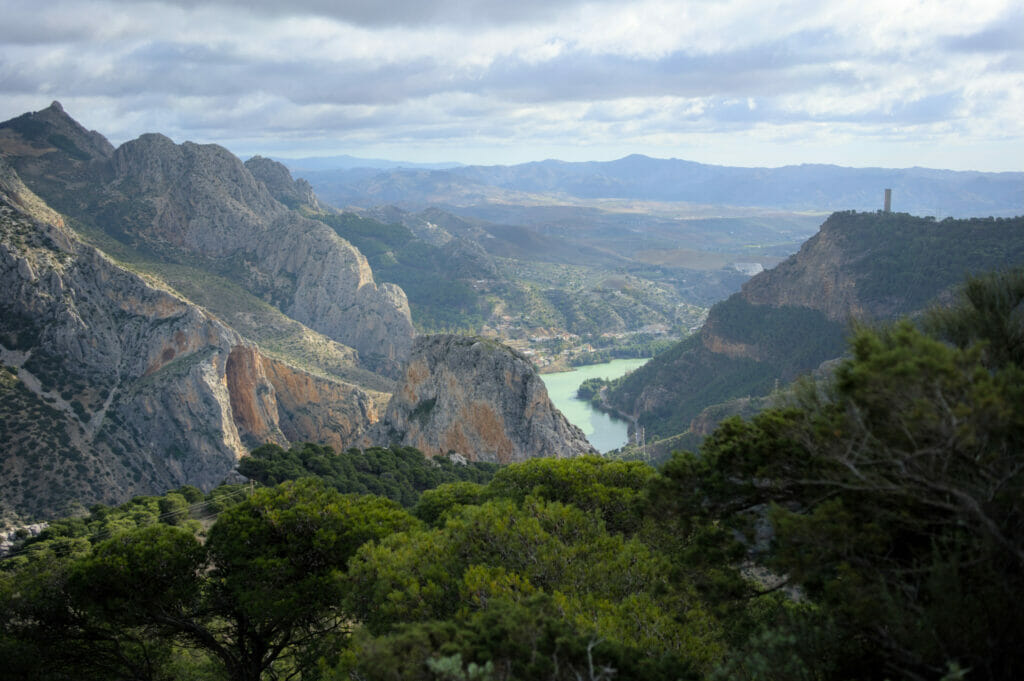
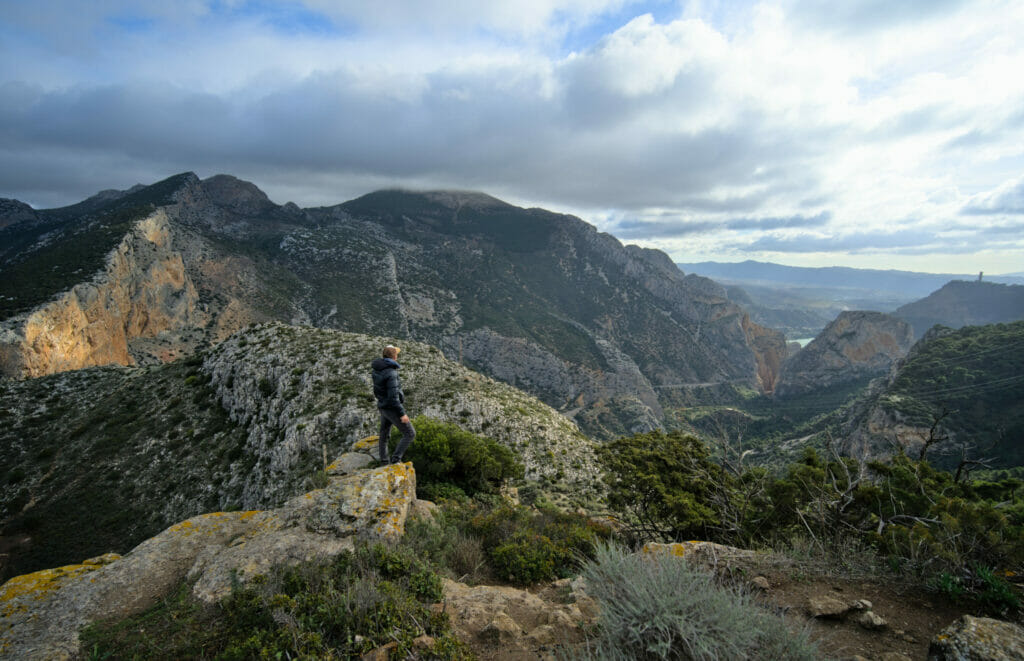
From the summit, we followed a track that we had found on Wikiloc. Indeed, we really wanted to make a loop and not to return on our steps. So we followed the big firebreaks along the ridge to reach a second viewpoint a little further. It is not an official viewpoint and it has no name, but we will call it simply "the spot where to see the lakes".
From up there, we had a view of the campsite where Dahu was waiting for us. To go back down, it's easy, you kind of have to "straight". The path is not officially marked but it seems to be quite used. From the viewpoint, we went down on the right and then went down a bit "diagonally" towards the road. The GPS track was not the most accurate, but in fact you just have to pay attention to the cairns! Some people (very nice by the way) have "marked" the descent by making small piles of rocks. On the 2 pictures below you can see how it looks like…
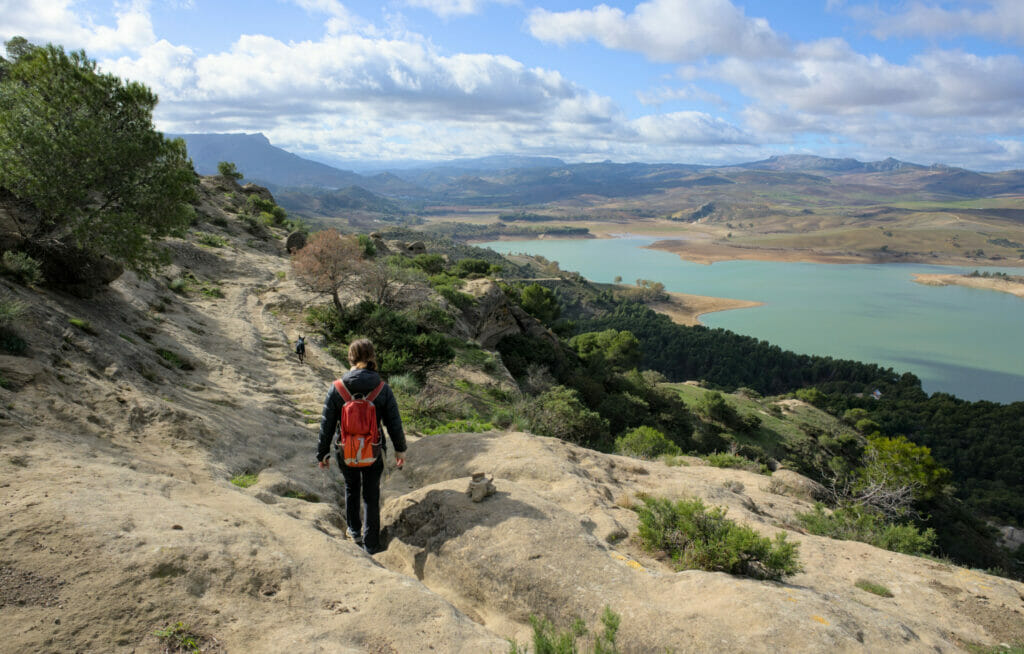
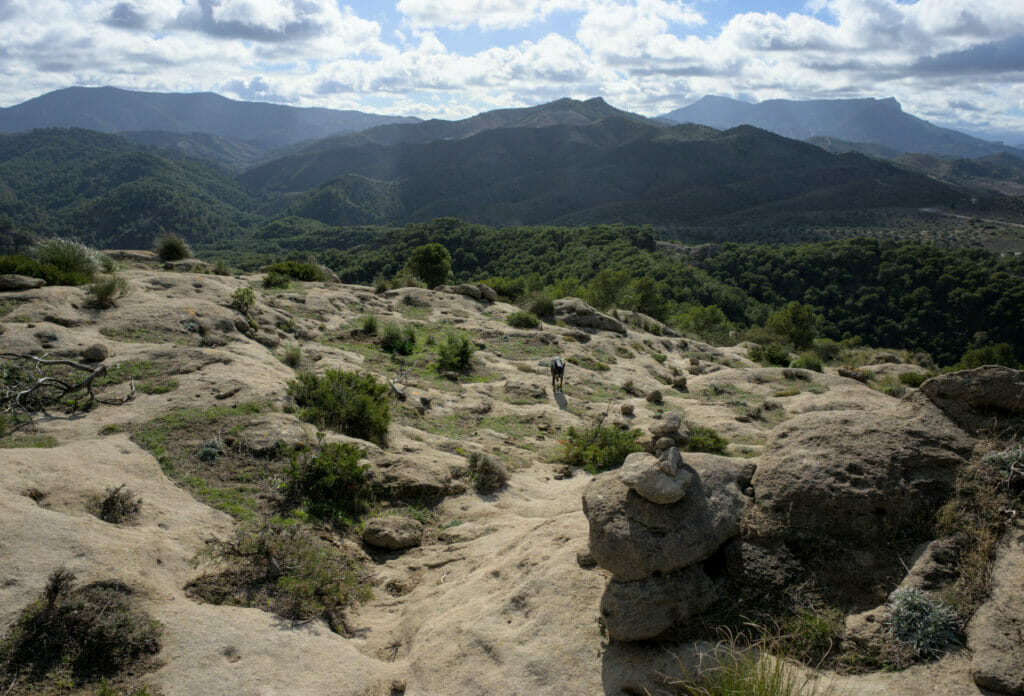
After that, I must say that the terrain is easy! It is a rather rough rock and the shoes grip really well. We lost the cairns several times without any consequence… (too busy admiring the view? probably!) Anyway, for this part, it's better to have a map on your phone to make sure to "aim" right, but basically the descent is quite intuitive. 🙂
Combine this route with the Caminito del Rey?
It is quite possible! When we did the hike, we said to ourselves that if we had to do it again, we would surely do it like that! The caminito is magnificent for the landscapes, but let's say that hiking enthusiasts are likely to feel a bit disappointed by following only the small footbridges 😉 Combining the 2 allows to have the best of both worlds.
Afterwards, be aware that the caminito route is 7.7 km long. Our loop adds 8, making 15.7 km. This is quite doable if you have an afternoon ticket, but let's say that walking 16 km in one day is not for everyone. If you are used to hiking though, it's great!
Alternative : Instead of doing the full loop as we did, you can also simply add a round trip to the viewpoint of las Buitreras. The trail to get there is a wide track almost to the end and the return trip is about 4 km. Count about 1h30-2h of additional time to reach the start of the caminito if you add this detour. Be careful however to count enough time if you have a ticket to enter the caminito after…
Map and info of the hike to Pico Convento
- Distance: 8 km for the full loop
- Elevation change: about 400 m (+ and -)
- Duration: about 3 to 4 hours hiking time
- Important: The path is not marked to go back down (after the firewalls). It is however well used and therefore easy to follow. Our GPS track is given as an indication, on the ground we advise you to follow the cairns which are present all along the descent. If you don't see any cairn, you are probably wrong but the terrain being quite easy it's not a big deal as long as you "aim" right to get back on the road 😉
Hiking to Pico Huma: the most beautiful view of the park above El Chorro?
Benoit is one of those people who, once in a place, can't help but see which is the highest peak in the area and if we can climb it… 😉 And it is precisely by following this logic that we found this itinerary that leads to Pico Huma, the highest point of the region with its 1187m of altitude (yes, said like that it does not look very high, but I promise it is worth it).
Climb to Pico Huma by the north side
Once is not usual, we decided to consult our map and to create a small loop. The most "logical" itinerary would probably have been to go back by the most direct (and marked) path, but well… this is not knowing Benoit and his desire to see the summits "from all sides".
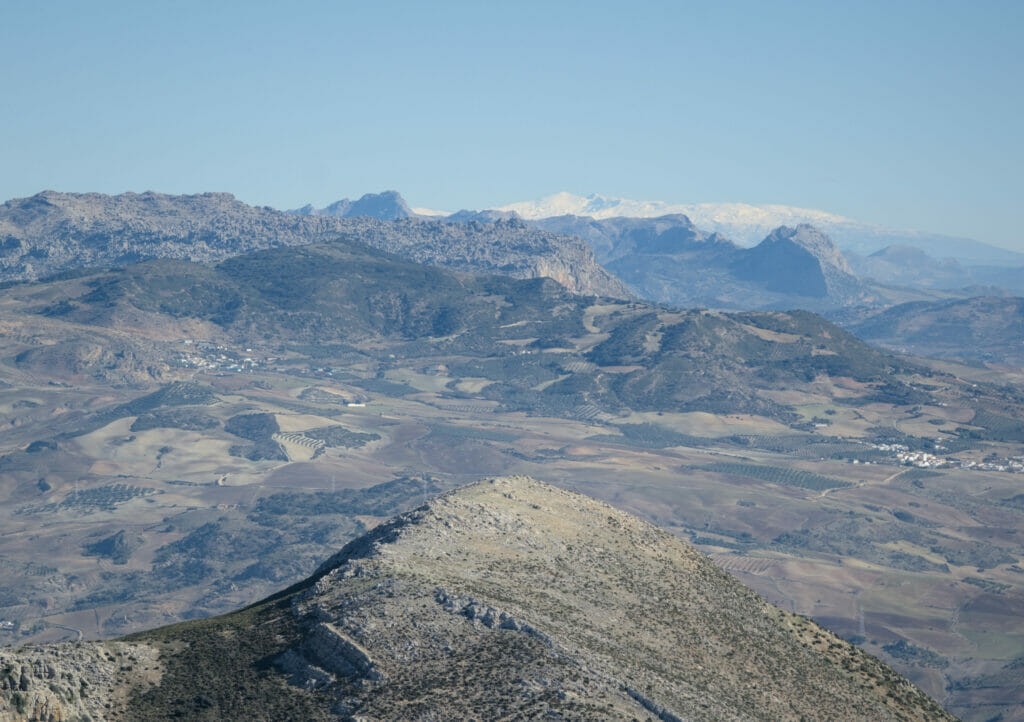
This ascent to Pico Huma could be described in 3 distinct stages:
- A gentle warm-up following a track and then a path that climbs quietly up the mountainside
- A wall of rocks to climb that will heat up the thighs to arrive on a plateau before the summit
- 400 m which are almost flat to reach the top
A few notes on this course, however:
The first part is really easy to follow if you have the track on your phone. You just have to keep an eye on the "general direction" because there are many small paths that intertwine and cross each other. It doesn't really matter which one you take, as long as the direction is right… At one point you will arrive at a "field" that you have to walk along. From this point a track leads to the beginning of the "wall" 😉 .
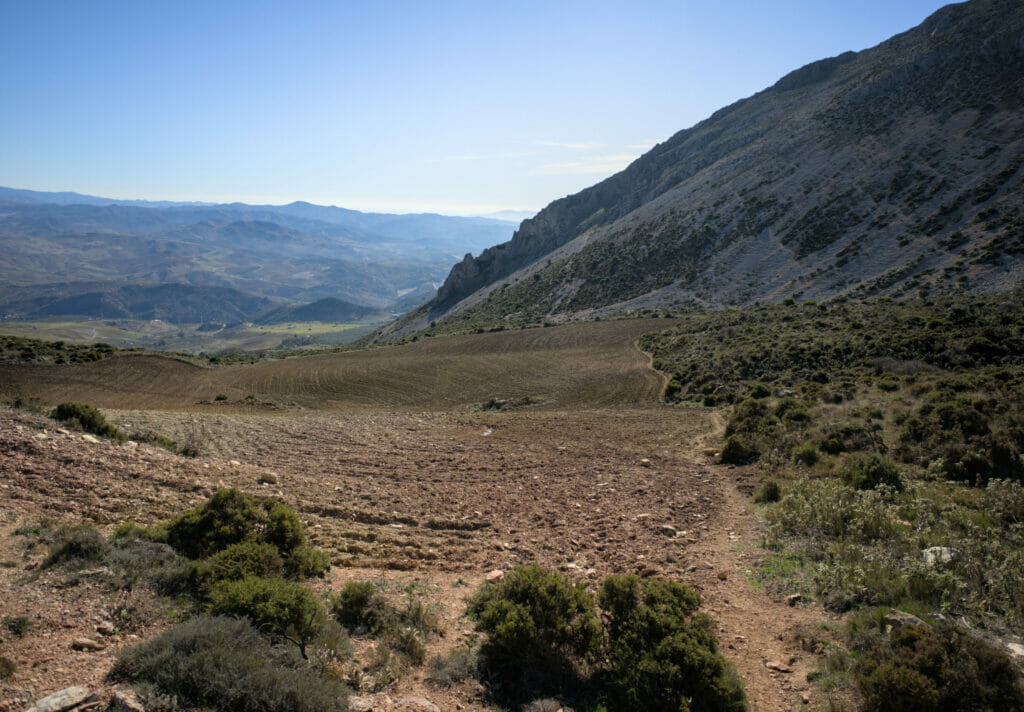
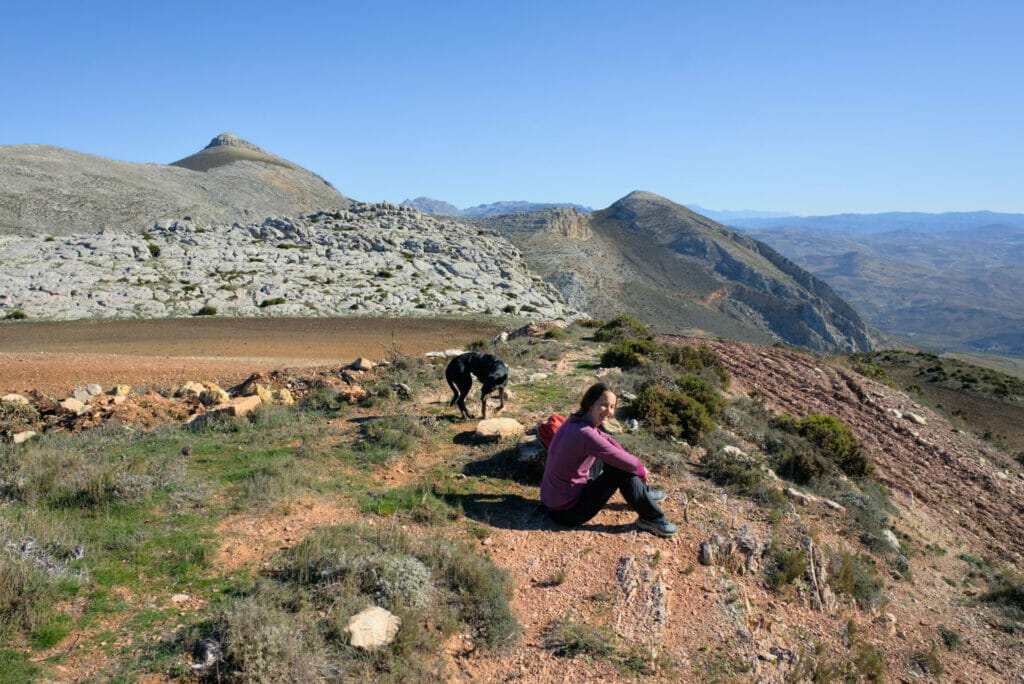
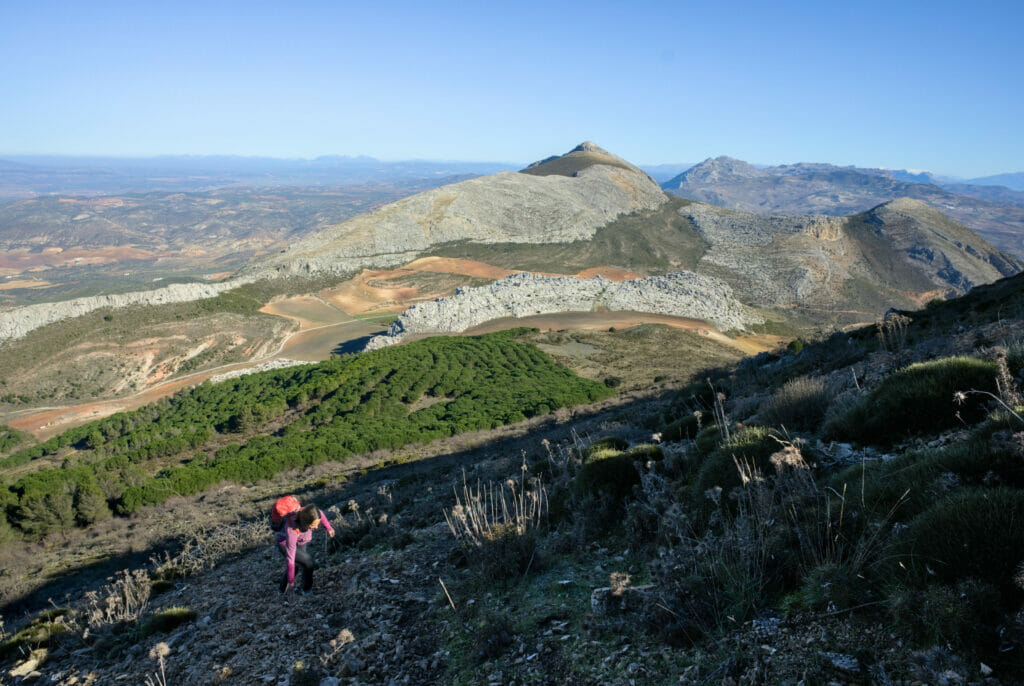
For the "wall", there is officially a path which goes up in zig-zag… We will admit that we never found it. We vaguely followed a trace and at the end we were in mode "well, we'll anyway have to go up there so let us go straight". The ground is rough for the legs but it is not dangerous nor difficult (well it's hard for cardio yes, but technically it is easy). As a bonus: a picture of me properly suffering 😉
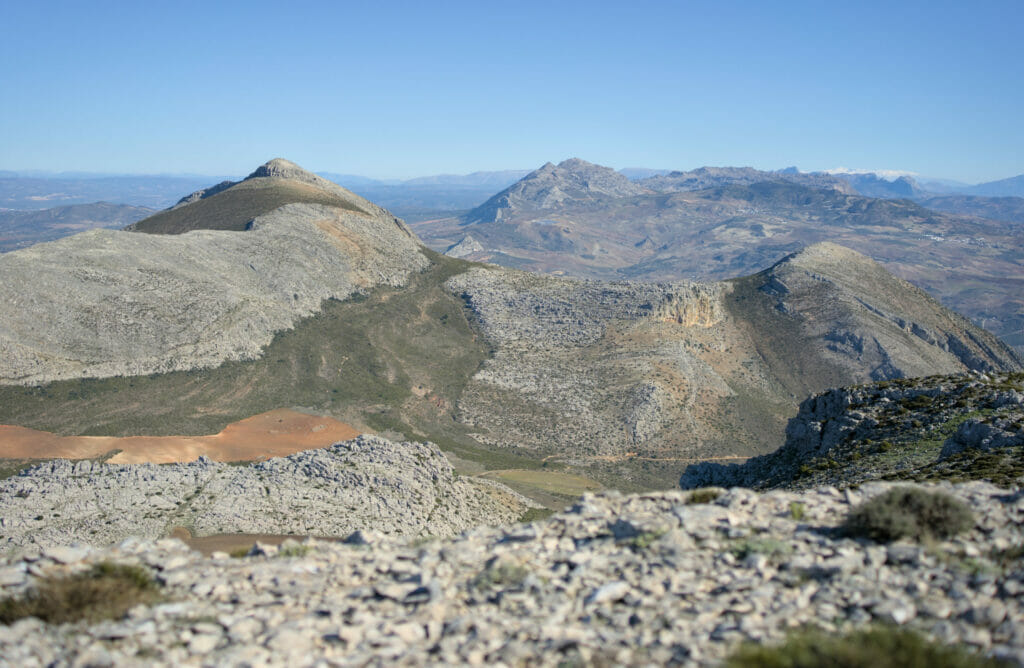
After this very steep part, we reach a kind of plateau where the vegetation is more present. Personally, these landscapes made me think of those of Lappiaz that we have at home (Benoit was not at all of this opinion… you will tell us about it if you go there) 😉
The last part that leads to the small building that marks the summit is only a small formality!
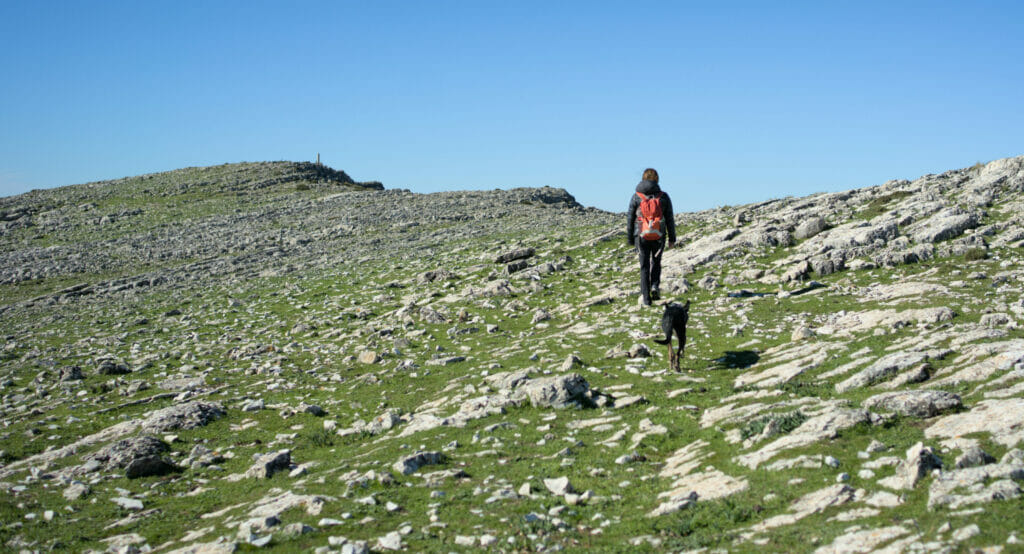
From the summit of Pico Huma to the "hanging rock"
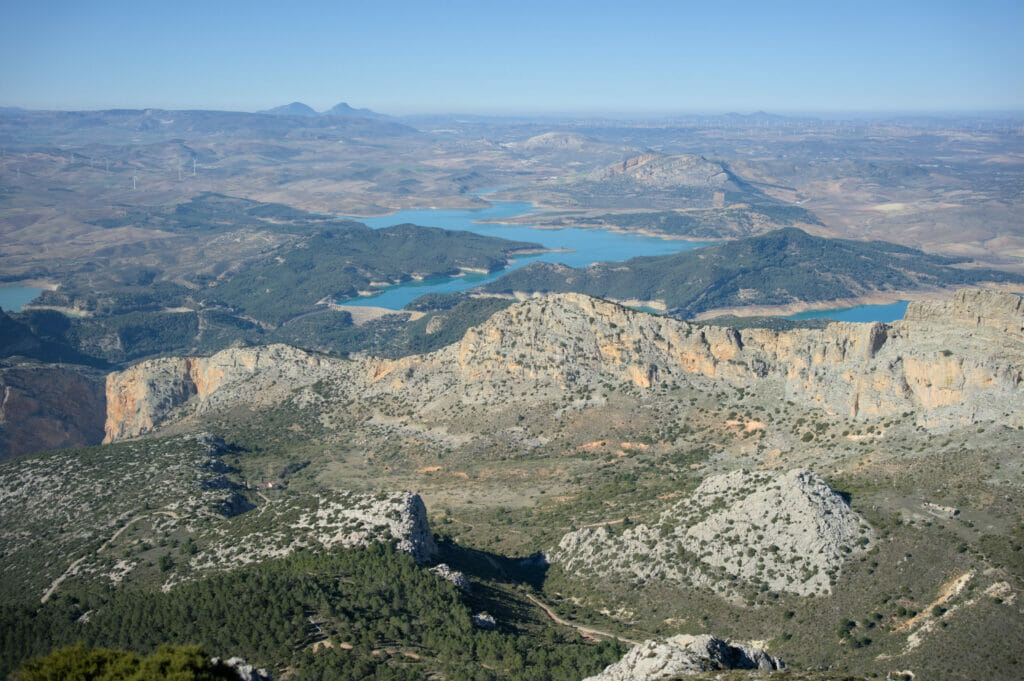
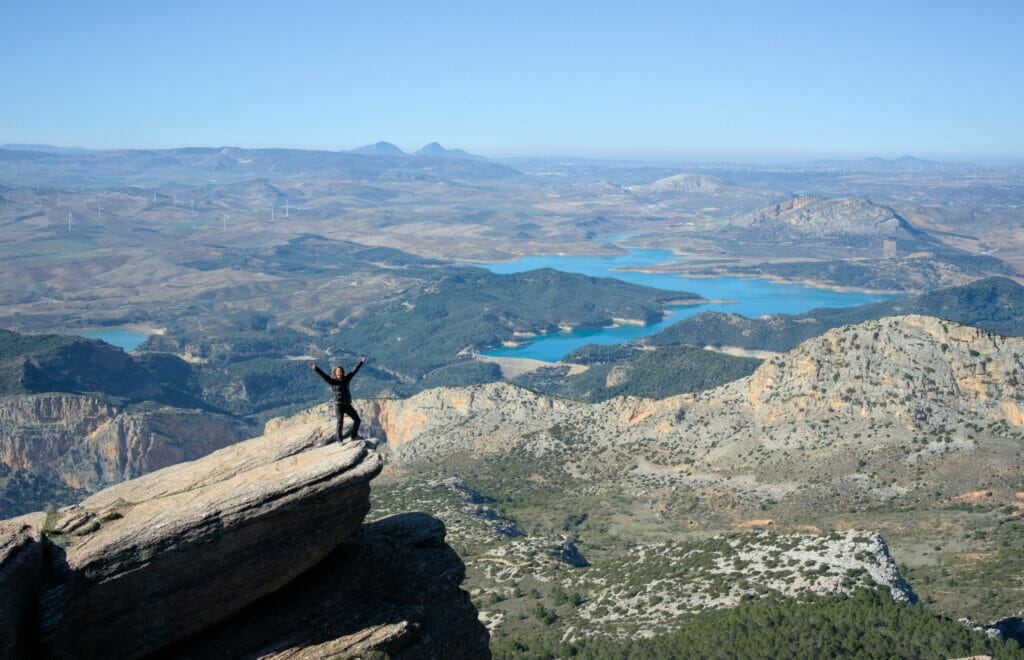
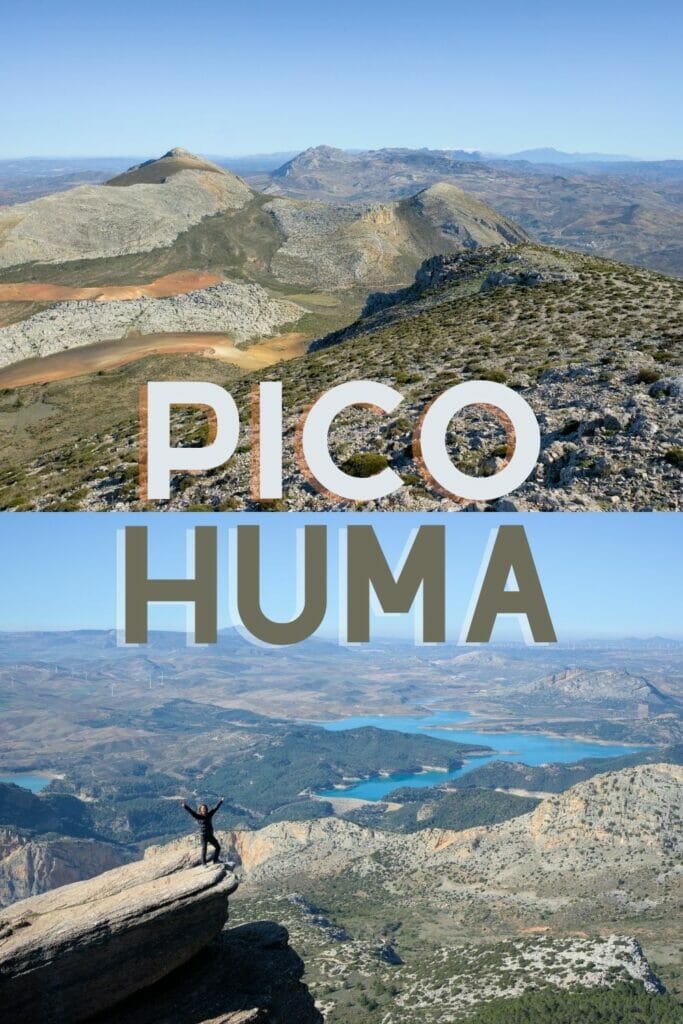
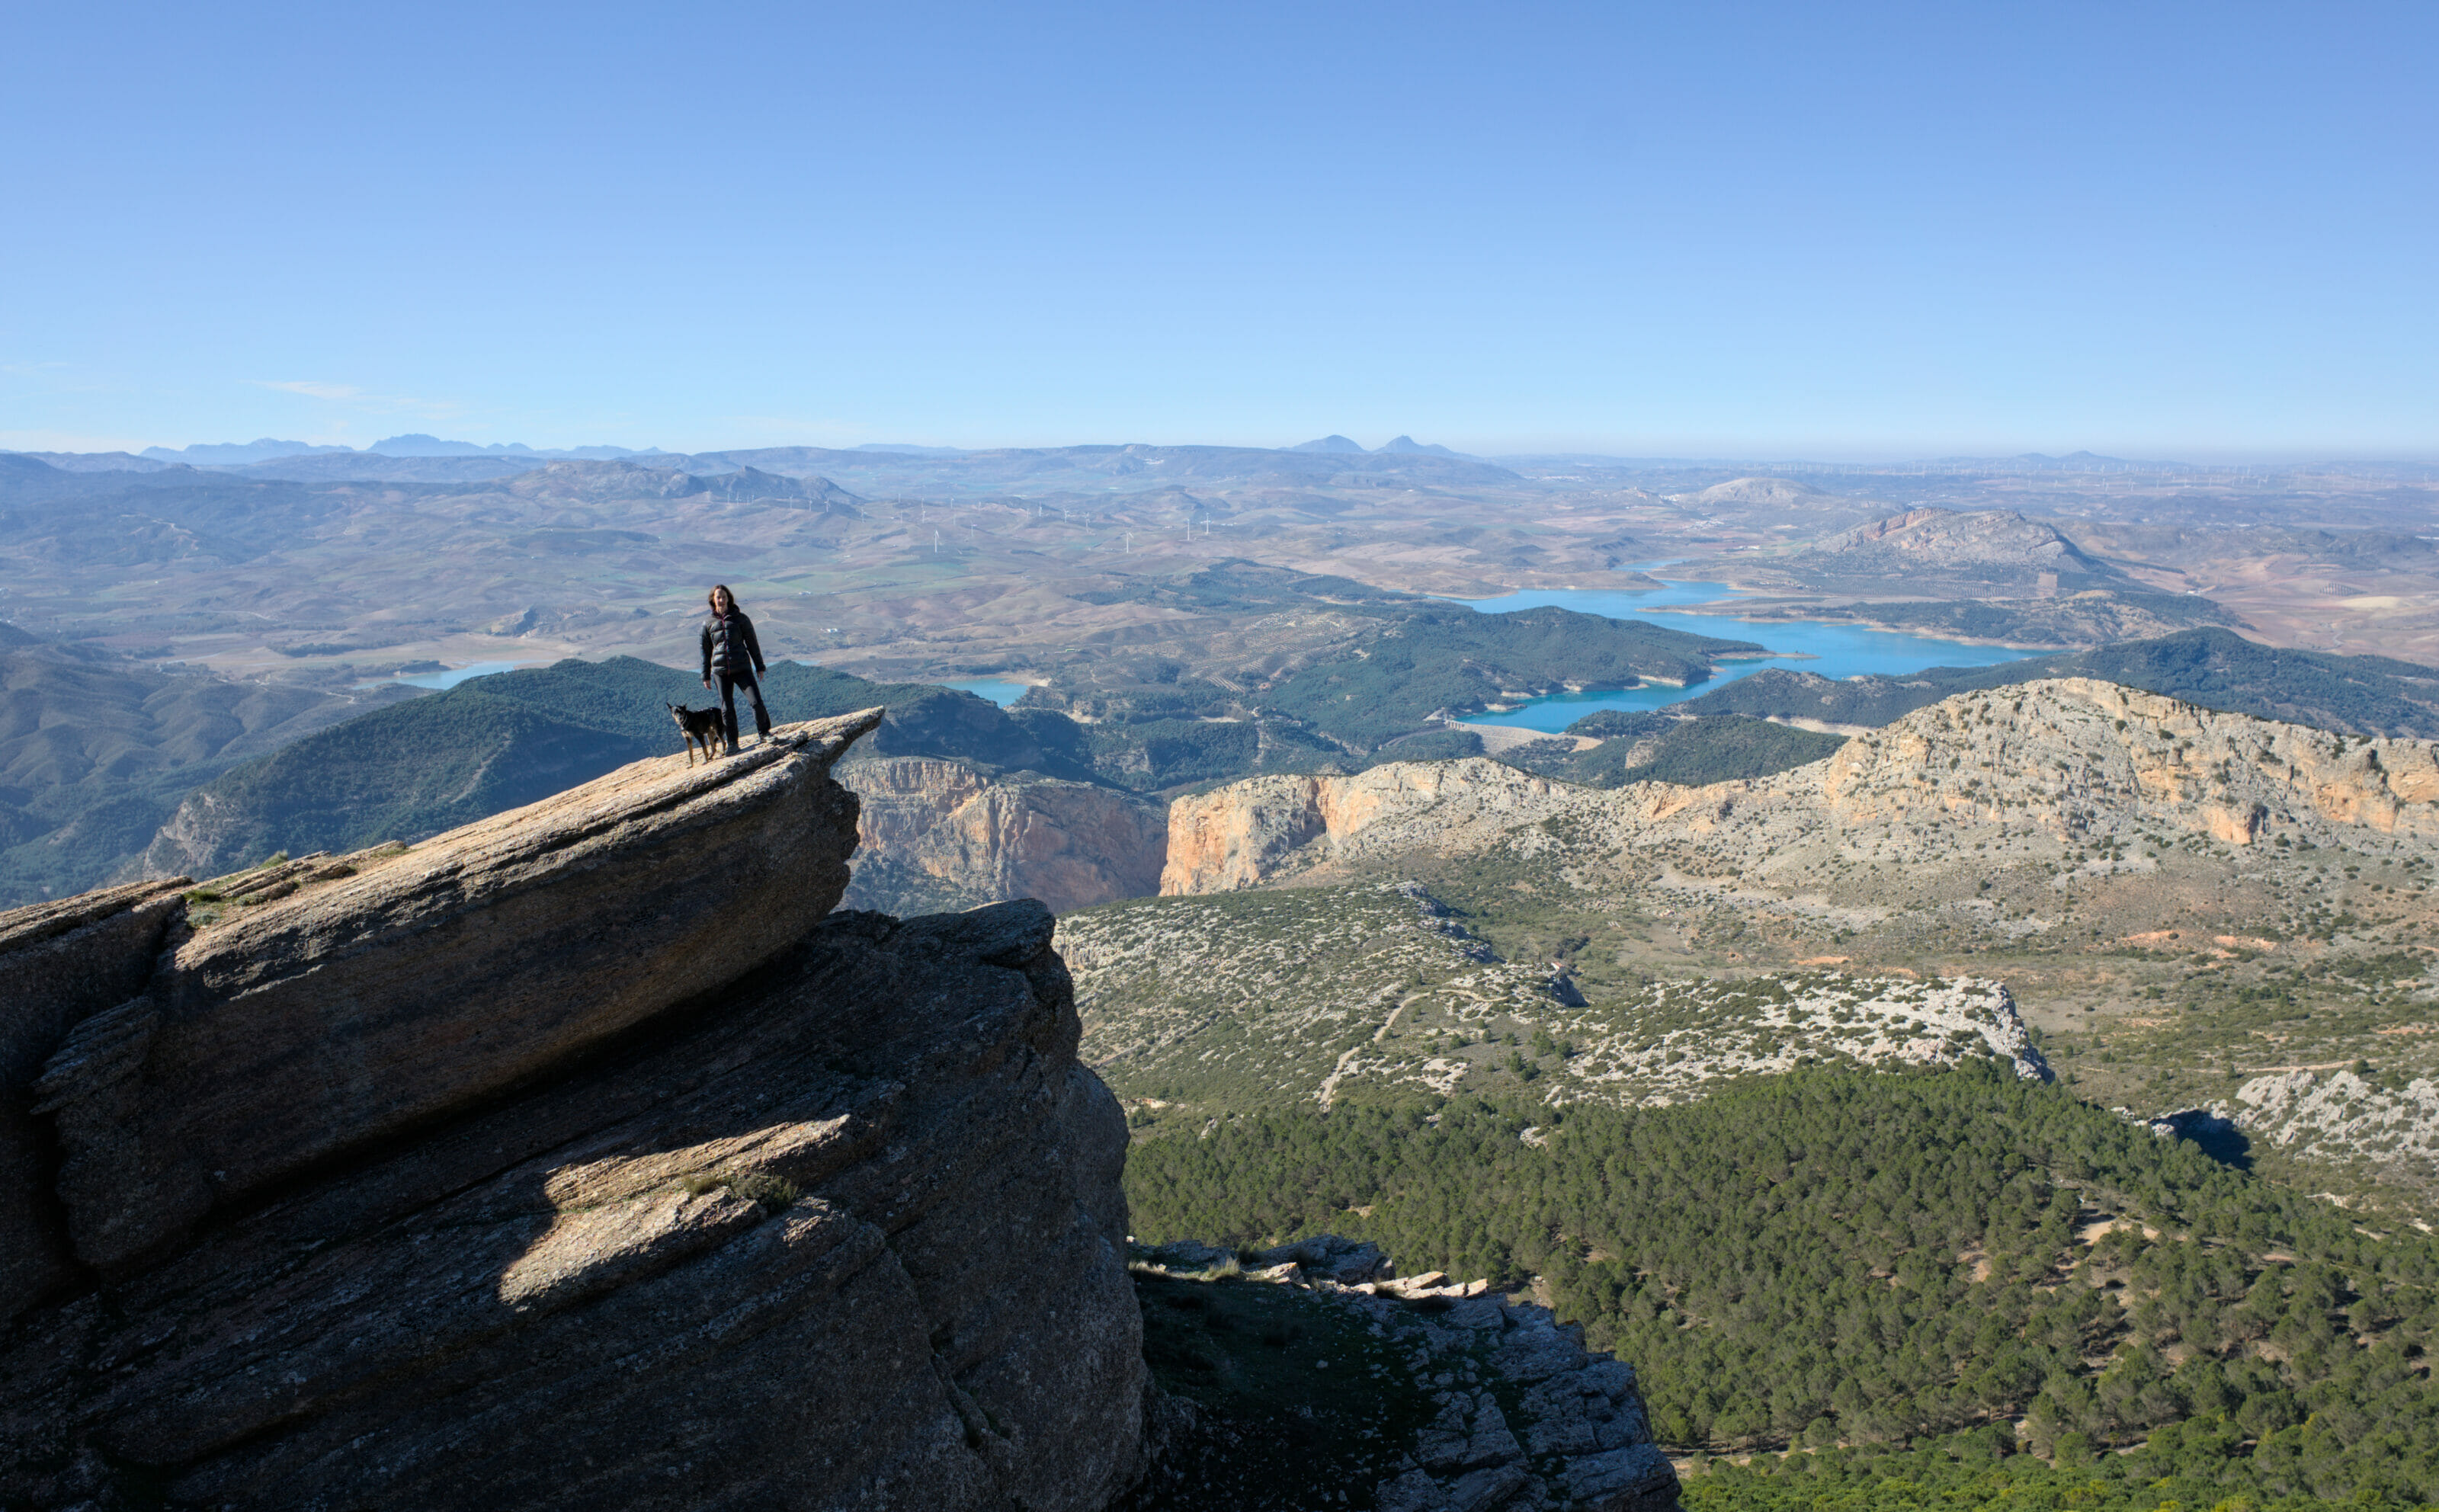
It's not common, but for once we'll tell you that the best view is actually not the one you have from the top… 😉 In fact, you have to continue about 500 m along the ridge to get to this rock which is like "suspended" above the lake!
Descent by the marked trail to the parking lot
From the rock, the rest of the hike consists, roughly speaking, in going back down to the parking. But this time we follow a perfectly marked (and much more used) itinerary. The first part goes down quite steep in some places but the path is well laid out with some big steps.
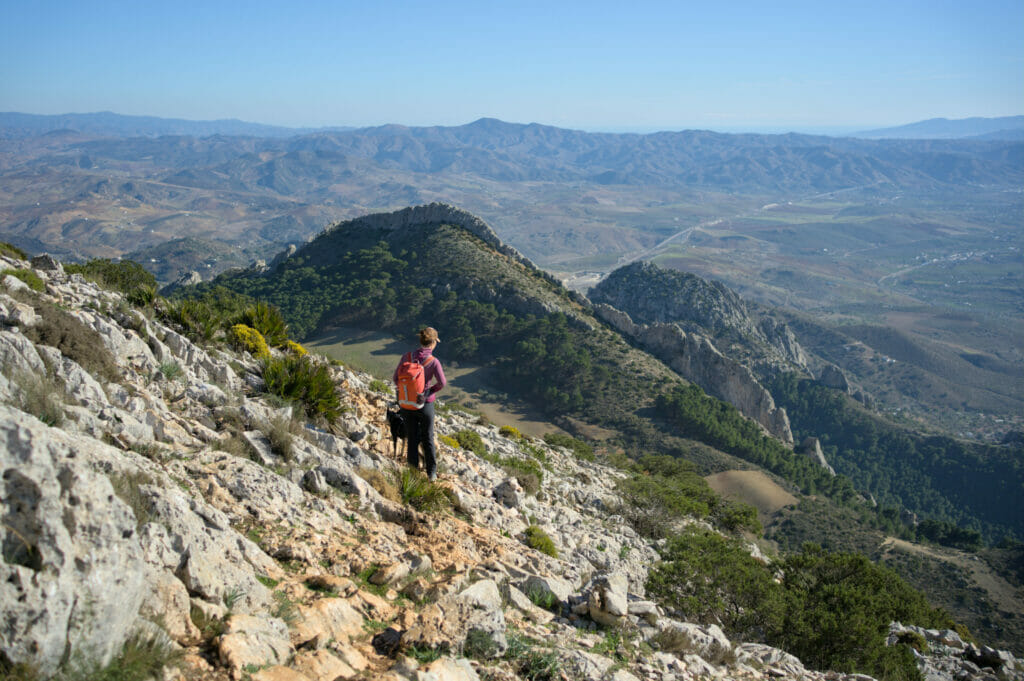
After the first 200 meters of negative elevation change we arrive at a crossroads. This is where the "more serious" stuff starts. Don't worry, there is nothing dramatic, but let's say that the path becomes steeper and 2-3 passages are equipped with chains. The picture looks quite impressive, but I must admit that in real life it wasn't that bad…
In fact, as for the Pico Convento, we are here on a rather porous rock which allows to have a really great grip (provided that you have hiking shoes of course… we would not advise this route if you walk in Converse that goes without saying) 😉 Ok... I'll add a picture of an almond tree in bloom next to it for a little touch of softness next to this rather vertical view.
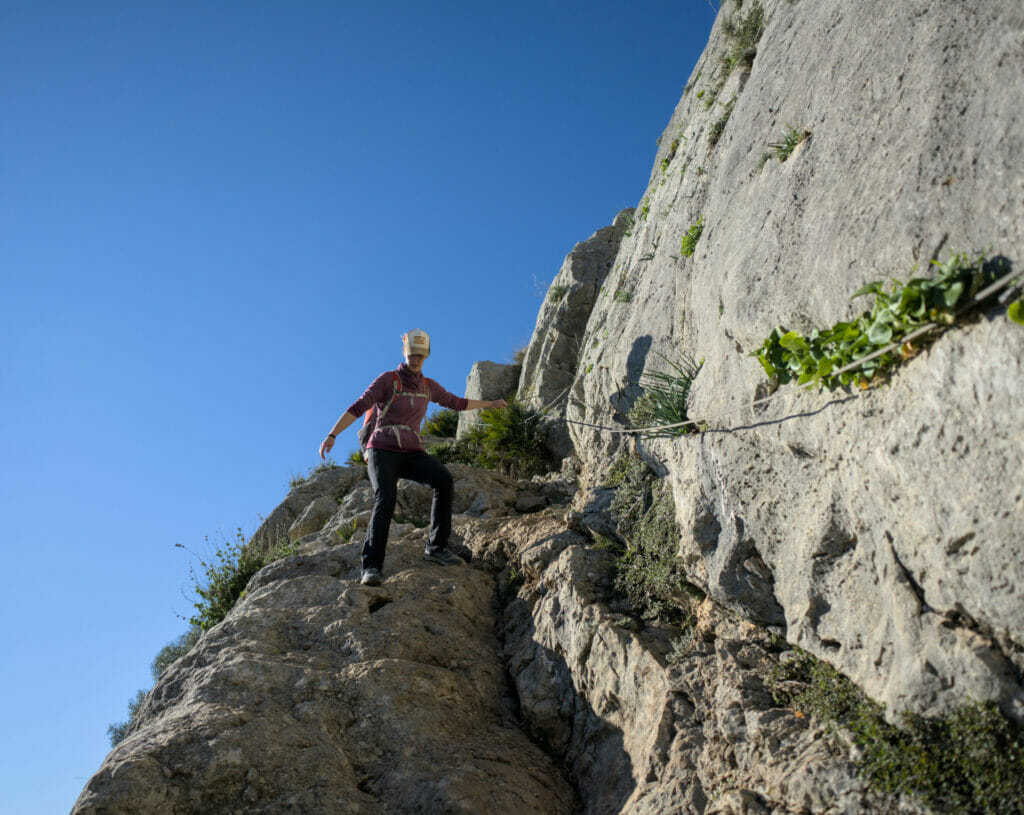

PS: this is clearly the most difficult passage and it is very short. Once passed this point, we fall back on a wide path that goes down quietly to the parking lot.
Practical information for the hike & Map
To start the hike we took the van to the parking lot called "Camino Chorro" (GPS coordinates: 36.91953379739797, -4.736213528674473). To get to the parking lot you have to follow the small road that crosses El Chorro and turn left on a track (easily passable).
All in all, the hike is 7.3 km long with about 500 m of ascent (+ and -). The distance may seem modest, but in reality it took us something like 4 hours to do the loop. We certainly took our time to admire the view, but we must also say that the ground is not the easiest (no particular difficulty but let's say that it is very rocky, so we progress more slowly). Here is the map of the hike if sometimes you want to do the same itinerary 😉
Visiting the surroundings of Ardales and El Chorro: practical information
When to visit? Which weather?
It is possible to come and hike in the area all year long. Of course, it is important to check the weather forecast beforehand, but let's just say that there is very little chance that you will be bothered by snow in these latitudes 😉 The only point that can be tricky is the wind! In general, the wind can be quite strong in Andalusia, but on the top of the mountains it is usually amplified. In short, remember to check the weather forecast, but also the wind forecast.
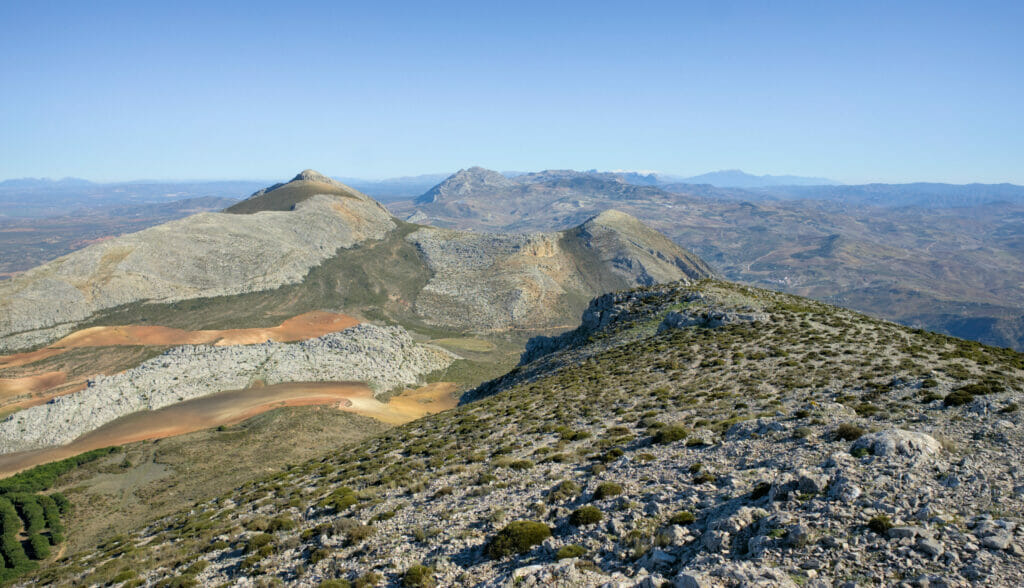
Afterwards, on a personal basis, we would tend to advise you against the summer months, as it can be extremely hot and there is very little shade along the trails.
Where to stay in el Chorro
On this trip we were in a van, so we didn't stay in a hotel. But if you're driving, it's perfectly possible to spend the night on site (we'd even recommend it if you're planning to do several hikes). As for options, you can search on Booking.com to find what you're looking for (there really are plenty of options).
For the first two hikes in this article, you can base yourself at La Posada del Conde, a small hotel right next to the caminito (basically, you can do the first 2 hikes in this article as well as the caminito without taking a vehicle). It's even possible to get here from Málaga or Seville without a car - just take the train to el Chorro and then the shuttle bus to the start of the caminito (the hotel is a 15-minute walk from the kiosko).
Where to sleep with your van?
Officially, wild camping is forbidden in the whole area. However, as is often the case in Spain, parking is allowed. There is a tolerance for the presence of vans and camper vans on the parking lot which is at the edge of the water in el Chorro (mainly out of season). We spent one night there and did not have any problem, even if we will admit that it is not the most glamorous spot.
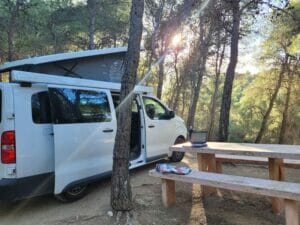
For our part, we preferred to go to an official camping. We wanted to rest a little, work (and take a shower incidentally). Just next to the start of the caminito is the camping Parque Ardales.
For vans (and out of season) this place was a real little paradise! We had a nice place between the pines overlooking the lake and we were only 4-5 vans in the whole area. After I specify that it is nice for the vans… Indeed, the places between the pines are tiny and it is therefore impossible to get there with an RV. There are some places for larger vehicles, but they are not very attractive (a large flat area behind the toilet building where the RVs were parked in a row).
For your information, the camping cost us 18€ per night (2 adults, 1 dog and electricity included). This is the "low season" rate, in high season it is obviously more expensive (24,5€ according to the current rates).
Buying groceries in El Chorro?
The area is not the most populated and shopping can be a little more complicated. In el Chorro there is a small grocery store behind the station. This one can be useful to help you out, but clearly you won't find everything there 😉 At the campsite, the manager recommended us to go to Ardales because it's a bit bigger. Then, there is indeed a small Coviran, but let's say that there too the options are rather limited. If you come for the day, we advise you to bring your picnic and if, like us, you are in a van, try to do some shopping before (especially fresh products).
Getting around
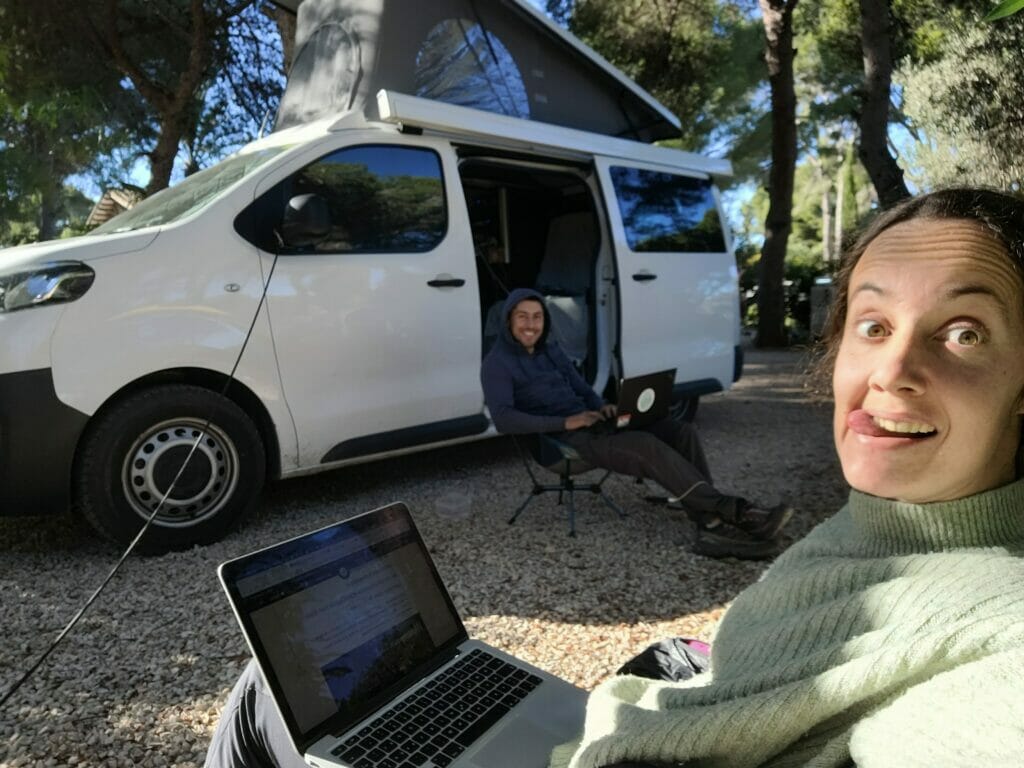
As for us, we were here with our van and it was very useful to be able to sleep on the spot and to go to the different starting points of the hikes 😉 By the way, if you want to rent a van for your stay in Andalusia, you can have a look on Yescapa.
Beyond the van, the most common solution used by travelers is the car. Renting a car in Andalusia is really cheap (cars can be found from 8€ per day). To find a car and compare prices, we recommend Rentalcars as usual.
Then, it is rare enough to note it, el Chorro is also well accessible by train! The 3 hikes that we talk about in this article are feasible by train. For the hike of the Pico Convento and the mirador de los 3 Embalses we advise you to take the shuttle that goes from el Chorro to the northern entrance of the caminito (otherwise the distance would be too much). The ticket costs 1,55€. It's also possible to go up the Pico Huma directly from el Chorro, but it adds 6.5 km in distance and 350 m in elevation gain.
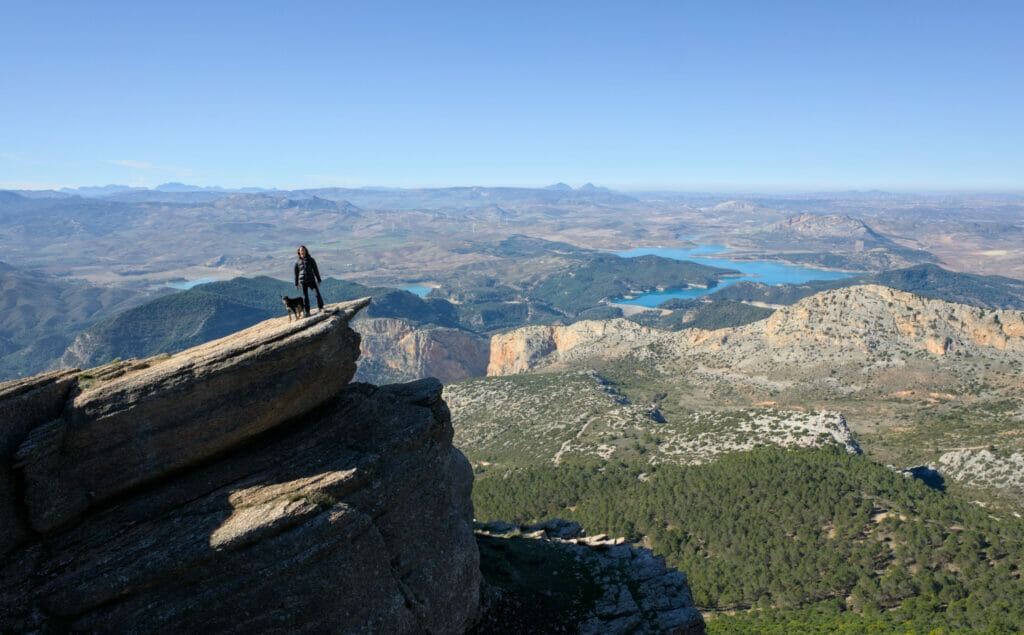
That's it for today. We hope that you will have appreciated this article and that it will have given you desire to discover more the region and some of its peaks. The caminito is very nice, but believe us, the surroundings are also well worth the time.
We'll see you soon for the rest of our articles on Andalusia.
Pin it
Note: if you go through one of our links to rent your car or take a trip in the area, we will get a small commission (and you won't pay a cent more). By doing this, you support us in creating free and independent articles like this one. Thank you for your support!
Join the discussion