During our last long hike on Jura crest trail, we got a lot of questions about the topic of bivouac and wild camping, especially about our gear (tent, sleeping bag / pad, backpack…), how to find a camping spot, the regulations applicable etc…
In this article we will try to answer in detail all your questions about backpacking and wild camping / bivouacking. We will also explain what backpacking represents for us and the philosophy that goes with it.
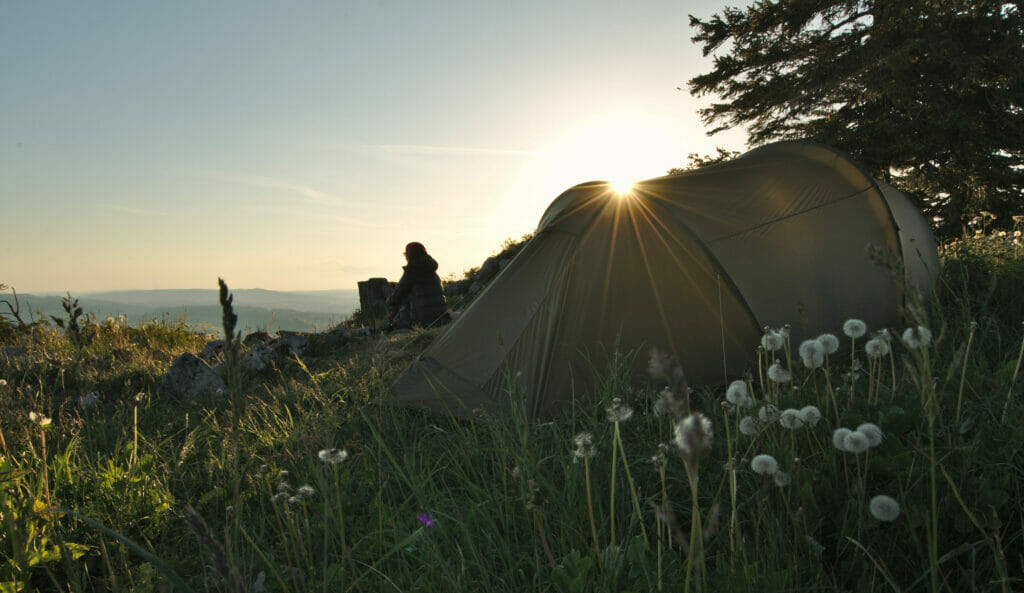
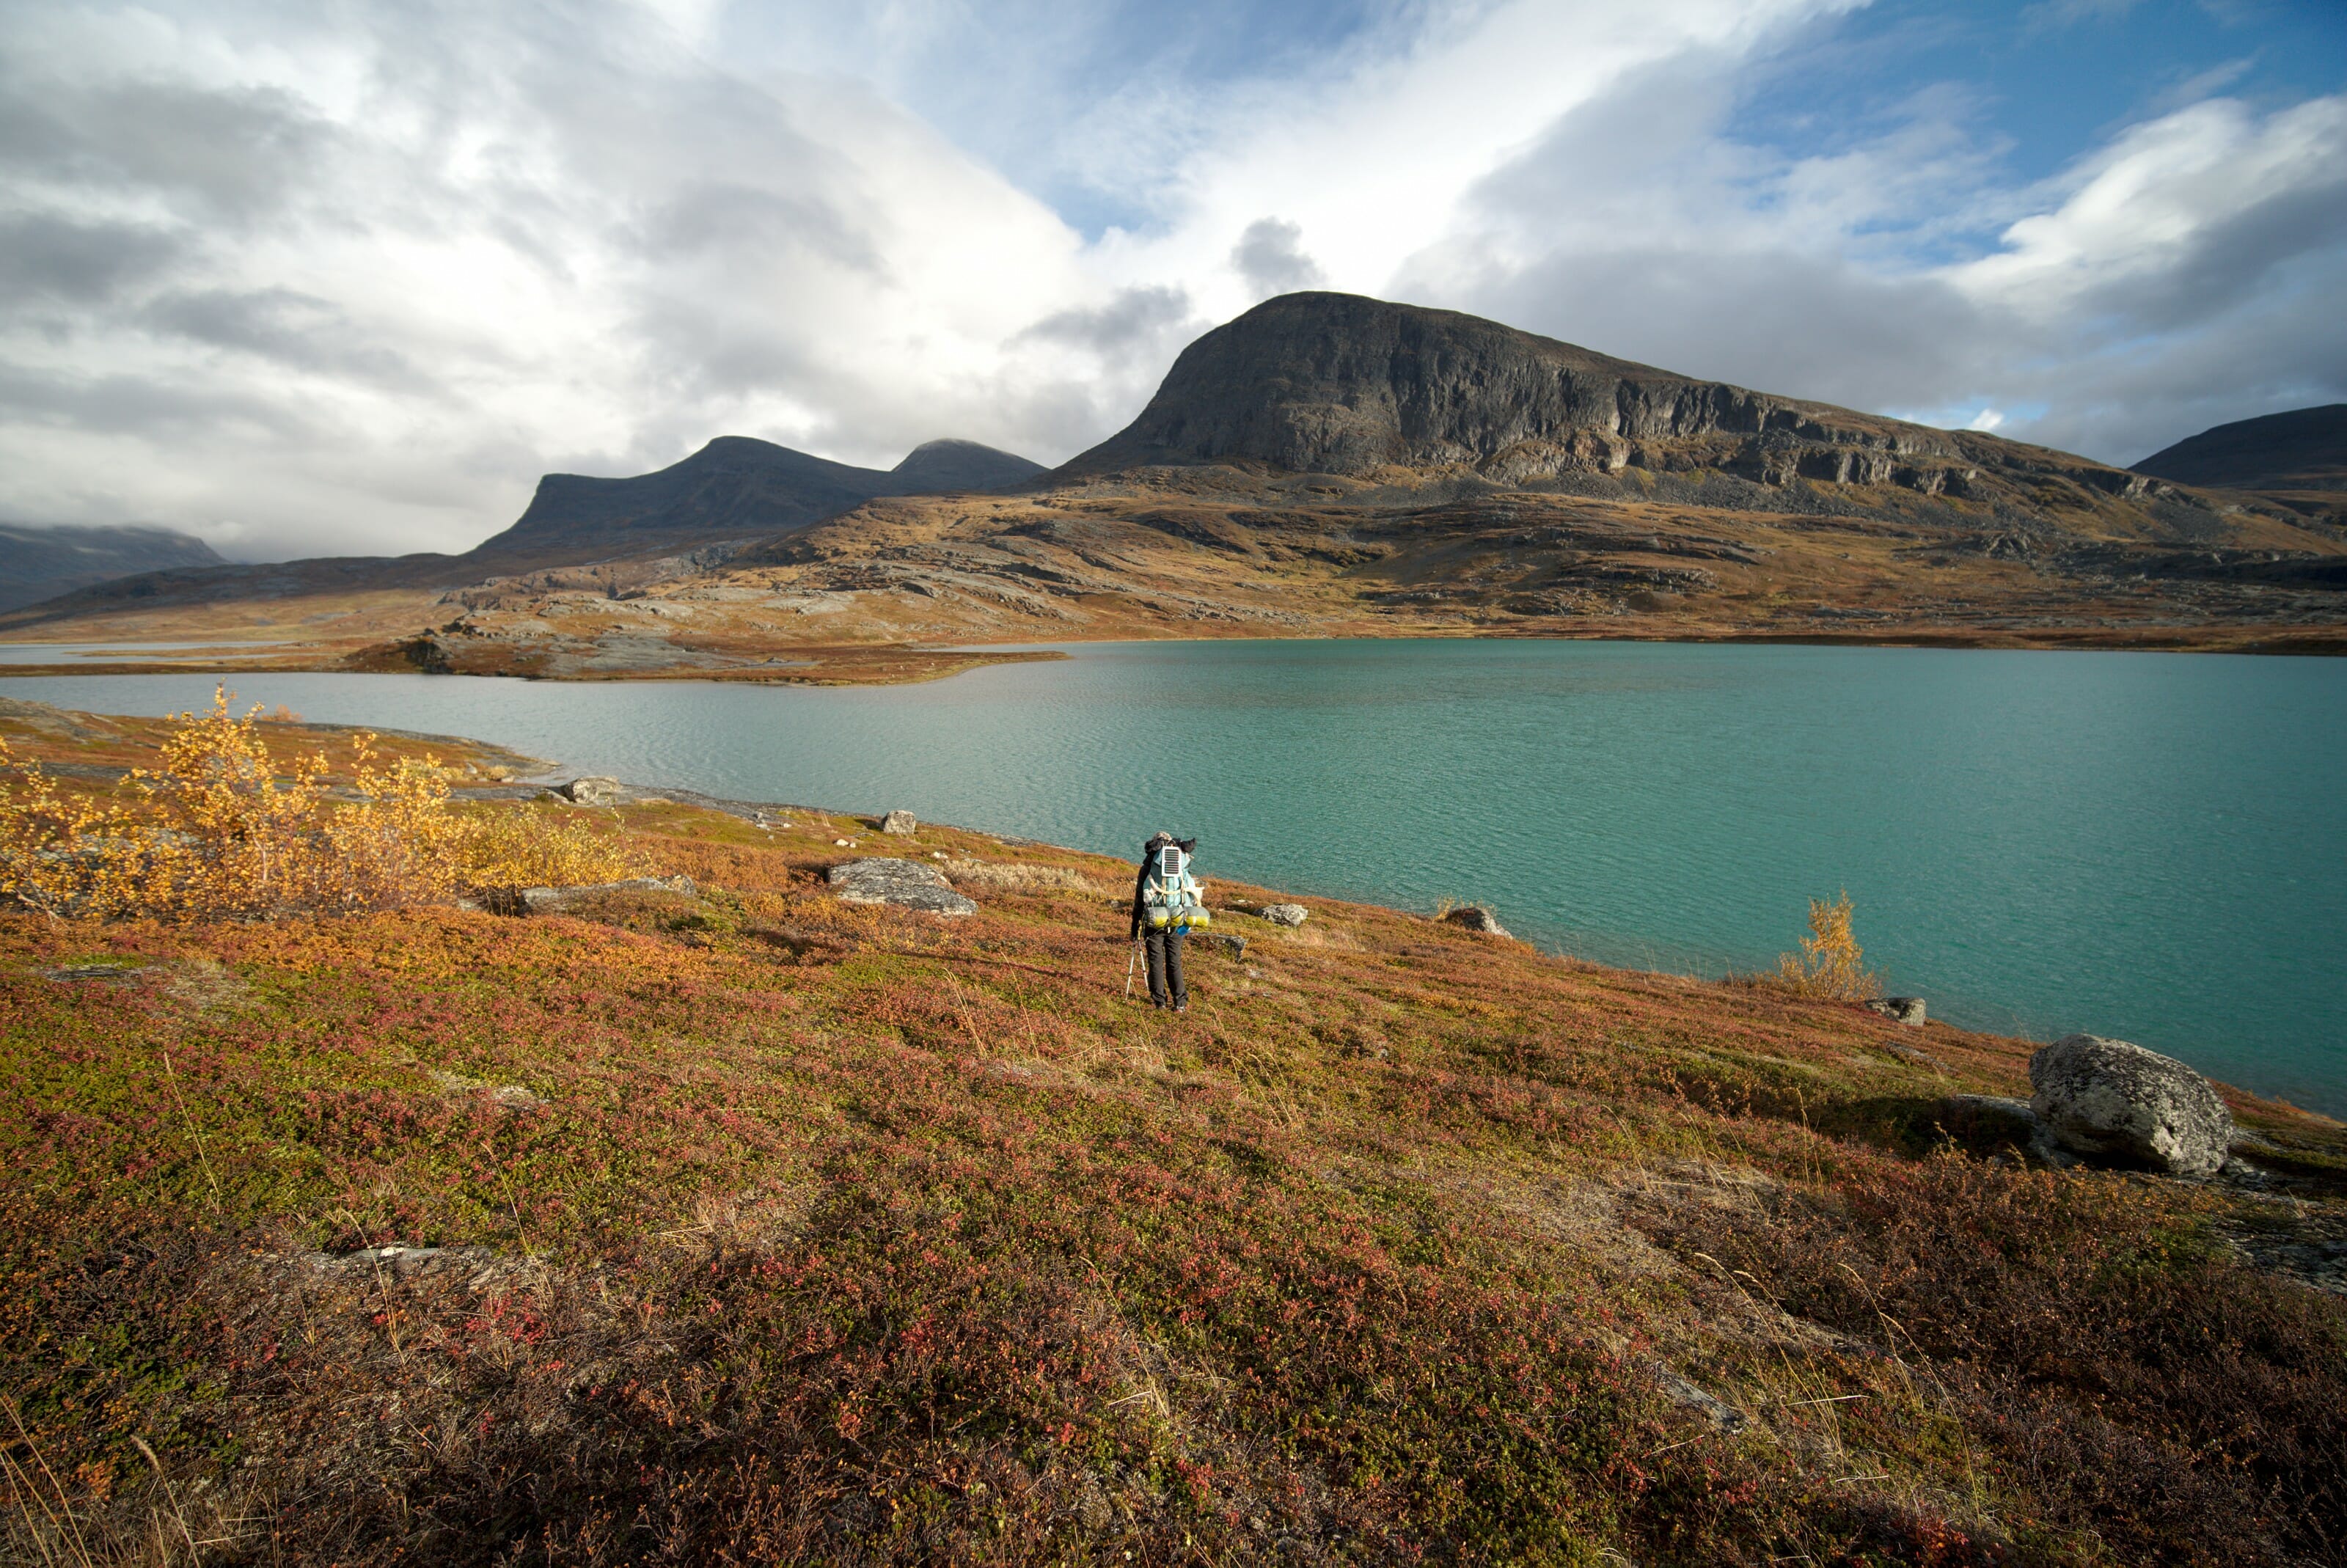
A camp during a long hike does not always look like the classic Instagram view of a sunrise on the shore of a mountain lake from the inside of the tent.
You should take a look at this Instagram account that just makes fun of improbable camp setups on Instagram.
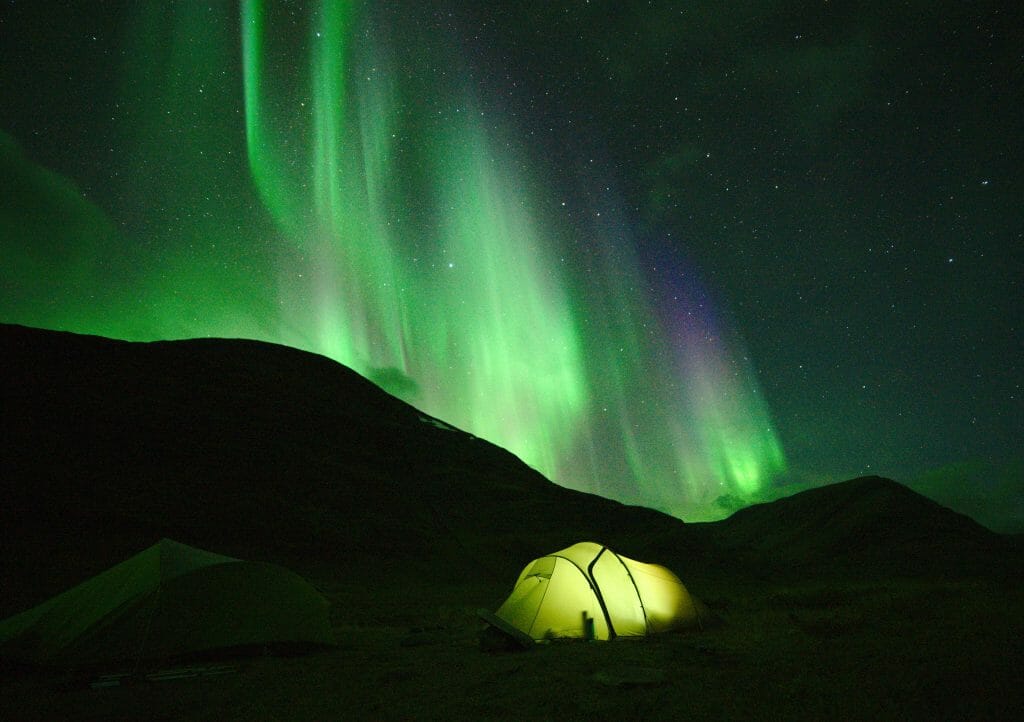
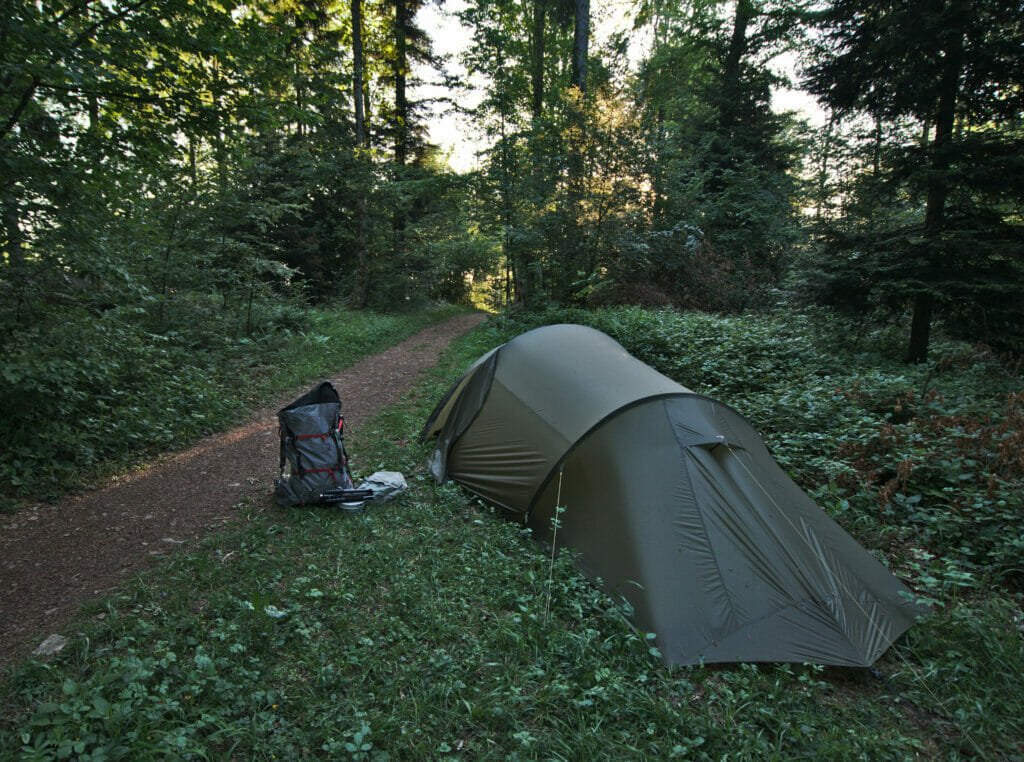
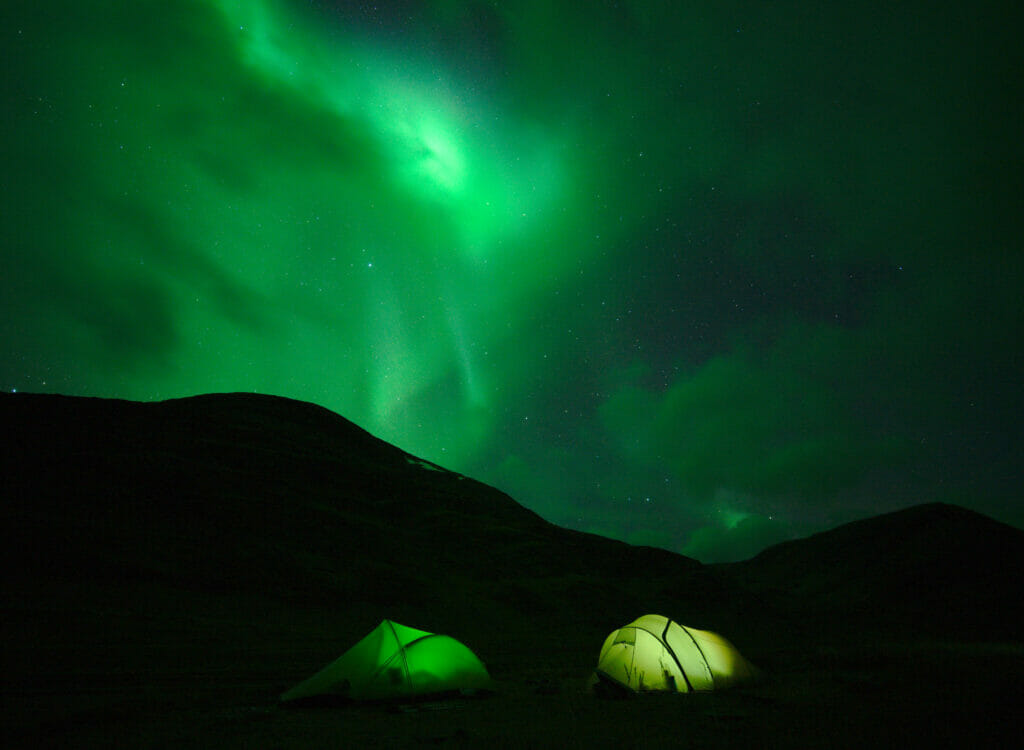
To be honest, we rarely get great pictures of our camping spots because we almost never know in advance where we’re going to camp, sometimes we have a hard time finding a spot and usually we’re just too tired to take THE perfect picture after a long day of hiking (especially if it’s the stars pic in the middle of the night 😉 ).
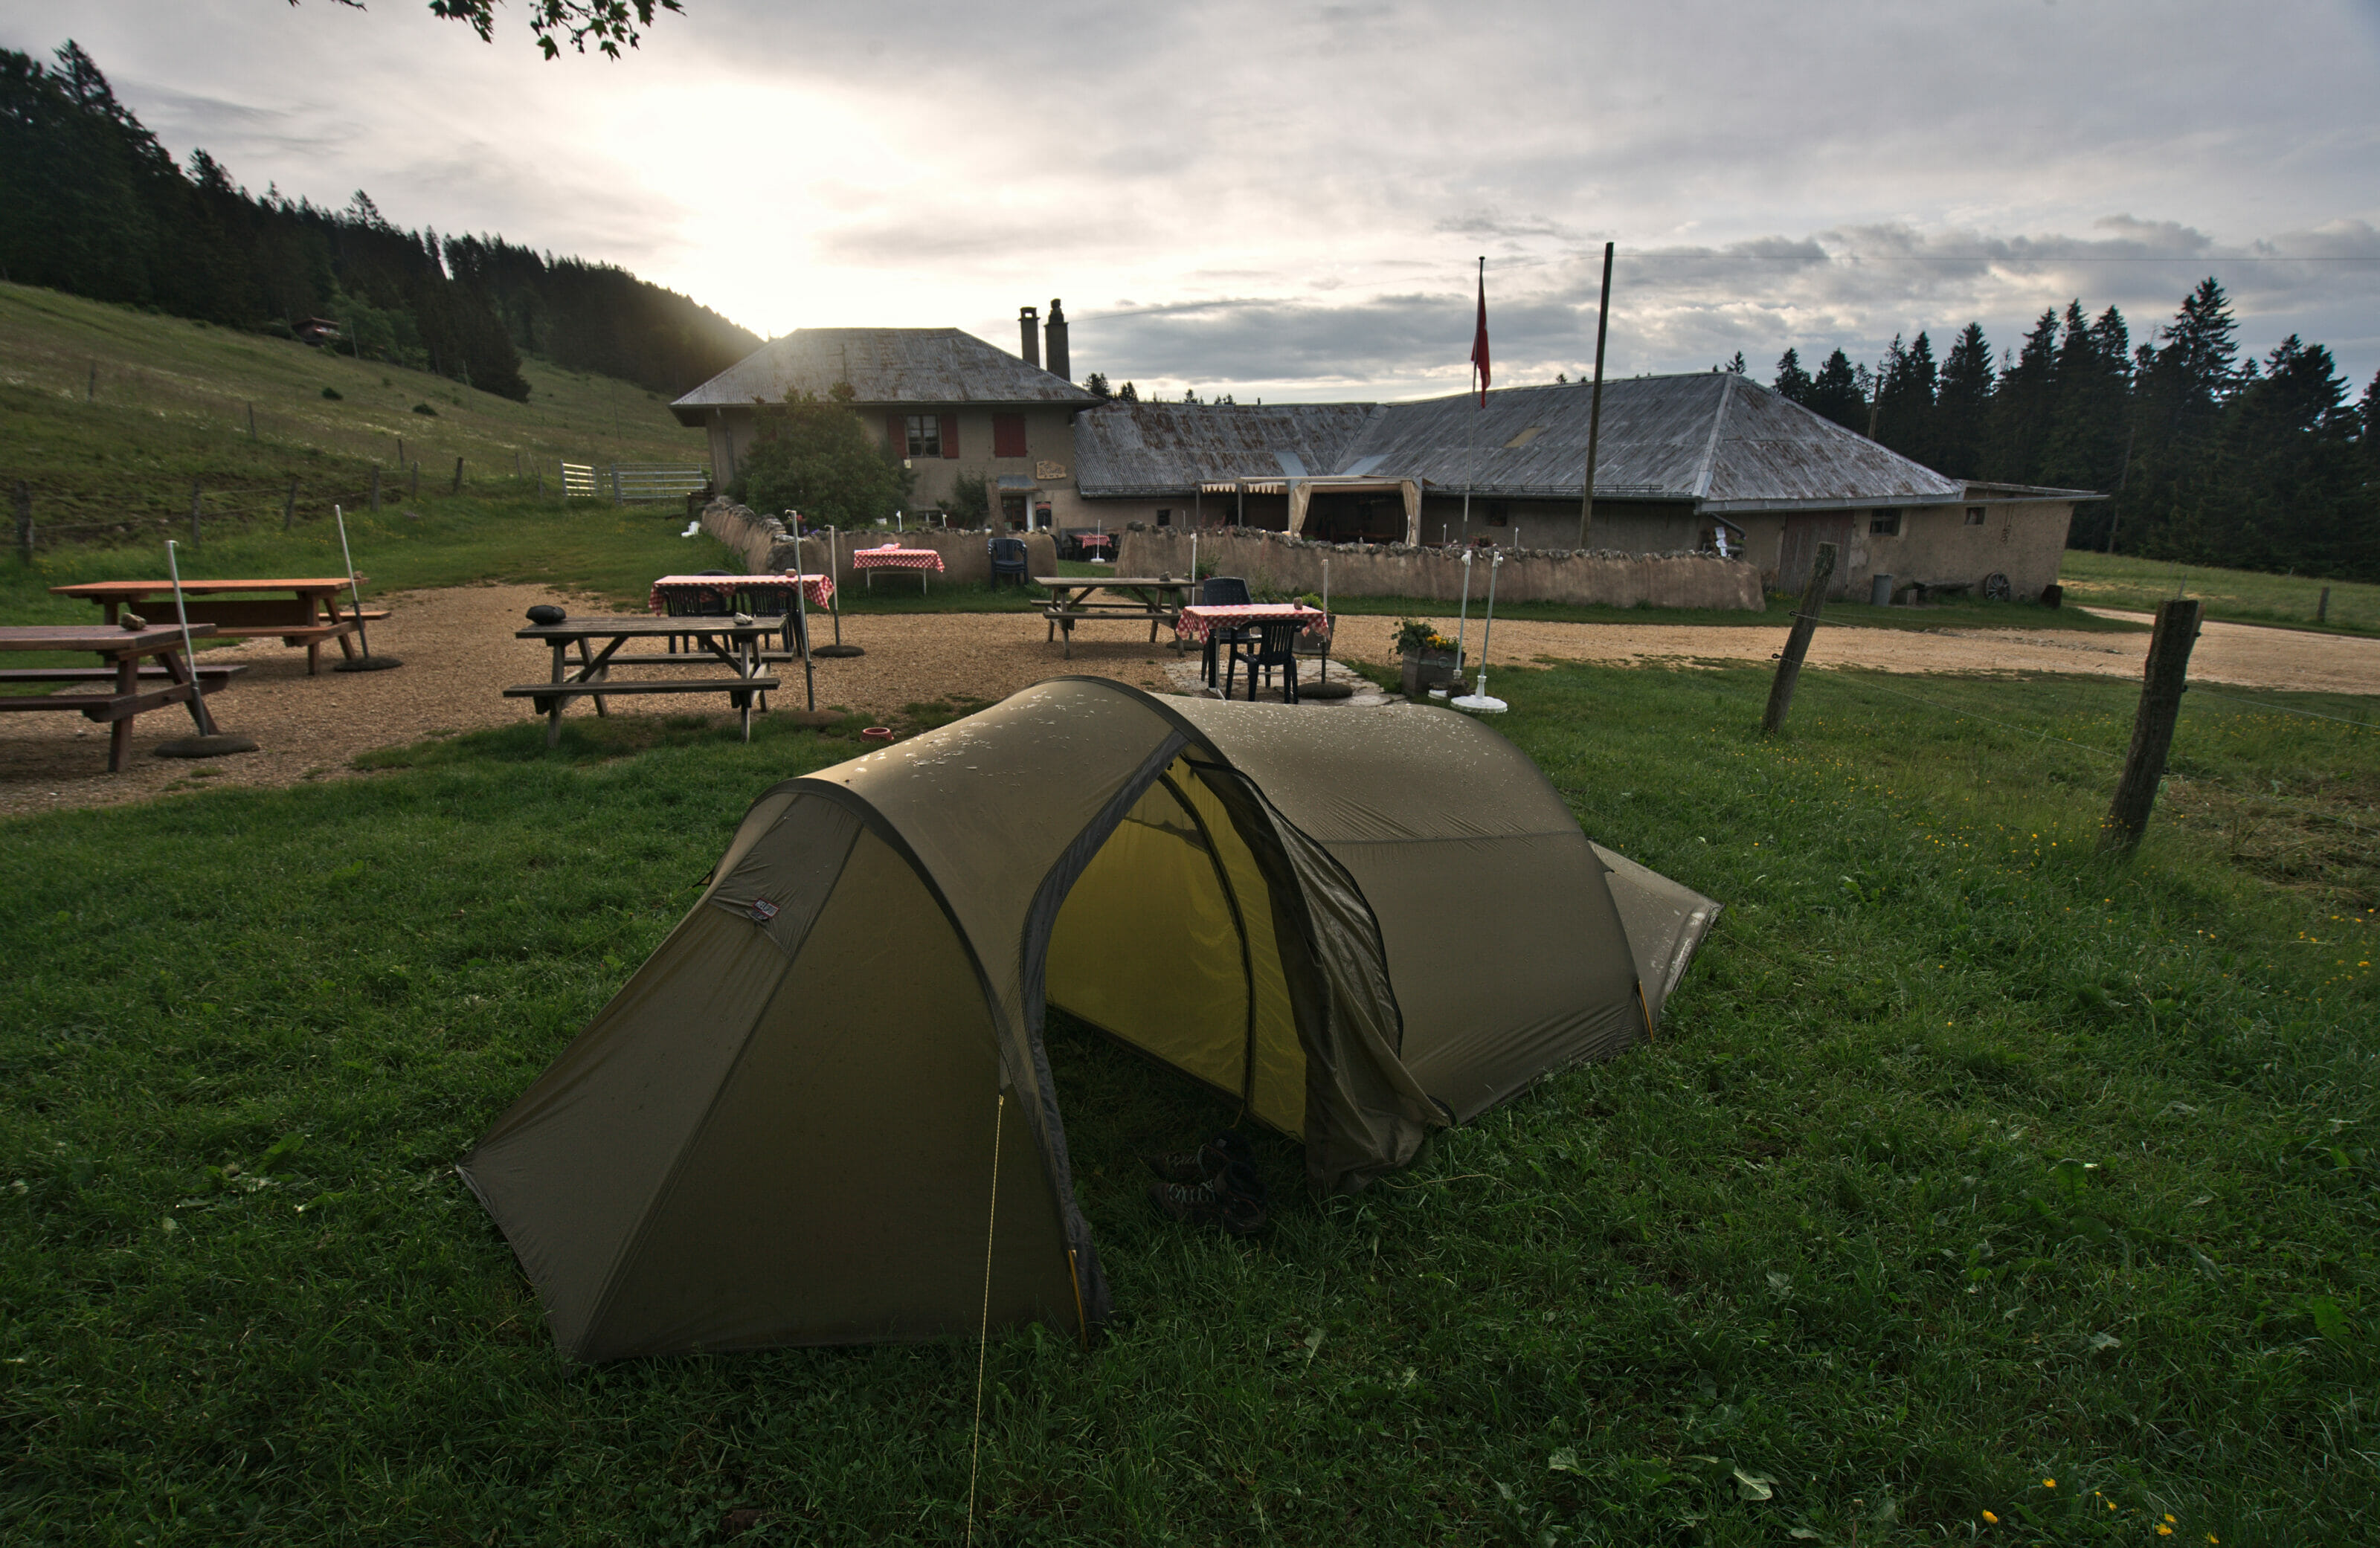
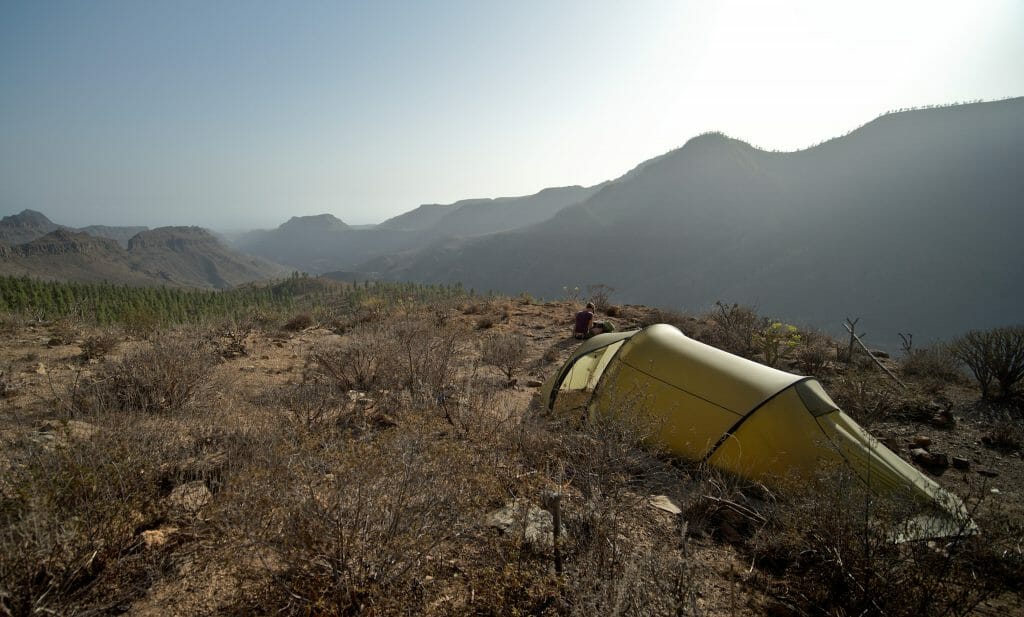
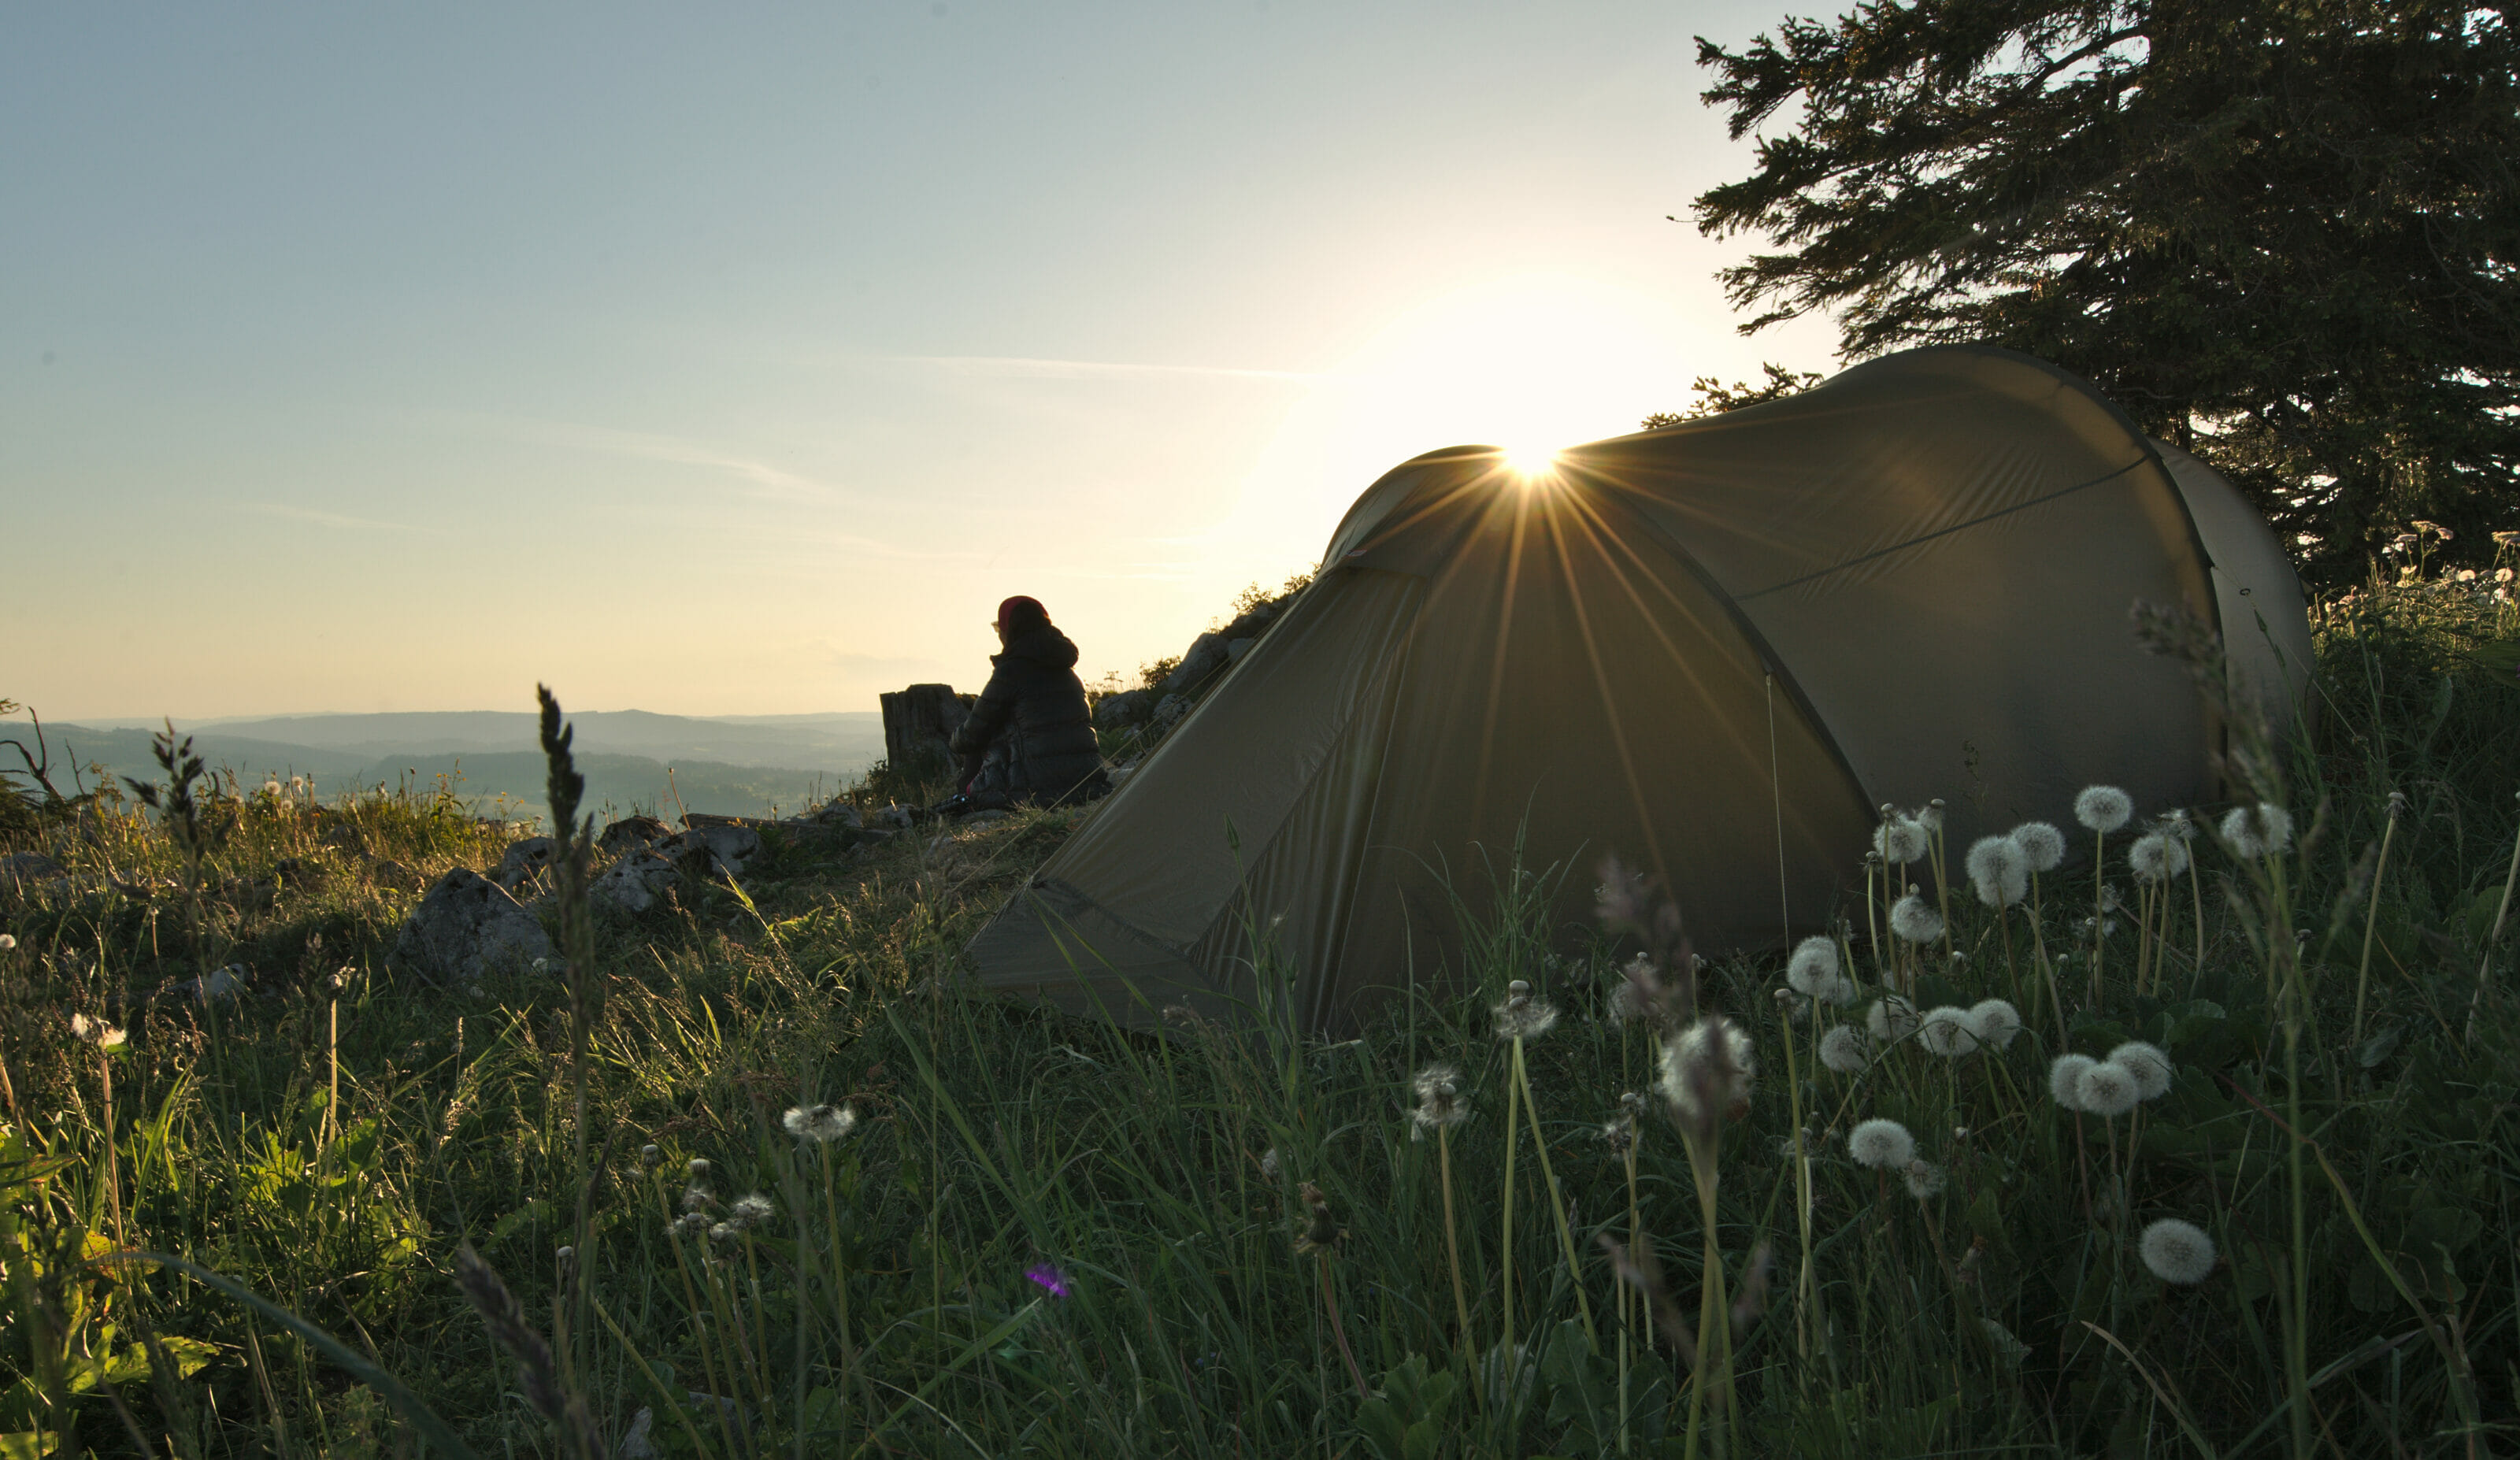
Small example below, of the bivouac spot of our life VS the kind of spot we have to use sometimes 😉
Definition of a bivouac: not to be mixed up with wild camping
Well, first of all, it’s a matter of clarifying a point that seems to create quite a bit of confusion. Do not mix up bivouac and wild camping! They are two distinct activities that are not necessarily subject to the same regulations (at least how we define them in France or Switzerland).
- Bivouac: A bivouac is a temporary and minimalist camp that allows people who practice outdoor activities on the move (such as hiking, mountaineering, cycling…) to spend a night in the middle of nature. The camp is set up at sunset and is lifted early in the morning for a maximum of 1 night in the same place (place which is usually not known in advance). Its main purpose is to allow people who practice it to rest (or to protect themselves in case of bad weather) before moving on the next day.
- Wild camping: Unlike bivouac, wild camping is generally done by people who have a vehicle (van, camper) or who stay longer than one night in one place (for example if you go to the lakeside in the afternoon to make a bbq and you camp there). It is called “wild” because it is held in places that are not equipped for this purpose (such as official campsites).
You can see that the difference is quite clear! Basically, when you backpack for several days with your tent, you don’t know in advance where you’re going to camp and you only stay one night from sunset to sunrise, you’re bivouacking. In the other cases, you are wild camping. The boundary between the two becomes a little more blurred when we talk about a one-night bivouac where the person already knows where he is going to pitch his tent (usually a place with a nice view) . But afterwards, we will leave everyone free to interpret this as they wish.
There is no harm in doing either as long as it is allowed and is done respectfully.
The bivouac mindset
Beyond the definitions and regulations, bivouac for us is above all a mindset, a way to be freer / more autonomous during long itinerant hikes. The bivouac mindset is:
- Dare to set off on an adventure without knowing in advance where you’re going to sleep
- Be well prepared to avoid as much as possible being in a complicated situation (water, location, gear…)
- Be as discreet as possible and respect the natural environment you are in
- Be able to carry all your gear and food (sometimes for several days).
- Being able to listen to yourself and adapt to the conditions / the condition of the moment
In short a bivouac is something that is prepared but which also requires adaptability and a little experience. Once you’ve decided to go for it, you accept the fact that everything won’t necessarily go “as planned”. The location you had spotted may already be taken or too exposed. The weather can be bad, pushing you to go to a more sheltered place (or even a night in a refuge/hotel). You could sometimes come across a lot of great spots during the day and struggle to find a good spot in the evening etc…
In short bivouacking is a personal approach in which we accept all these uncertainties. That’s why we systematically refuse to say exactly where we camped when we are asked on social media or by email. An ideal location one day may not be ideal another day, sometimes we camp on private land and ask the owner’s permission (who may say no another day)… So if you feel like bivouacking, go for it! But it has to come from you! You have to accept and overcome this small part of uncertainty which finally also makes the charm of bivouacking (in 95% of the cases 😉 ).
The rules applicable to bivouac
Even if it is not the funniest part, you should always ask about the legislation of the country/region where you are going to bivouac / camp. The laws on this matter are very different depending on the place. And if the bivouac is forbidden somewhere, it is not to give you a hard time… There is usually a good reason for this (protection of fauna/flora, private land, security).
It also happens quite often that we camp on private land (close to a mountain restaurant, mountain pasture…). In these cases, you ALWAYS have to ask the owner’s permission. Honestly we have never been turned down until now… we have sometimes been asked for a small financial participation in tourist places and if we camp close to a mountain inn/restaurant, we always go there to eat in the evening… But from our experience, people are friendly and prefer that we ask rather than try to hide on their land.
So to give you some exemple, I’ll talk about the regulations in some countries I know about below
Bivouac in France
In France there is no difference from a legal point of view between bivouac and wild camping. It’s actually quite simple because it’s allowed to camp everywhere… where it’s not forbidden (it would be too nice lol). And in France there are a lot of public places with restrictions … it is forbidden to camp:
- On roads and public pathways
- In classified or in the process of being classified natural sites
- In the remarkable classified heritage sites
- In the vicinity of historical monuments
- On the shores of the sea (no dream bivouac on the beach in France!)
- Within 200 m of water points used for consumption
Some nature parks sometimes apply additional restrictions. In addition, municipalities have the power to locally ban camping in their public areas. It is thus a question of informing you beforehand where you will have the right to bivouac during your little adventures.
Useful links
- The web page of public services related to camping.
- A web page with a lot of useful links for tha regulations in french national parks.
Bivouac in Switzerland
The situation in Switzerland is a bit more complicated because bivouac and wild camping are not banned at the national level. The rules in force are relegated to the cantonal or even communal level, which slightly complicates the situation (given that there are more than 2200 municipalities). For example, in Ticino, wild camping and bivouacs have been completely banned and you risk big fines if you get caught (and as it is a very touristy canton, there are a lot of controls).
But more in general, it is forbidden to bivouac in Switzerland:
- in natural reserve
- in the Swiss national park
- in federal hunting grounds
- in wildlife quiet areas
- where access is prohibited
Generally speaking, bivouac is fairly well tolerated in Switzerland (which is not the case of wild camping) but it is important to find out in advance if there are any cantonal or communal bans, as in Ticino. Some useful links to help you in this research:
Useful links
- A very good article from TCS about bivouac and wild camping in Switzerland. They have even contacted many cantons to find out about the regulations that apply throughout Switzerland.
- The official map nature reserves, quiet zones and hunting areas in Switzerland
- Un good post of the Swiss Alpine Club which reminds the regulations and good habits
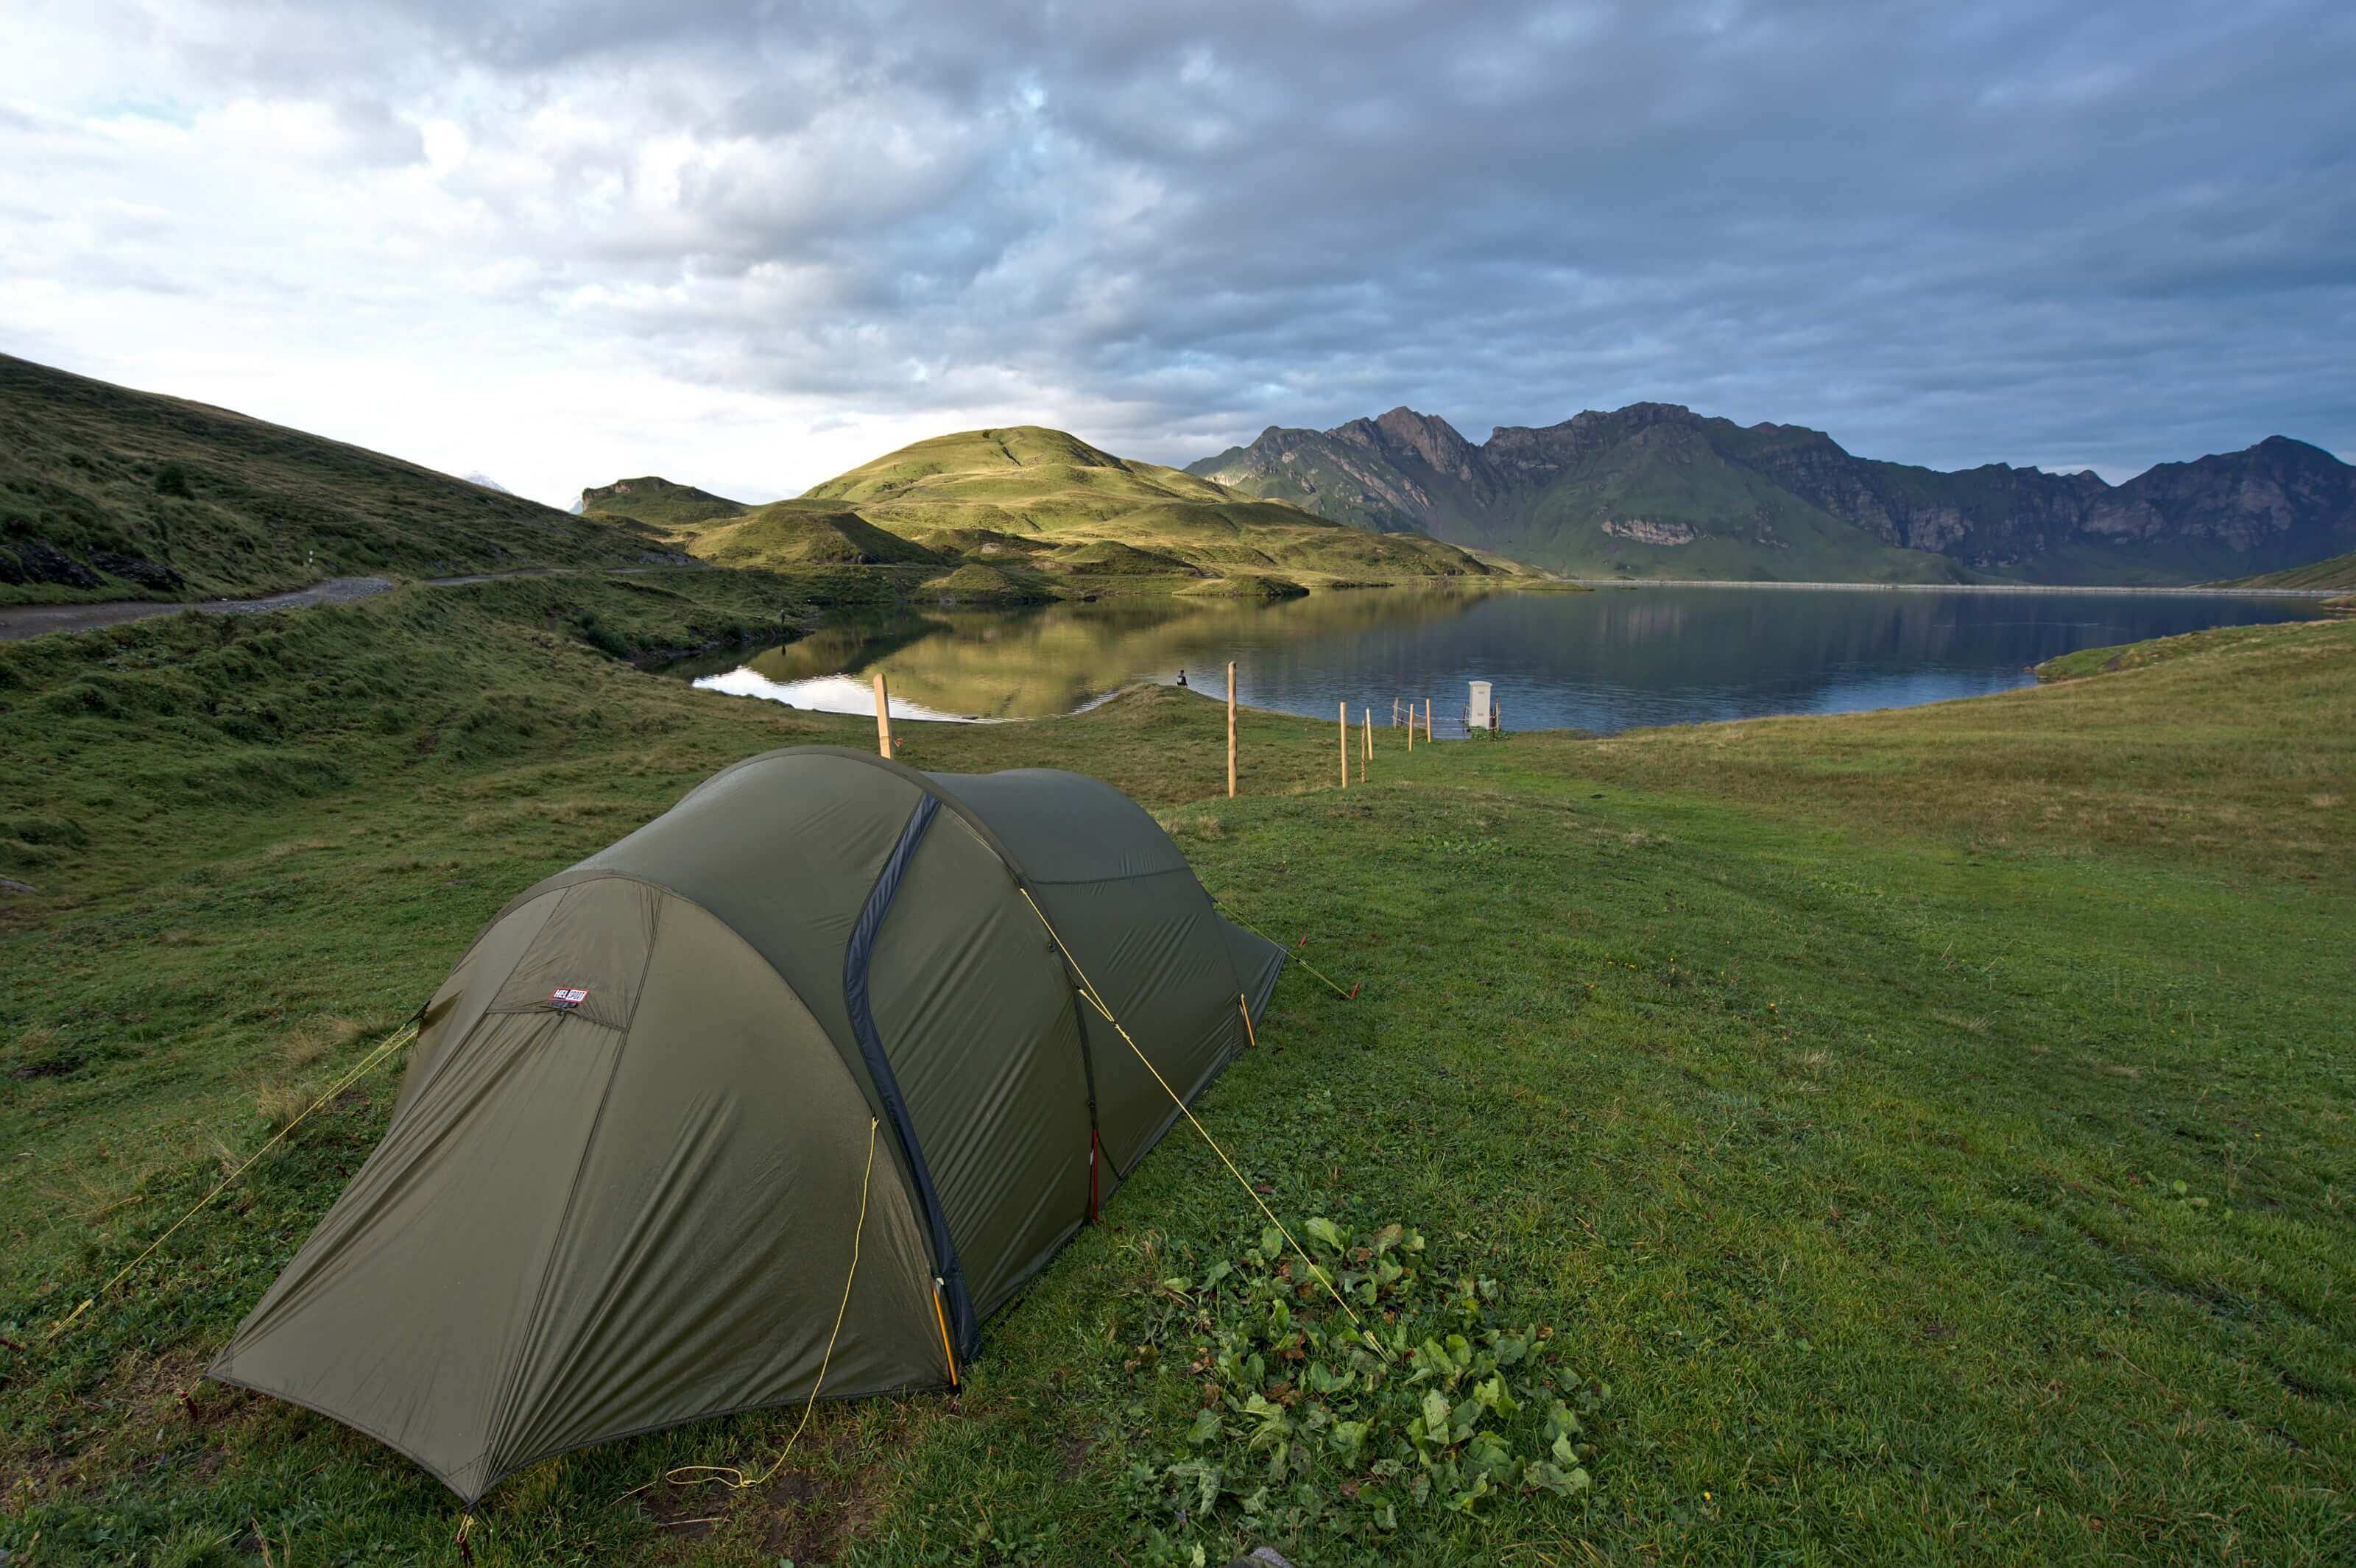
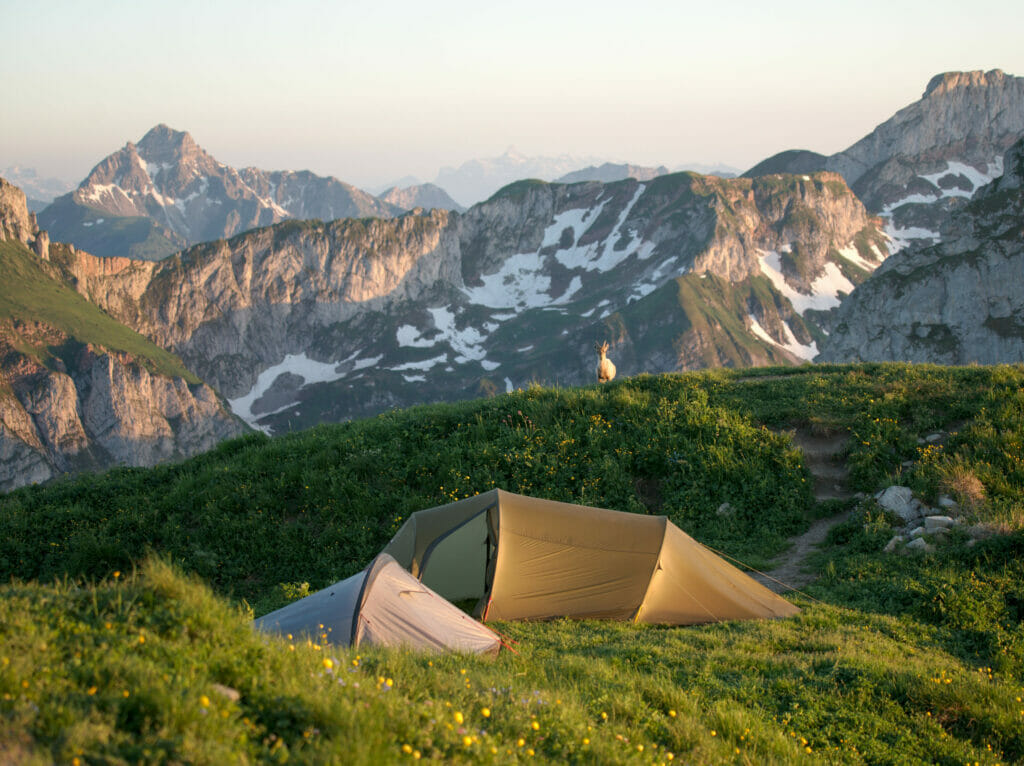
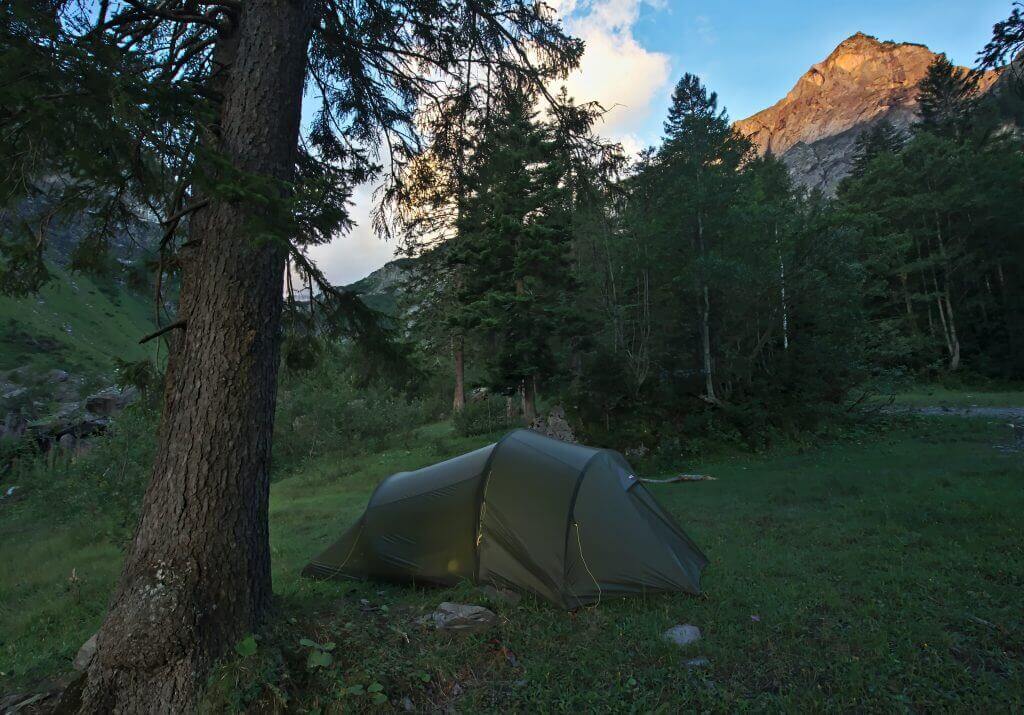
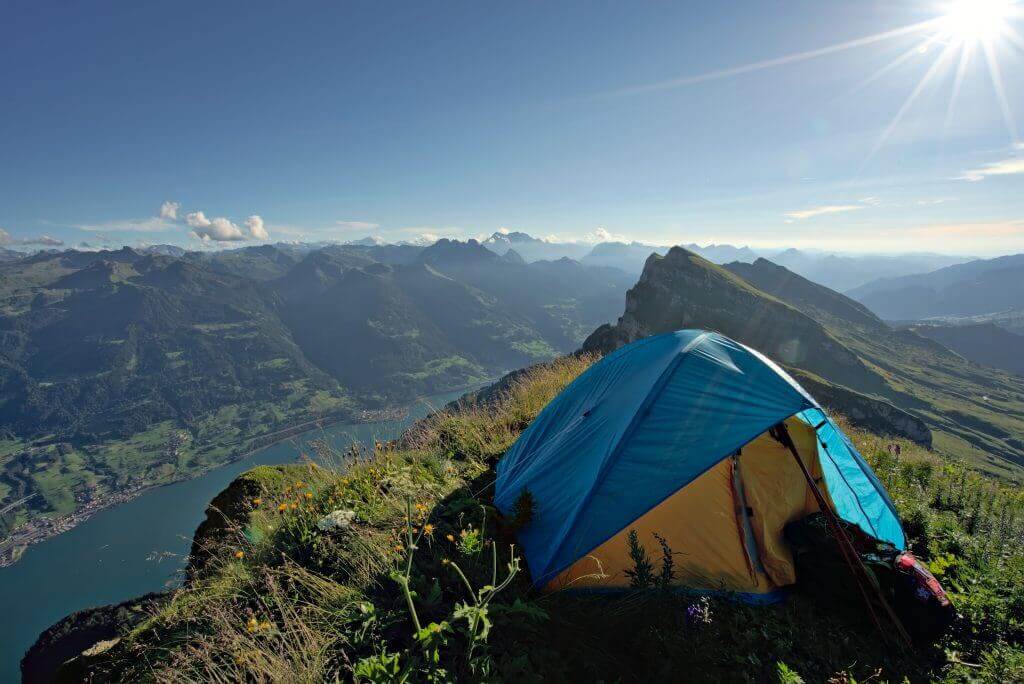
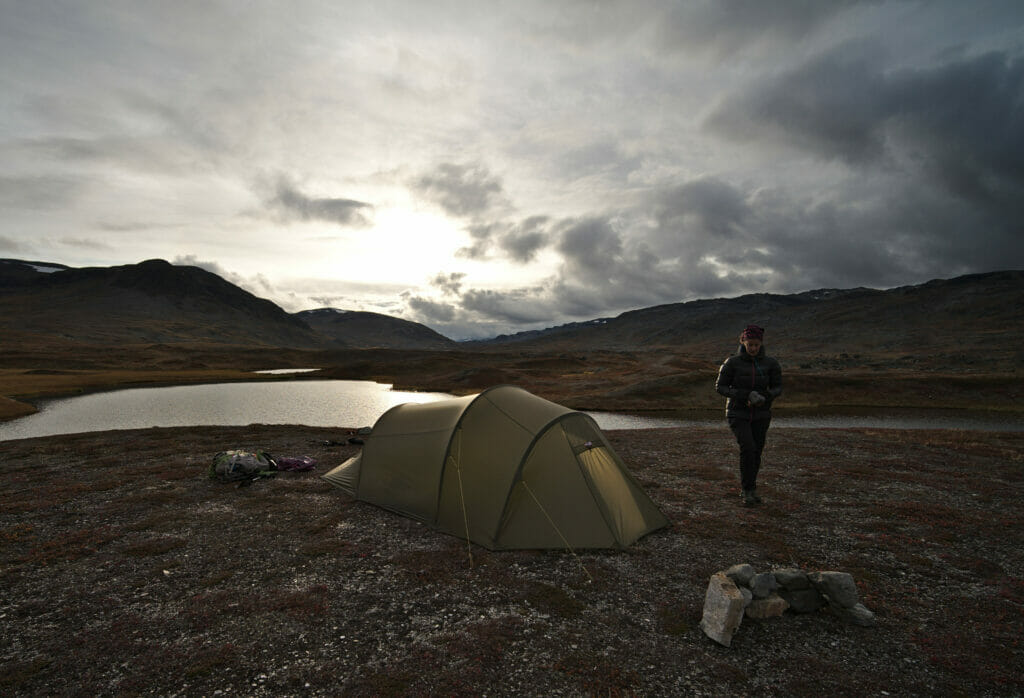
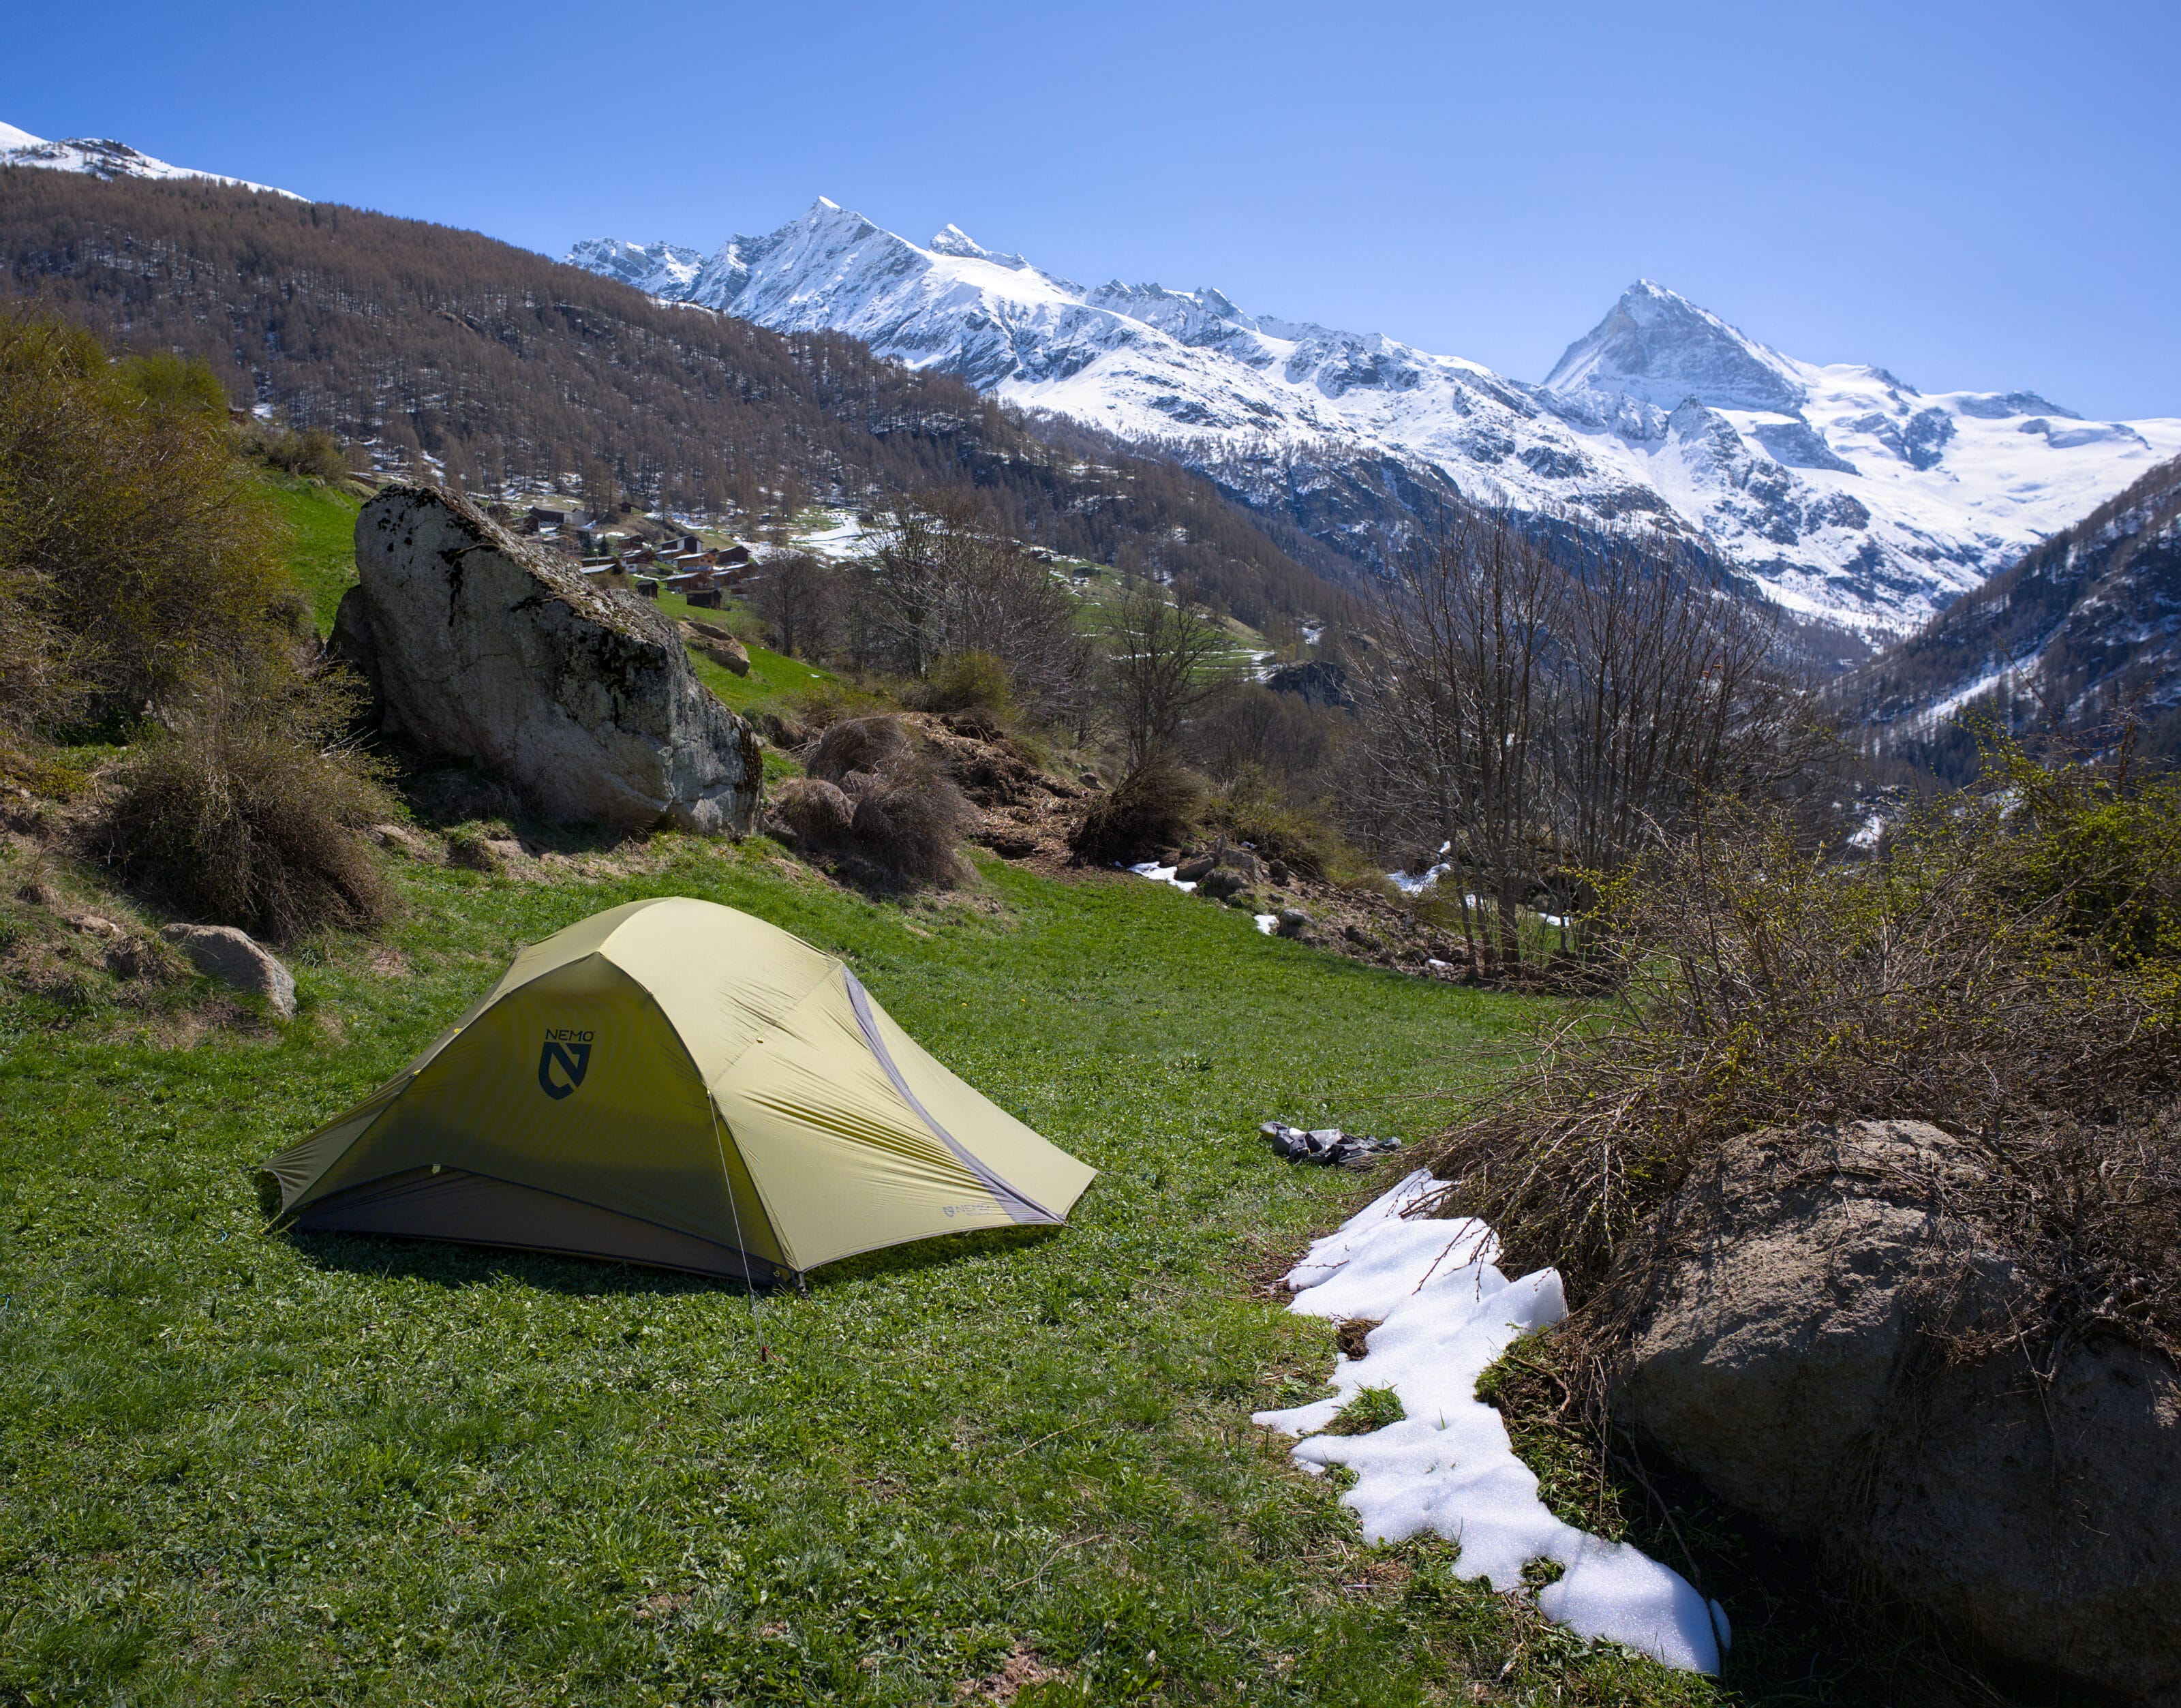
A few pics of some of our campins spots in Switzerland:
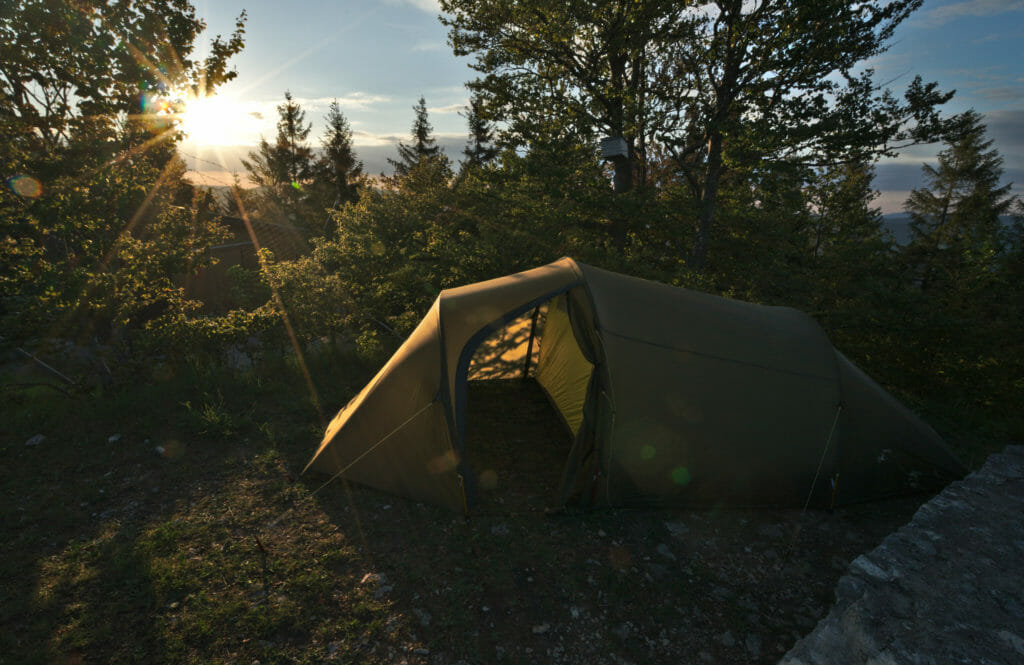
Bivouac in Belgium
The situation in Belgium is quite simple since bivouac and wild camping are forbidden. However, there are a few public bivouac areas on Belgian territory that allow hikers to spend a night in the wilderness. As there are not many of them, these bivouac areas can be quite popular and unfortunately also sometimes attract disrespectful people (noise pollution, rubbish, parties…). Our Belgian friend Maxime has written a very complete article about the situation in Belgium and these bivouac areas. You will find there all the necessary information / advice to hike and bivouac in Belgium.
One night camping or hiking and bivouacking over several days
So we’re finally done with the rules and regulations #pfffiiiioouuuuu. Now I’d just like to differentiate between one night bivi and multi-day bivouac hikes. So let’s leave the debate “is a one-night bivouac really a bivouac or just wild camping” aside. Personally, we do both and the important thing is simply to stay in the legality and to do it with respect.
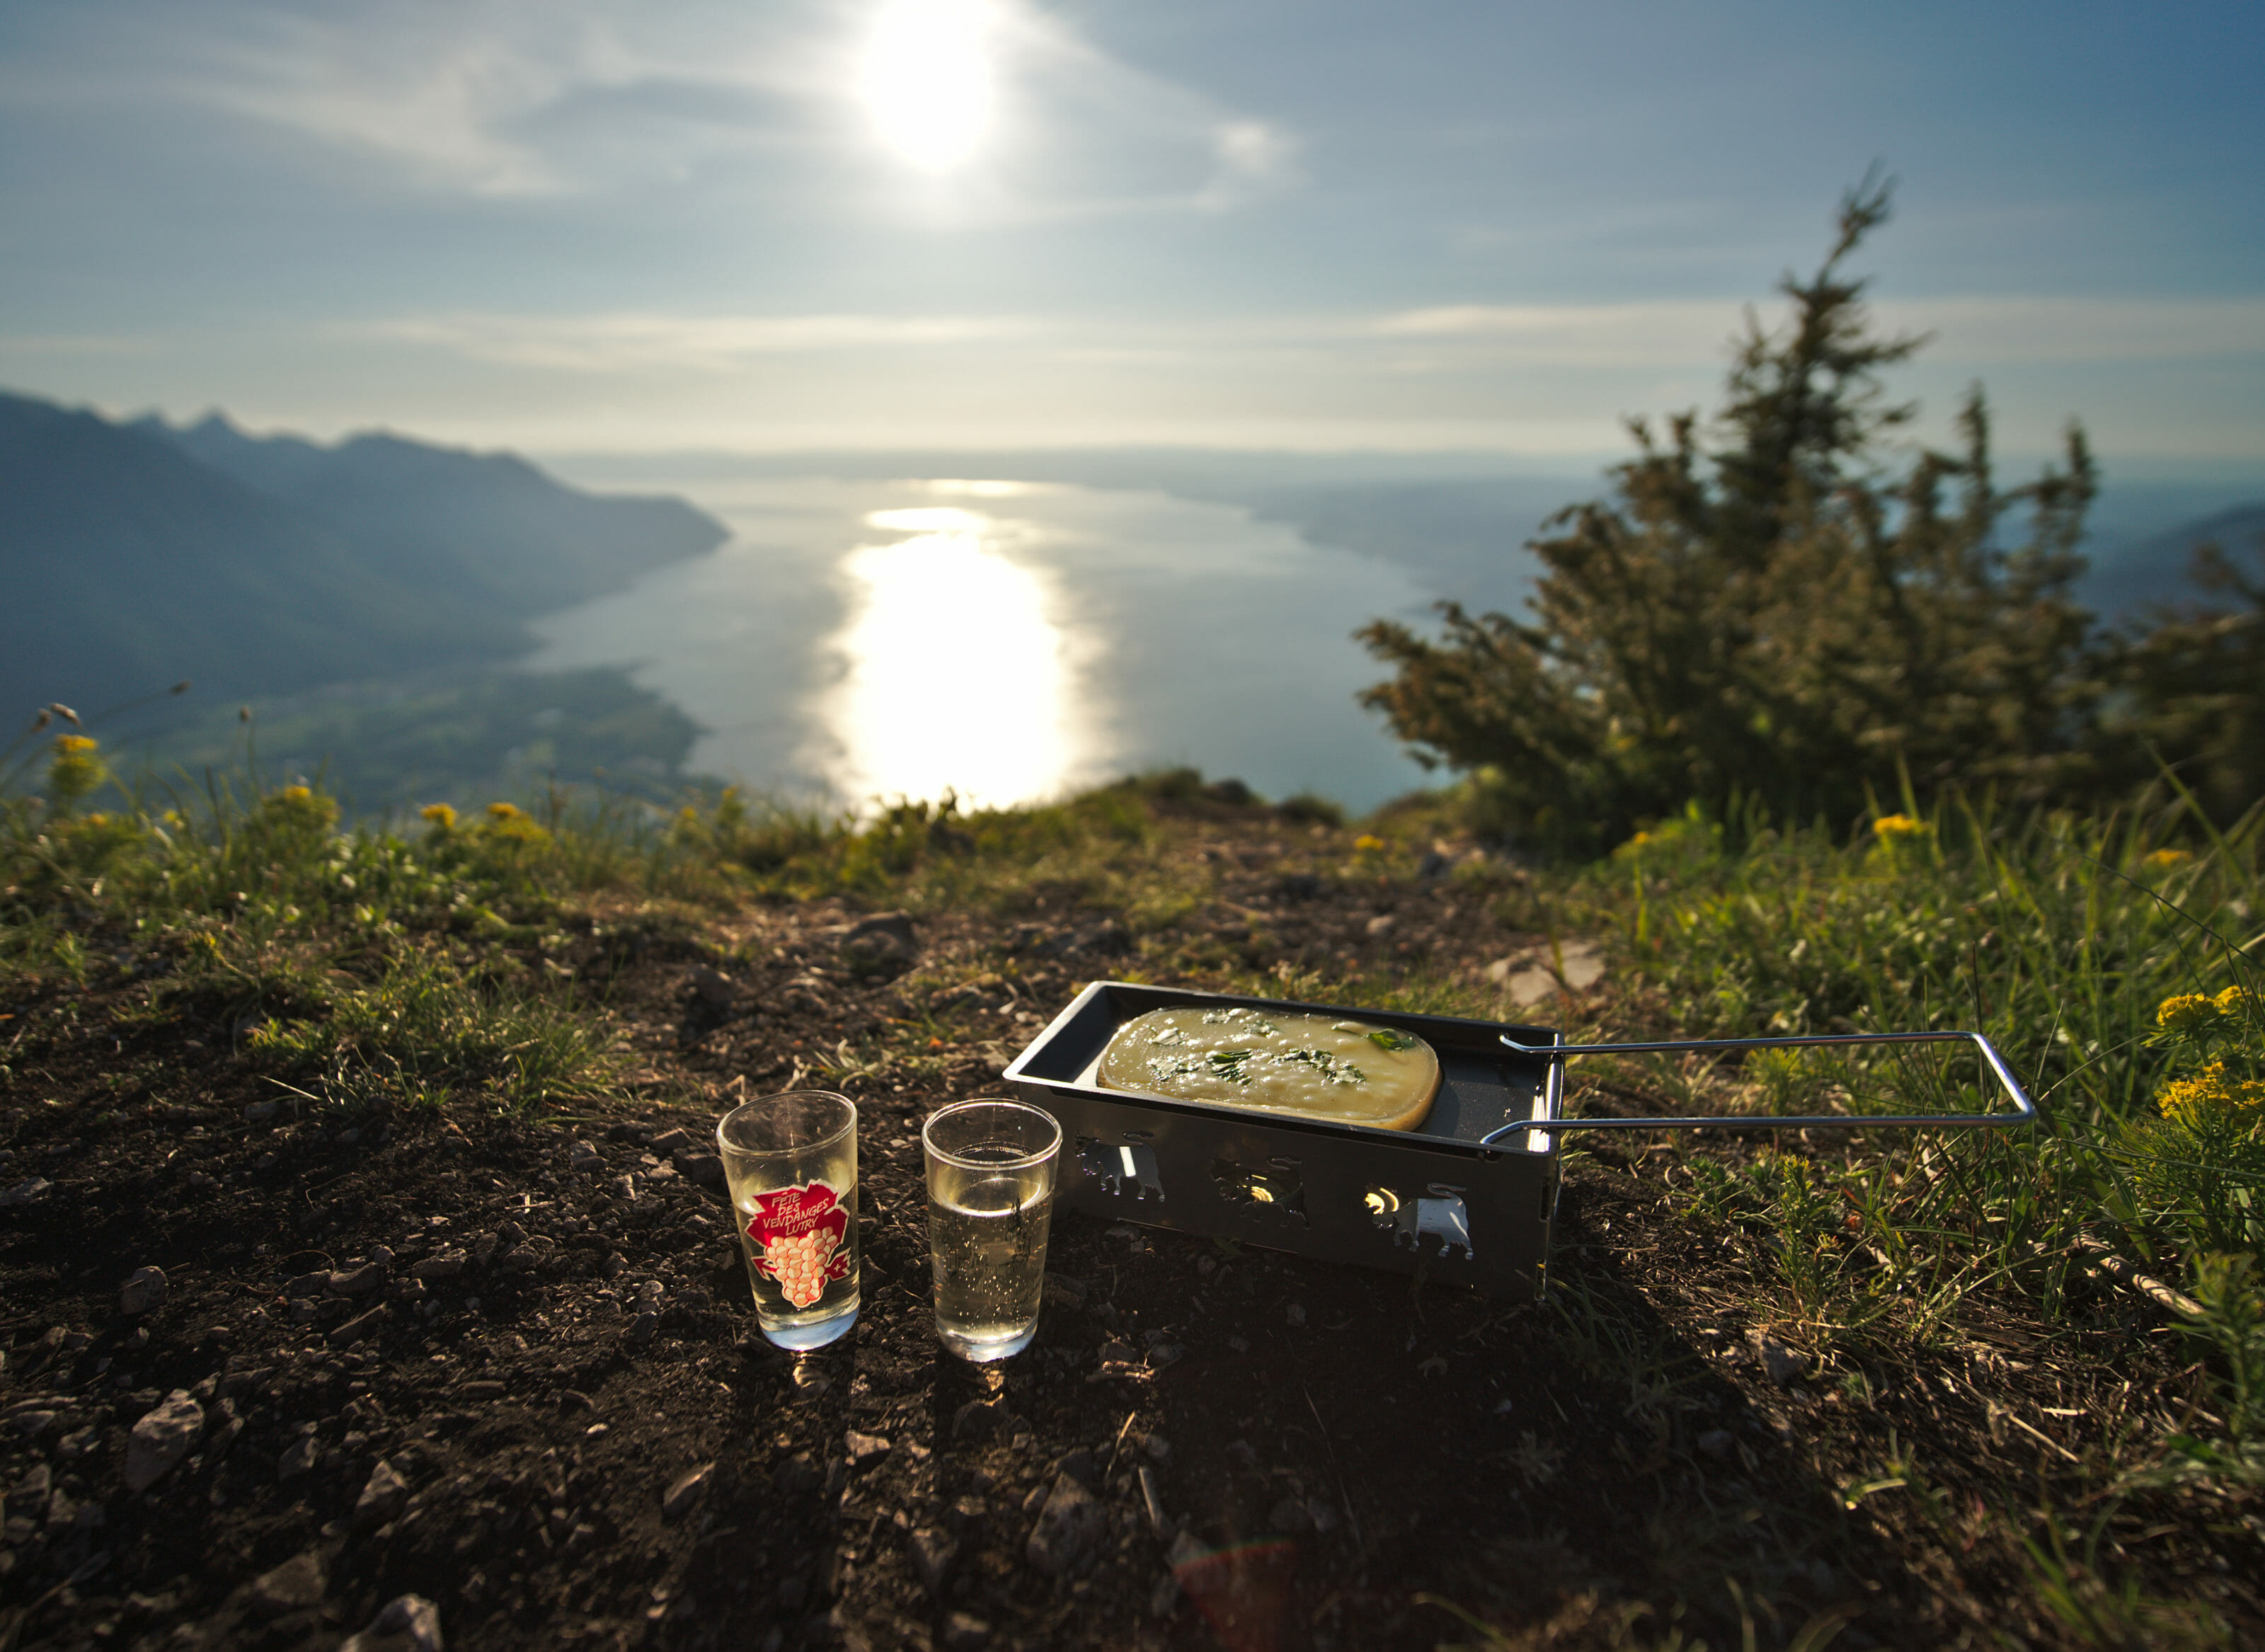
The difference I’m trying to emphasize is that you don’t necessarily put the same thing in your bag when you bivouac for one night as when you go on a backpacking trip for several days. On our side, when we leave for a single night, we have more fun with food, maybe we take a bottle of wine 😉 . As we do not need to carry the food (and sometimes the water) for several days, we have a little more margin with the weight of the bag and we offer ourselves small luxuries. So if you’re going away for a night, you don’t necessarily need the lightest high-tech tent, the lightest mattress and backpack on the market, etc… This is certainly a good way to test a bivouac without necessarily breaking the bank with high-end gear.
On the other hand, when you backpack for longer periods, you have to be much more careful about the weight of the gear. And believe me, you can quickly end up with a backpack that’s wayyyy too heavy without the right gear. During our first long hikes experiences on the Choquequirao in Peru or the O loop in Torres del Paine in Chile, we were loaded like mules! We hadn’t bought the right food, our tent and sleeping bags weighed a ton, we had certainly taken too many clothes… In short, we survived but we still told ourselves when we came back from our round the world trip that we would enjoy more our long hikes with better gear (and especially lighter).
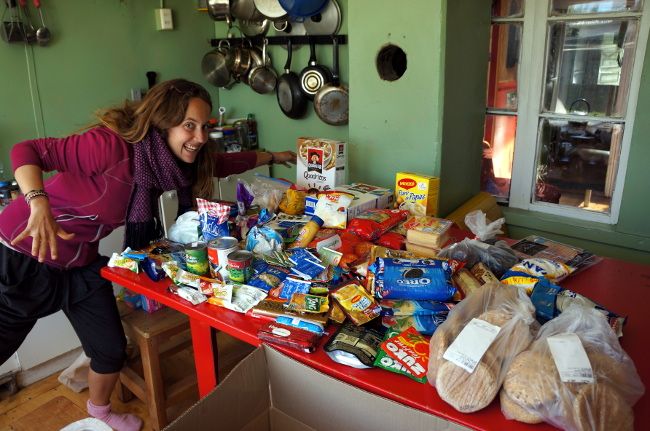
As a result, for the past few years, we’ve been replacing our equipment as we went along (yes because it’s not cheap, so at once it would have hurt financially). We started with the tent and sleeping bags for the Via Alpina, the floor mats for the Kungsleden etc…
So in the next part, I’ll give you some advice on the hiking gear as if you were going backpack for several days.
Important gear to take with you for bivouacking
The keyword when you go to camp for several days is lightweight. The idea is to leave with the bare minimum (we’re not the best on this side given all the electronic equipment we carry around #MyBloggerLife) and to have the lightest possible gear. The weight of your bag will depend on several things:
- The weight of your gear (tent, sleeping bag, sleeping pad, backpack, electronics…)
- The weight in water and food you’ll have to carry. Depending on the itinerary, you may have to carry a lot of water and food (if there are few food supplies and water sources). Be careful about that as it can drastically change the weight of your bag.
Then you need to know the maximum load you are able to carry while walking 15-20kms per day. For that there is obviously no miracle, you have to do tests by hiking 2 days here, 2 days there and see what you can carry. As an example, Fabienne is comfortable hiking with up to 15-16 kgs on her back while I can load up to 20 kgs without much trouble. But you’ll see, if you’re not careful, with all the equipment, water, food… you’ll quickly reach these loads.
So here are some advices about some pieces of gear where you can save a lot of weight:
A lightweight (and big enough) tent
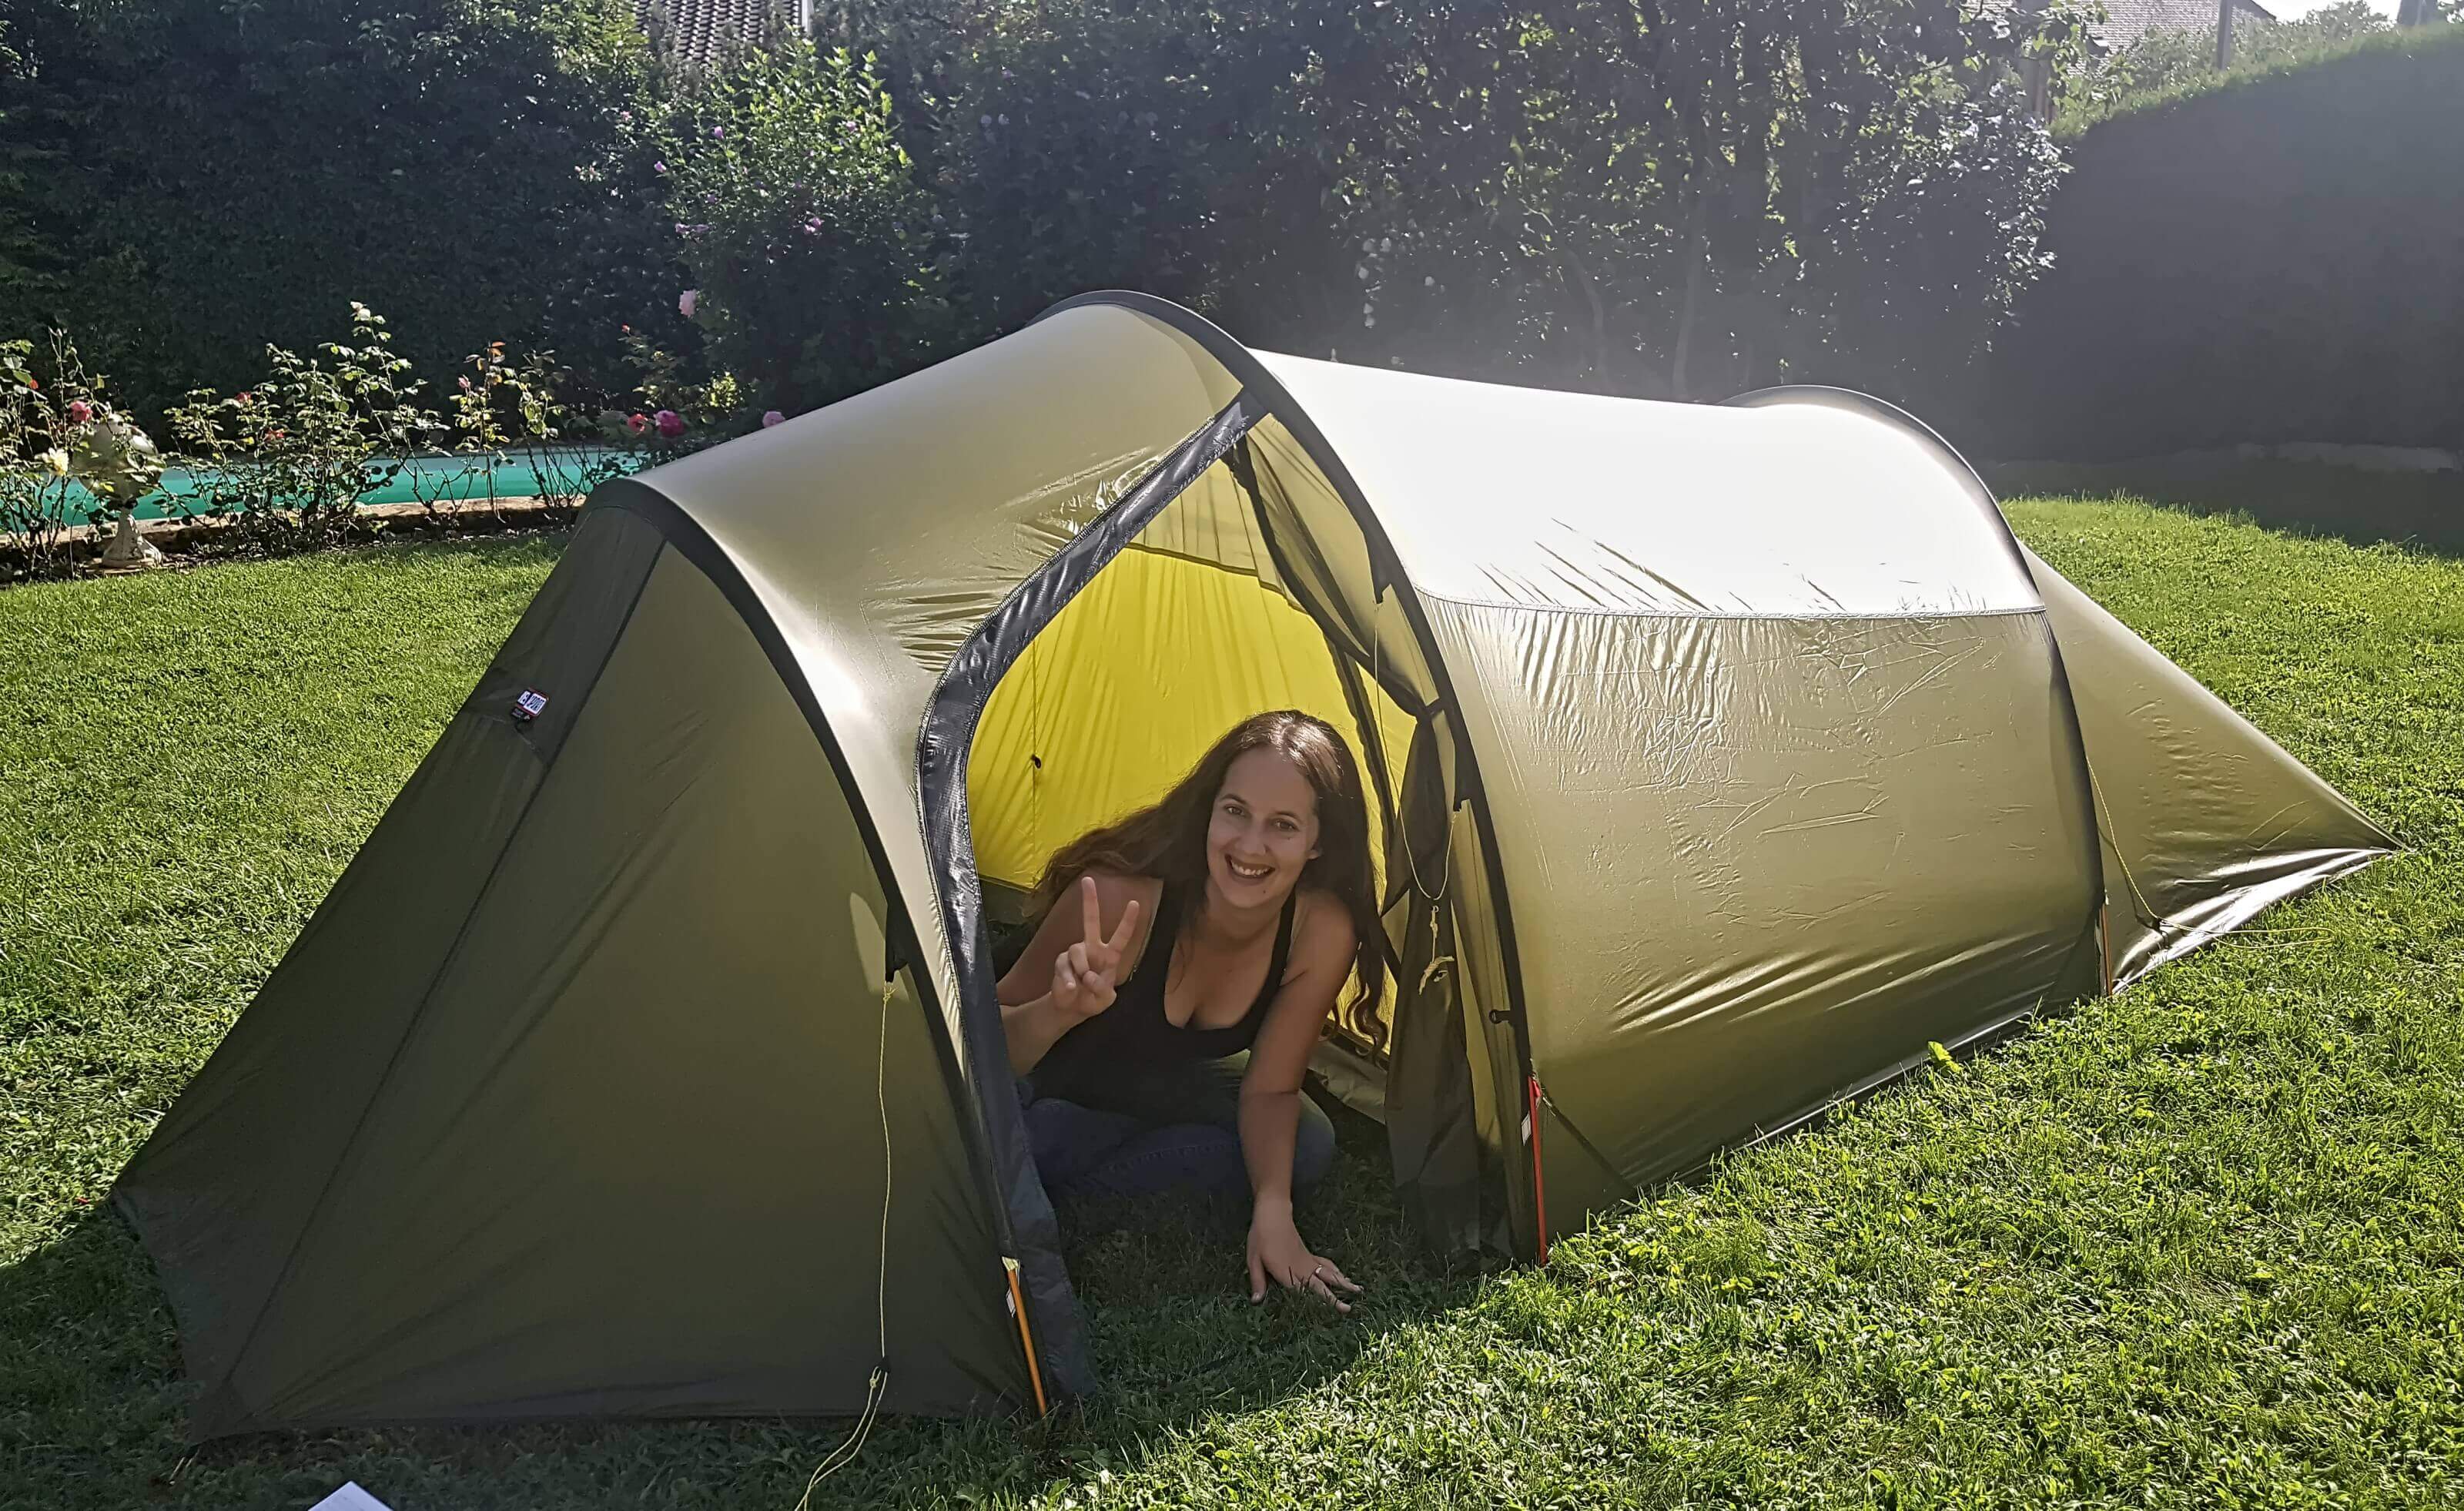
So when we were traveling around the world, our first 3 place tent weighed 3.6kgs… it was an entry-level tent that we bought for 70$ in Taiwan. To give you an idea, our current tent (the Fjellheimen superlight 3 from Helsport) is bigger, more waterproof, has a large vestibule and weighs only 2.1kgs. That’s already 1.5kgs of weight saved on the tent alone! It’s huge when you hike for several days with all your gear on your back (that’s 1.5l more water… or a bottle of wine 😉 ).
Today, we invested in a tent from the brand Nemo (the Dagger Osmo 3P). What prompted us to make this change once again was that we wanted a freestanding tent (more versatile when camping in terrains where pitching stakes can sometimes be challenging), lightweight, and with a slightly smaller floor area (to find bivouac spots more easily). To learn everything about this tent, we recommend you to read our full blog post about it.
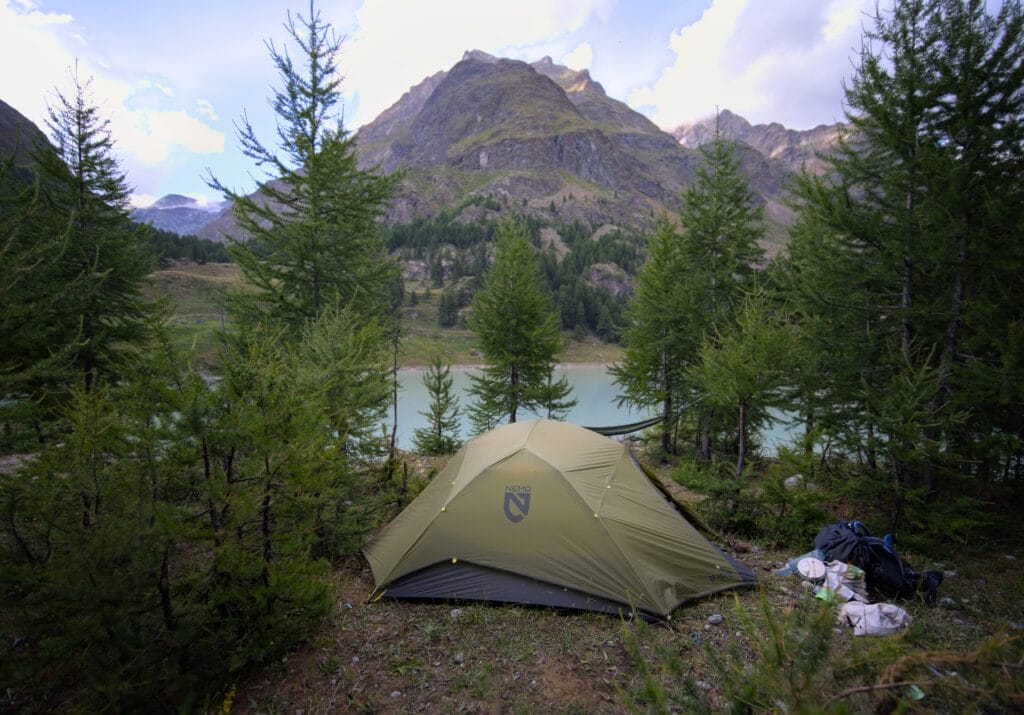
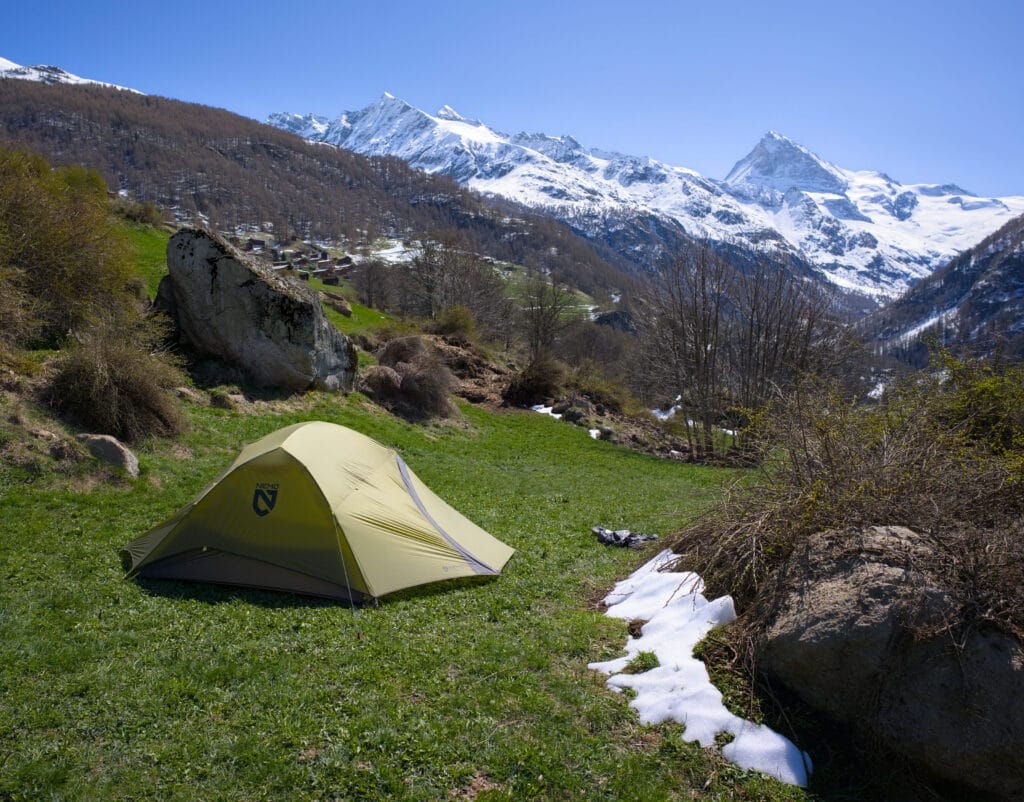
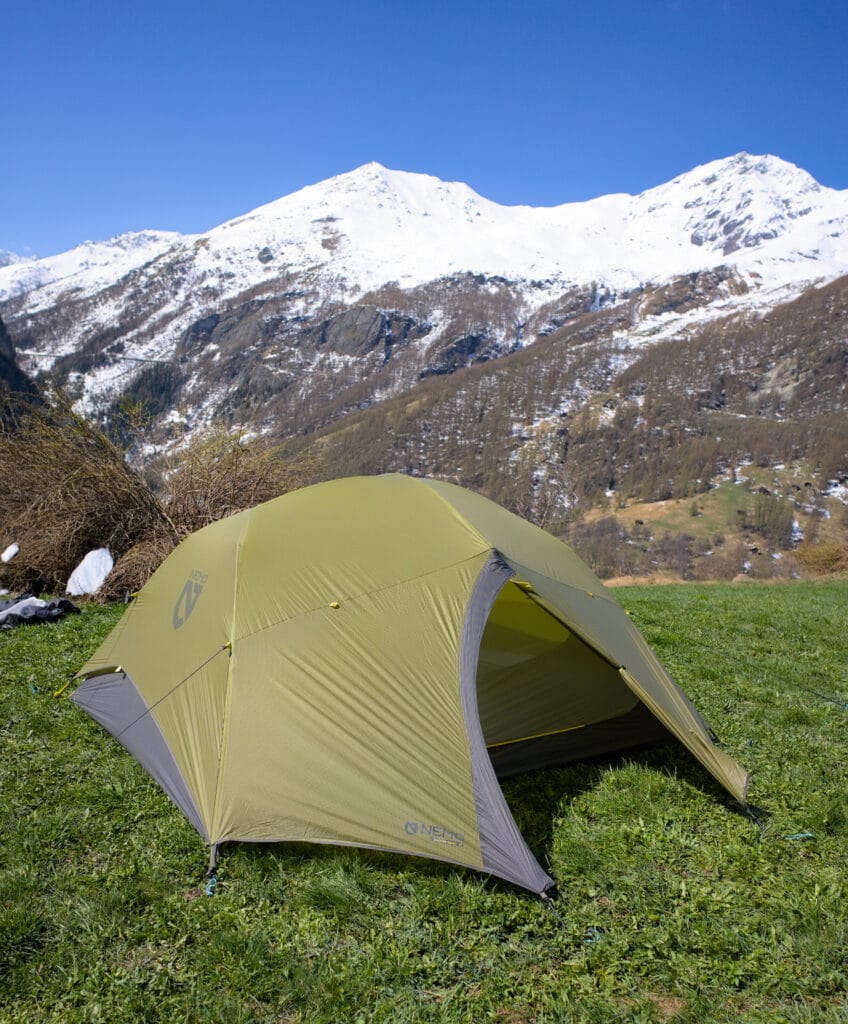
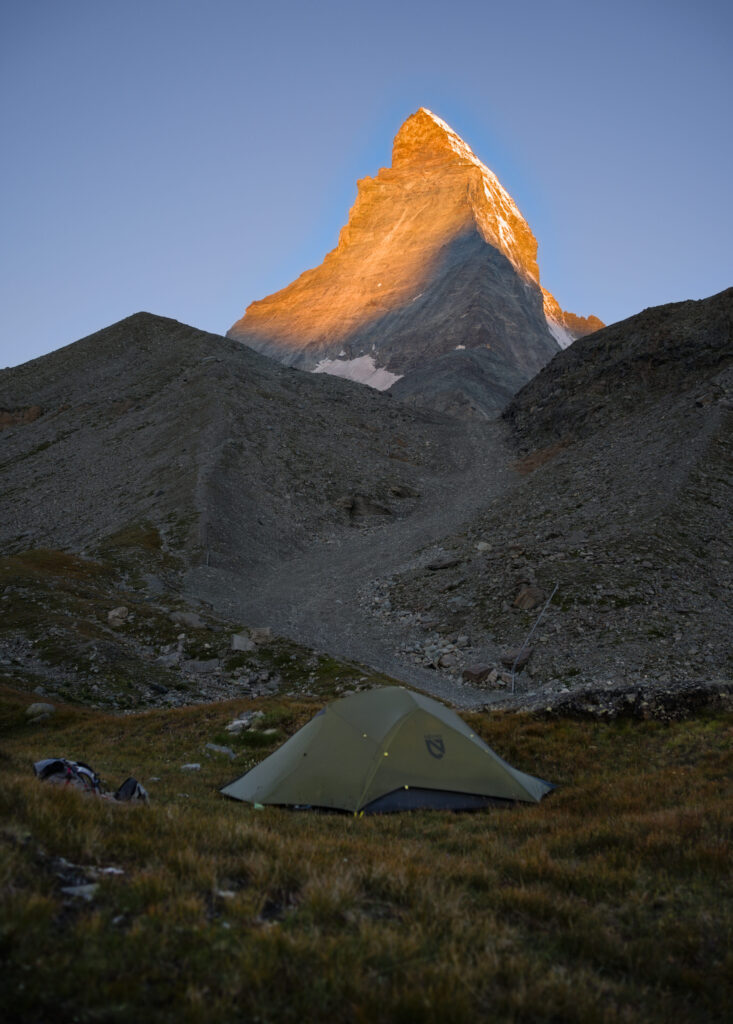
I may write a full article/comparison on lightweight tents for hiking but here are some important points to keep in mind:
- It should be as light as possible. For one person there are very light tents below 1.5 kg. For two people, I would say that between 2 and 2.5 kg is not too bad.
- Waterproofing (the pressure of the water column that the roof and the floor can withstand before allowing some water to pass through) must be sufficient. Good MSR or Nemo models offer water columns of 1200mm for the roof and 3000mm for the floor. Ours has 3000mm for the roof and 4000mm for the floor. Rain exercises a pressure between 1000mm and 2000mm depending on its intensity.
- Allow one person extra space for gear and comfort (or spacious vestibules to protect your gear outside the tent). It is very important to have enough space to rest during a long hike.
- Is it a freestanding tent or not? Tunnel tents like ours are not freestanding (i.e. you have to be able to pitch the tent well or it won’t hold) but are generally lighter for the same size (fewer poles). A freestanding dome tent is more versatile but often a bit heavier.
- Even though I just told you to take a tent big enough, you shouldn’t take a tent too big either. The larger the ground surface of your tent, the more difficult it will be to find a bivouac spot. You have to find a balance… I would say that this is the main drawback of our current tent which is almost too spacious.
These are the points that I consider the most important for a bivouac tent. And as far as the models of tents that I recommend, it will depend on your budget because in general the ultra light tents are expensive. But here are some ideas:
- If you have a small budget, you can start by taking a look at the “quickhiker” or “trek 900” range from Décathlon on this page. They have improved enormously on the tent side over the last 1-2 years and offer one of the best quality/price ratio on the market. Moreover, the trek 900 range did not exist when we renewed most of our equipment… Otherwise we might have tested it first. Count between 150€ and 250€.
- If you have a bit more budget, MSR tents (the Hubba for example) have a good reputation. I have also heard a lot of good things about ultra-light tents from Nemo (the Hornet).
- If you have the budget, we can only recommend Helsport tents. They are not cheap, but so far we have never had an issue. We chose the Fjellheimen superlight 3 (very spacious, huge vestibule but not freestanding) but the Lofoten superlight (a little less spacious but lighter) or Reinsfjell superlight (freestanding) models could also suit you.
You will find more ultra light tents on this page if you want to compare.
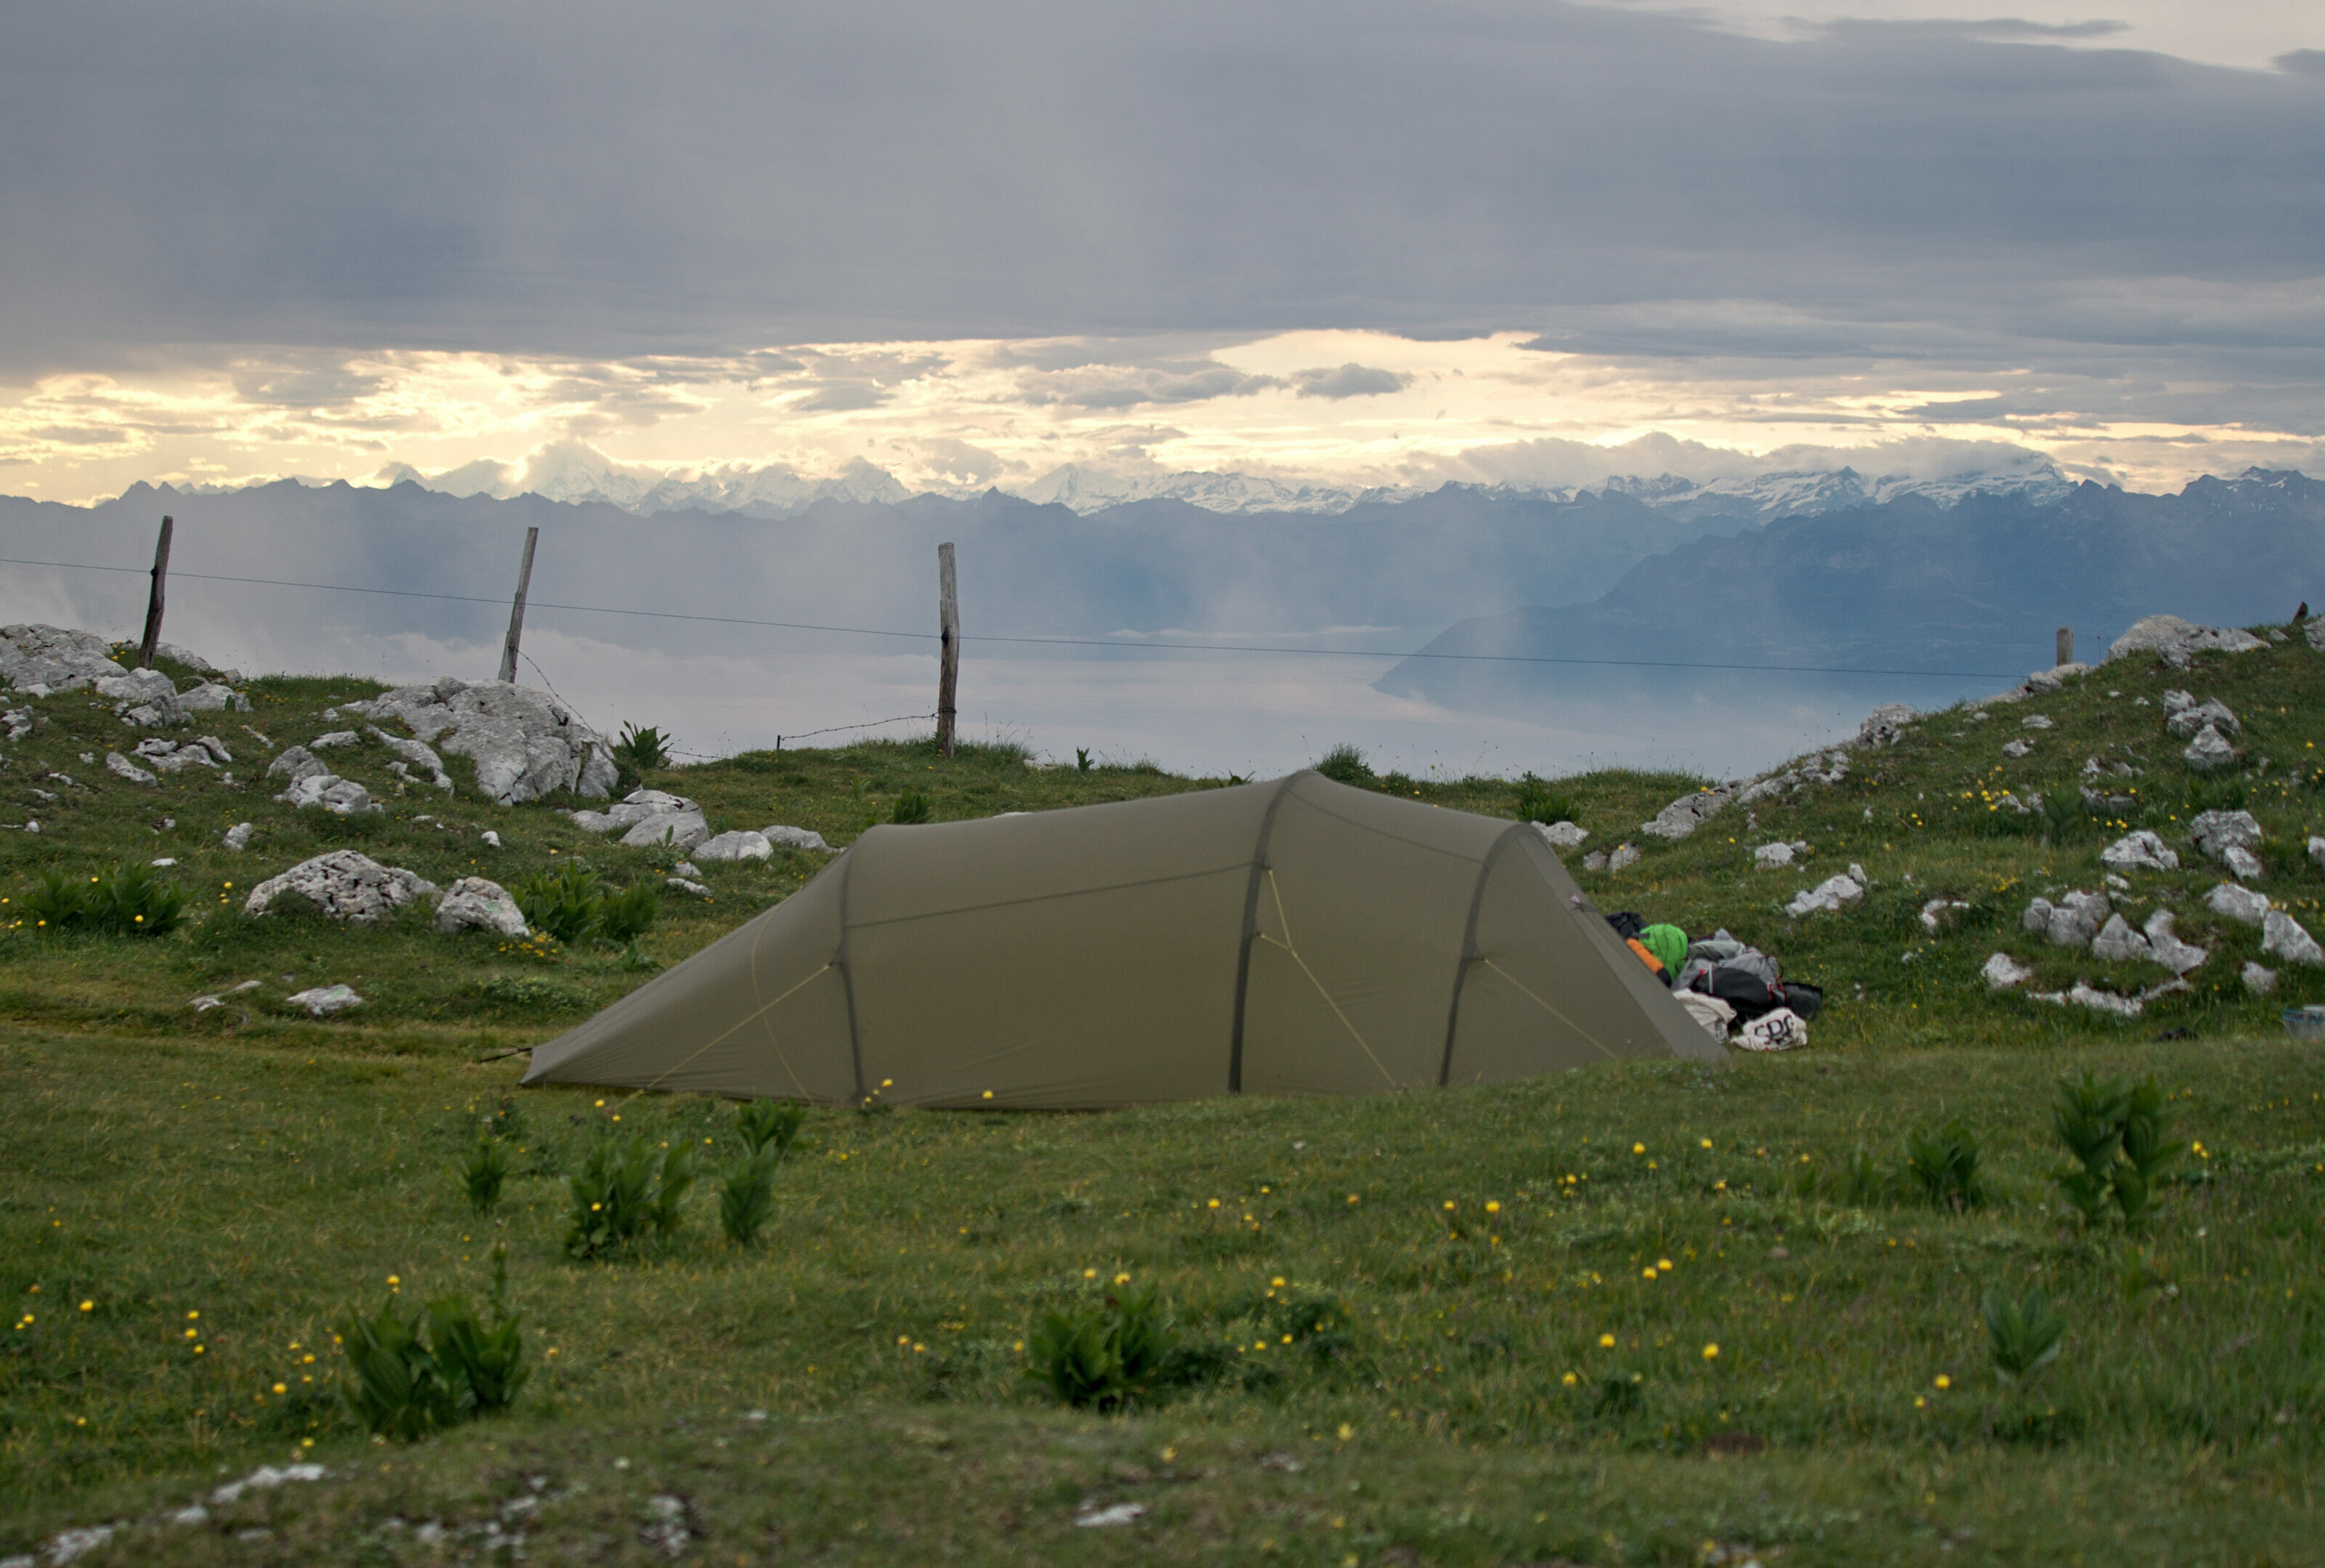
Ahhh yes and for the most minimalist among you, there is also the tarp solution (or even the bivi bag). A tarp is a simple cover that is fixed with hiking poles and a few pegs. It’s obviously much lighter than a tent but you won’t be isolated from the outside, you won’t have any floor (even if some people use a survival blanket as a floor)… In short, it is certainly a psychological barrier to pass but we are not there yet with Fabienne (but for example on the Via Alpina, we met several hikers with tarps). For the moment, we still prefer the tent but if you wonder what it looks like, you’ll find some here.
A lightweight and warm sleeping bag
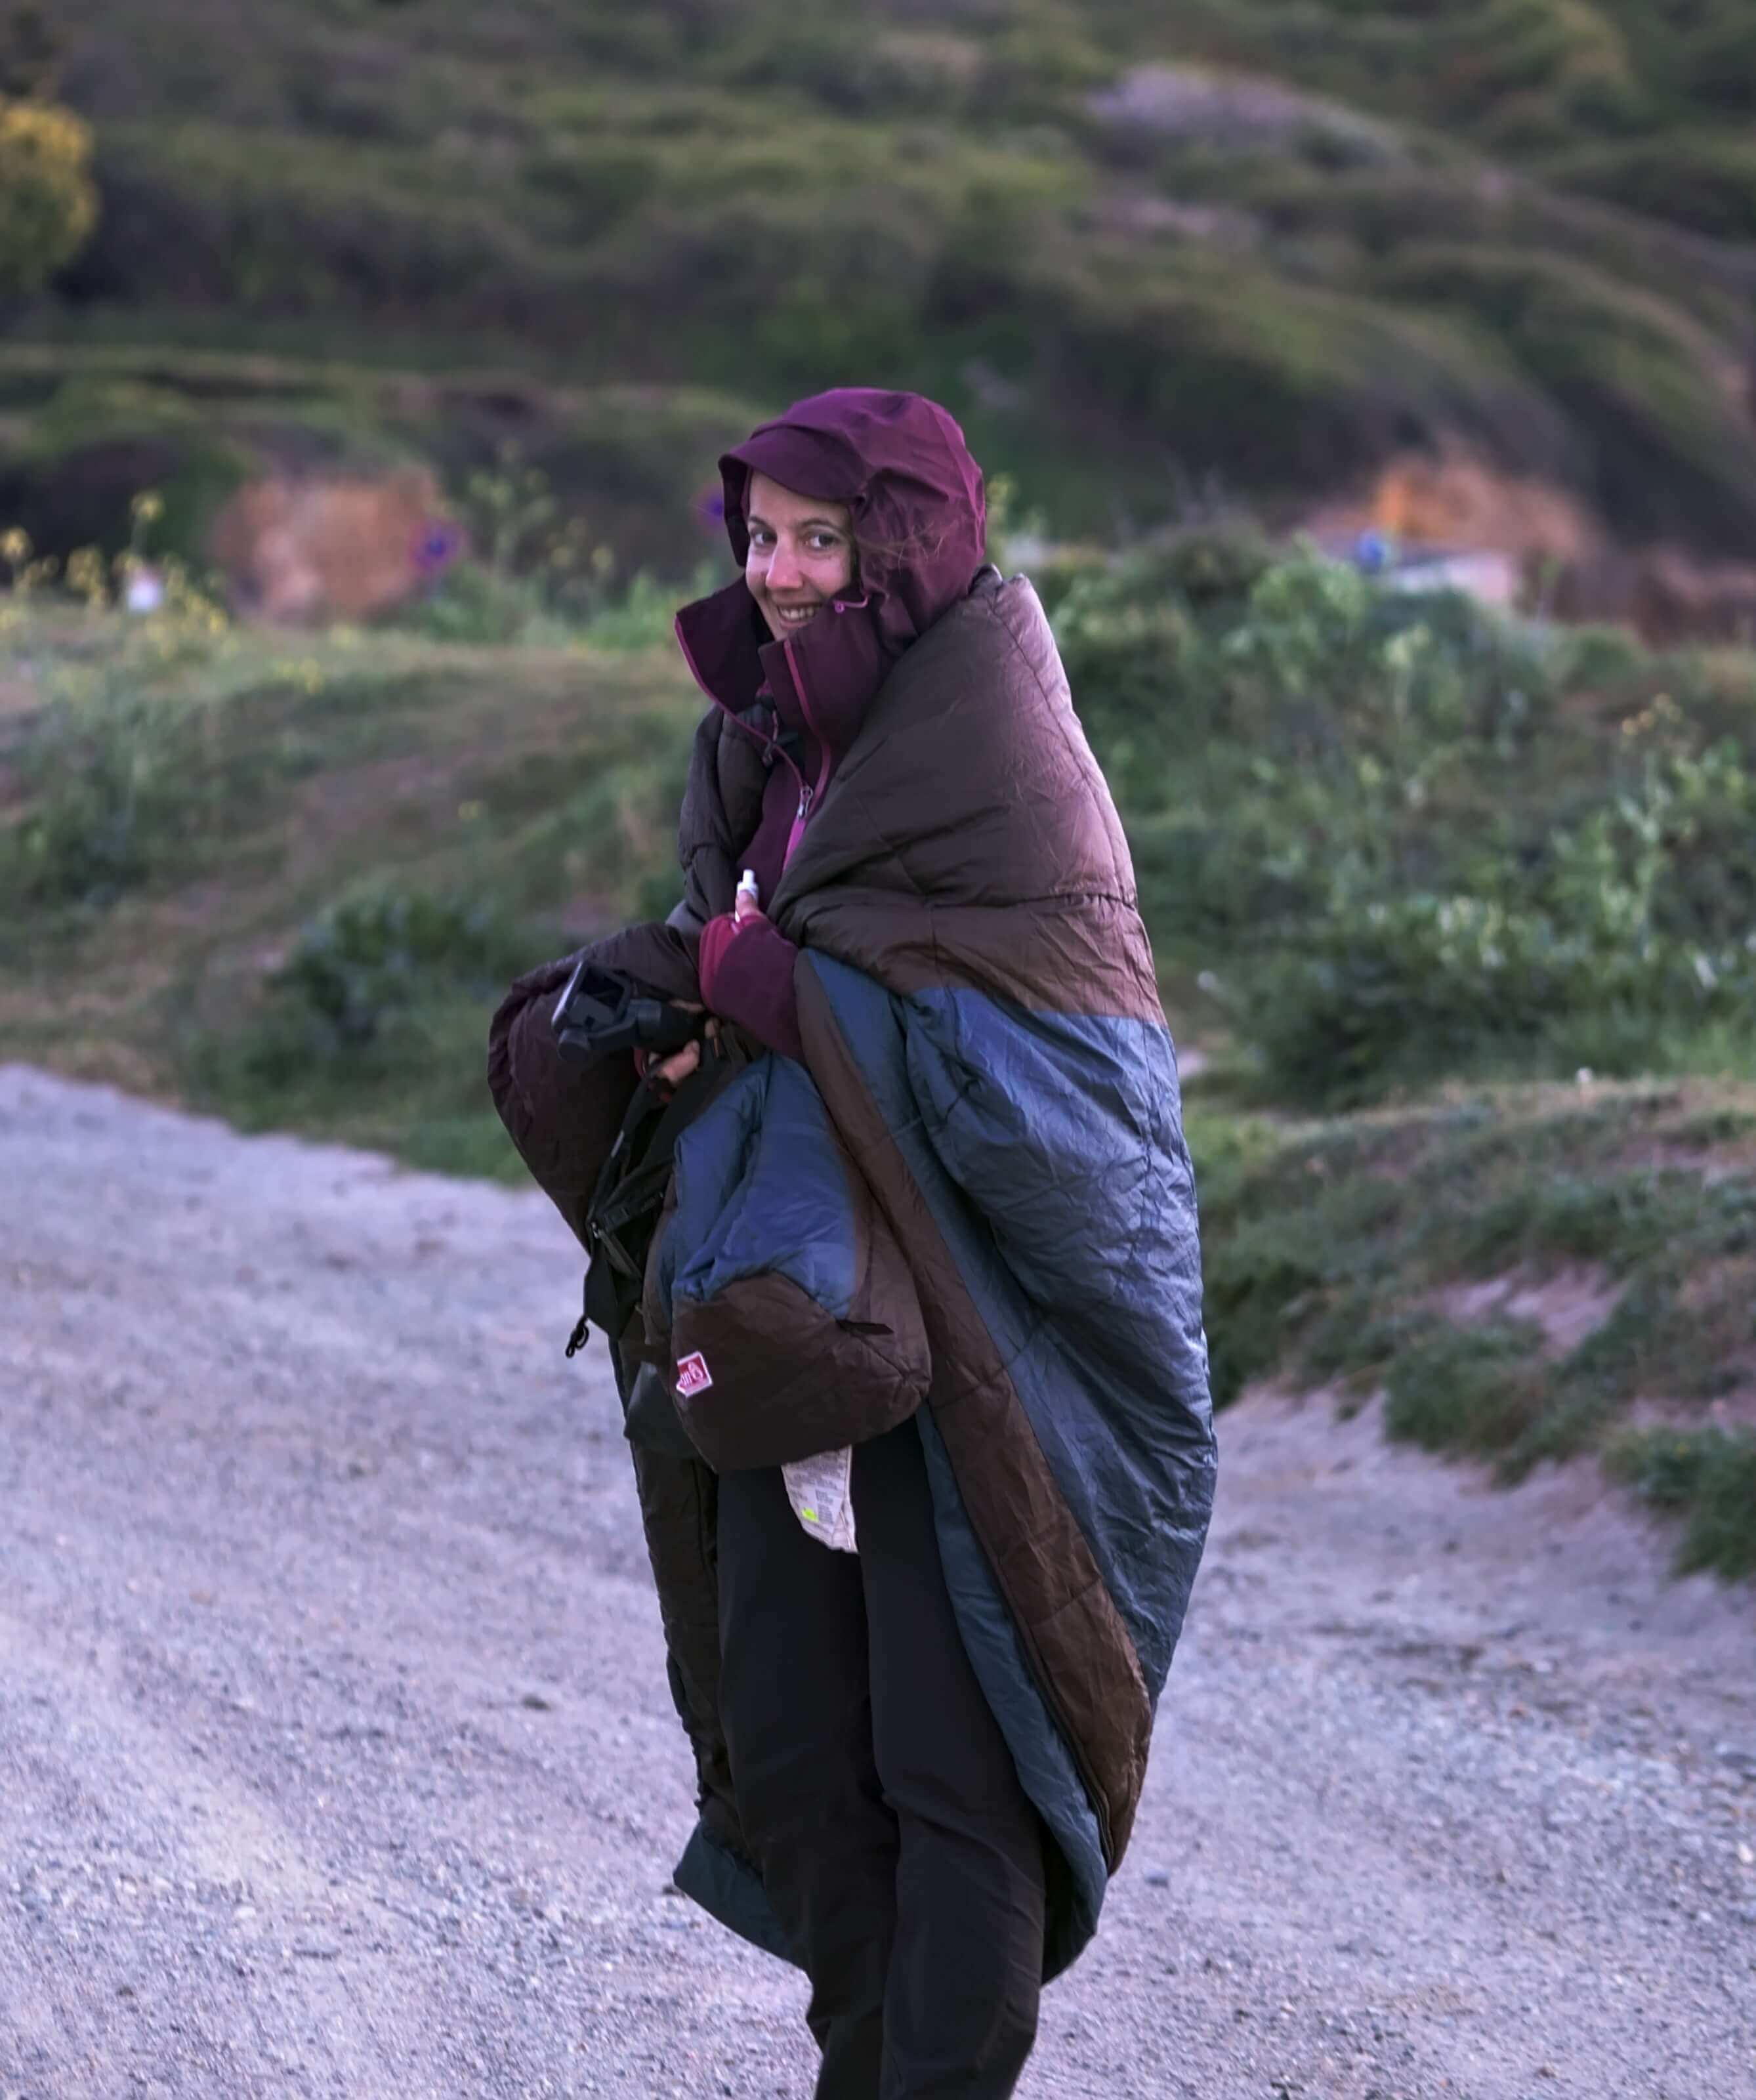
There’s a lot of weight to be saved here too. In South America, we had bought cheap and warm enough sleeping bags (comfort temperature 0 degrees) to make treks of several days for sth like 100$. The snag is that they weighed about 2kgs each! Here again, our current sleeping bags (Valandre Swing 500) have the same comfort temperature and weigh less than 1kg each!
Here are some important points to consider when choosing a good sleeping bag
- Obviously it must be as lightwight as possible
- You must have a comfort temperature suitable for the hike you are going to make. Since you may not want to invest in multiple sleeping bags, I would say that a fairly versatile comfort temperature that allows you to do a lot of things would be between -5 and 0 degrees. If you feel easily cold, add 5 degrees to the temperature indicated (there’s clearly a bit of marketing in those temperatures 😉 ) and don’t forget to put on your hat to sleep (you lose a lot of heat through your head)
Here are a few examples of quality sleeping bags to suit your budget:
- If you have a small budget, as usual it’s at decathlon that you should take a look. There too, they did quite well with the trek 900 feather sleeping bag (which didn’t yet exist when we bought our new sleeping bags). A comfort temperature of 0 degrees, a weight of 945gr for only 160€. Not bad, frankly!
- A bit more expensive, we have some friends that have the See to Summit TKIII and they really love it.
- Finally, the Thermarest brand has developed ultra-light sleeping bags that seem great. Knowing the quality of the brand (we’ll talk about it just below), I’d like to try one out once.
A well-insulating and lightweight sleeping pad
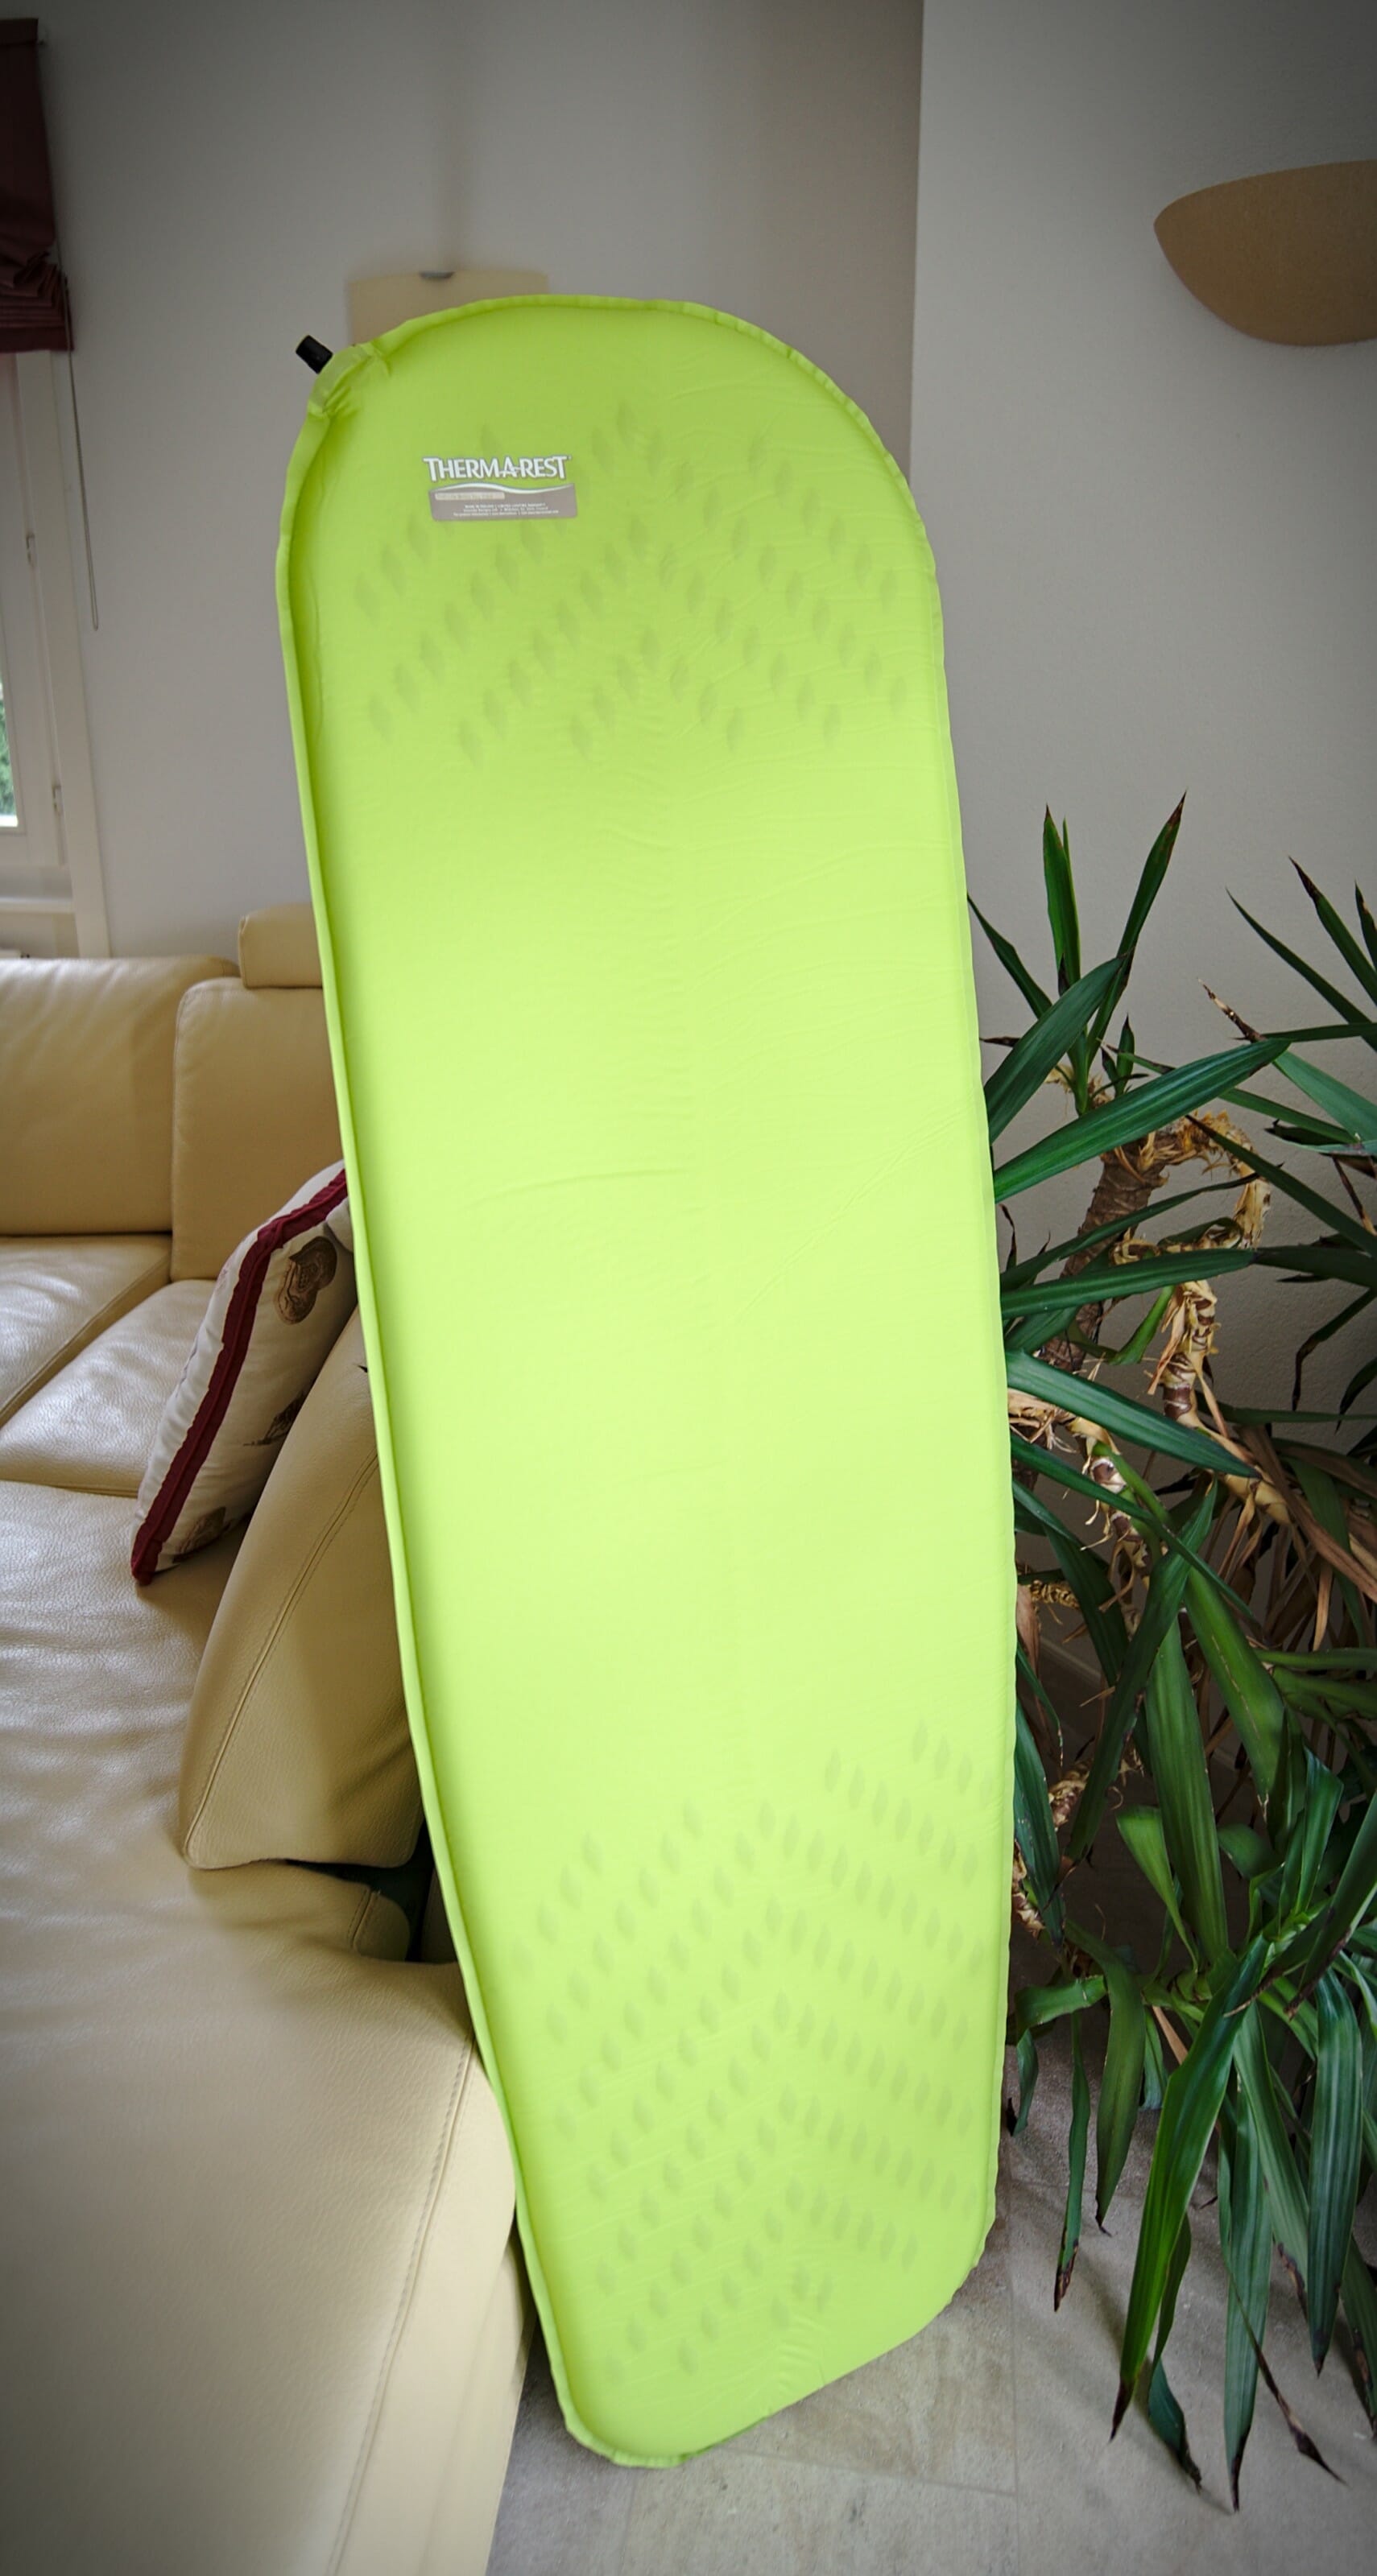
On the side of the sleeping pad, there is also quite a lot of weight to be saved. Our first sleeping pads were light and comfortable (decathlon inflatables pads) but the problem this time is that they were not at all insulating! So it wasn’t a problem when the temperature wasn’t too low at night but it quickly became a problem for hikes like the Via Alpina or the Kungsleden. It is important to know that you can lose a lot of heat by thermal conduction through the ground (even if you have a good sleeping bag) and that you should therefore have a well insulating mattress (insulation that is measured with the R-Value which should be as high as possible).
In short, we started looking for light, comfortable and insulating sleeping pad and our research quickly led us to a brand: Thermarest.
- If you have a small budget, we recommend the Thermarest trail lite women’s version. This sleeping pad is ultra-insulating (R-Value 4.5), robust, very comfortable even if it is not the lightest (710gr). This is the mattress we chose and we are very satisfied with it… For 80€, it’s difficult to make a better quality/price ratio. But it’s clear that if we want to save more weight, we will choose the next mattress:
- The Thermarest NeoAir XLite. It is the best bivouac sleeping pad with a R-Value of 4.2 for only 230gr (one could practically save another 500gr with this pad). Of course this little baby has a price: 150€ minimum. It also has the reputation of being a little fragile but hey, you can’t have everything right 😉 (and it comes with a small repair kit)
A lightweight backpack with good portability and comfort
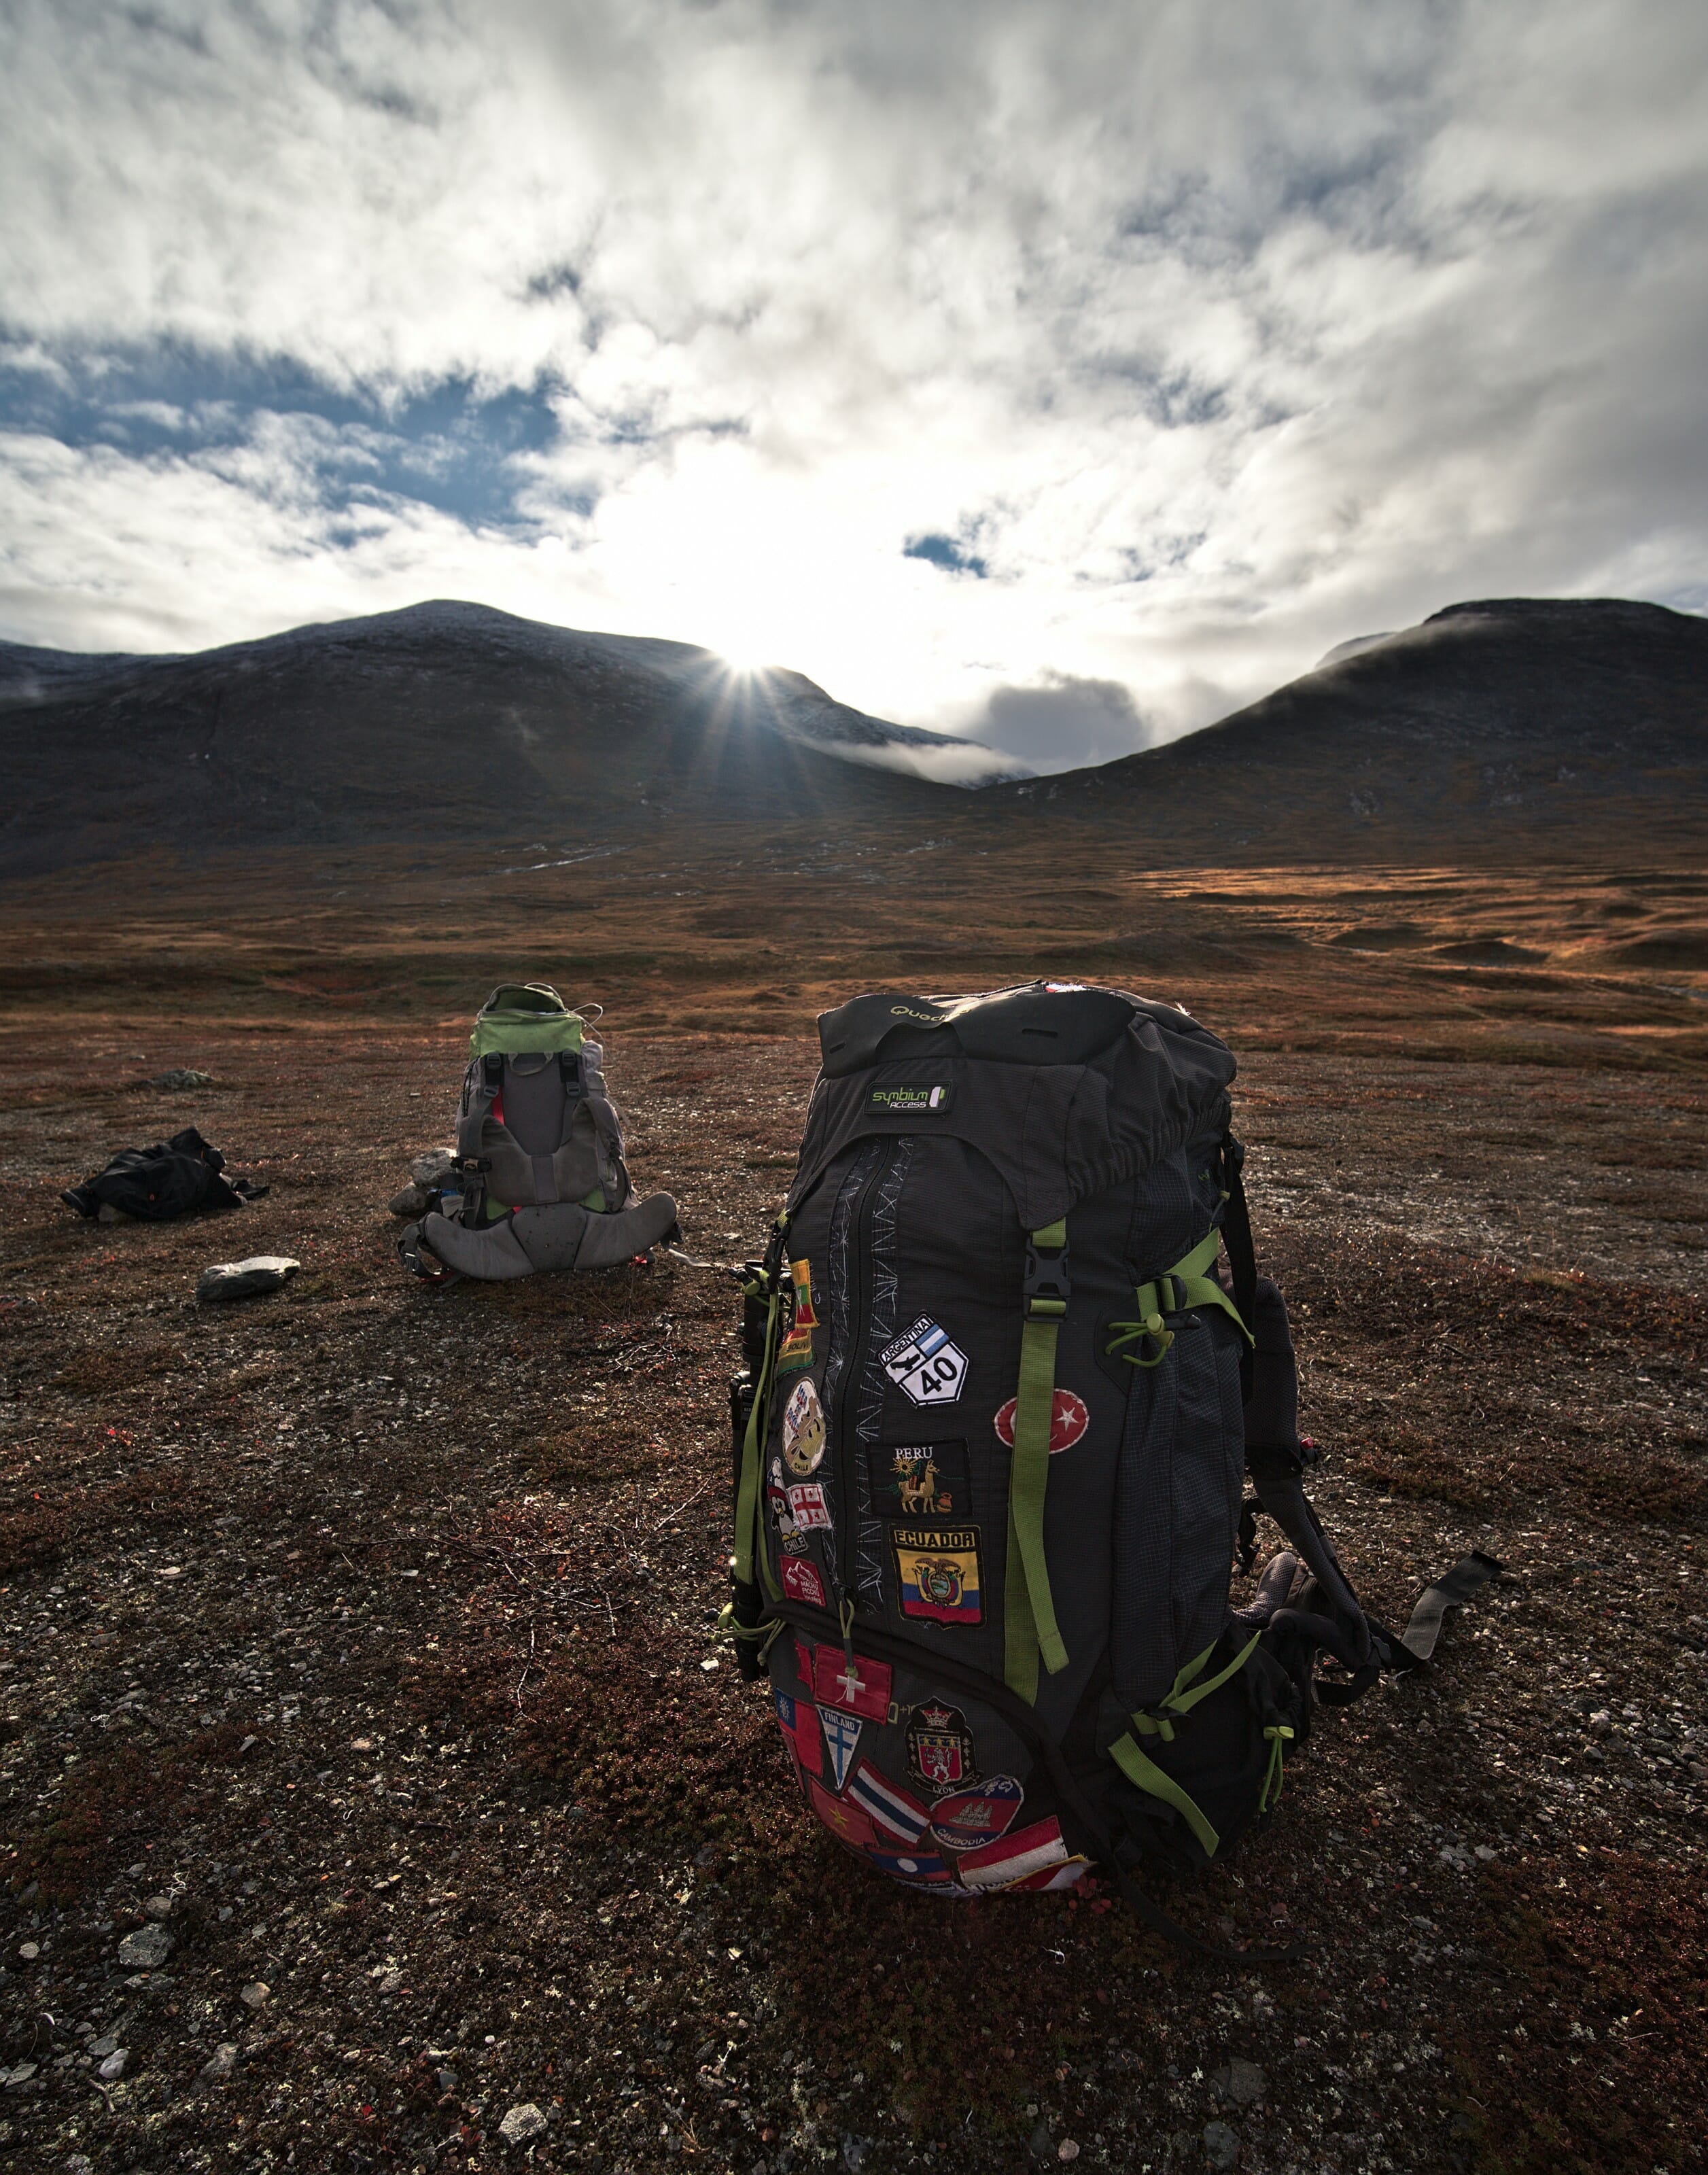
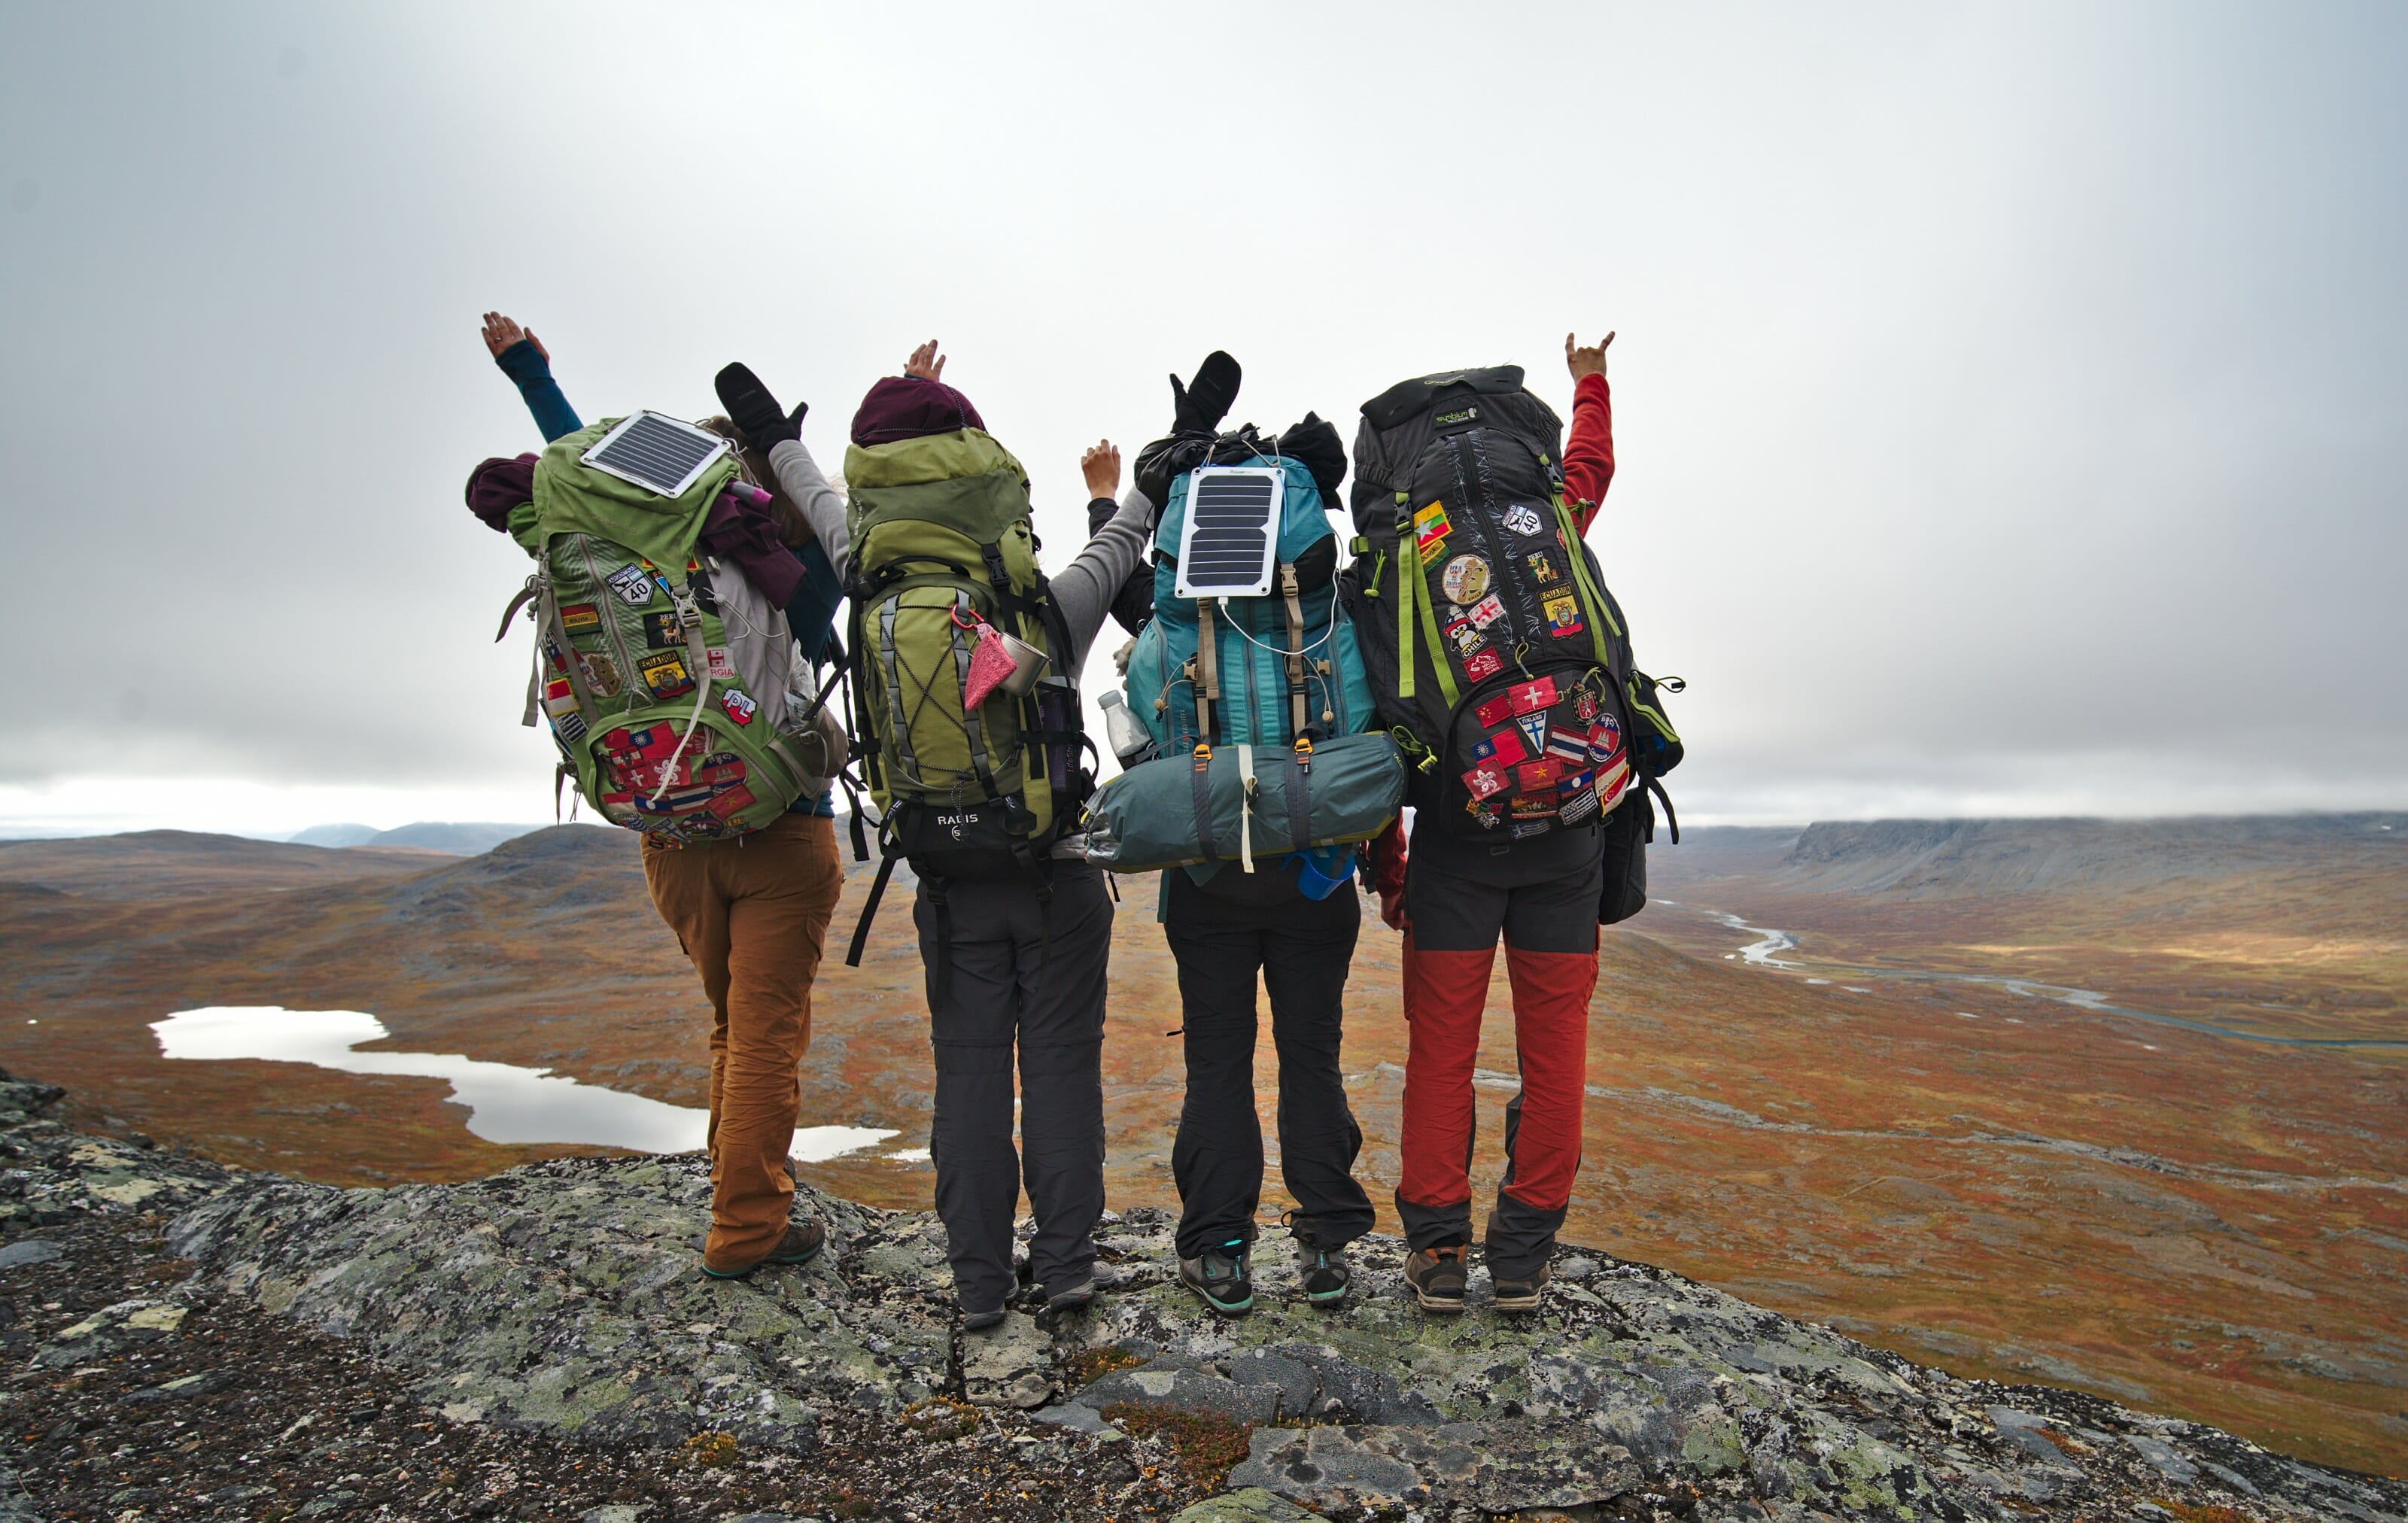
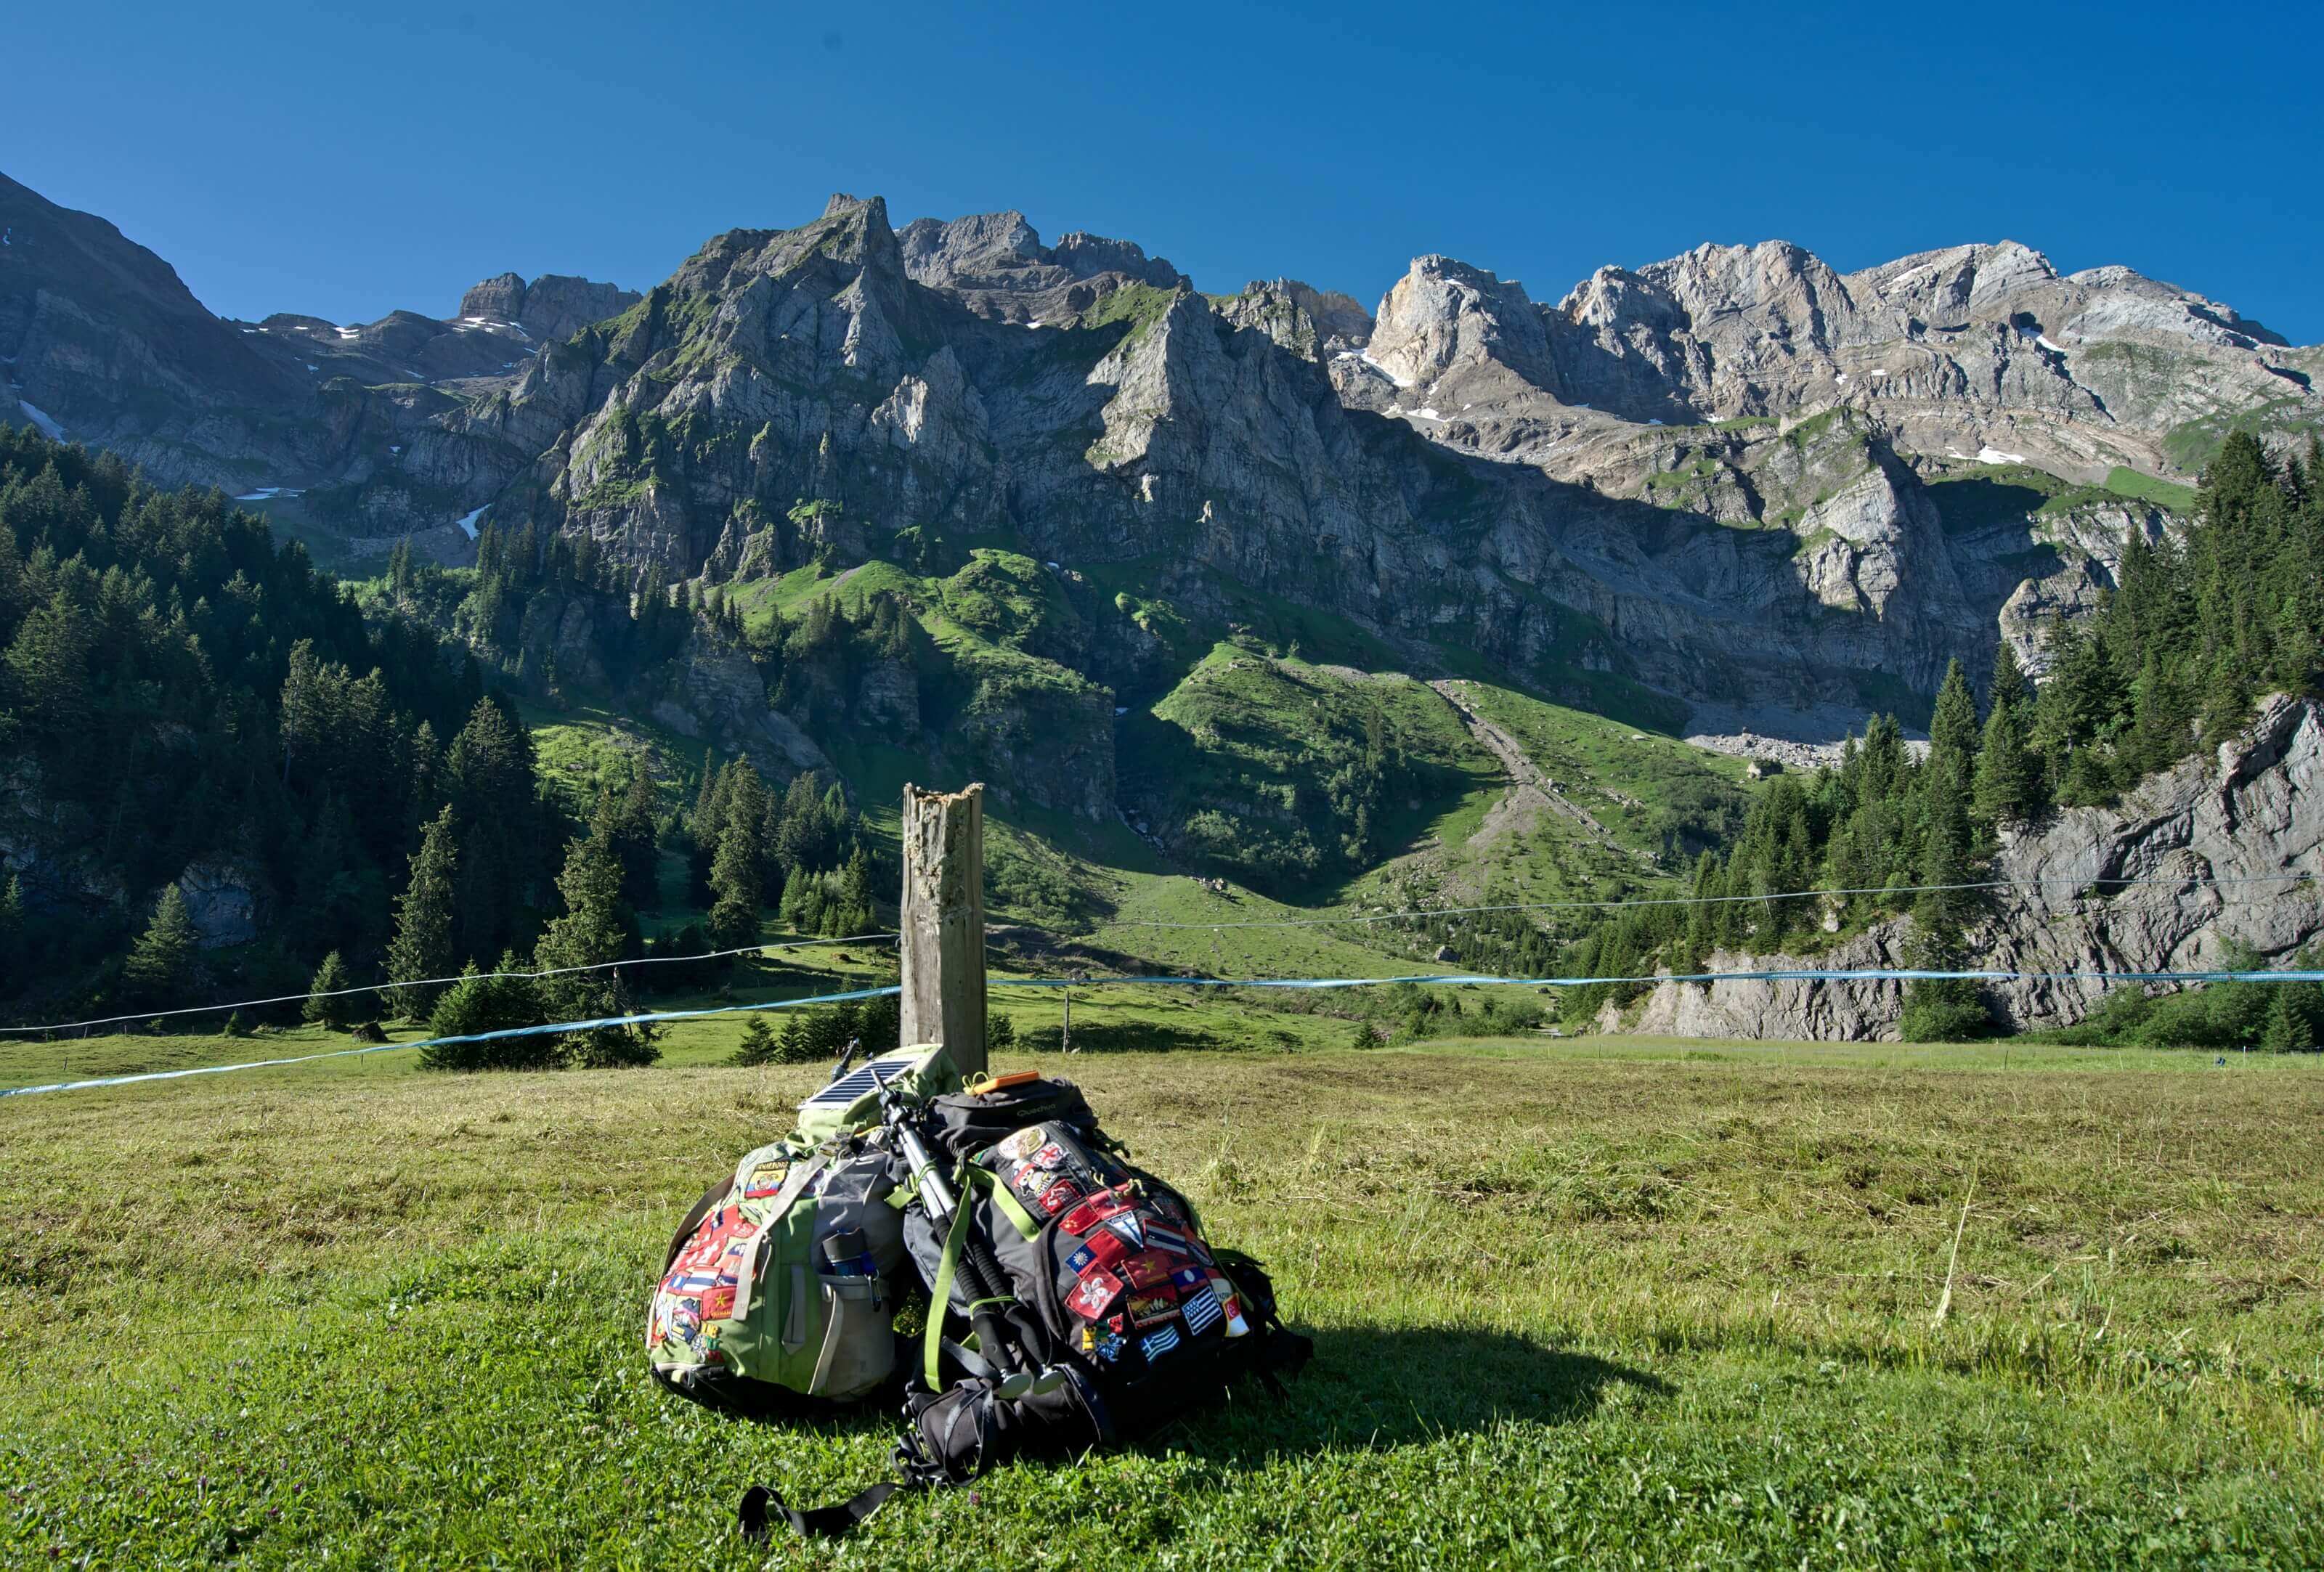
It’s been since the beginning of this blog and our adventure around the world that we had the same decathlon backpack. We are obviously very attached to them for the memories they represent (we sewed so many country flags that we visited on them) but they are also comfortable and really unbreakable! To tell you the truth, they survived without any problem after 8 years of intensive travel and all our treks in autonomy until the last one. Decathlon quality!
But of course the problem when we bivouac, it’s once again the weight! Our Decathlon backpacks weighed 2,7 kgs when empty… As we do more and more long hikes, we could easily save something like 1kg per person! And that’s what pushed us to take the difficult decision to replace our beloved backpacks after 8 years of loyal service #Snniiffffff
What is important for a good hiking backpack?
- Once again the weight of course!
- Carrying comfort. If your backpack weighs only 1kg when empty but hurts your shoulders and back when you carry it, it’s completely useless. You have to find a balance between the weight of the bag and the carrying comfort.
- The volume. To go hiking for several days, you will need a backpack of 60-70 liters to pack up all your stuff, food etc…
Again, it will depend on your budget. But here are some backpacks that we recommend you this kind of adventures:
- For tighter budgets, it’s once again at Décathlon that you’ll find what you’re looking for. In my opinion, the Decathlon bags that have the best weight / volume / carrying comfort ratio are the Trek 500 range. The trek 500 50+10 men’s and women’s versions weigh 2kgs when empty and the 70+10 men’s version weighs only 2.2kgs, which is already great for backpacks that cost around 100€.
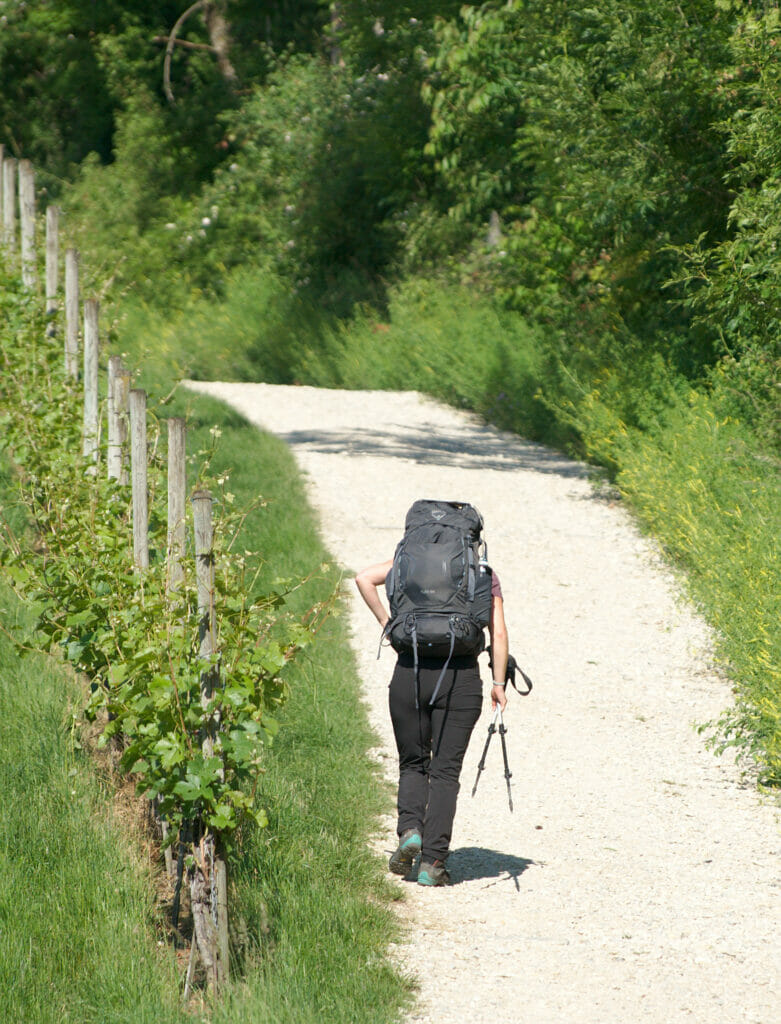
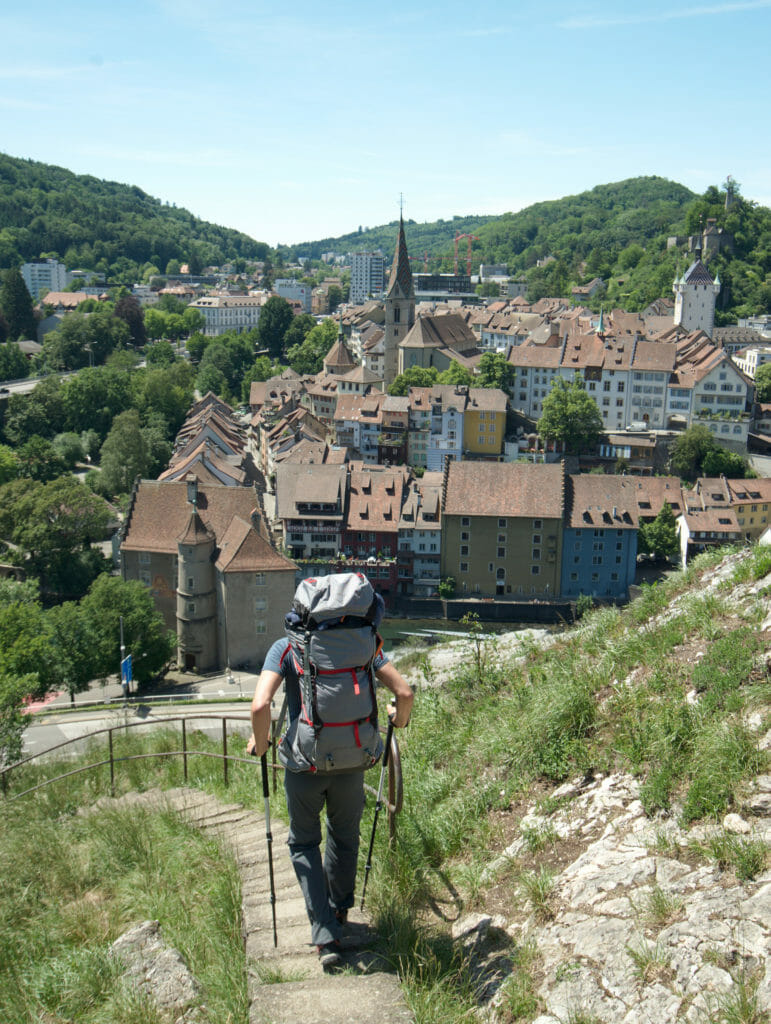
- For our part, we went to the higher range and we chose the Osprey brand which is known for the comfort of its bags and its LIFETIME WARRANTY (yes for real!). They have also recently released lighter models that have convinced us. Fabienne has chosen the Kyte 66 model which is a versatile backpack (ideal for hiking and traveling with a lot of compartments and a volume of 66l) but which remains very light with its 1.7kgs. I chose a minimalist backpack which is more specific for long hikes and mountains: the Aether pro 70 model. It weighs between 1.4 and 1.8kgs (the bag is adaptive and you can remove all the pockets you don’t need) and has a good volume of 70l (with a lot of extra straps).
But I have to say that the big plus of our Osprey bags (in addition to the lightness) is the incomparable carrying comfort compared to our old decathlon bags (which are quite comfortable already). The shape of the bags adapt perfectly to the curves of the back for a perfect load distribution. We tested them for 3 weeks during our last hike on the swiss Jura crest trail and they quickly made us forget our old bags.
Other camping gear items
I’ve just given you a lot of advice on the most important gear elements where you can save a lot of weight. Here is the rest of the gear that we still take with us on backpacking adventures:
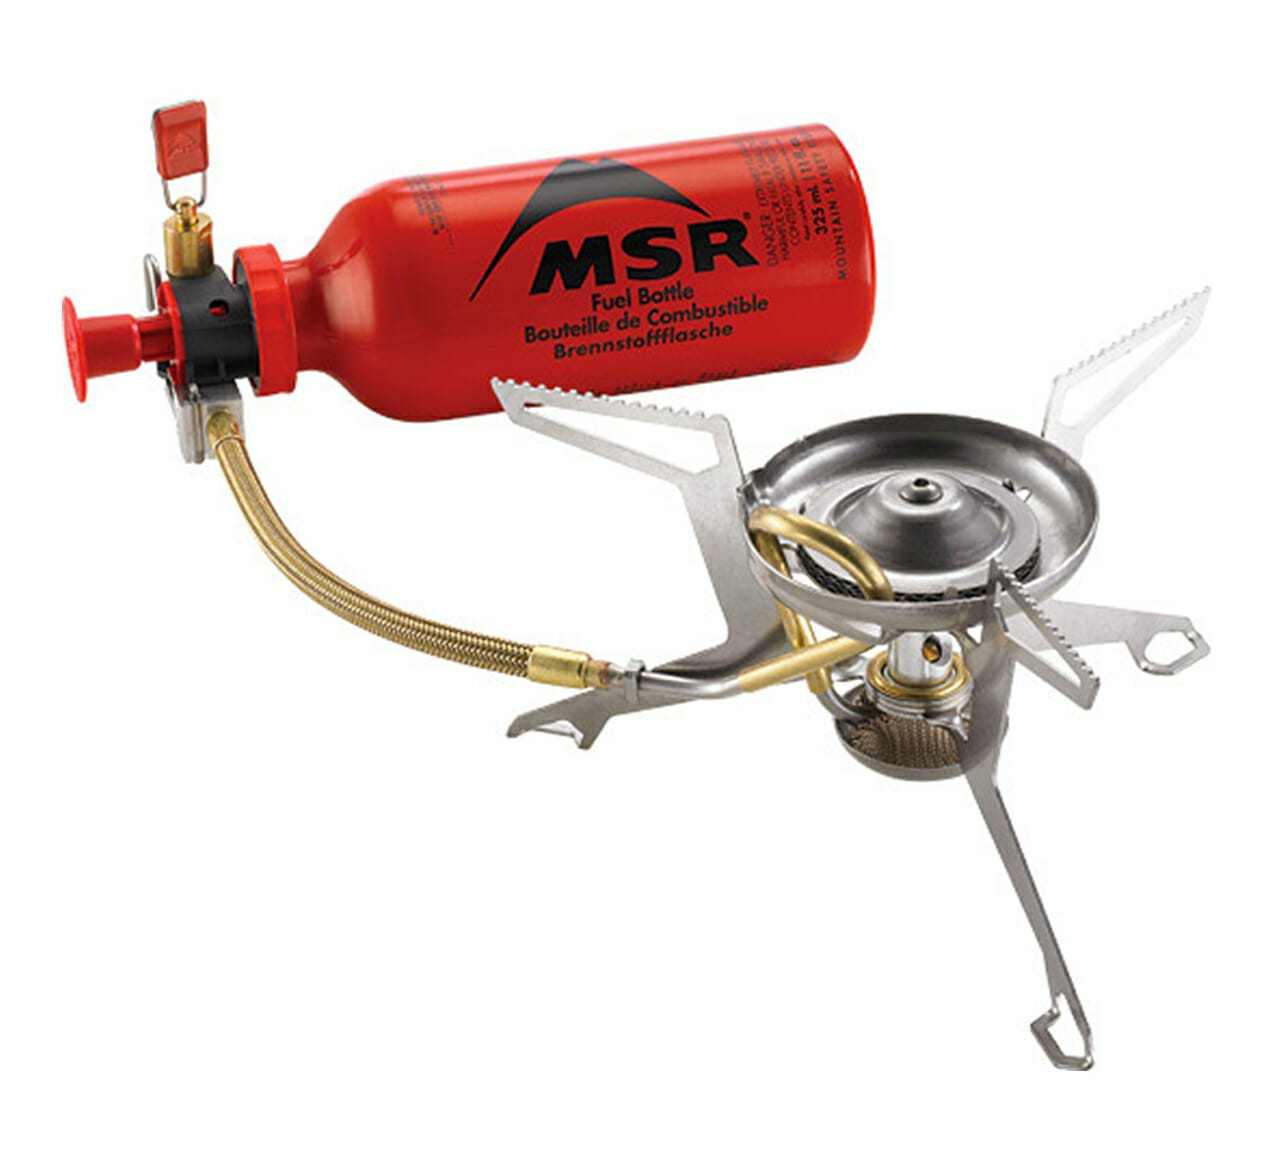
 a stove: We are still big fans of the MSR Whisperlite International liquid fuel stove for its versatility (it works with benzine, kerosene, petrol, diesel… and it is easily found all over the world) and its weight (320gr without fuel). It is an excellent stove for bivouac but also for backpacking and it has been with us everywhere for 8 years. Like all liquid fuel stoves, it requires a little more maintenance and is dirtier than a gas stove.
For the bivouac only, I also recommend you the JetBoil stove which allows you to boil water faster than at home 😉 (and often when we bivouac we just need to boil water to cook… I will come back on this point below). It weighs only 245gr without the gas bottle and is just super easy to use.- a cooking pot with tools: Here nothing crazy, we have a pot with a lid that also serves as a frying pan. We also have 2 utensils that make knife, spoon and fork in one and a cup (for both). But nothing more! You don’t need plates as you can eat from the pot.
 a filter bottle (and other bottles): This is an essential accessory since it will allow you to filter river water from particles and bacteria. You should know that these bottles do not filter viruses (you will have to use a UV lamp in addition) but we have always drank river and fountain water with filter bottles and we have never had any problems. For a long time we have had the lifestraw GO bottles which tend to leak a bit. So when we had to replace the filter, we decided to try the Katadyn BeFree collapsible bottles which work on the same principle but are a little more versatile (take up very little space when empty, easy to fill, you can filter the water by pressure). We are very satisfied with them and we prefer this system to the Lifestraw system. Then you have to know that these filters tend to clog up a bit with time… unfortunately we don’t have a miracle solution for that yet even if a spa in almond milk during 24 hours can help to “relax the filter” (no I’m not making fun of you, it’s true).
Otherwise you will also need to have a few empty bottles to carry more water. If there is a lot of water on your route, you may only need one more bottle. But if there is little water on your route, you will need to carry a lot more water. On our side we usually leave with 2-4 1.5 litre bottles in addition to the filter bottles (we have these bottles from Decathlon).- Clothes: Clothes will depend on the climate in which you will be hiking. But in most cases you will leave with these clothes (and nothing more!!! you will have to wash your clothes on the way):
- 1 waterproof layer
- 1 down jacket
- 1 hoodie
- 1 hiking pants
- 1 leggins (to sleep and have something when you wash your pants)
- 2 t-shirts
- 2 underwears
- 2 pairs od socks
- 1 hat
- 1 cap
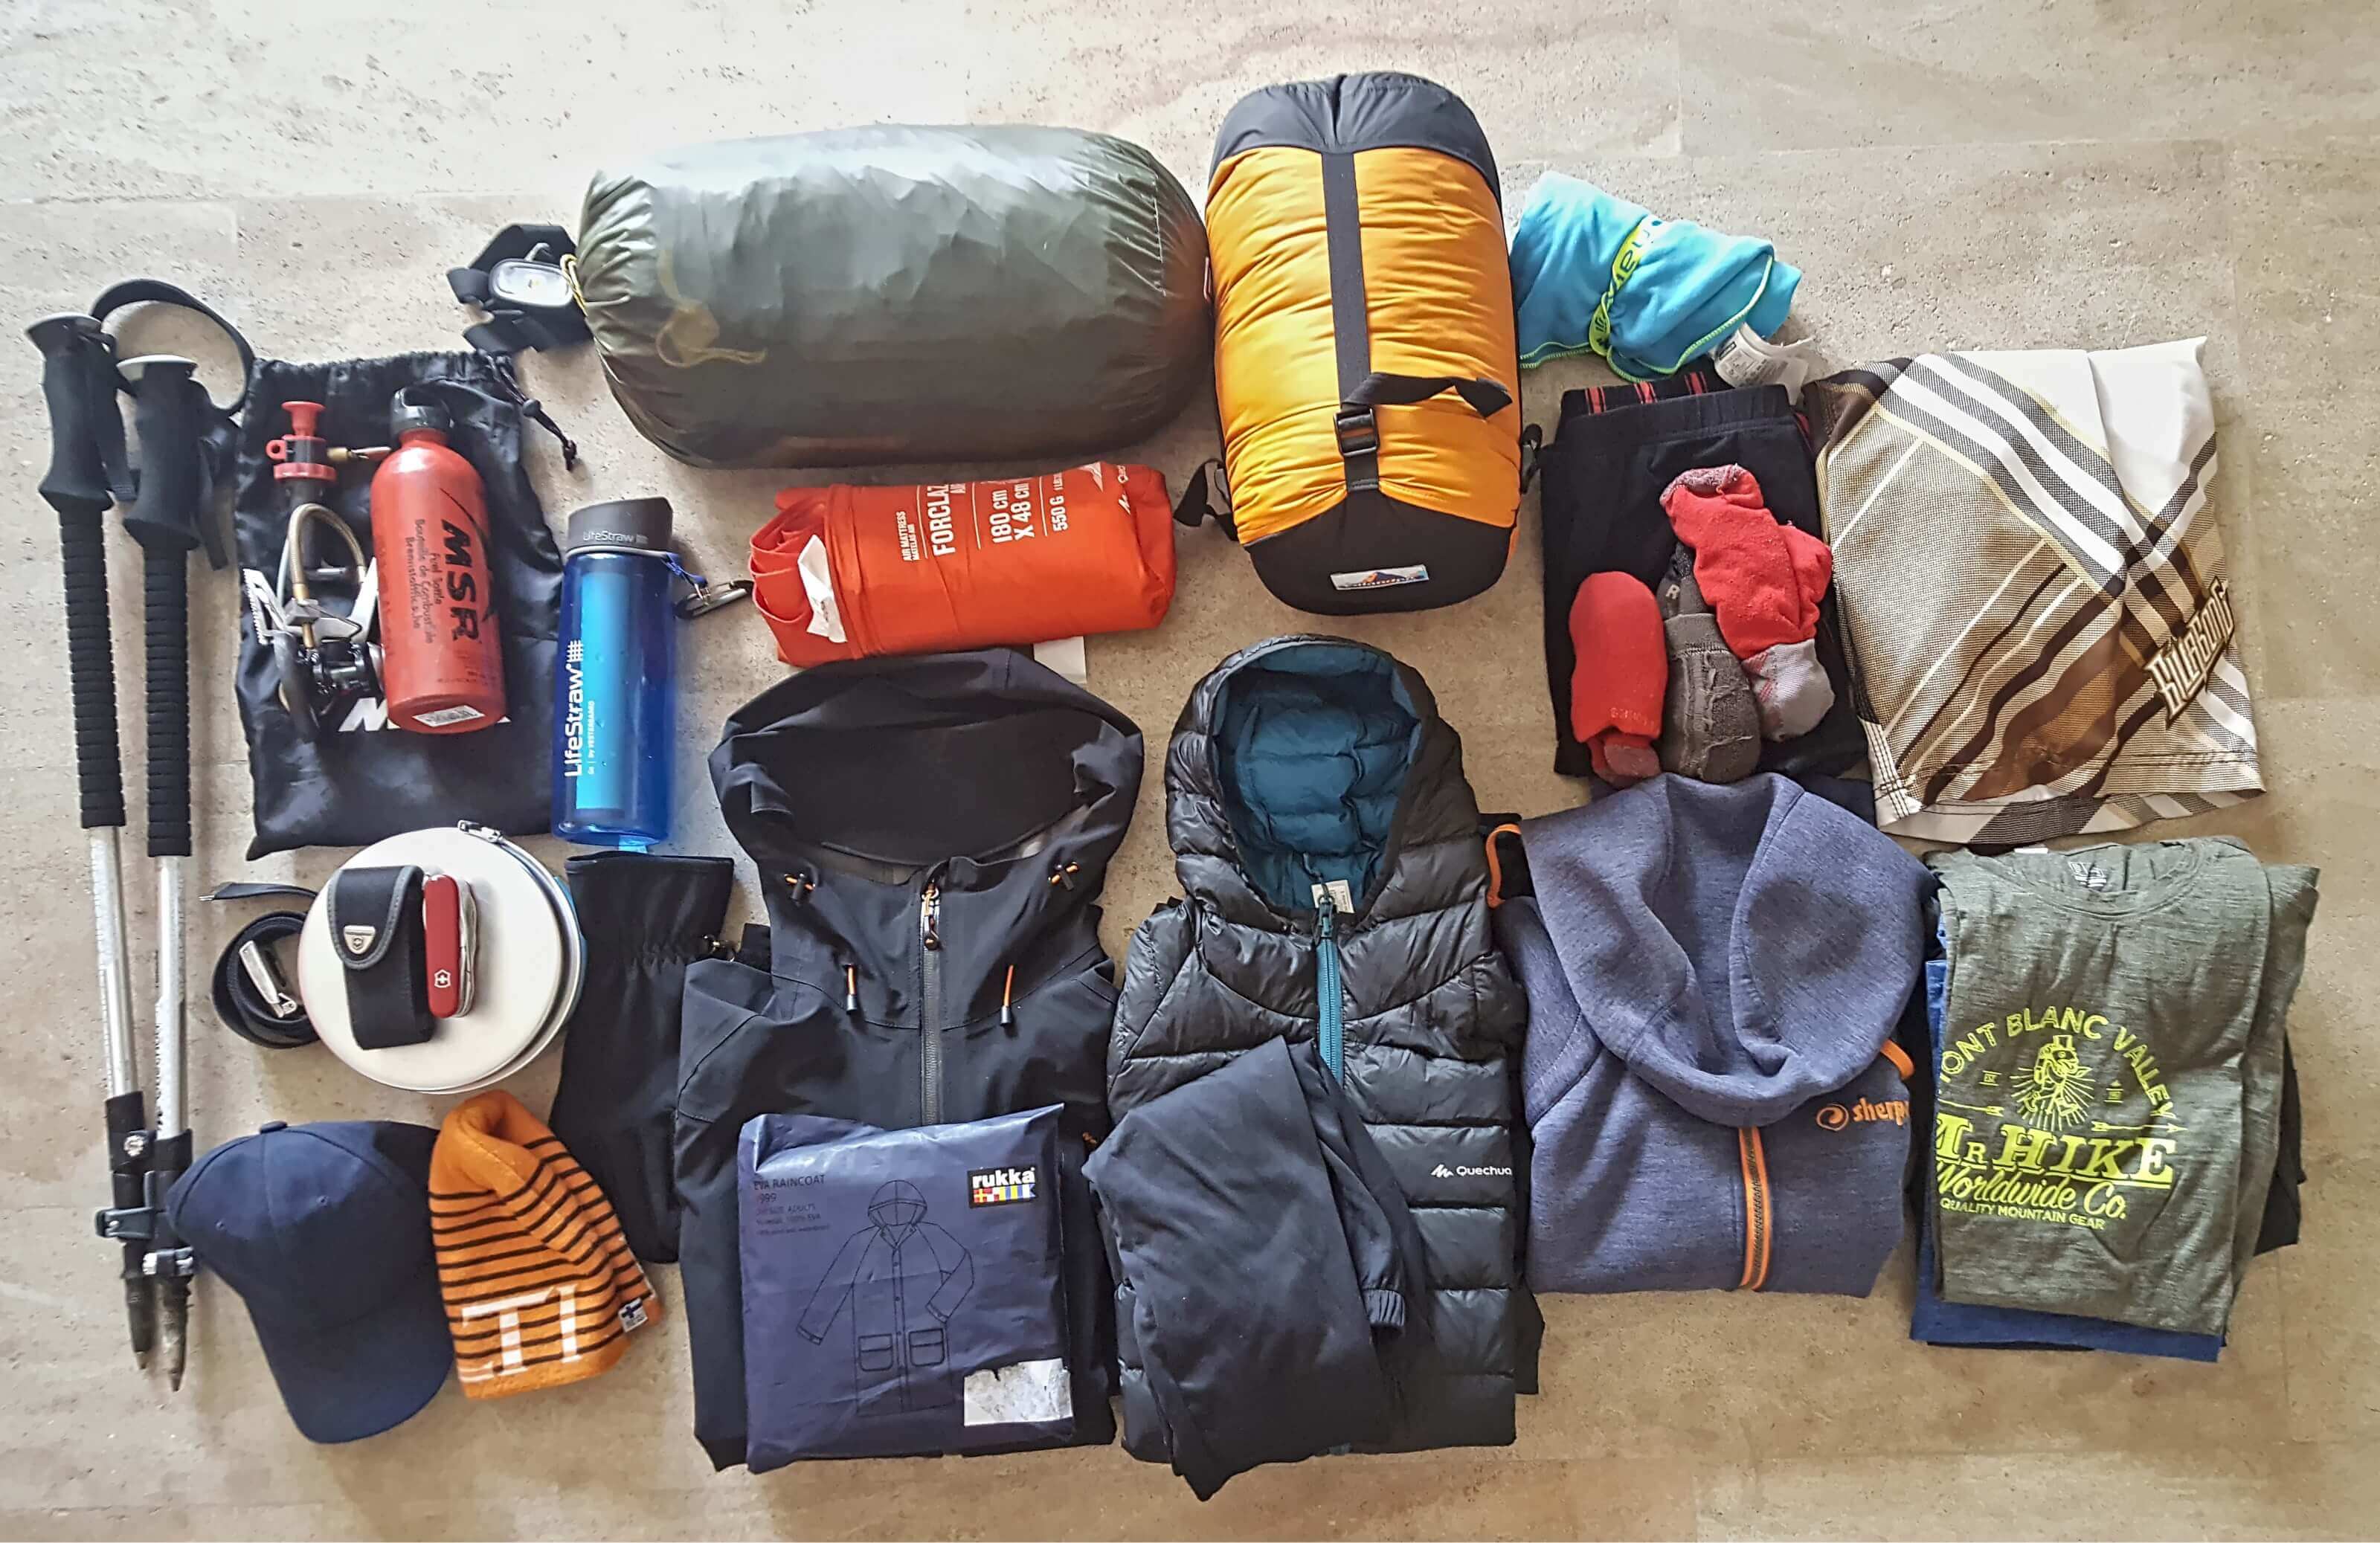
- Hiking poles: In our opinion, sticks are essential when hiking with fairly loaded backpacks. It allows to distribute a part of the load/effort on the arms and to be more stable (especially downhill).
- a microfibre towel: to dry after washing (usually one for two people)
- 1 head lamp
- a small cushion cover: This is a little accessory that we like to have. It’s a nice little cover in which we put our down jacket to make a cushion.
- an external battery: If like us you use a lot of electronics during your hikes (smartphone, camera), a good external battery of at least 15’000 mAh is a must. We also have a solar panel but not everyone really needs this. 😉
- a solid soap and 1 wash cloth
- toothbrush and toothpaste
- sun cream
- ID and credit cards
- A map. Here everything depends on your preferences… paper or mobile. For our part, we are generally on the mobile team, but for a touring hike, it is important to have a map accessible offline. For free, you have for example the application Maps.Me
- For our part, we have had the AllTrails+ application for several years and are very happy with it. If you want to test it, you can go through this link to get a 30% discount for the first year (20,99€/year instead of 29,99€)
Price and weight of good hiking / camping gear
As you will have understood, in order to be as light as possible to bivouac, you must try to be really minimalist and also have a reasonable budget. Fortunately there is decathlon which has released quality products for bivouacs these last 2 years… It is a company that democratizes many sports and makes them accessible to the greatest number. Congratulations!
Let’s imagine that you don’t have any gear yet, let’s compare together the weight and the price for quality bivouac gear for 1 person according to your budget (trying to choose the best option each time… and to simplify we’ll say that all the other items weigh about 4,5kgs and cost 700€ in both cases):
- Small budget: 1 two people tent (200€, 1.75kgs) + 1 sleeping bag 0C (160€, 945gr) + 1 sleeping pad (80€, 710gr) + 1 backpack 70l (110€, 2.2kgs) + all the rest (700€, 4.5kgs) = 1250€ and 10.1kgs
- Bigger budget: 1 two people tent Nemo Hornet 2p (400€, 1kg) + 1 sleeping bag -6C (380€, 580gr) + 1 sleeping pad NeoAir Xlite (150€, 230gr) + 1 backpack 70l (350€, 1.6kgs) + all the rest (700€, 4.5kgs) = 1980€ et 7.9kgs
You can see that the difference is significant even though I’m already comparing quality gear… The difference in weight becomes enormous when you have gear that is not necessarily designed for hiking and backpacking light. That’s why we have replaced our gear little by little in order to be more and more comfortable with the weight of our stuff (especially since we often carry a lot of electronics)…
A few tips for a successful bivouac
Well, now that you know more about the gear, here are some more general tips about bivouacking that we’ve learned over the years (which should also answer the questions you asked us on Instagram during our last hike)
Finding a camping spot and setting up your tent
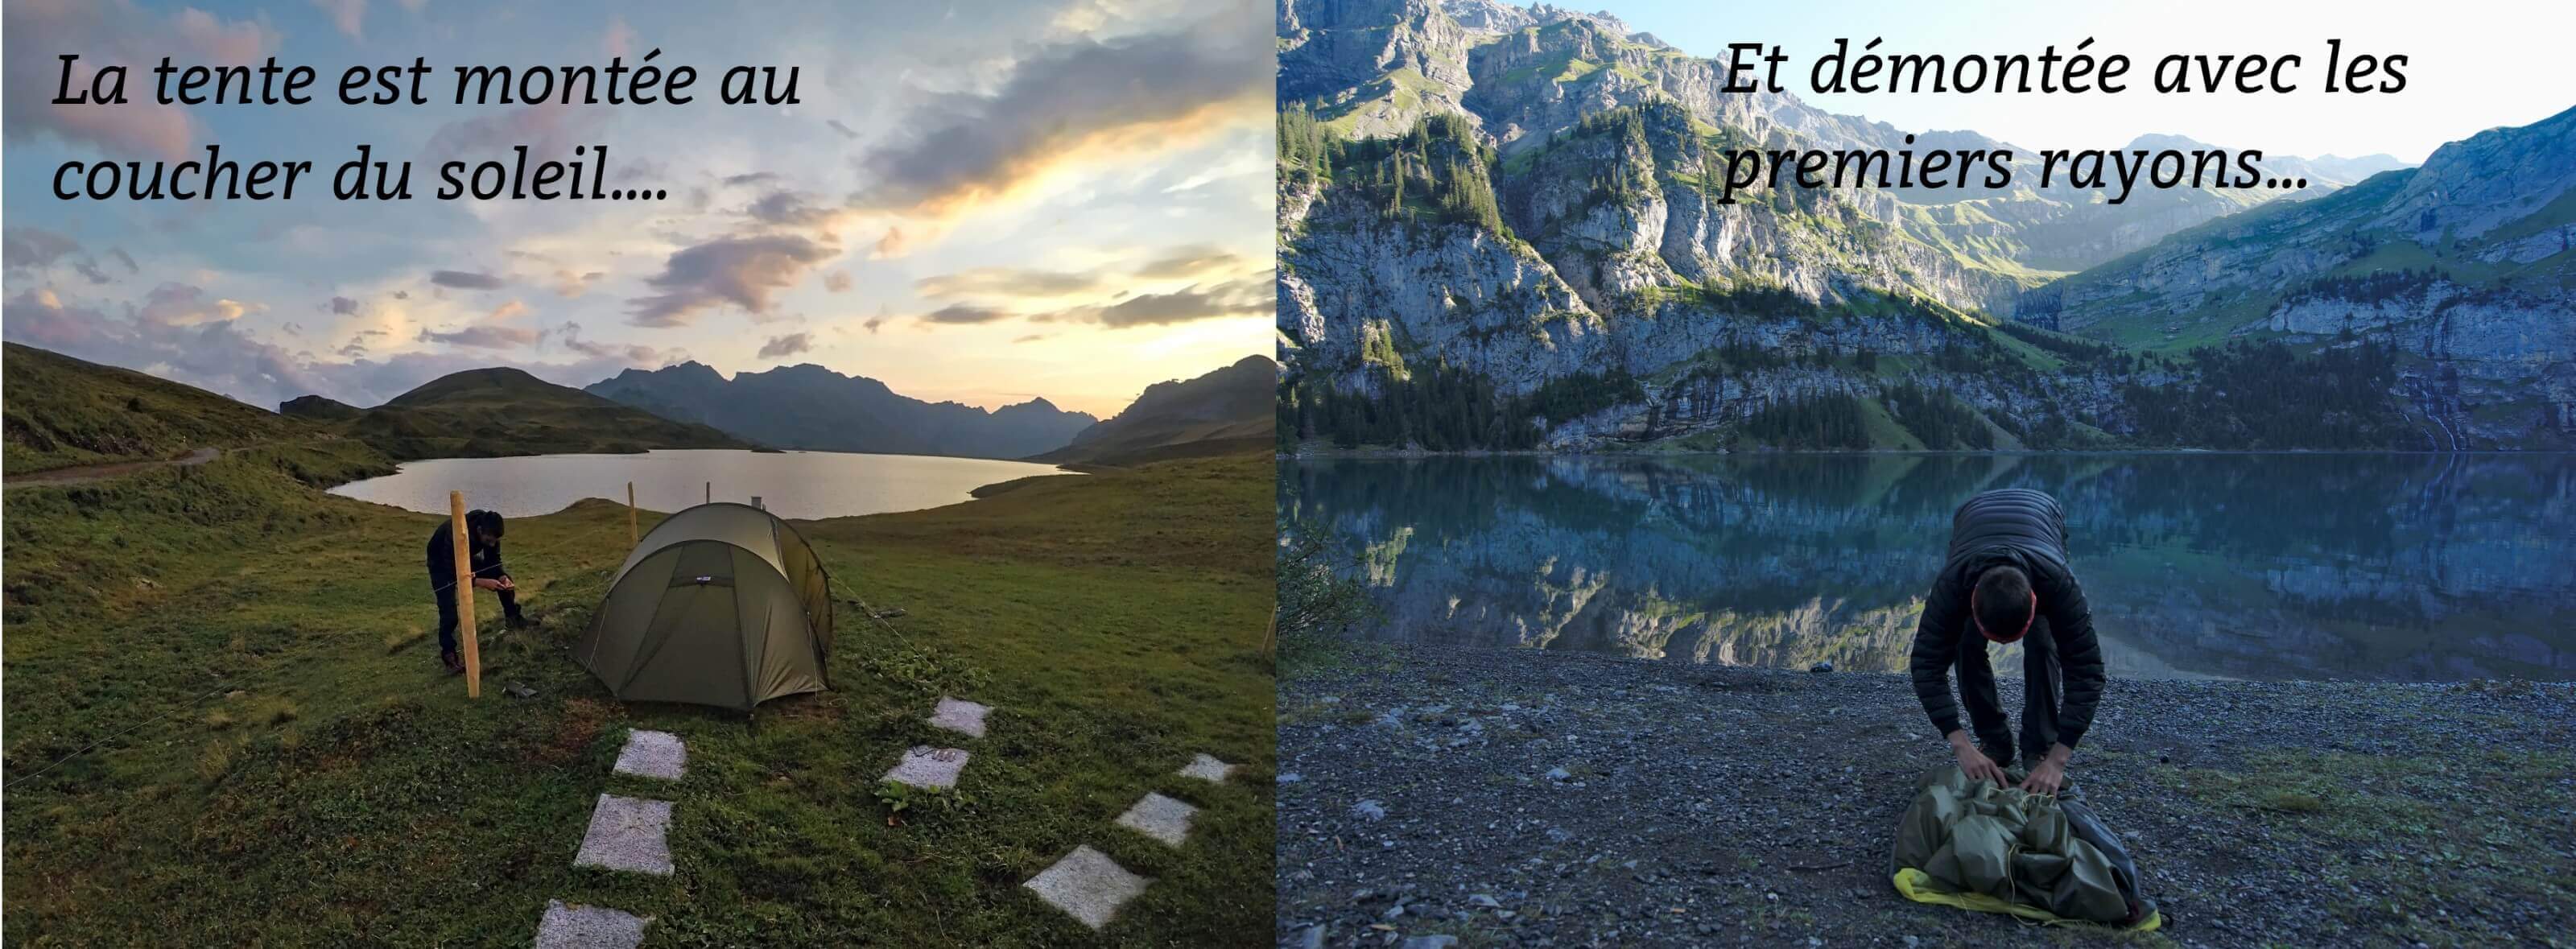
A good location is usually a synonym for a successful bivouac and therefore a good night’s rest before hitting the trail the next day. Here are some points that we try “if possible” to respect when we choose a bivouac spot and set up our tent:
- Make sure that you have the right to camp there and that your pitch is quite discreet (i.e. you don’t bother anyone… it’s up to you).
- Don’t pitch your tent too early! Wait until the sun sets to set up your camp. Same thing in the morning… no sleep in and leave the camp when the sun rises. Always with the idea to be as discreet as possible.
- If you are in the mountains, avoid the meadows where the herds could graze… Otherwise you risk having an unpleasant surprise when you wake up in the morning (or worse, you could get your tent trampled). If in doubt, ALWAYS ask the local farmer.
- When you can’t find a place where you feel comfortable (not discreet enough, too close to the trails or any other reason), we often ask people if we can camp on their land and they rarely refuse (for example in front of a mountain inn while eating there in the evening, in front of a farm while asking the farmer).
- The pitch must be as flat as possible otherwise you will slide all night in your tent and sleep poorly. If you don’t find a very flat pitch (it happens…), you can put some clothes under your mattress to compensate a bit for the slope.
- Avoid spots that could fill with water and flood the tent from below if it starts to rain heavily.
Make sure the pitch is not too exposed and dangerous (like being under a fragile tree or under a cliff). - Avoid standing next to a river because it is colder and wetter than elsewhere (there are also plenty of mosquitoes in summer). In addition, animals generally drink from rivers and your presence could disturb them.
- Try to pitch your tent sheltered from the wind. If this is not possible, orient your tent for the wind (If you have a tunnel tent, the bottom of the tent should face the wind).
- Always pitch your tent as well as possible (tent tension). It doesn’t cost you much and the weather can always be worse than expected.
Check the weather regularly
Speaking of the weather… There’s nothing worse than being in a tent in the mountains and getting hit by a storm. It’s happened to us twice so far and we hope that we’ll avoid this kind of situation as much as possible.
The first one was during this stage of the Via Alpina, a farmer had warned us about the risk of thunderstorms for the night, but well… we found a beautiful spot and the weather that evening was perfect. However, we were woken up in the middle of the night by thunder and lightning… it was almost daylight in the tent, there were so many of them! Even though the tent held up well, this is exactly the kind of moment you don’t want to be outside in a tent.
The second time was in the Lofoten during this hike. We knew the weather wouldn’t be great that night but we really wanted to camp on the beach of Kvalvika. However, we had pitched our tent very well (well stretched and added large stones on the pegs to prevent them from dropping), well oriented with respect to the wind … But then, the wind turned in the middle of the night and we ended up with gusts of 100 km/h coming from the side of the tent (plus a good dose of rain)… so we didn’t sleep very well that night (even if the tent finally held up and we stayed dry…). but we weren’t very serene)
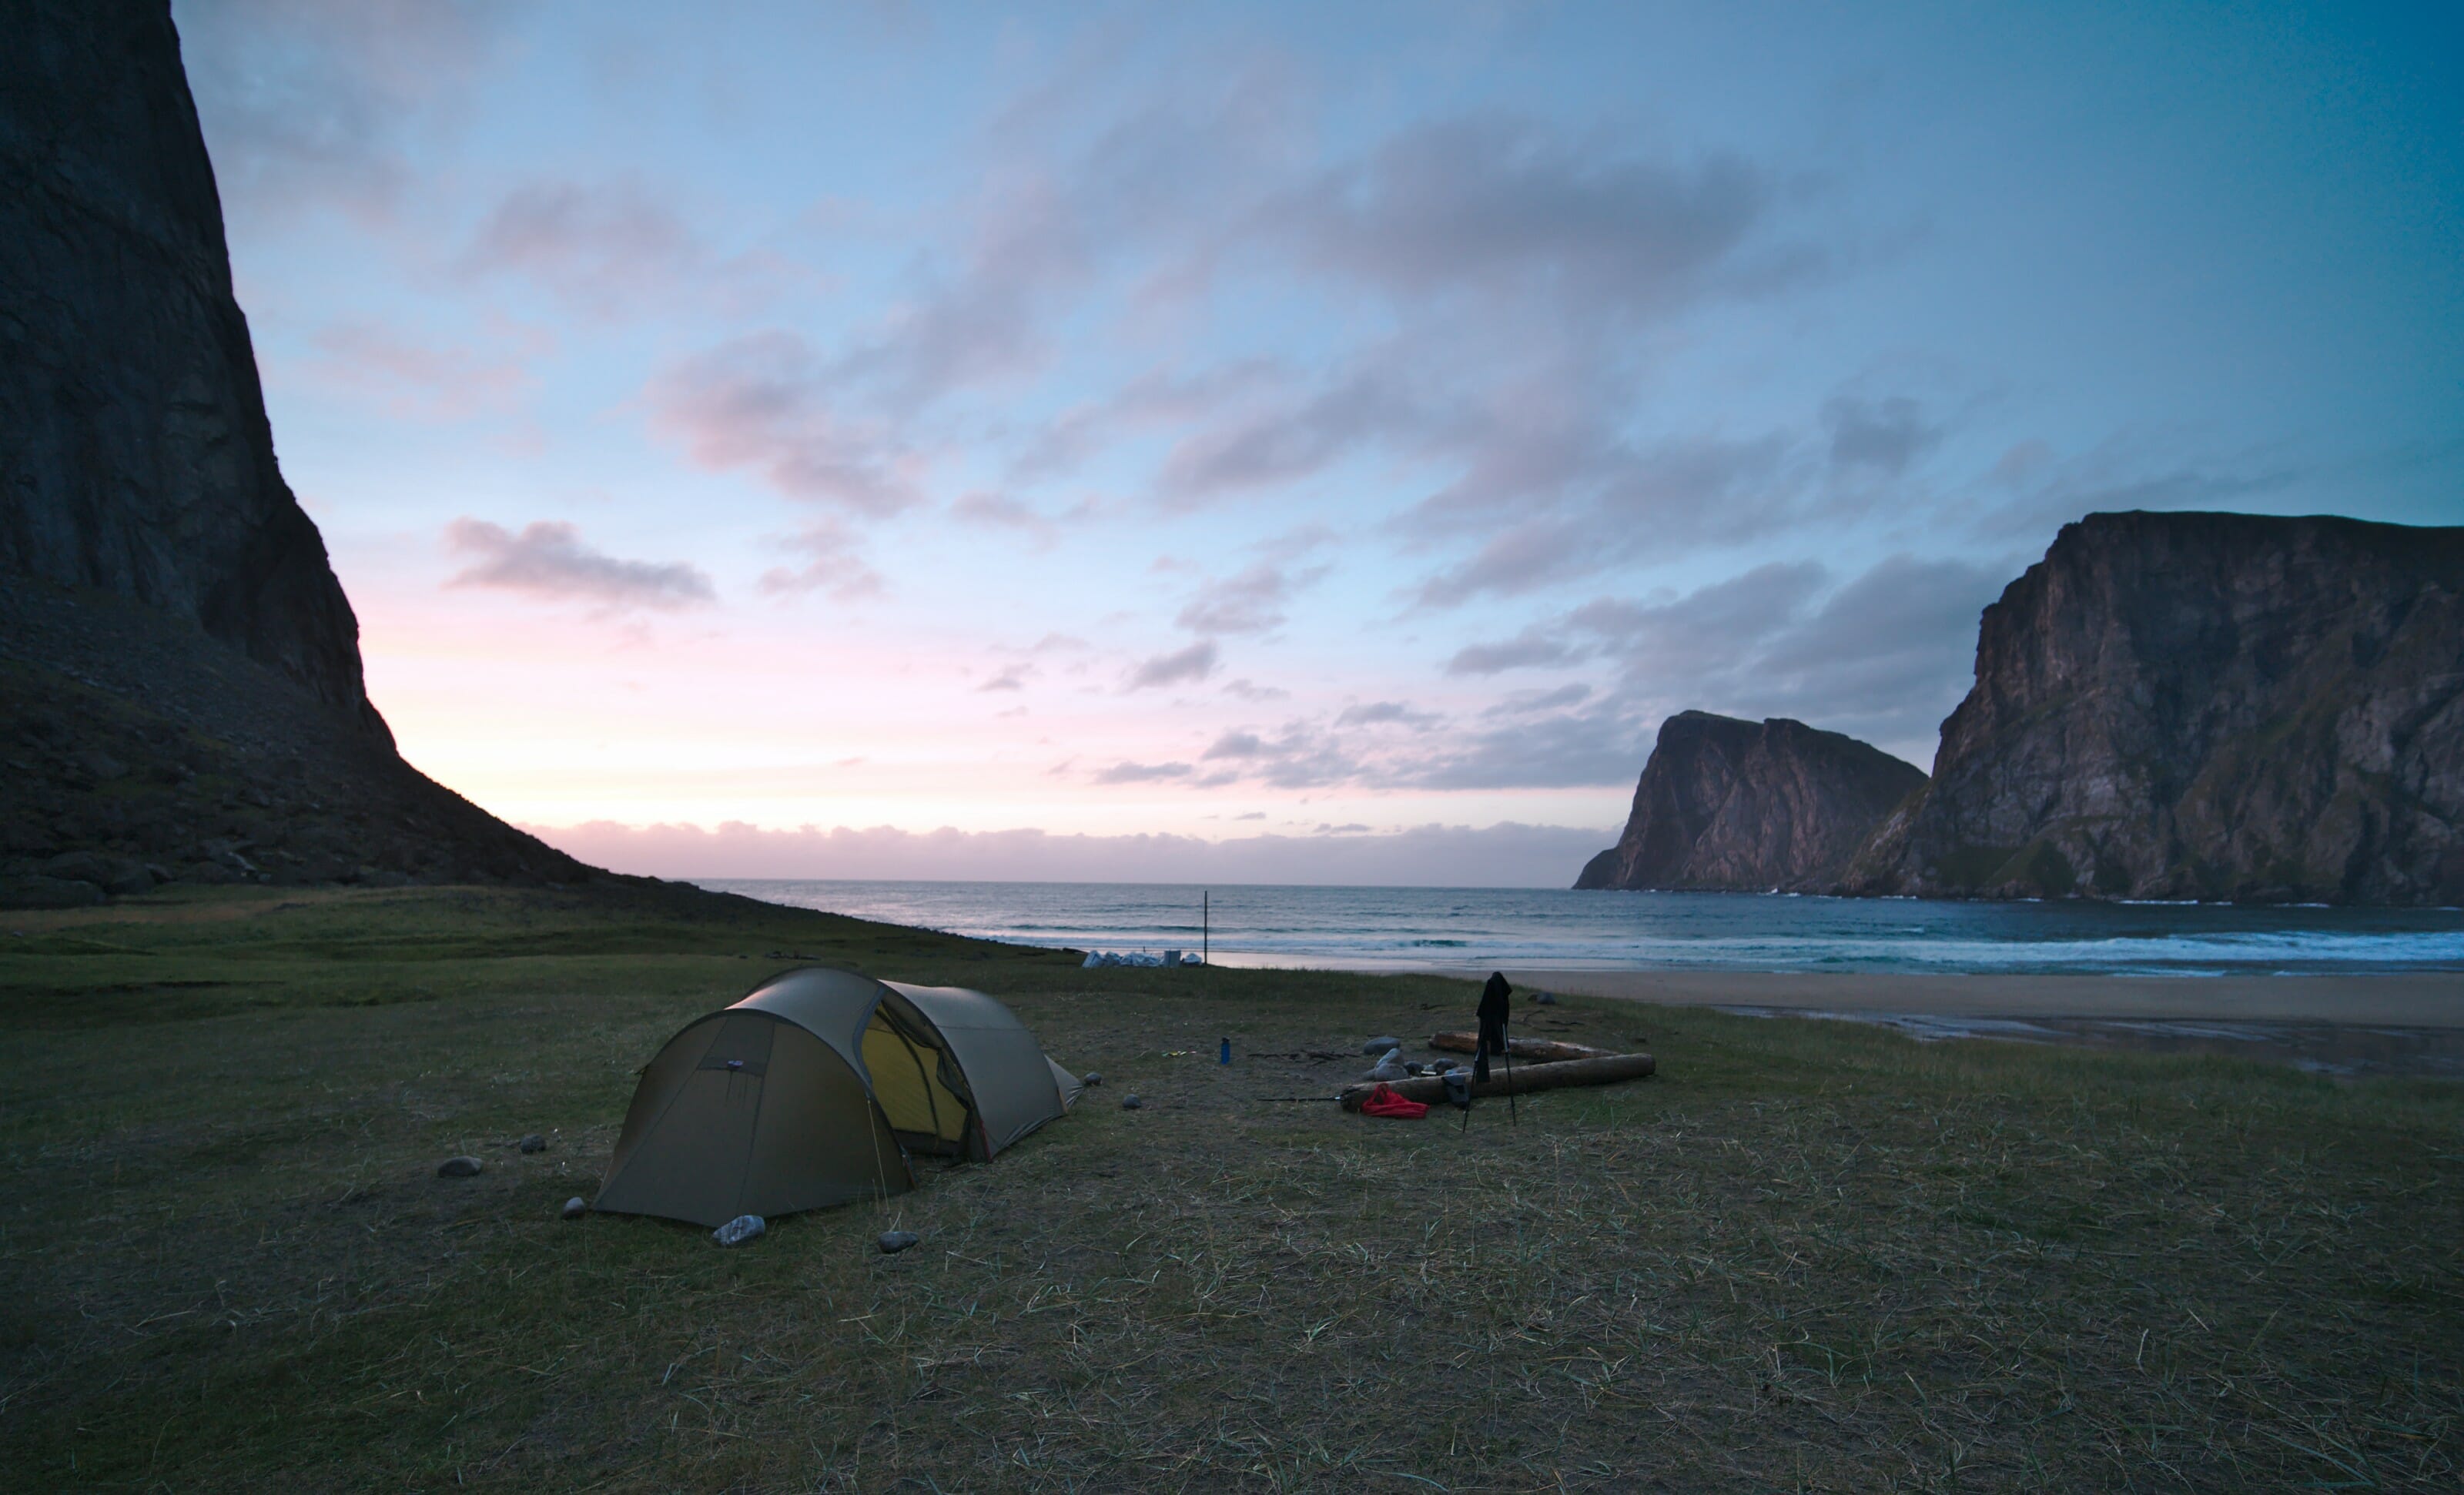
In short, I recommend that you check your weather forecast app regularly (we use Windy.com a lot). If we see that the gusts could be violent (>70km/h) or that they predict thunderstorms or a lot of rain (like more than 5mm/m2 per hour), we now prefer to give up and sleep inside. You have to know how to remain humble and reasonable in front of nature in order to avoid finding yourself in delicate situations… and the bivouac should also remain a pleasure, shouldn’t it?
What do we cook when we camp?
In order to save fuel or gas during our hikes, we usually only cook food that only require boiling water (and not cooking) such as polenta or couscous to be eaten (which are also very nutritious and take up little space in the bag). So avoid things like rice or pasta that need to be cooked for 5-10 minutes. We generally add a sauce to our delicious couscous / polenta dishes (ready-made sauces that mix with water), a little cheese and vegetables if we had the energy to carry them (vegetables are heavy and not very energetic)… It sounds like a dream to you, doesn’t it?

There are also so-called “lyophilized” (dehydrated) dishes where you just have to add hot water and wait 5 minutes for them to rehydrate. These dishes can only be found in specialised shops and are usually quite expensive. But they are well nourishing and are light and convenient to carry. As far as we are concerned, we only buy lyophilized dishes if we know that we will not have access to shops during our hike. Otherwise we generally prefer to buy our food on the way and cook our delicious meals 😉
Please note that it is also possible to cook your food in advance and to dehydrate your food to take it with you on the hiking trails. All you have to do is add hot water and you will have “homemade” food when hiking. So we don’t have any experience in this area yet (but we might) but you’ll find a lot of useful information on this great blog.
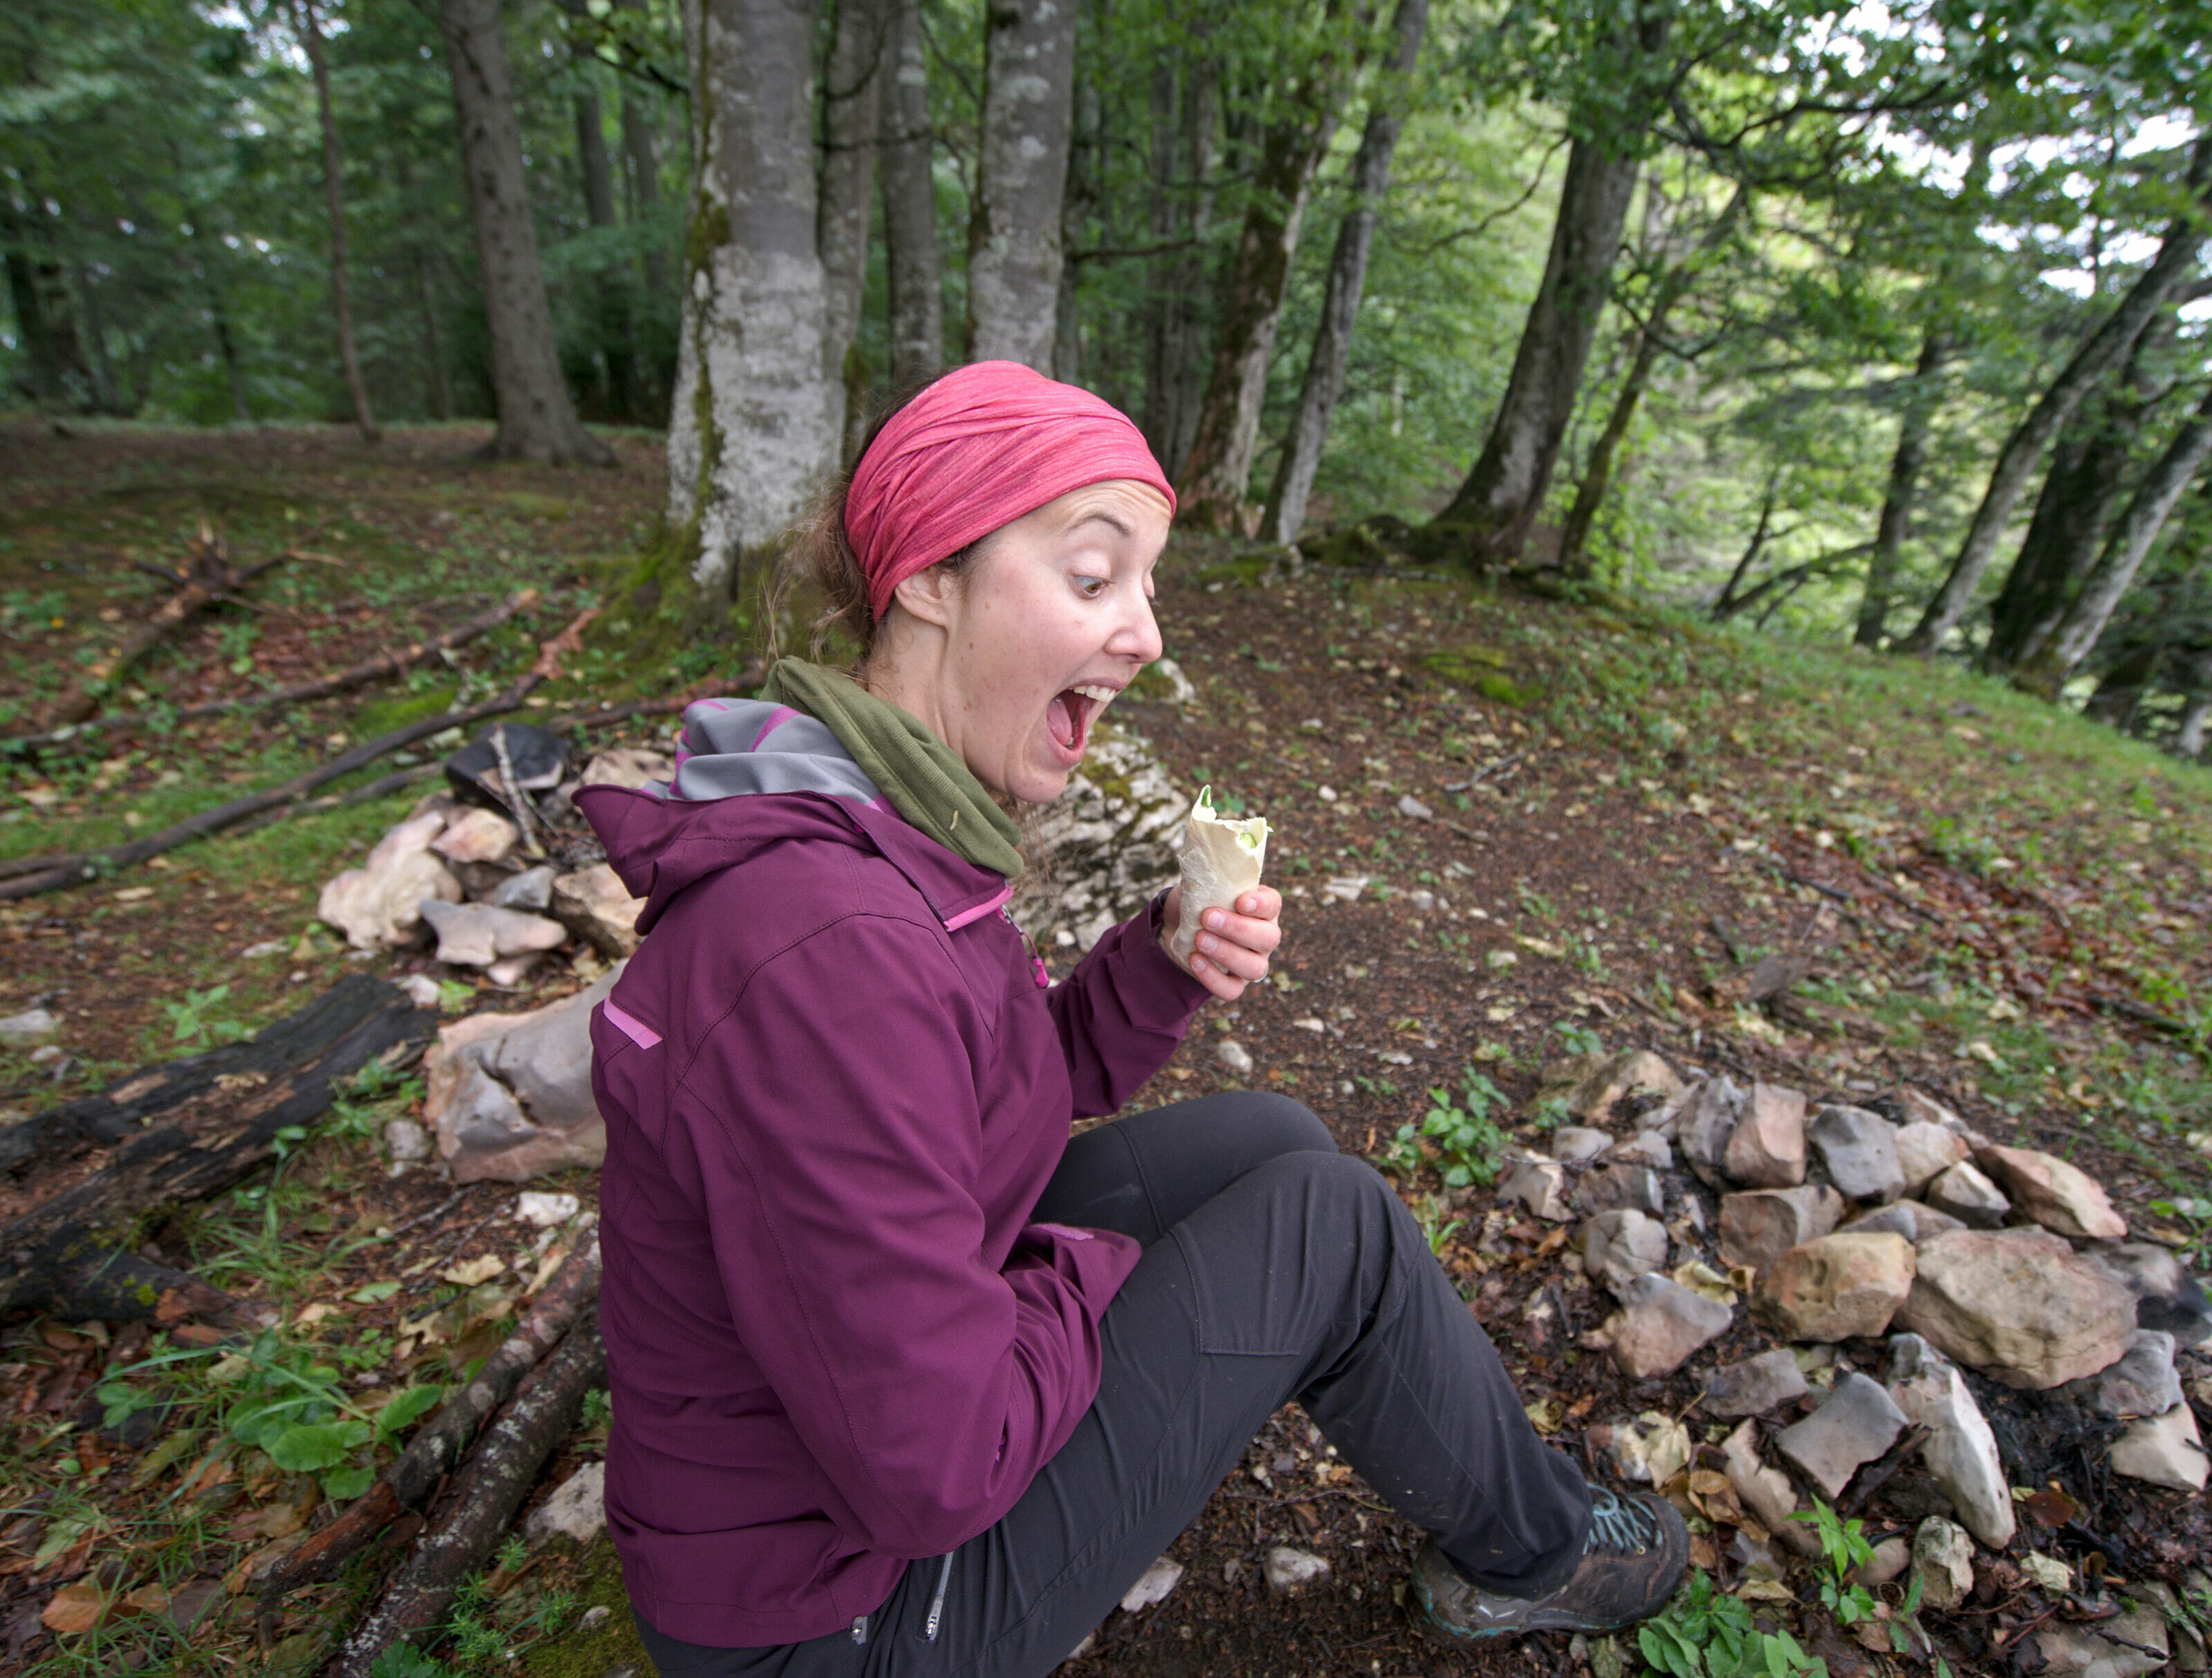
For lunch we often eat Wraps (fajitas) because unlike bread, it is super easy to carry and it does not dry out. We garnish them with mayo/mustard, cheese, eggs and vegetables (or anything else… as we are Swiss, we put some Aromat in them too 😉 )
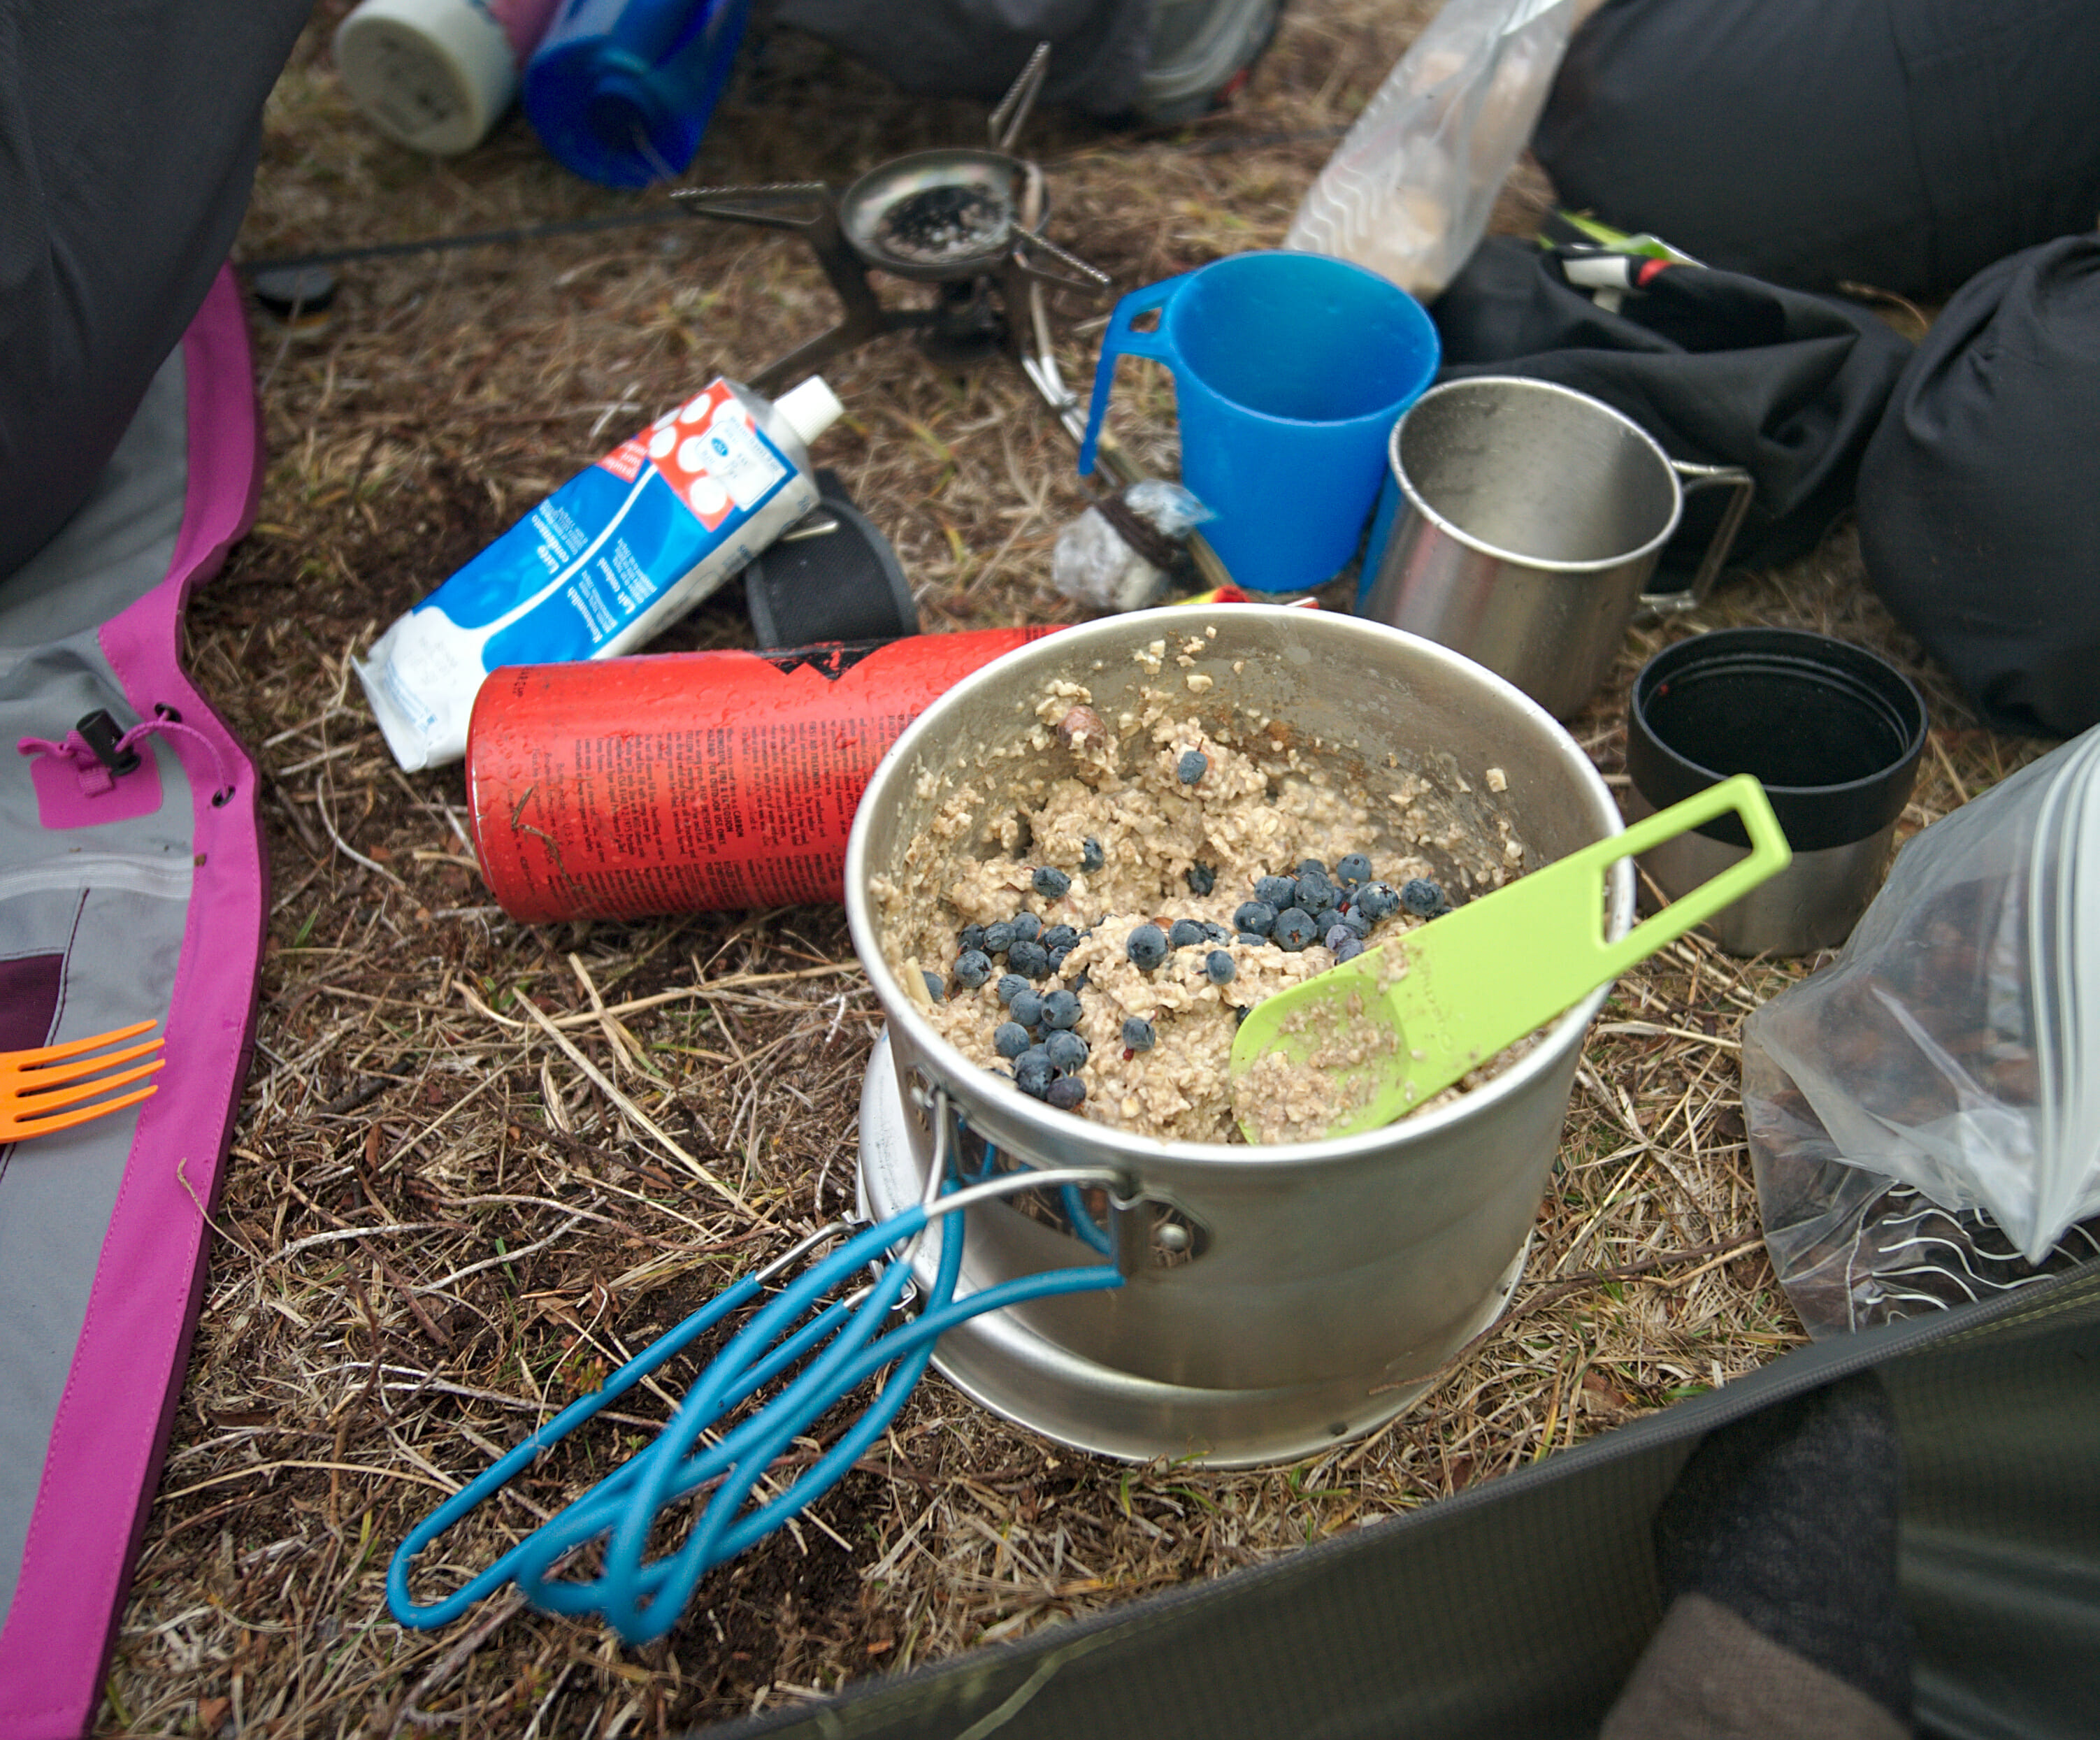
For the morning, it depends on the mood… either we buy very nourishing sweets (the criteria is at least 400 Kc per 100gr lol) like small Linz pies, walnut tarts etc…. If we are motivated we sometimes carry with us oats, sugar, cinnamon, condensed milk and mixtures of dried fruits and nuts to make a good porridge.
Finally, we always have snacks with us in case we suddenly find ourselves in hypoglycemia during the day lol. Usually it’s soft Migros caramels (#MicamuForever ) or dried fruits if we want to be healthier 😉
Water while bivouacking and backpacking
Water is a crucial element of a bivouac and itinerant trekking that can add a lot of weight to your backpack. If there is little water on your itinerary, you may have to carry a lot. The idea is always to try to locate in advance the rivers and potential water sources of the day on a map (on maps.me the water sources are often indicated with a small drop of water) in order to carry as little water as possible in your backpack. If you know that you are going to bivouac in the evening, you would usually plan to bring 1-2 litres of extra water (which you fill up as late as possible in the day) for cooking in the evening and in the morning.
But if water is so important for you, it is also important for the surrounding animals and plants. So get far enough from the watercourses when you do your needs. The same logic applies if you wash yourself with soap or do the dishes. Take water from the source but throw it far enough away so that it does not pollute the water. Oh yes, and of course think about using natural and biodegradable soaps!
Clean up, do your needs or the laundry in a bivouac
We’ve had a number of questions on this subject and there’s nothing really complicated about it. In concrete terms, we clean ourself with a cloth and clear water. If we need it, we add soap while taking care not to throw the dirty water near a spring. If we have to clean our clothes, it is also with soap and we try to do it in a suitable place (often a toilet with a sink). After that, it’s a hike and we have to admit that we don’t always smell like roses…
For the needs, as I said earlier, we avoid peeing near waterways. And for the big commission, we try as much as possible to use the toilets we find on our way. And when there is none, well, we go far away from the paths, we dig a small hole, we do what we have to do and we cover it. If ever there is even a best seller written on this subject: How to shit in the woods 😉
After all, everyone has his own limits, eh. On our side if we bivouacked 2-3 nights in a row, we like to take a small room or a dormitory to have a good shower and clean our stuff (and sleep in a good bed too 😉 )
Campfire or no campfire?
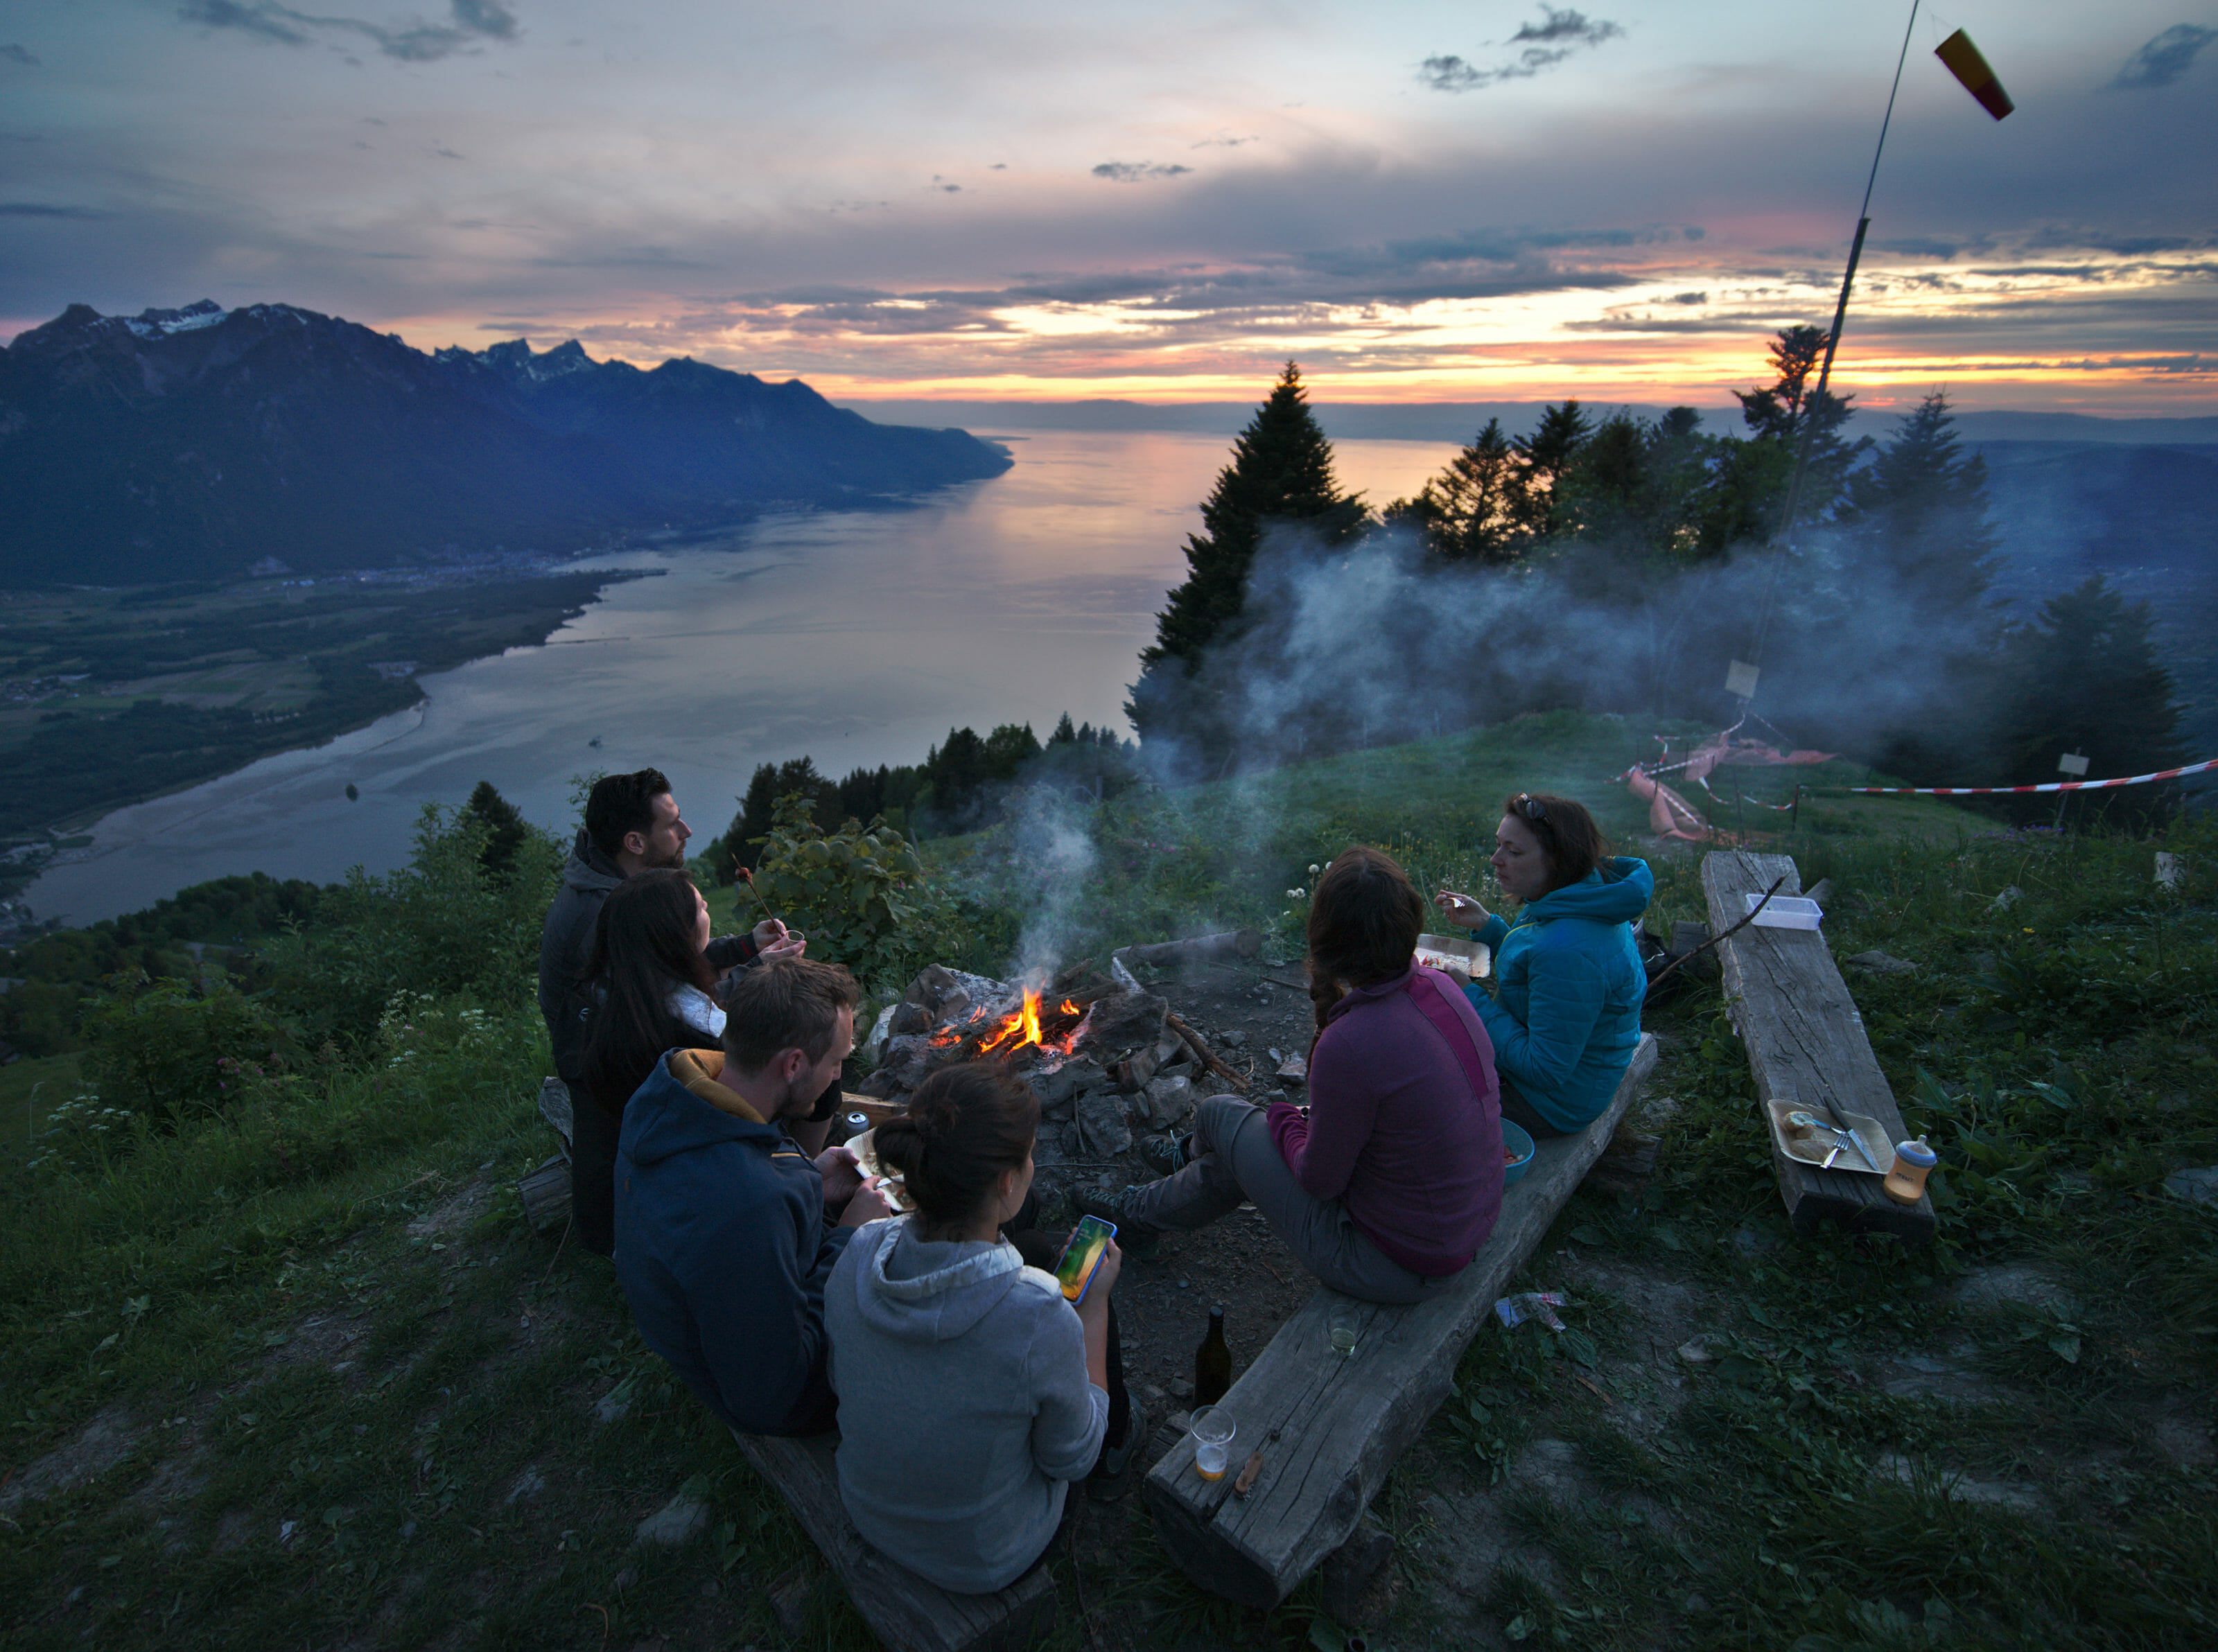
A lot of people associate the bivouac with the campfire (it’s friendly, great for instagram photos and all…) . But is it really necessary? Making a fire has a definite impact on the environment (collecting wood, creating a fireplace), it can be dangerous depending on the conditions (drought) and is even sometimes forbidden by the municipalities or regions.
We must also admit that we are often surprised at the number of fireplaces we find on our way on a hike. It’s a bit like the kairns in the mountains, they are not really necessary.
As far as we’re concerned, we generally avoid making fires (we don’t carry a stove around for nothing, and a stove doesn’t leave a trace). And if we do, it’s usually done in a picnic area that has been set aside for this purpose and respecting these principles to limit the impact of the campfire.
Check your equipment beforehand and have repair kits available
It may seem trivial but always check before leaving that your equipment is in good condition (tent, pegs, sleeping pad, stove). For example, the stove we use (the MSR Whisperlight) requires a little maintenance and I always give it a good cleaning before going on a long hike.
In the same spirit, always leave with the repair kits (which are usually provided) for your tent (enough to repair a broken pole or a tear in the fabric), your floor mattress (enough to fix a puncture), your stove… We always have a needle and thread to mend clothes or other things if we have a problem along the way.
Leave no trace!!!!
I saved it for the end because it is certainly the most important point: Don’t leave any trace of your presence! Of course, nobody likes to find trash in nature and if you managed to transport your food / drink to a place, you will also manage to transport it afterwards. But this philosophy goes further than that! When you have bivouacked in a place, ask yourself if your presence has left traces and try to erase them. Don’t pull out plants, don’t bring leaves or stones with you, don’t engrave your name on the tree trunk next to your tent etc… In short, minimize all traces of your presence.
For more information on this subject, I recommend that you visit the leave no trace center website which explains in detail why it is important not to leave any traces and what you can do to minimize your impact.
Pfiooooouuuuuuuuuu if you made it this far, congratulations for hanging in there! I think I’ve covered a lot about bivouac and I hope you’ll find in this guide useful information and inspiration for your next adventures. And as always if you have any comments or questions, don’t hesitate to leave us a comment below
P.S. This article contains affiliate links to products that we use and recommend. If you buy a product through our links, we will receive a small commission and you will not pay a penny more. By doing so, you will support us in the creation of this kind of free and independent guides. Thank you for your support!
Pin it on Pinterest
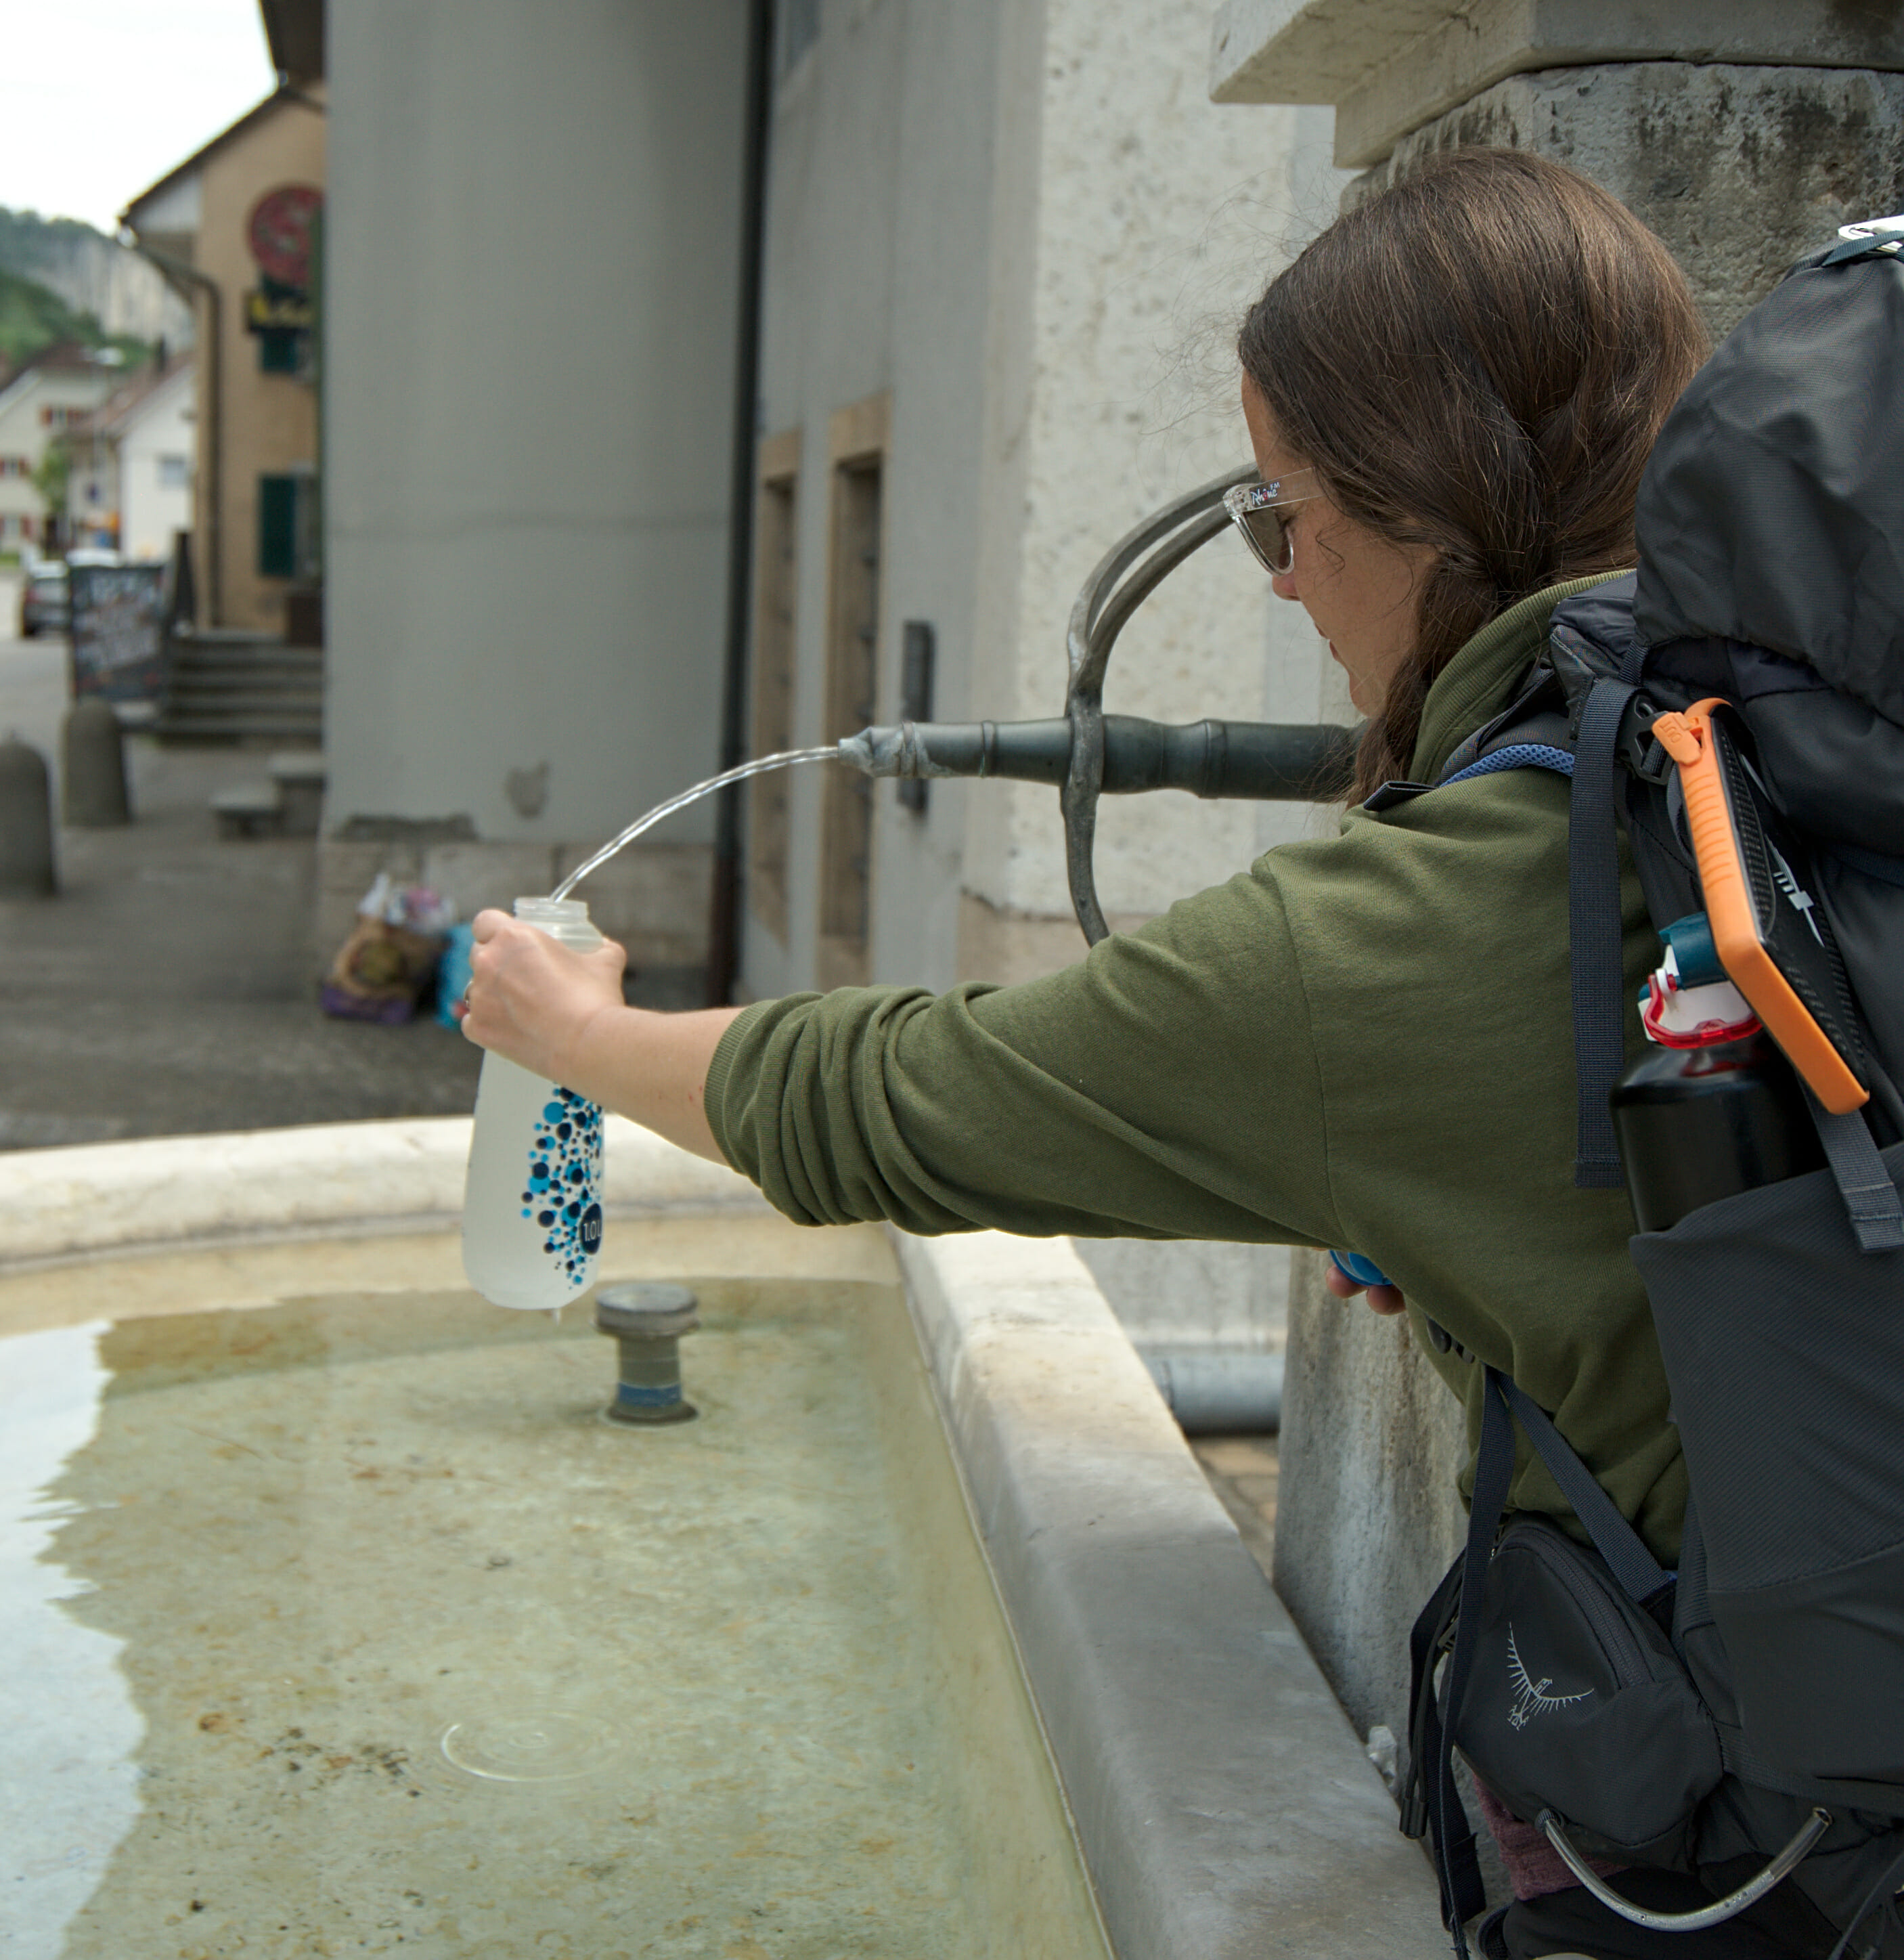 a filter bottle (and other bottles): This is an essential accessory since it will allow you to filter river water from particles and bacteria. You should know that these bottles do not filter viruses (you will have to use a UV lamp in addition) but we have always drank river and fountain water with filter bottles and we have never had any problems. For a long time we have had the
Great article! Thank you.
This was filled with really useful information and beautiful photos. Thanks so much for sharing what you have learned!
Amazing article, o now understand the difference between bivouacking and wild camping along with all the other tips. Thank you for sharing and wishing lots of amazing adventures!
Thanks a lot Katie, glad you liked our post 🙂
By far the best and the clearest blog about bivouacing / camping. Kudos to the authors !
Thanks a lot Terry. Glad you liked our post 🙂
Great blog! Helpful and informative. 🙂 As any seasoned backpacker or camper would tell you, weight matters when it comes to outdoor adventures.
Really well explained guys. Just googled this topic to explain to a friend the difference in a succint way, and this article nailed it. Excited to follow your journey.