My parents and some of their friends go hiking on average once a year with a mountain guide they know (Yvan Bender)… This gives them the opportunity to go on nice hikes, a bit more challenging, without having to worry about the itinerary and the security (since they are with a professional mountain guide).
This year, they were planning to do a version of the Barrhorn (3610m) that I had not yet tested (I had hiked the “easy” side from the Tourtemagne hut and back)… They planned to start from the village of St-Nicolas in the Zermatt valley, to sleep at the Topali hut through the Wasulicke, to climb to the Barrhorn through the Schöllijoch and to come back down on the other side at the Tourtemagne hut… an itinerary that instantly excited me!
So with my sister we took the chance to join their group… especially since we don’t often have the opportunity to go hiking for 3 days in the middle of the 4000m mountains of Wallis with our parents.
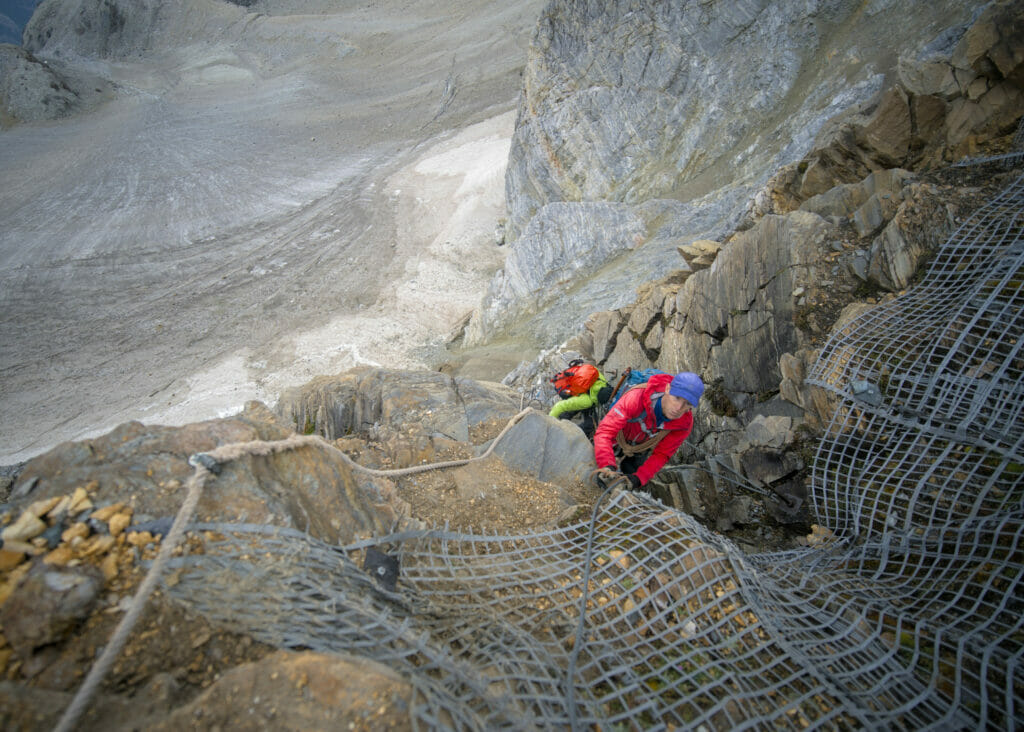
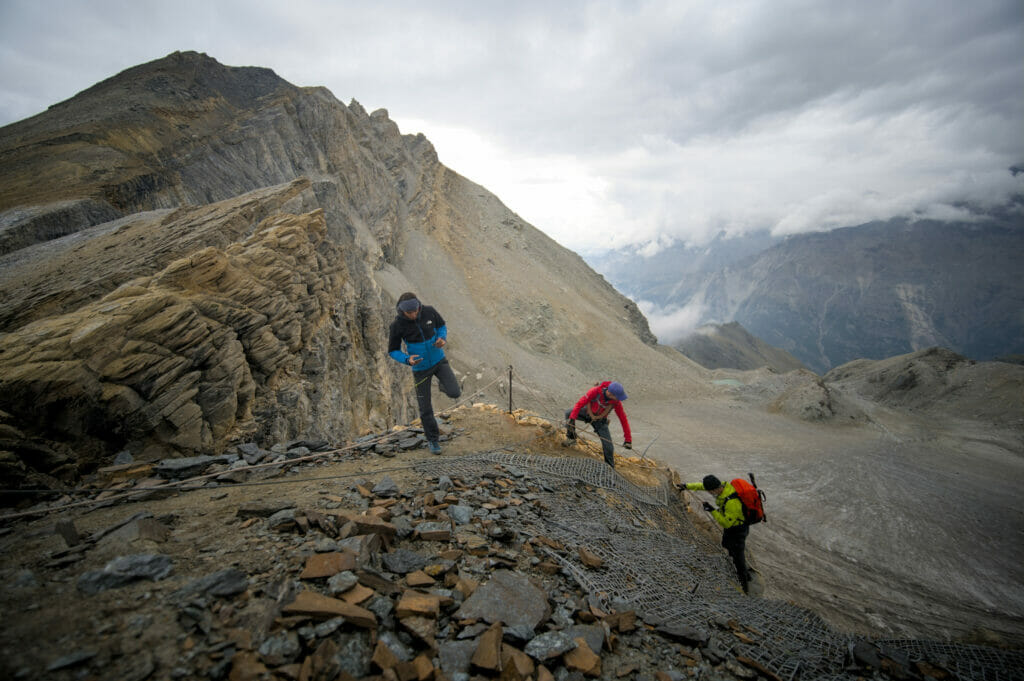
Be careful, if you want to do this route without a professional guide, be aware that there are technical passages that require a secure footing and experience of this kind of terrain. The passage of the Wasulicke is listed as T4 and the one of the Schöllijoch is listed as T5 and is more like a small Via Ferrata than a trail (by the way, I recommend you to have a harness with the via ferrata lines and a helmet for this section… but you can judge for yourself by looking at the pictures below).
If you don’t know the SAC hiking difficulty scale, I suggest you take a look at the document below:
- From Saint-Nicolas to Jungen with an old cable car
- Hiking from Jungen to Wasulicke pass (3113m)
- From Wasulicke to the Topali hut (2674m)
- From the Topali hut to the Schöllijoch (3342m)
- From the Schöllijoch to the top of Barrhorn (3610m)
- From the Tourtemagne hut to Gruben via the Meidhorn (2875m)
- Map of the hike
From Saint-Nicolas to Jungen with an old cable car
The village of St-Nicolas is located in the upper Wallis and more precisely in the well known valley that leads to the village of Zermatt and its famous Matterhorn. As St-Nicolas is easily accessible by train, we all met at the train station of Martigny or Visp to make the trip together.
Once we arrive to the village, we head to the old cable car of “Jungenbahn” which goes up to the alpine pasture of Jungen and which will allow us to save a good 900m of ascent.
This gondola is totally old school! There are only 2 gondolas (one at the top, one at the bottom) and there can’t be more than 4 passengers at the same time. This means that for a group of 10 people like us, it took 3 gondolas and a good half hour (each trip lasts about 10 minutes) for everyone to get to the top 😉
But honestly it’s an experience to live! The ascent is really impressive… we are like suspended above the Zermatt valley with the view on the Mischabel and the Monte Rosa range! We have known worse panoramas!
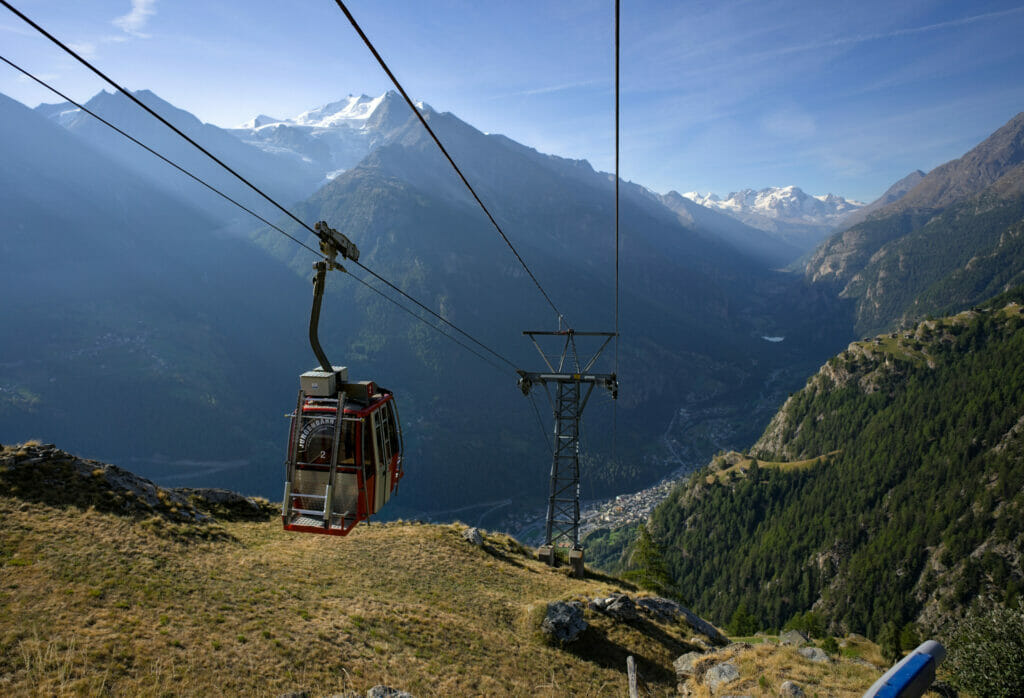
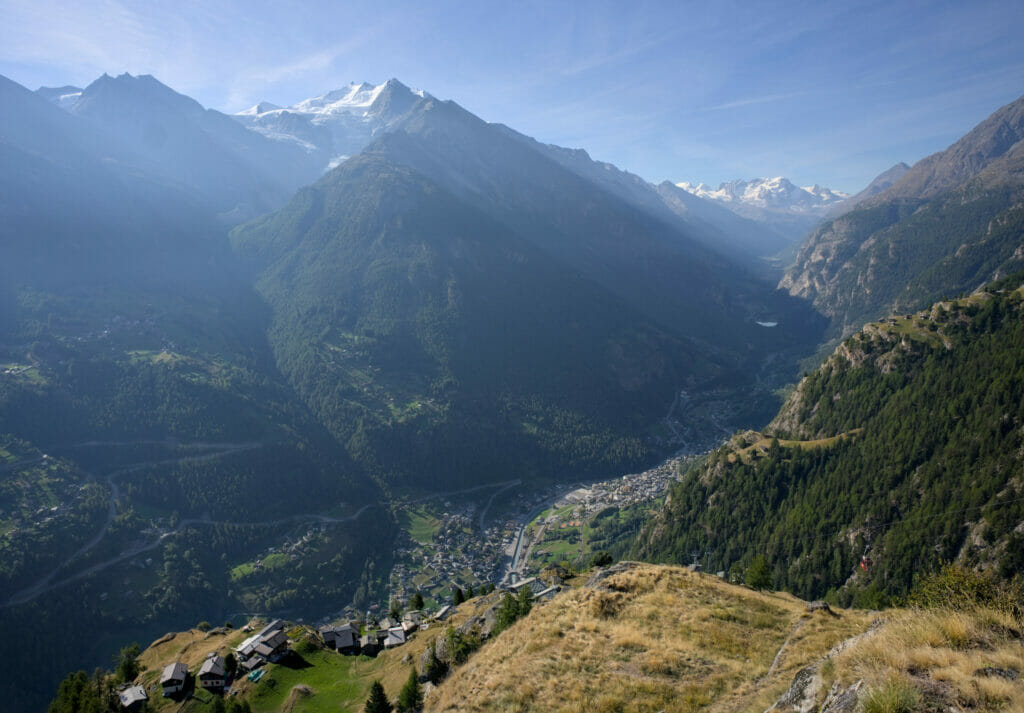
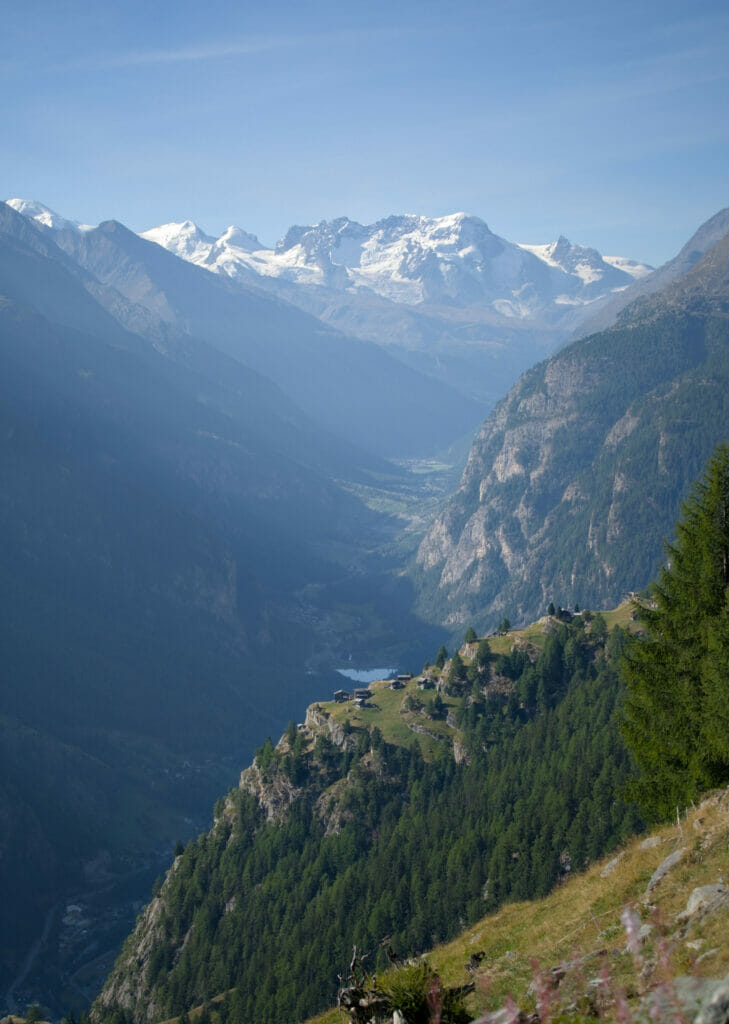
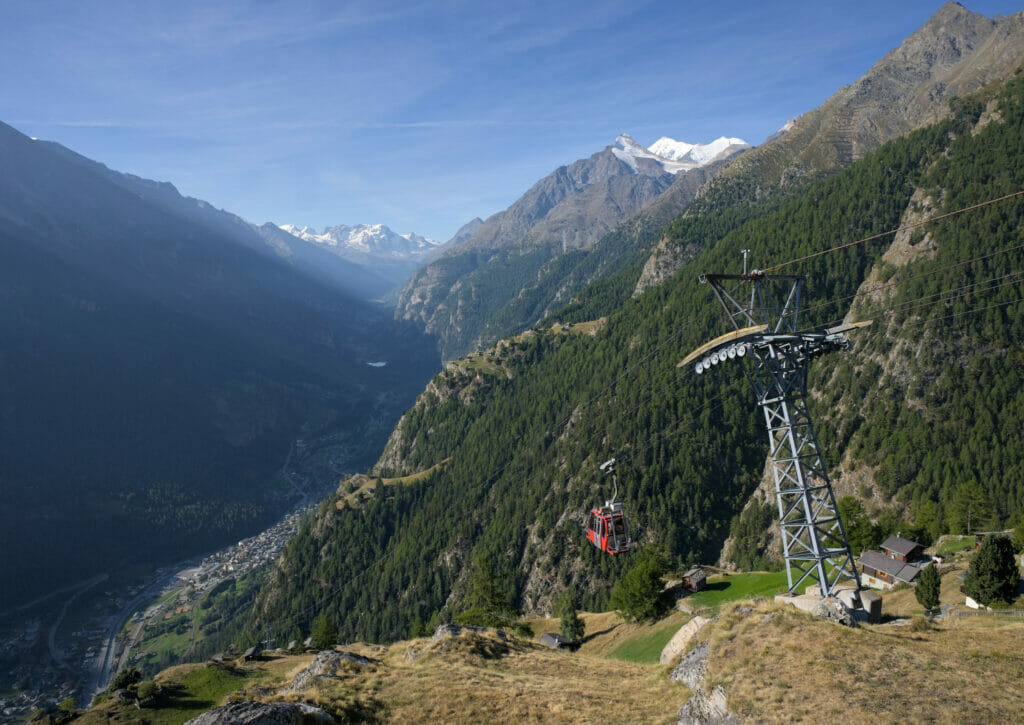
For the train timetable, you just have to go on the SBB website and for the Jungenbahn gondola, a ticket costs 12chfs per person and all the information is on this website.
Hiking from Jungen to Wasulicke pass (3113m)
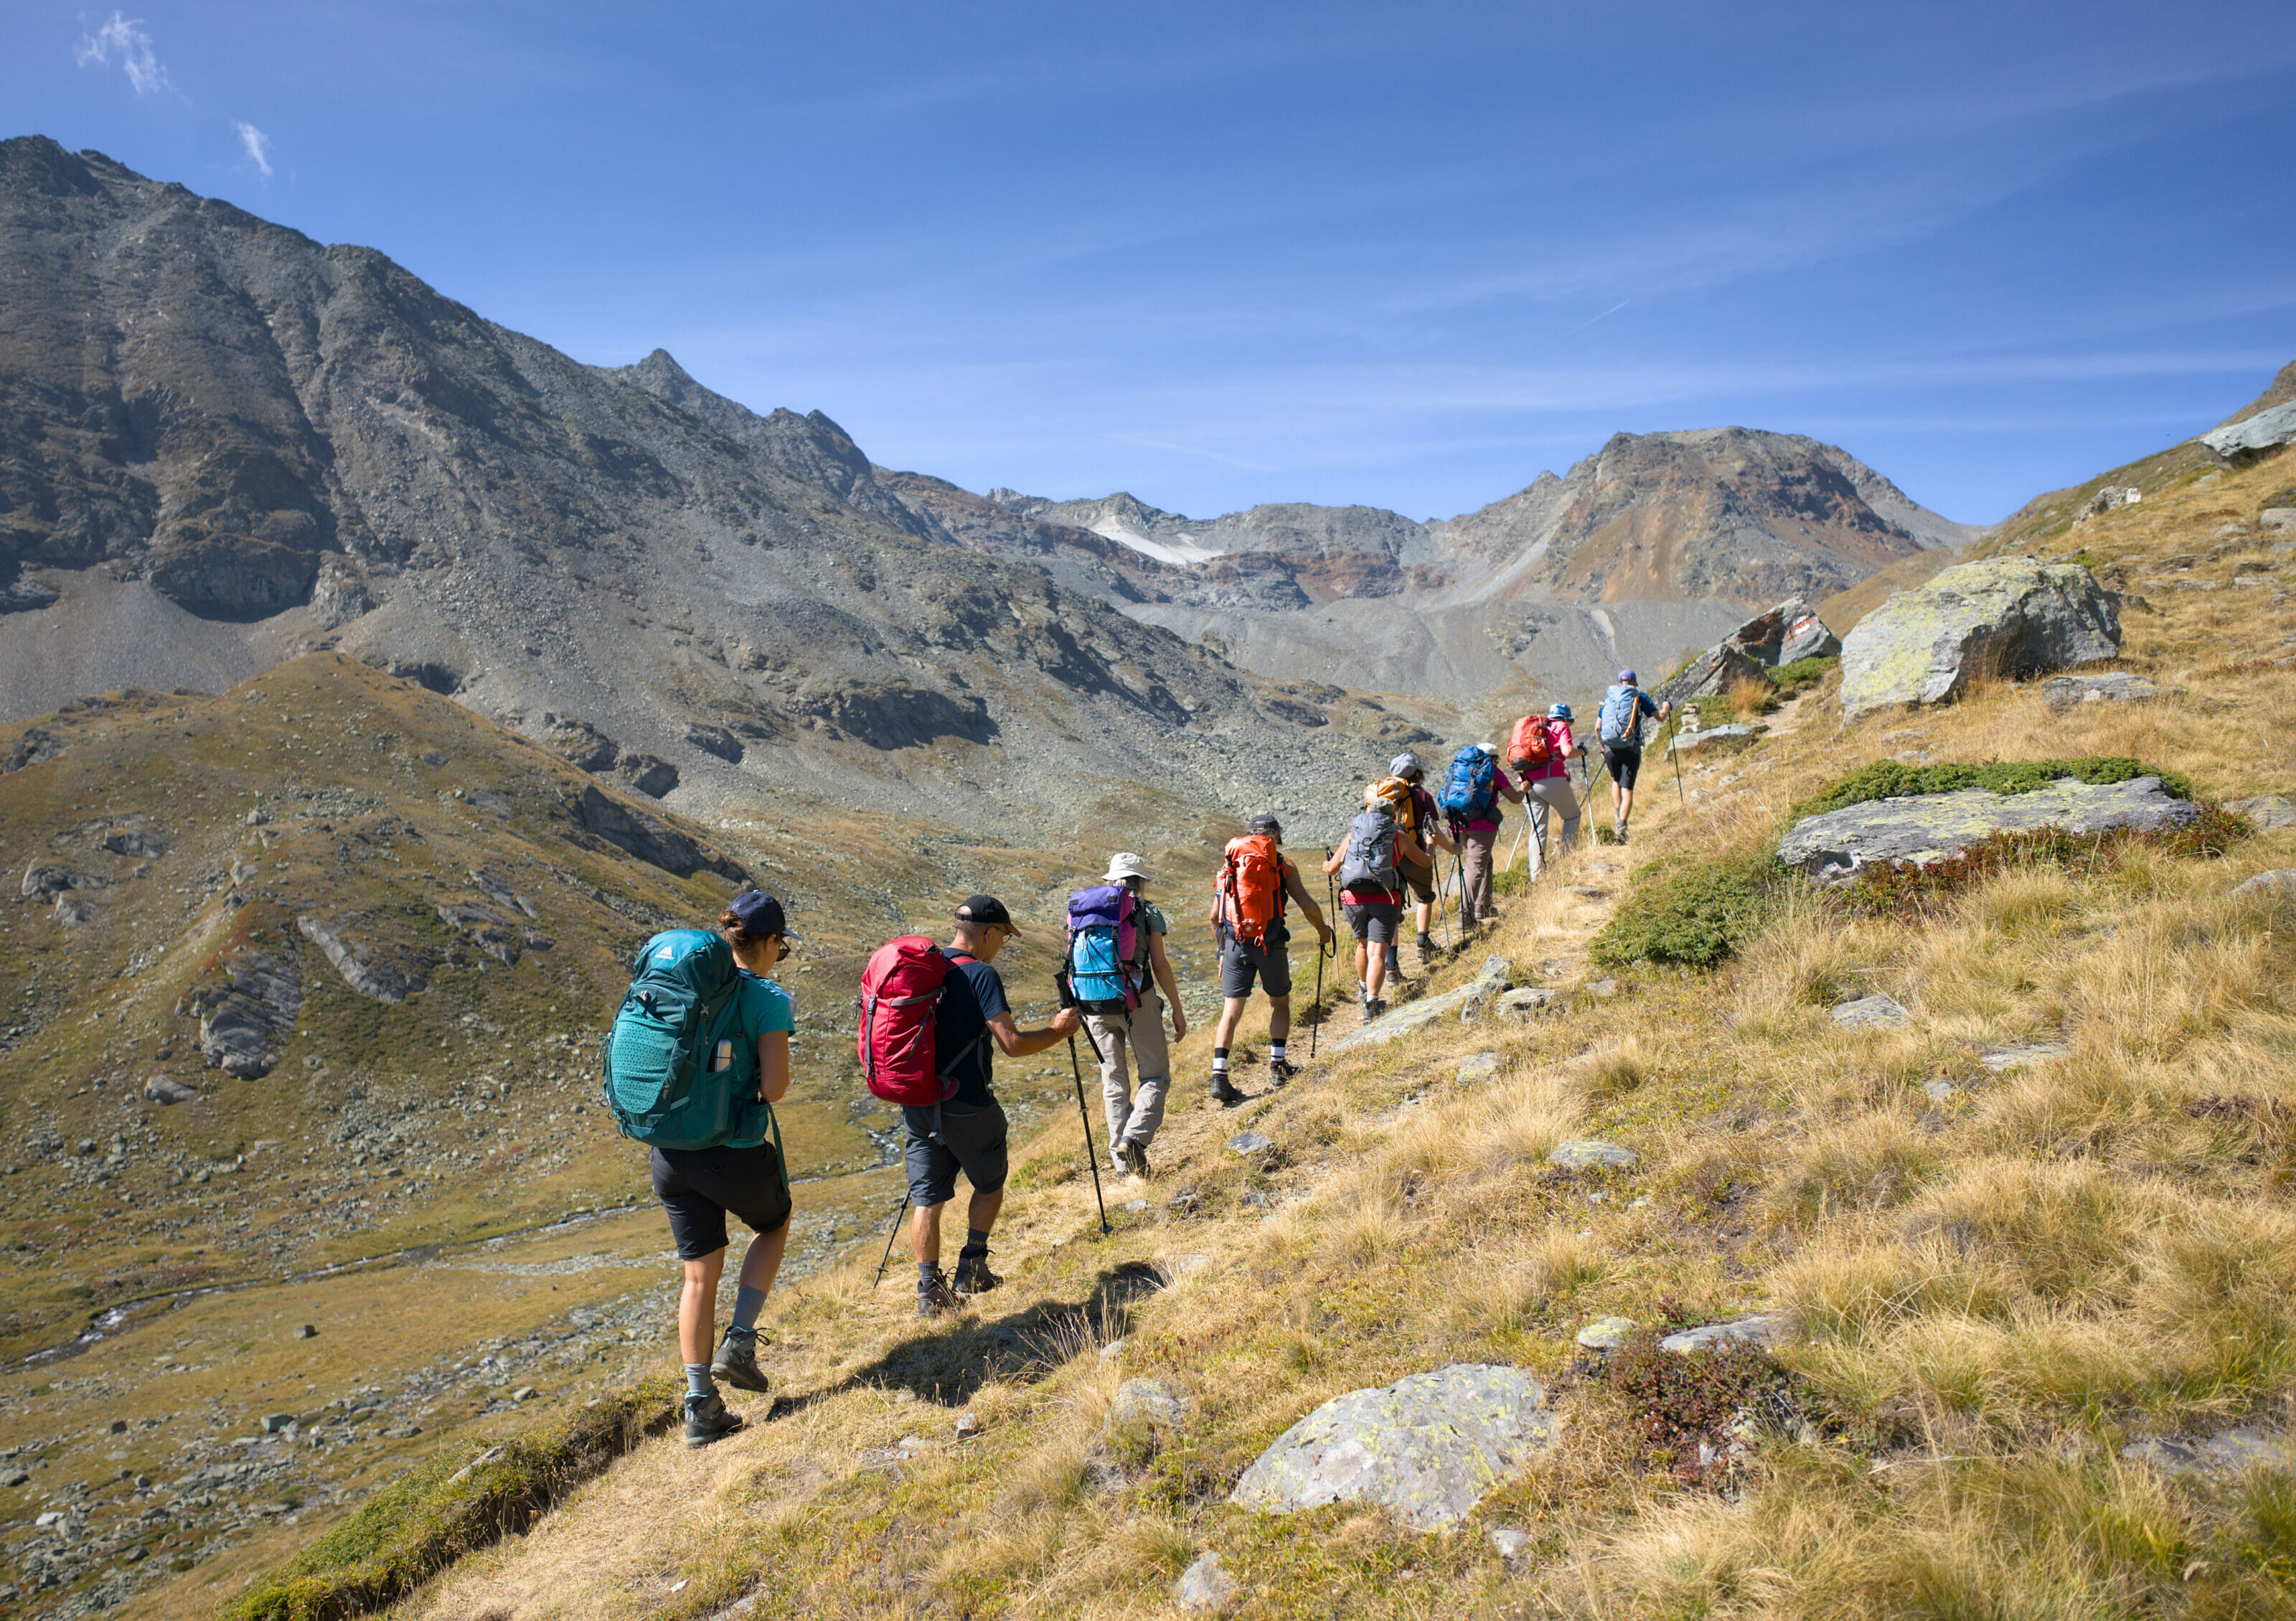
It’s time to start the serious stuff and to begin the climb to the main difficulty of the day: the Wasulicke. Even if the cable car helped us to gain a little bit of elevation, we still have more than 1000m to climb to the pass. But the weather is good, the mood is great and we set off all motivated.
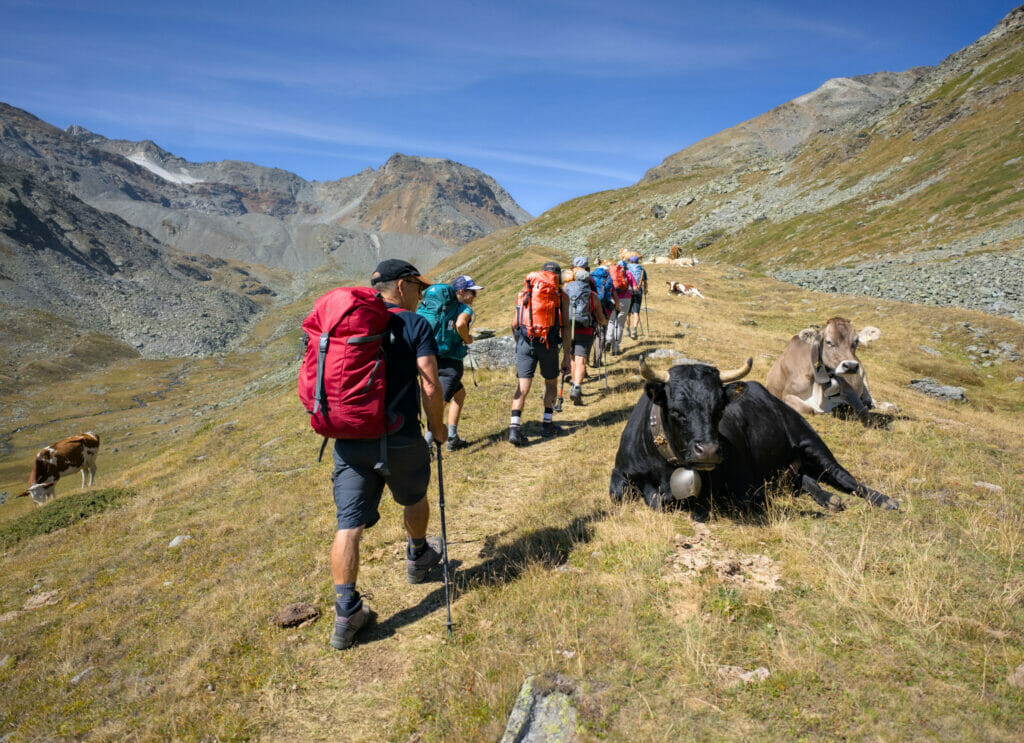
The first part of the ascent in the Jungtal (Jung valley) is done on an easy and well marked path. Behind us we leave the hamlet of Jungu to hike up through the pastures to the Jungtal alp.
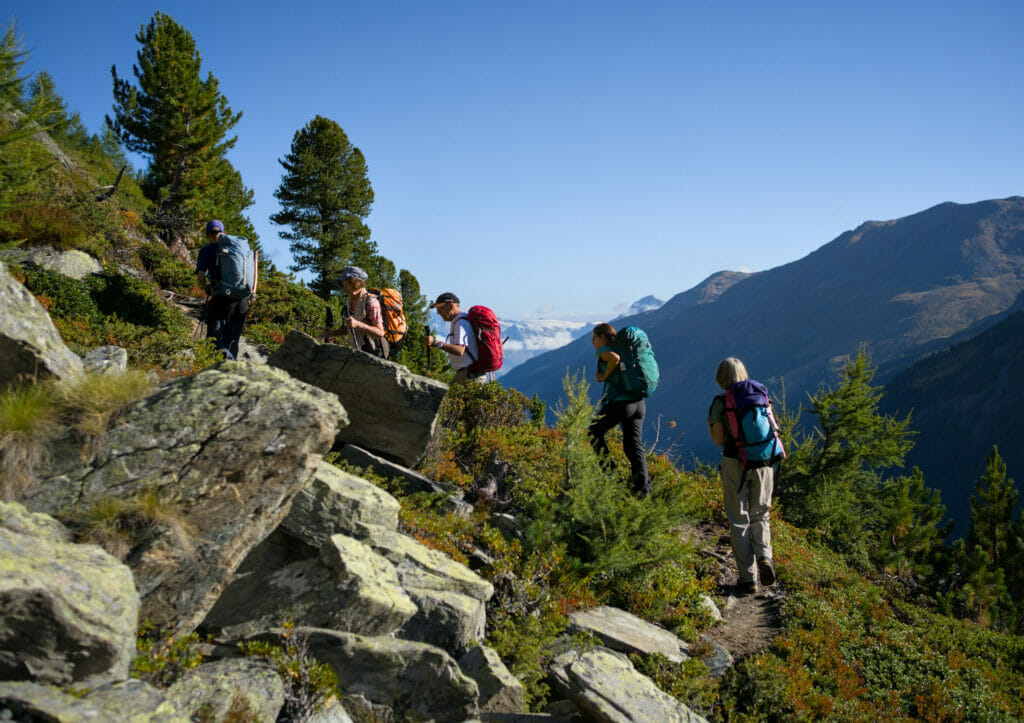
Note: special mention for my godmother’s beautiful backpack (2nd photo below) which is older than me and has an incomparable style… I love it!
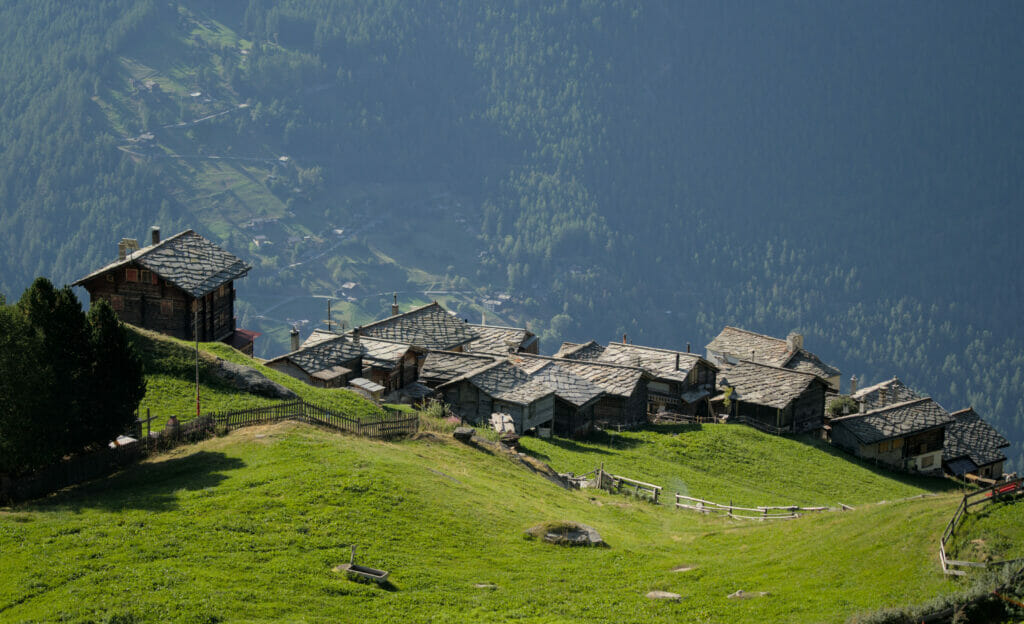
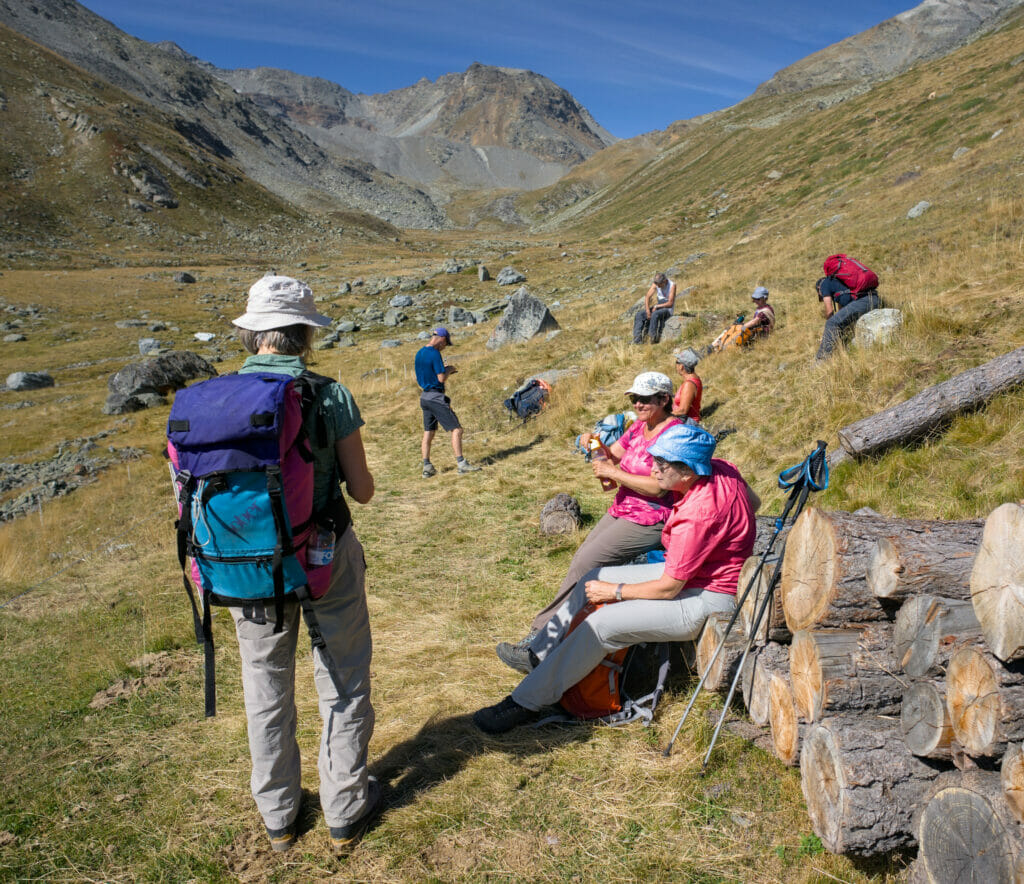
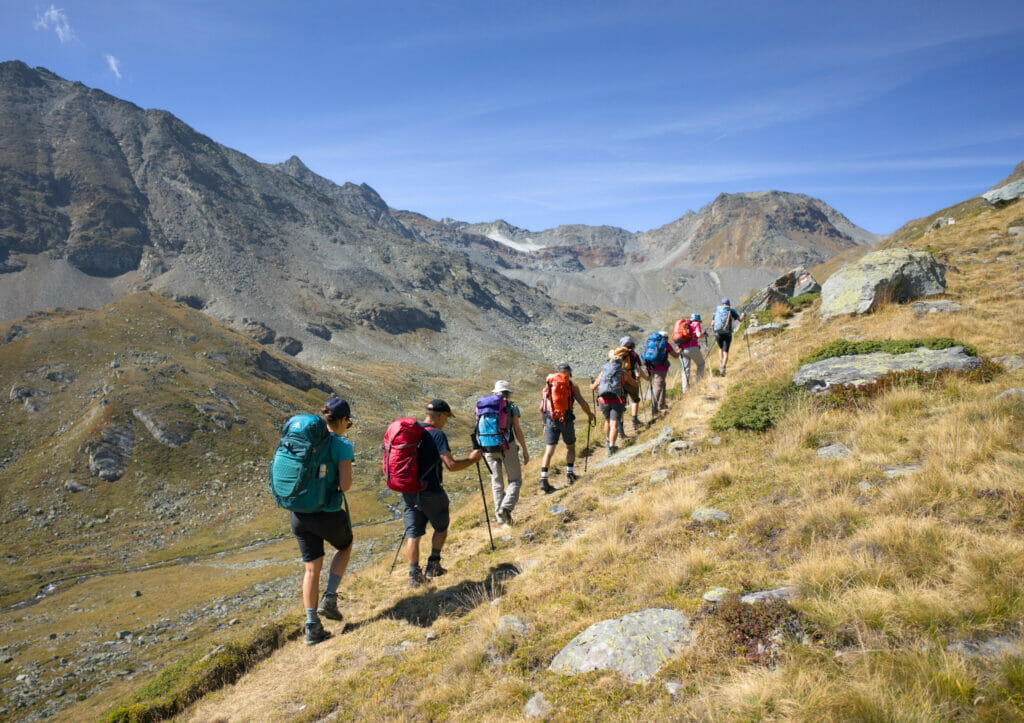
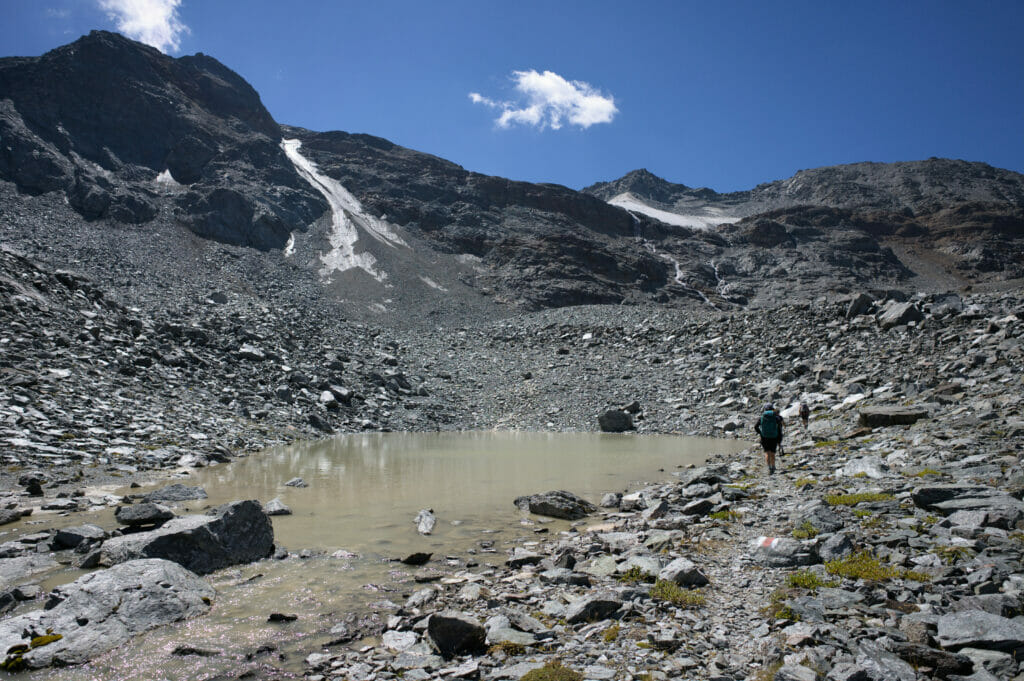
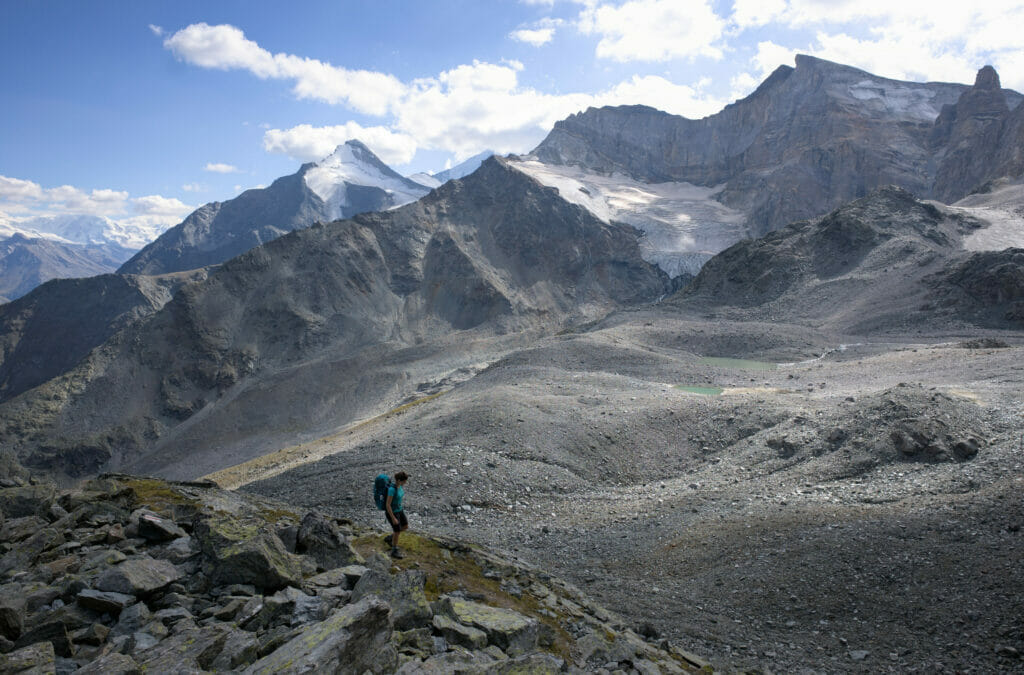
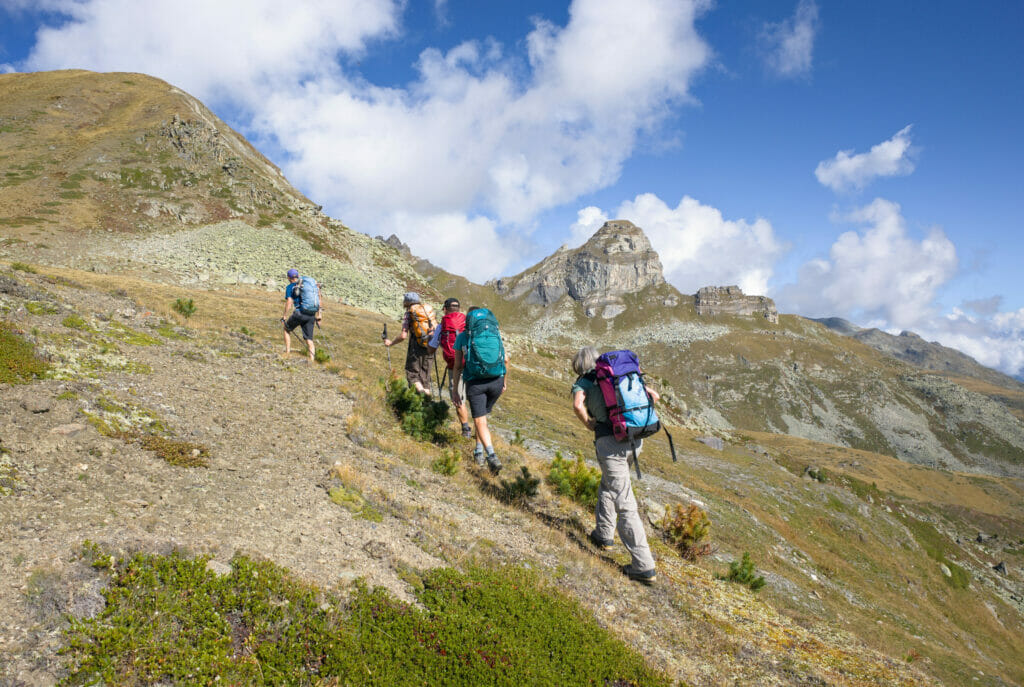
As we continue to climb, the ground becomes more and more mineral, between scree and moraine. No major difficulty for the moment but we have to be a little more careful where we put our feet. Around 2800m, we reach a flatter area with a small lake and we take a little break before tackling the last part of the climb which is also the most difficult!
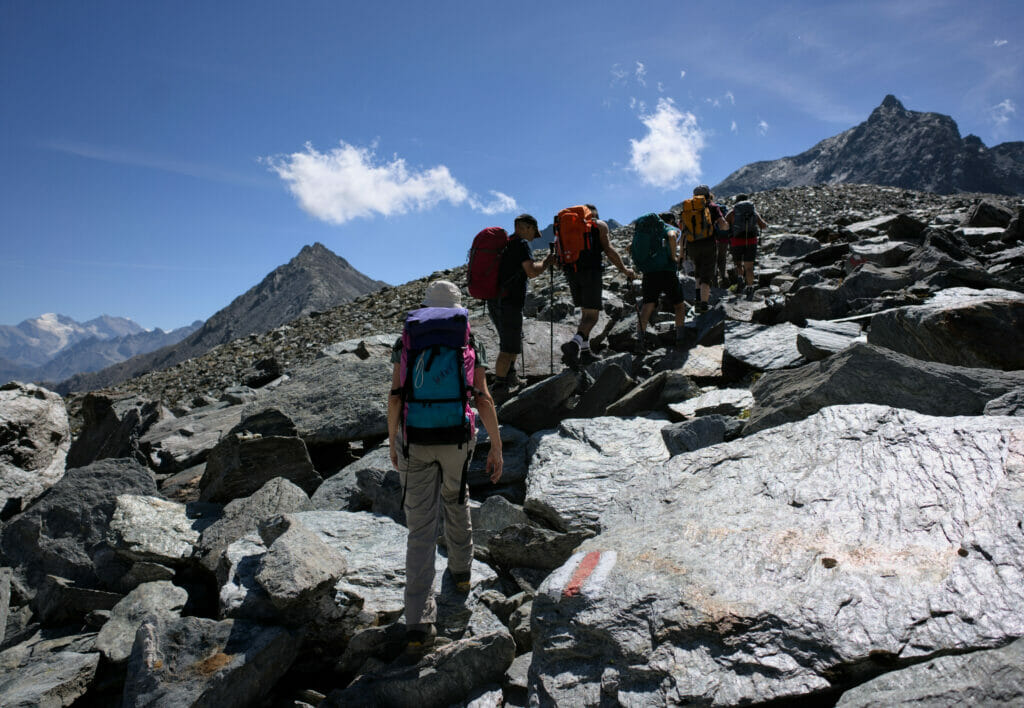
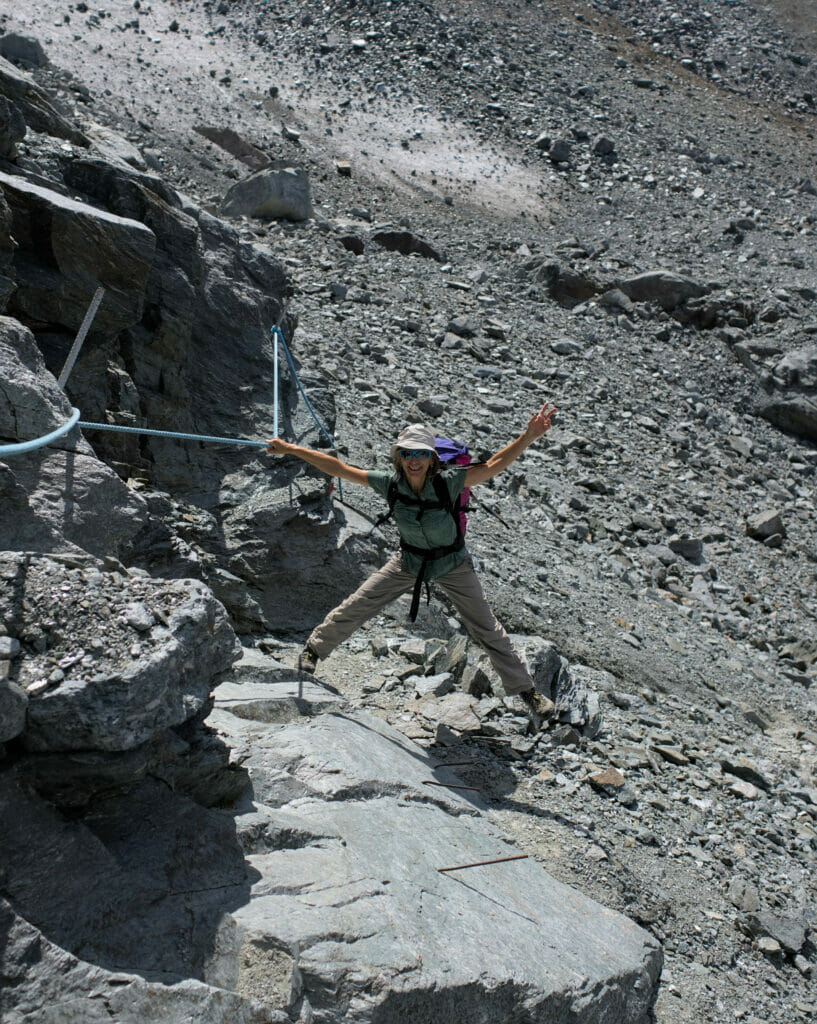
As often in the mountains, we see where the pass is in front of us but we wonder where the trail is going to take us up there 😉 . I’ll be honest, this last part to the Wasulicke is not a walk in the park! It’s a steep climb in the rocks and several exposed passages are equipped with handrails or ropes to help you. If you have a good footing, this passage is no problem… but if you are afraid of heights, you’d better not do it.
Rather than making nice theories, here are some pictures to give you an idea. This passage is marked in white-red-white (mountain hiking trail) and is listed as T4 on the CAS website. But I have to say that I have already done blue marked trails that were easier… So let’s say that this trail is a demanding red 😉
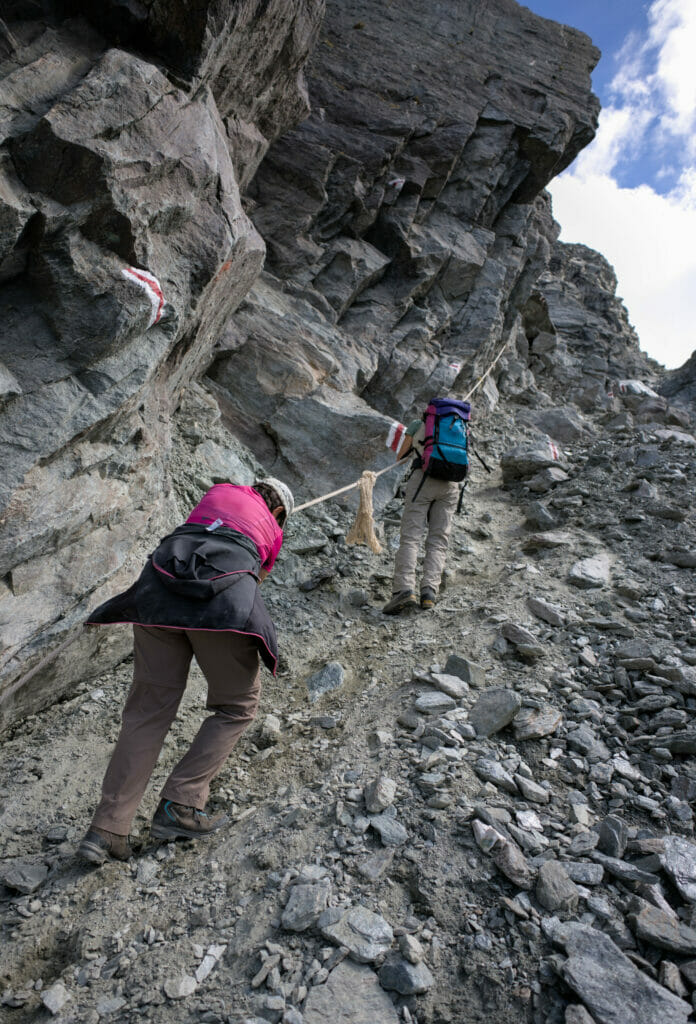
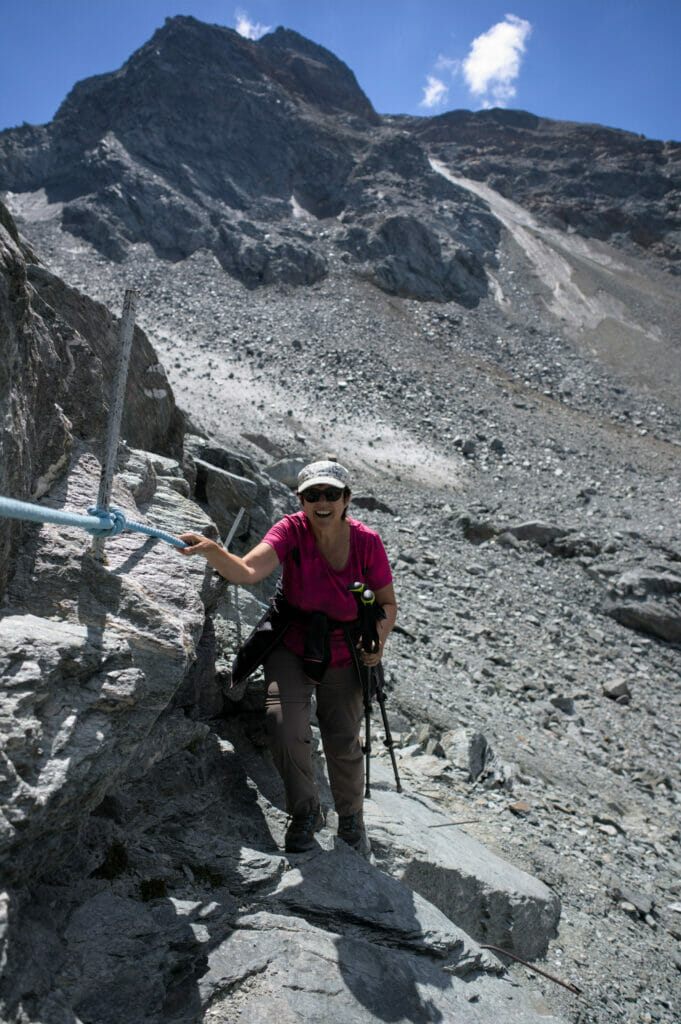
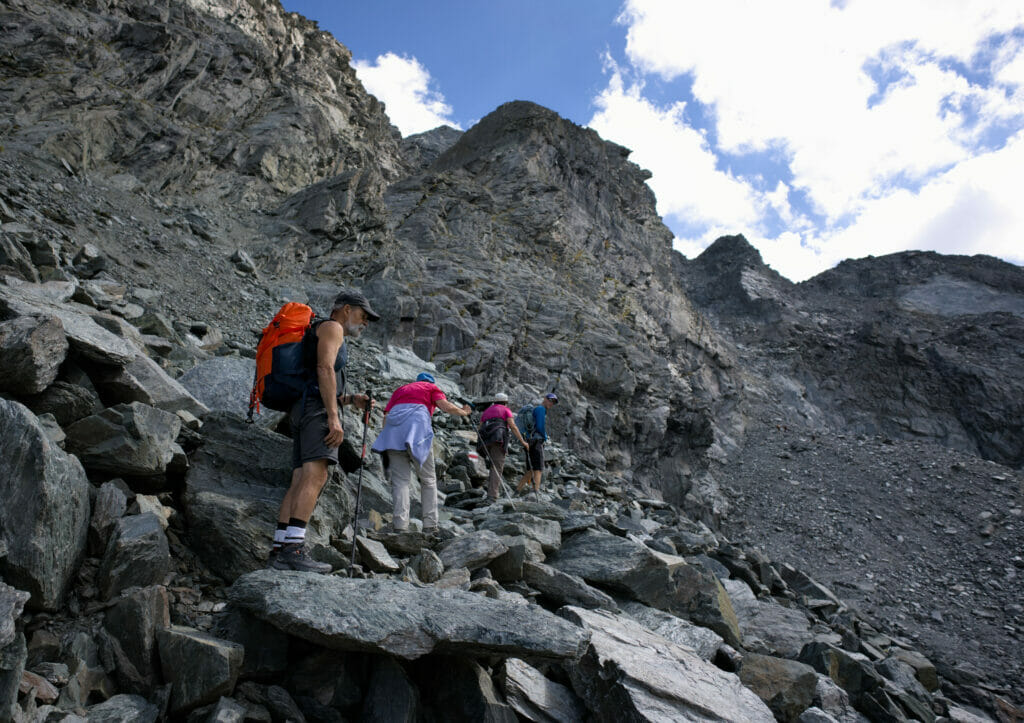
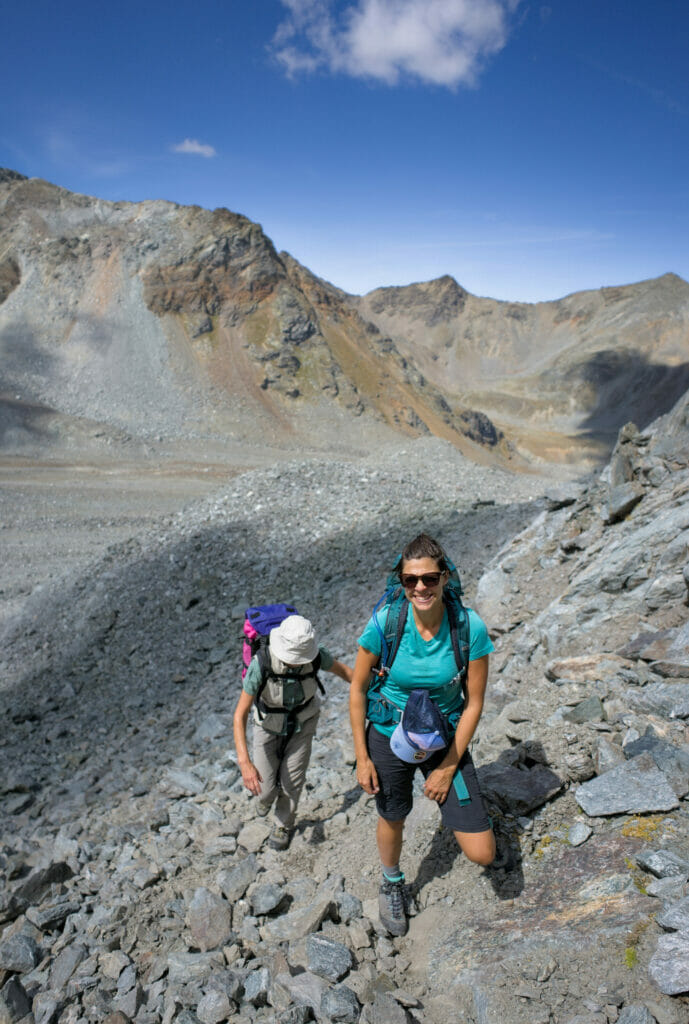
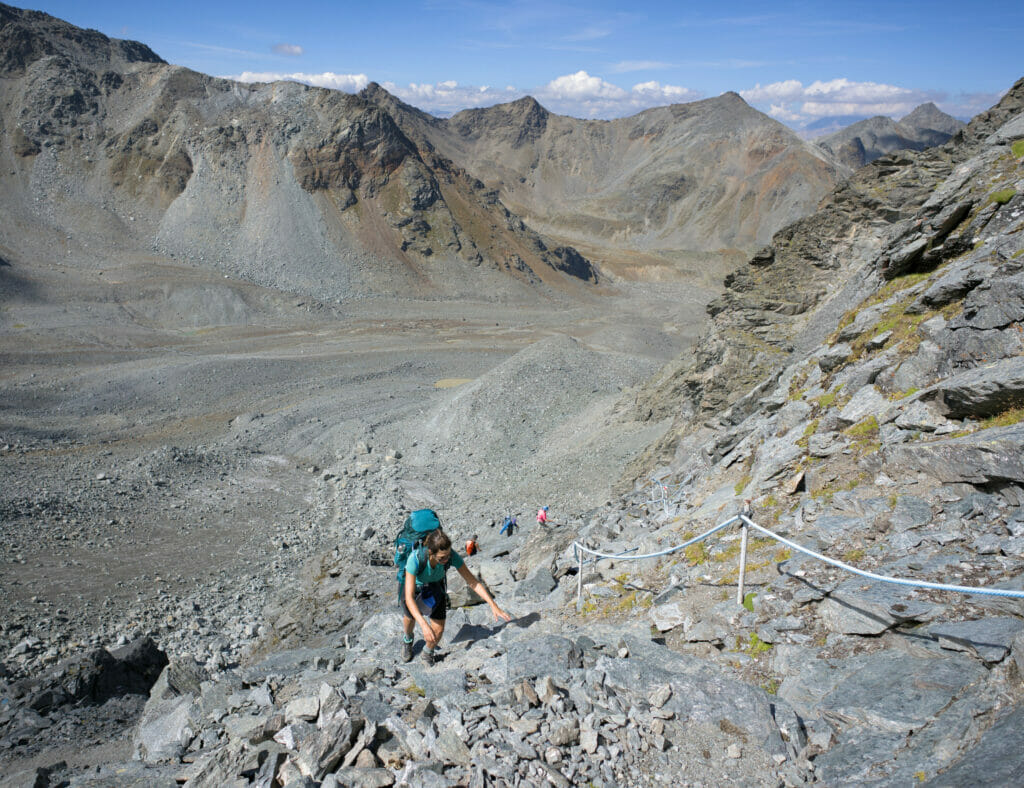
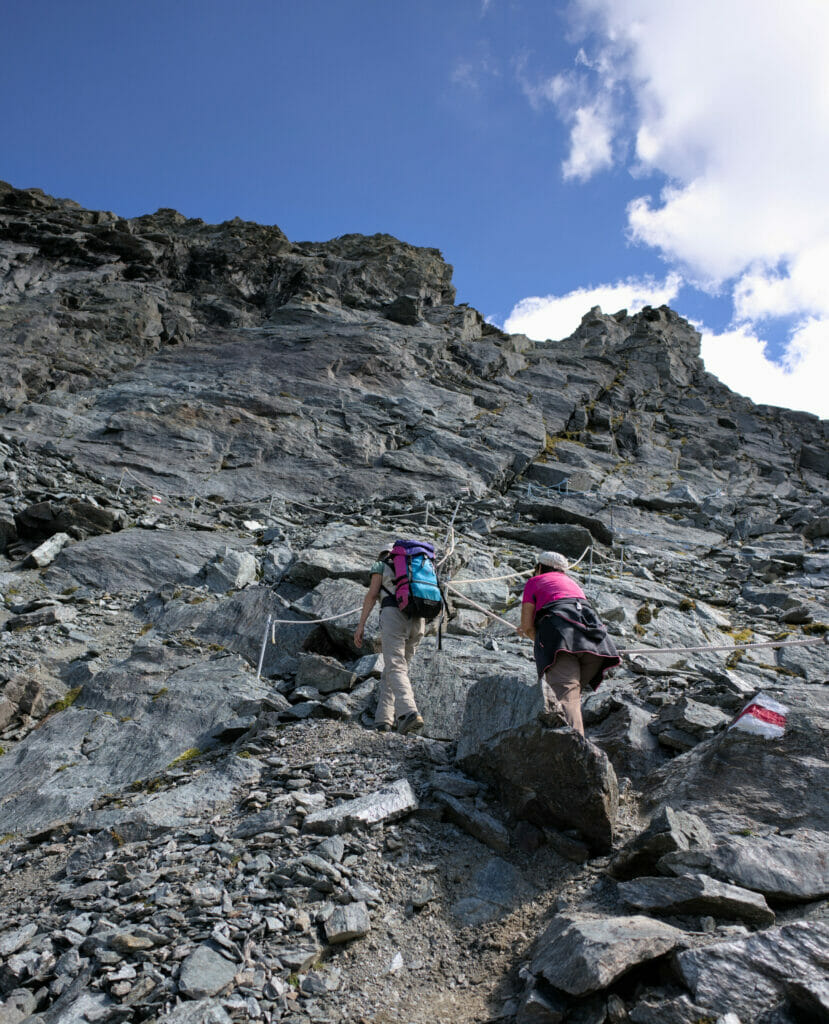
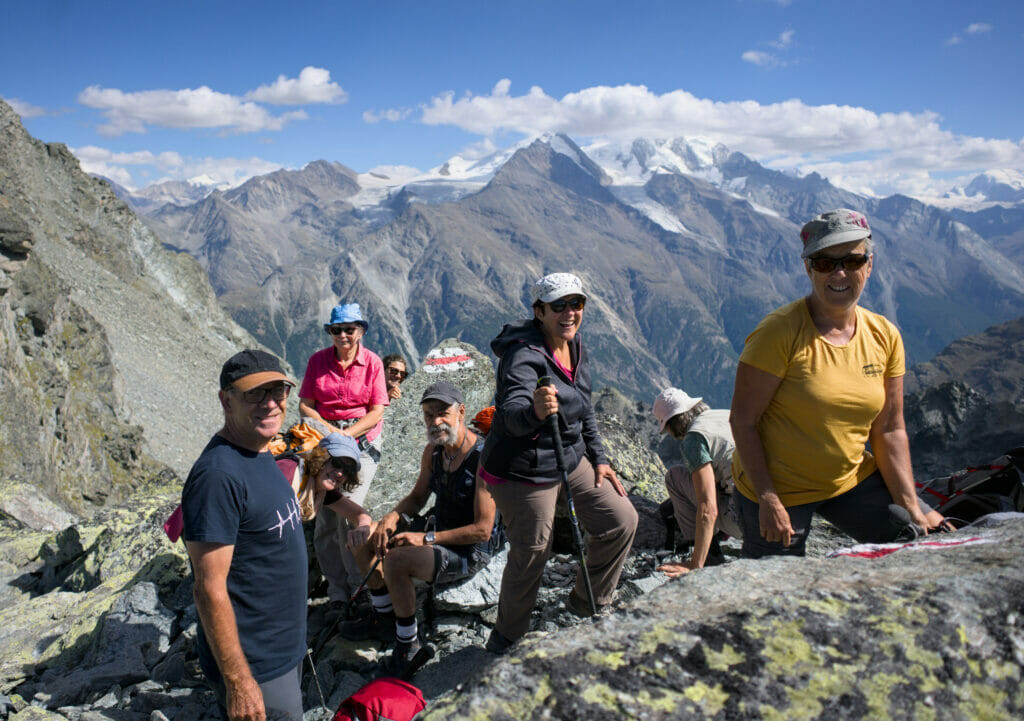
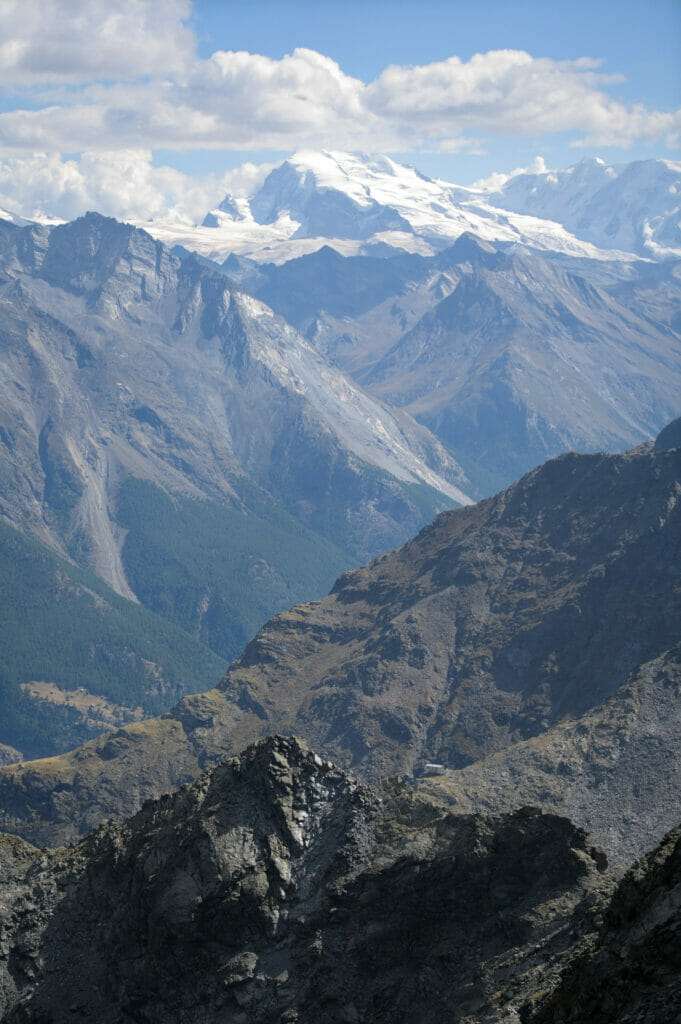
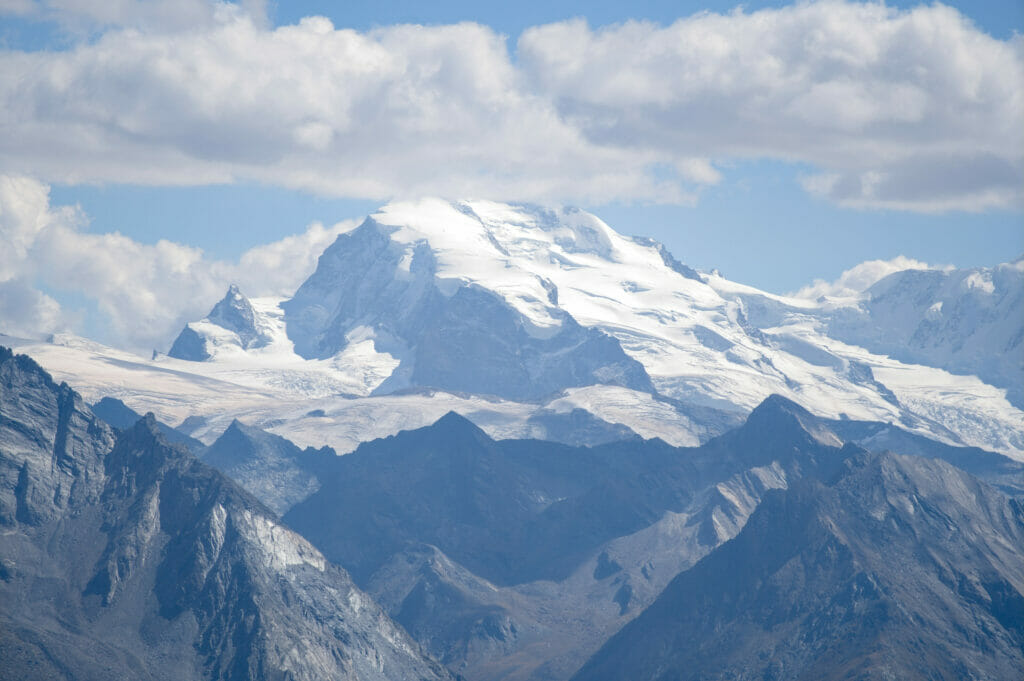
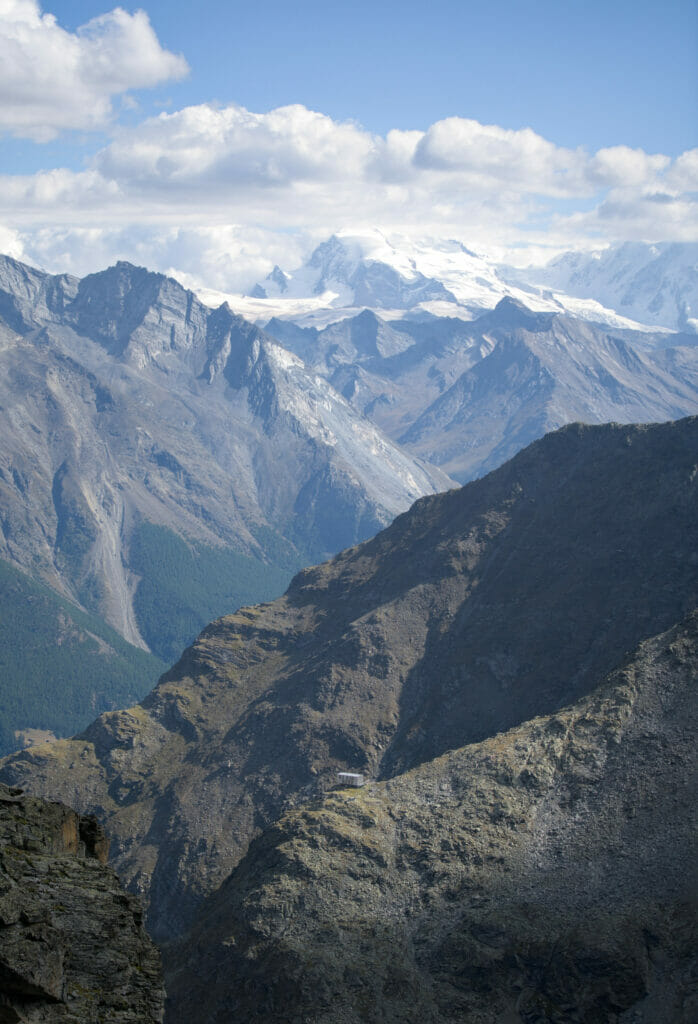
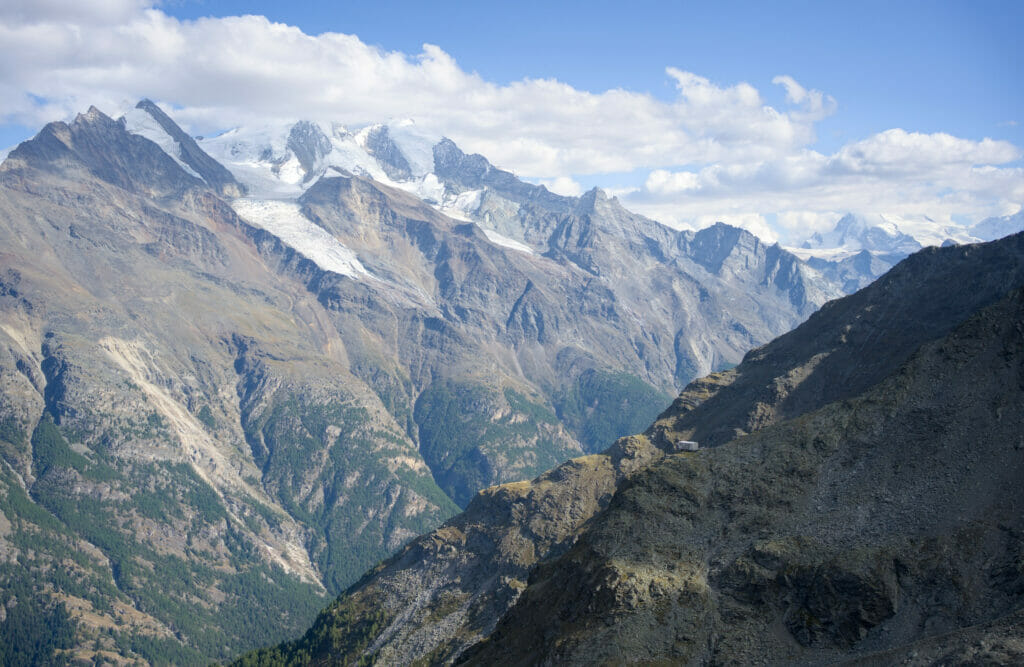
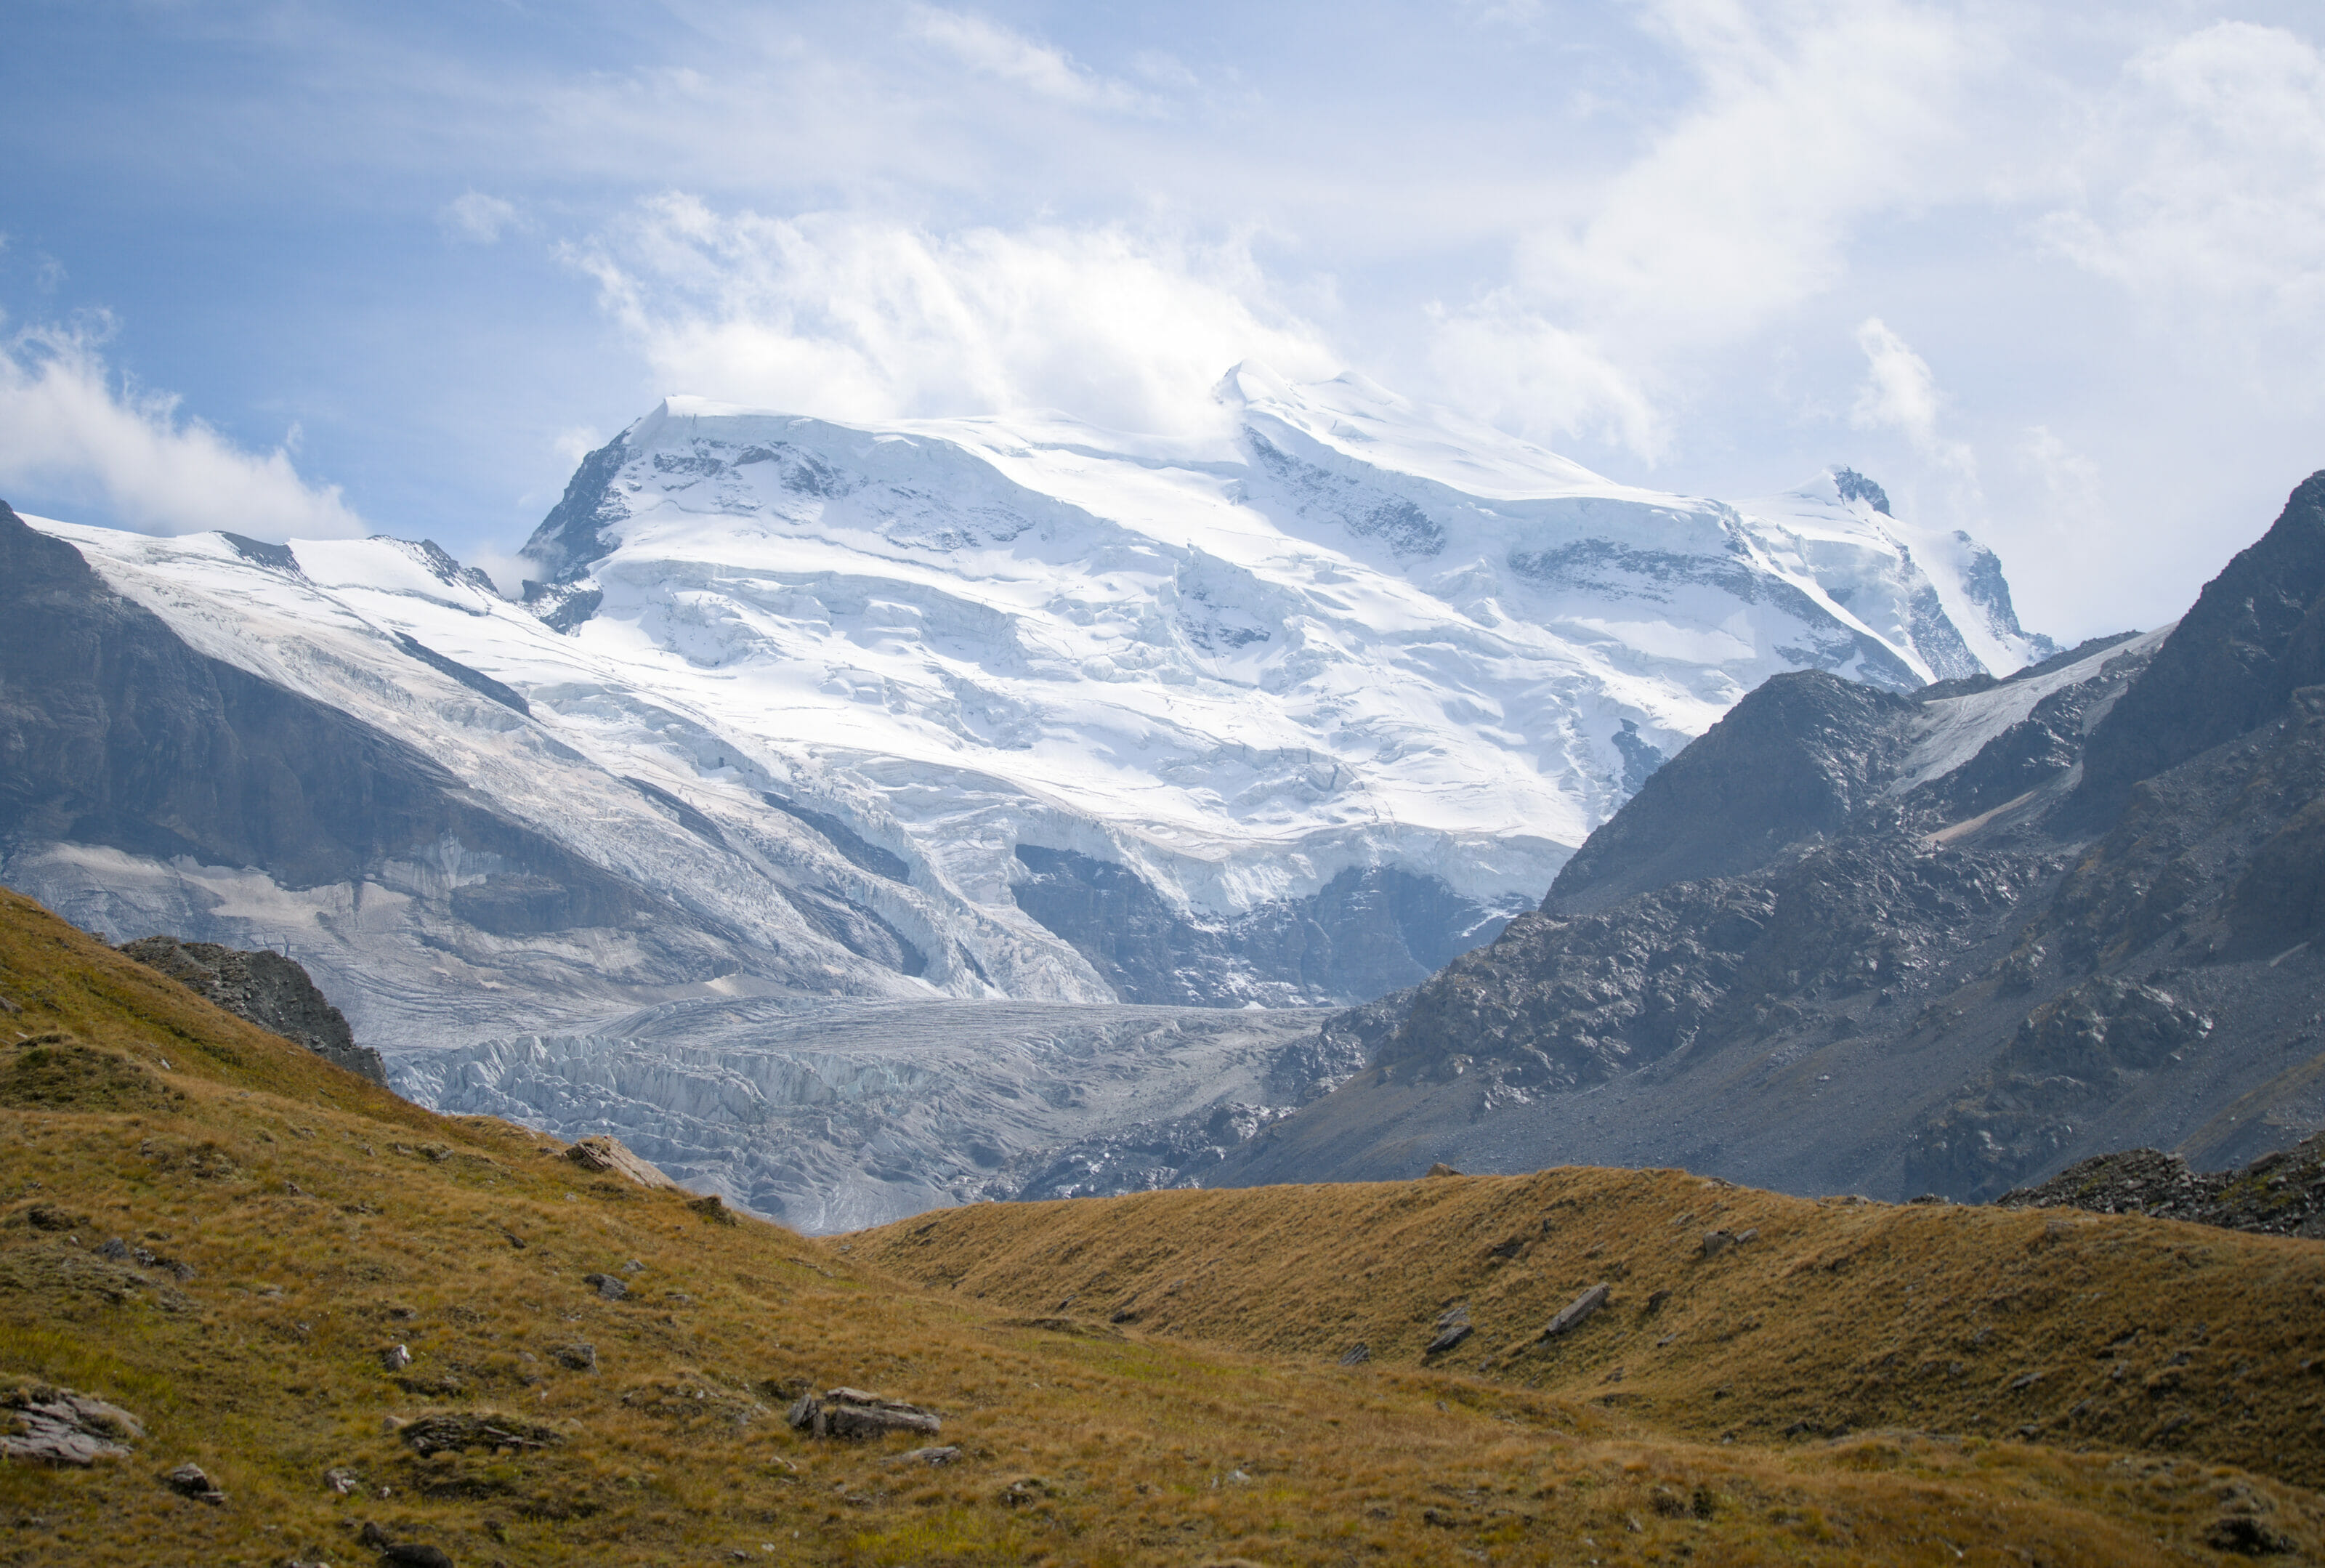
The Wasulicke passage is nevertheless at 3113m and really offers a magnificent alpine panorama on the 4000m+ peaks in the surroundings. It was worth the effort! On the other side, we have a breathtaking view on the Mischabel (Nadelhorn 4327, Dom 4546m, Täschhorn 4491m) and in the distance we can already see the Topali hut with the Monte Rosa range (4634m) in the background.
From Wasulicke to the Topali hut (2674m)
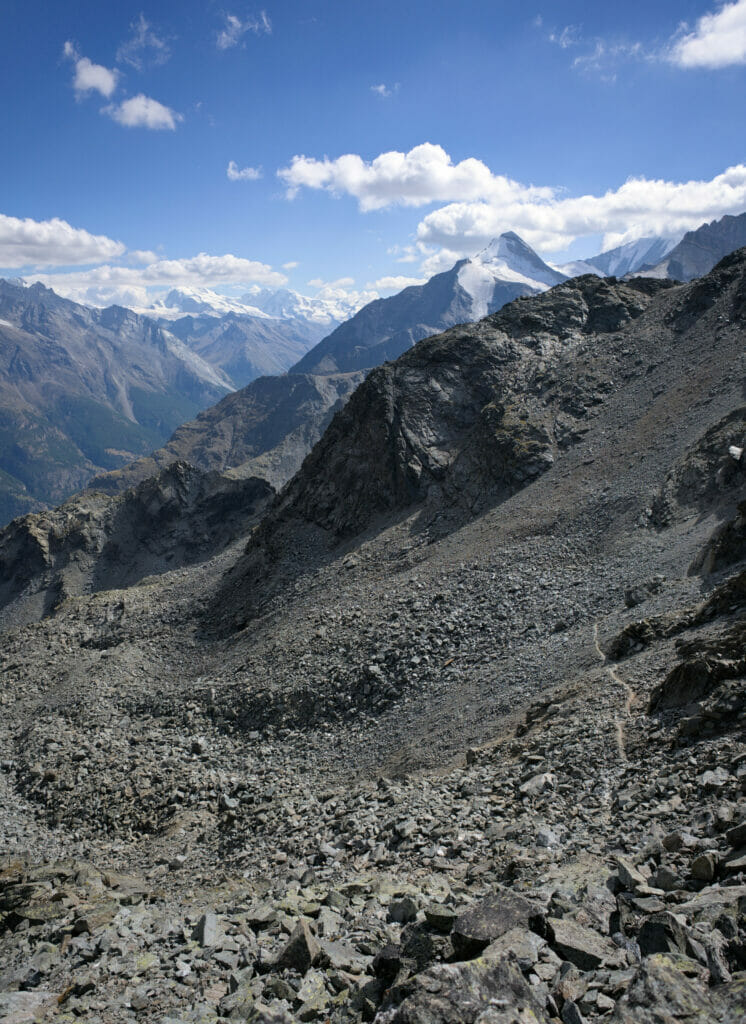
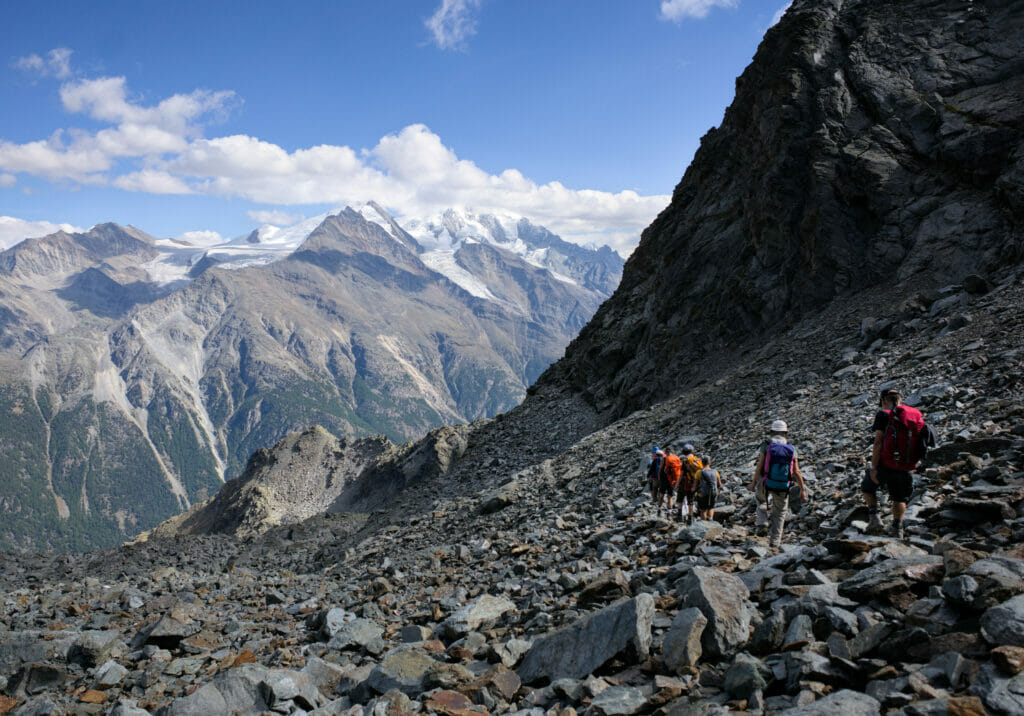
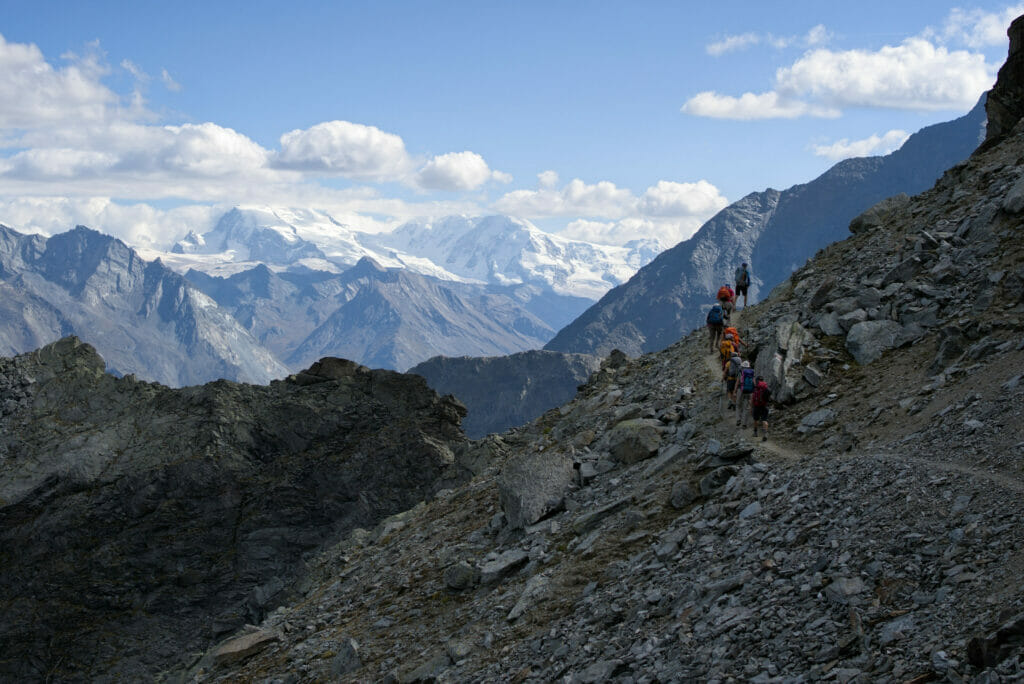
We “only” have to go back down 3,5kms to the Topali hut from the pass. The trail is easier on this side and if you’ve made it to the top on the other side, you’ll have no problem going that way.
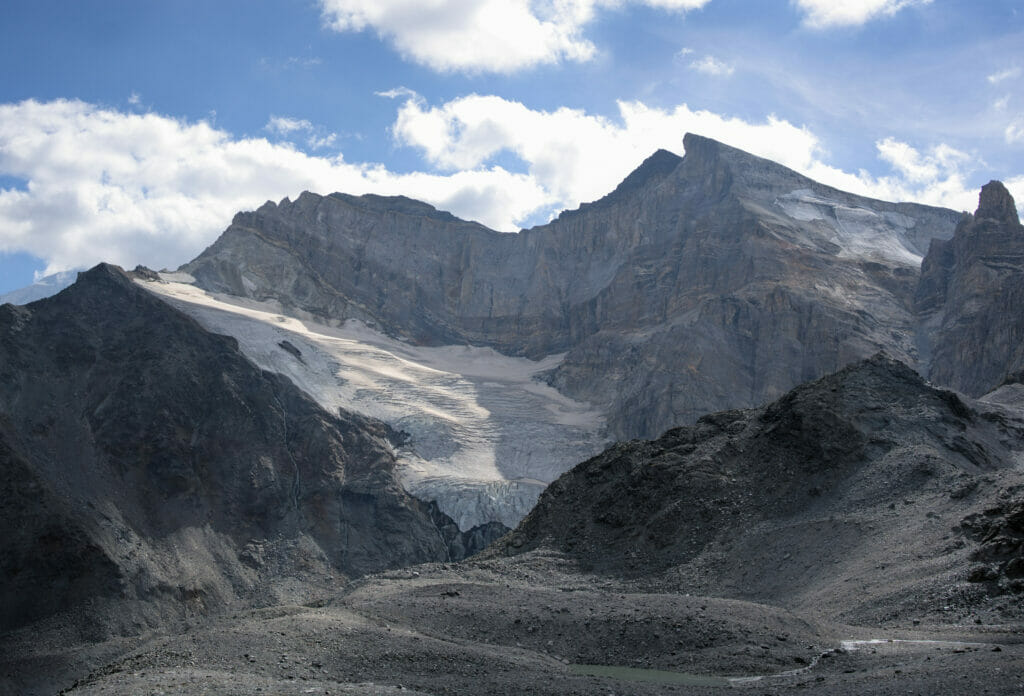
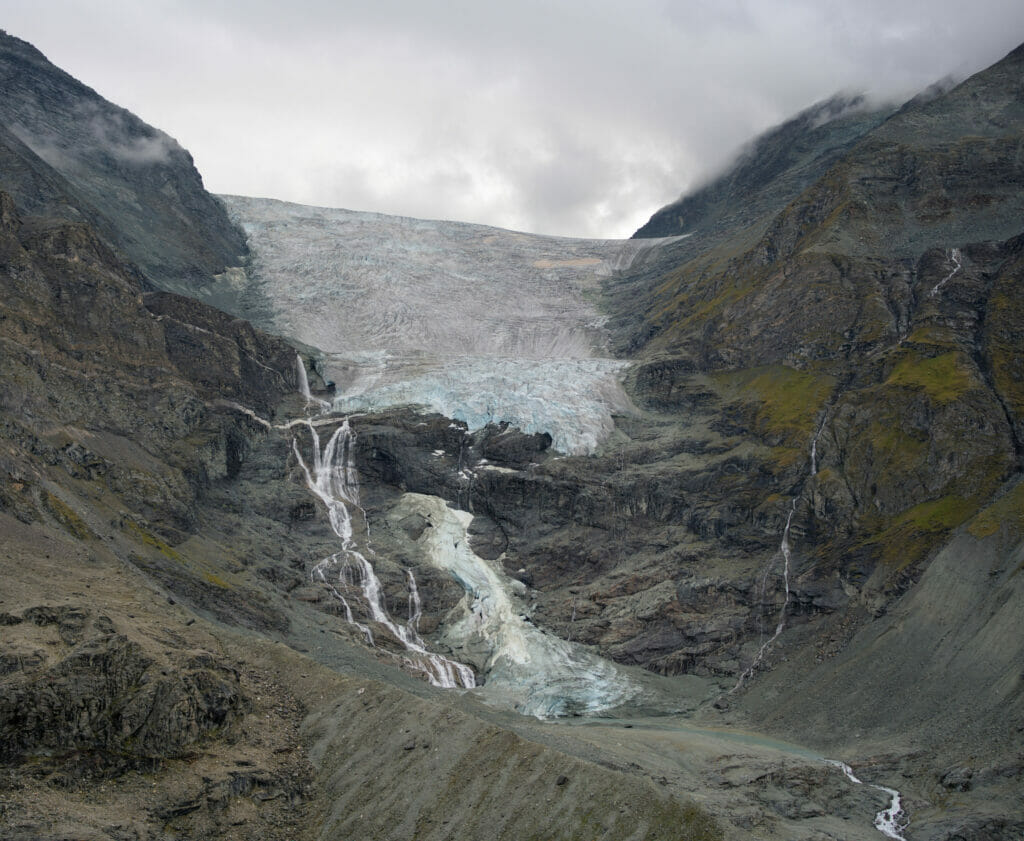
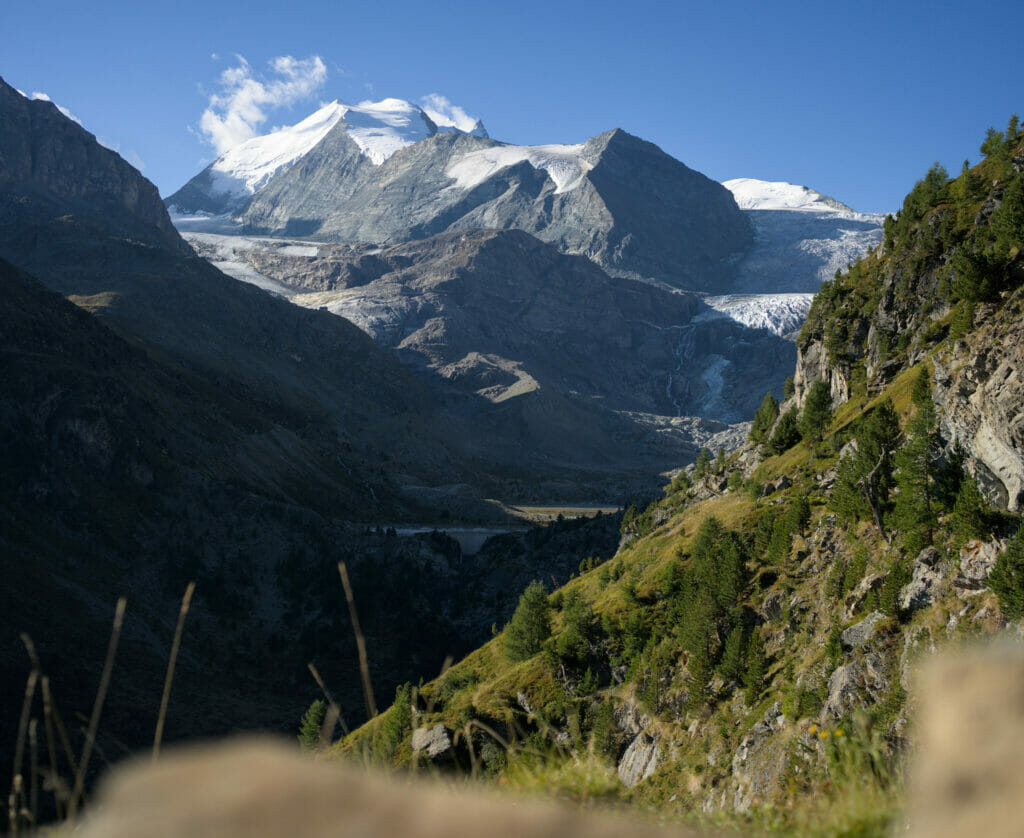
This balcony trail is really beautiful! We cross several small valleys and during the descent we see the Barrhorn and the Stelli glacier which appears on the right. From this side, we wonder how we are going to reach its summit the next day because this face of the mountain is so steep.
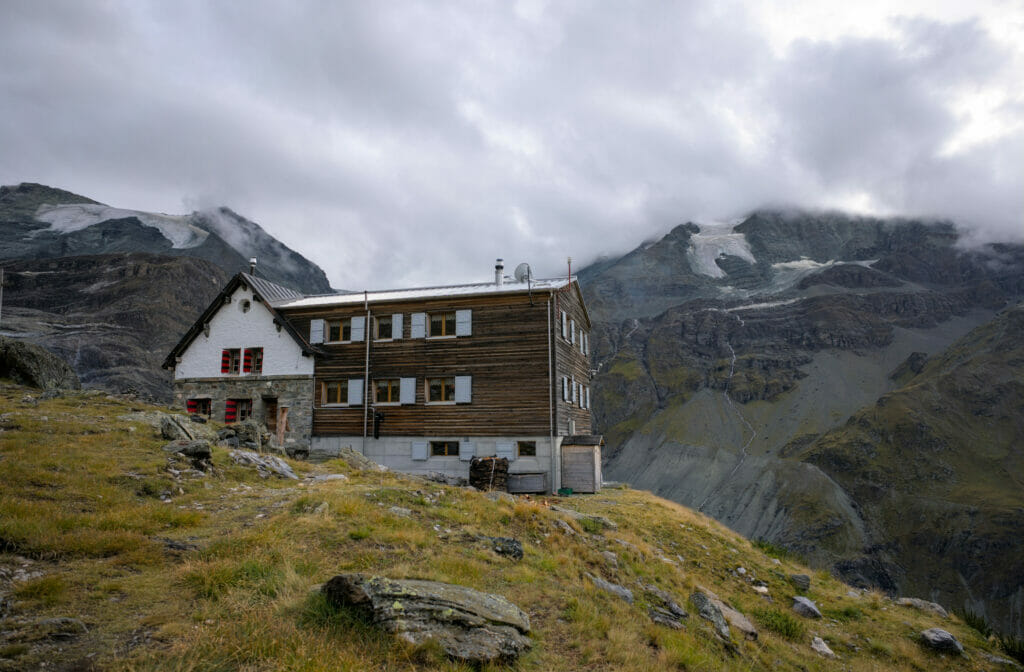
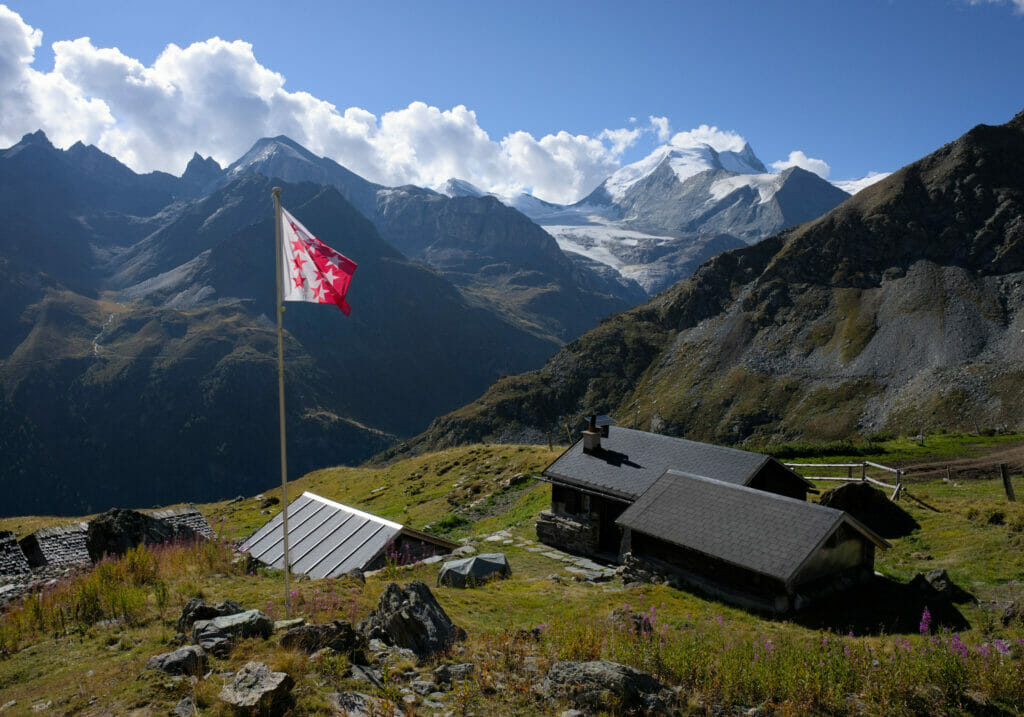
Finally after 1h30/2h of hiking from the Wasulicke, we arrive at the Topali hut. Located on a ridge at the foot of the Barrhorn, it offers an exceptional view on the Zermatt valley and the surrounding summits. As the dining room of the hut has a magnificent glass window, we could enjoy the panorama in the warmth of the hut with a good beer in the hand. #Whatelse 😉
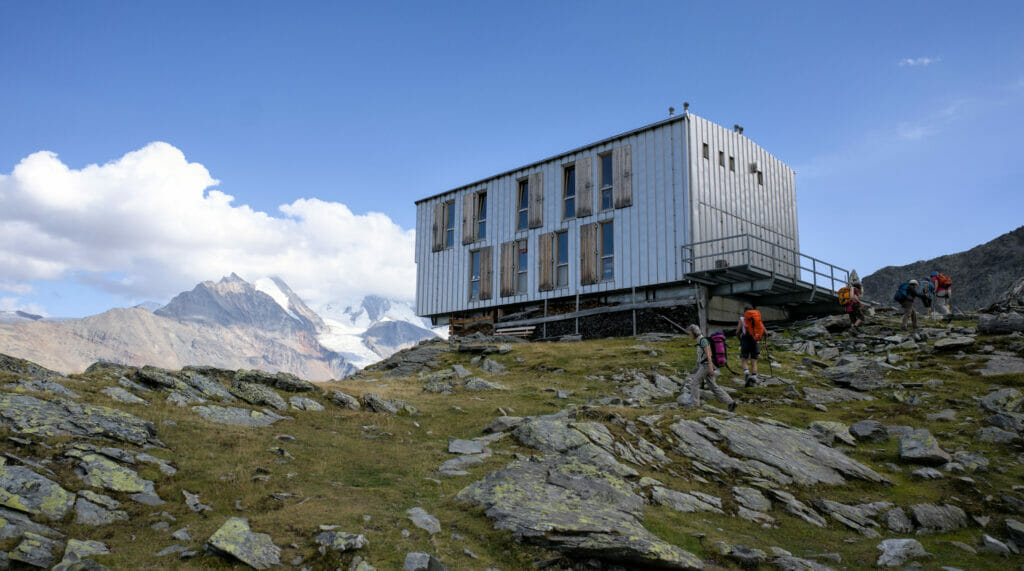
- Distance: around 11kms from the top of the cable car
- Elevation change: around 1200m d+ for 500m d-
- Duration: 6-7h
- Difficulty: T4 on the CAS scale. I let you have a look at this document if you don’t know the CAS scale of difficulty
- Useful links: the night with half board at the Topali hut costs 74chfs. You will find all the information on the hut’s website.
From the Topali hut to the Schöllijoch (3342m)
We had already noticed when we arrived at the hut the day before that the signs for the next part of the itinerary were turning blue… which means that we are going on a more demanding alpine route. But well, this is the advantage to hike with a professional mountain guide, we don’t have to take care of the security questions and he can secure us in case of need.
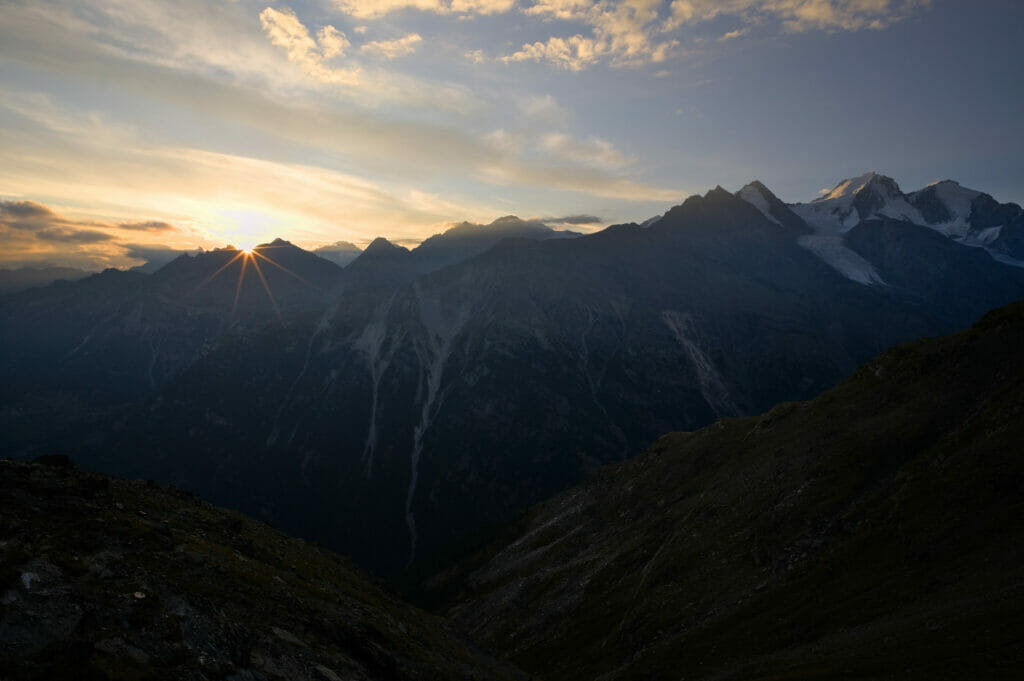
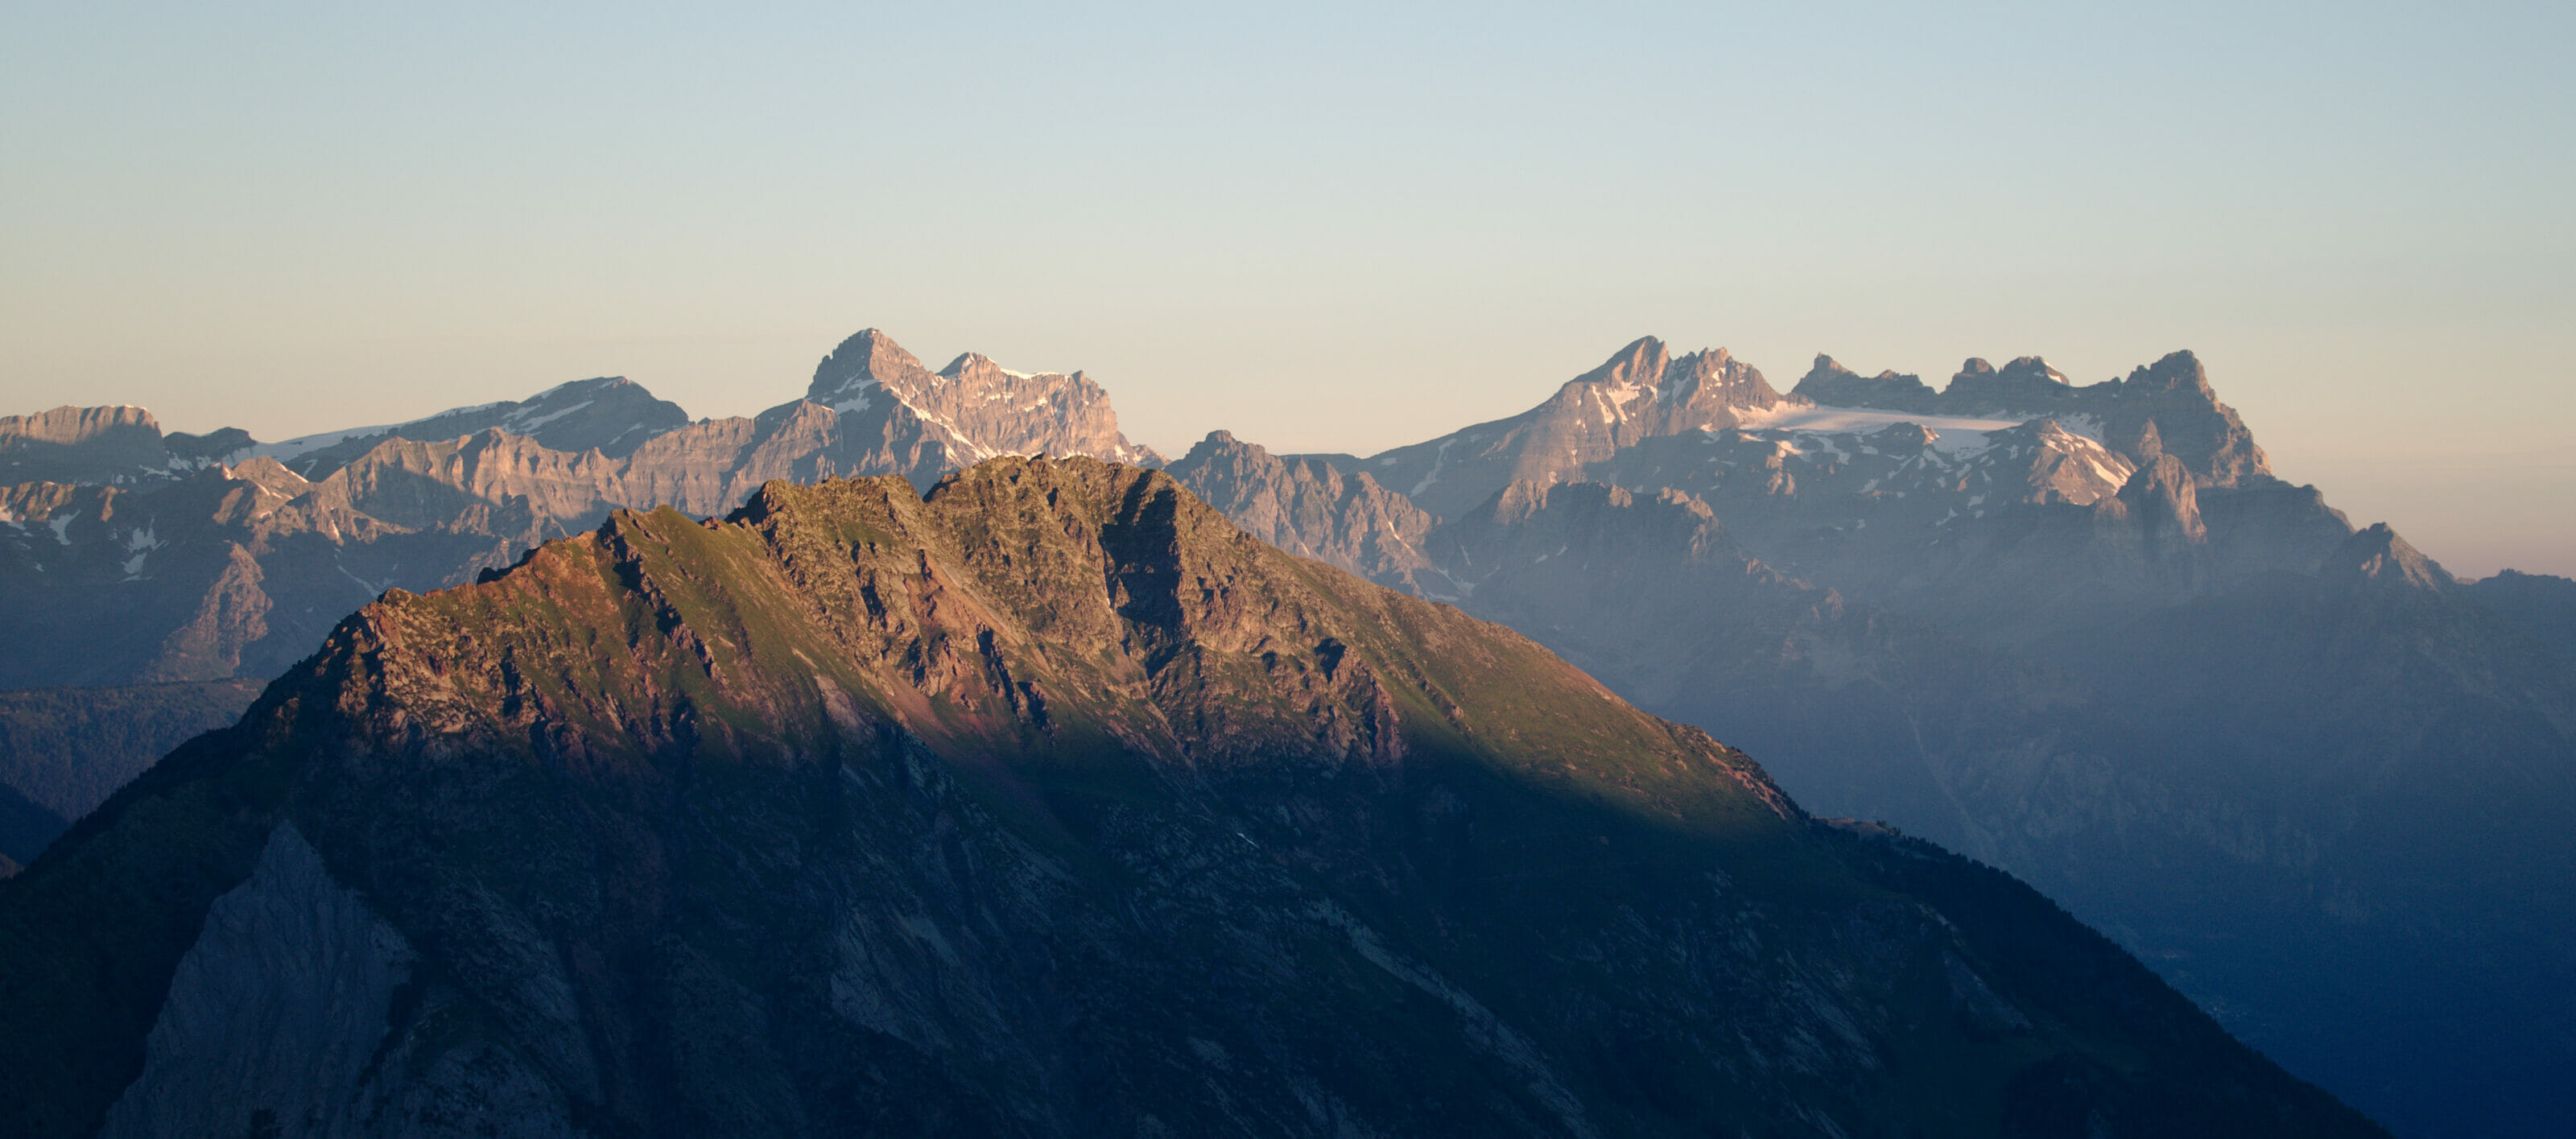
As the weather forecast was not the most glorious for the afternoon, we take off from the hut early in the morning. The colors on the surrounding summits are magnificent with the sun slowly showing its light.
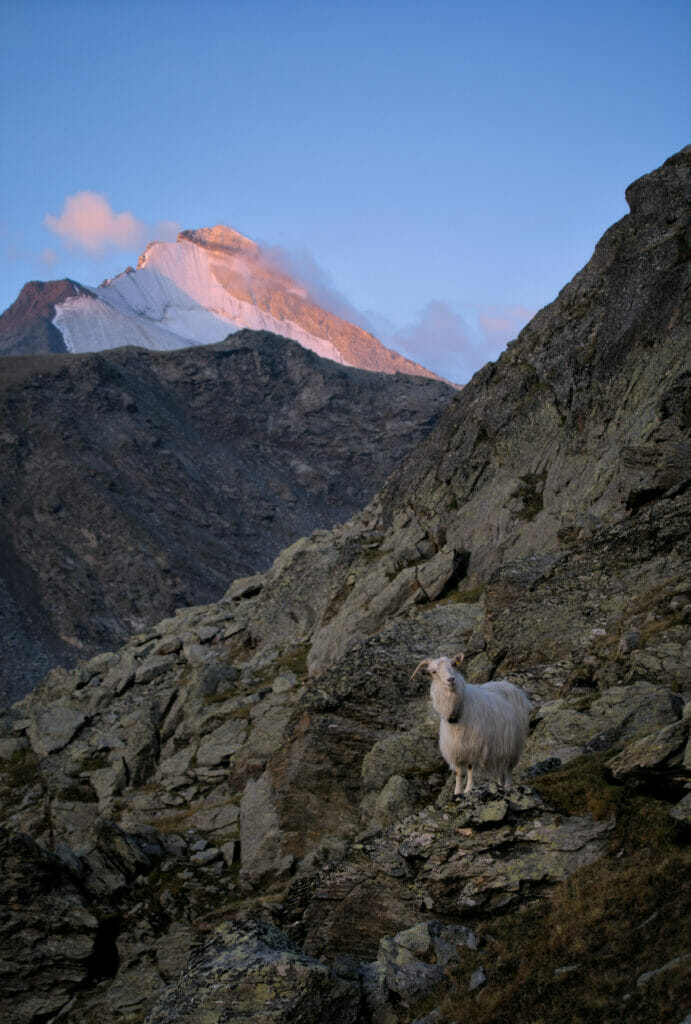
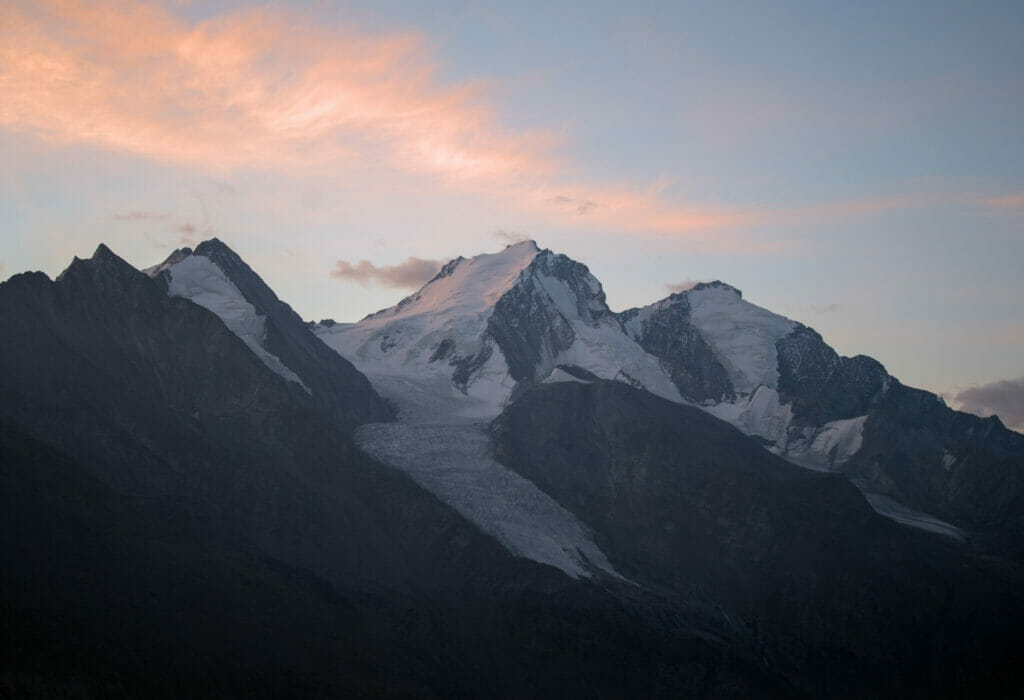
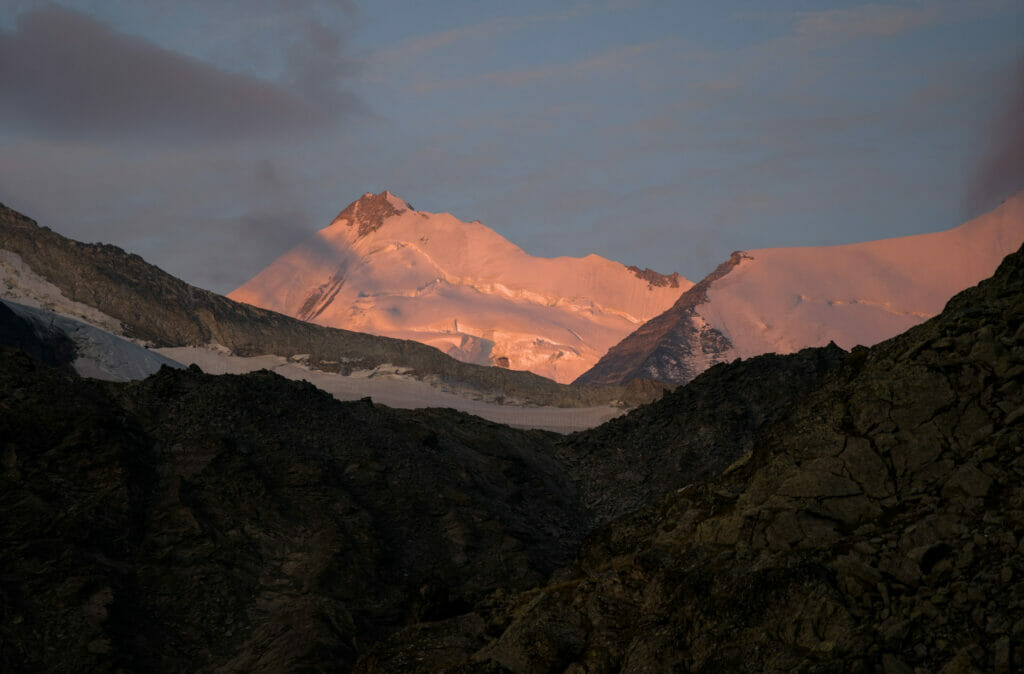
The first part of the climb does not represent any particular difficulty. We go up on a nice path offering a beautiful view on the Brunegghorn and the Abberg glacier. As often in the morning, we have the chance to see in the distance some ibexes that are much more in their environment than we are 😉
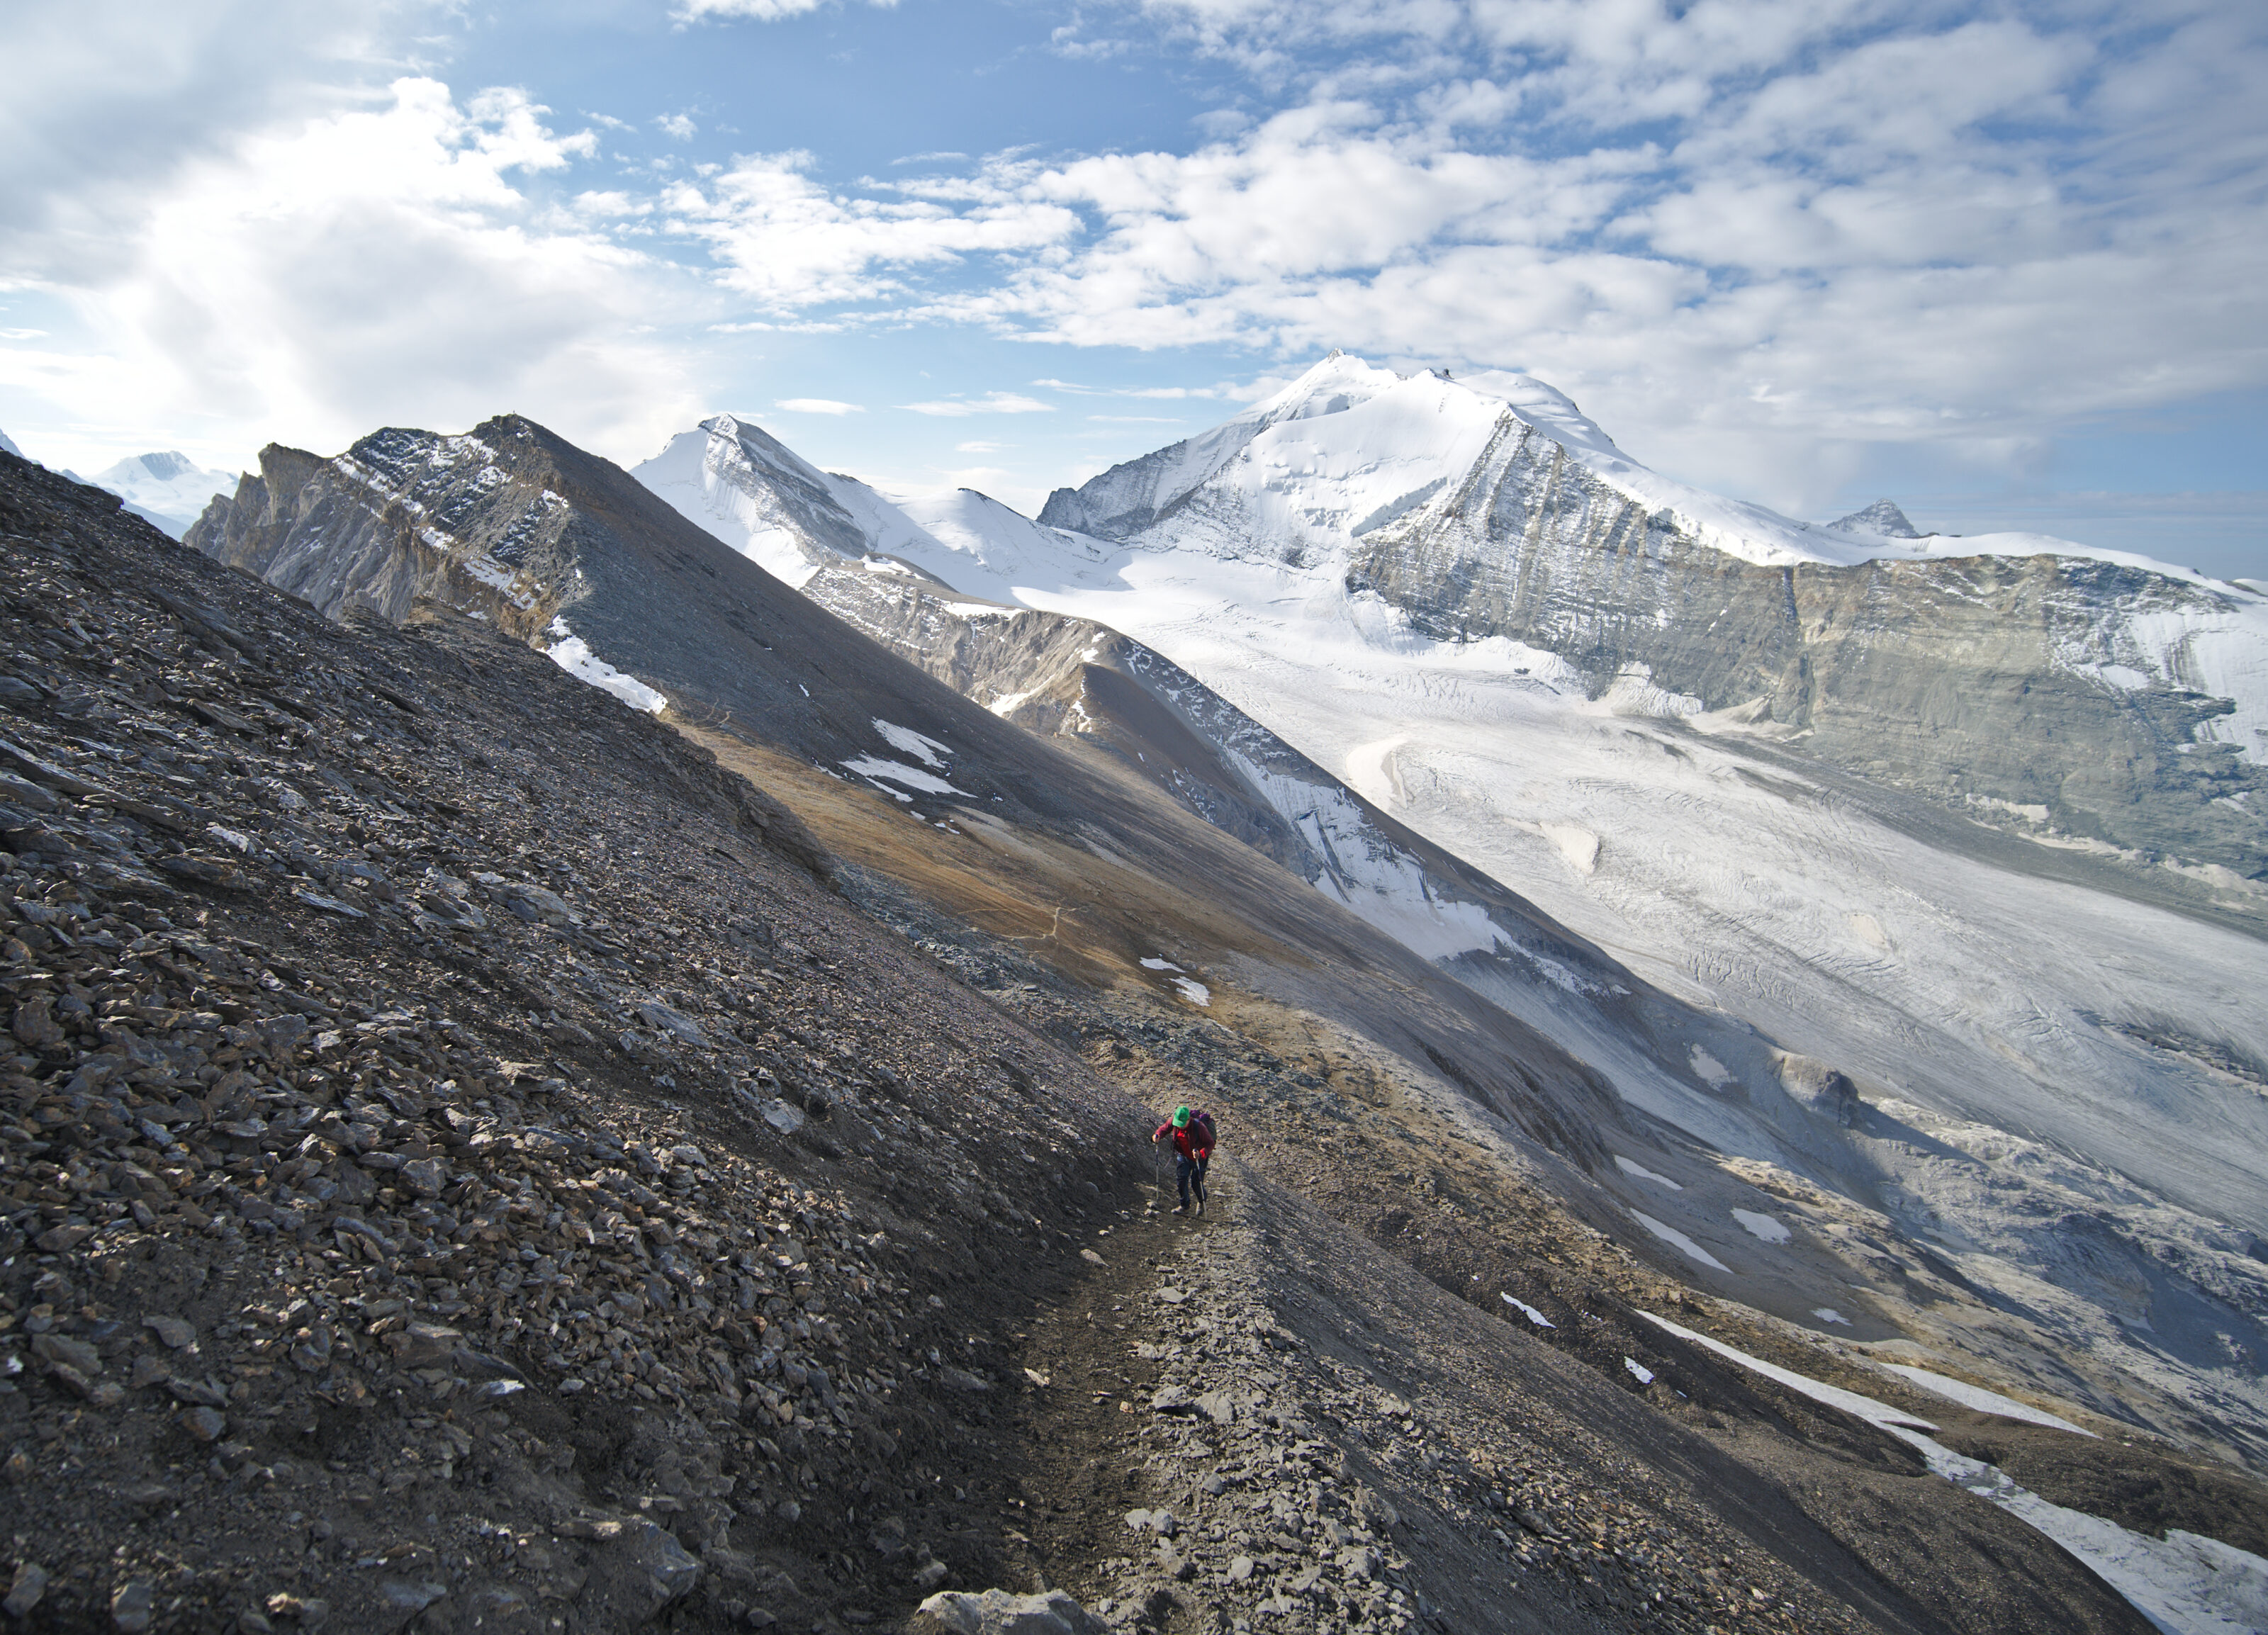
We continue to climb on the moraine and soon we arrive on the Schölli glacier… This one is flat, with very few crevasses and is crossed easily on foot without special equipment. On the other hand the weather is turning and it starts to rain a little… not so good because we just reach the Schöllijoch passage.
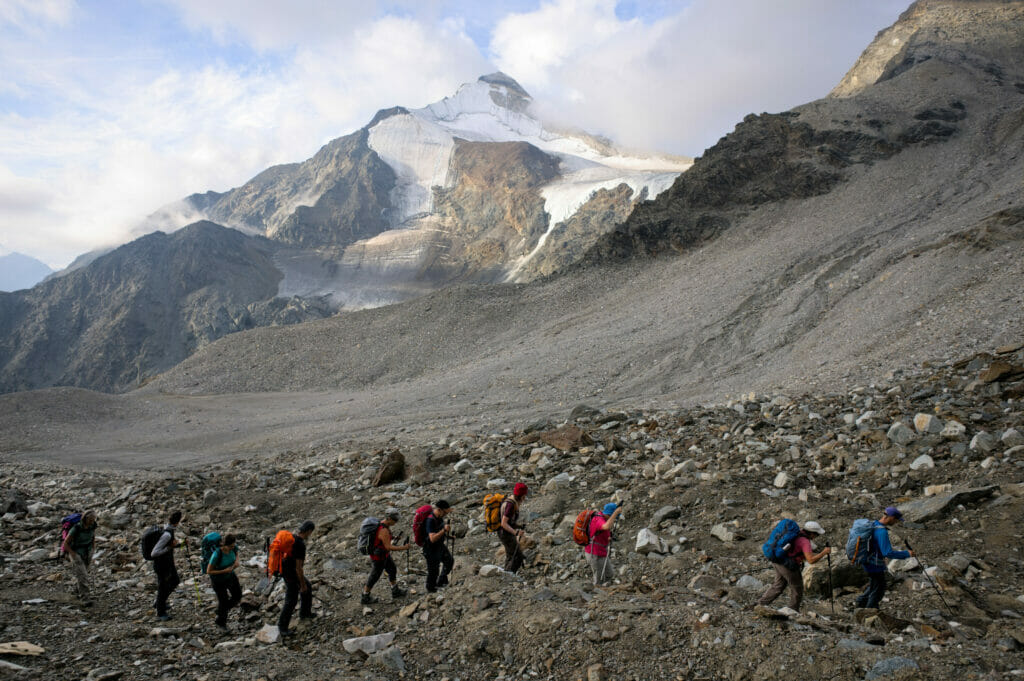
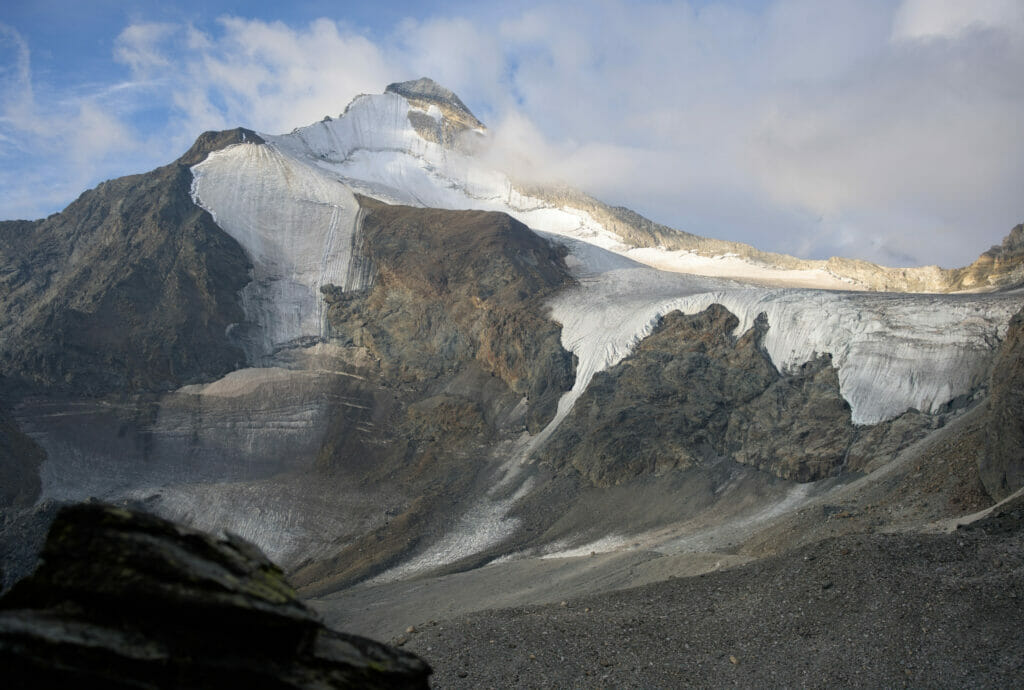
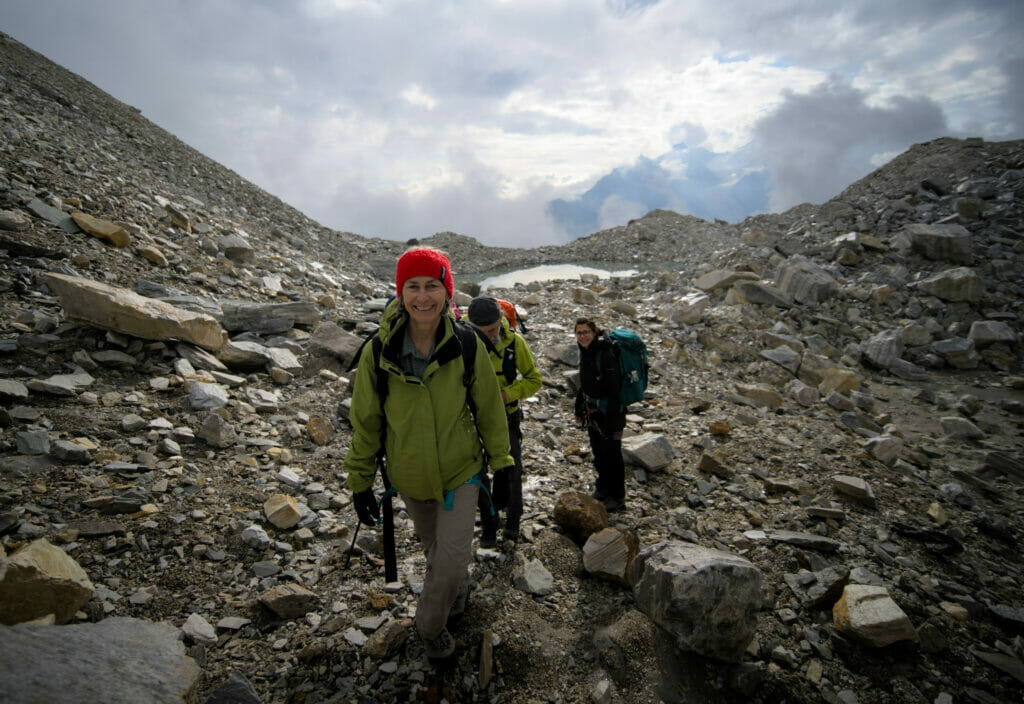
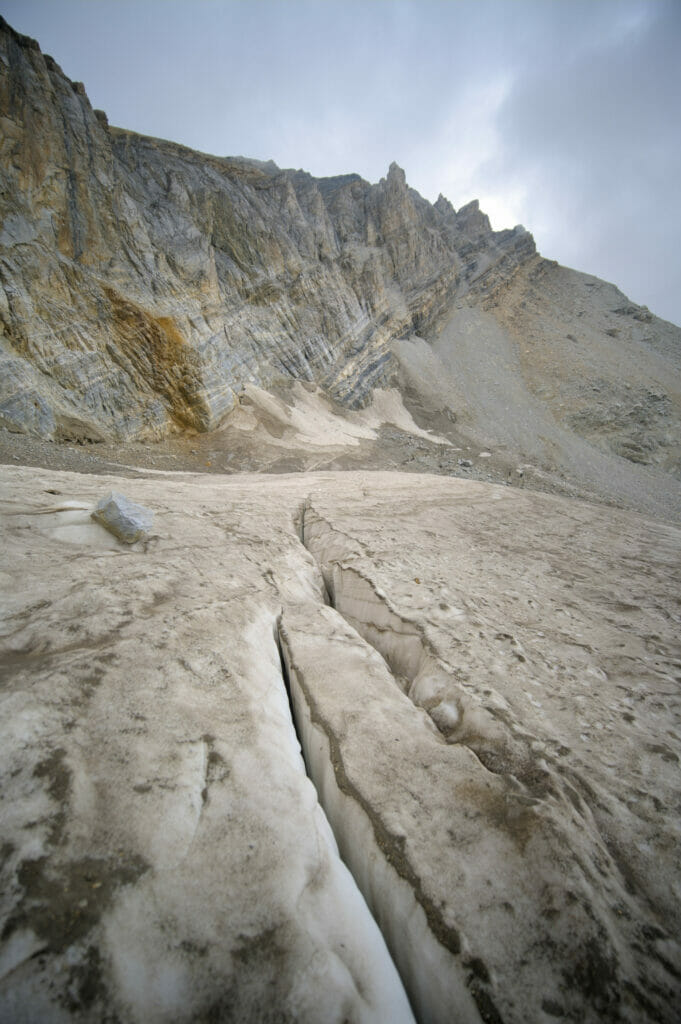
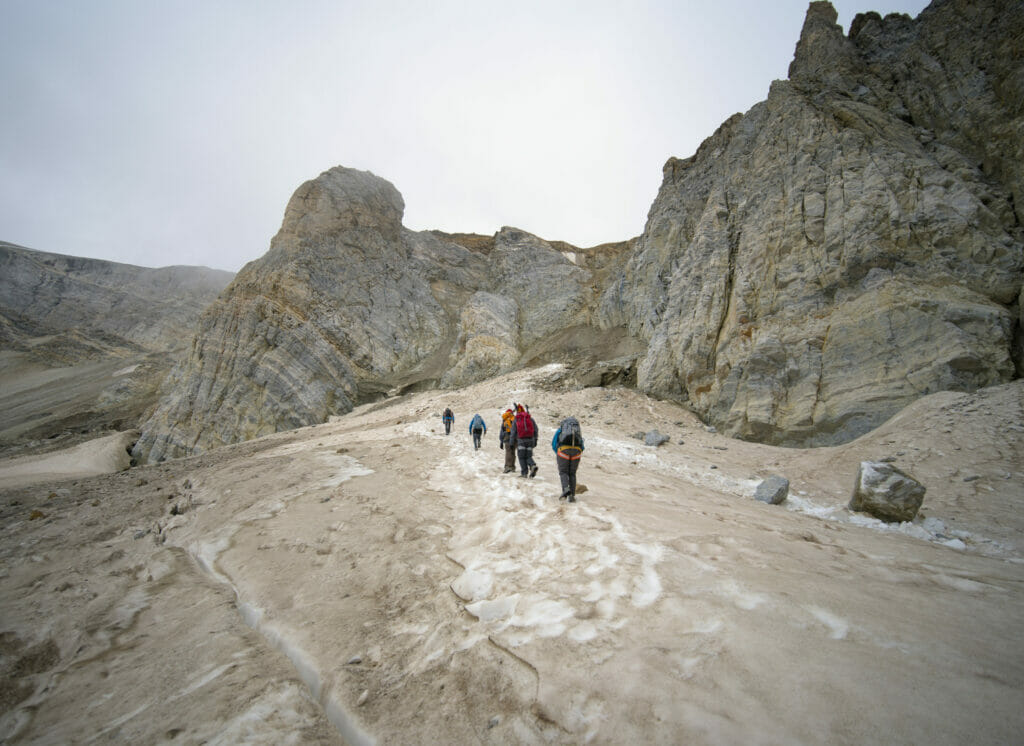
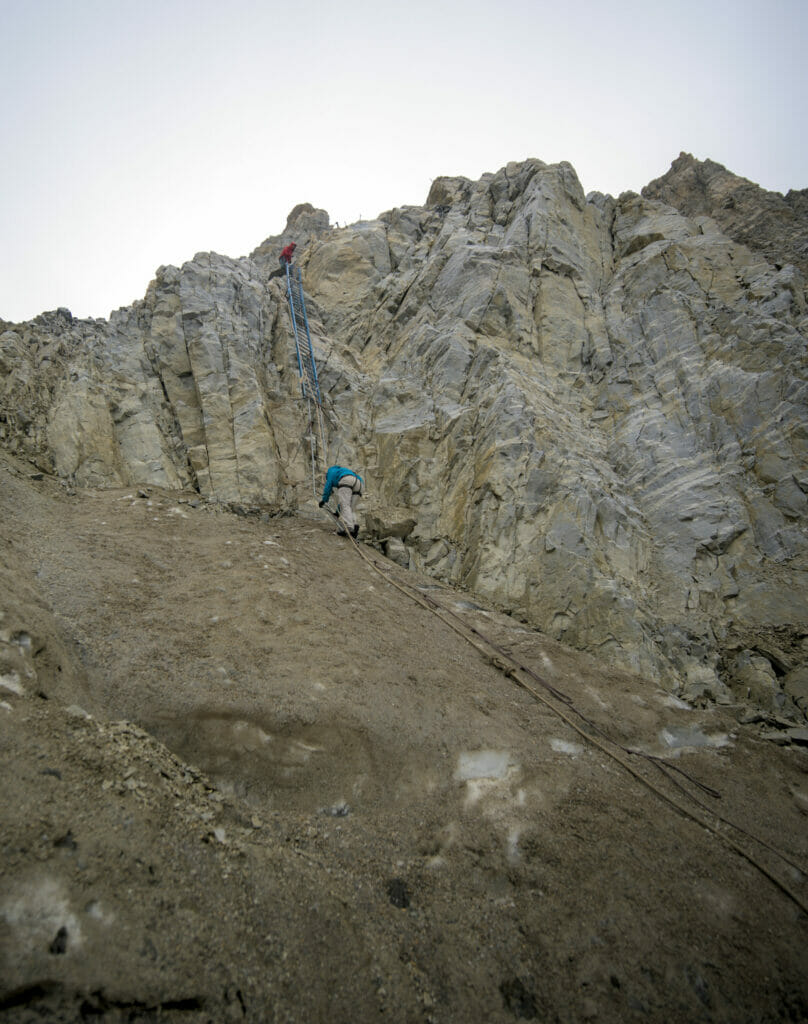
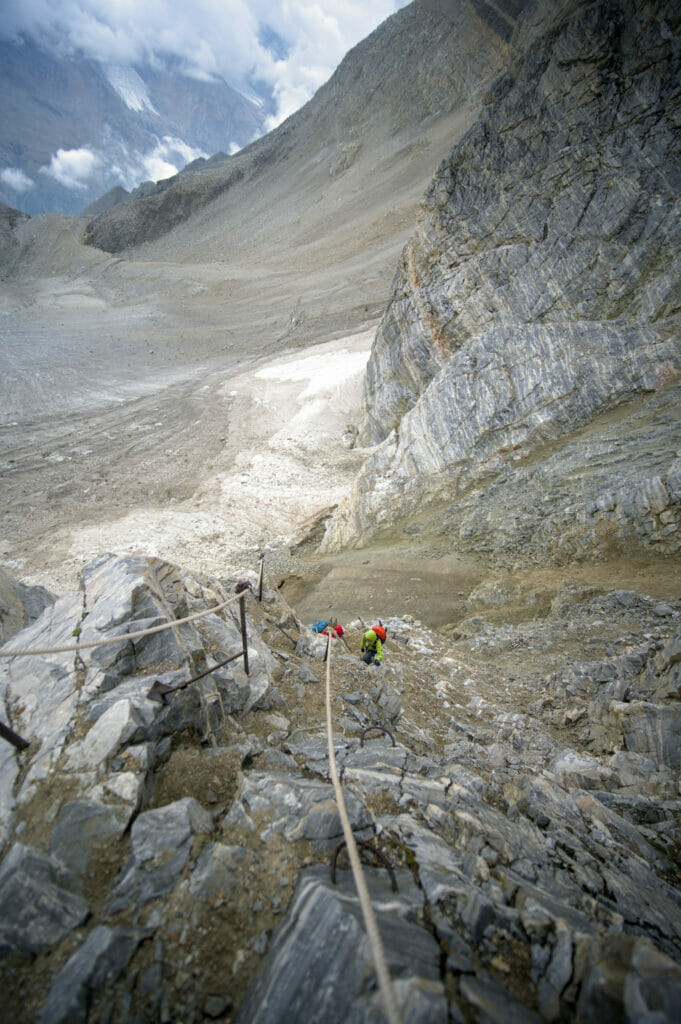
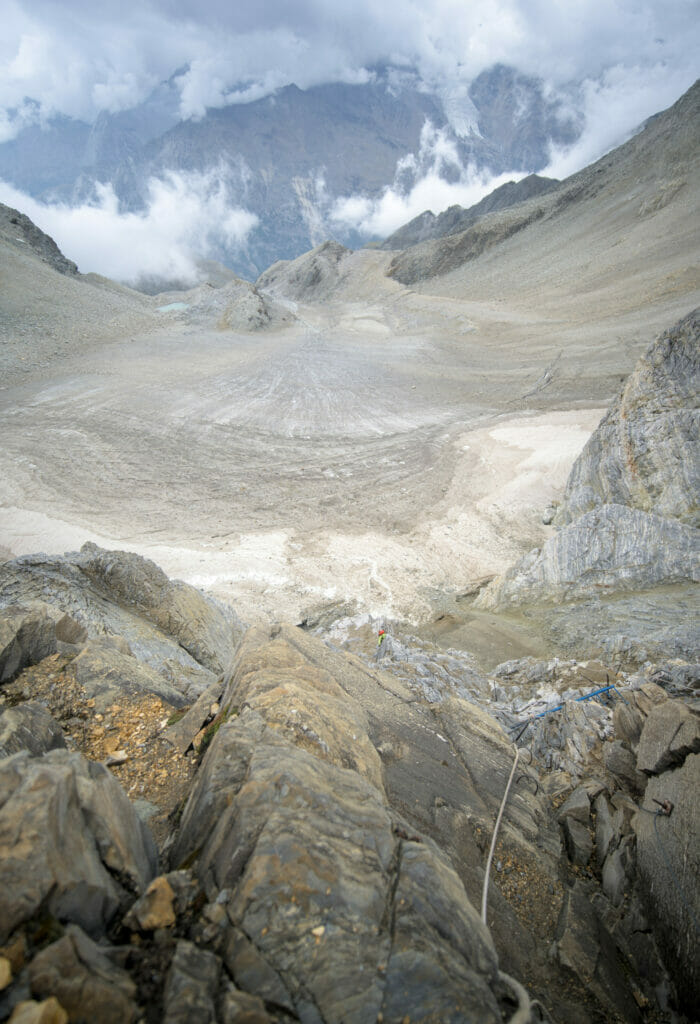
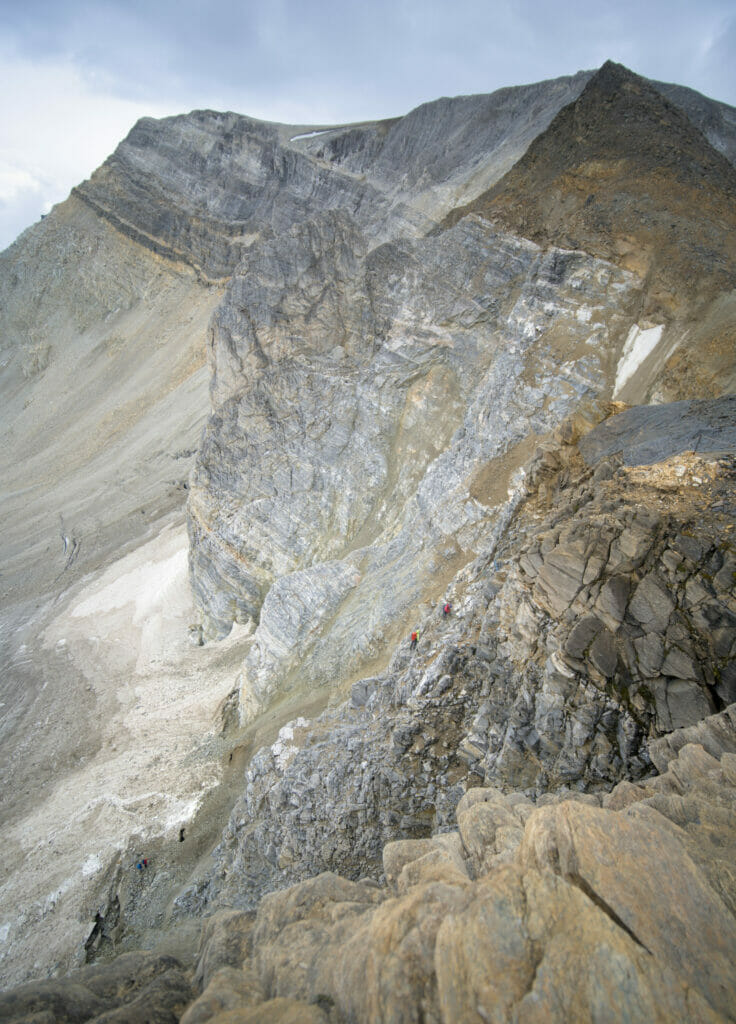
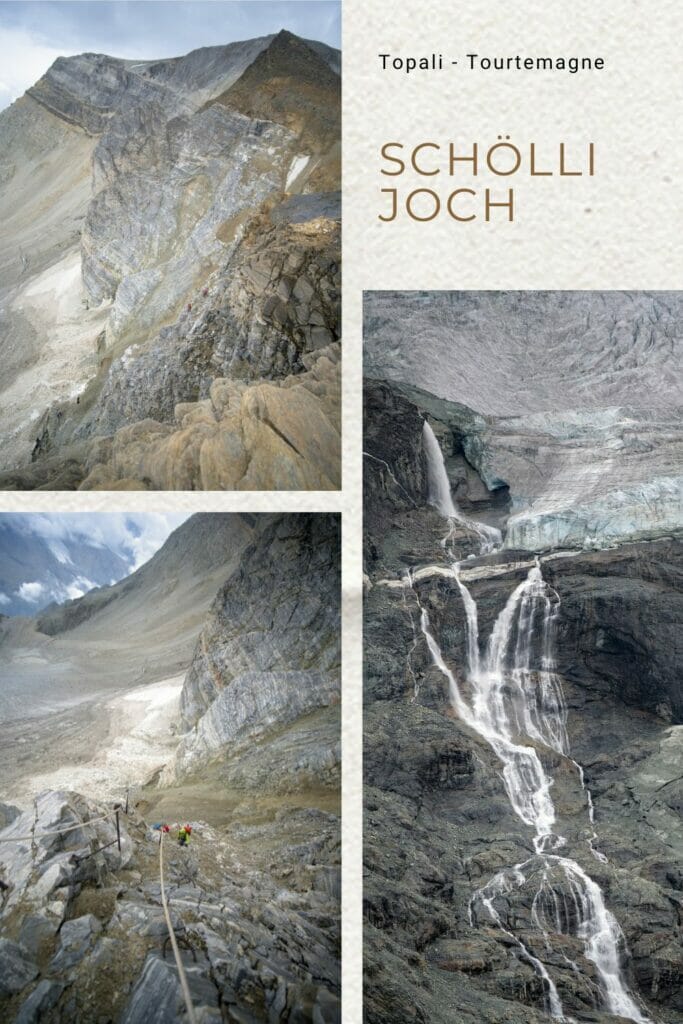
The Schöllijoch is the most difficult part of the day (T5 on the CAS scale)! It is first composed of a big ladder and then a sort of Via Ferrata which let you climb the last 80 meters to the pass. In our case, after a particularly hot summer (we did this hike at the end of August), there was no more snow to reach the bottom of the ladder. We had to pull ourselves on the ice to the bottom of the ladder with the help of a rope which was fixed for this purpose (photo 1 below). An operation not necessarily easy for everyone even if we were secured by our guide.
Add to that the risk of rock falls at the bottom of this passage (it’s better to wait a bit further down the glacier if there are people in the passage)… and you’ll understand why the Schöllijoch is not necessarily for everyone.
For people who are used to this kind of passage equipped with ropes and ladders, this is not necessarily a problem (besides, a group before us passed there without any particular equipment). But as far as I am concerned, I would feel comfortable going over the Schöllijoch without a guide, only with Via Ferrata gear and a helmet. But for people like my parents, they would have never climbed this pass without the help and safety of our mountain guide.
Here are some pictures to give you an idea… not for people prone to vertigo (you can click on the pictures to enlarge them):
From the Schöllijoch to the top of Barrhorn (3610m)
After the thrill of the Schöllijoch, we divided into 2 groups for the rest of the program. A group who had their adrenaline dose and preferred to go down directly to the Tourtemagne hut. A 2nd group ( including me) who still wanted to go up to the top of Barrhorn despite the rather uncertain weather.
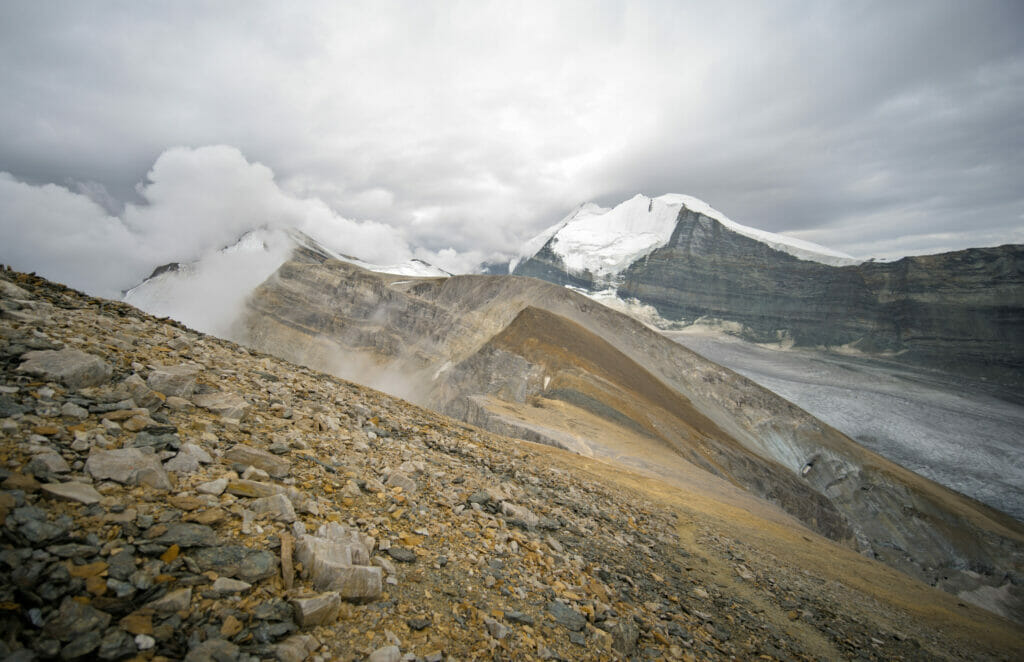
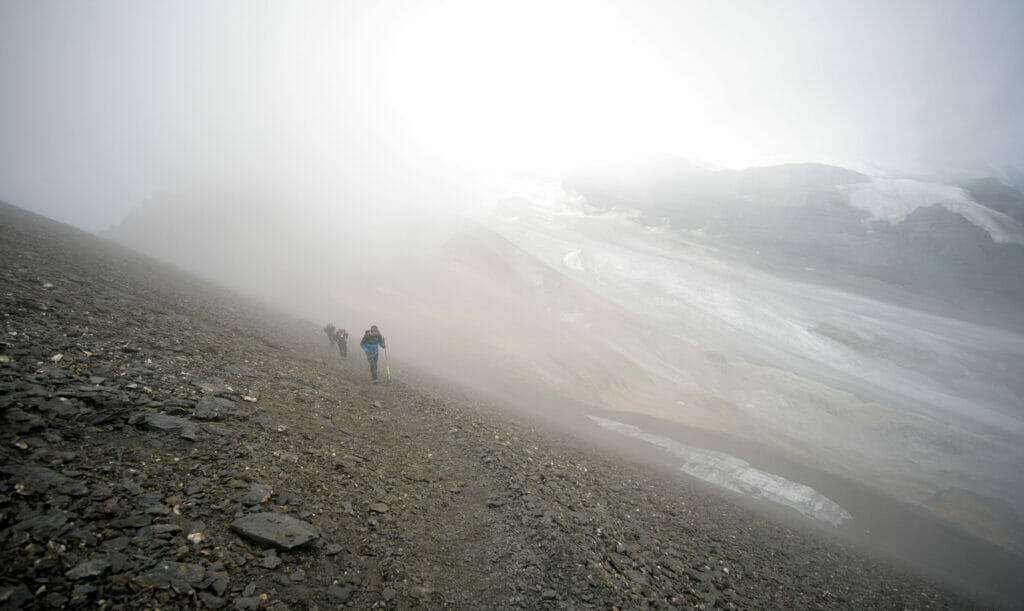
From the Schöllijoch it is only 300m uphill on a fairly easy path to the Barrhorn summit. The path first passes under the “Inners Barrhorn”. Behind us, the view on the Brunegg glacier, the Bishorn (4151m) and the Weisshorn (4505m) is impressive. In front of us, we can still see the summit of the Barrhorn even if the clouds are dangerously catching up with us.
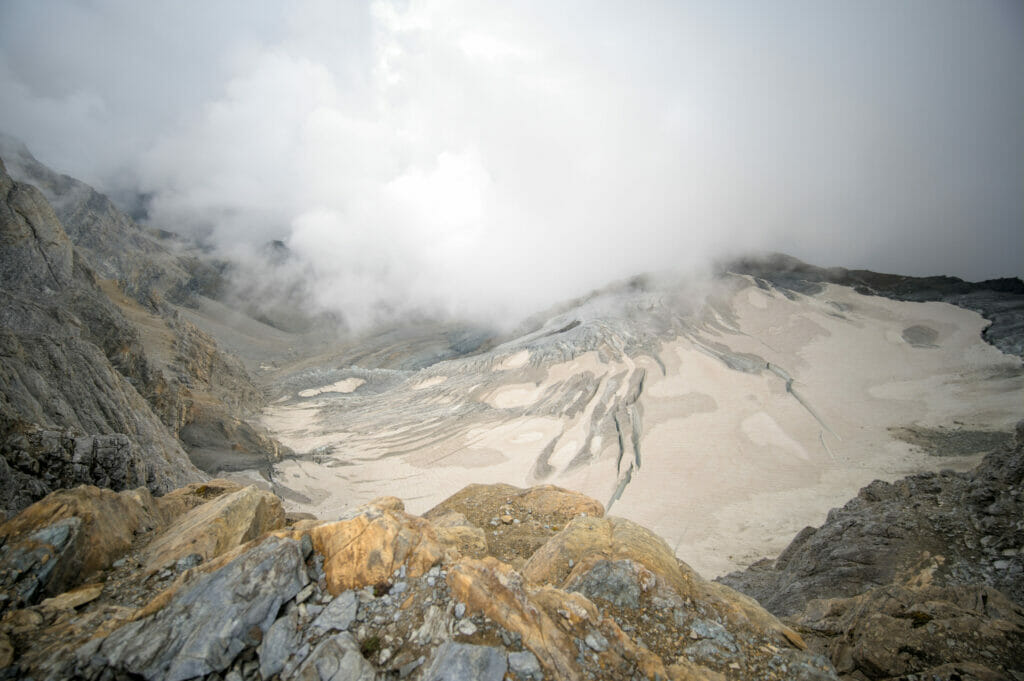
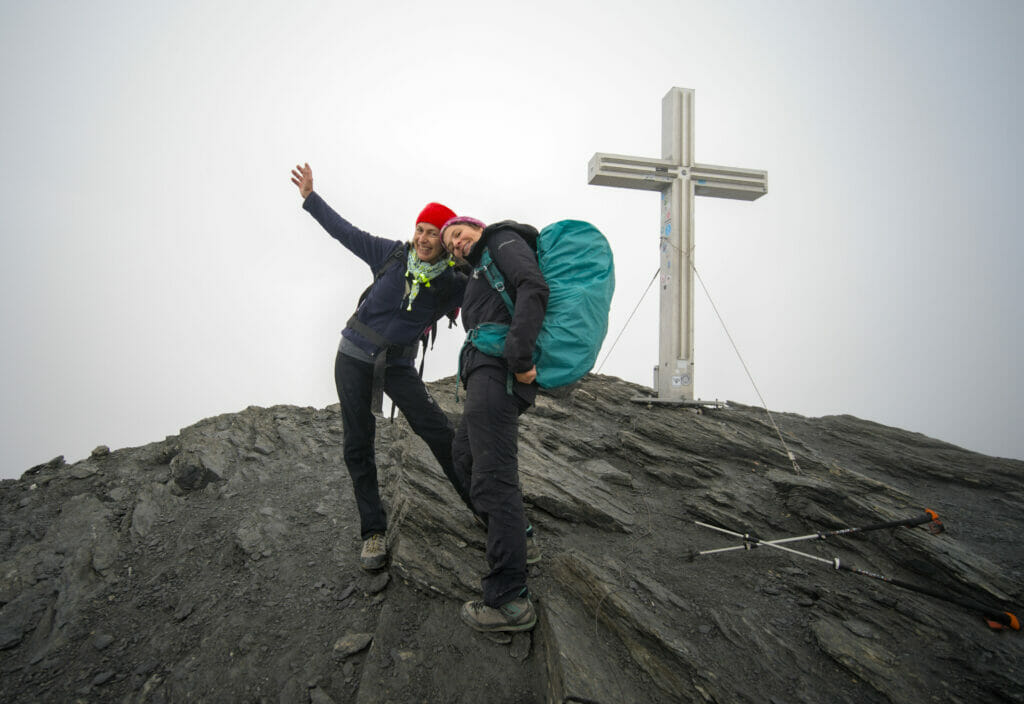
We first arrive at a small pass between the Inners and the Üssers Barrhorn. At the edge of the cliff we have an impressive view on the Stelli glacier 300m below! Then we start the last climb but unfortunately we are caught by the clouds just before reaching the top… Well, even if we didn’t have the view, we still have the beautiful satisfaction to have reached the top of Barrhorn! We take a small picture next to the summit cross and we quickly go down to the hut.
And if you want to see pictures with good weather on the top of Barrhorn, I recommend you to have a look at the post I wrote when I went up from the Tourtemagne hut:
From the summit we have “only” 4,5 kms and 1100m down to the Tourtemagne hut. No special challenge except for the Gässi couloir (T3) just before the hut ( but if you have climbed the Schöllijoch, you can do it without any problem 😉 )
We will finish the day with a good well deserved beer at the hut, which also has a rather nice view just in front of the Tourtemagne glacier.
- Distance: 9,5kms
- Elevation change: around 1000m d+ for 1100m d-
- Duration: 5-6h
- Difficulty: The Schöllijoch is listed T5 on the CAS scale
- Useful links: The night in half board at the Tourtemagne hut costs 83chfs. More info on the hut’s website.
From the Tourtemagne hut to Gruben via the Meidhorn (2875m)
The sun is back for this last day of hiking and Yvan, our guide, suggests a challenging variation to spice up the descent to the village of Gruben: a climb to the Meidhorn, which we can see very well from the hut.
So we divide again in 2 groups: one group that will go directly down to Gruben and another one that will make a small detour to the top of Meidhorn, a rocky spur that dominates the Tourtemagne valley.
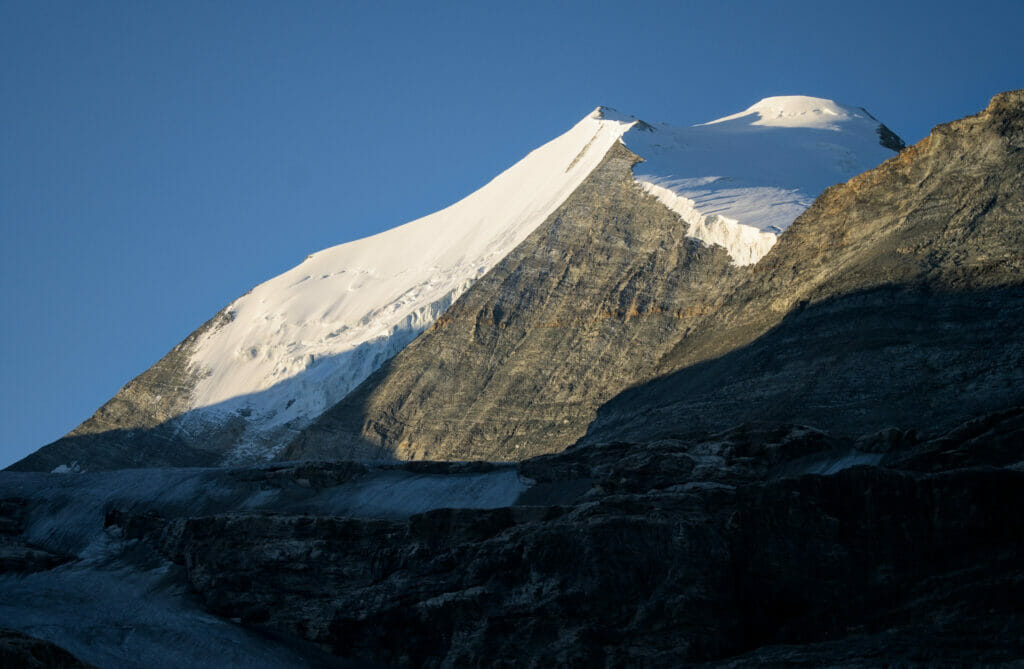
We leave the hut when the 1st sun rays rise on the Bishorn. With such a weather, we are all the more motivated to do a last summit before going back home.
I will be honest, I found very little information about the Maidhorn on the internet… It’s a rather unknown summit that offers a magnificent view on the whole Tourtemagne valley and the Weisshorn range. I will try to give you as much detail as possible because the path disappears in some places. You will also find at the end of the article the GPX track which should be useful.
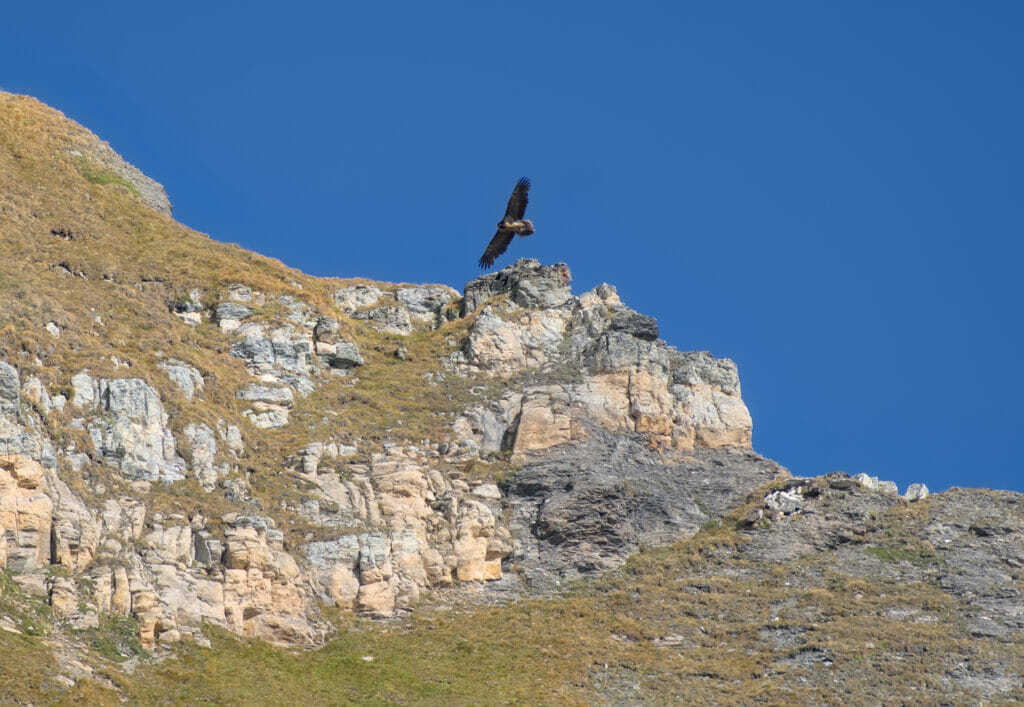
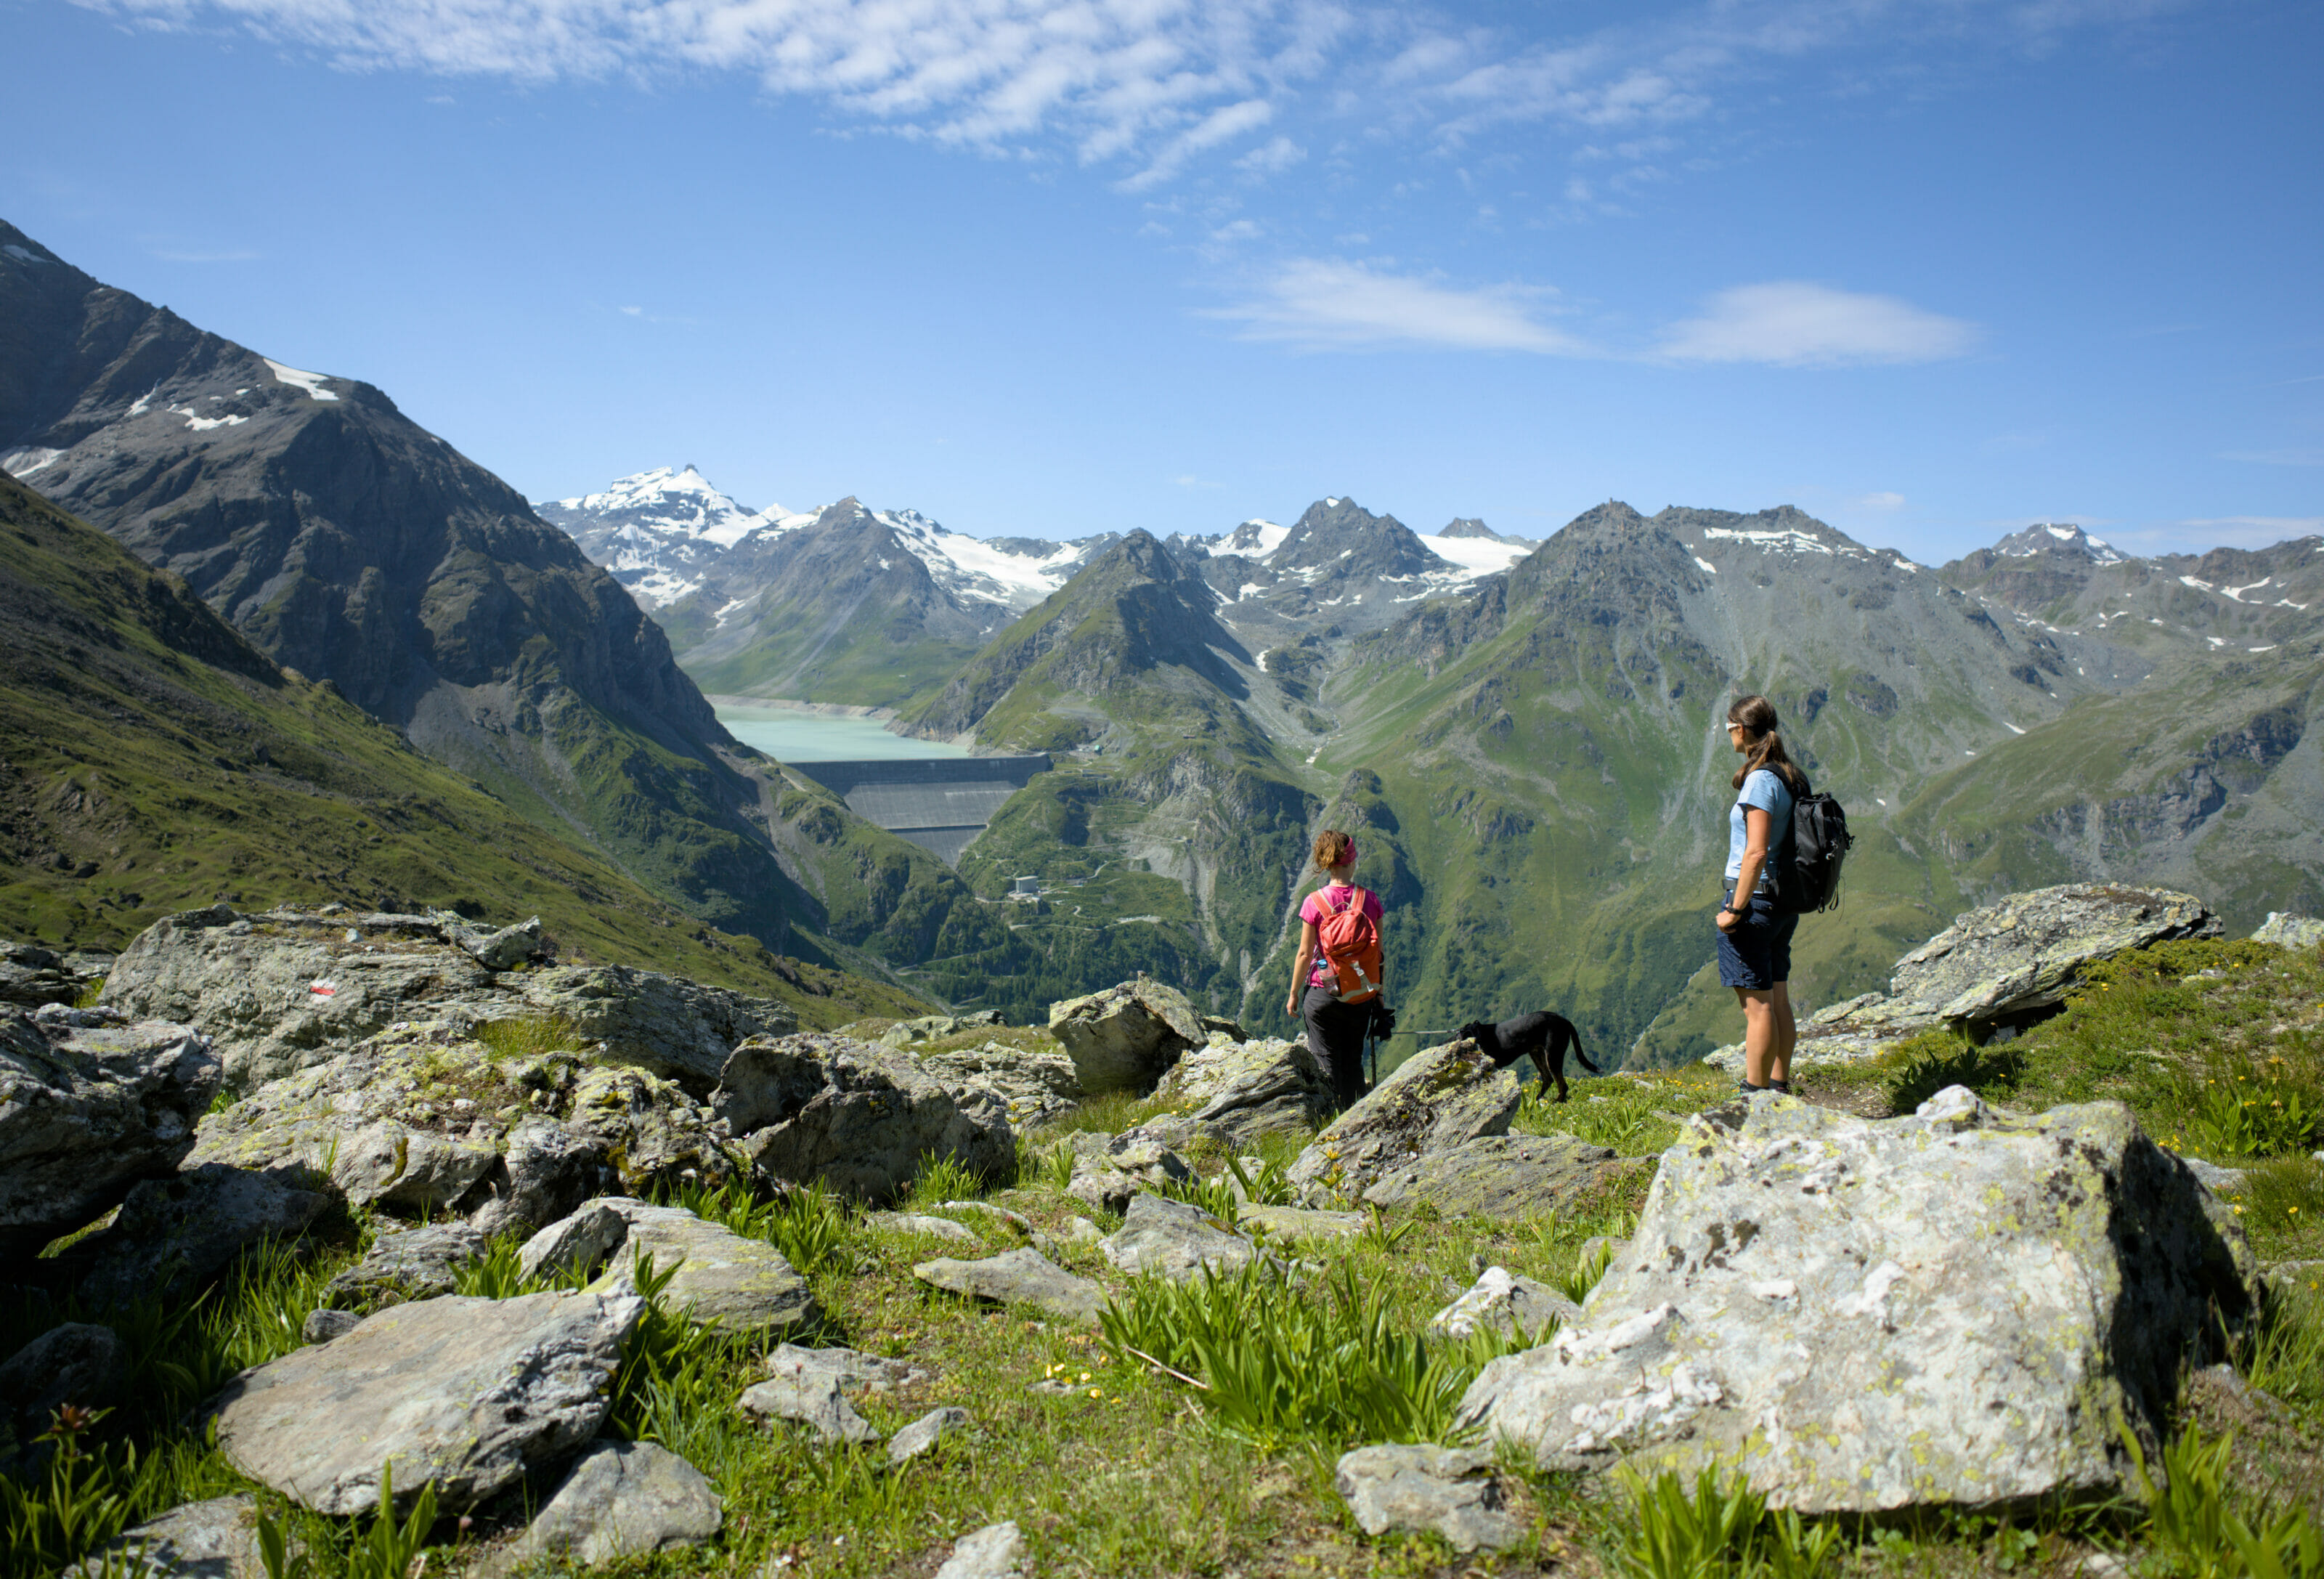
From the hut we go down to the Tourtemagne lake and dam and then take the balcony trail along the eastern side of the valley. This part is really nice with a beautiful view on the Weisshorn behind us and we even have the chance to see a bearded vulture flying over our heads.
After a small descent, we pass in front of 2-3 chalets (place called Bitzu Oberstafel) before arriving at an intersection where we take on the left until we reach the mountain pasture of Chalte Berg. We grant ourselves a small break to enjoy the magnificent panorama in front of us 🙂
From the alpine pasture we continue on a path still visible on the right until we reach a kind of plateau (Äugsttälli on the Swiss mobile map) where the path disappears. Then it is just a matter of crossing this flatter area until you reach 2-3 small lakes at the foot of the Meidhorn.
On the other side of the lakes, we climb a grassy slope to reach a path that leads to a small pass before tackling the last ridge to the summit.
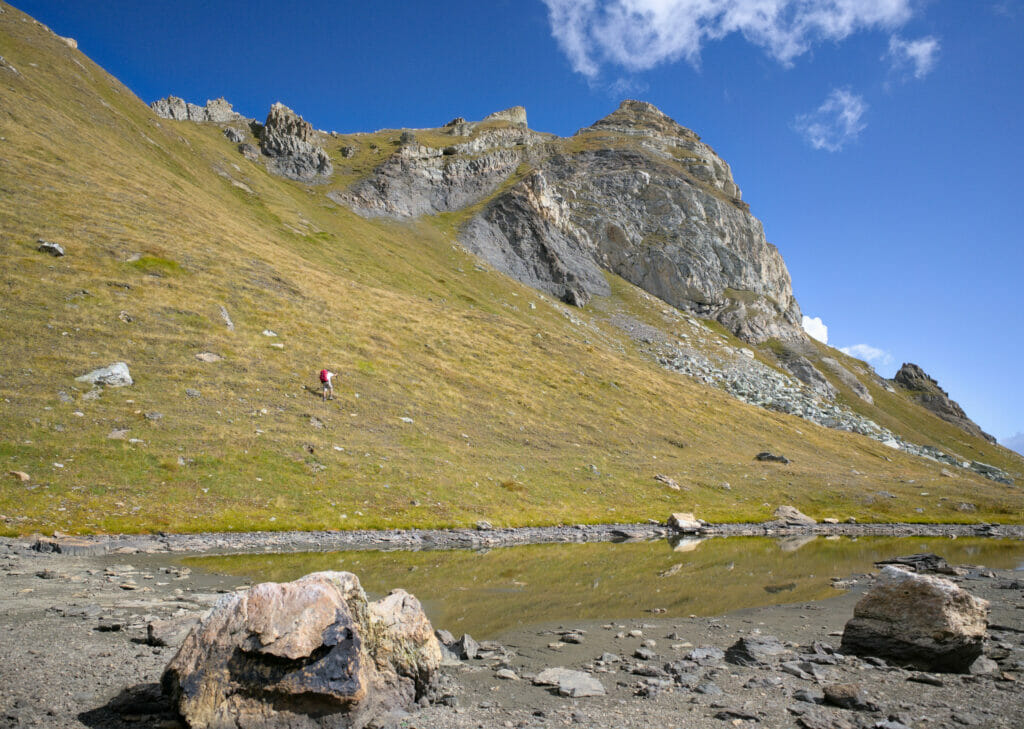
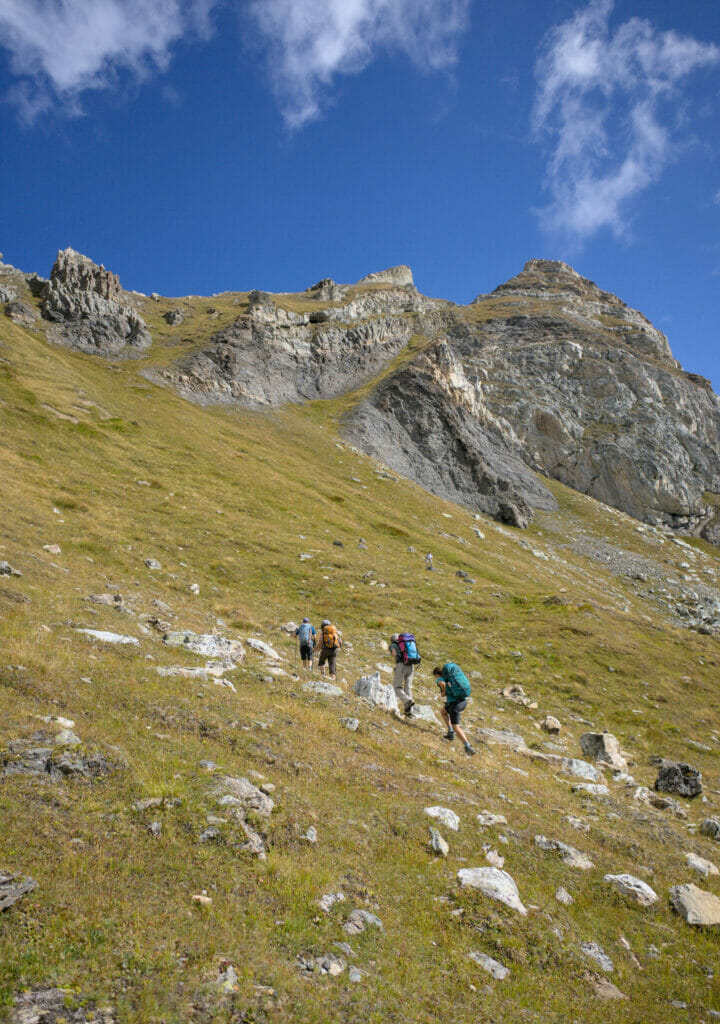
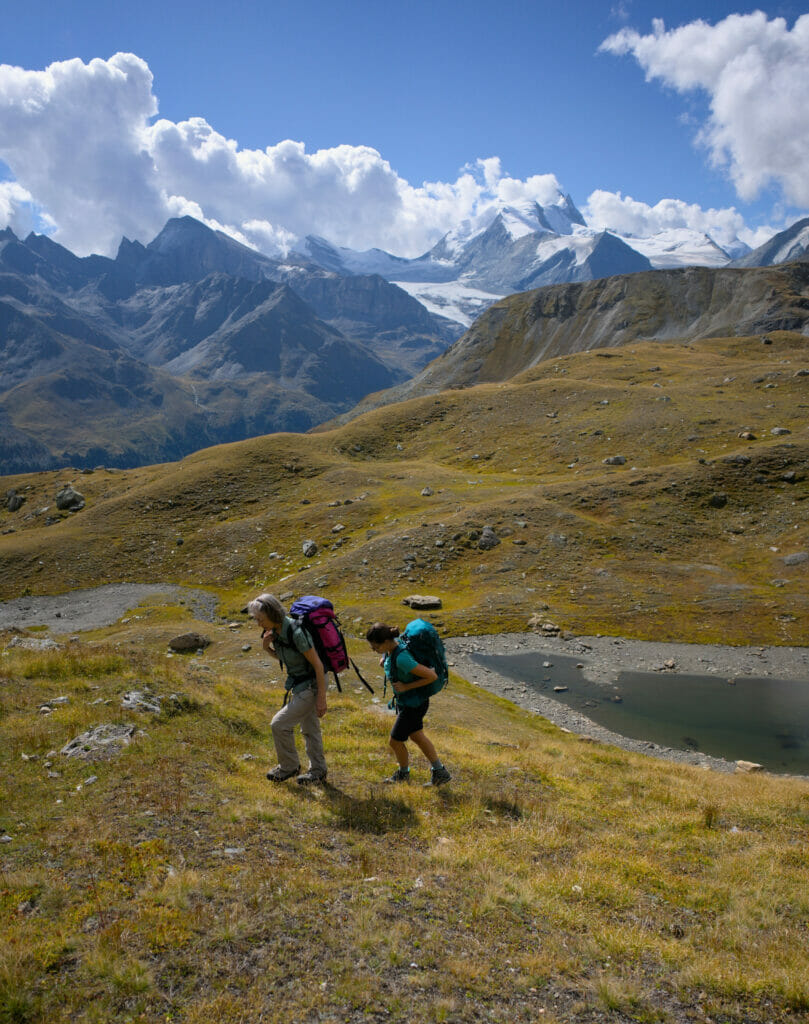
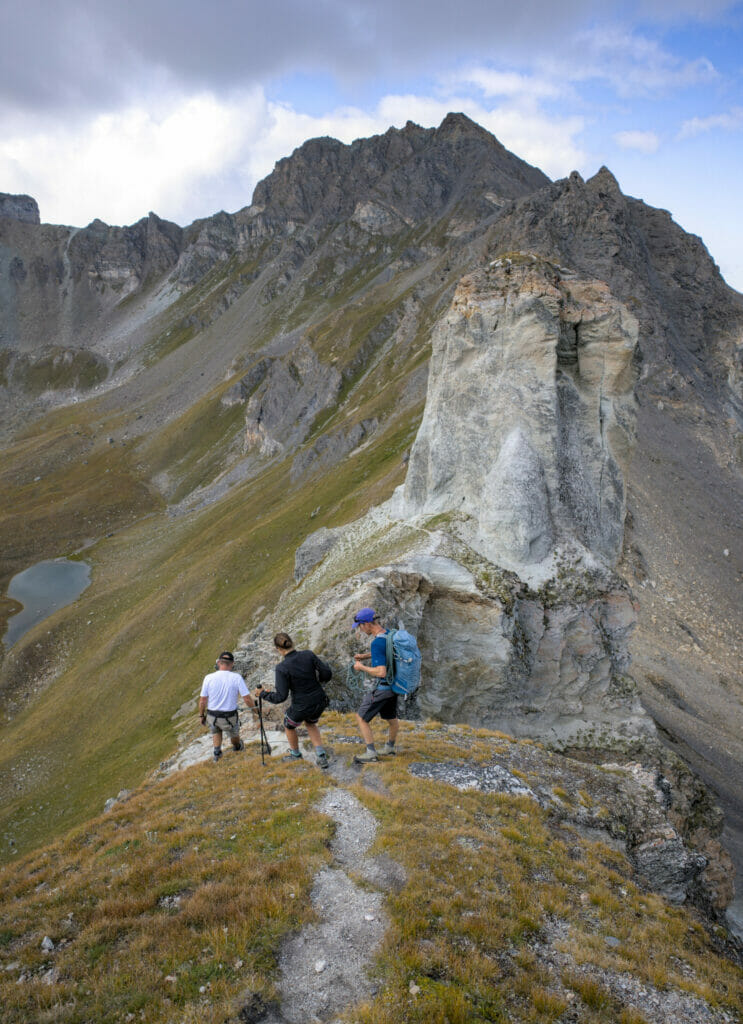
The small path that follows the ridge to the summit is not really technically difficult… but in some places it is quite exposed and you will not have the right to make mistakes. So if you are afraid of heights or if the conditions are not good (very wet or snow), I don’t recommend to climb to the top. I didn’t find an official rating but I would say that the ridge should be a good T4.
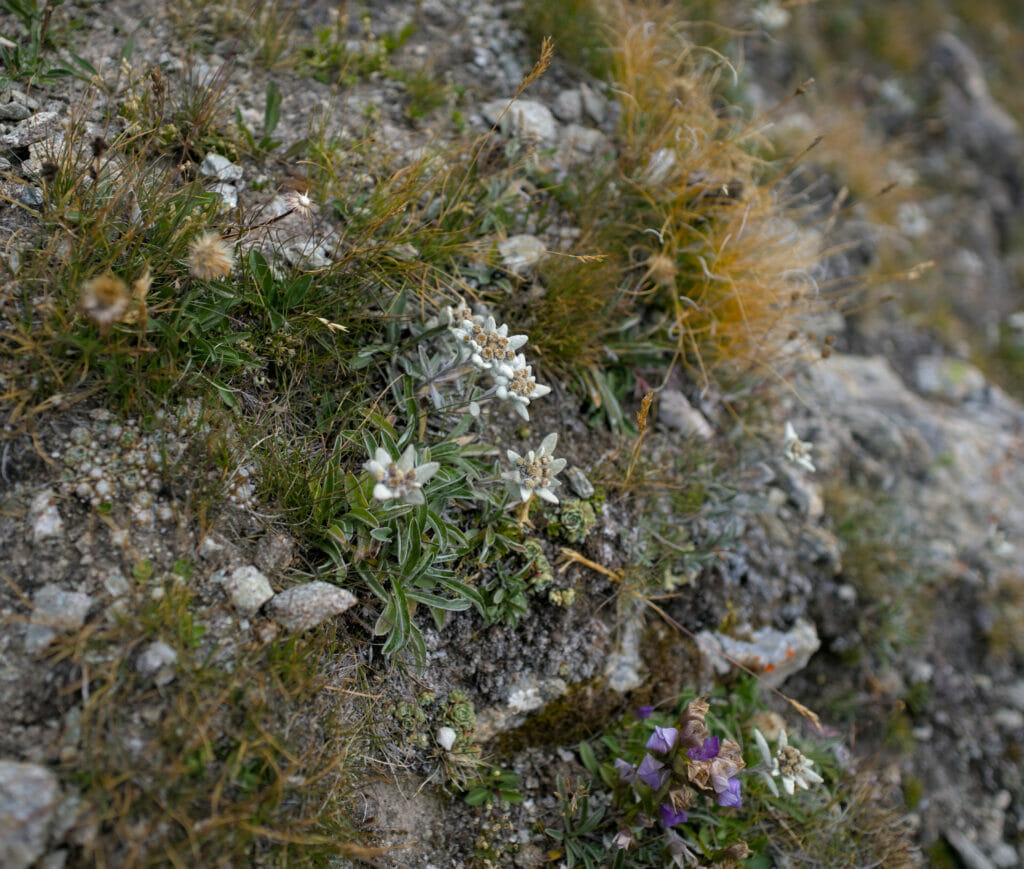
The path to the summit is lined with Edelweiss and what can I say about the view from the summit cross! What a great panorama on the Weisshorn range and the Tourtemagne valley! It is simply magnificent! We make the most of it to take some souvenir pictures at the top before going back on the trail… we have a bus to catch in Gruben and we still have a good descent.
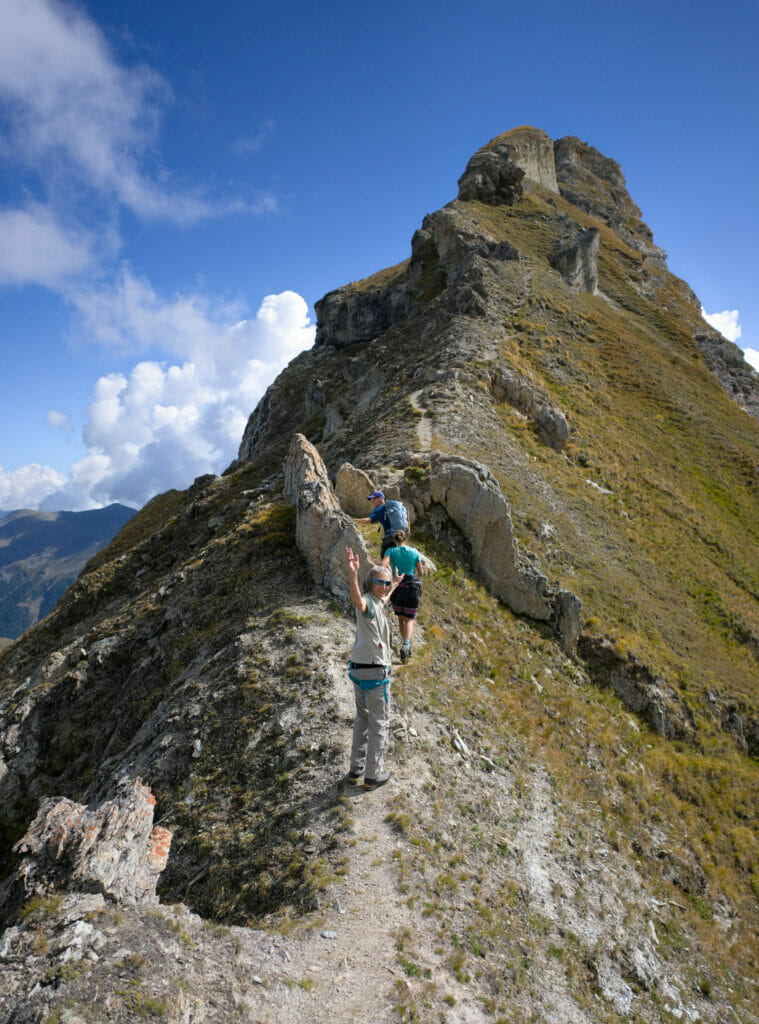
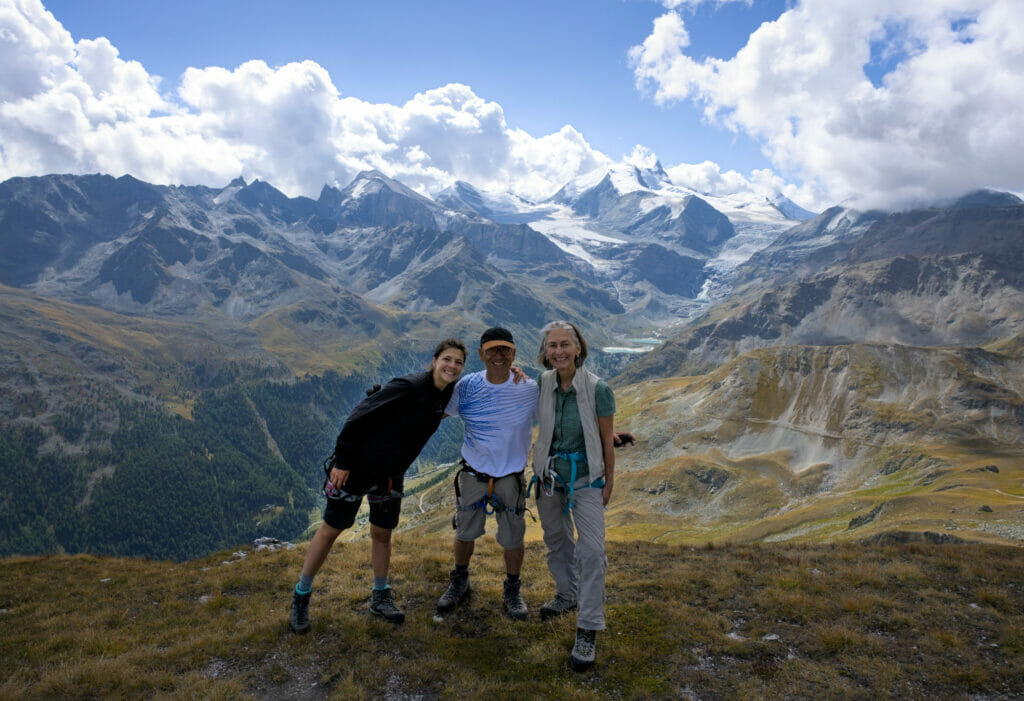
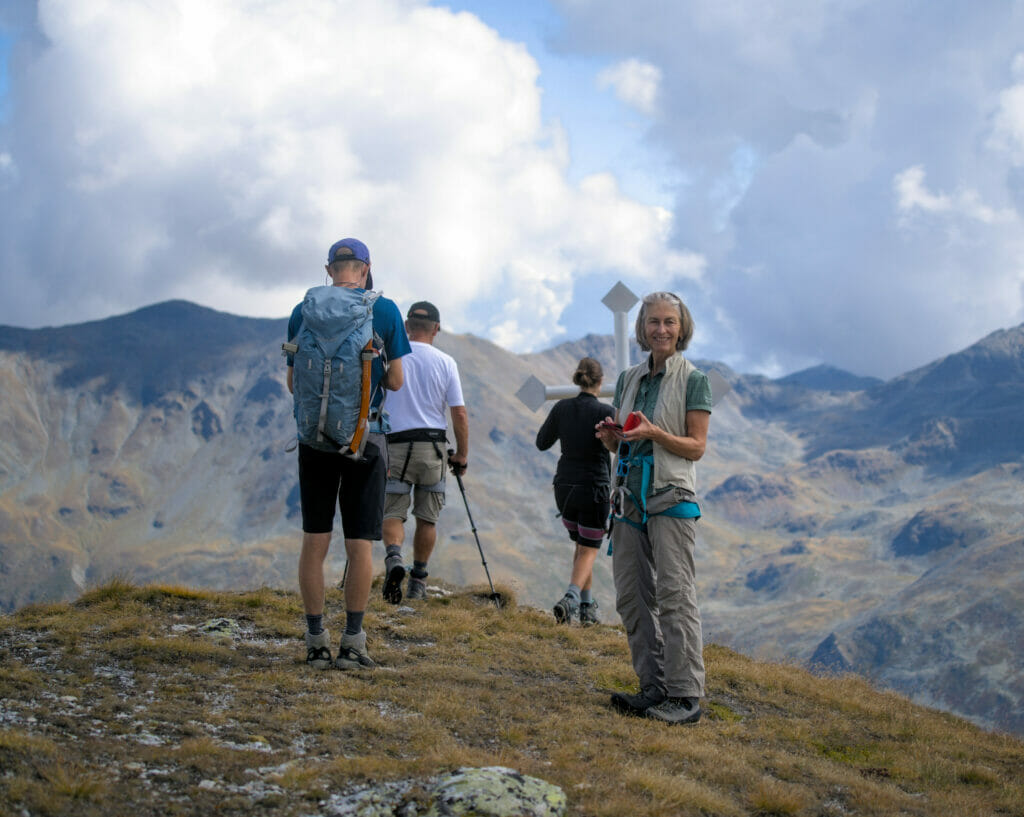
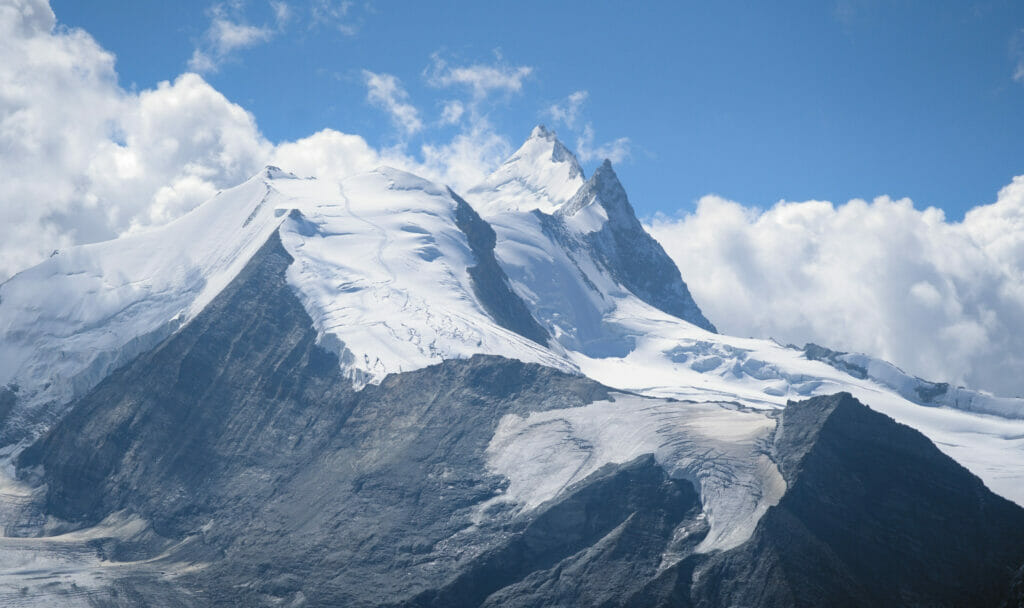
There is still a little more than 1000m of descent from the Meidhorn summit to the village of Gruben. After descending the ridge to the small pass, we follow this time the path that goes under the summit. During the descent, the path disappears at times but there are small cairns to find your way.
Then we reach a charming little river (the Meidbach) which we follow to find a well-marked path that goes down to the hamlet of Meide Mittlere Staffel. From there, we simply follow the signs to Gruben and go down along a nice path in the forest to reach the village.
We arrive just in time to have a drink on the terrace of the Schwarzhorn hotel before taking the shuttle which brings us first to the cable car of Oberems, then to the village of Tourtemagne then a last shuttle to the train station of Tourtemagne.
- Distance: around 14,5 kms
- Elevation change: around 700m d+ and 1350 d-
- Duration: 6h
- Difficulty: the trail disappears in some places and the last ridge to the top should be about T4
- Useful links: For more information on the shuttle + gondolas between Gruben, Oberems and Tourtemagne, you can go to this site or directly to the SBB website.
Map of the hike
You will find below the precise map of these 3 days of hiking between the valleys of Zermatt and Tourtemagne. To download the GPX, you simply need a free AllTrails account.
I hope you enjoyed this 3 day hiking itinerary which is rather off the beaten track and not so easy. By the way, if you don’t feel like doing such an itinerary by yourself, don’t hesitate to contact our guide Yvan who will be happy to give you advice and guide you (for the price of a professional guide in Switzerland, you have to count 650chfs per day divided by the number of participants).
Pin it on Pinterest

Join the discussion