This year we had the chance to add a new itinerary to our collection of multi-day hiking tours: the magnificent tour des Combins. This route, passing between Switzerland and Italy, allows us to go all the way around this imposing massif which has not much to envy to its illustrious neighbor the Mont-Blanc.
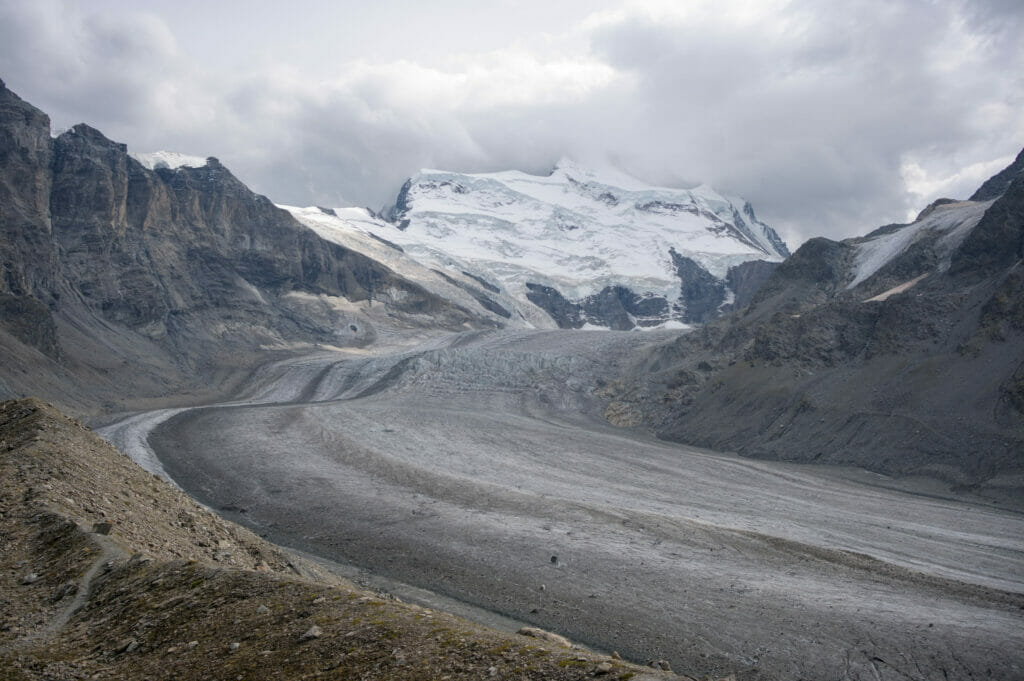
This hike had been on our list for a while (since we hiked on the Saint-Bernard tour just next door). So when the regions of the Pays du Saint-Bernard, Verbier and the Aosta Valley invited us to come hike this itinerary, we didn’t hesitate for a long time and it’s with an undisguised pleasure that we started this beautiful multi-day hike.
In this article you will find our itinerary “day by day” as well as maps and information for each stage. At the end of the article, we tell you more about the organization of the tour, the necessary budget and the logistic aspects.
Are you ready?
- Tour des Combins: Presentation of the itinerary
- Our video from the tour des Combins
- From Bourg-Saint-Pierre to cabane de Mille (Day 1)
- From cabane de Mille to cabane de Panossière (Day 2)
- From Panossière to cabane de Chanrion (Day 3)
- From Chanrion to Rifugio Champillon (Day 4)
- From Champillon to Saint-Rhémy (Day 5)
- From Saint-Rhémy to col du Grand Saint-Bernard (Day 6)
- From col du Grand Saint-Bernard to Bourg-Saint-Pierre (Day 7)
- Preparing your tour des Combins: the infos
Tour des Combins: Presentation of the itinerary
Emblematic tour of the Alps, the tour des Combins is often cited as the small neighbor of the Tour du Mont Blanc. Certainly a little less “famous”, it is no less interesting! And if you want our humble opinion, what also distinguishes it from its neighbor is that it is MUCH less crowded. And well, the Combins massif is not just any massif, it’s a pretty stunning one too. 😉
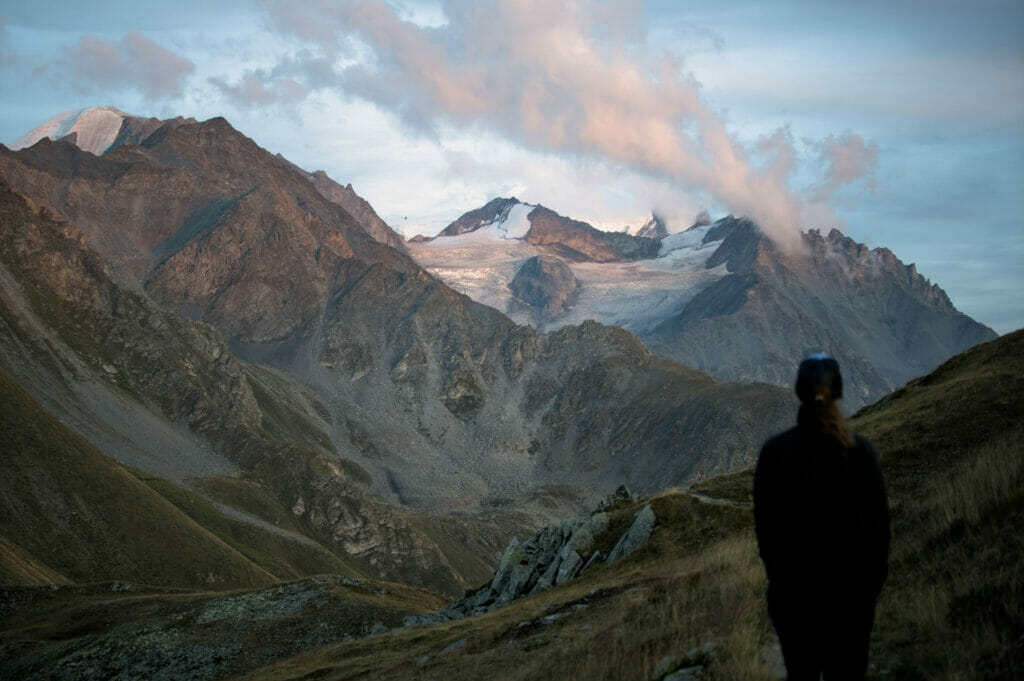
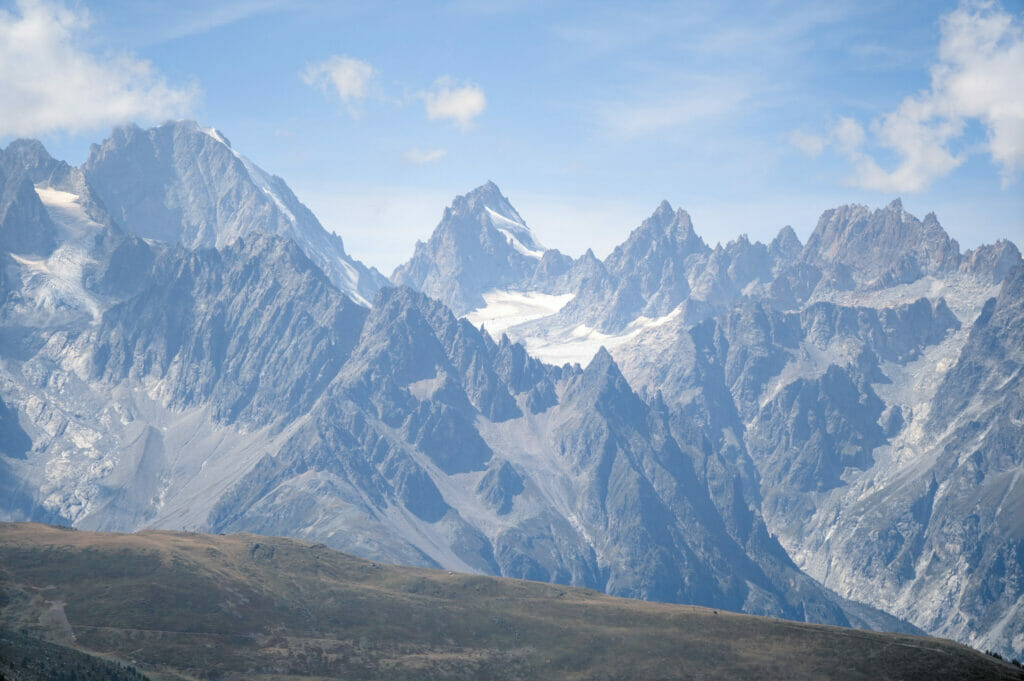
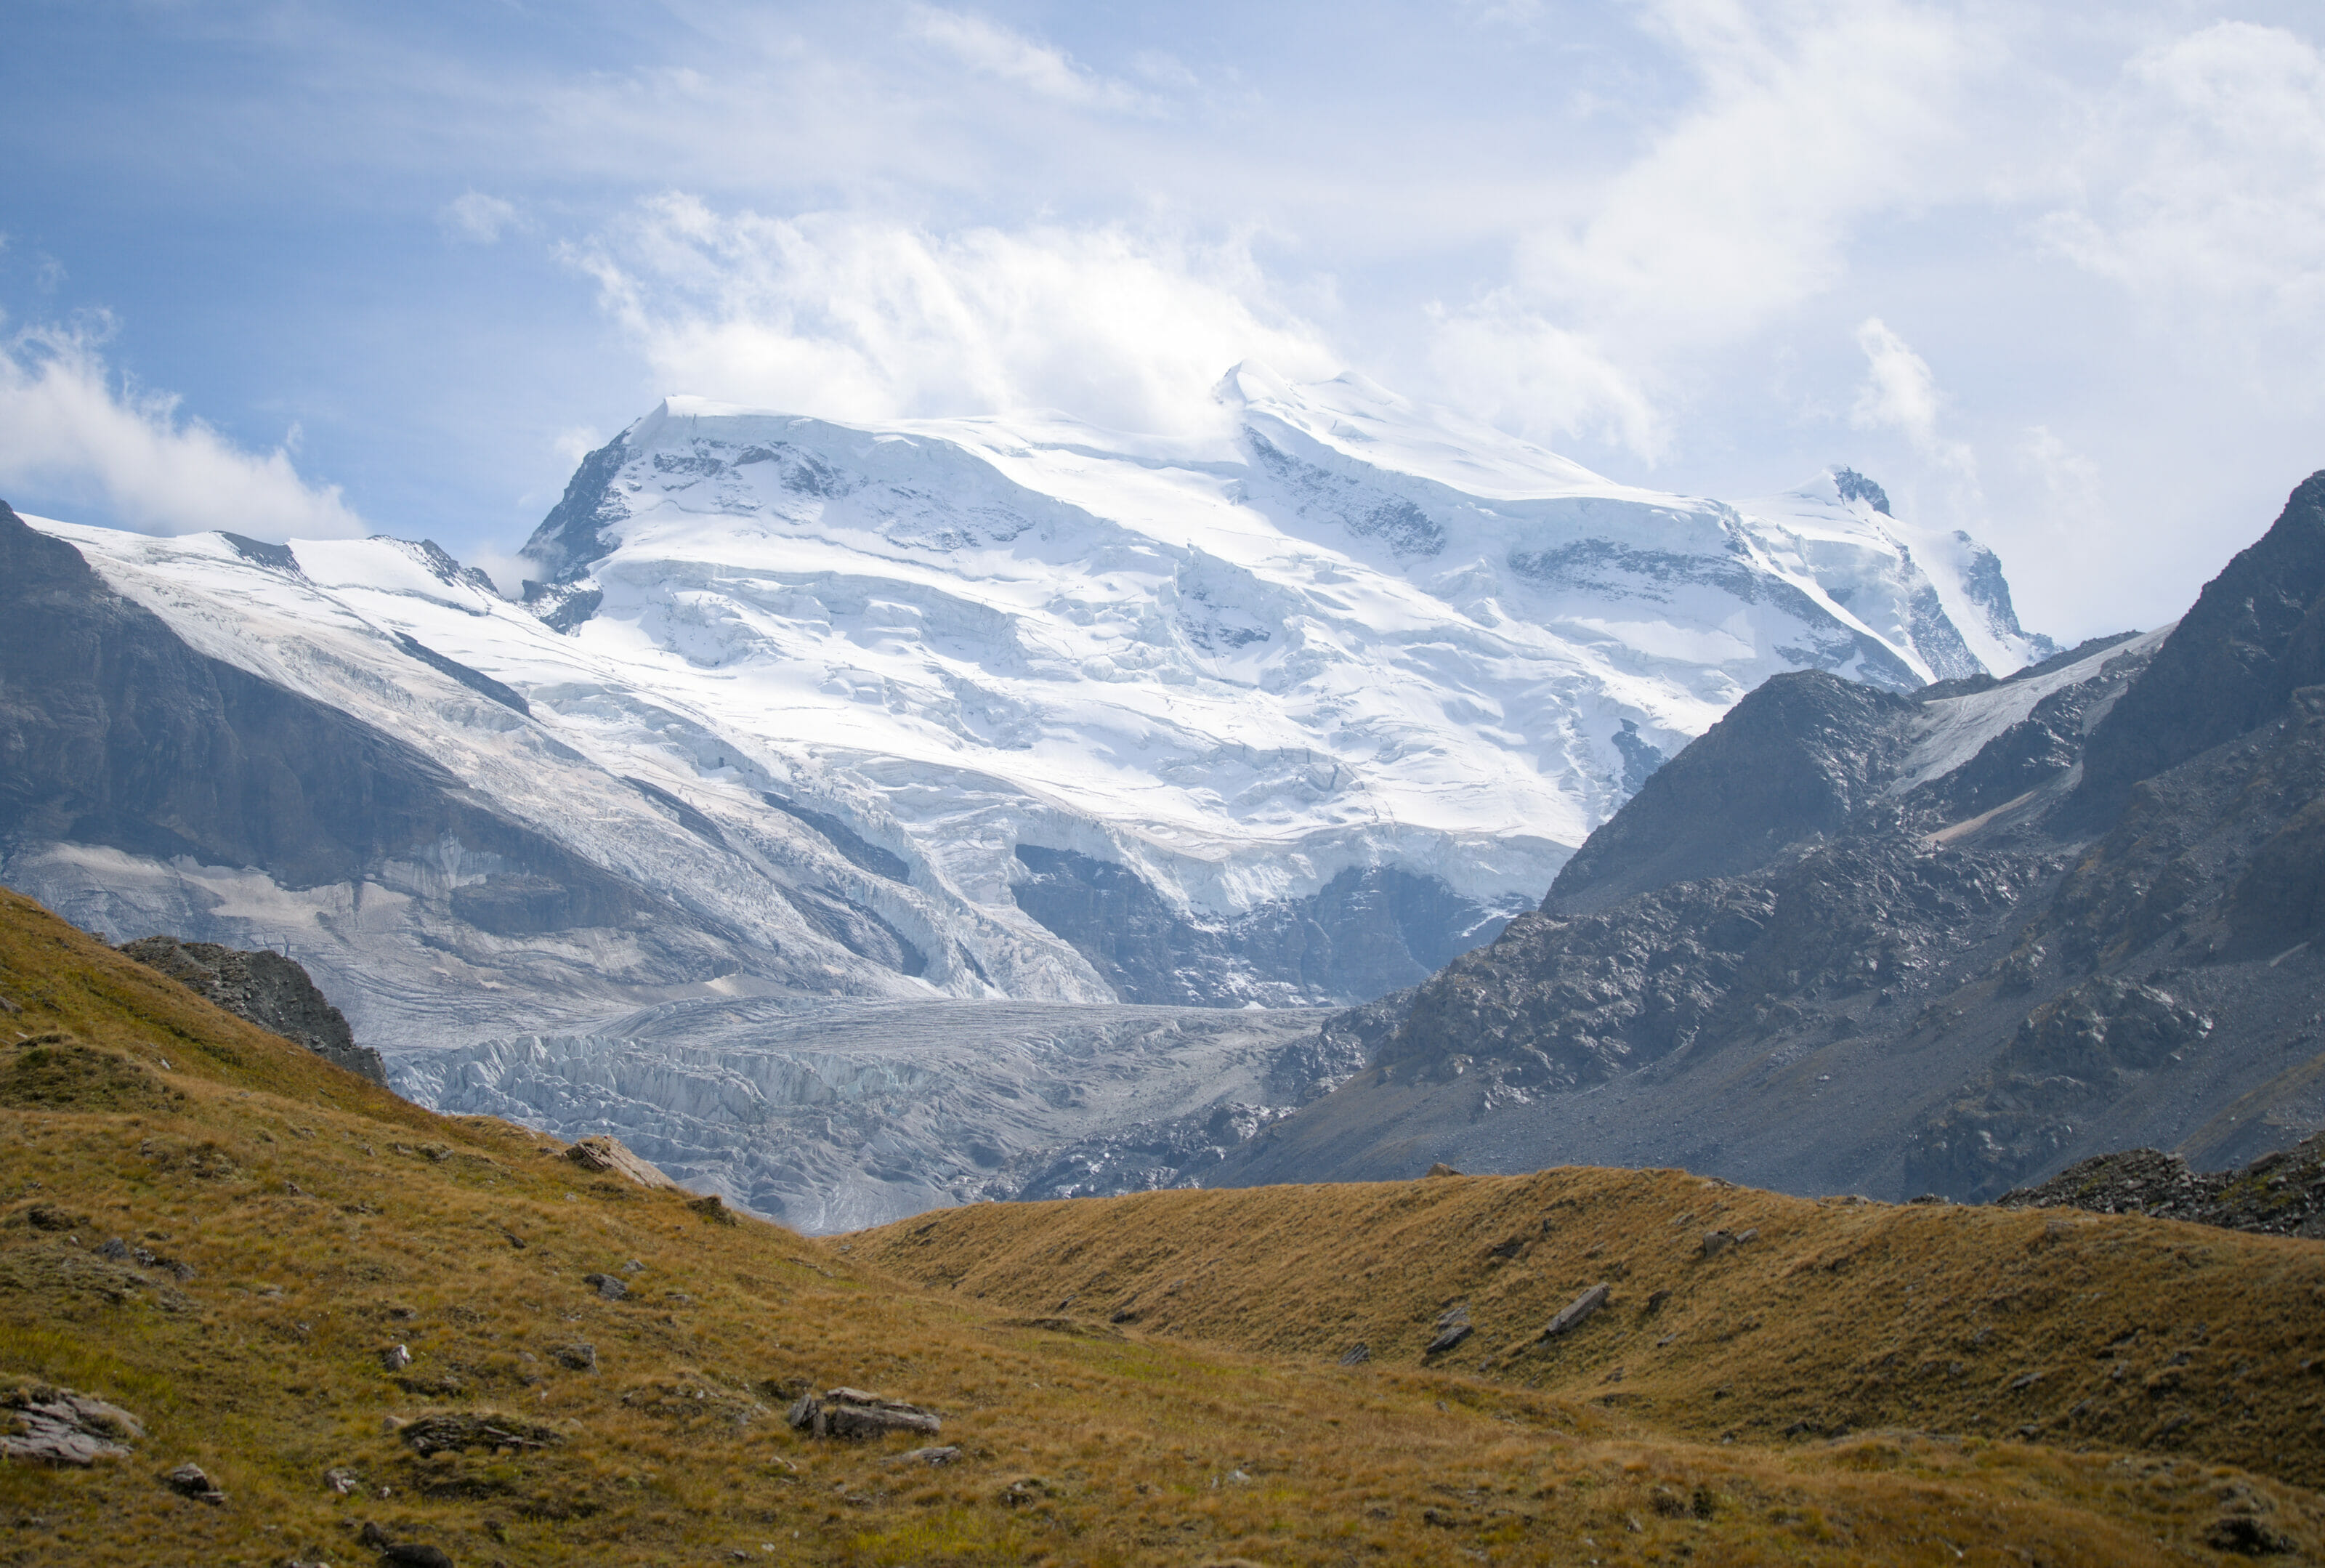
Located between Switzerland and Italy, the massif is dominated by the Grand Combin and its 4314m and is also composed of the Combin de Valsorey (4184m), Combin de la Tsessette (4141m), Combin de Corbassière (3715m), Combin du Meitin (3622) and the Petit Combin (3668m). All these magnificent summits are also accompanied by a side covered with glaciers. No need to say that hiking around all these giants will make sure you see some pretty amazing landscapes!
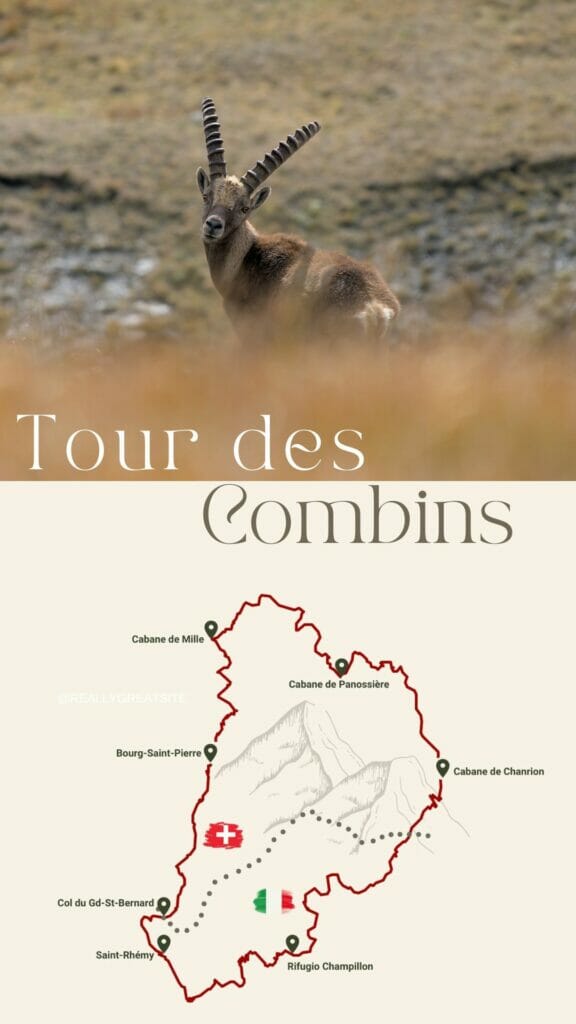
The Tour des Combins is therefore a Swiss-Italian itinerary that can be completed in 4 to 7 days (typically described in 6 days).
In all, the route is a little over 100km long with nearly 6000m of elevation gain and loss and many possible variations!
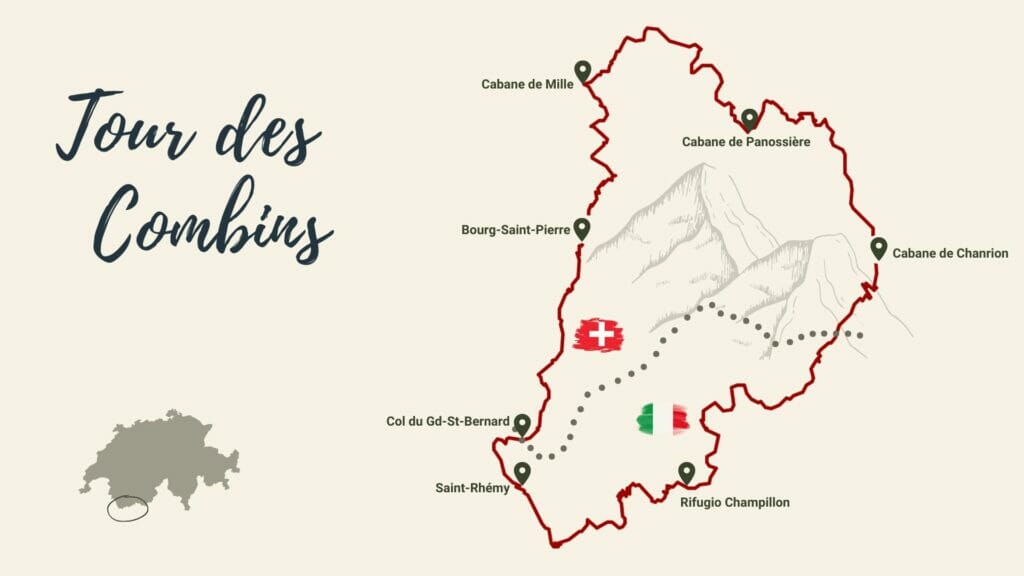
Our representation above is quite schematic, but it shows you roughly the route around the massif. 40% of the route is in Italy (Valle d’Aosta region), while 60% is in Switzerland (between Val d’Entremont and Val de Bagnes).
For this itinerary, we advise you to take the map with you in digital format. To do so, you can download the map below by going to AllTrails. To download the map in the format of your choice (GPX, KML, Garmin), simply create a free account on the app or the website. To continue in free, we advise you to import the track in your usual hiking application (Maps.Me for example with the KML format)
If you want to be able to access the route in AllTrails offline, you will have to switch to the AllTrails+ option. The subscription costs 29,99€ / year, but if you go through this link you will get a 30% discount for 1 year (20,99€) (we have had it for several years and are very happy with this app. To read our full review, you can take a look at this blog post)
Our video from the tour des Combins
Before going to the full story and the detail of the stages, here are some images from our tour that should make you want to pack your bags 🙂
And if you want to see more “live” images of our tour, you can check our Instagram account. All the stories and reels published live from the tour are available on the front page of the profile.
From Bourg-Saint-Pierre to cabane de Mille (Day 1)
We chose to start the tour des Combins in the small village of Bourg-Saint-Pierre. For this first stage we are in familiar territory. We had followed exactly the same itinerary on our last day on the Tour du Saint-Bernard 2 years ago (but in the other direction).
We left around 11:30 am and walked the first 3 kilometers to the Creux du Mâ, a mountain pasture where a beautiful bench with a view awaits us; the ideal spot for our first picnic of this tour. We take advantage of the panorama on the vallée d’Entremont and we set out again in direction of the alpage du Coeur.
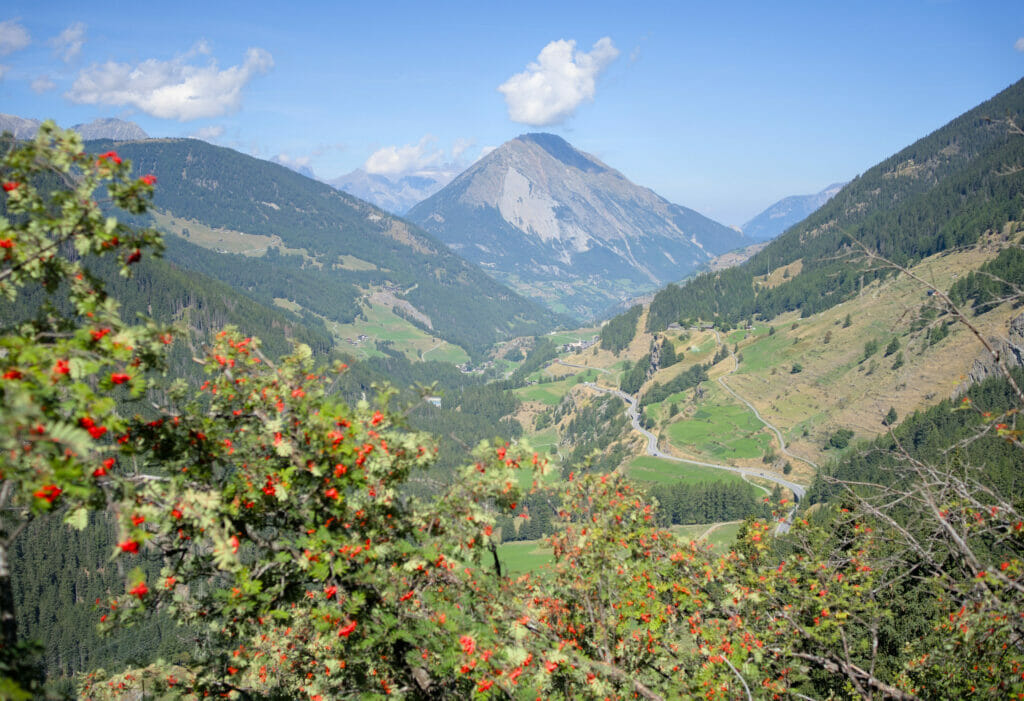
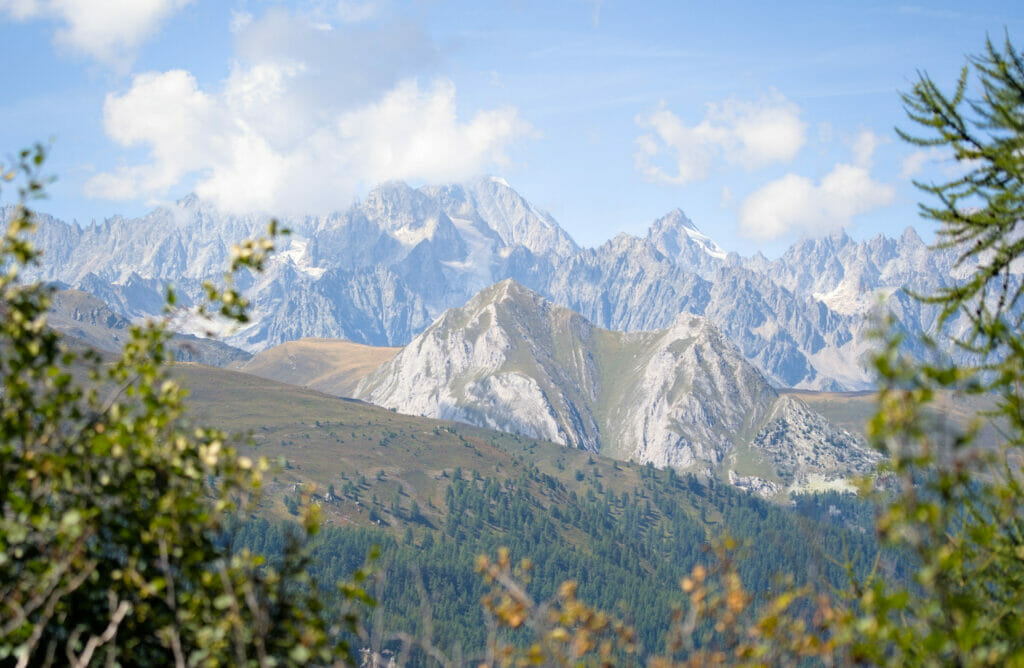
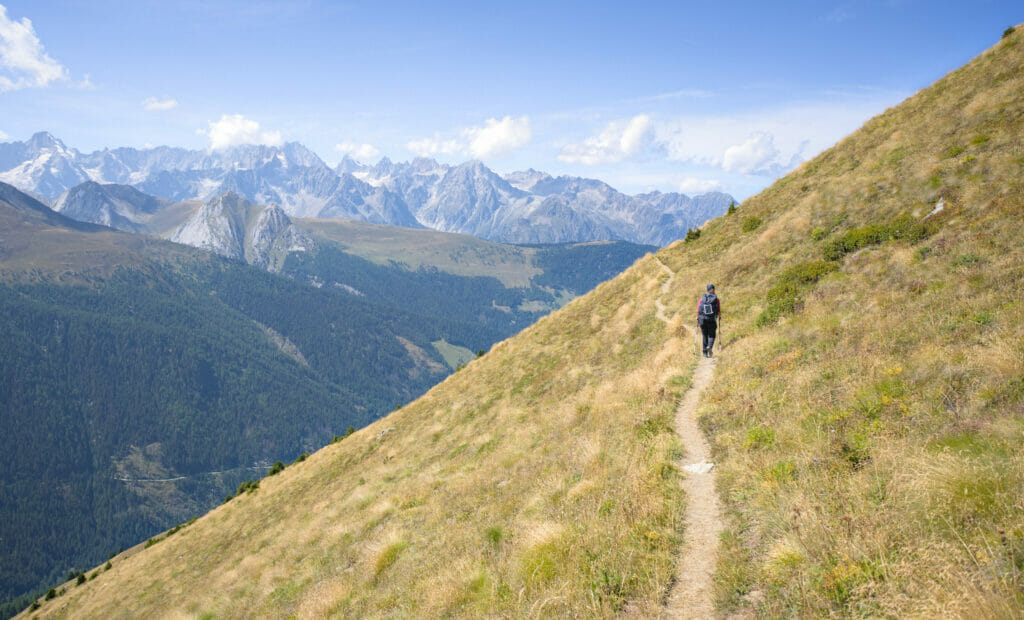
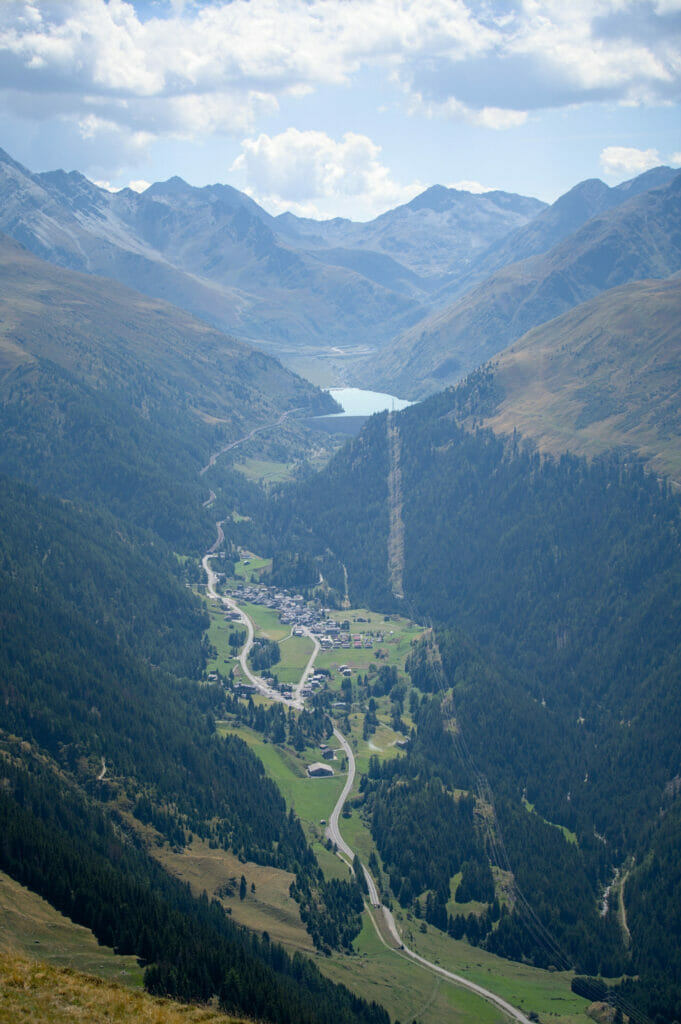
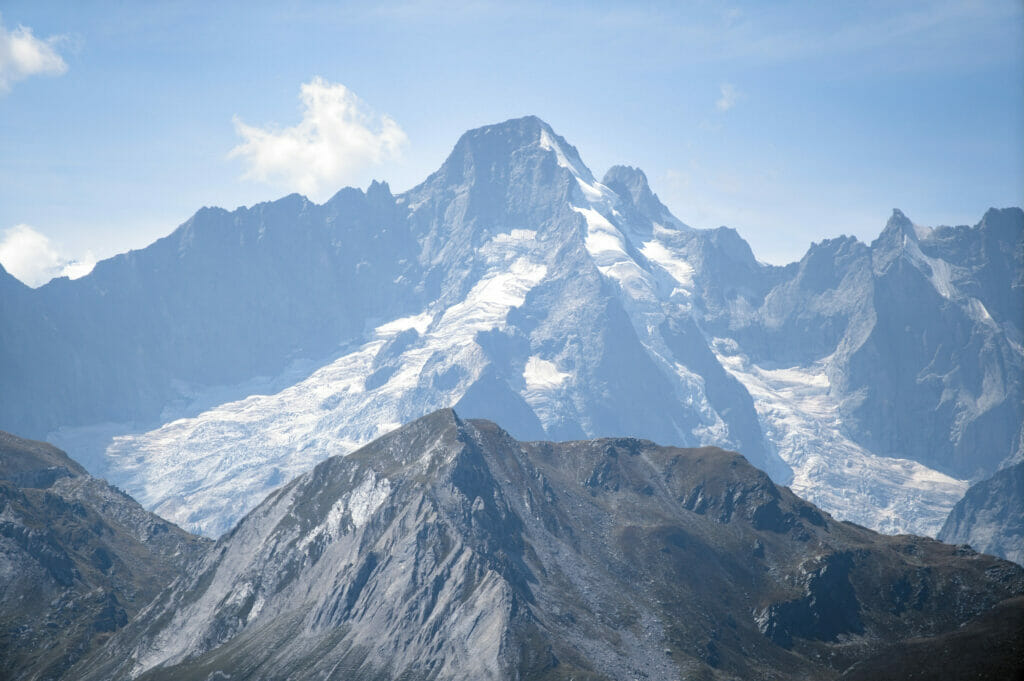
The itinerary presents no difficulty whatsoever, which leaves plenty of time to enjoy the view of the Mont Blanc massif and the Grand Jorasses on our left.
When we arrive at the Vuarette (or Vouarette), the hut is in sight but we decide to linger a little on the terrace of a small alpine chalet which is at the end of the grassy patch. The panorama is breathtaking and we know that we still have plenty of time to reach the Cabane de Mille before dinner time.
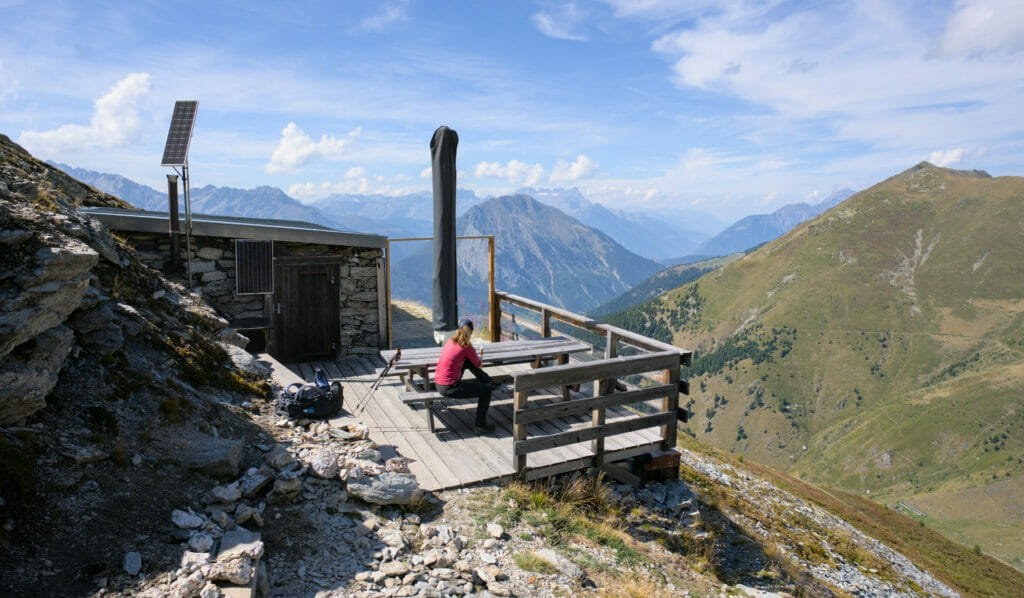
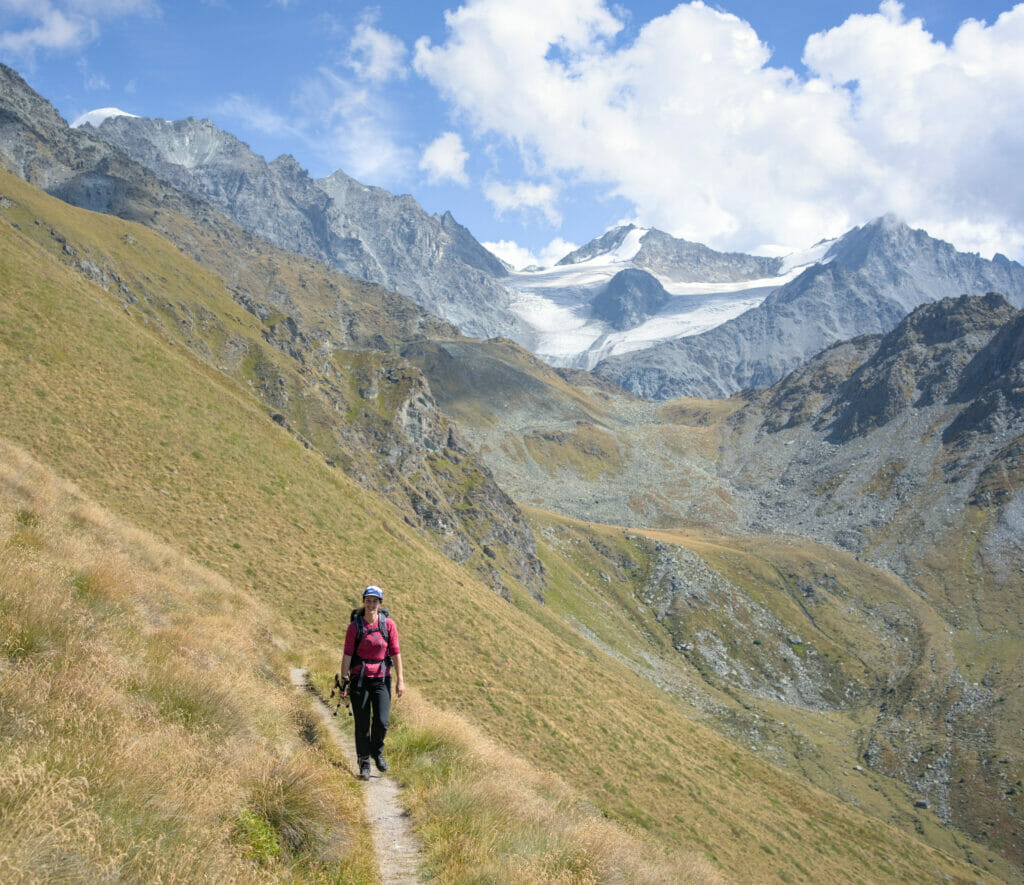
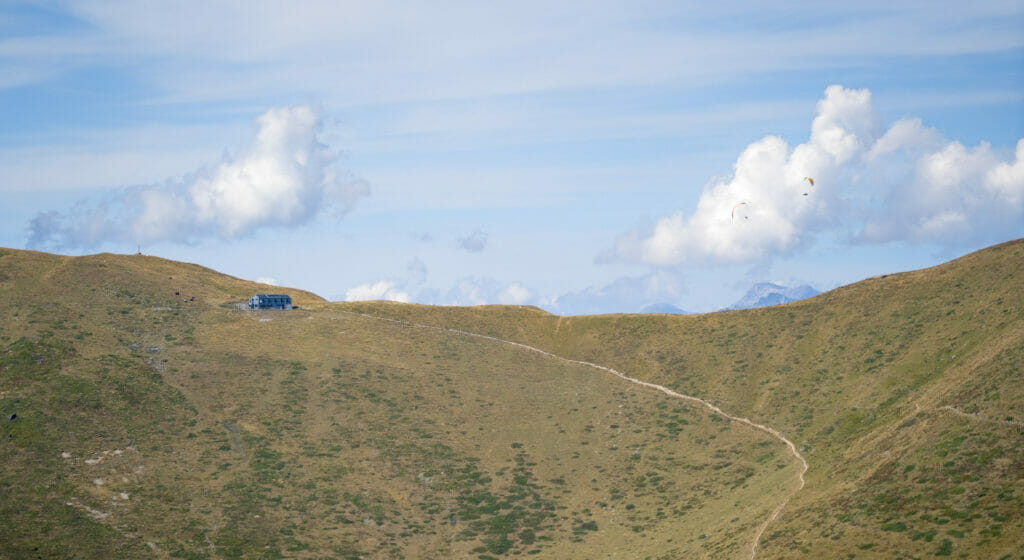
The last part of the trail follows a balcony path just under the Mont Rogneux. We are almost done with the elevation gain of the day and take advantage of these last 2 kilometers to take lots of short photo breaks.
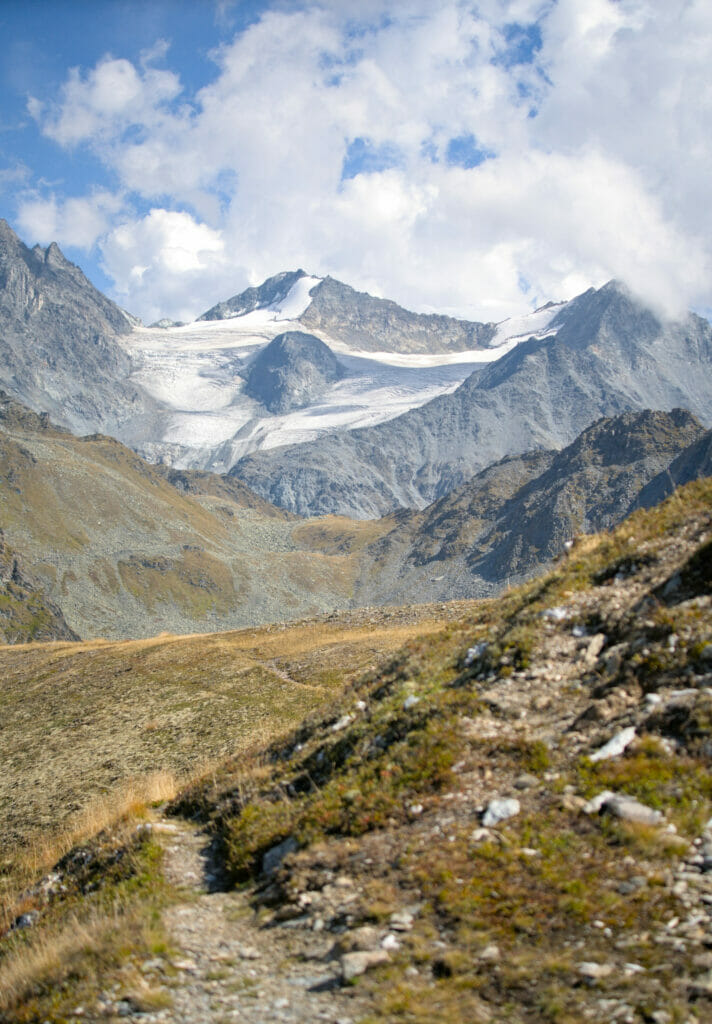
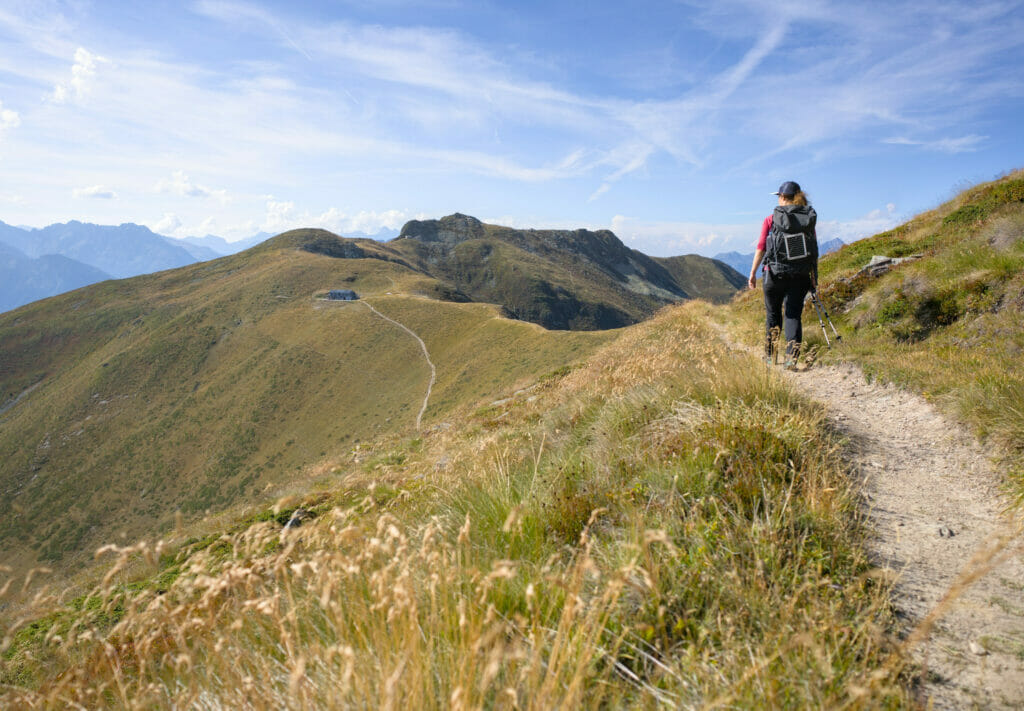
The cabane de Mille
We already came to the cabane de Mille in 2020 during our tour of the Saint-Bernard. Since then, the hut keeper has changed but the hut is still as beautiful (and the new team just as nice). 🙂
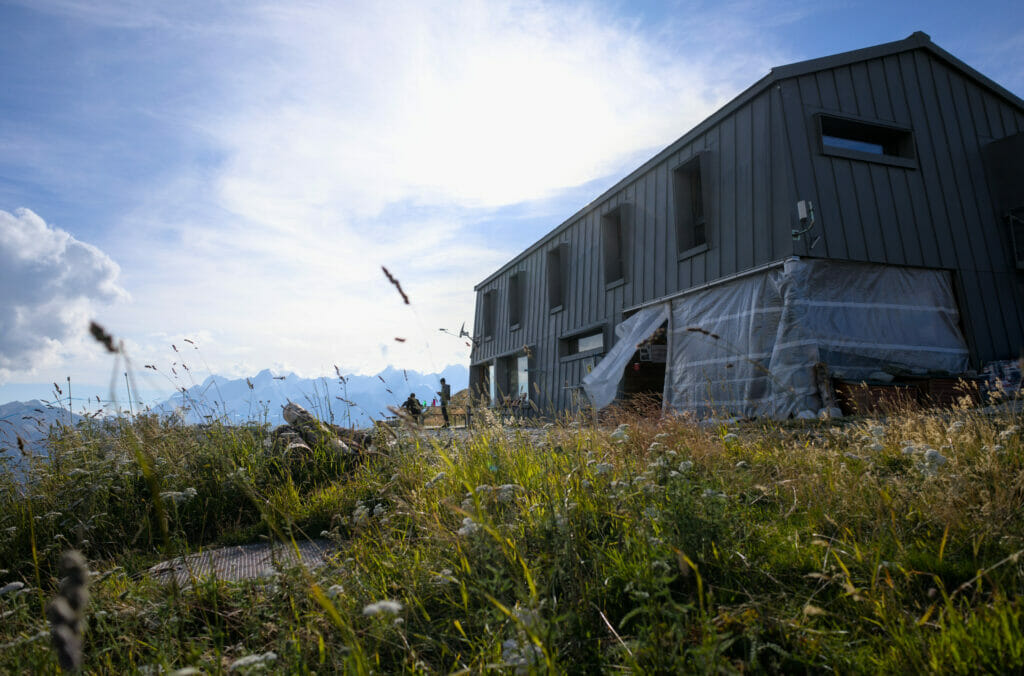
This year, we were lucky to be there on a night when there were very few guests. The result? We had a dormitory just for us and we’ll have to admit that this was pretty nice. Recently renovated, the Cabane de Mille is very comfortable with its 59 beds divided in 7 dormitories and the view from their refectory/terrace is simply superb!
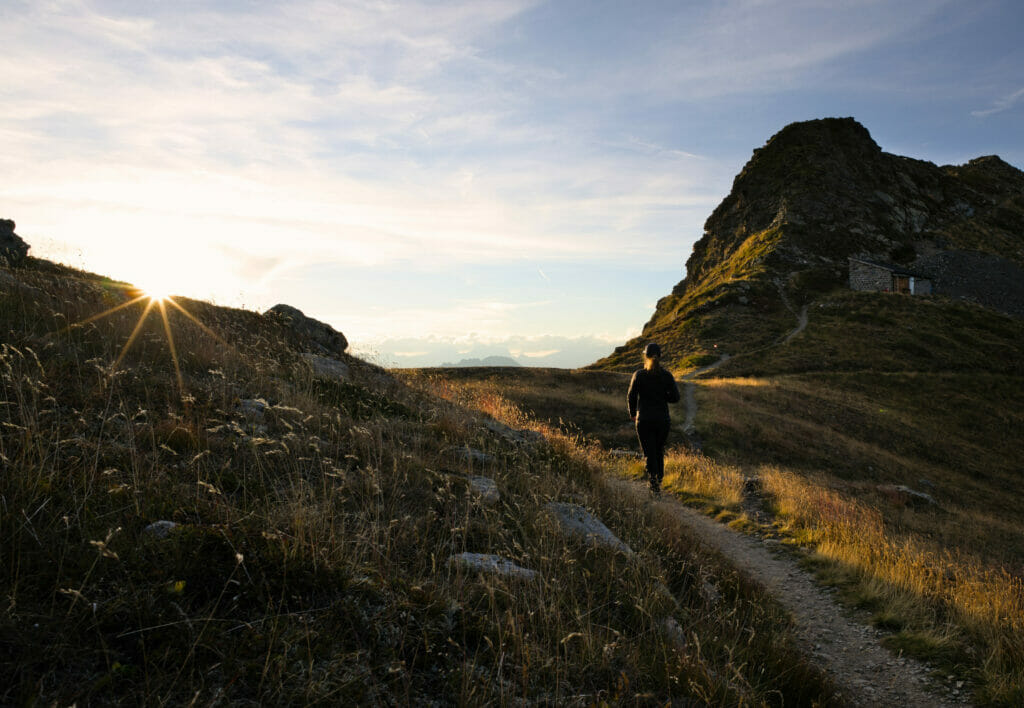
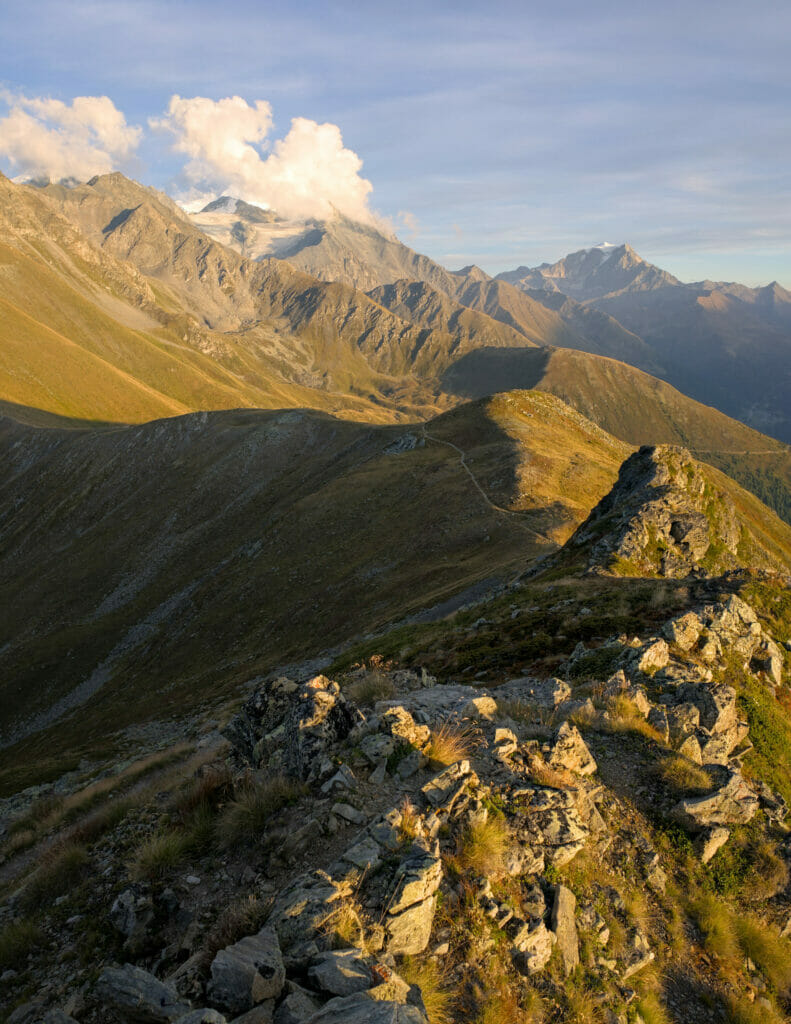
Our advice if you sleep at the hut? Don’t miss the sunset from the top of Mont Brûlé which is 10-15 minutes away, it is really worth it!
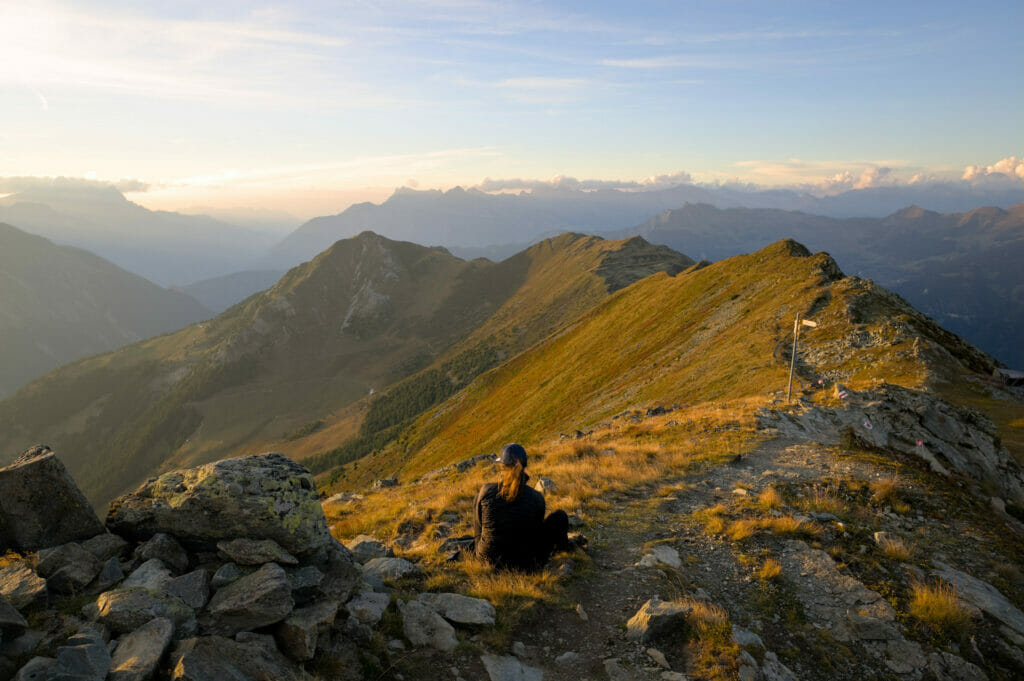
Price: 68 CHF for half board
Link to check for availabilities and to book
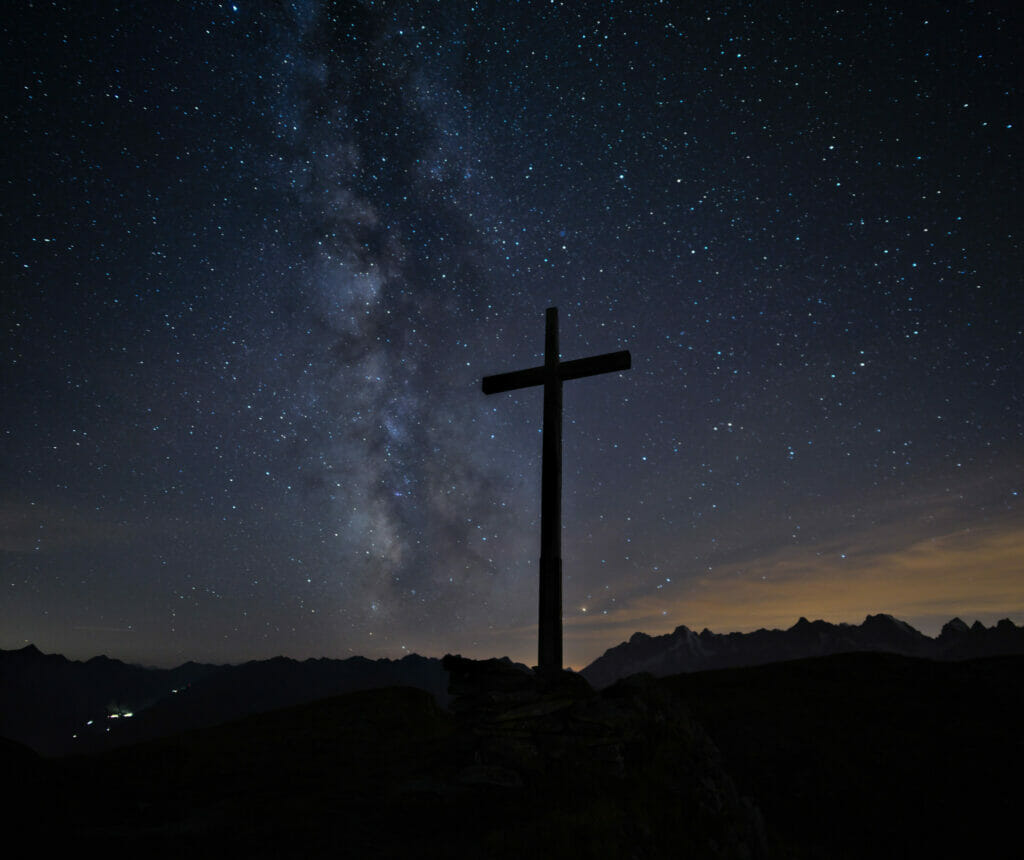
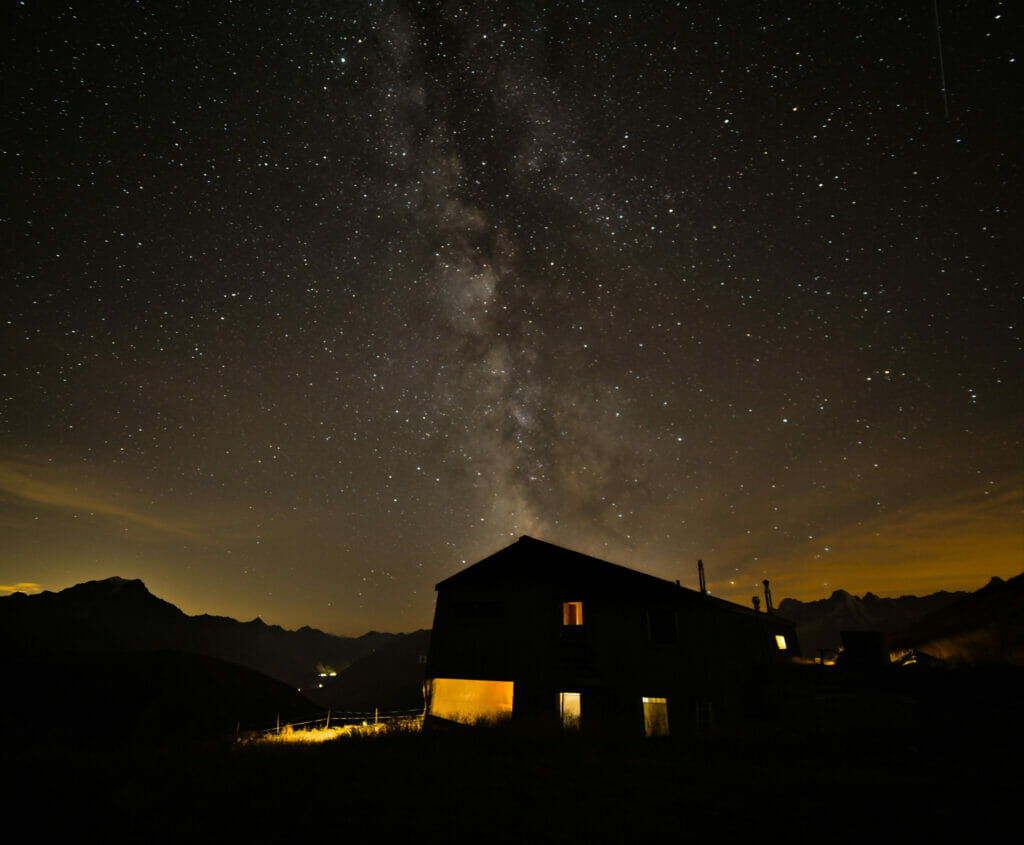
PS: If the sky is clear and the moon is not too big, it can be worth going out at night to have a look at the milky way (of course this piece of advice applies to many mountain huts 😉 ).
Stage details
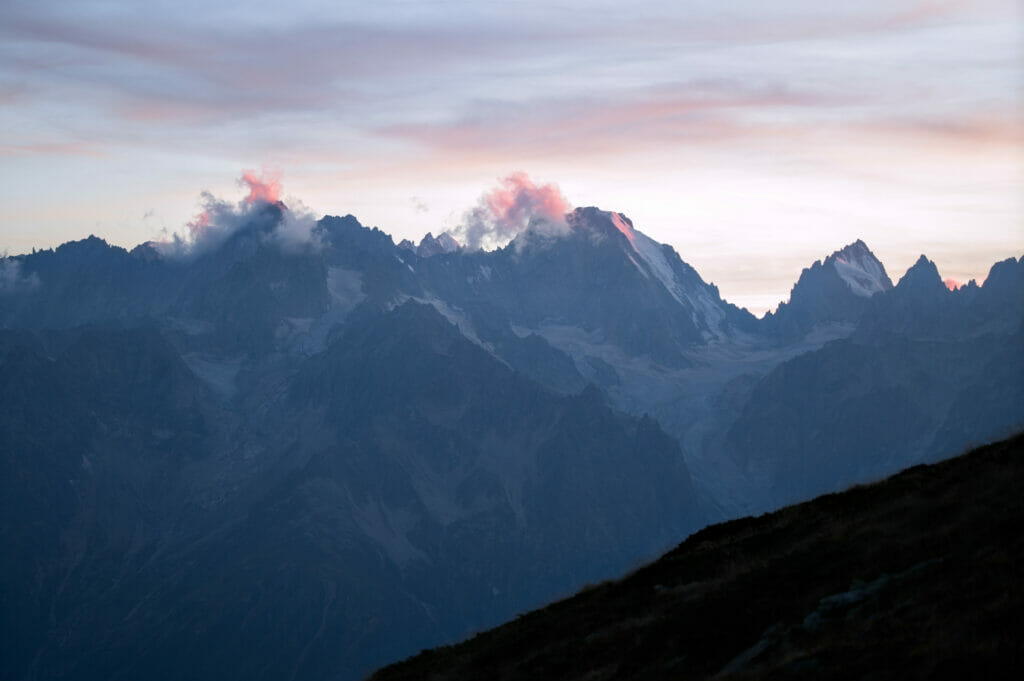
It is a small stage, ideal to start the tour. If you arrive early and want to hike a little extra , we recommend you go to the top of the Rogneux (note that it is possible to reach the top by turning right after the Vuarette and thus integrate this summit to the tour itinerary… this option is visible on the map below). We did this variant in 2020 and we talked about it here. Note however that it is a blue trail (thus of high mountain) and that it is necessary to have a sure foot to take it.
- Start: Bourg-Saint-Pierre
- Finish: Cabane de Mille
- Distance: 12,5 km
- Elevation change: 1150 m +, 300m –
- Hiking time: about 4h30
Map of this day
From cabane de Mille to cabane de Panossière (Day 2)
For this second day there are many possible variations. At breakfast time Benoit gives me his puppy eyes so that I agree to go to the top of the Mont Rogneux but it will not happen! More seriously, the reason is that we had already climbed the Rogneux two years ago but we didn’t know the part between the Cabane de Mille and the Cabane de Brunet at all.
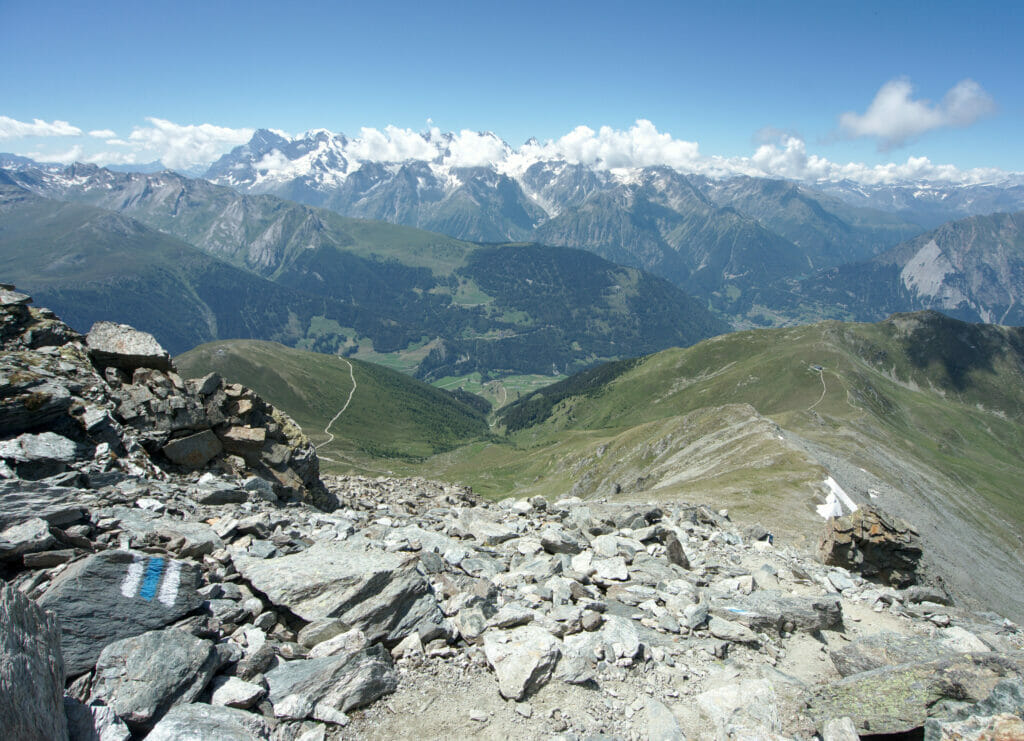
It is possible to reach the Col des Avouillons and then the Cabane de Panossière via the summit of Mont Rogneux. If you are interested in this alternative route, you will find it in blue on the map of the stage a little further down. Note however that this route is marked in blue (thus high mountain) and that the ascent to the Rogneux is quite steep… After that it’s still an “easy” blue in our opinion.
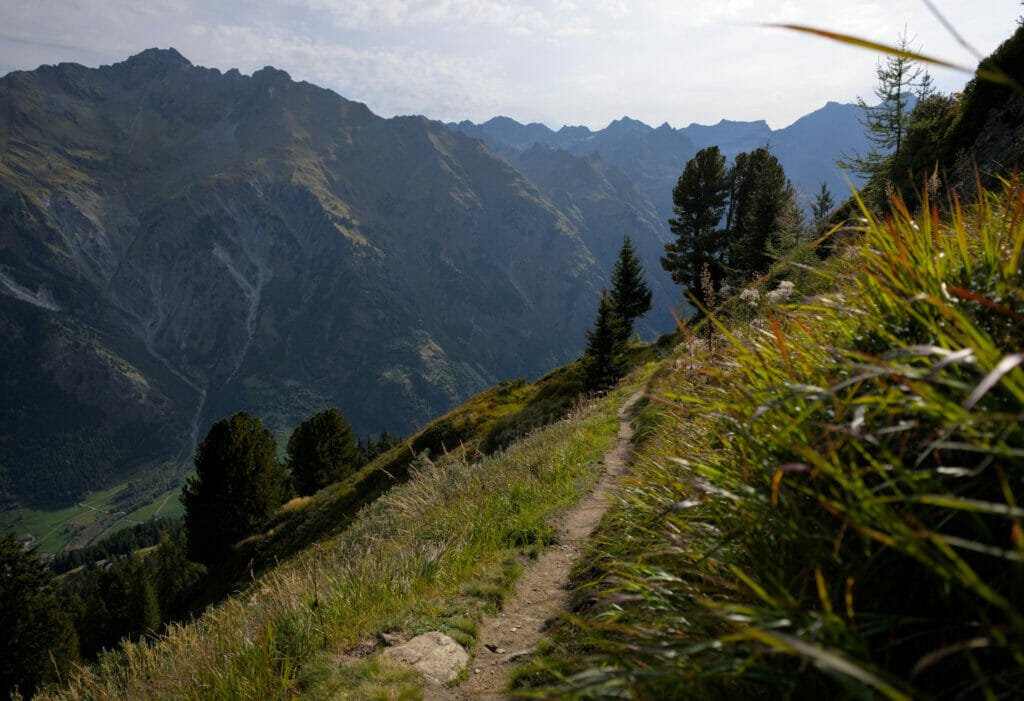
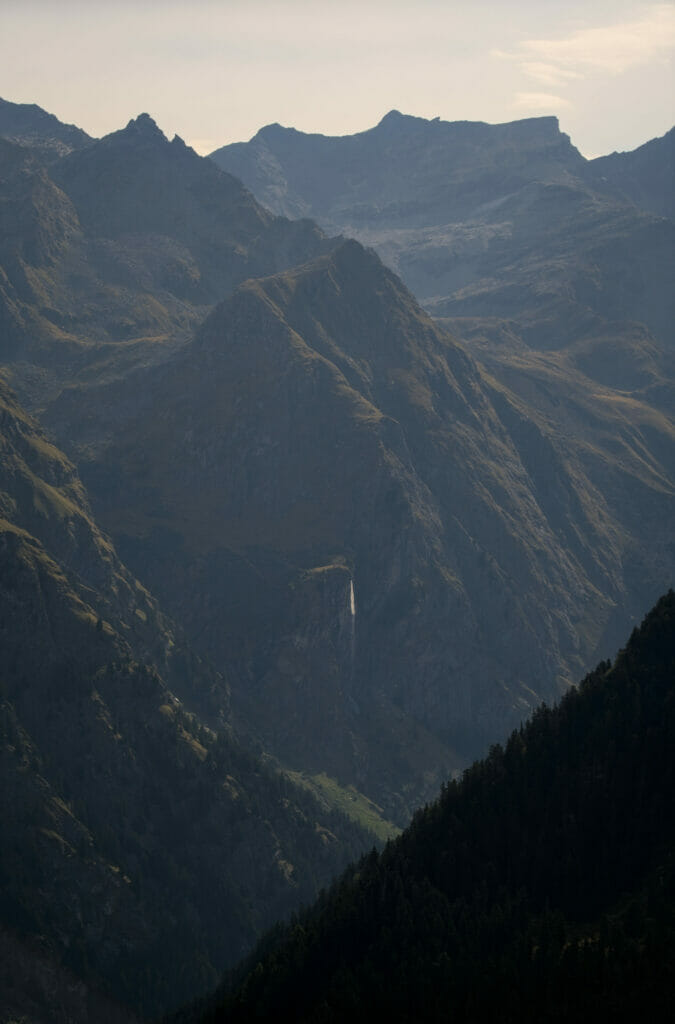
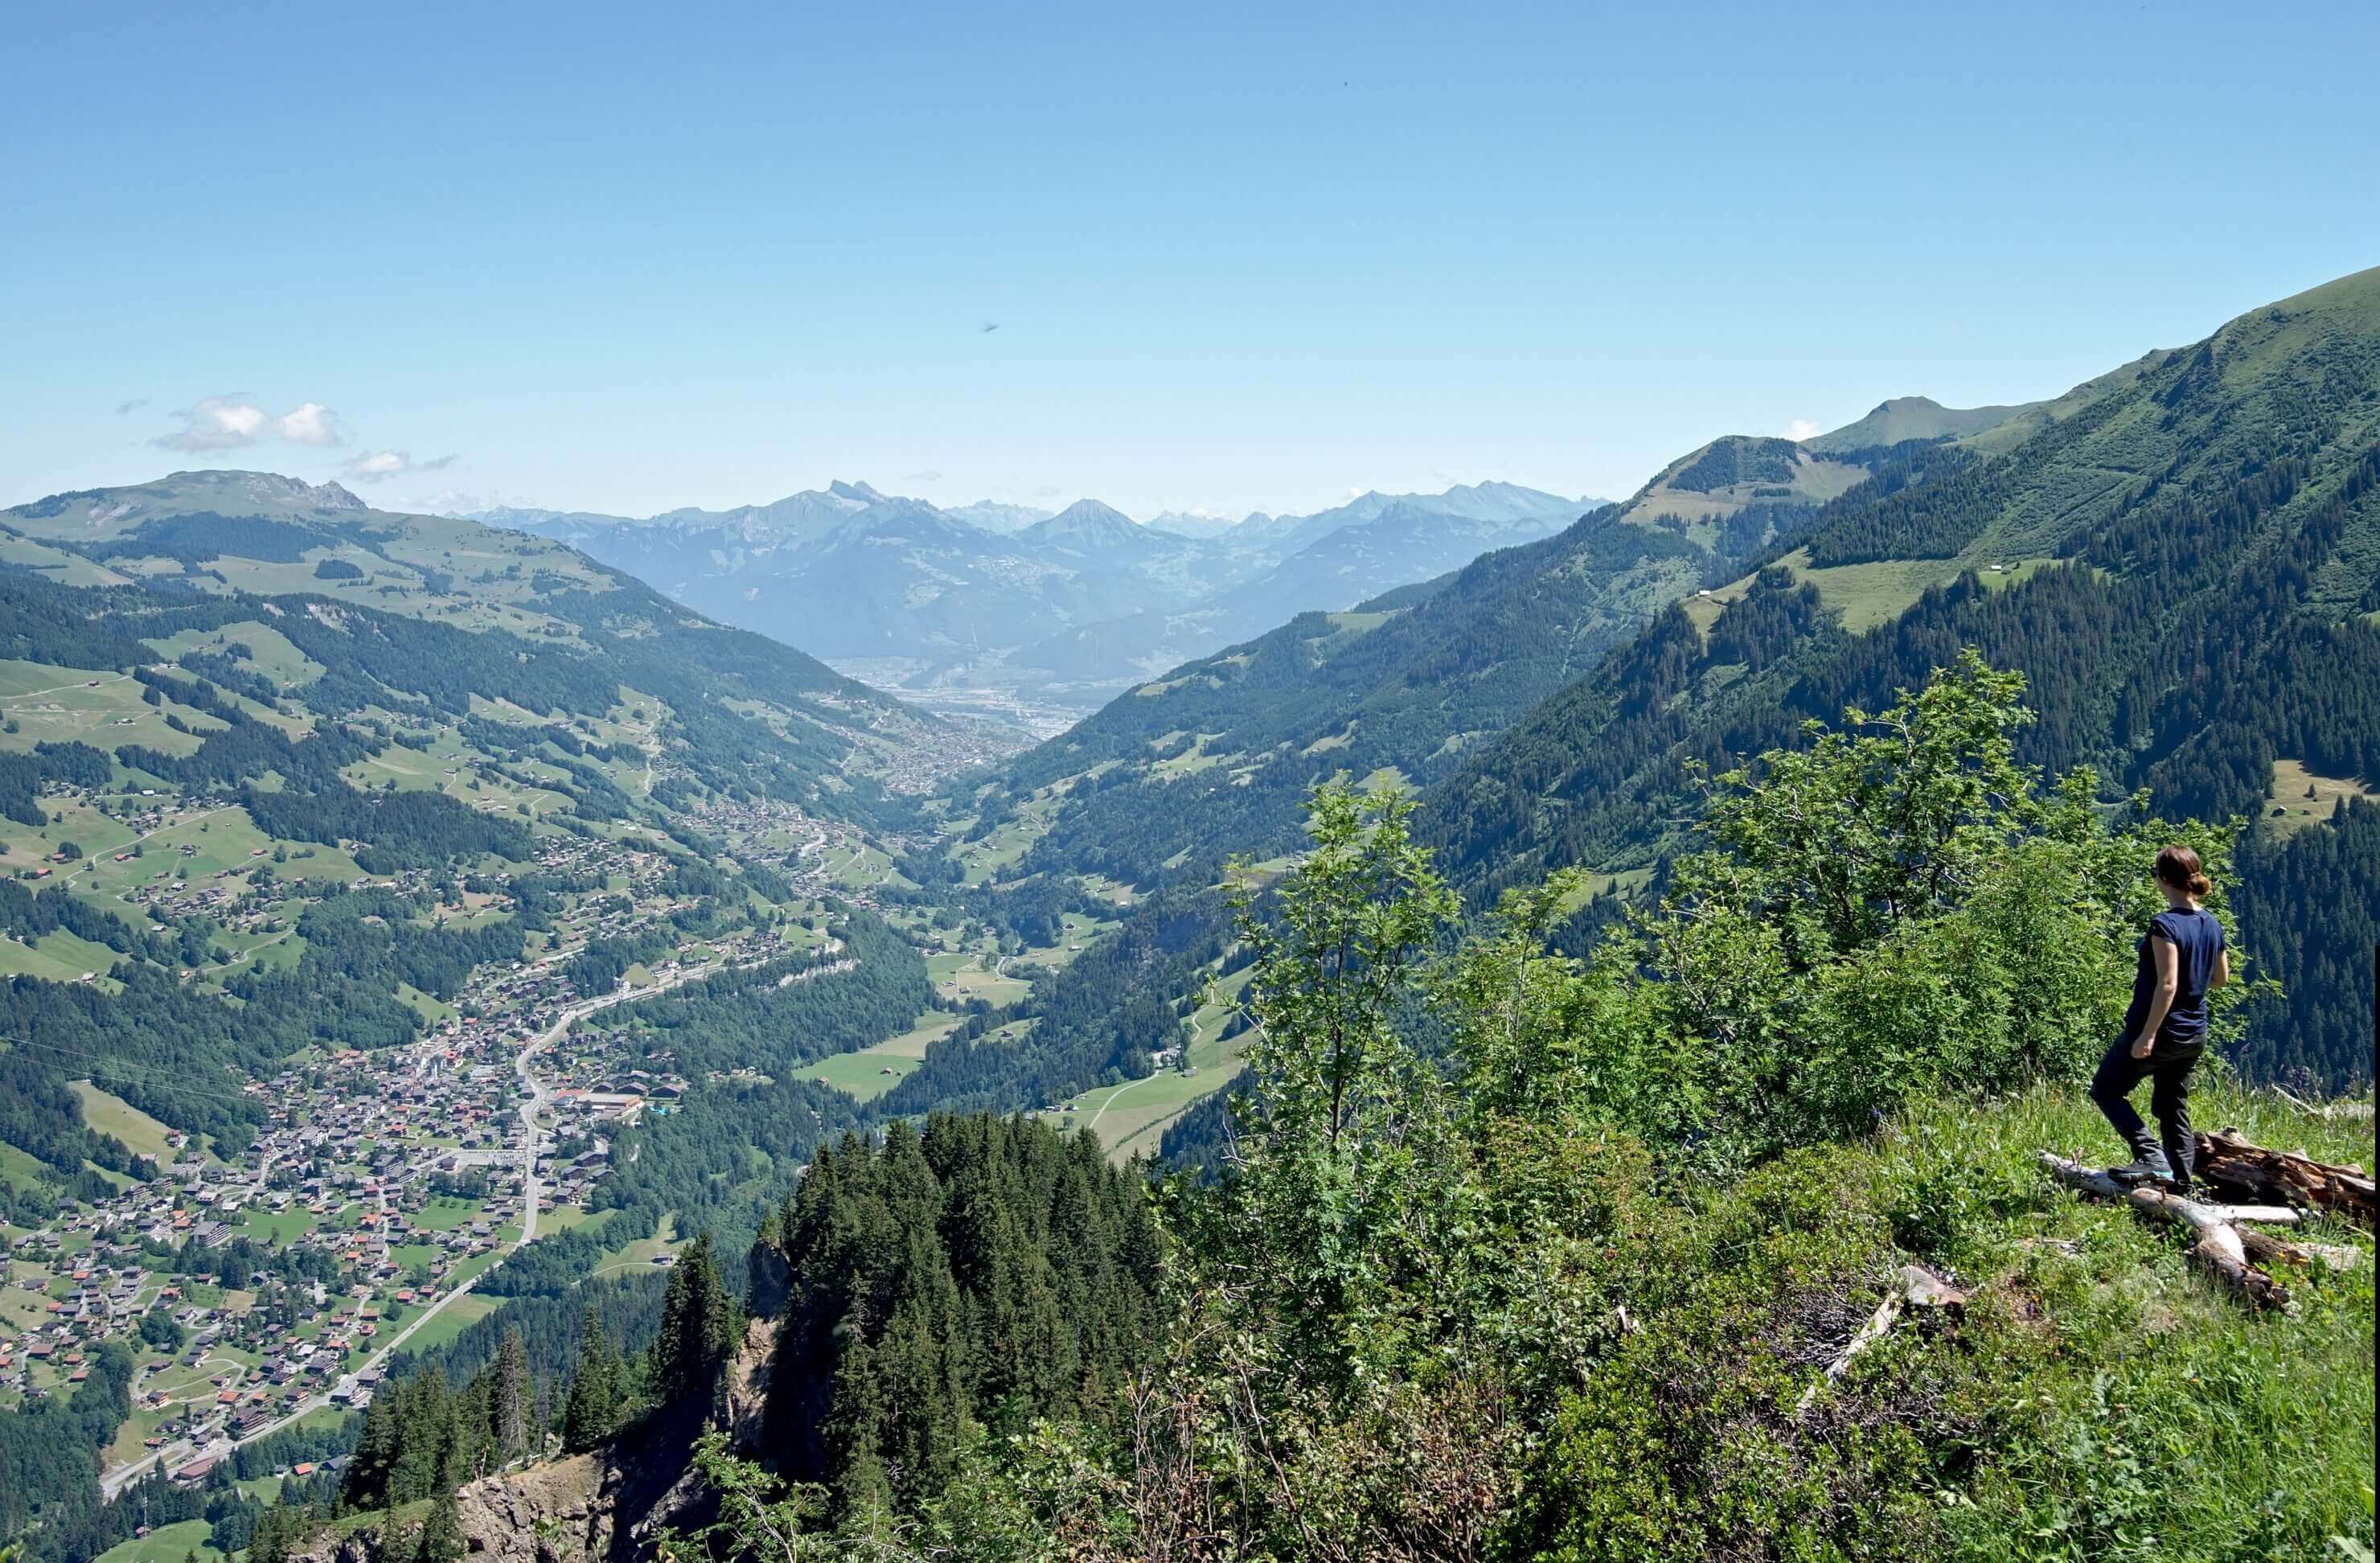
Benoit was a bit afraid that the gentle descent towards Brunet would be a bit “monotonous”. Well, I can guarantee you that he was wrong (without knowing). We really enjoyed this stage which offers beautiful views of the Val de Bagnes. In front of us, we see the villages of Verbier and even Sarreyer (the village where Benoit is from) as well as the alpage de la Chaux where Benoit’s uncle, aunt and cousins keep cows and goats during the summer season and make cheese. (the best in the world in our humble opinion). #FromageDeBagnes #BagnesChaux 😉
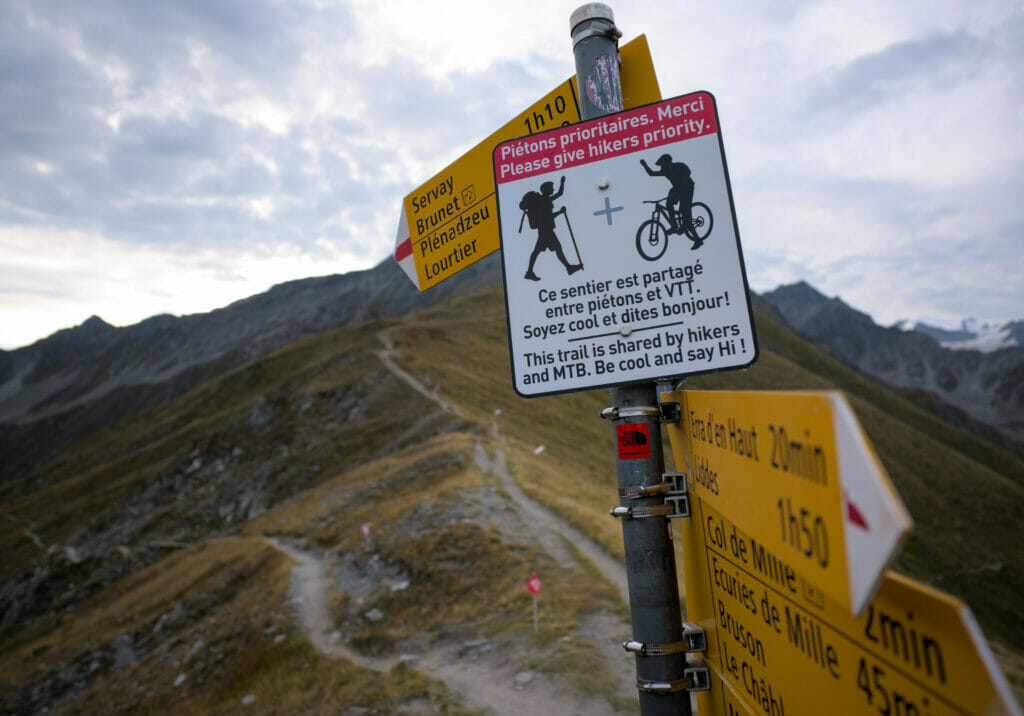
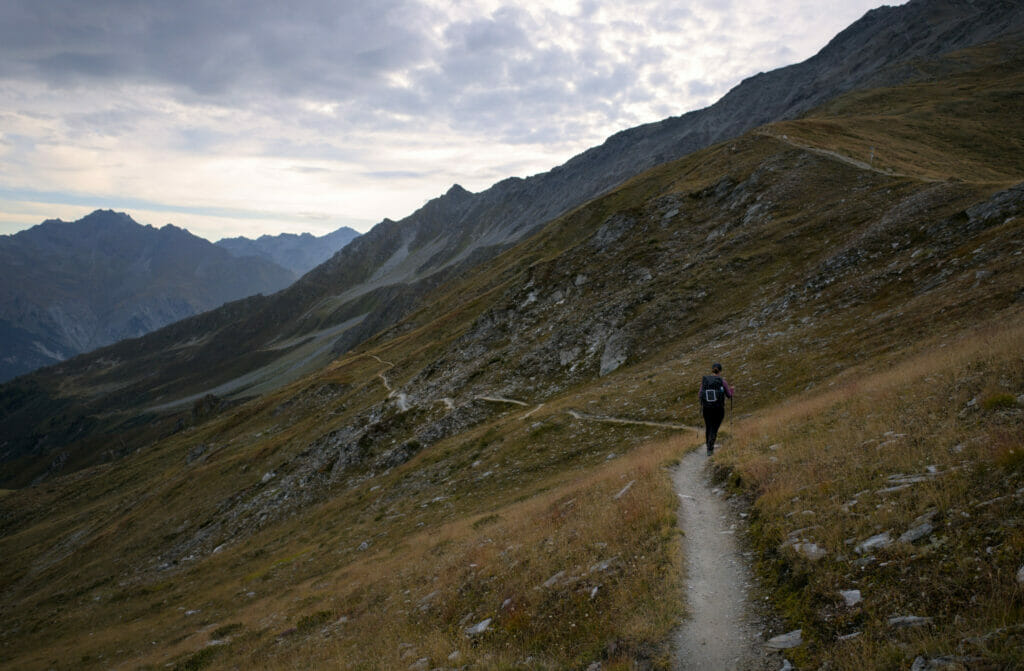
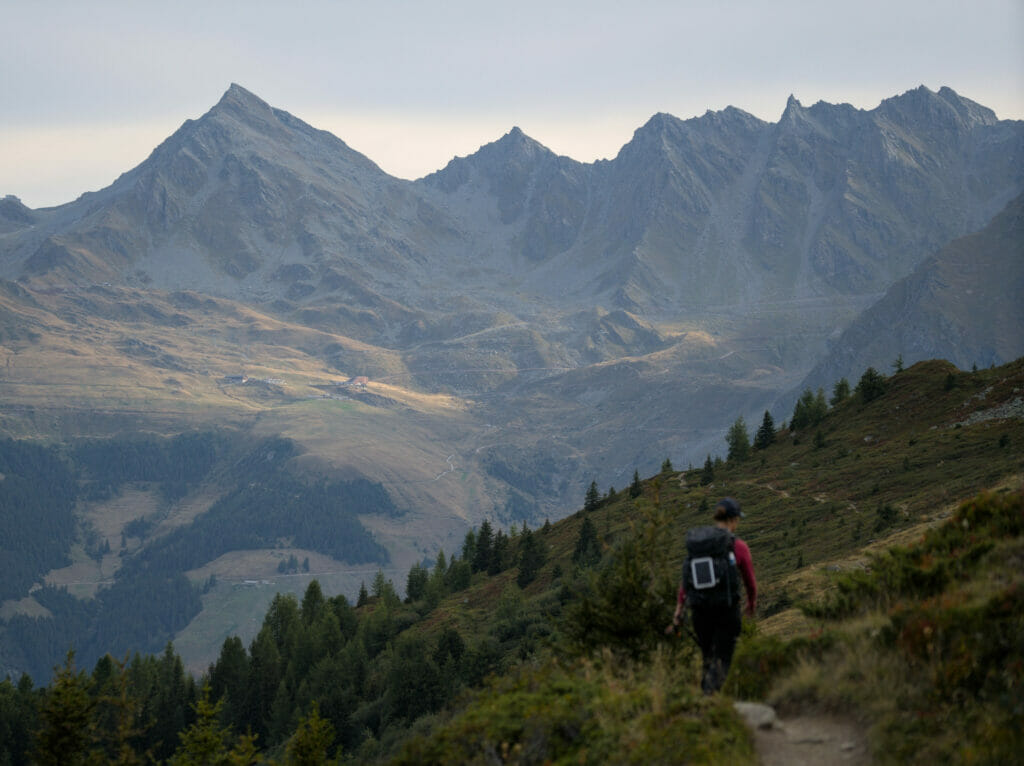
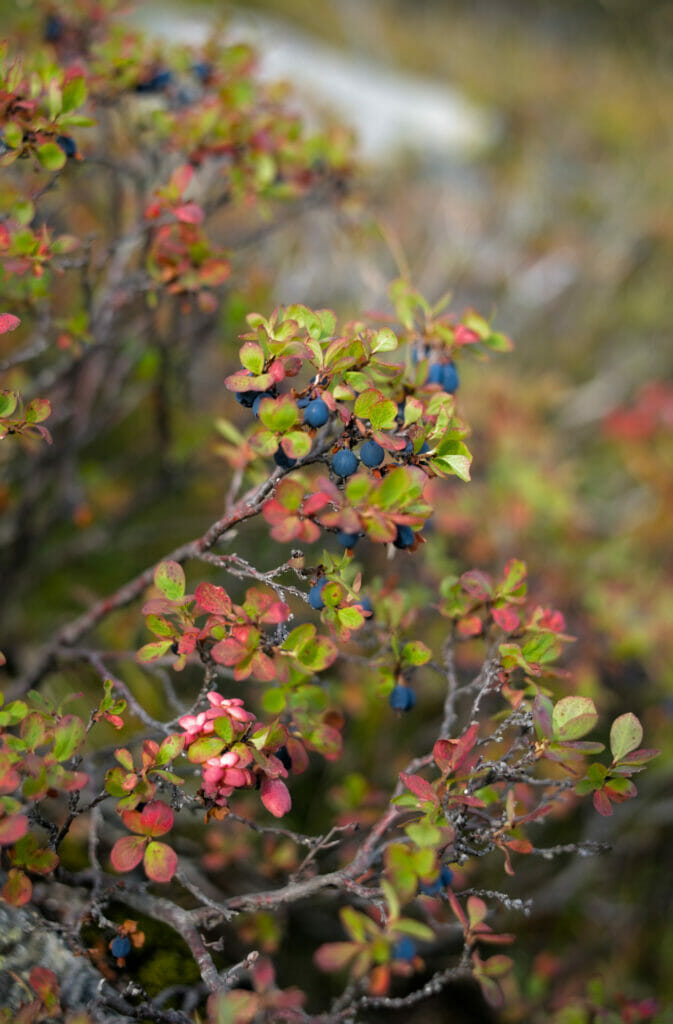
The path itself is really very nice. We advance in the middle of the arolles tree and shrubs filled with bilberries (Bonus: it’s the perfect time of the year for the billberries, meaning we had the opportunity to get lots of “snacks” on the way)
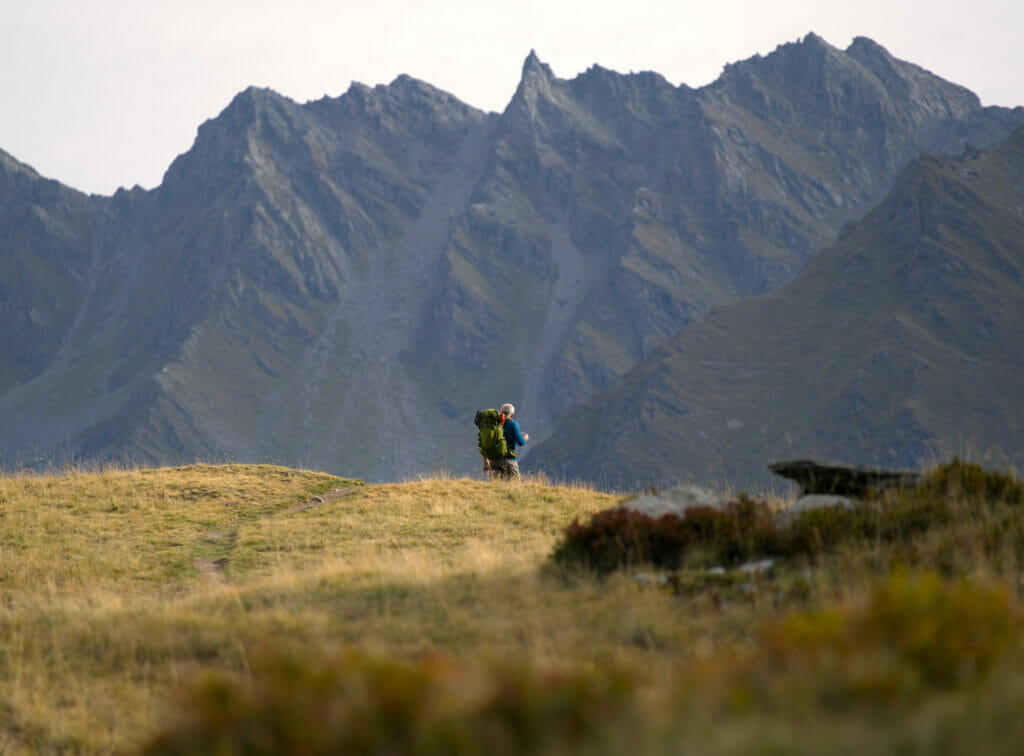
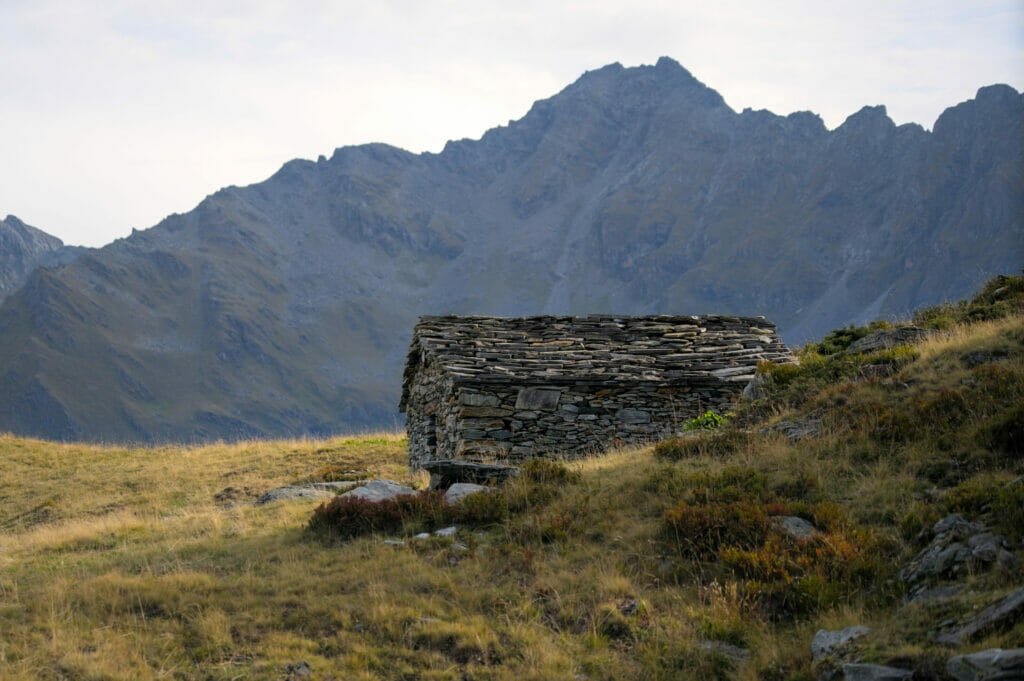
Arrived at Brunet we take a little break for a coffee. While we are installed on the terrace, we see a guy passing who is filmed by a cameraman. We understand quickly that he is the leader of the SwissPeaks 360 which took place precisely this week.
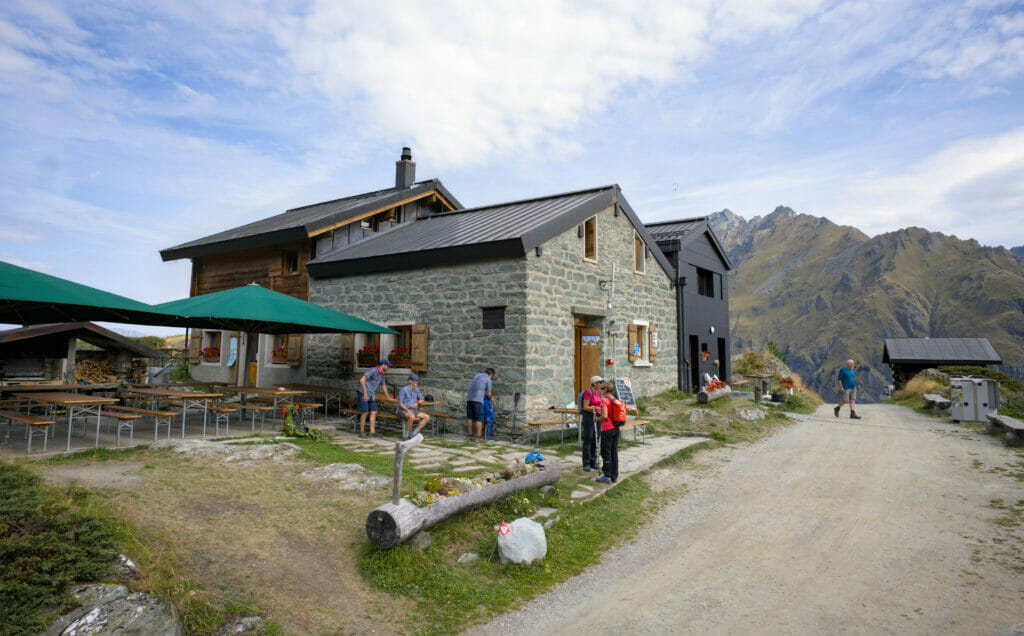
The SwissPeaks 360 you might ask? Oh, just a little trail of 367km with about 27’000 meters of ascent. The runner we saw passing by with a large smile on his face? (yes, the guy was still looking fresh and all smiley after more than 150 km of running!) It was a certain Galen Reynolds. He won the race in just under 86 hours!
And to think that we had walked the Via Alpina (which, for the record, is roughly the same distance with the same elevation gain) in 3 weeks… haha we are definitely not equal in terms of sports!
In short, inspired by Galen’s passage, we set off again running hiking on our journey. #LetsNotPushIt
For the rest of the route we decided to follow one of the alternative trails. At a small bridge, we decided to go straight on instead of turning left. The goal? To reach the Col des Avouillons by passing at the foot of the Petit Combin to admire the Corbassière glacier from above.
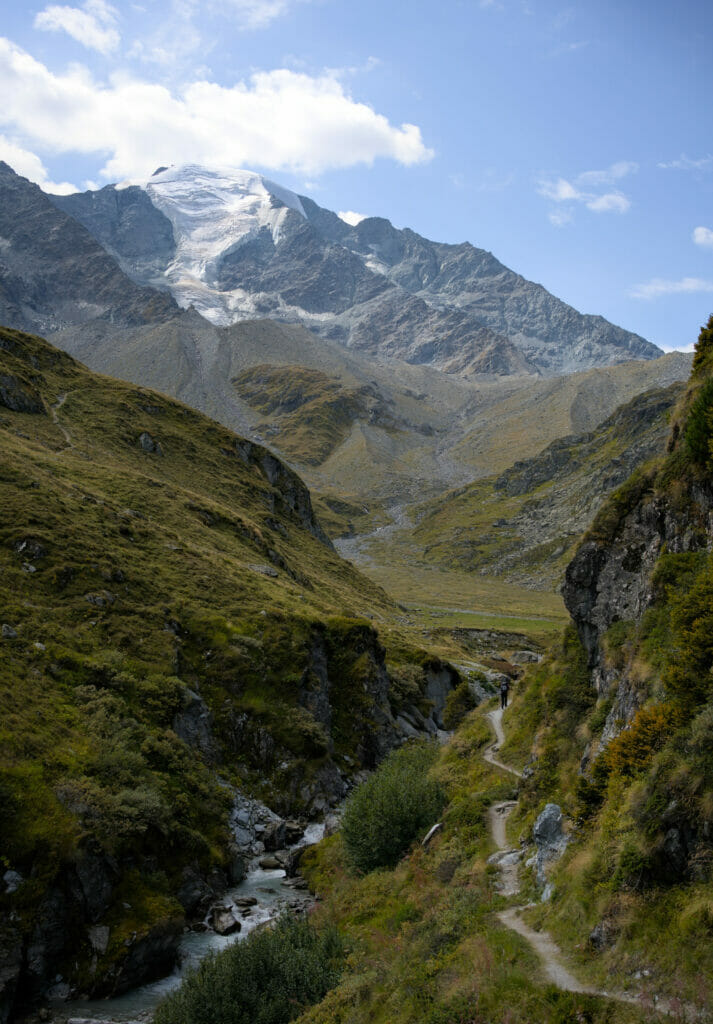
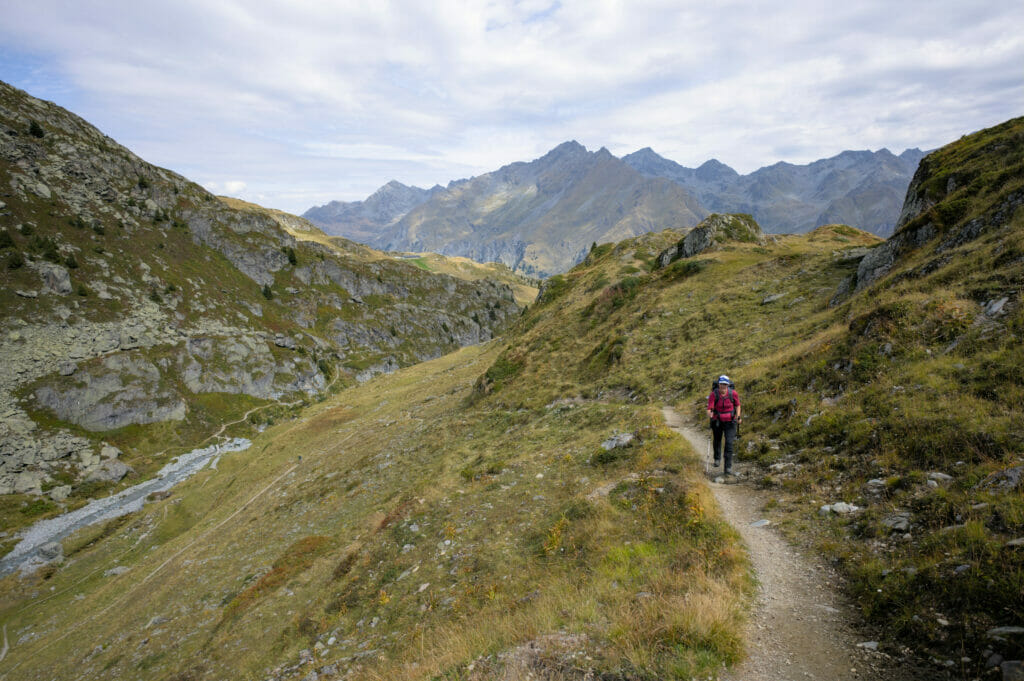
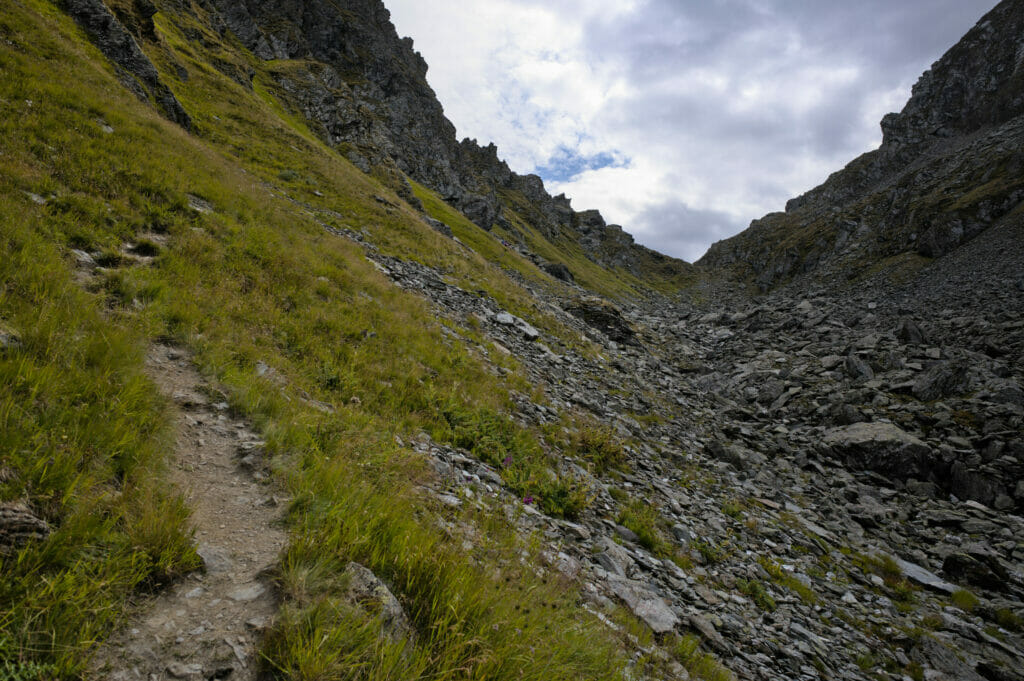
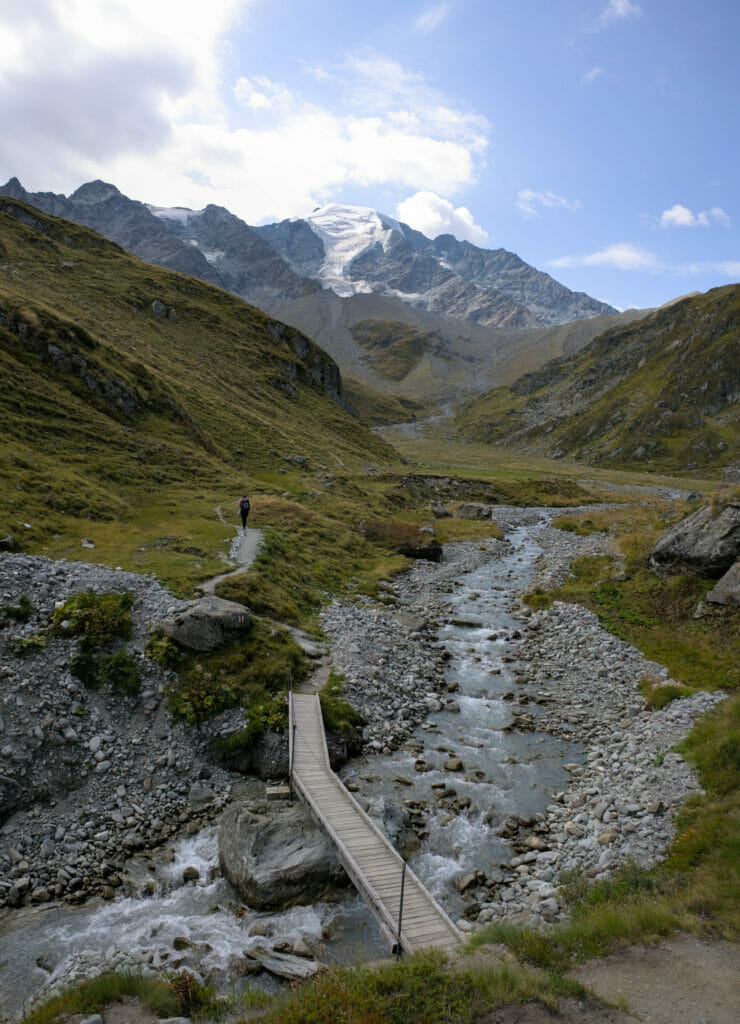
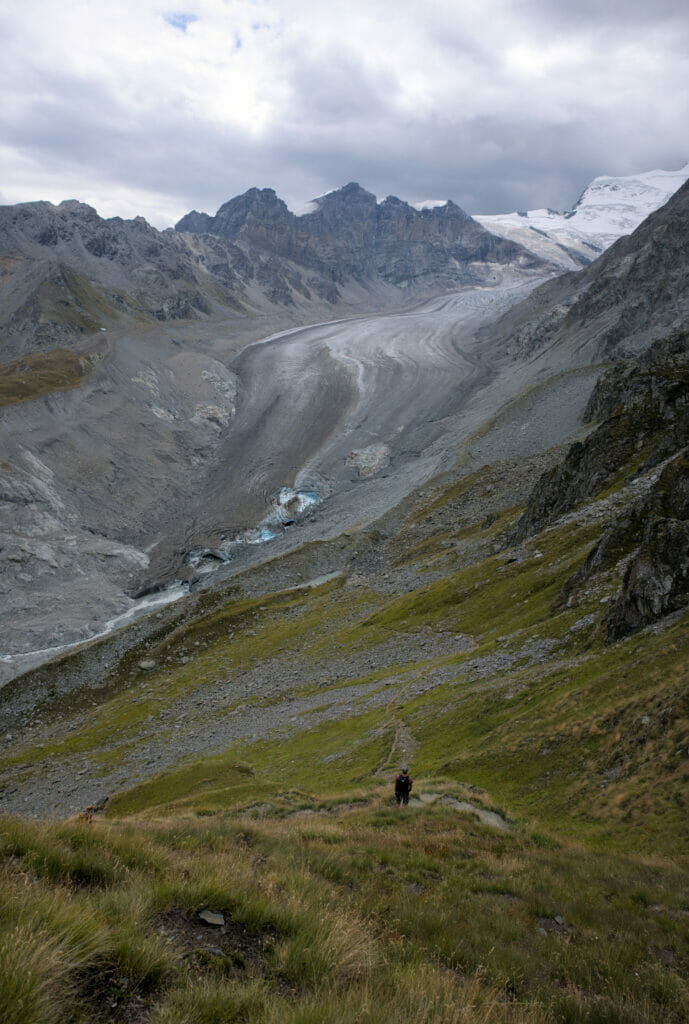
I had already done this route 7 years ago, but unfortunately the weather had been disastrous at the time and we had seen nothing from the pass. This year the situation was different and the view was simply amazing! If the weather is relatively clear, this alternative route is clearly worth it.
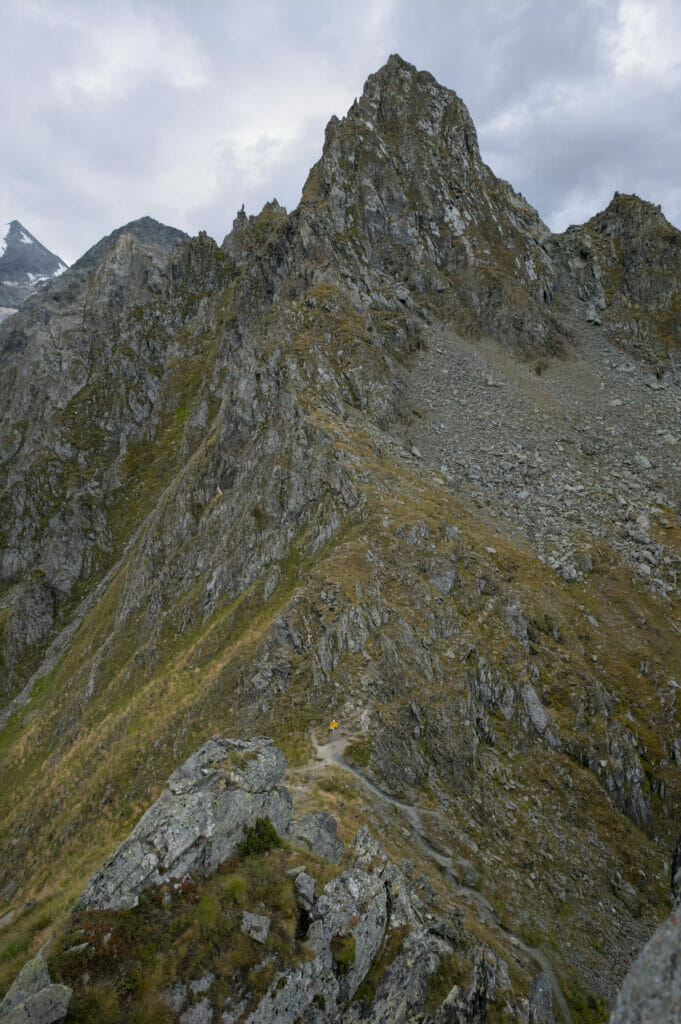
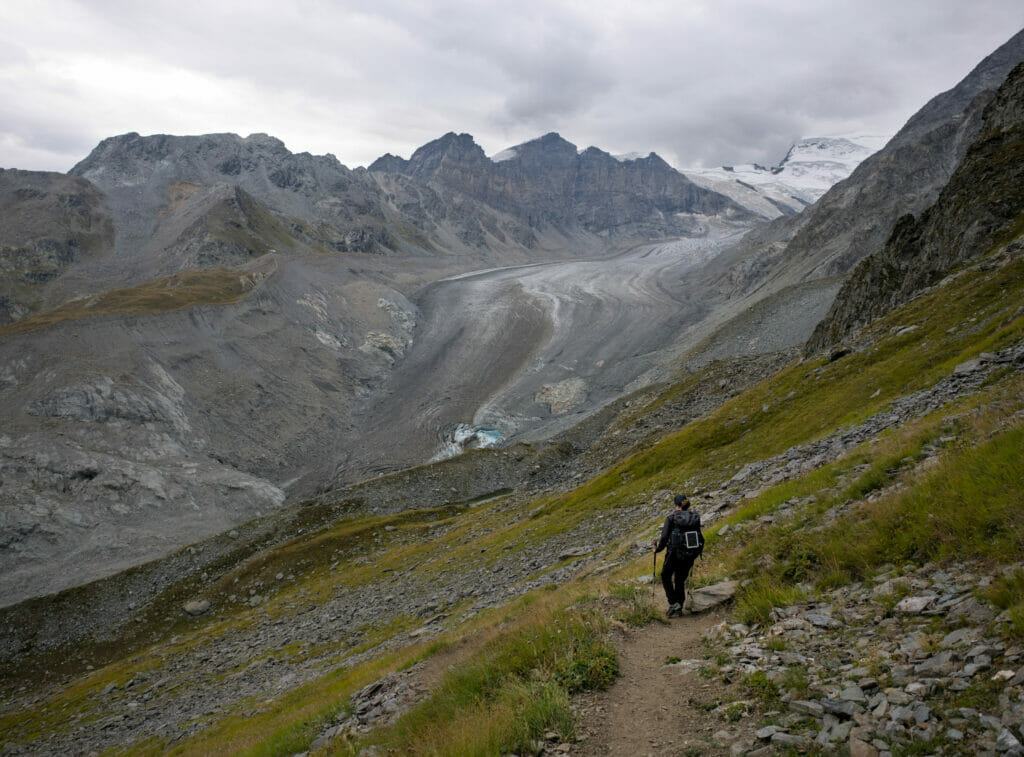
We join the official path just before the passage the bridge of Corbassière inaugurated in 2014. With its 190m length it is really impressive!
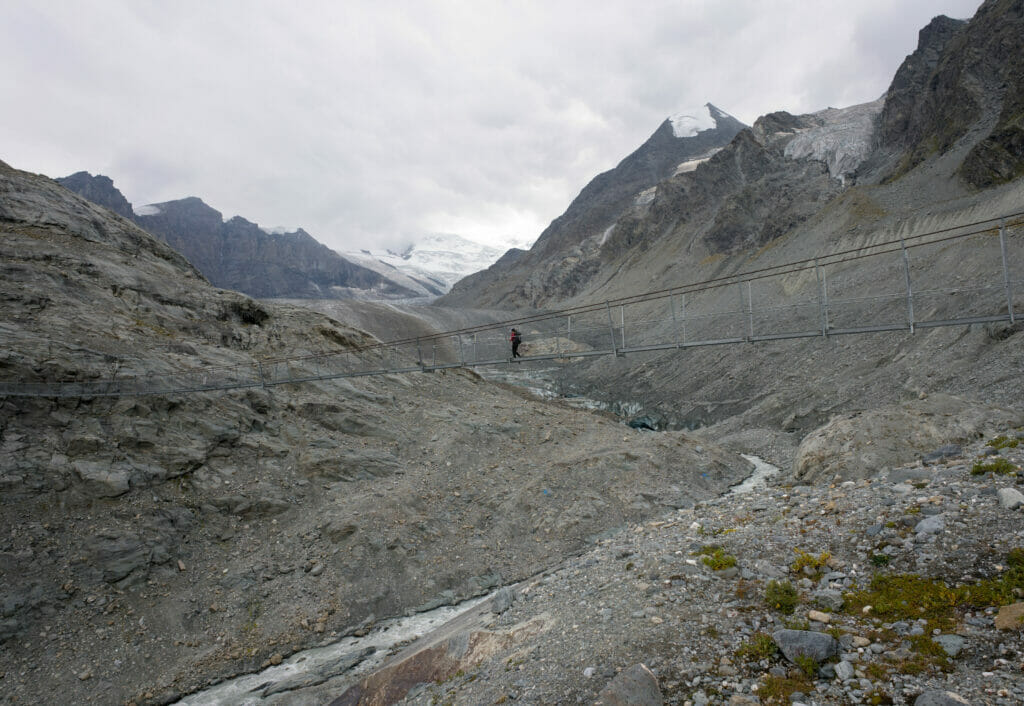
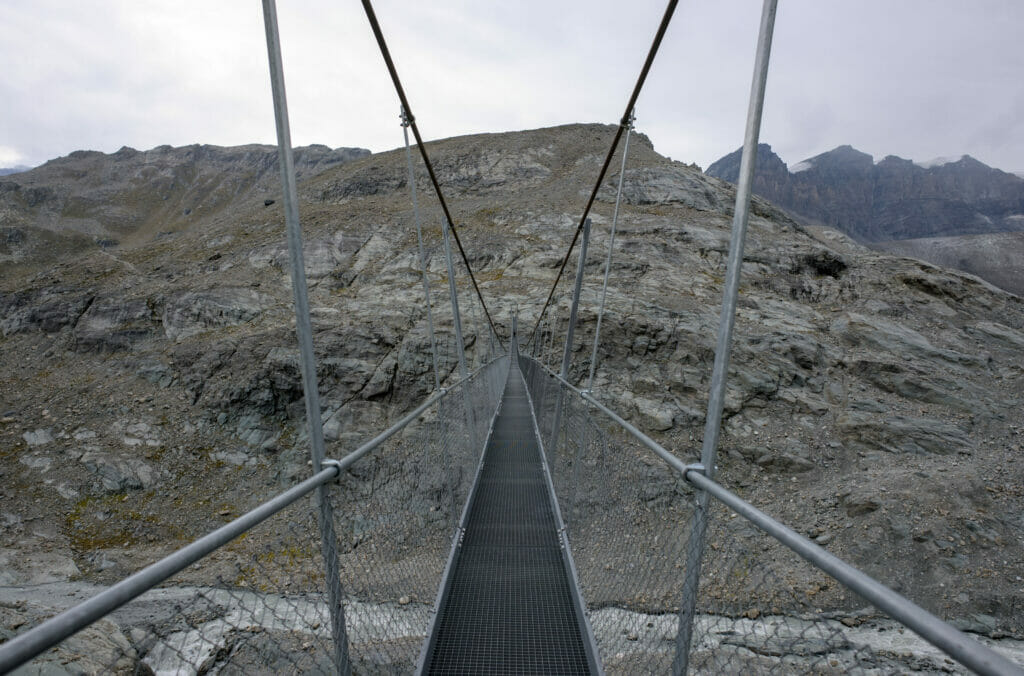
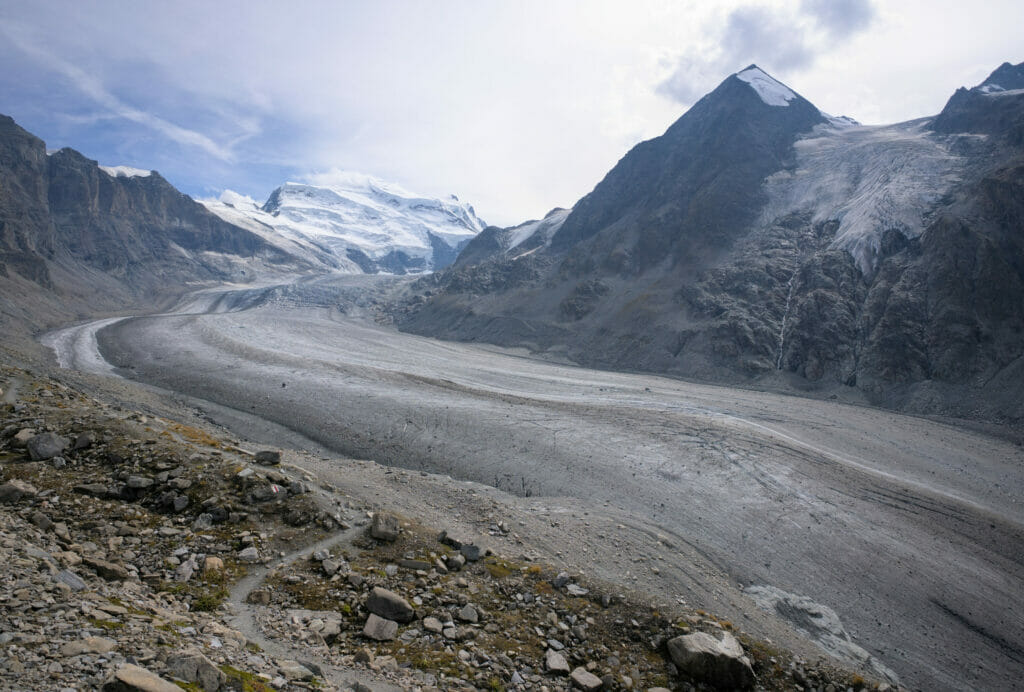
From the footbridge there are “only” 2 km and 250m elevation gain left. This is the section where we were the slowest. Was it very difficult? No, absolutely not… But this is the moment when the clouds decided to rise as if by magic! We simply spent sooo much time admiring the glacier and this absolutely majestic view (even if we had also a point of sadness by remembering the images of the glacier a few years ago).
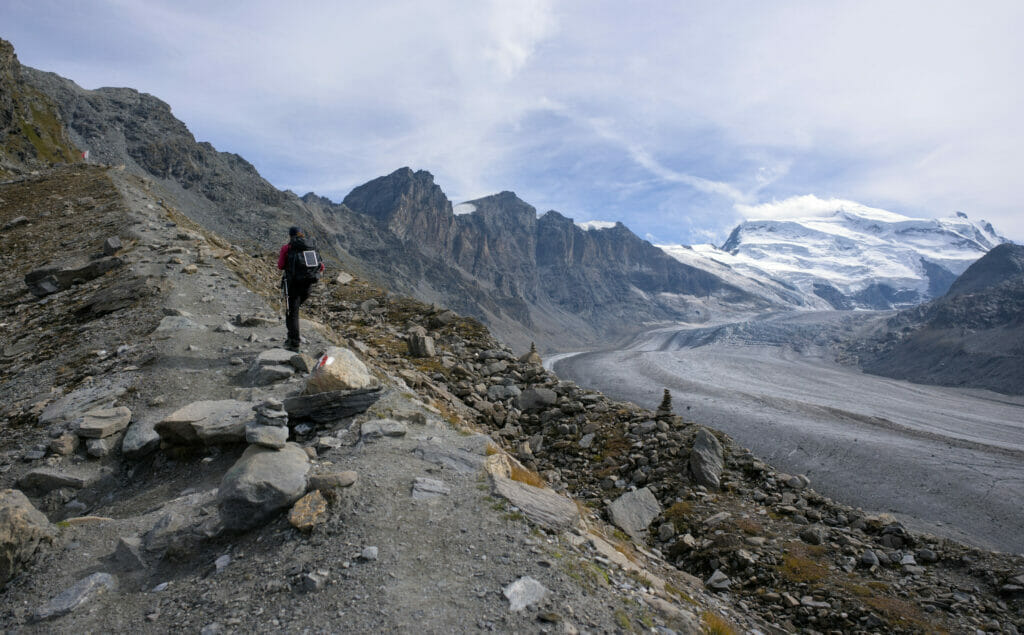
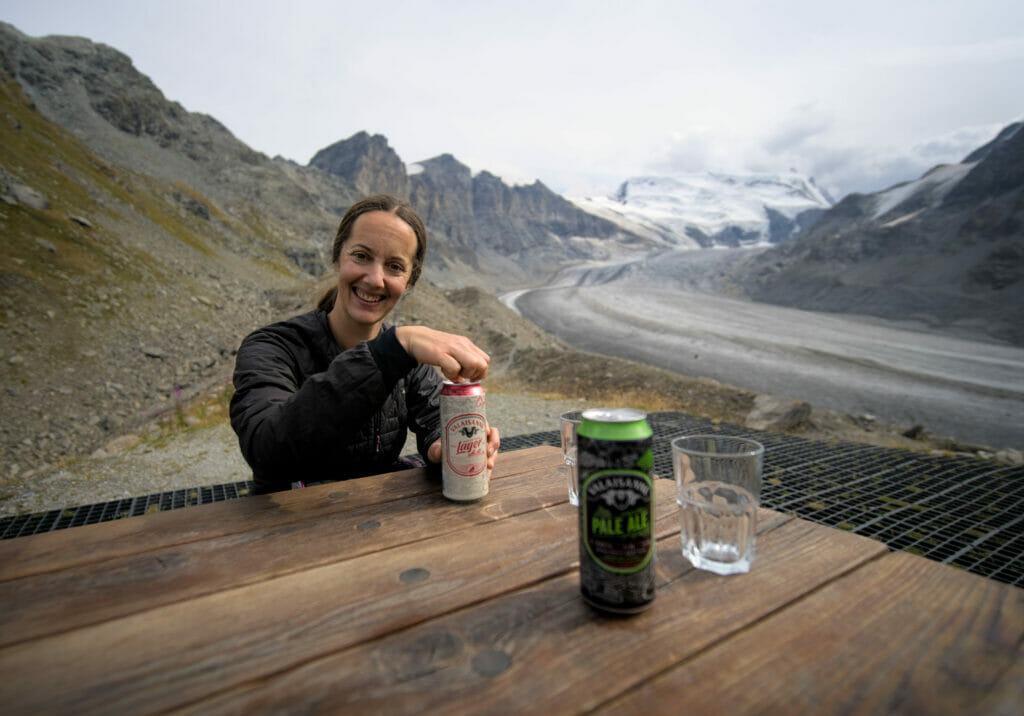
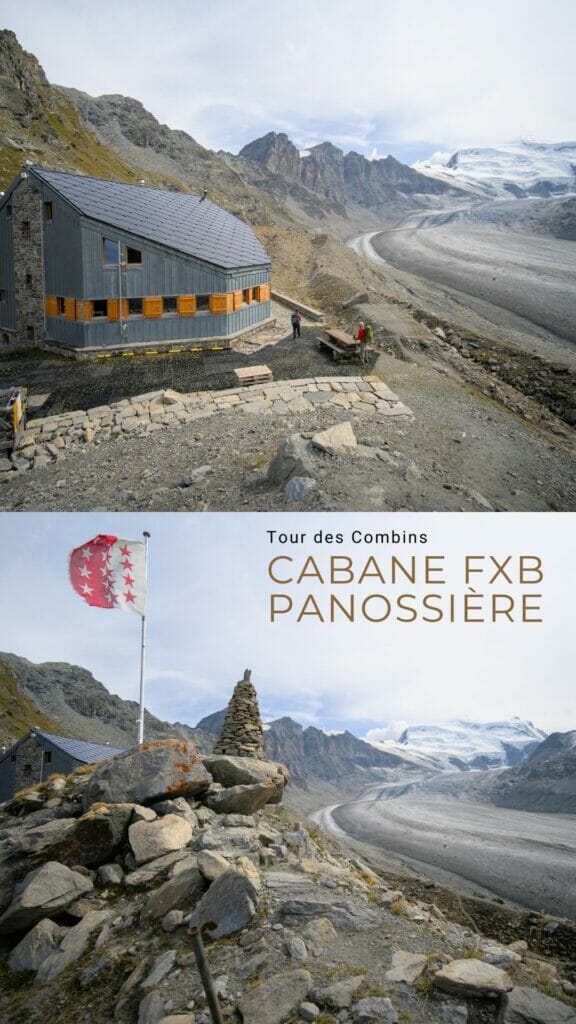
Once at the hut, we continued to enjoy this amazing view with a well-deserved beer before going back inside to sit in the warm and cosy dining room (it’s getting cool at 2630m when the sun sets 😉 )
Spending the night at Cabane de Panossière
We had a great time at the Panossière hut. An evening in a hut as we like it! The capacity of Panossière is about 75 people, but that evening we were only about ten. When it was time to sit down for dinner, the staff asked us if we could sit in the same “area” to facilitate the service. At that moment we all looked at each other… “Well, we’ll just put 2 tables together and eat together, right?”
And that’s how we found ourselves spending the evening talking about hiking, travel and mountains with a happy team from all over the world (one Canadian, 3 Americans, 2 Belgians and some Swiss).
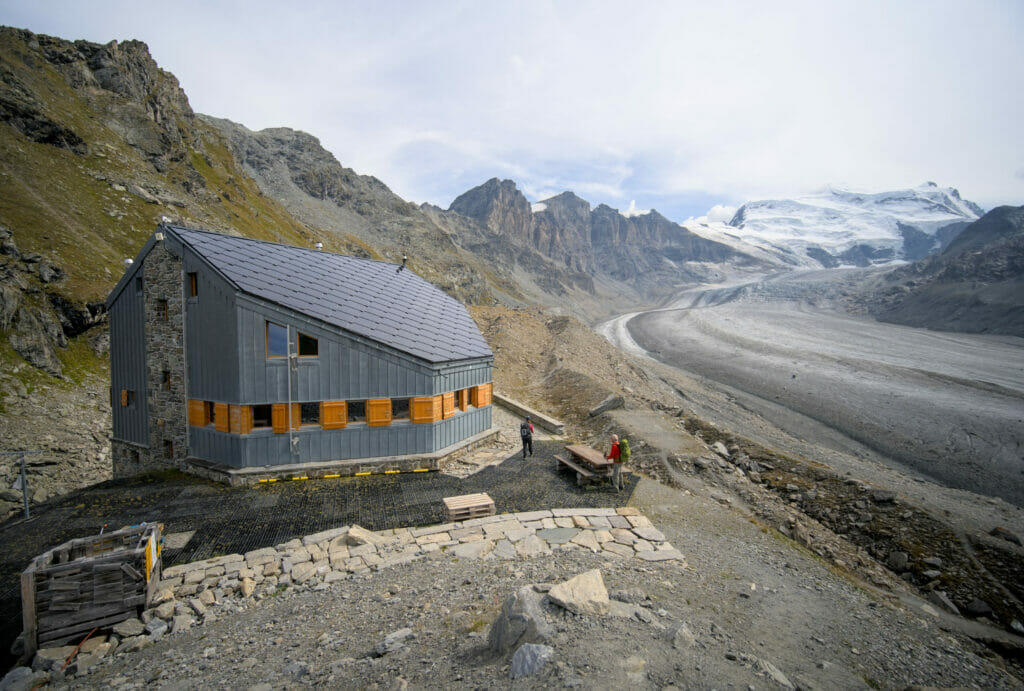
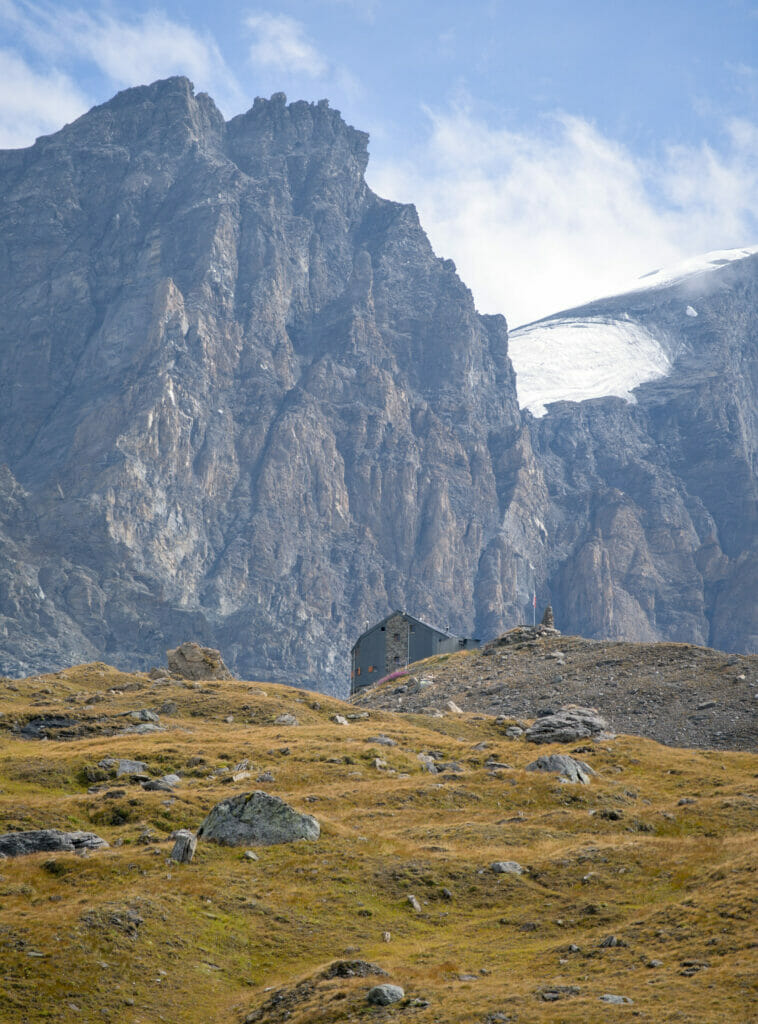
And on a more practical note, Panossière is a beautiful and spacious hut with a view… how can I put it? Pfiouuu… just exceptional! The team is adorable and we ate very well (special note for their picnic which was divine (homemade salty cake, homemade cupcake and good alpine cheese!)
Price of the half-board: 75 CHF / person, hot shower in supplement
Link to check for availability and to book
Stage details
We highly recommend the alternative route via the Col des Avouillons (the lower red route on the map below); the view “from above” on the Corbassière glacier and the passage at the foot of the Petit Combin are really worth the little extra effort and you should know that it doesn’t really add any distance, just a little bit of elevation gain 😉
- Start: Cabane de Mille
- Finish: Cabane de Panossière
- Distance: 15,4 km
- Elevation change: 1260 m + and 1130m –
- Hiking time: about 6h
- Alternative route: le col des Avouillons
Map of this stage
From Panossière to cabane de Chanrion (Day 3)
This morning we wake up surrounded by clouds! The mist surrounds the hut and we can hardly see the glacier… Ouch… A small glance at the forecasts and we end up leaving rather optimistic because Météo Suisse tells us that it should clear up (even if we know well that the forecasts can reserve surprises in mountains 😉 After, we were not going to complain… By leaving the hut, we don’t have time to begin to digest the breakfast that we attack already one of the steepest climbs of the tour: the ascent to the col des Otanes.
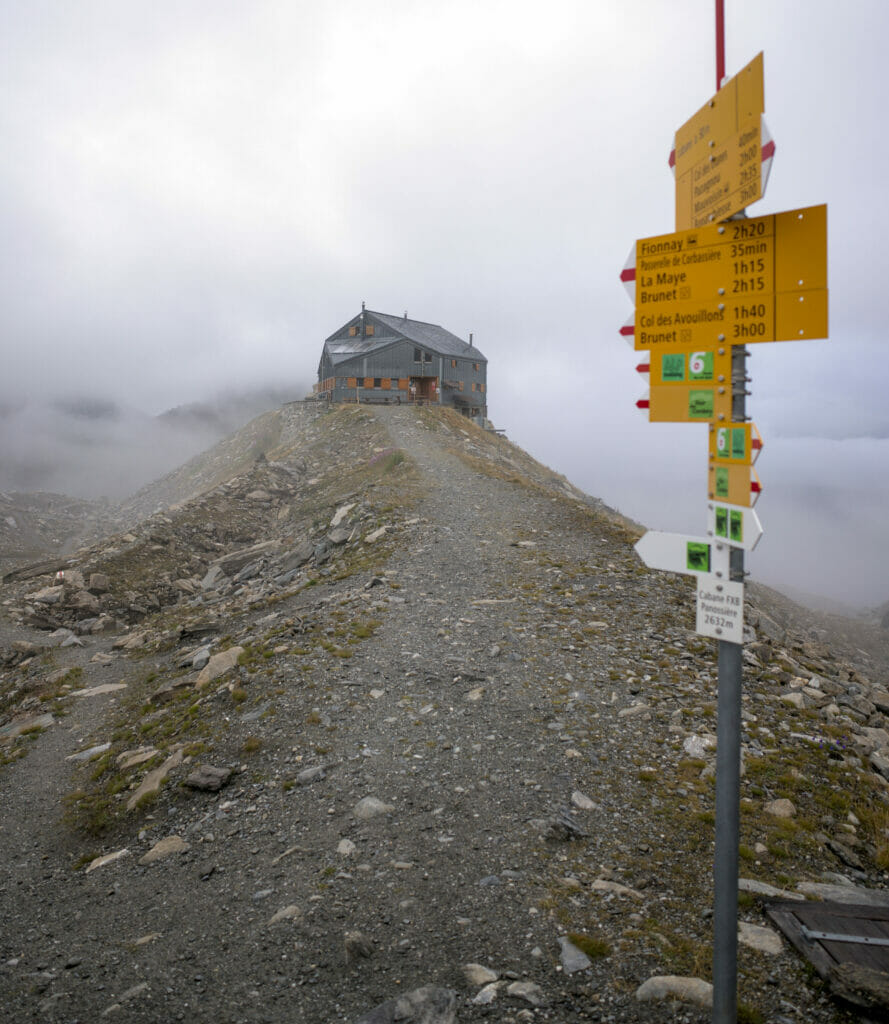
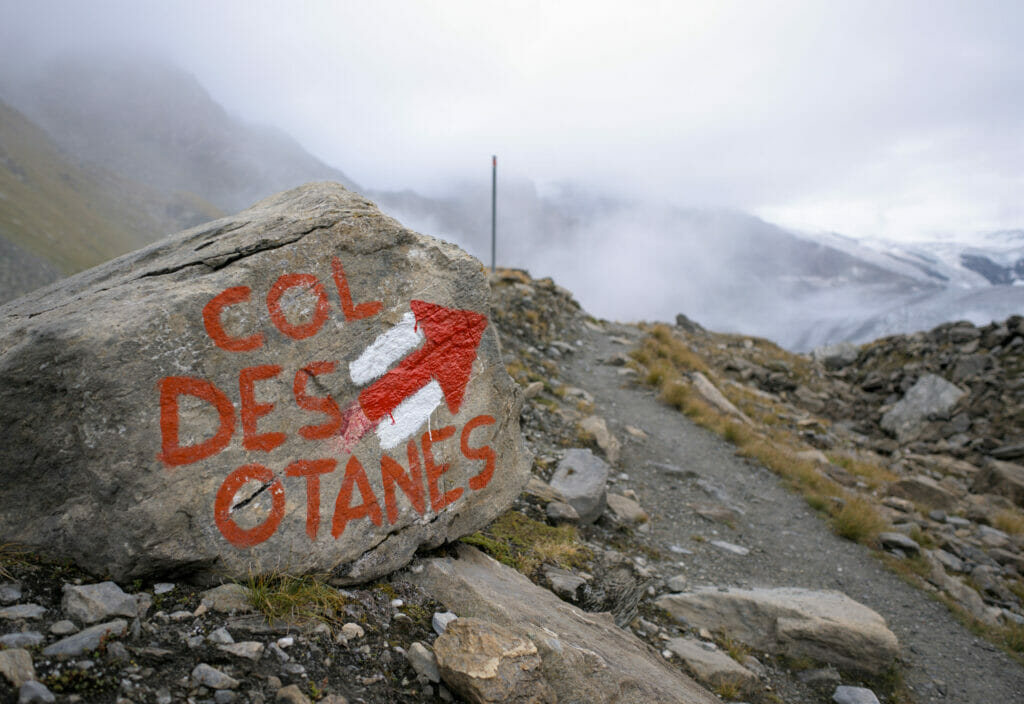
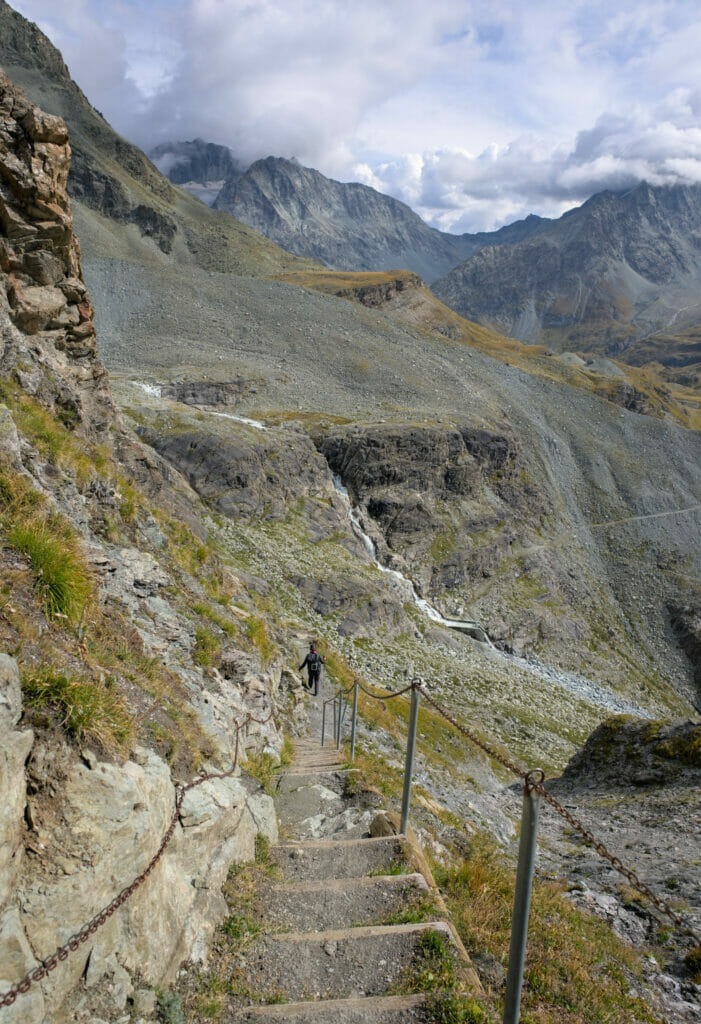
The ascent is quite short, but phew… it’s steep! Nothing like it to get the machine going if you want my humble opinion.
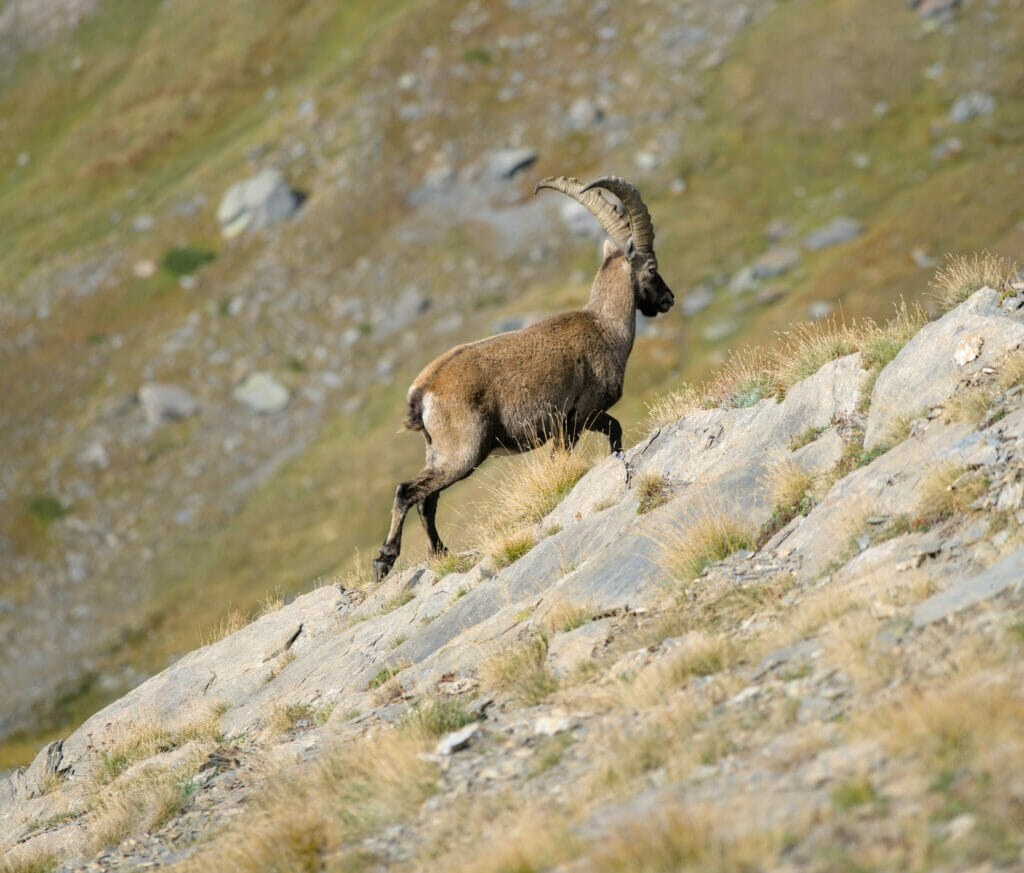
Being the first to leave this morning, we have the nice surprise to see many ibexes during the ascent as well as at the top. We have actually spent quite a while observing them, they are really fascinating animals! They have such an agility in the scree, it is disconcerting (If only it would be as easy for us as it is for them haha).
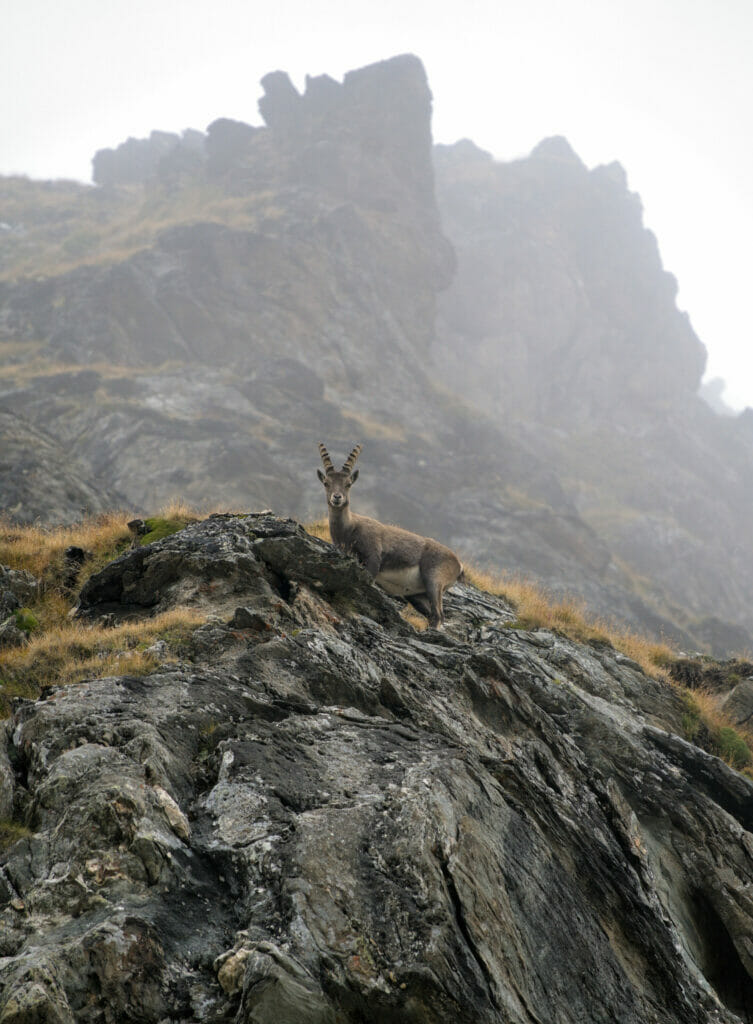
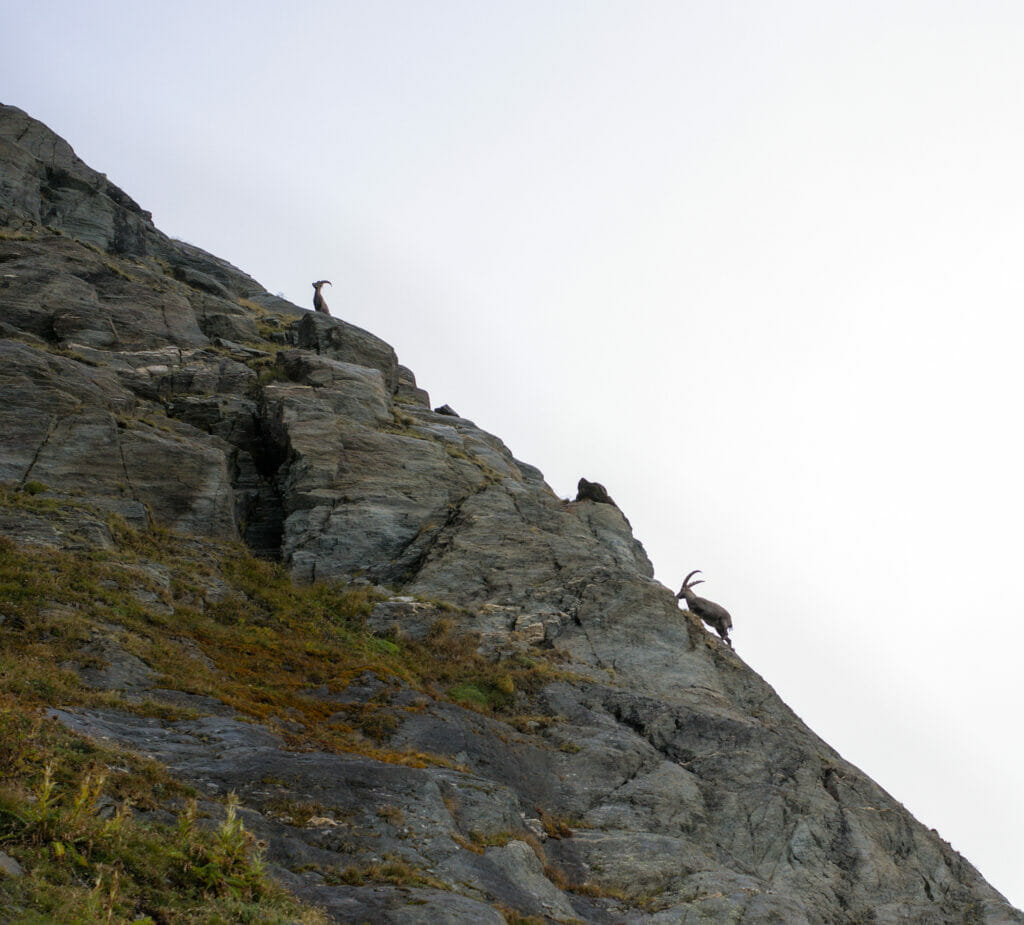
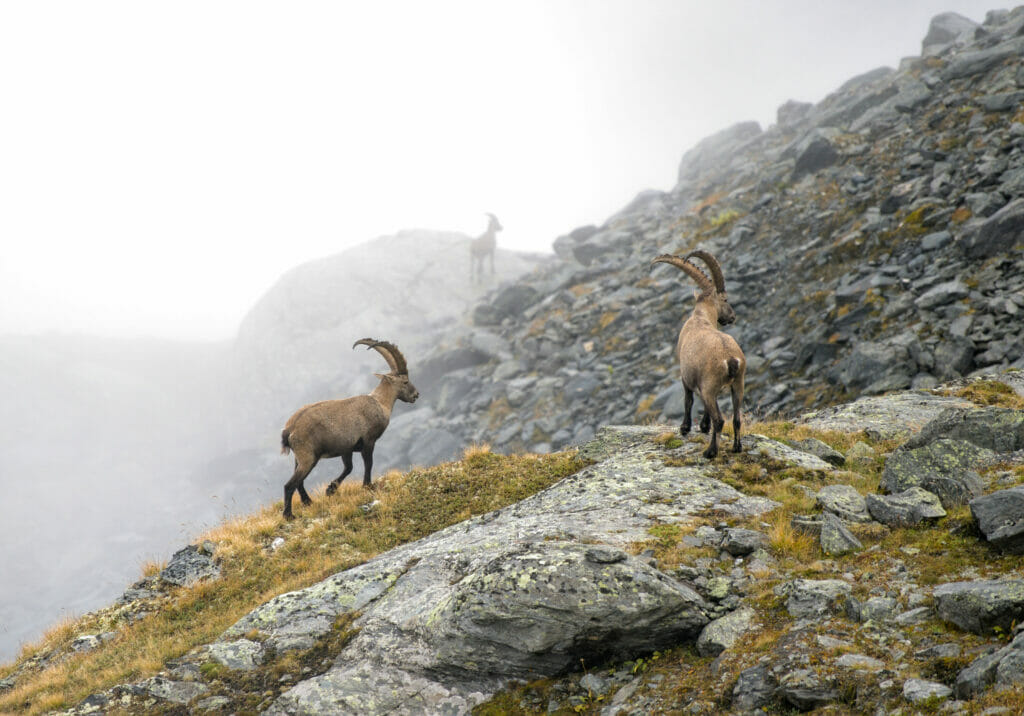
The Col des Otanes is the highest point of the Tour des Combins with its 2870m. We take a last look at the imposing glacier and then start the long but steady descent to the Mauvoisin dam.
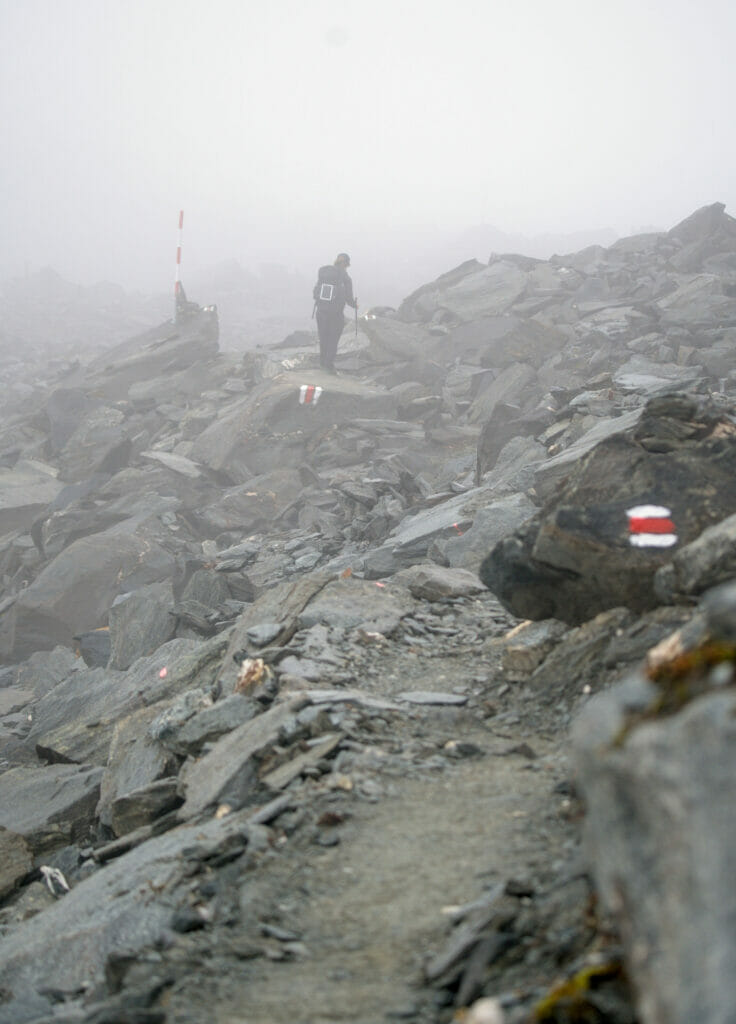
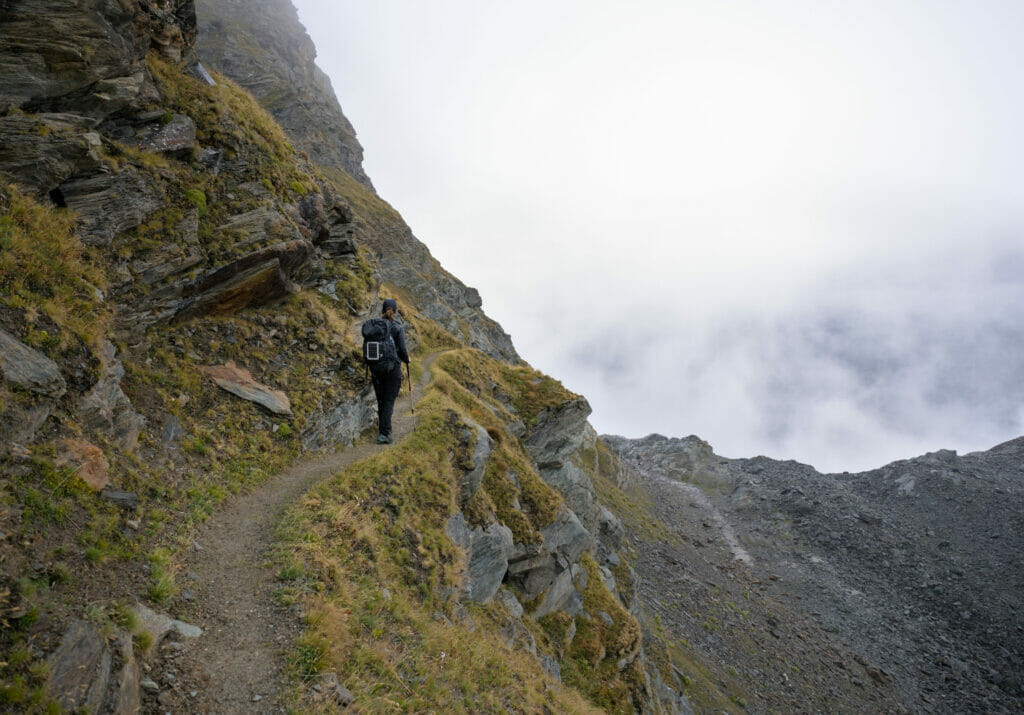
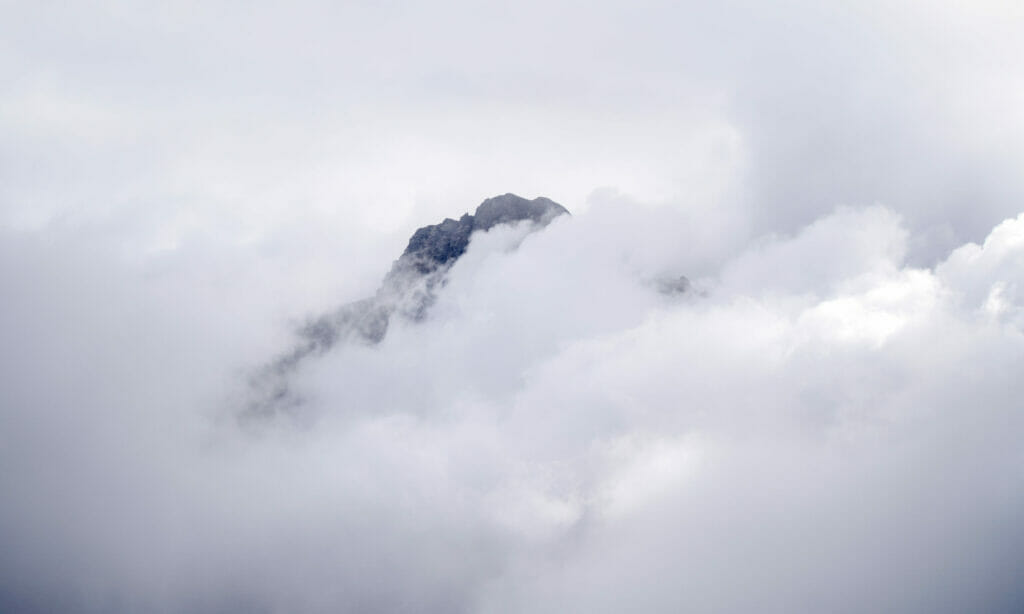
The clouds are still with us, but we are under the spell of the effects it creates on the Bagnes valley. As a bonus, we meet again several ibexes during the descent. We don’t know it yet, but this day has definitely been placed under the sign of these majestic animals.
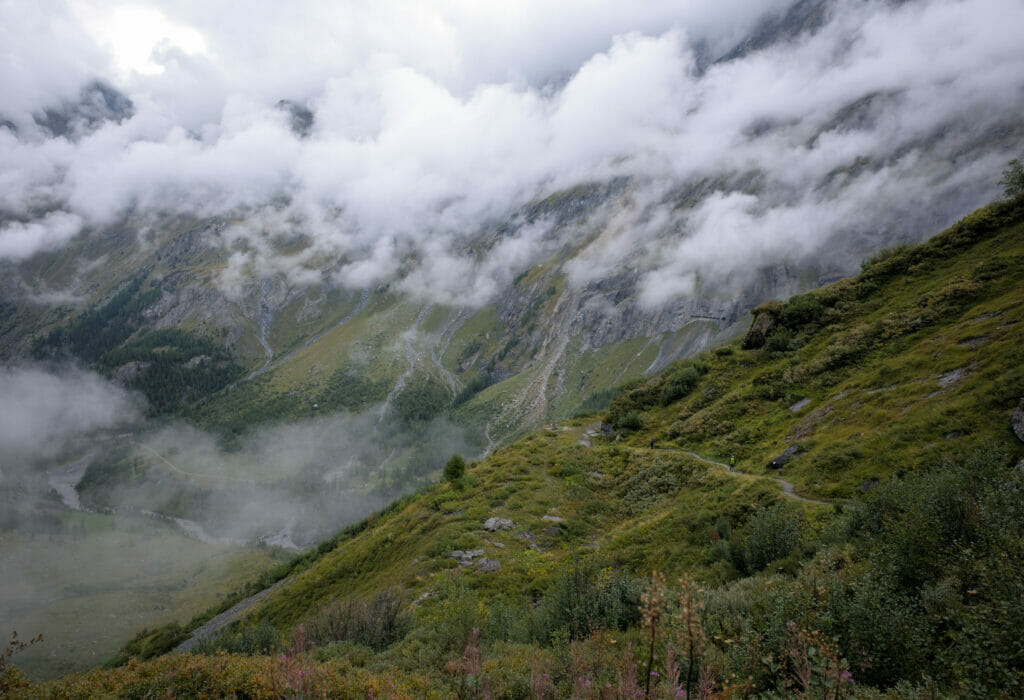
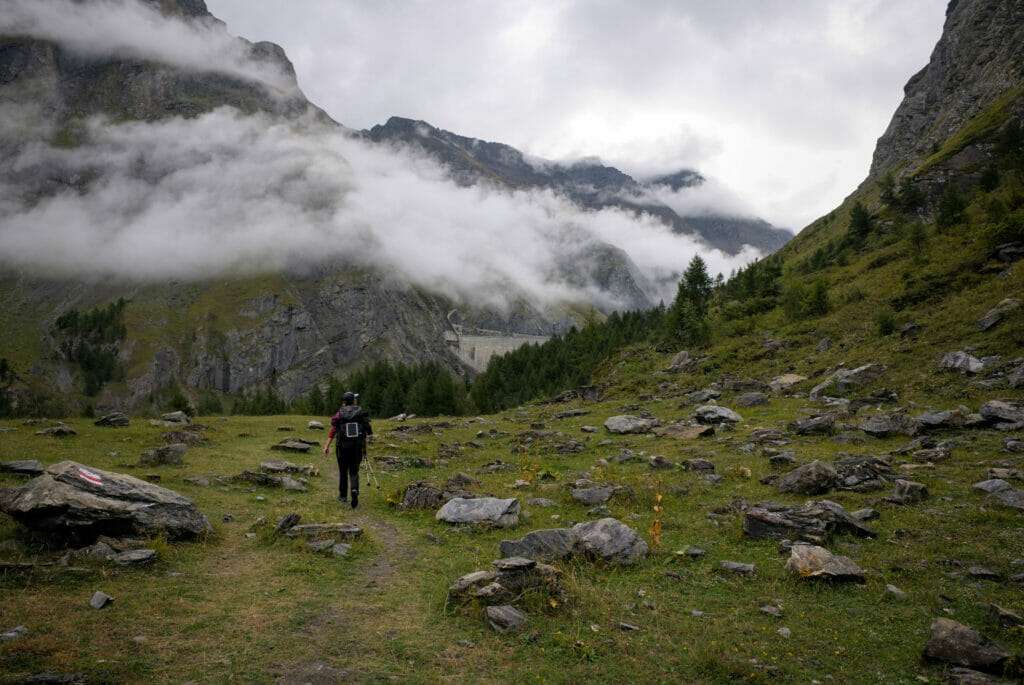
Once we arrived at the foot of the Mauvoisin dam, we decided to stop for a coffee at the hotel.
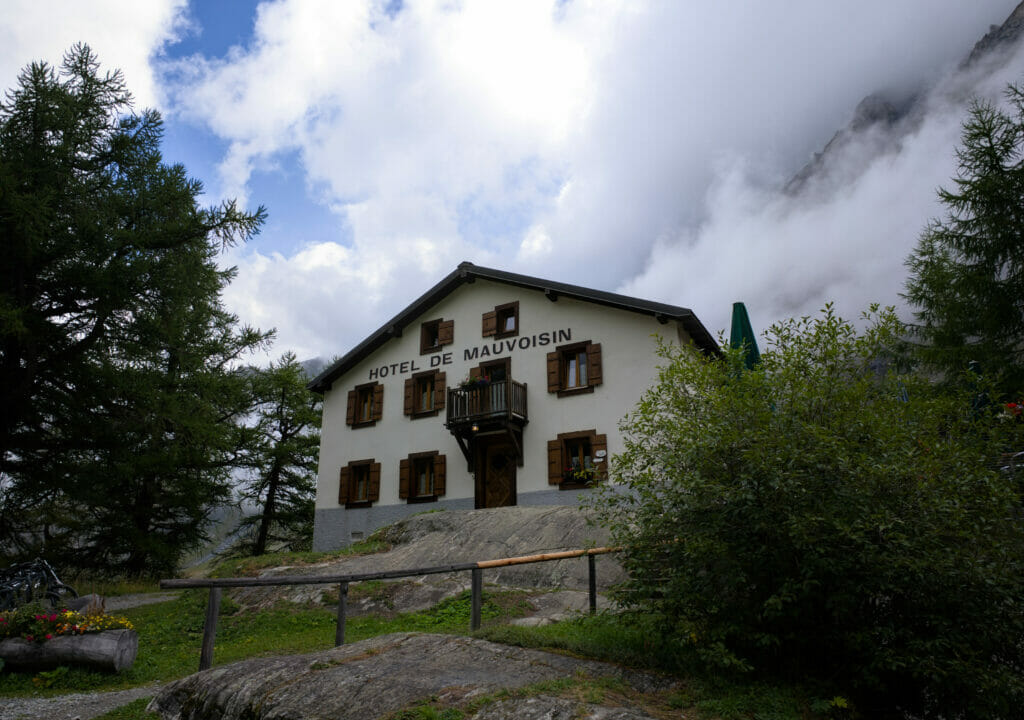
It’s too grey and cool to stay on the terrace and we decide to go inside. 30 minutes later, after our coffe, we make it outside again and were surprised to discover that the Swiss Weather Service had not lied to us; the first rays of sun were starting to come out!
In order to reach the top of the dam we decide to take the tunnel, an old gallery dating back to the time of the construction which has been converted into a hiking trail with panels explaining the stages of the construction of the structure.
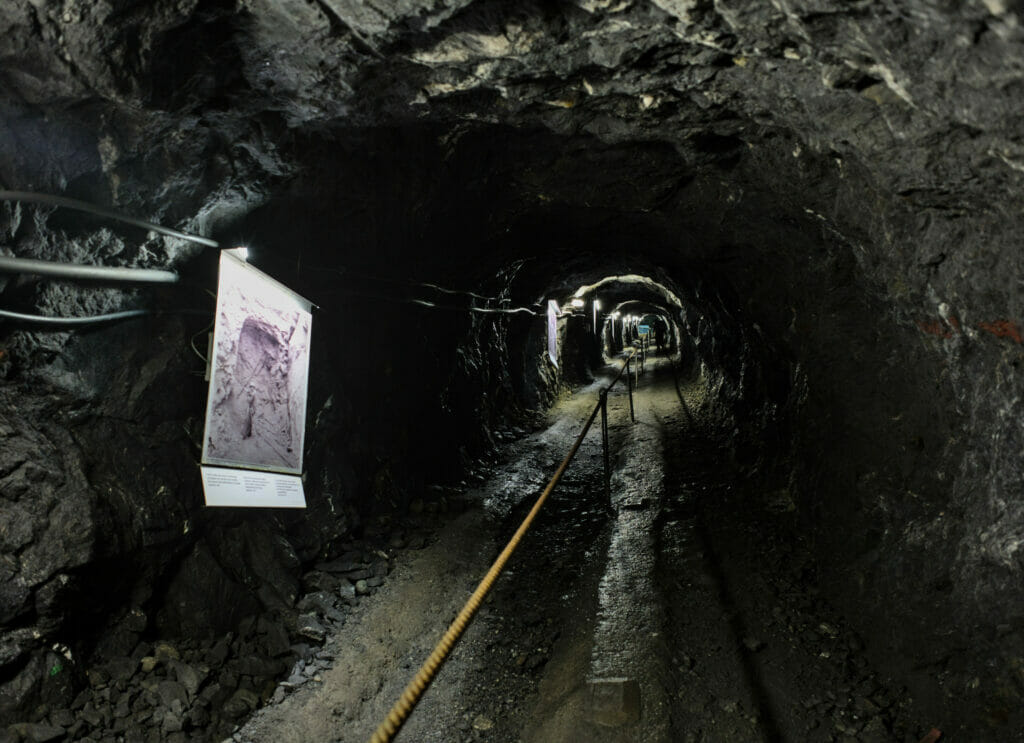
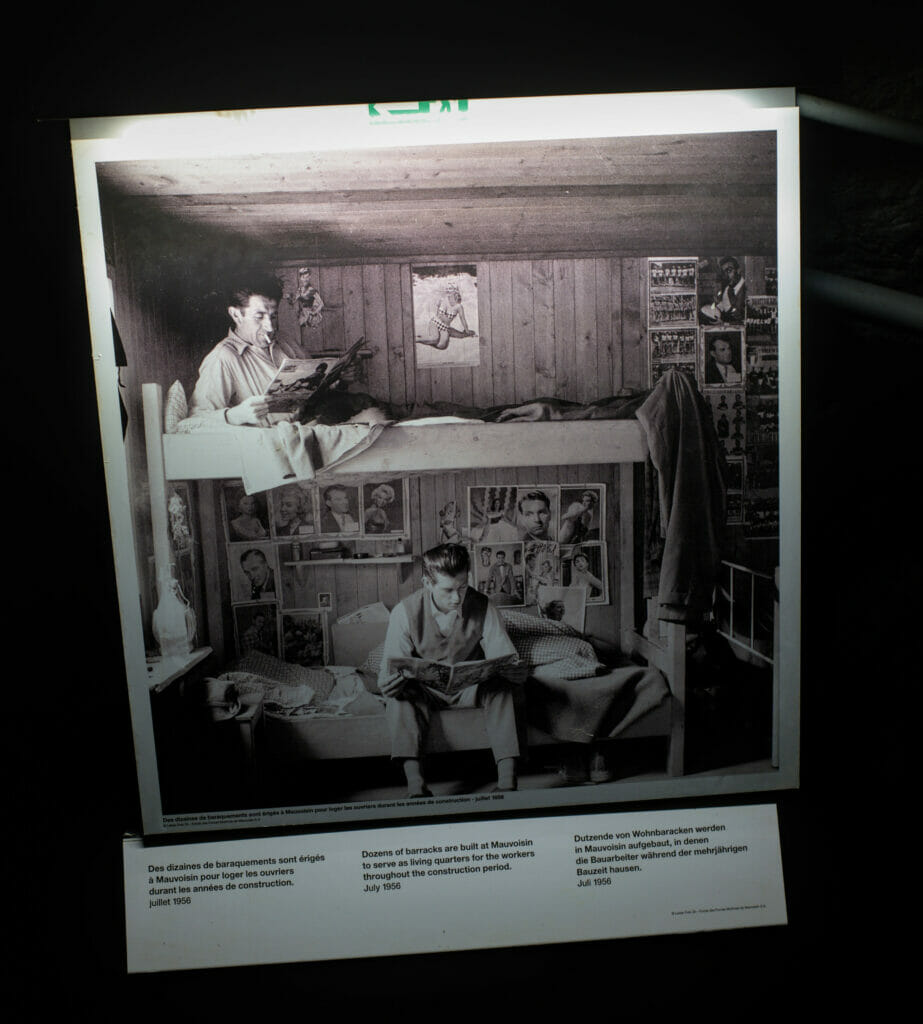
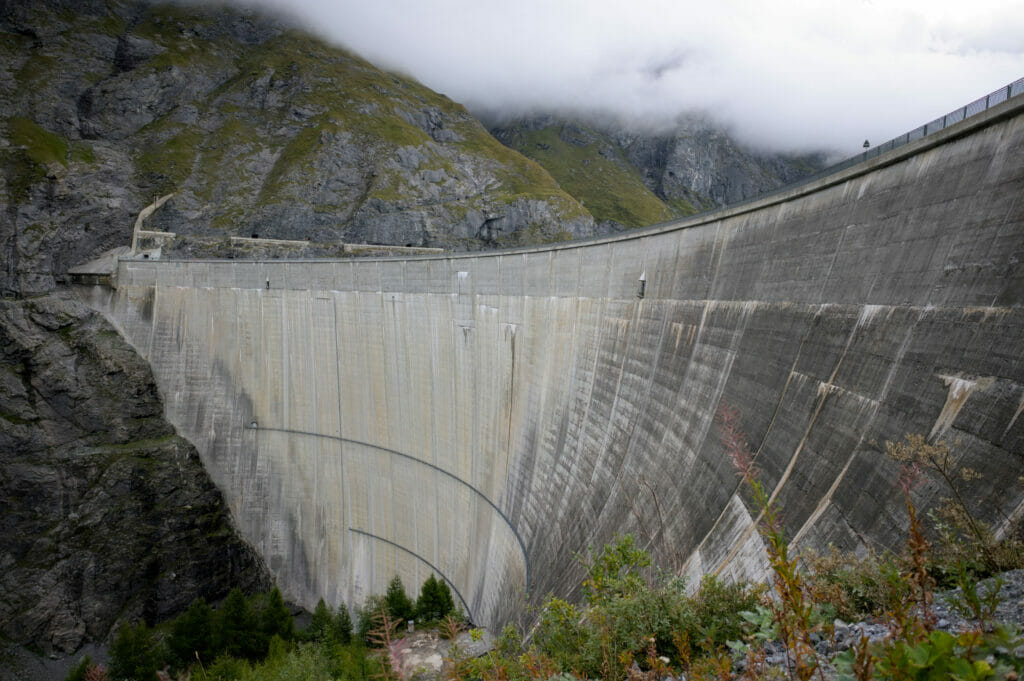
We cross the dam and walk along the lake through several galleries and tunnels. After a short kilometer almost flat, we take the path that goes up on the left towards Giétroz. From there, the slope becomes gentler and we continue to go towards the pass of Tsofeiret while overlooking the Mauvoisin lake.
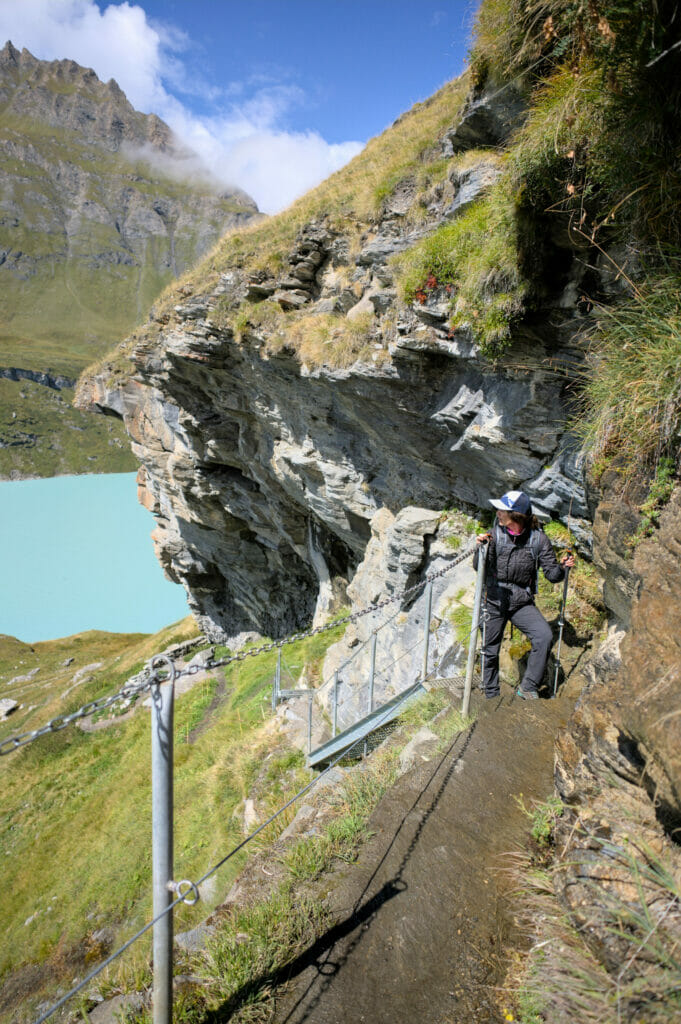
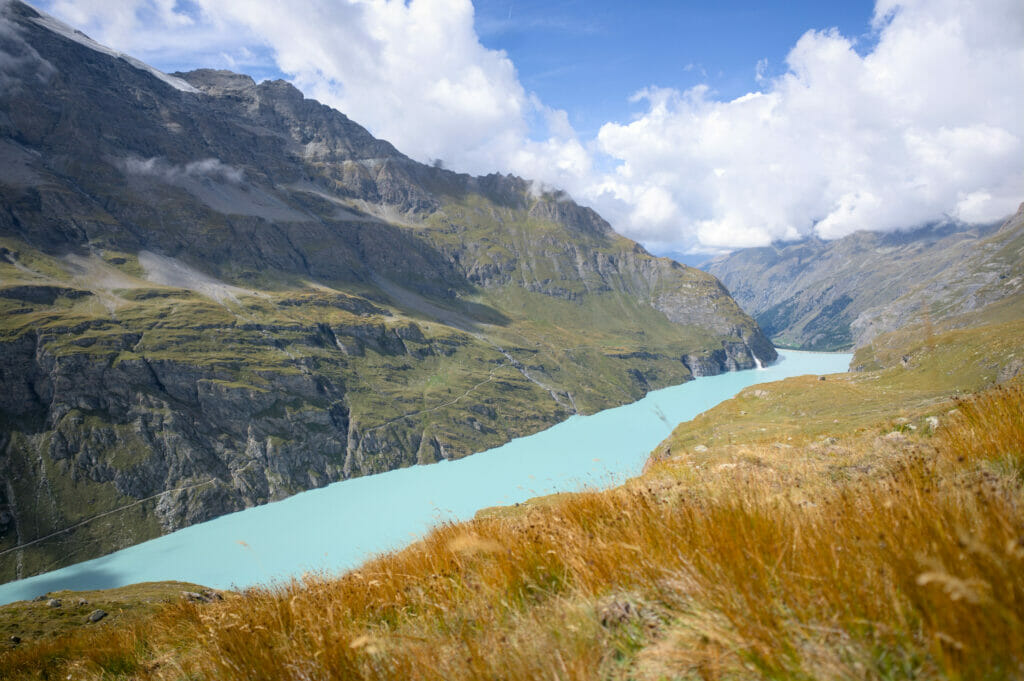
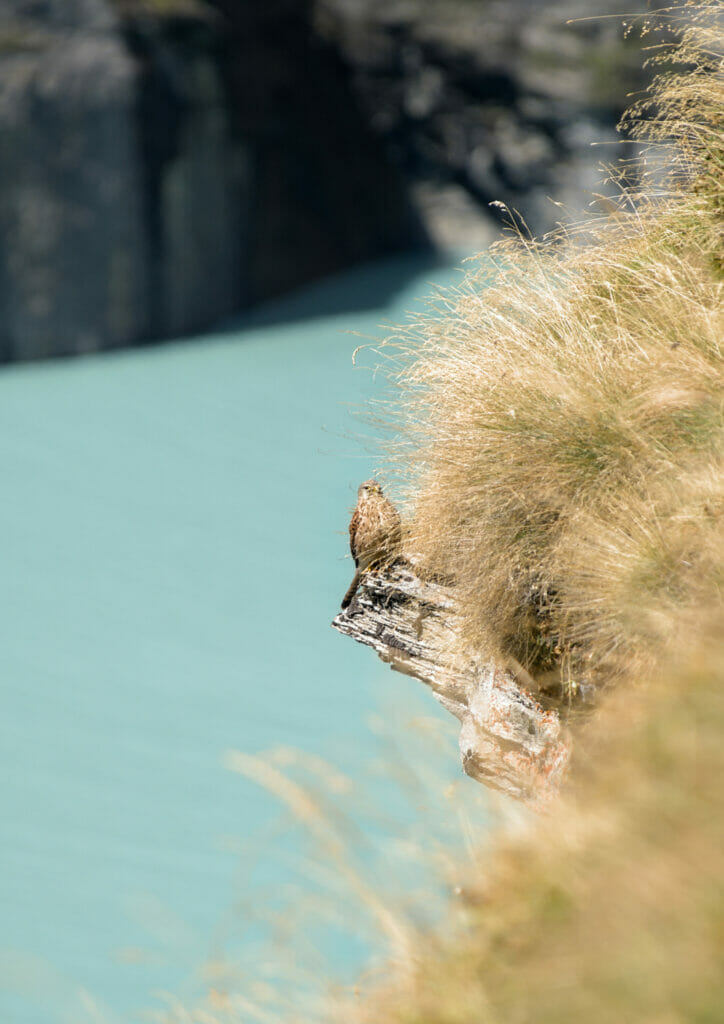
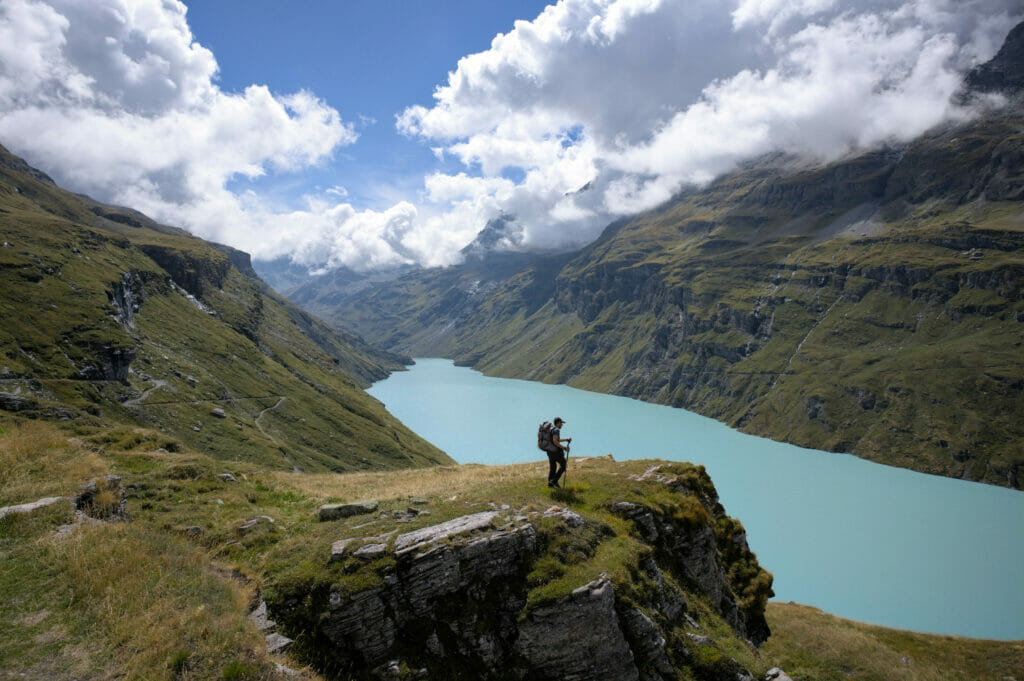
Shortly before the pass, we have a big surprise!
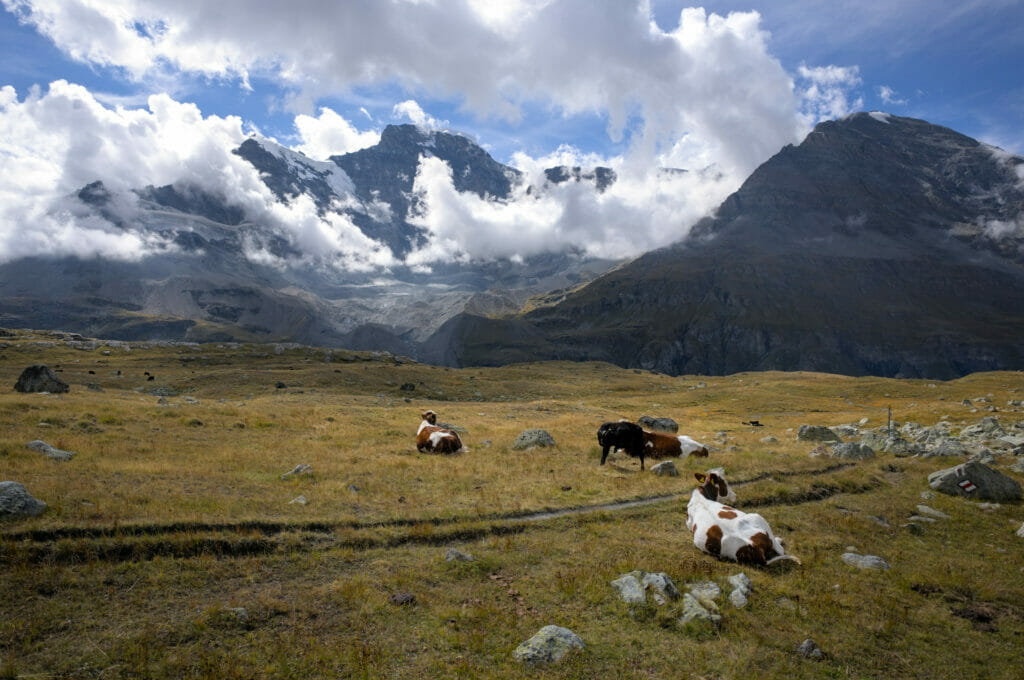
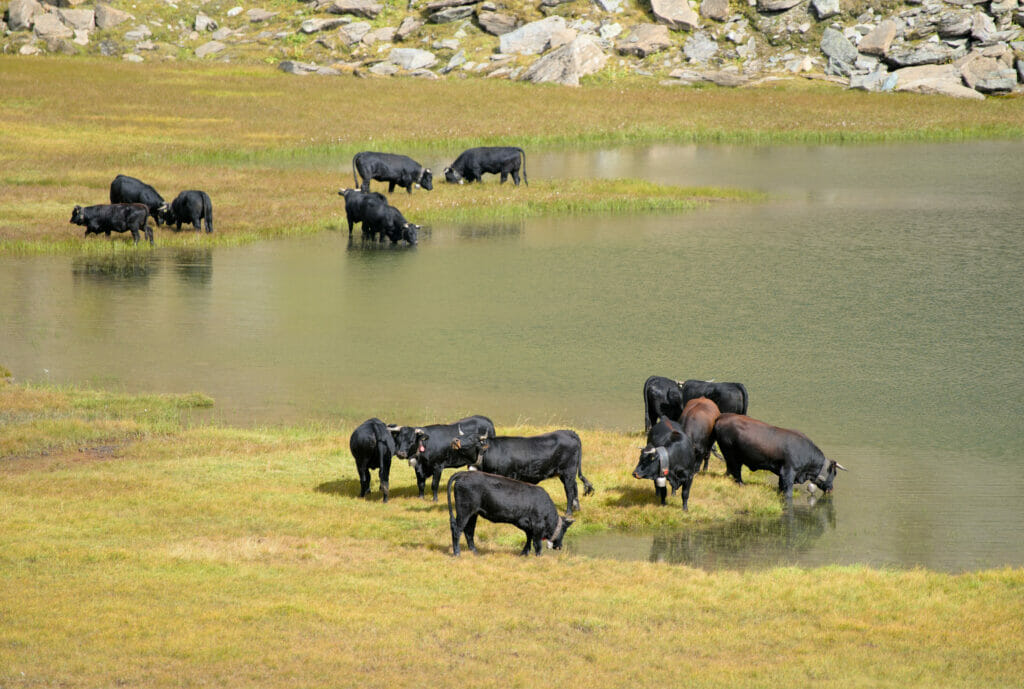
Many, many cows are grazing around here when suddenly… “Uh… Do cows hike up a scree?” In the distance, I see a huge group of animals just under the Grand Combin. It seems “small” to be cows but there are so many of them! As we get closer, we realize that the Hérens cows have not shrunk but that it is a group of about thirty ibexes! Wouahhh… I believe that we had never seen so many of them in one place, it was simply magnificent.
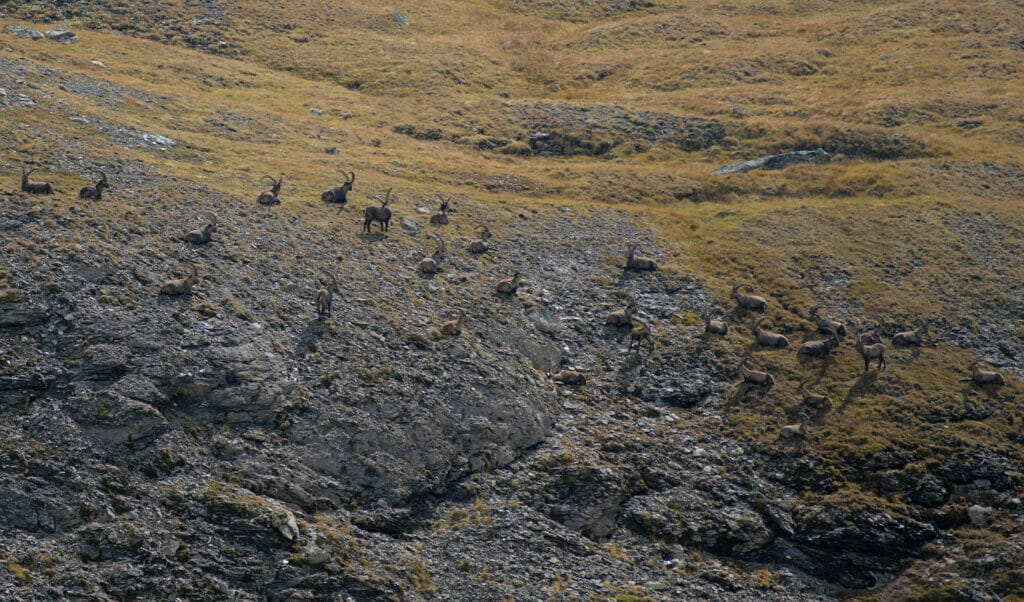
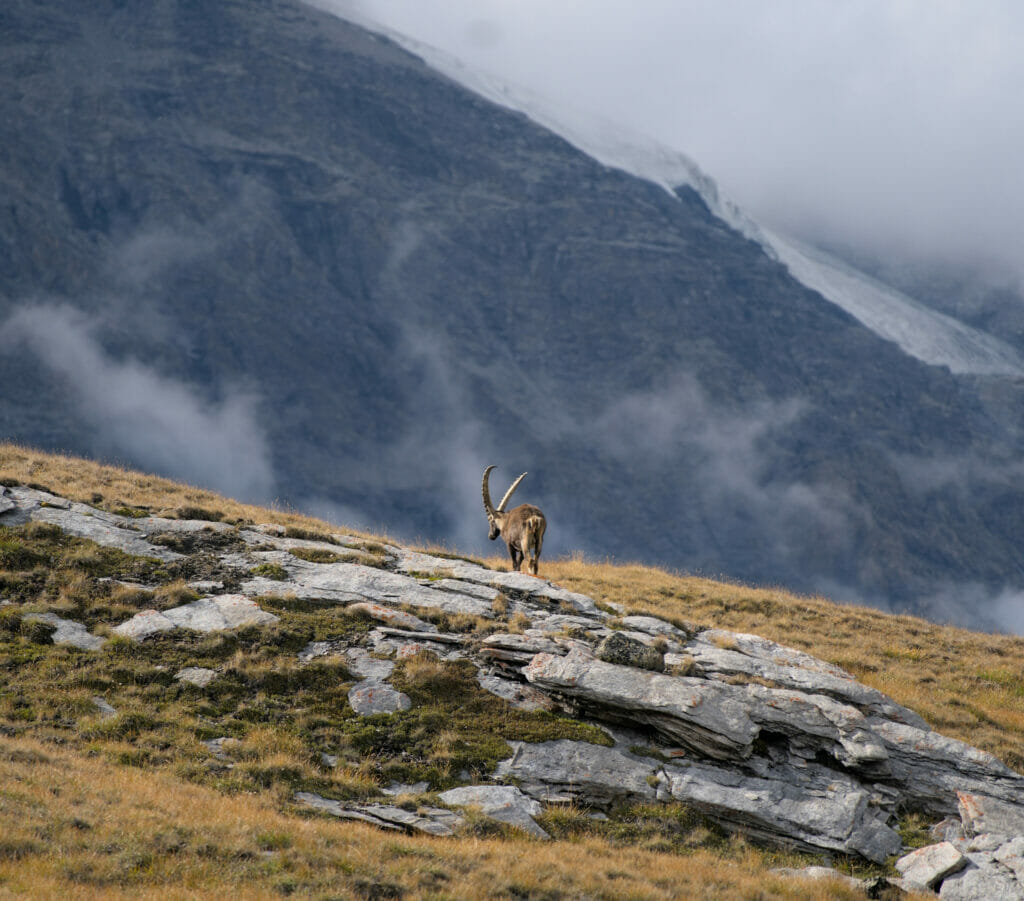
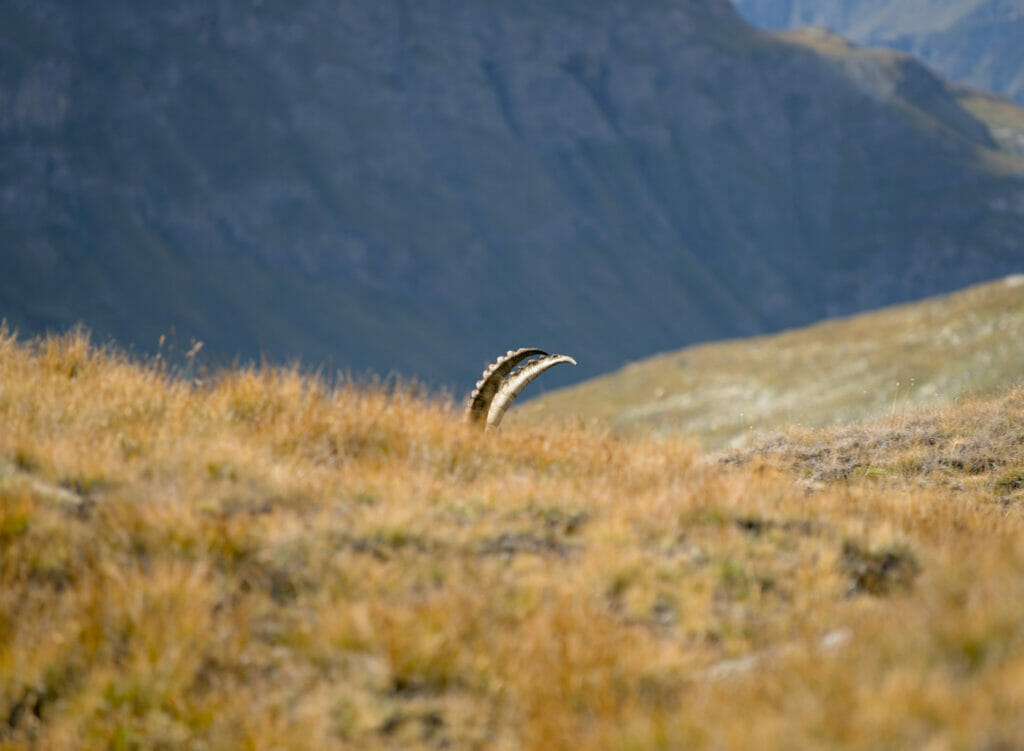
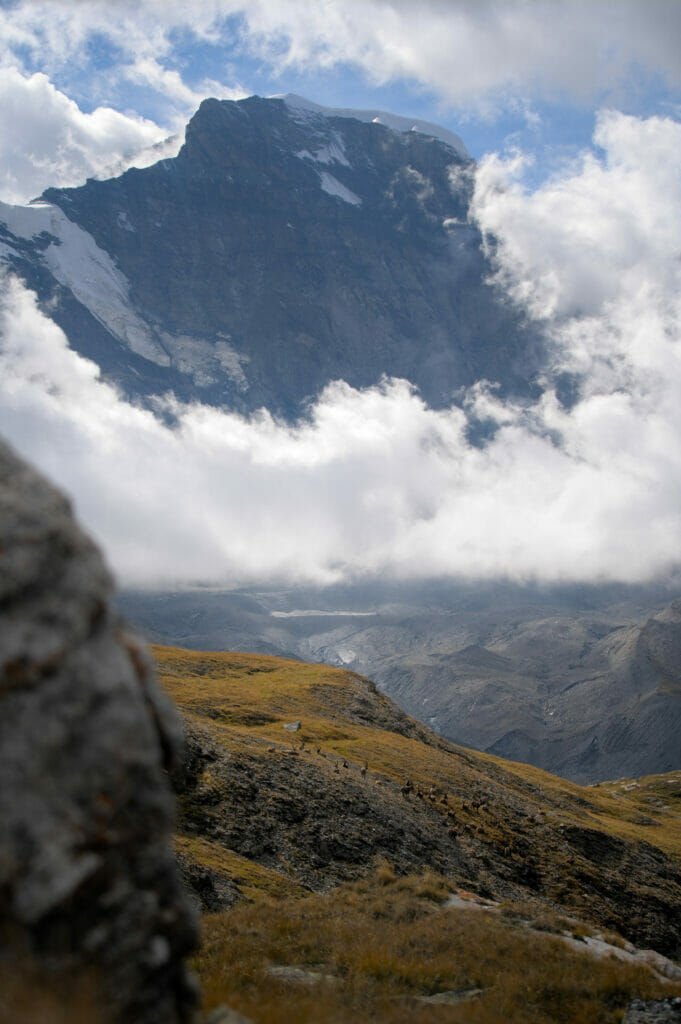
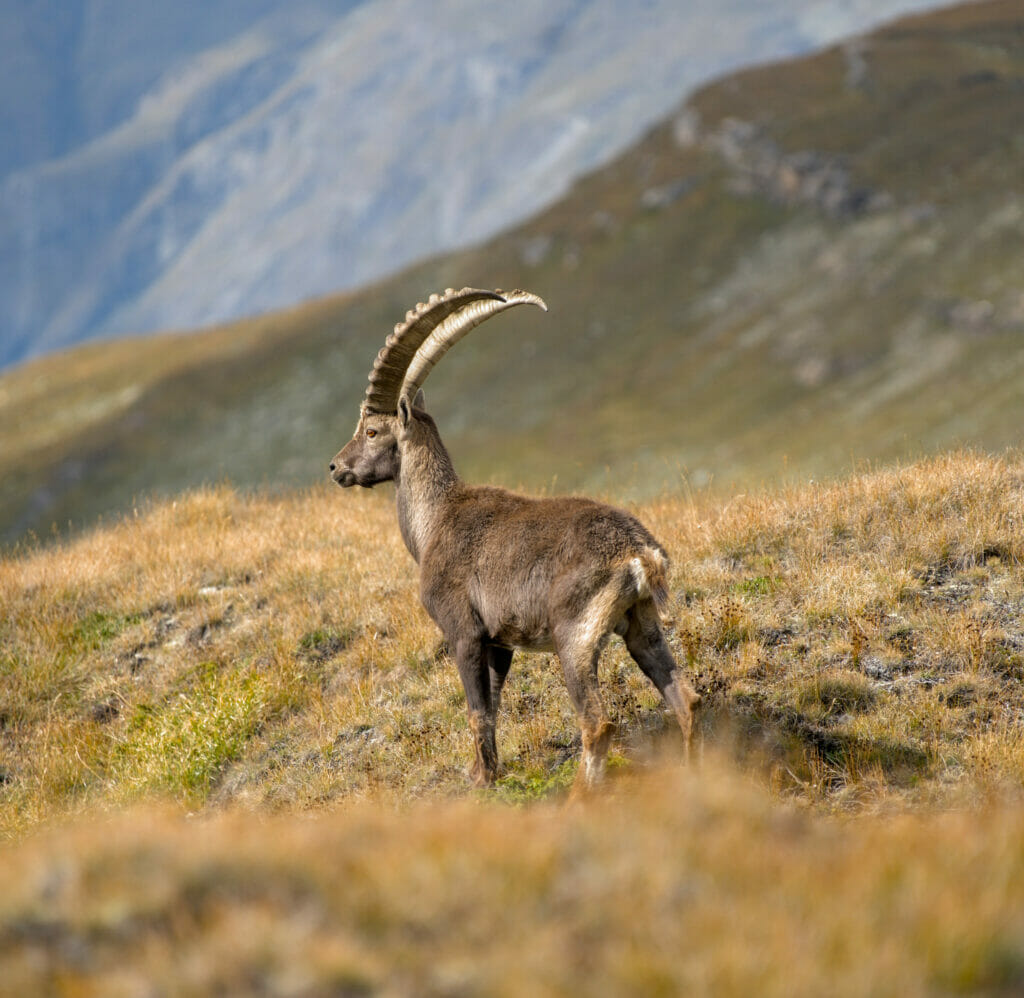
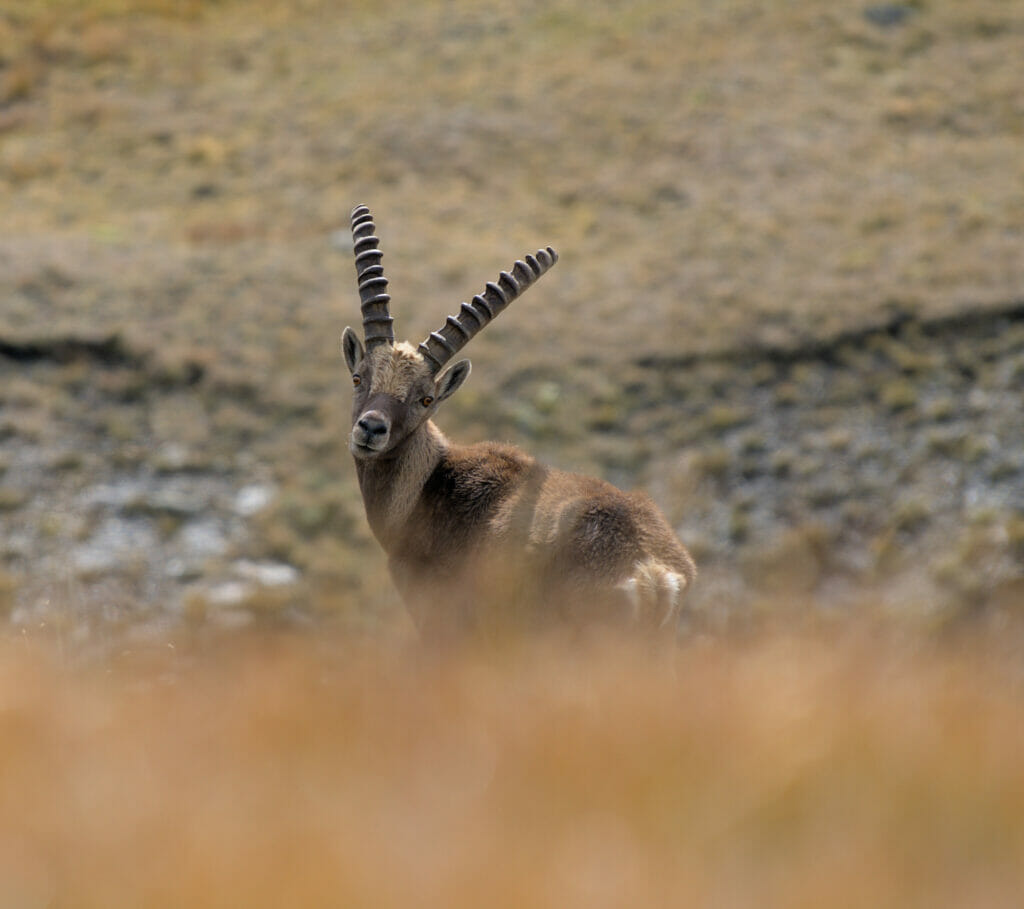
In fact, ibexes often live in “large herds” with a separation between males and females. The 2 sexes only mix together during the rut (from December to January). The rest of the year they live separately 😉 The size of the groups is variable but can reach 100 individuals. For our part, we had often seen small groups close together (those of the col des Otanes must have been part of the same group but we saw them at 5 different locations). Here they were all resting at the foot of the Grand Combin
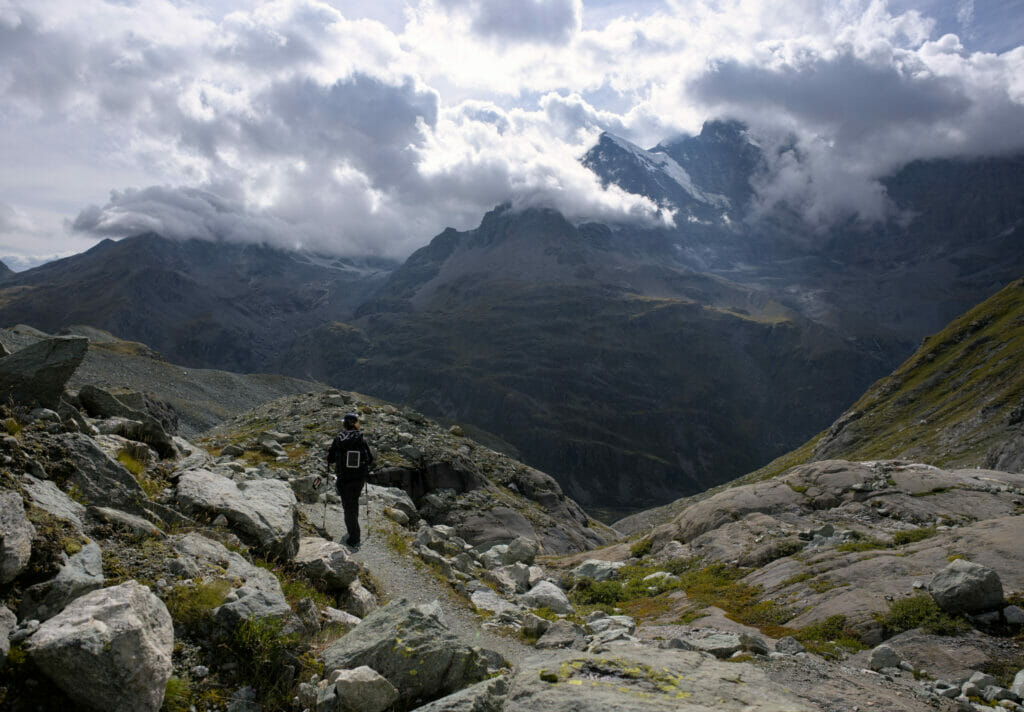
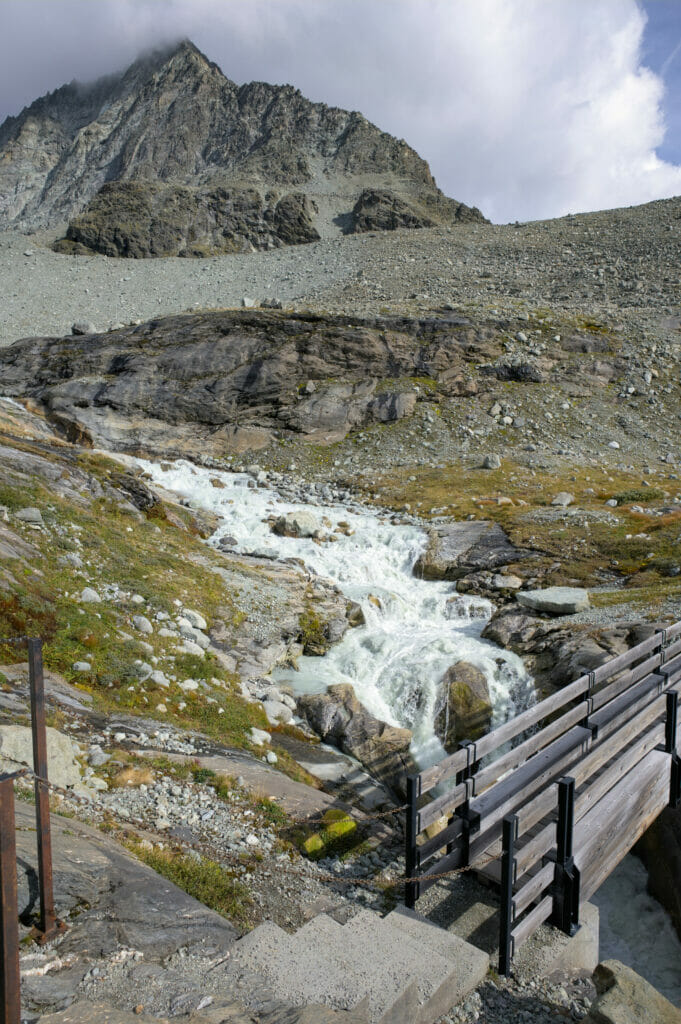
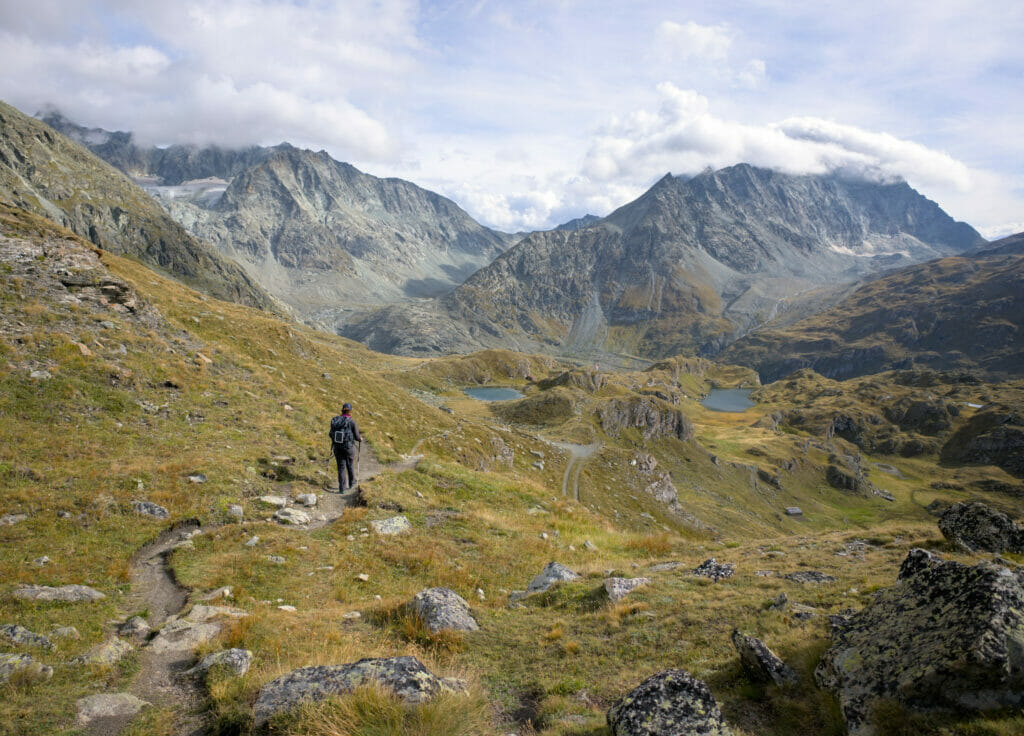
Once at the col de Tsofeiret, the descent to the Chanrion hut is only a small formality. 2 km and 200m of negative altitude difference later we are just in time to enjoy a good beer with the last rays of the sun on the terrace of the hut with other hikers.
The cabane de Chanrion
This hut was the only one on the tour (on the Swiss side) that we didn’t know yet… Well, let me just tell you that we already know that we will come back here! Freshly renovated, it offers a great comfort (small comfortable dormitories, hot shower (extra charge)) and the couple who is taking care of the place and their team are simply great!)
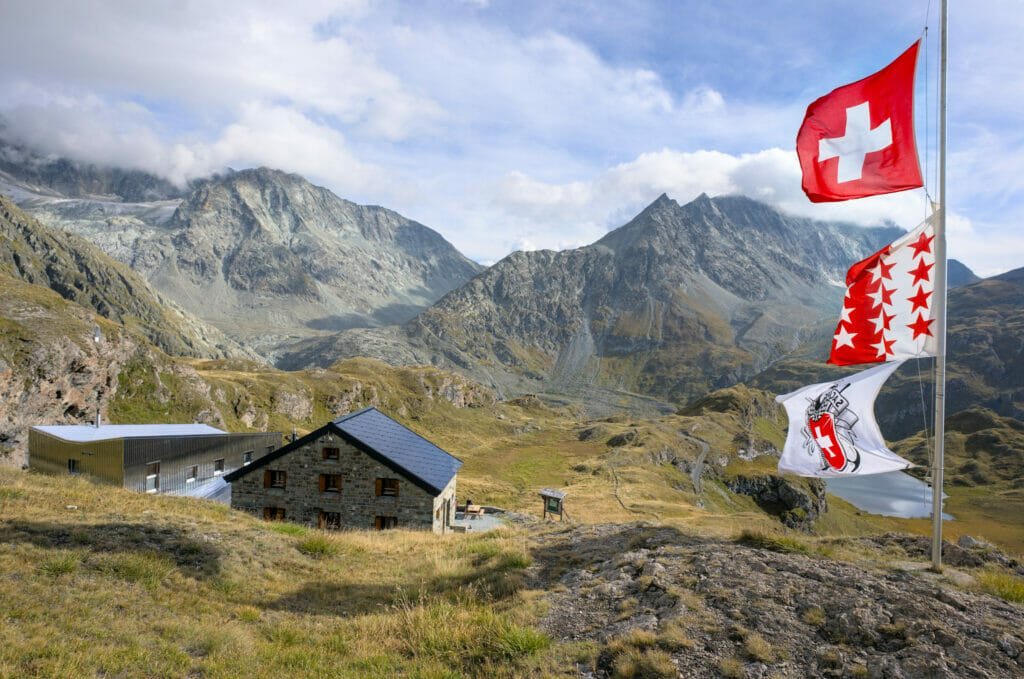
And well, with its location in the heart of the Combins massif, I like to tell you that the view (and the hiking possibilities) are not disappointing. It’s an alpine club hut and therefore reduced rates are applied for members. For non-members, the night in half-board costs 90 CHF.
Linkt to check for availability and to book
Stage details
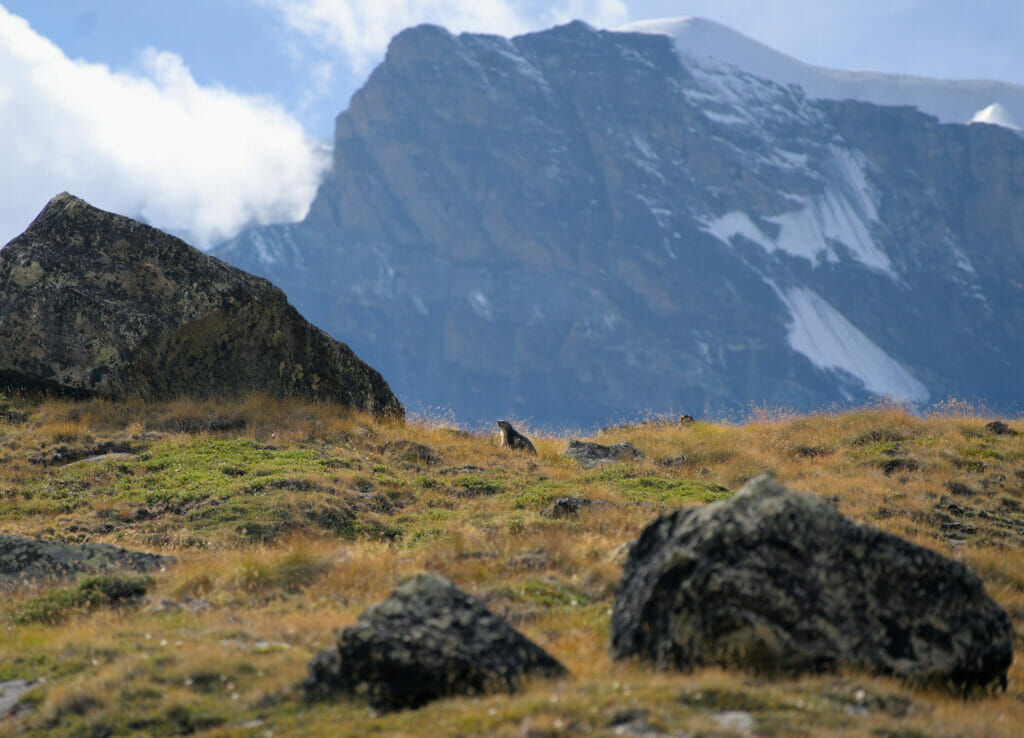
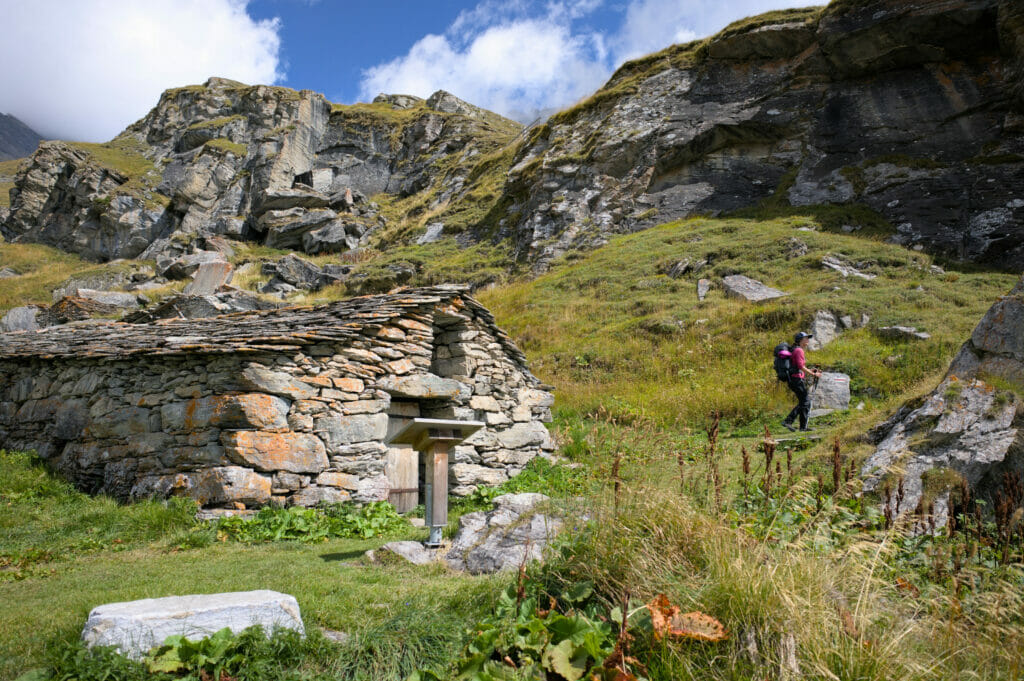
What a stage! We loved the variety of landscapes (and of course all the ibex). It was not the longest stage of our tour, but it is nevertheless the one for which we took the most time. Not especially because of the difficulty, but because there were too many opportunities to stop on the way 😉
- Start: Cabane de Panossière
- Finish: Cabane de Chanrion
- Distance: about 18 km
- Elevation change: 1250m + and 1400m –
- Hiking time: about 7h
Stage map
From Chanrion to Rifugio Champillon (Day 4)
This stage being the longest of our tour, we woke up early and came to have breakfast at 6:15 am sharp. It is thus with the first rays of the sun that we set out.
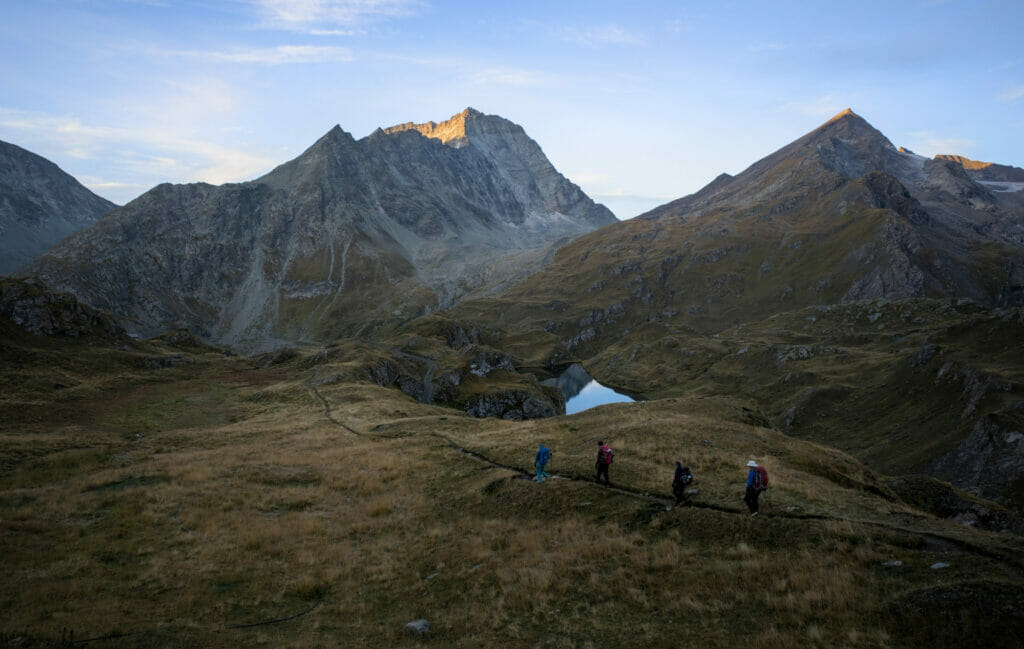
The first part of the day consists in going down to the Dranse de Bagnes and then going up towards the Fenêtre de Durand. The climb is relatively easy because it is very regular and we still benefit from the morning freshness which makes the effort much easier. It is barely 9:00 am and we are already at the pass. The good news? We are almost done with elevation gain for the day (note that I say “almost”… there is a small trick at the end 😉 )
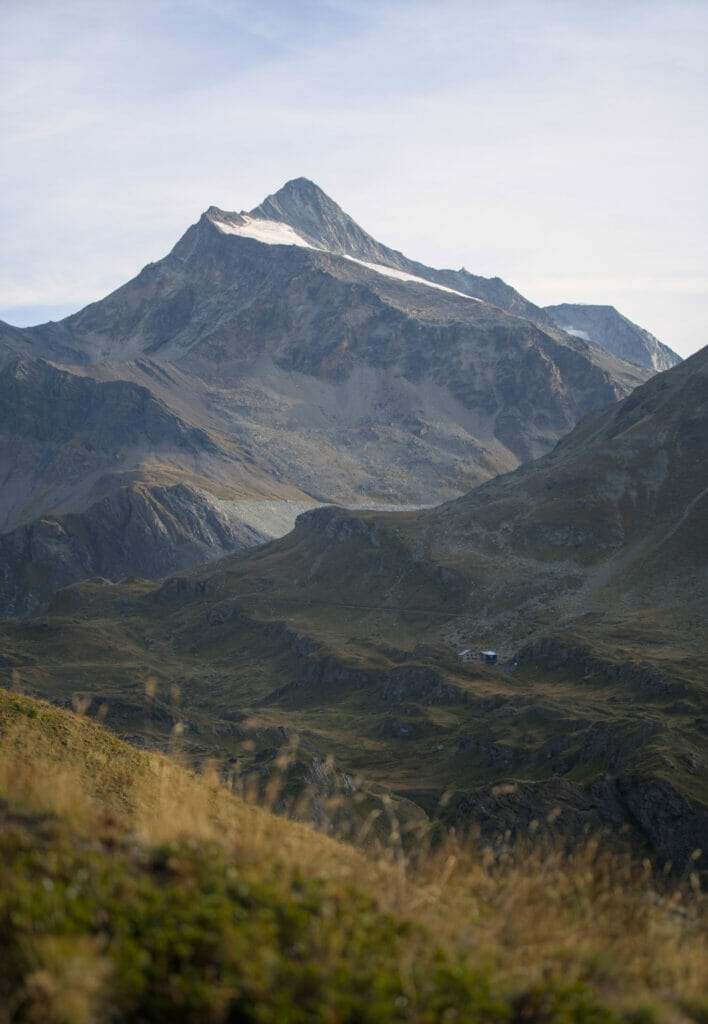
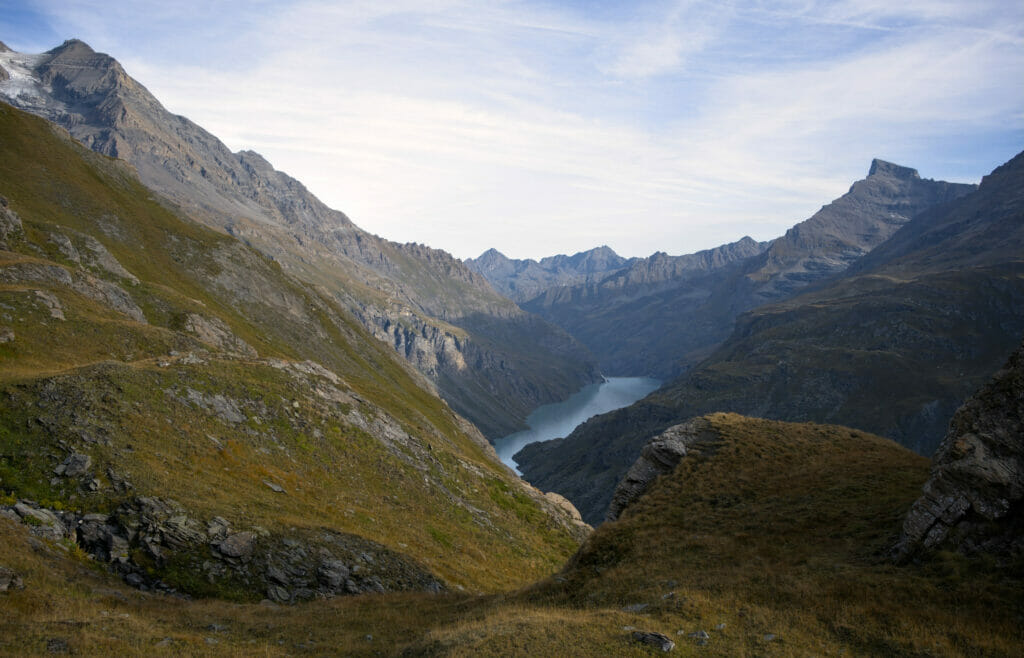
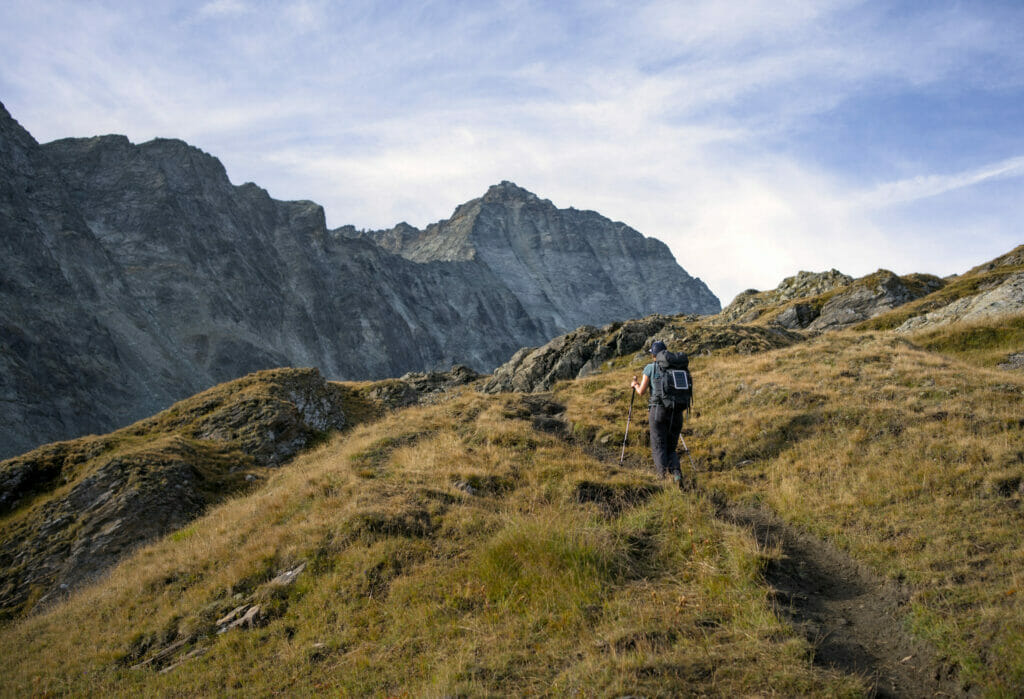
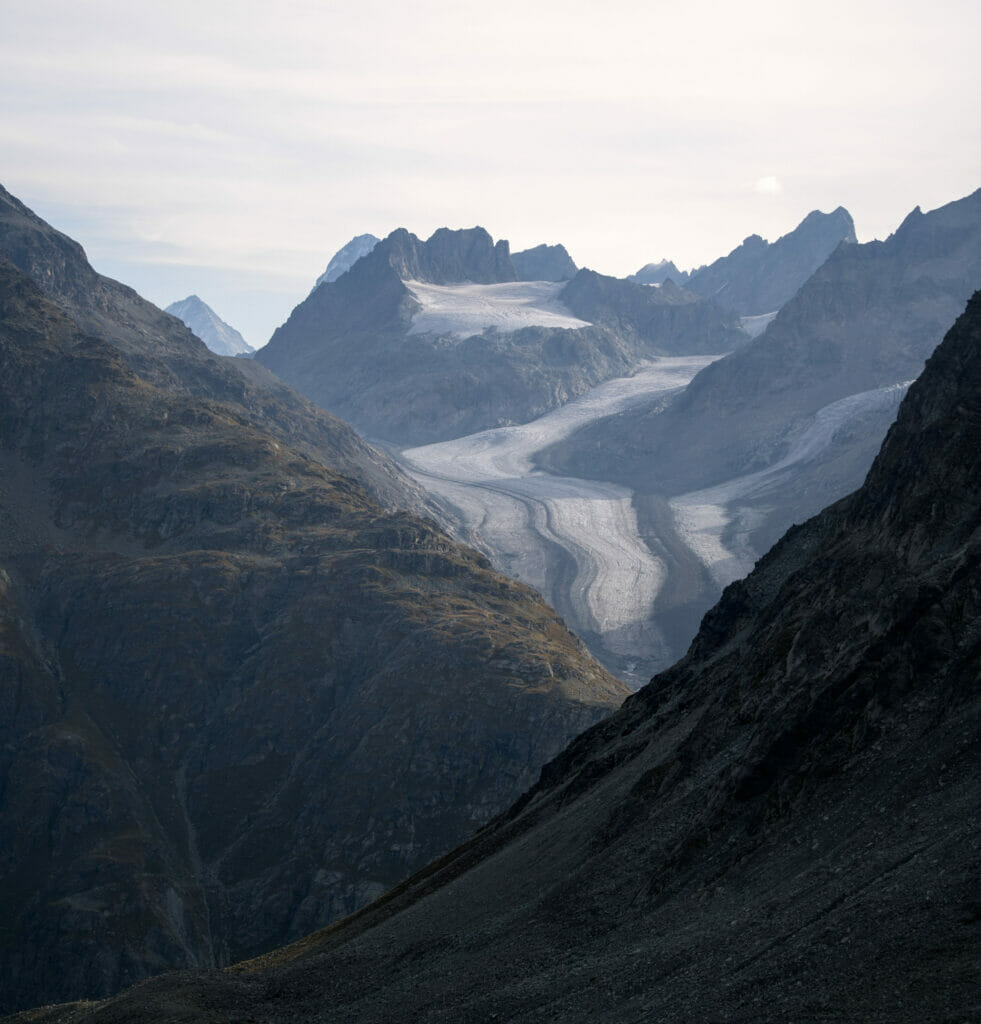
The pass could be a good place to take a first break, but the icy wind that was blowing there pushed us instead to speed up the pace to try to lose altitude as soon as possible. It’s simple, at Fenêtre de Durand, I had the opportunity to put on almost all my layers… Sweater, down jacket, hat and even gloves!
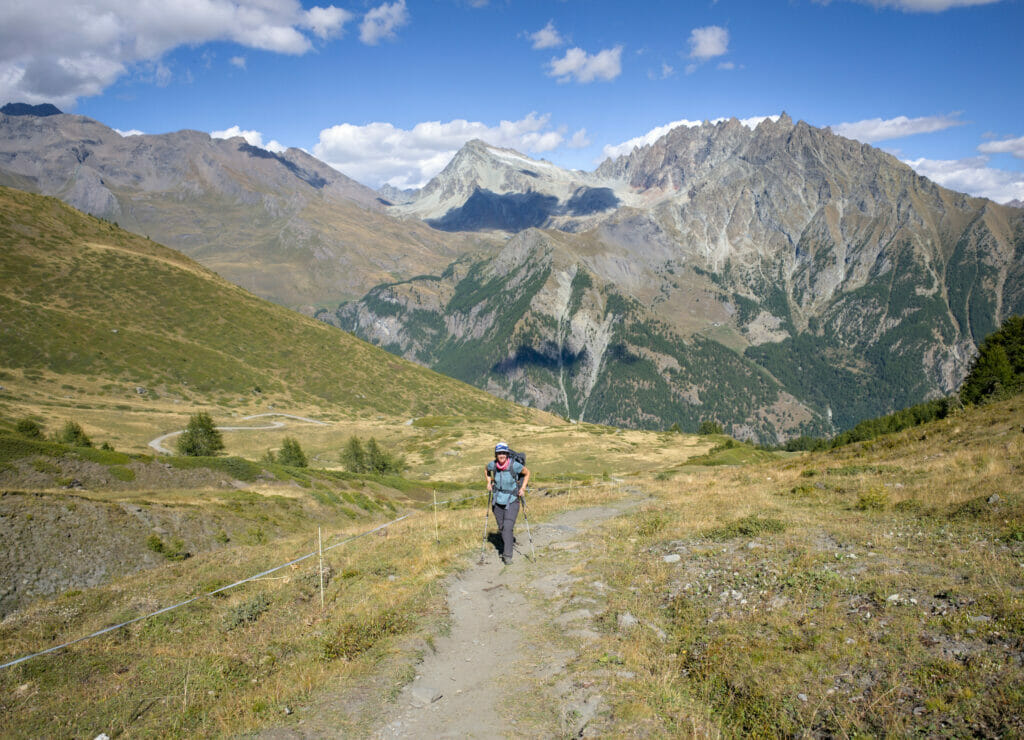
Although very fresh, the descent on the Italian side is not less interesting! We advance with a beautiful view on the Mont Gelé on our left, the Mont Avril on our right and the mountains of the Aosta Valley in front of us.
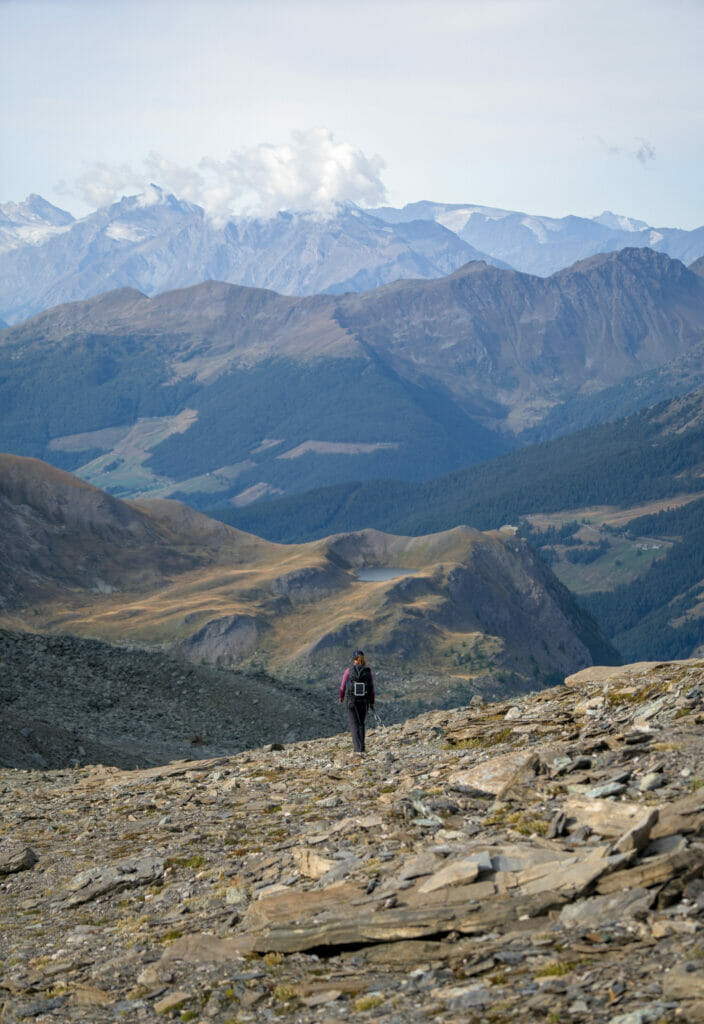
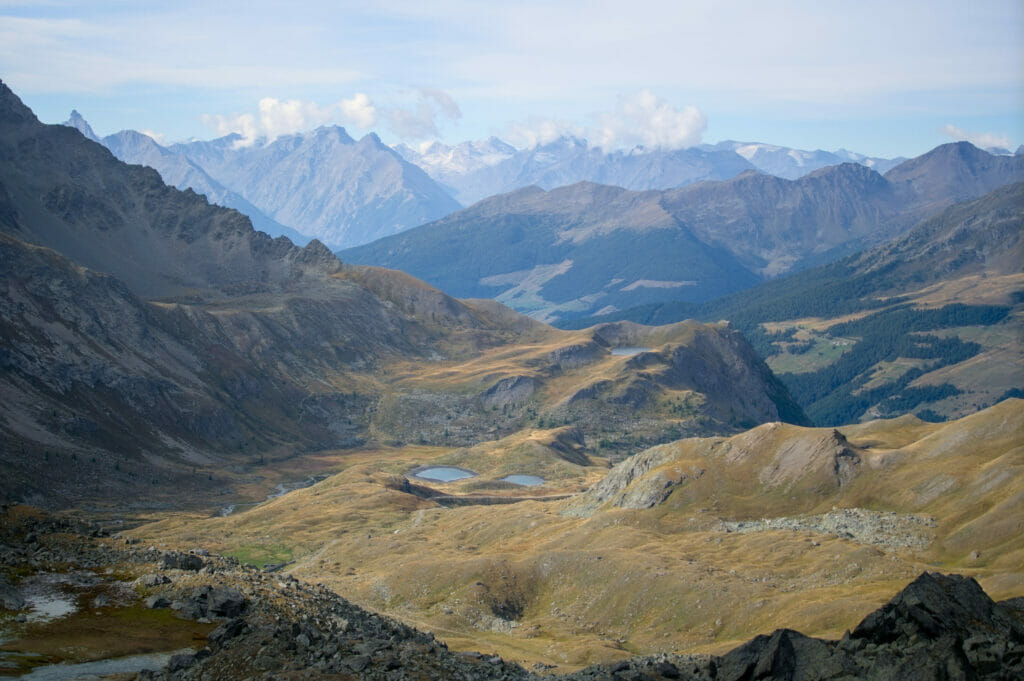
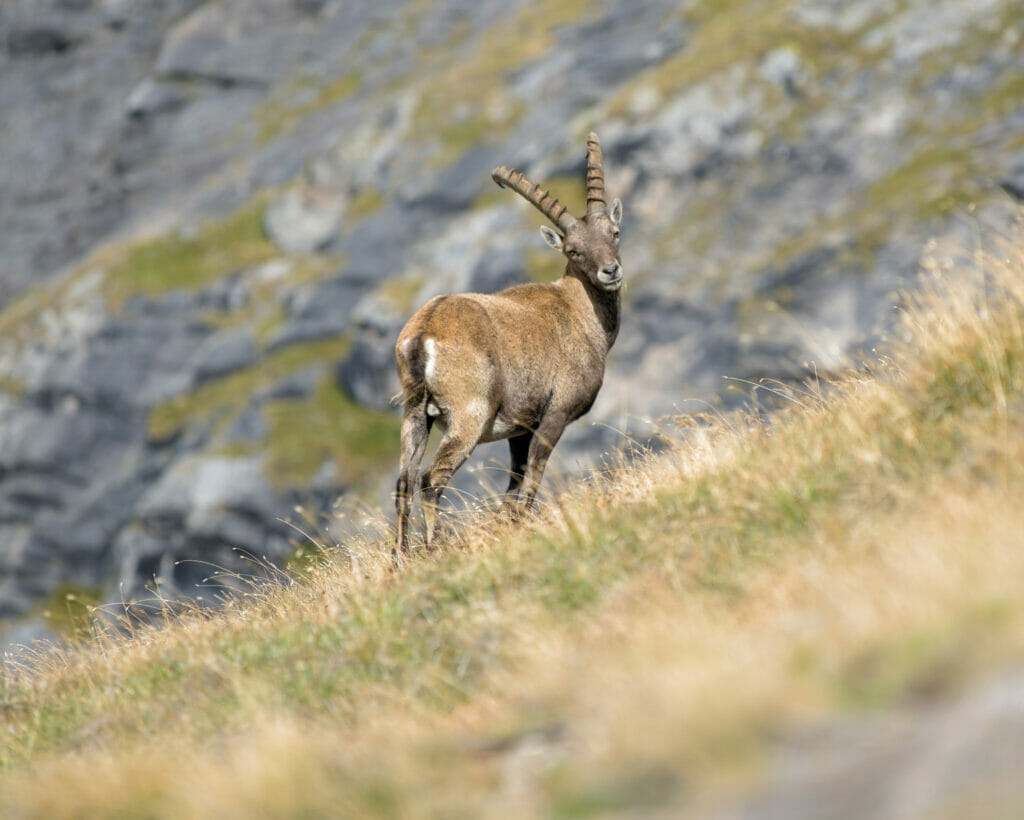
After a short break in the shelter of a rock we had an impromptu encounter with an ibex. It wasn’t on purpose, but we caught it in a contour and the poor thing found itself nose-to-nose with us. He stared at us for a few seconds (I think he secretly thought about charging us) before continuing on his way quietly, but not without giving us a few more suspicious glances… well what? We were the first ones on the trail that day and obviously disturbed him in his morning rounds.
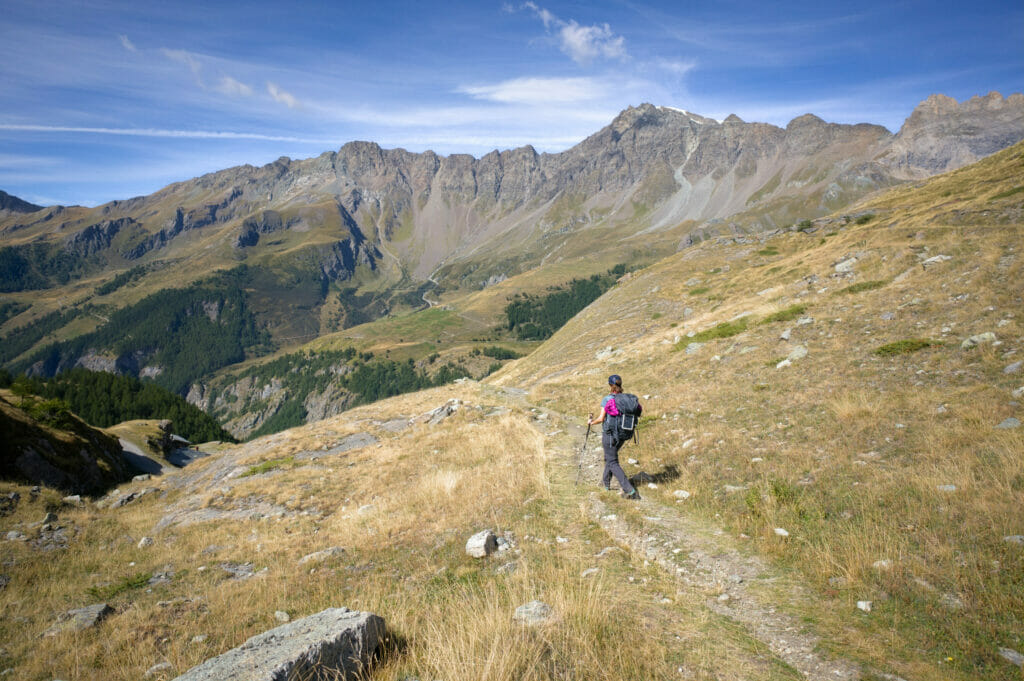
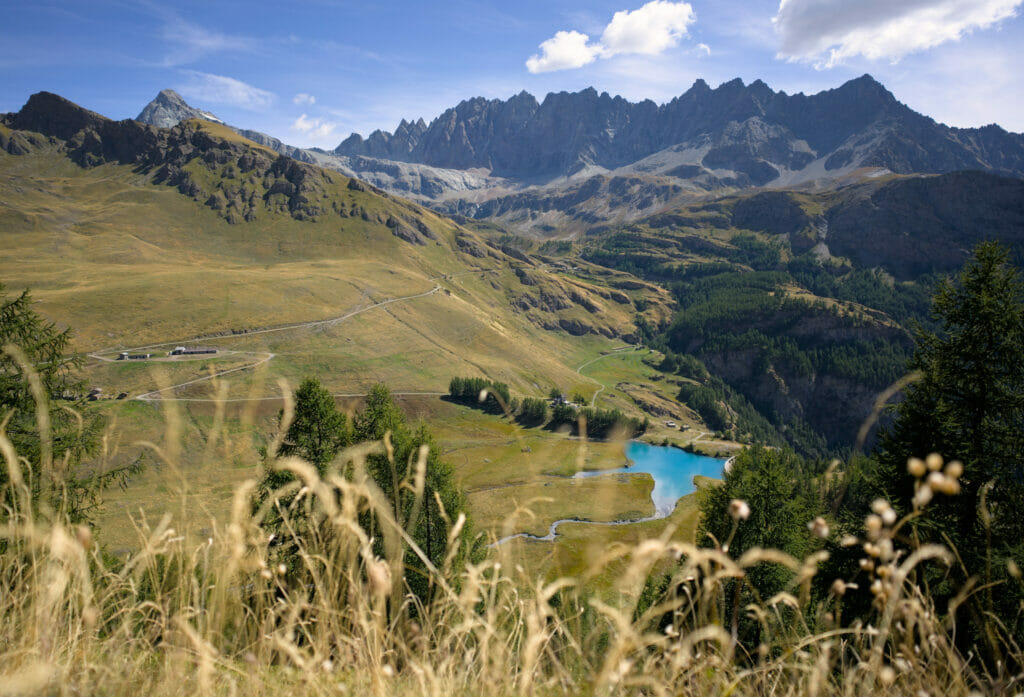
Once we reach the Thoules mountain pasture, we take a mountain track that we follow for about 5km. This is not the most pleasant terrain to walk on, but it has the significant advantage of making the km go faster.
Warning: The markings are well placed on the whole tour, but on this section, many hikers made a mistake and took the wrong path (all at the same place – I put a marker on the map below). There were about ten of us following the Tour des Combins that day and we were the only ones who got it right. Shortly after the Balme mountain pasture, a nice path leaves the road to go towards the Conca de By reservoir. It’s tempting to leave the road at this point, but we have to continue for another 1.8 km until we reach the bottom of the Combe where a path climbs up to the Ru de By (Note: a Ru is the Val d’Aosta equivalent of a Valaisan bisse, an irrigation canal that brings water from the streams to the cultivated land).
And if you read us from time to time, you know that I love the Ru (or bisses). Why do I like them? Well, because it means that the route is flat!
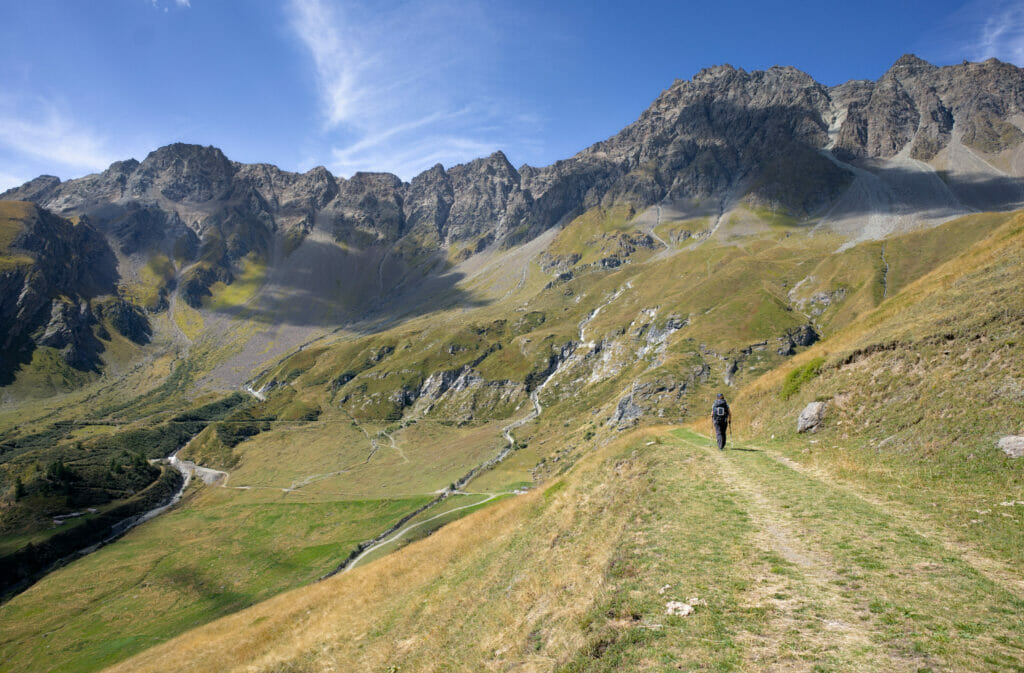
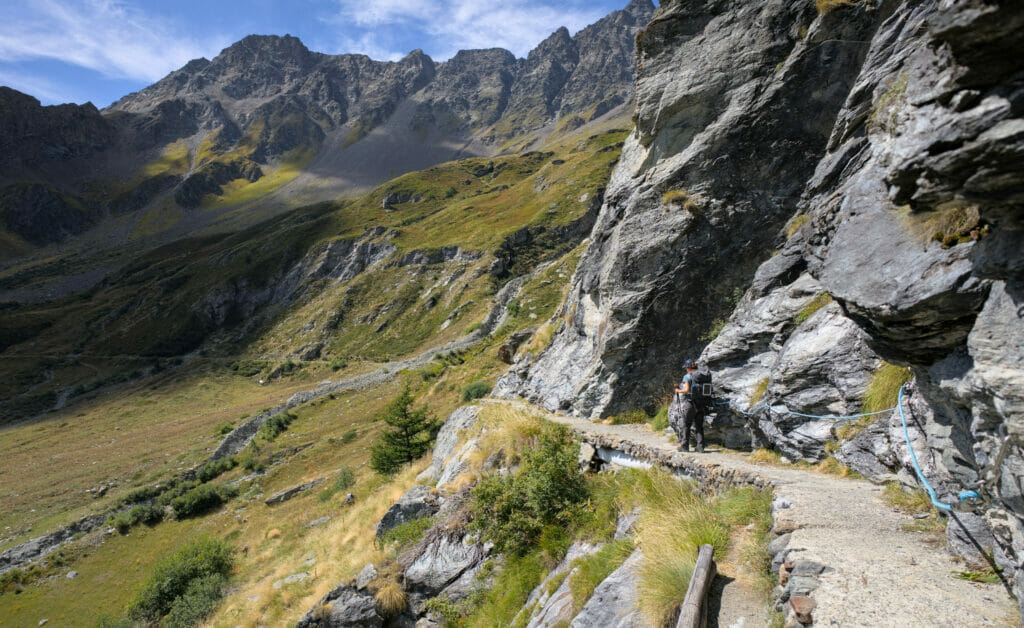
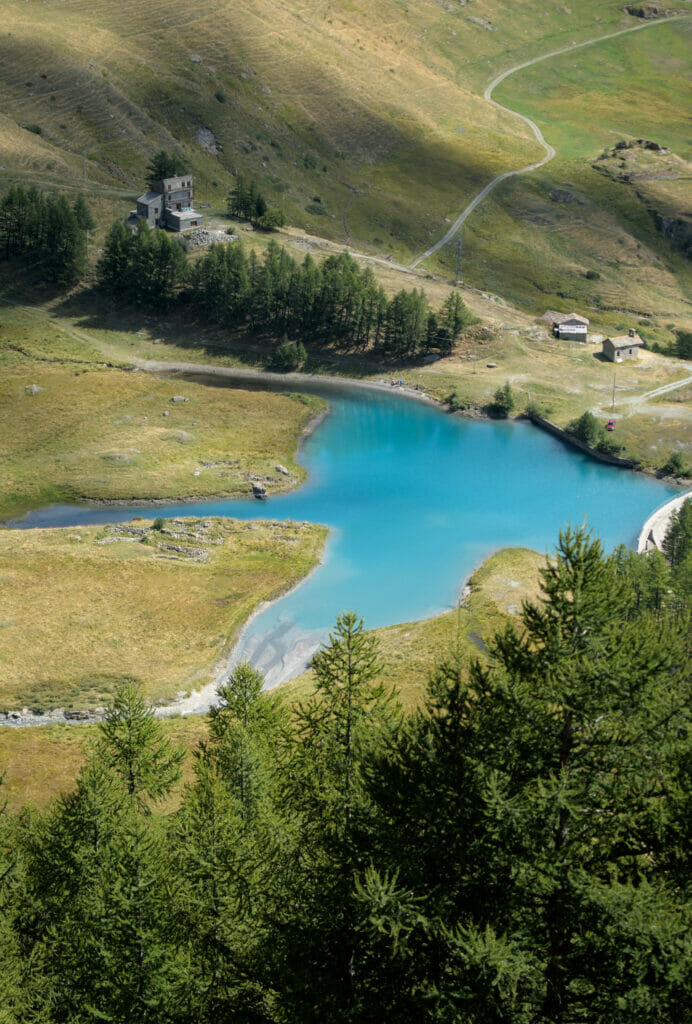
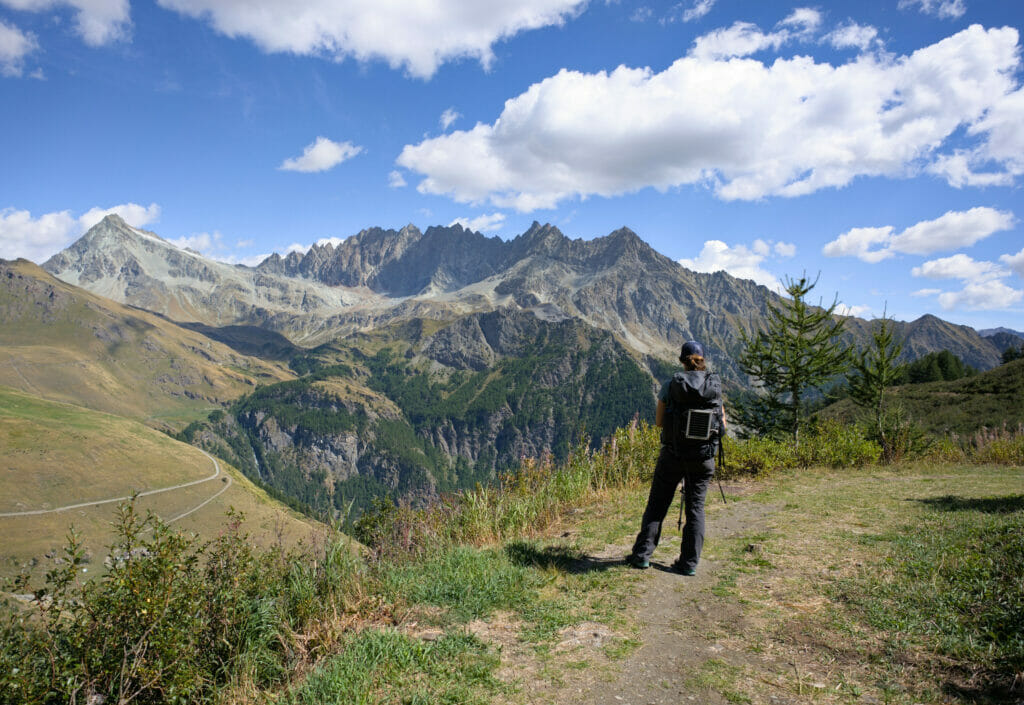
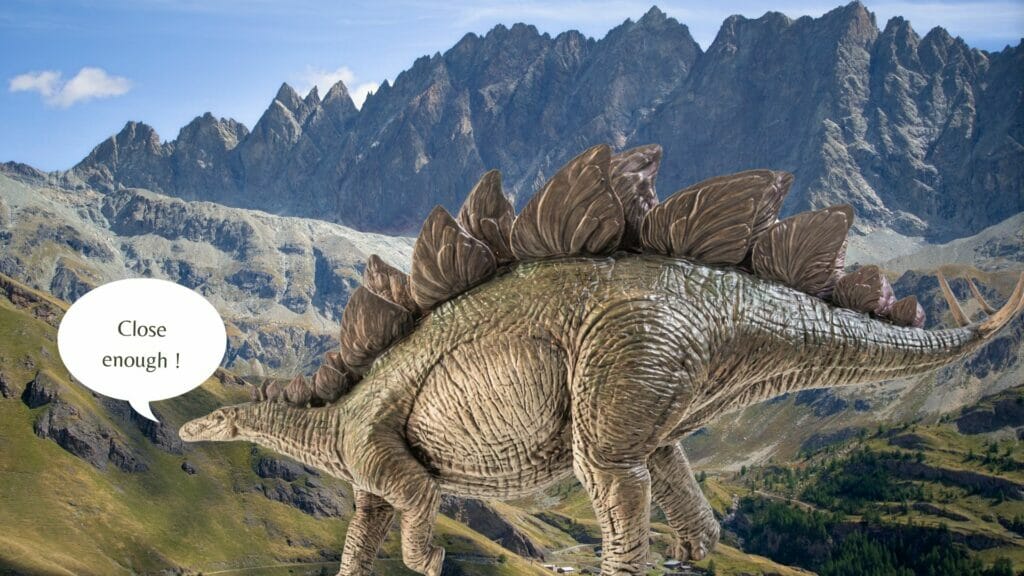
Here, the trail on the side of the mountain is almost perfectly flat for a distance of almost 7 km! During the whole of the course, we enjoy a pretty view on the Trident de Faudery, the Mont Gelé and their neighbors. A Dutch tourist told us later on that she had called this mountain “the dinosaur” during the whole day… Looking at it more closely, we will admit that she was not wrong 😉
It is about 3 pm when we arrive at the place called “Néan” (which means “nothing” in French). At this place, Benoit says to me “Oh, we have only 1 kilometer left and we are at the hut! This place will remain for me the one that I will nickname from now on “the scam”. 🙂 1 km and… 300m of difference in altitude!
haha when I write these lines now I laugh because it’s not much, but believe me, at the time this last steep climb cost me a lot of energy.
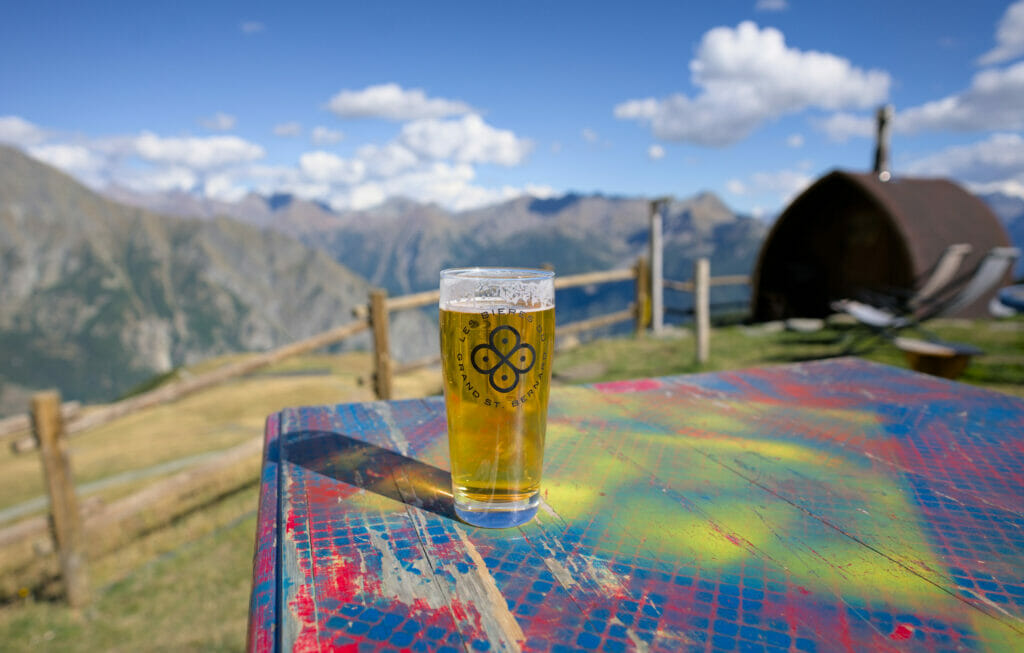
But well, everything is relative, because the arrival in Champillon was all the more beautiful! Their magnificent terrace with its crazy panorama (and a good craft beer) will quickly make me forget this last little effort.
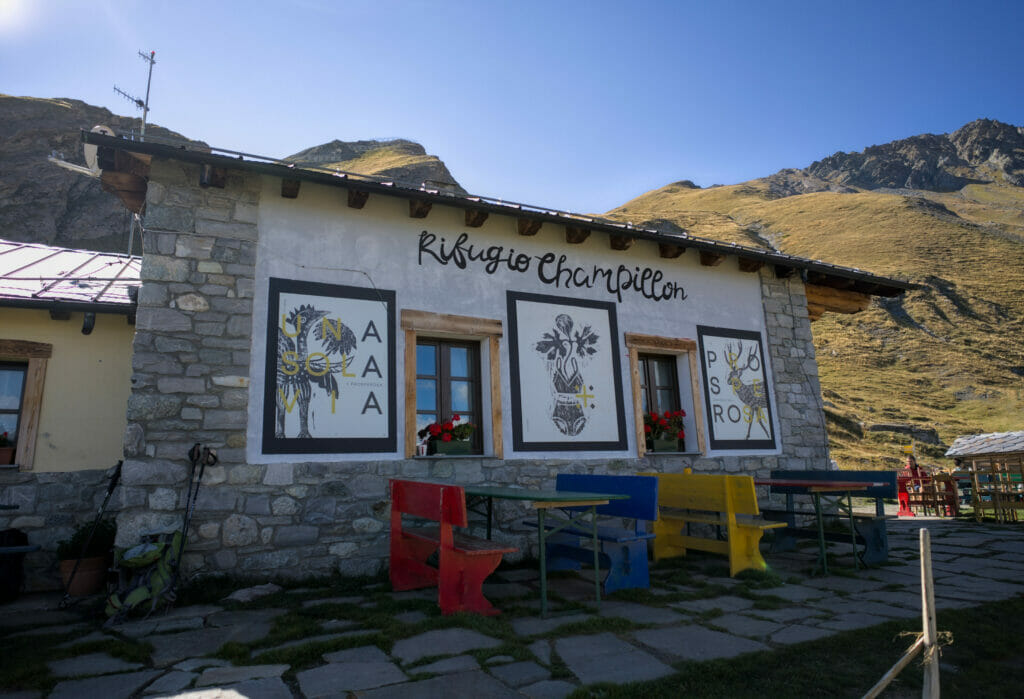
Rifugio Champillon
I don’t know if it was the effort required to get there that made us feel that way, but as soon as we stepped onto their terrace, we were under the spell of the place. The atmosphere of the refuge is familial, a bit bohemian. A place that made us feel immediately at home!
The dorms are comfortable, the shower water is hot (and free) and craft beer is available on tap. What else? Oh yes, an absolutely divine meal that was accompanied by a carafe of red wine at each table (everything to please us we told you!). No more seriously, we really appreciated the very friendly welcome of the team on site. We are not sure to have understood everything well, but the hut keeper spoke about having walked from Pakistan to Italy! No doubt that he must be a fascinating person with whom to spend an evening to talk about everything and anything.
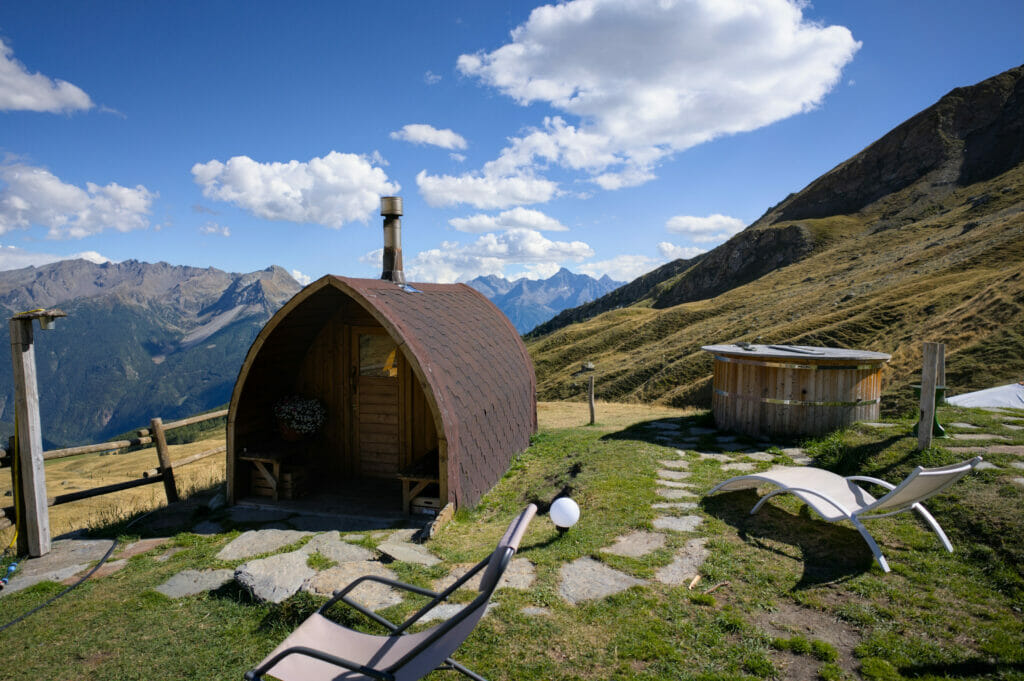
Price of the night in half board: 65€ with possibility of taking advantage of their sauna for 10€ per person (we sweated so much to get there that strangely this option did not tempt us at the time) 😉
Booking: By email or via Whatsapp. Numbers and info on their website
Stage details
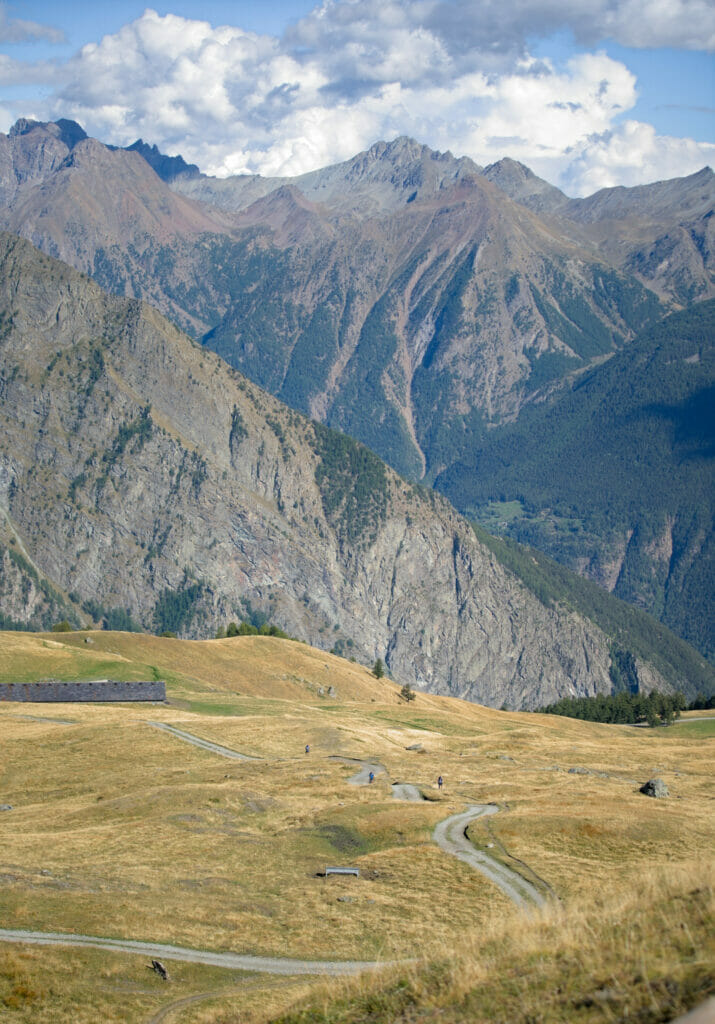
The longest stage of this tour des Combins, it is nevertheless very pleasant and actually slightly “easier” than the one of the day before. The “hardest” part is at the beginning of the day with the climb to the Fenêtre de Durand (a steeper part in the beginning but the rest of the climb to the pass is flatter and more regular at the end).
well ok… the last kilometer hurts too, but it’s mostly because it’s the 23rd.
- Start: Cabane de Chanrion
- Finish: Rifugio Champillon
- Distance: about 23 km
- Elevation change: 1135m + and 1170m –
- Hiking time: about 7h30
Stage map
From Champillon to Saint-Rhémy (Day 5)
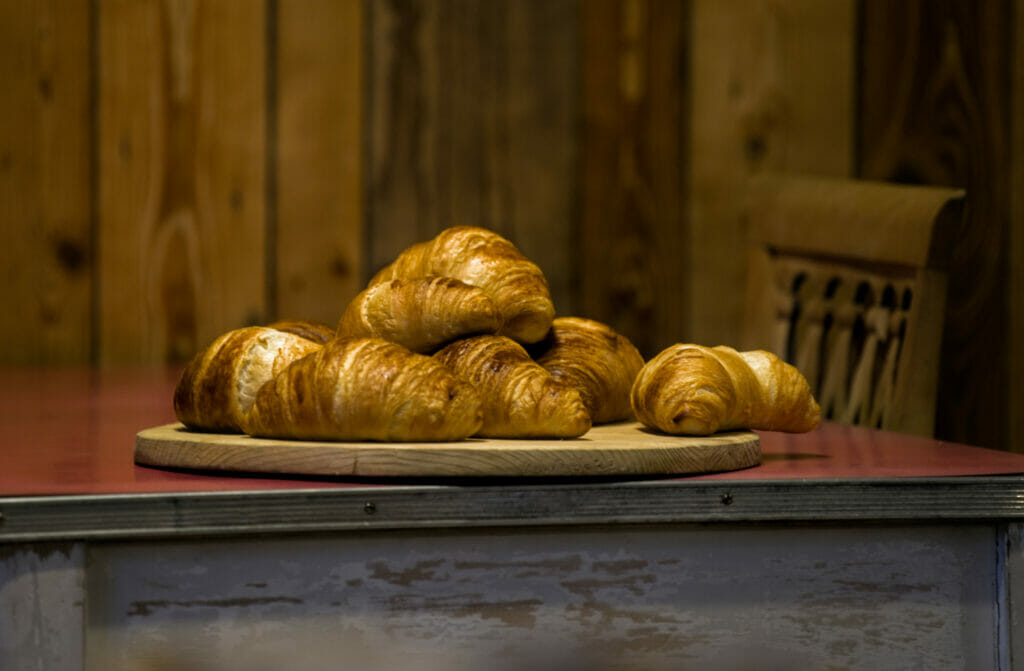
This morning I can’t believe my eyes when I leave the room and enter the dining room… Well, I say eyes, but I should say nose… As soon as I pushed the door, I am invaded by a good smell of hot croissant! Is my brain playing tricks on me? Ohhh no! There were indeed freshly baked croissants waiting for hikers this morning. Italian huts are really something special! 🙂
After this royal breakfast we start to walk and the least we can say is that we are quickly in the swing. The path leaves the refuge and goes up straight without to many detours not turns towards the Col de Champillon. The winding paths do not seem to be the specialty in the Aosta Valley… It has at least the merit to help us to digest quickly our gargantuan breakfast 😉
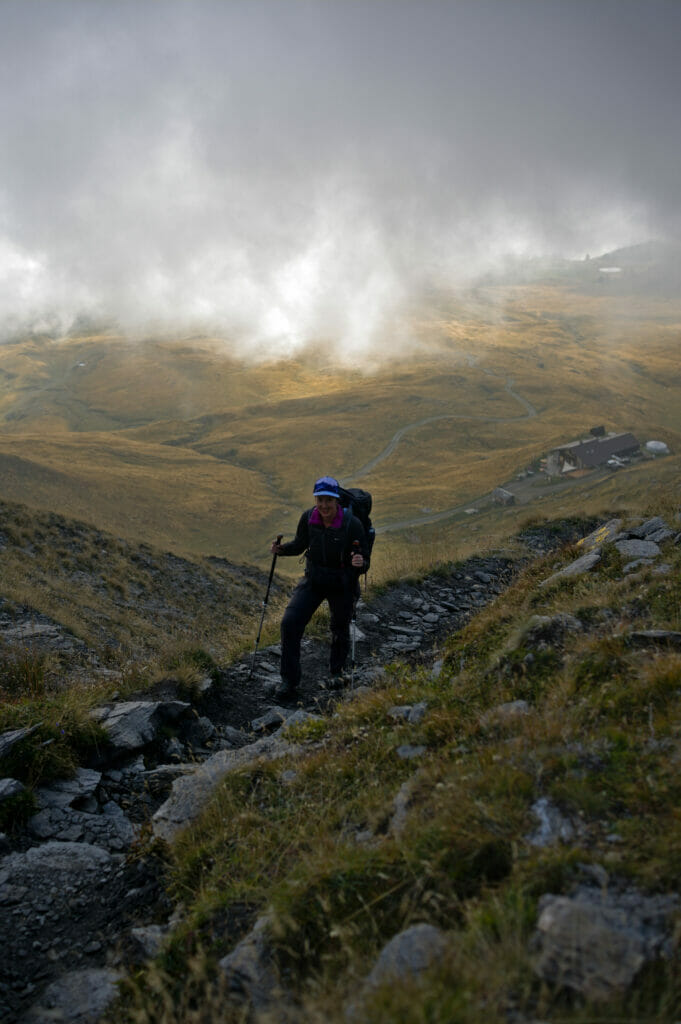
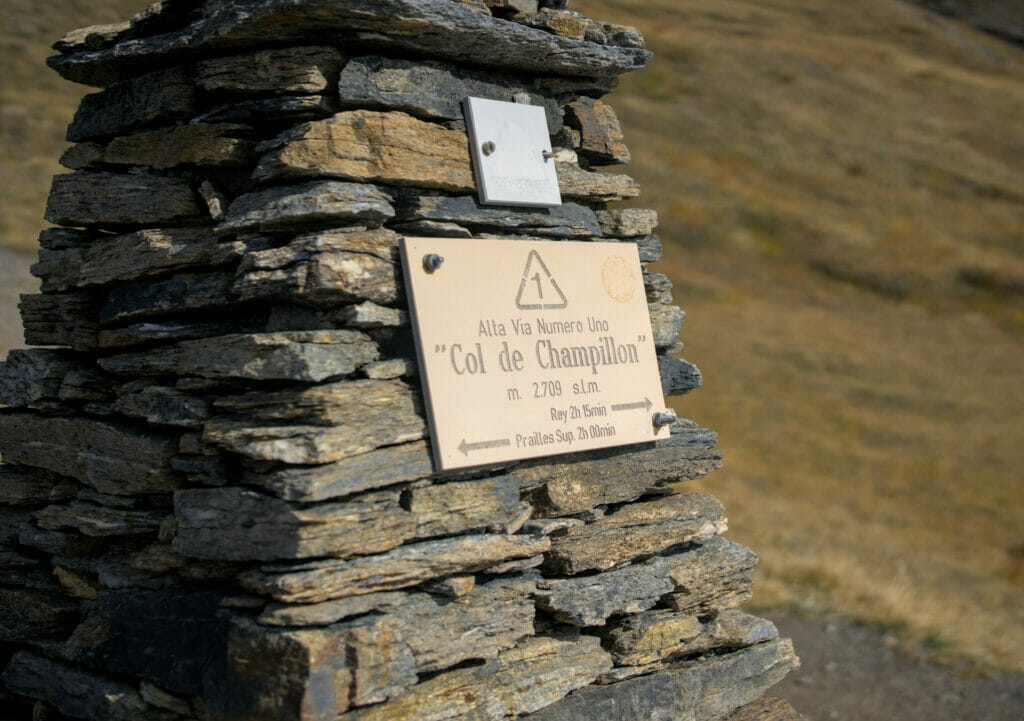
When we arrive at the pass, the view is simply spectacular! In front of us are many mountains, one of which seems to be covered with lots of snow in the distance… Hmmm strange, we don’t recognize it! Considering the angle it can’t be the Combins nor the Vélan… But? wait? Couldn’t it be the Mont-Blanc? So yes, after checking it is indeed the highest point of the Alps. It’s just that we had never seen it before “from this angle” and that we didn’t recognize it 😉
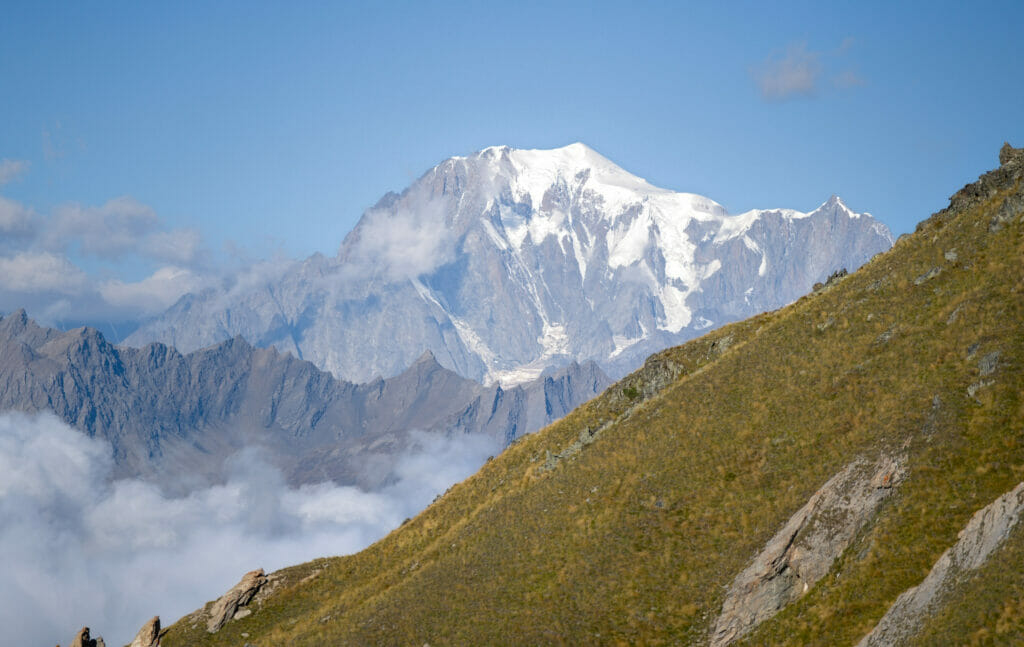
While I take out my camera to launch a timelapse, Benoit tells me: “You stay there? I’m just going for a walk over there!” pointing at the grassy slope which climbs on the right…
Sure! I’ll stay here!
3 minutes later I look to my right and I see Benoit who is literally running on top of Mont Chenaille! From up there, he brought back some nice pictures! But be warned, if you want the same, you’ll have to sweat a bit 😉 (You’ll find the itinerary of this little detour on the map of the stage… so you know, it’s a rather blue trail in terms of difficulty 😉 )
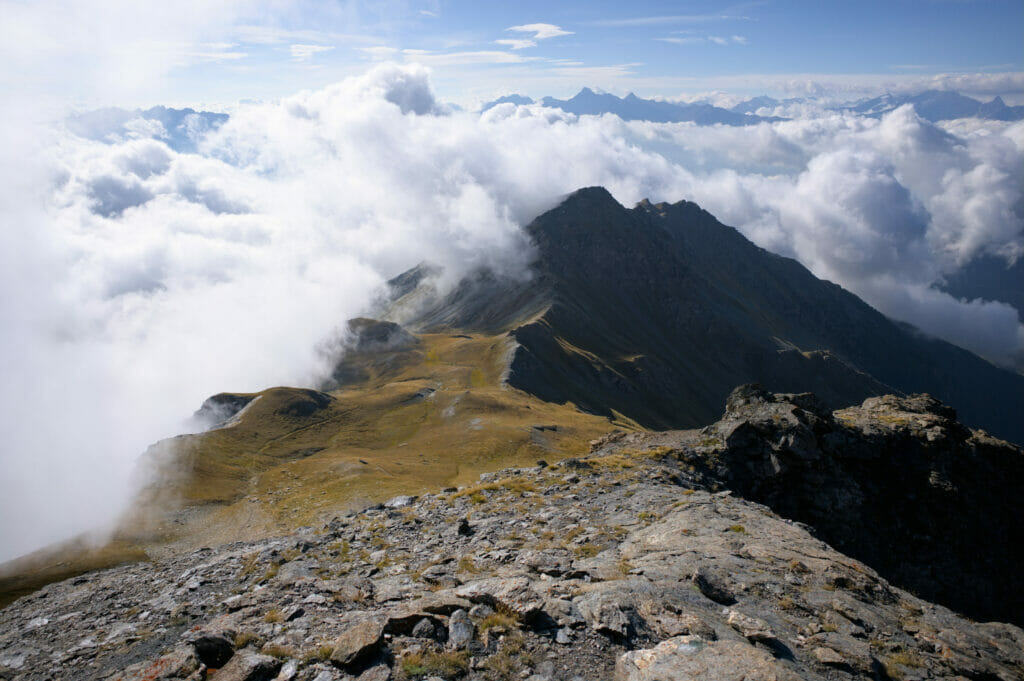
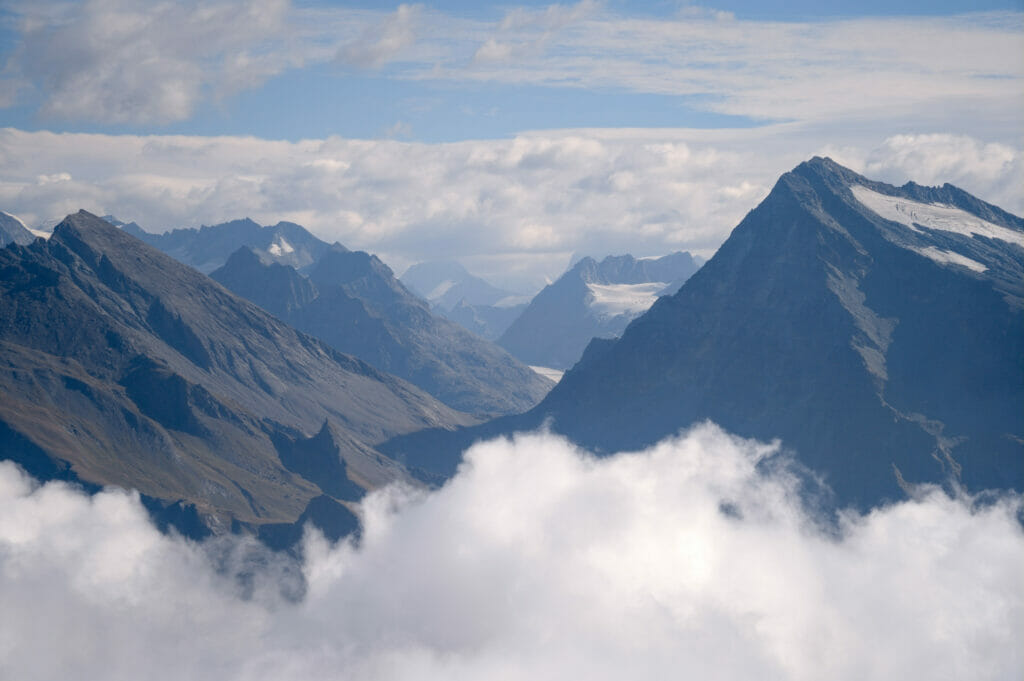
From the pass, the descent is pleasant. It’s quite steep, but the path follows big laces. At the alpine pasture of Crou de Bentse, the path continues on the right and we follow a beautiful path in balcony. We are sometimes in the mist, sometimes above it, which gives a rather mystical atmosphere to this descent.
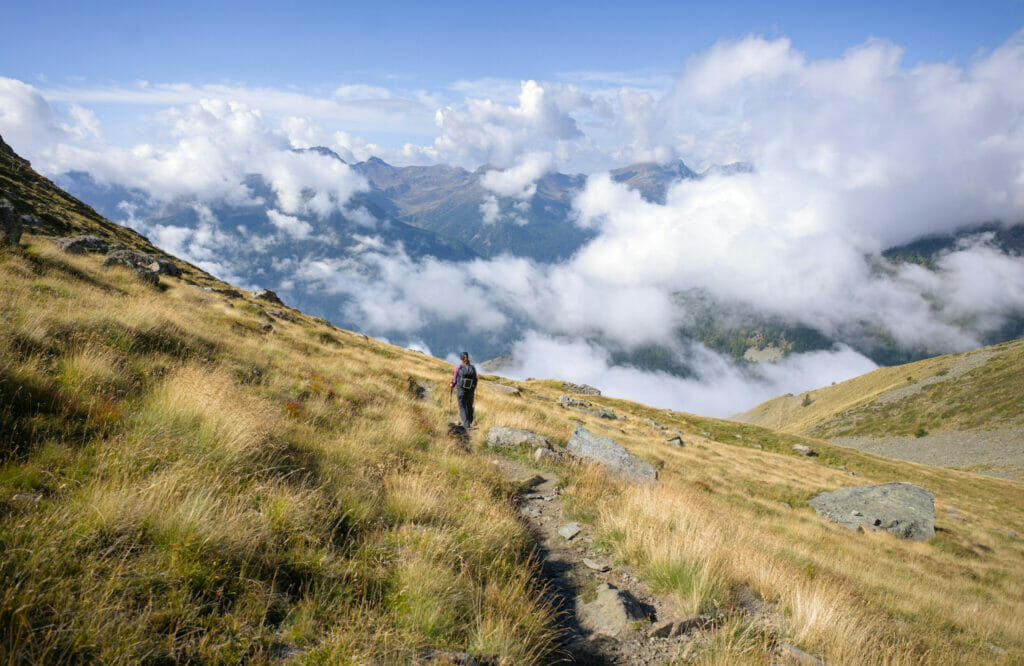
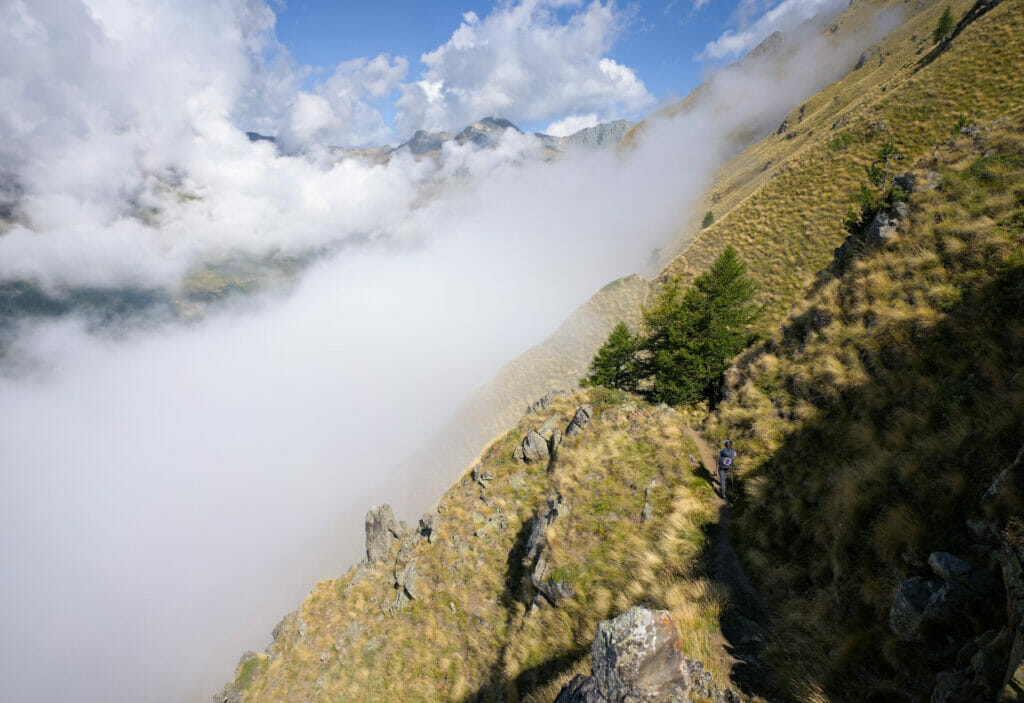
Arrived at the alpe Ponteille inferior, we cross the stream then we go up a little following the agricultural road. At the level of a big farm, we take a quite steep path for a few meters and we arrive on the Ru Neuf d’Eternon, a small stream buried under a wide path lined with larches.
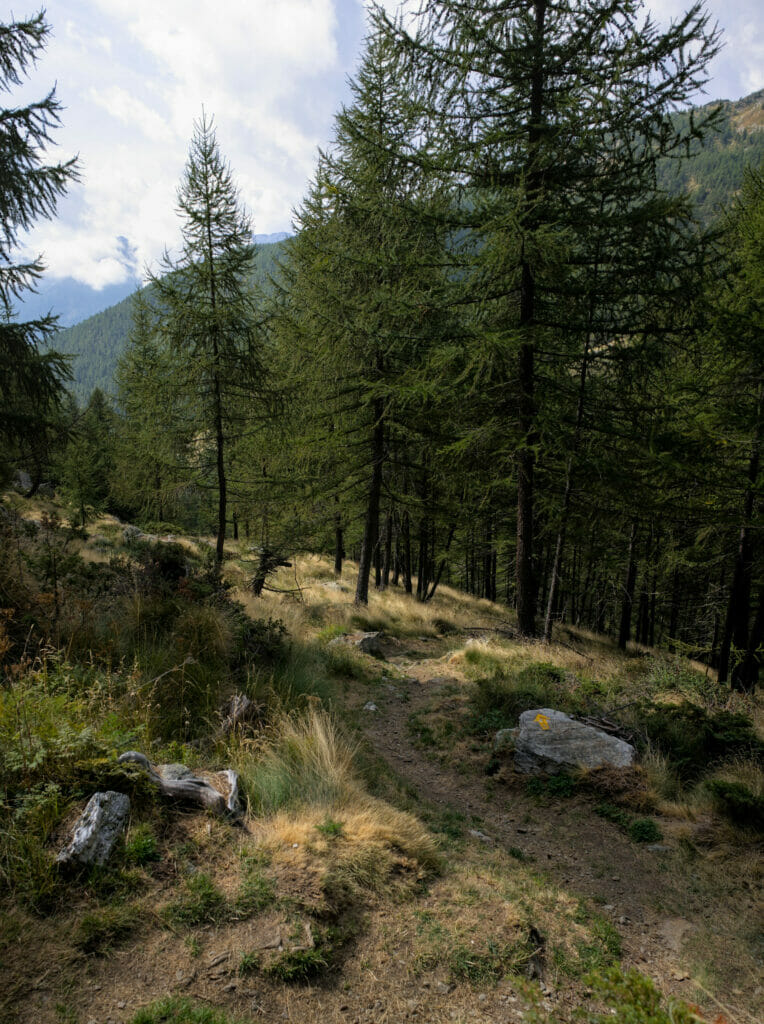
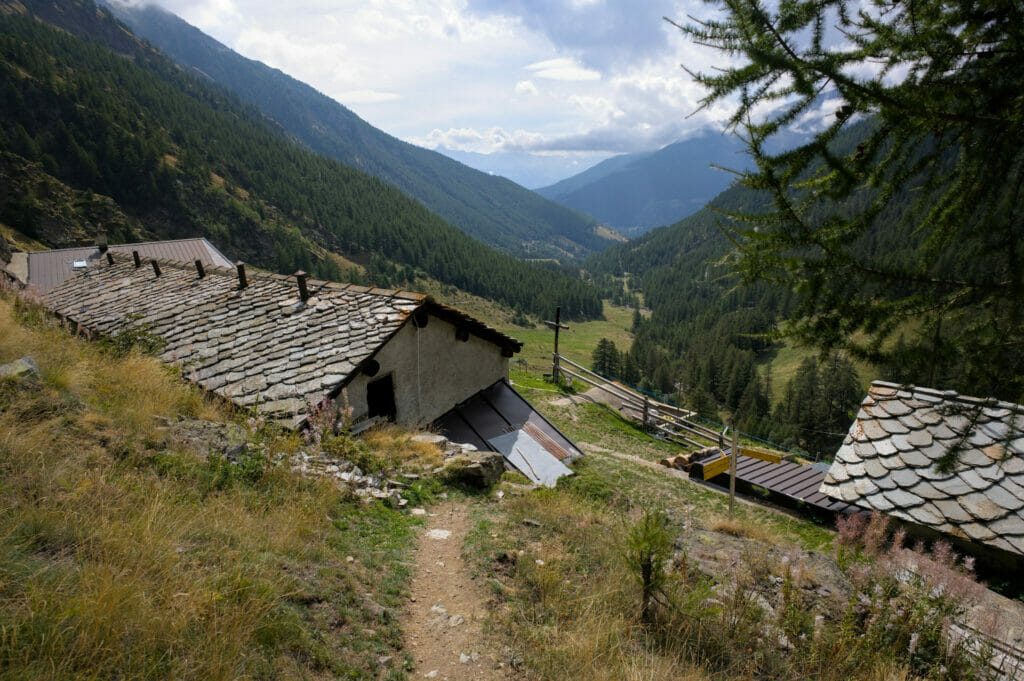
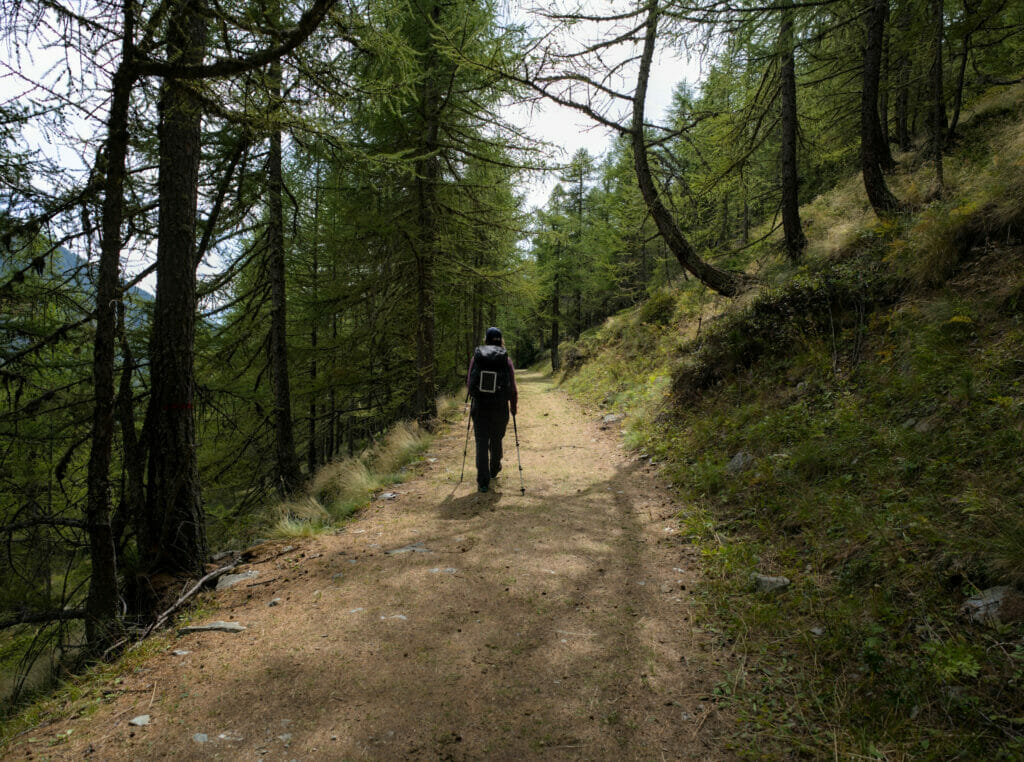
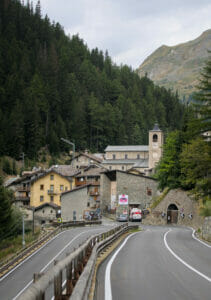
At the end of the forest we reach the alpe Barasson and from there we have 4 kilometers of descent to Saint-Rhémy. First on a path, we then join a forest road that we follow until the village. Be careful, just before the village we briefly join the main road that we must carefully follow for a few meters.
The village of Saint-Rhémy is tiny, but very charming. It is the first small Italian town that you reach once you cross the border at the Gd-St-Bernard pass. By the way, the place is famous for its “jambon de Bosse”. As we don’t eat much meat anymore, we can’t tell you more about it, but according to the other hikers it was worth it 😉
Note also for those of you who wish to shorten the tour, you can also go directly to the Saint-Bernard pass by the Barasson pass (see on the map below). This itinerary adds a few kms and a lot of elevation gain, but it will save you a day on the tour.
The Suisse Hôtel, Saint-Rhémy
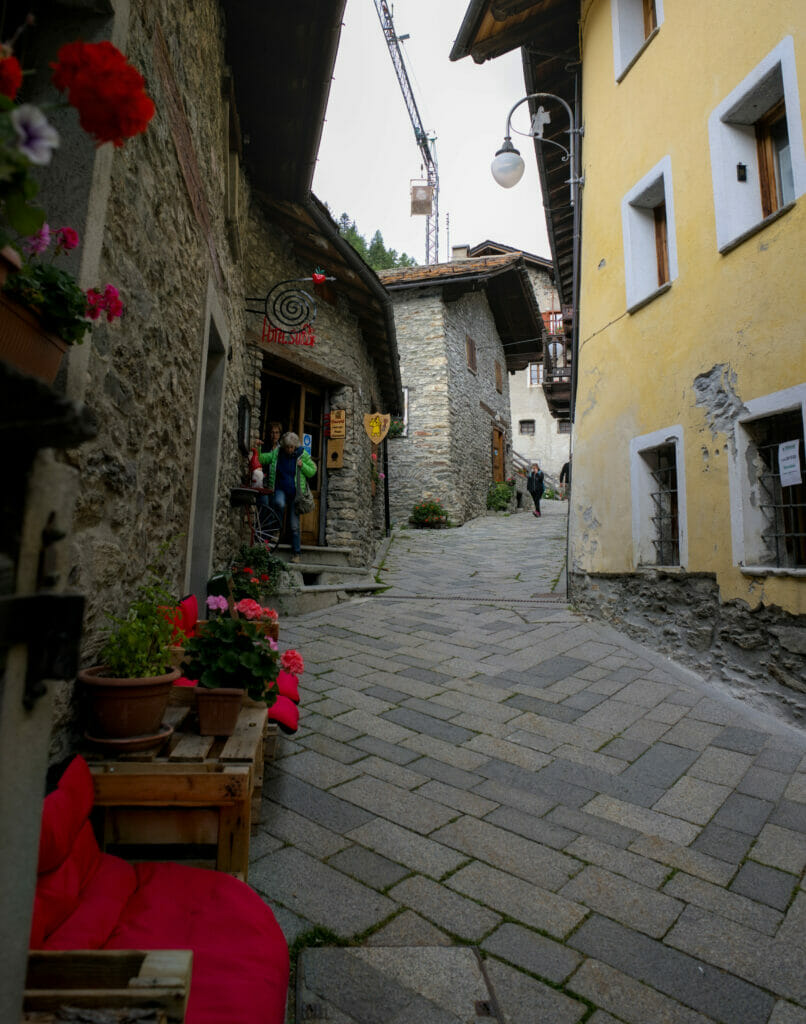
The Hotel Suisse is located in the village of Saint-Rhémy, a few kilometers above the entrance of the Gd-St-Bernard tunnel and right on the route of the tour. Small family hotel, it is really a nice address. The decoration is well done and the food is very good! The price of 100€ per night (2 persons with breakfast) does not include the evening meal, this one is taken à la carte in the restaurant of the establishment… But even with the evening meal and a bottle of wine, the final bill was pretty much the same as in a mountain hut.
The hotel cannot be booked online. It is best to call them directly (+39 0165 78 09 01) or send them an email (info@suissehotel.it). Their website
Stage details
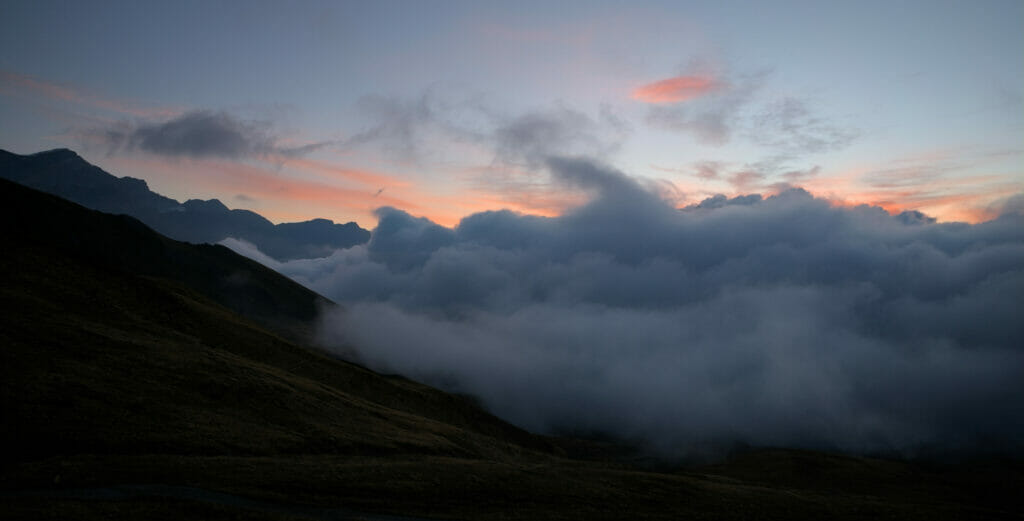
Nice stage on which we particularly appreciated the passage of the Champillon pass and its view on the Mont-Blanc. The final part in the forest was not the most interesting, but it is done relatively fast.
- Start: Rifugio Champillon
- Finish: Saint-Rhémy
- Distance: 15 km
- Elevation change: 520m +, 1300m –
- Hiking time: about 5h
Stage map
From Saint-Rhémy to col du Grand Saint-Bernard (Day 6)
Second to last day on the tour, and a very small stage ahead of us, this morning we take things slow. After an excellent breakfast in the Swiss hotel, we start the soft and regular climb to the Gd-St-Bernard pass.
After having left the village of Saint-Rhémy, we follow the road of the pass on some tens of meters. Quickly, we arrive at a crossing where it is possible to take to the right to join the pass in 3h20. This option is obviously possible, but we preferred to follow the “official” route which is more direct.
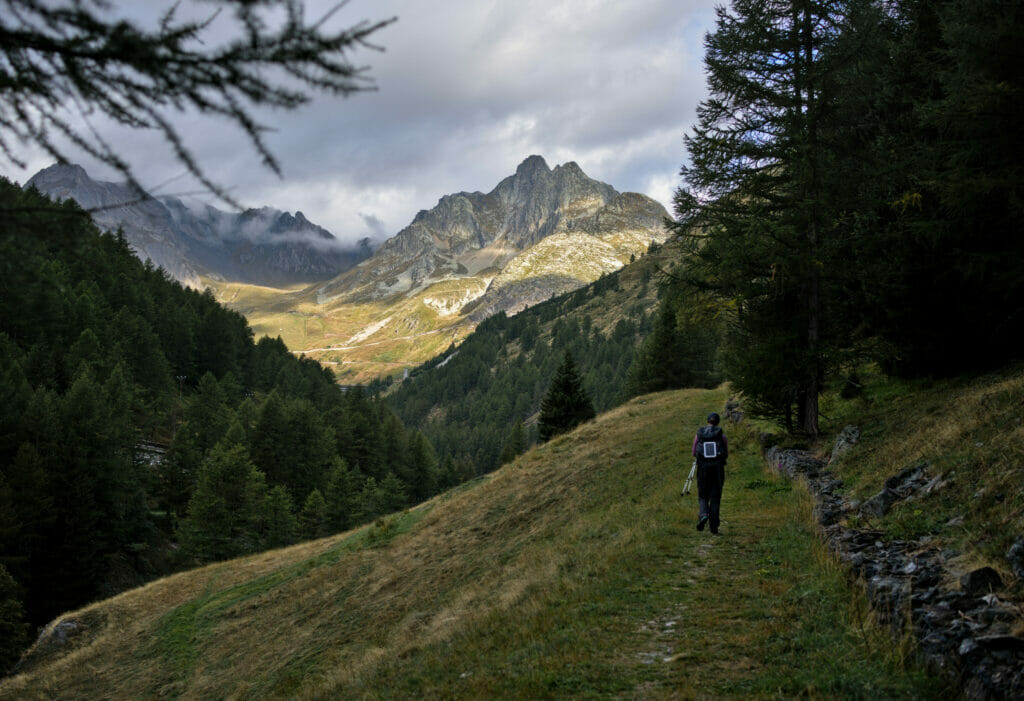
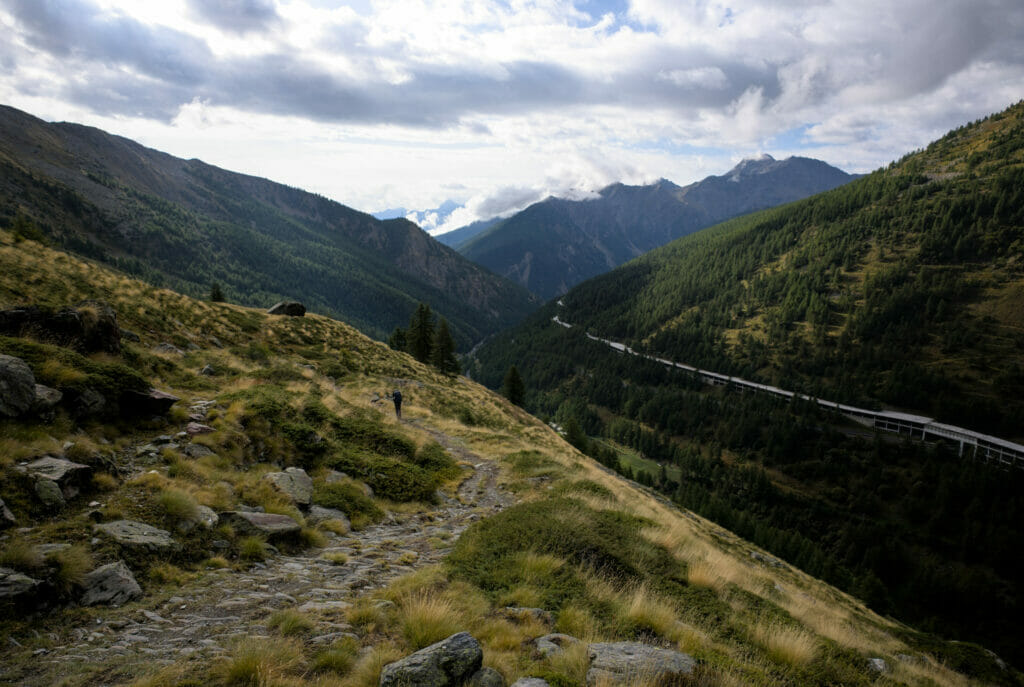
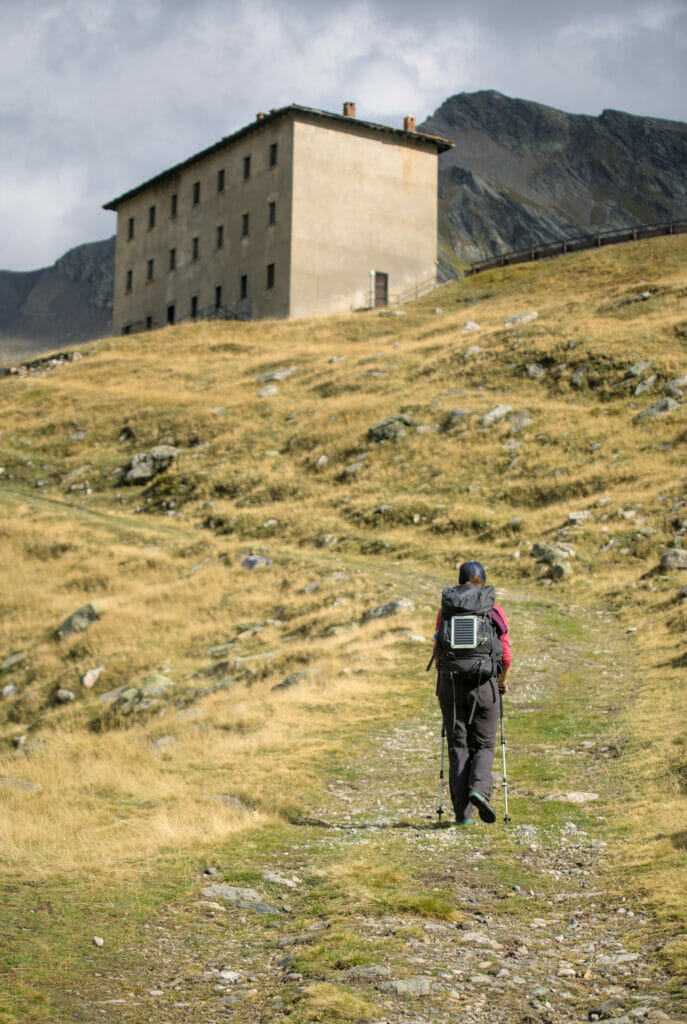
So we ignored this first path and continued a few more meters along the road to take the second path on the right. From there, we arrive on a wide path that climbs very steadily to the pass.
No difficulty to report and we will admit it, although the panorama is very beautiful, we found that this stage lacked a little “spice”. But well, we were not going to complain because we had planned a continuation of program which was going to bring me my dose of adrenalin 😉
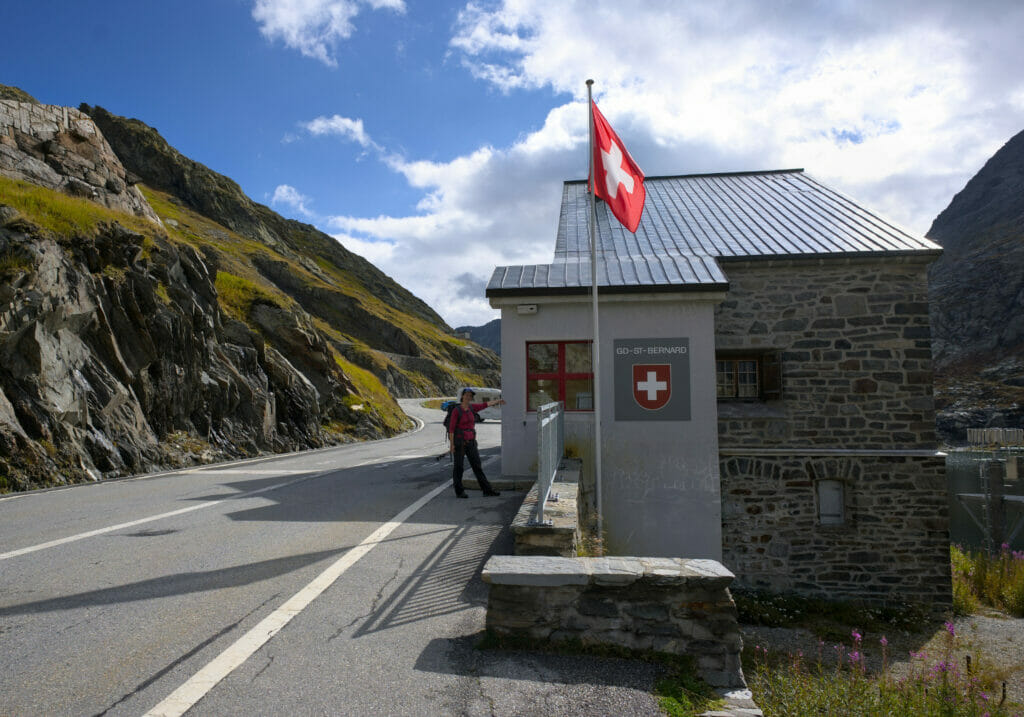
It must have been barely 11 am when we arrived at the foot of the statue of Saint-Bernard de Menthon which is located at the edge of the lake. After a small coffee break at the auberge we were joined for the continuation of the program by Sabine (Benoit’s sister) and Charlotte (a friend). We left part of our stuff at the hospice and left in direction of the pointe de Drône.
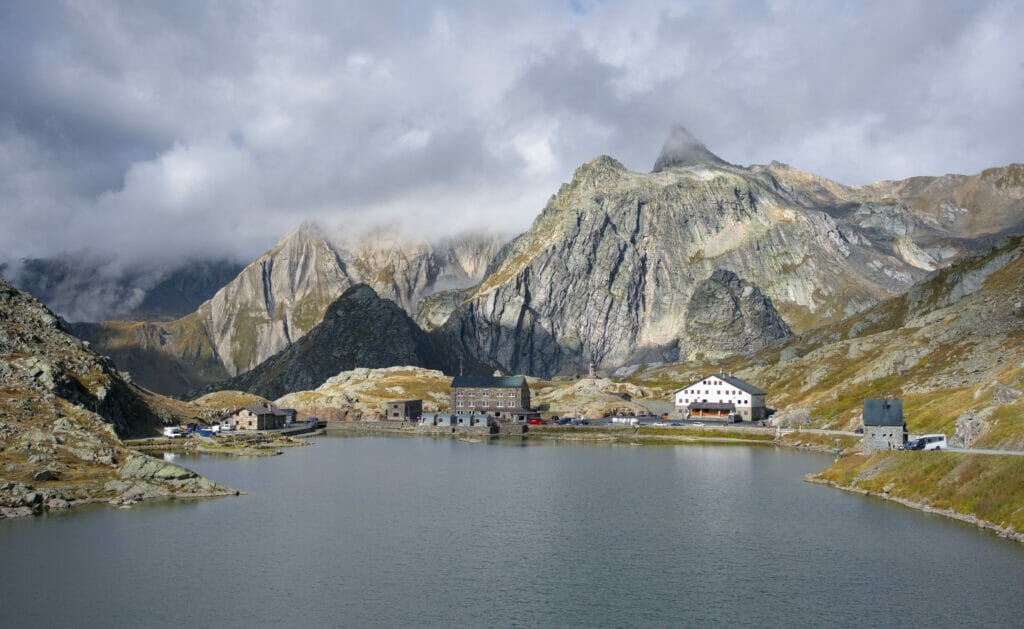
Oh boy, I’ll be honest, this part of the day was giving me a few cold sweats. The Pointe de Drône is located above the Gd-St-Bernard pass and is known for its exceptional 360° panorama. The problem? To get there, you first have to climb to the Grande Chenalette, a first summit whose access is quite difficult (difficulty T4): ladders, chains and cables, in short everything that scares me 😉
If you are interested in the ascent of the Pointe de Drône, we’ll meet you in our blog post about the tour des lacs de Fenêtres that Benoit has just updated to include this alternative route. But as a bonus, I’ll put here some pictures of my “not so happy” face in the most delicate passages and some pictures of the view at the top 😉
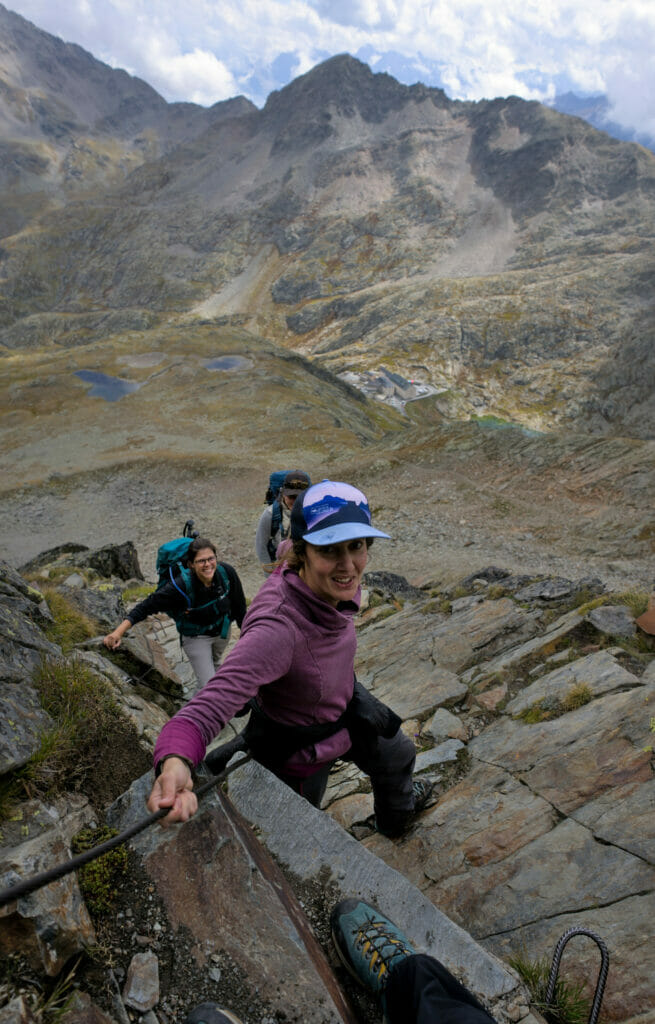
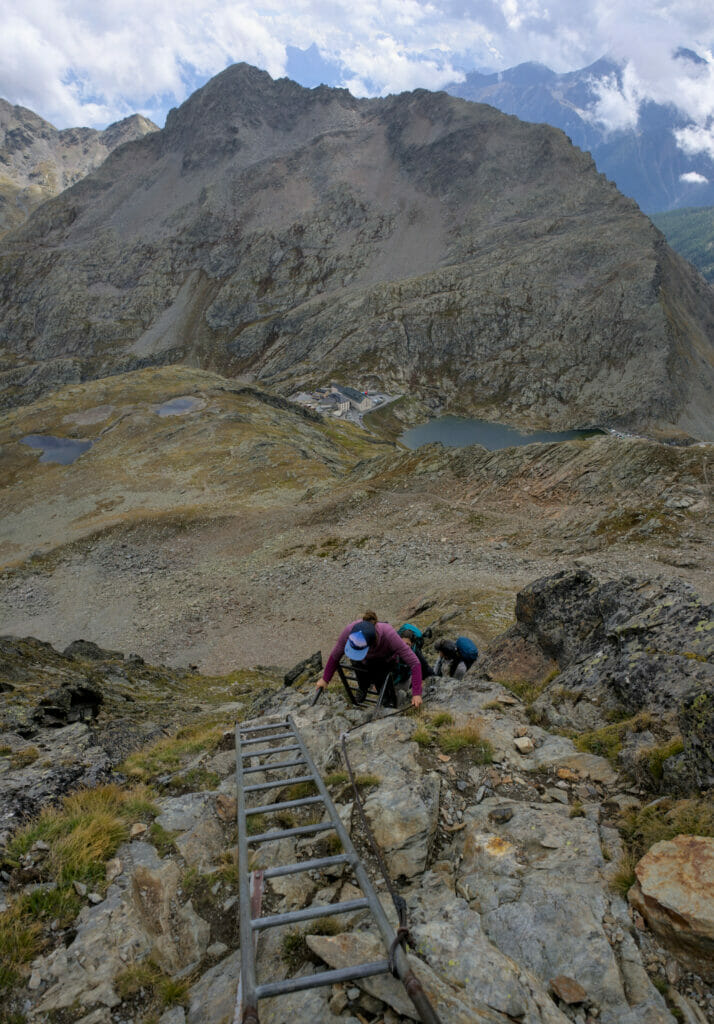
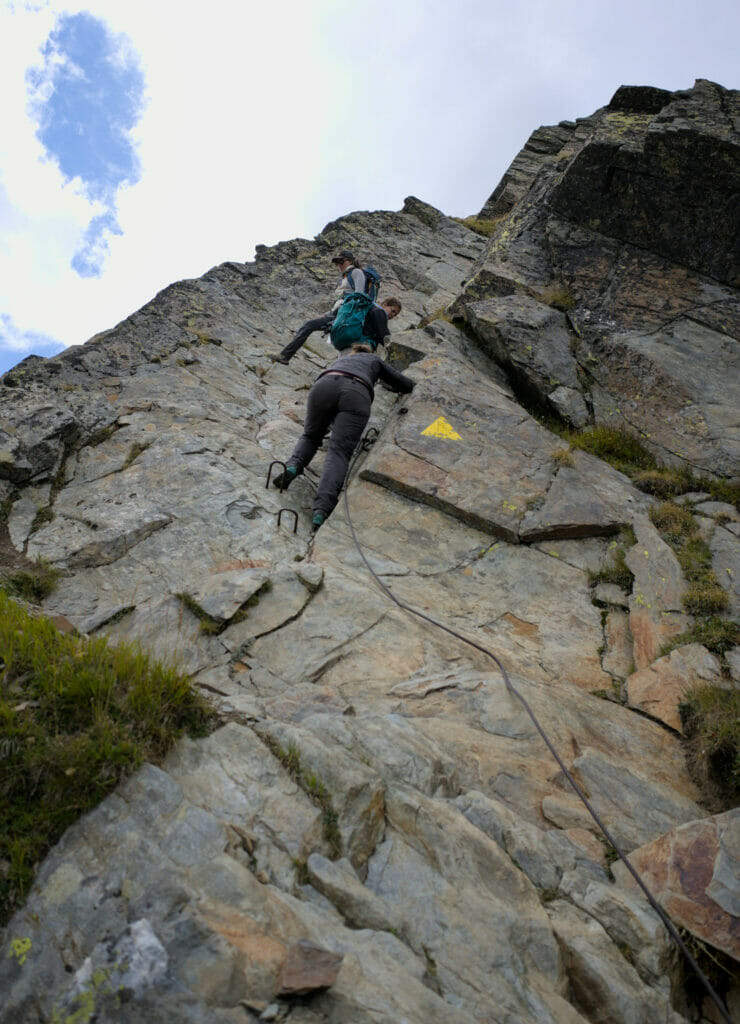
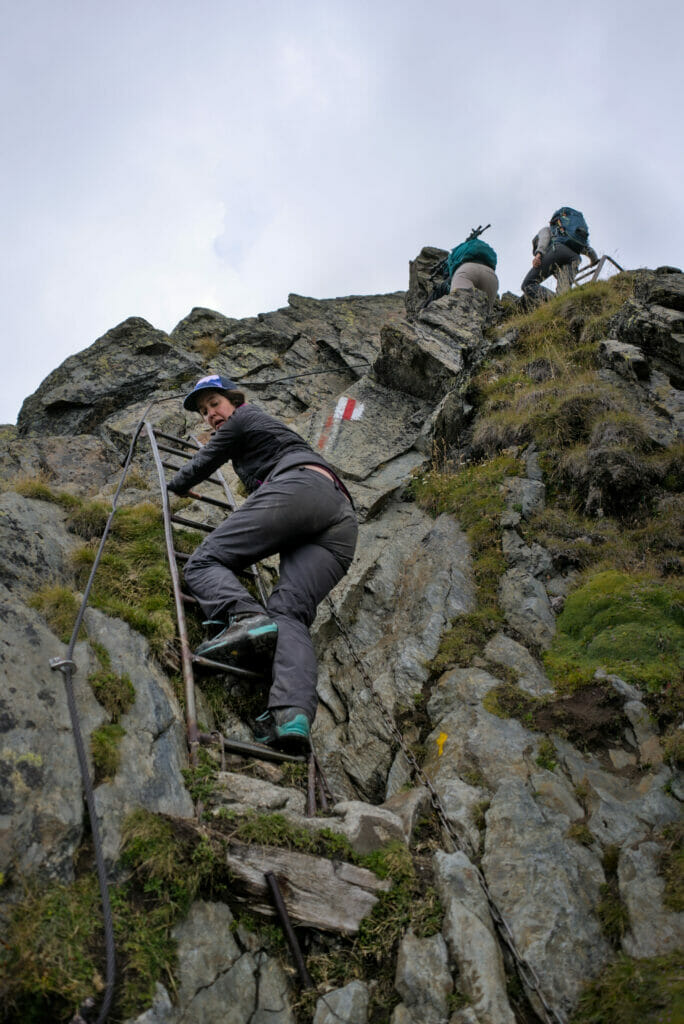
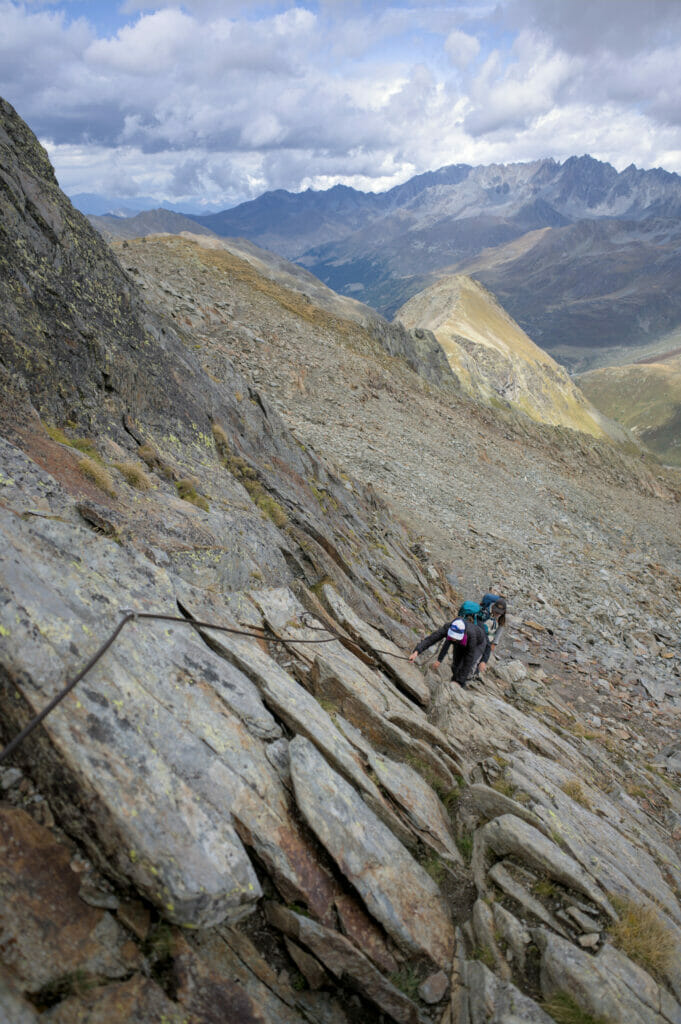
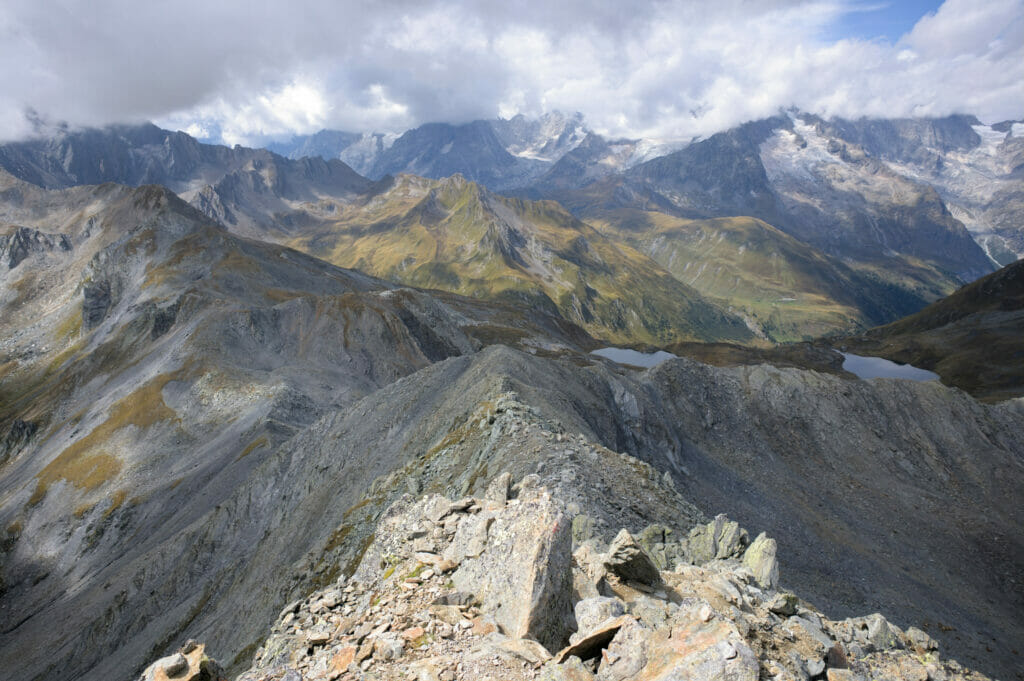
PS: It went well… I was a bit scared, but it turned out ok 😉
Night at the hospice of the Grand-Saint-Bernard
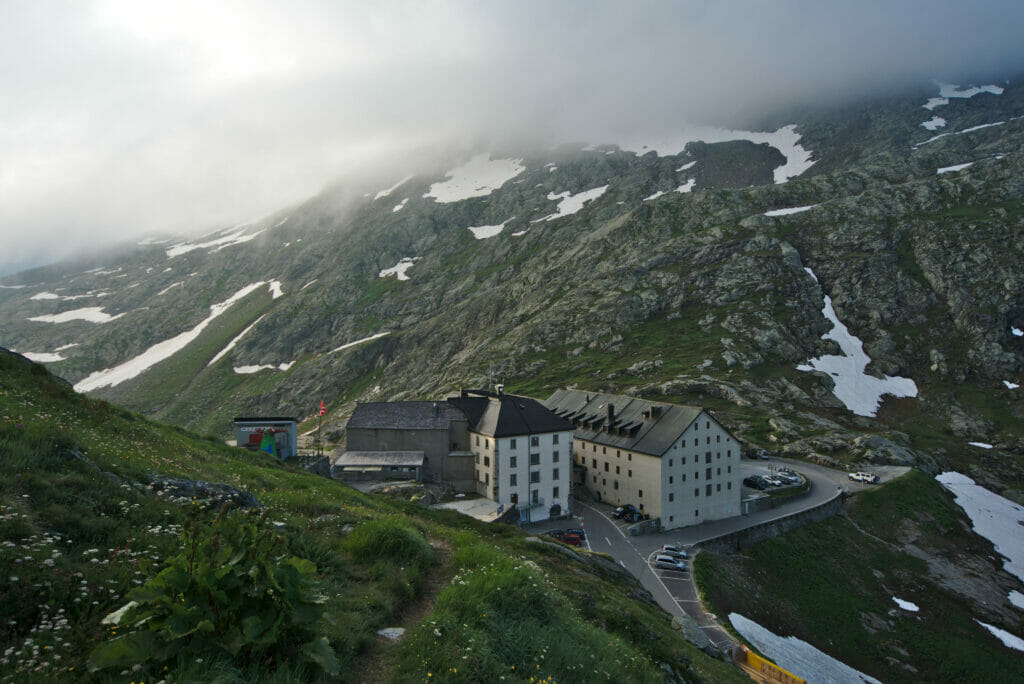
When it came to choosing our accommodation on the Great St. Bernard Pass, we naturally decided to opt for the hospice again (just like in 2020). The reason? Well, on the one hand, the price of the night is unbeatable (55 CHF including the dormitory, the evening meal and the breakfast) but also because the experience is really unique! We are not particularly spiritual people, but we have to admit that this place, and especially the monks who are present there, make the place really unique.
Note that at the hospice it is possible to choose between dormitories and private rooms. Showers and toilets are shared. If you want more comfort, it is also possible to spend the night at the hospice hostel (auberge) (private rooms with bathroom).
Stage details
The stage from Saint-Rhémy to the pass is relatively short. It would be quite possible to continue to Bourg-Saint-Pierre the same day. Nevertheless, the Great St. Bernard Pass is a very special place and if you don’t know the place yet we encourage you to stop there for a night.
- Start: Saint-Rhémy
- Finish: Col du Gd-St-Bernard
- Distance: 6,5 km
- Elevation change: 870m +
- Hiking time: about 2h40
Stage map
If you feel like “spicing up” the day, it is quite possible to go up to the pointe de Drône as we did this year (about 2h30 walk) or even to do the magnificent tour des lacs de Fenêtres that we did in 2020 (about 4 to 5 hours walk for the tour).
From col du Grand Saint-Bernard to Bourg-Saint-Pierre (Day 7)
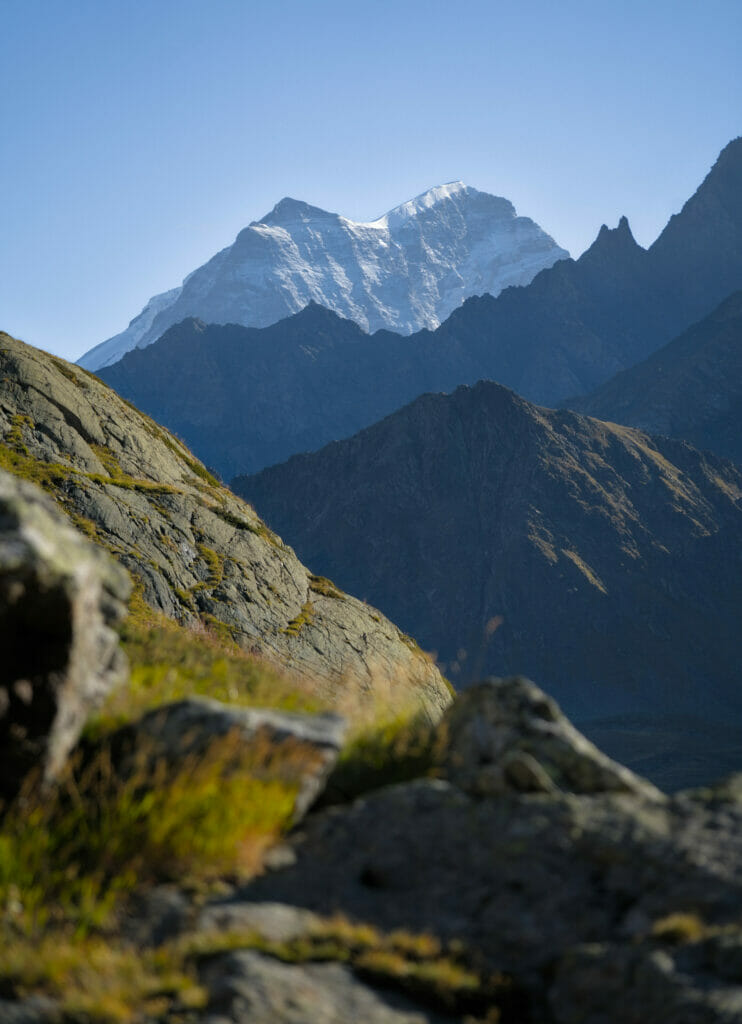
While Charlotte went back down to Lausanne after our climb to the Pointe de Drône, Sabine decided to spend the night with us at the hospice to accompany us for the end of the tour. So it was with 3 of us that we left for this last day of walking.
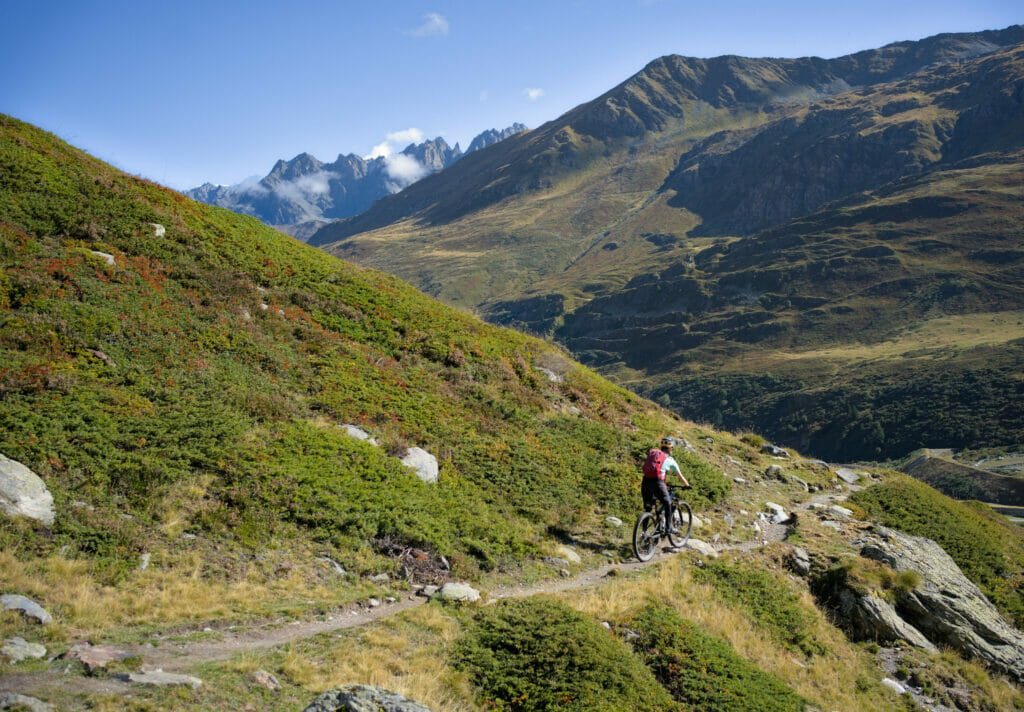
Leaving the hospice, we quickly joined the trail that descends on the right of the road’s switchbacks, a wide and well-maintained trail with a steady and fairly gentle slope. At about km 3, we cross the road leading to the pass and now head in the direction of the alpage de la Pierre. It was here that we branched off two years ago to go up the combe de Drône and reach the col des Chevaux. From this point on, the slope becomes gentler and we quickly reach the edge of the Lac des Toules, an artificial lake formed by the construction of the dam in 1964.
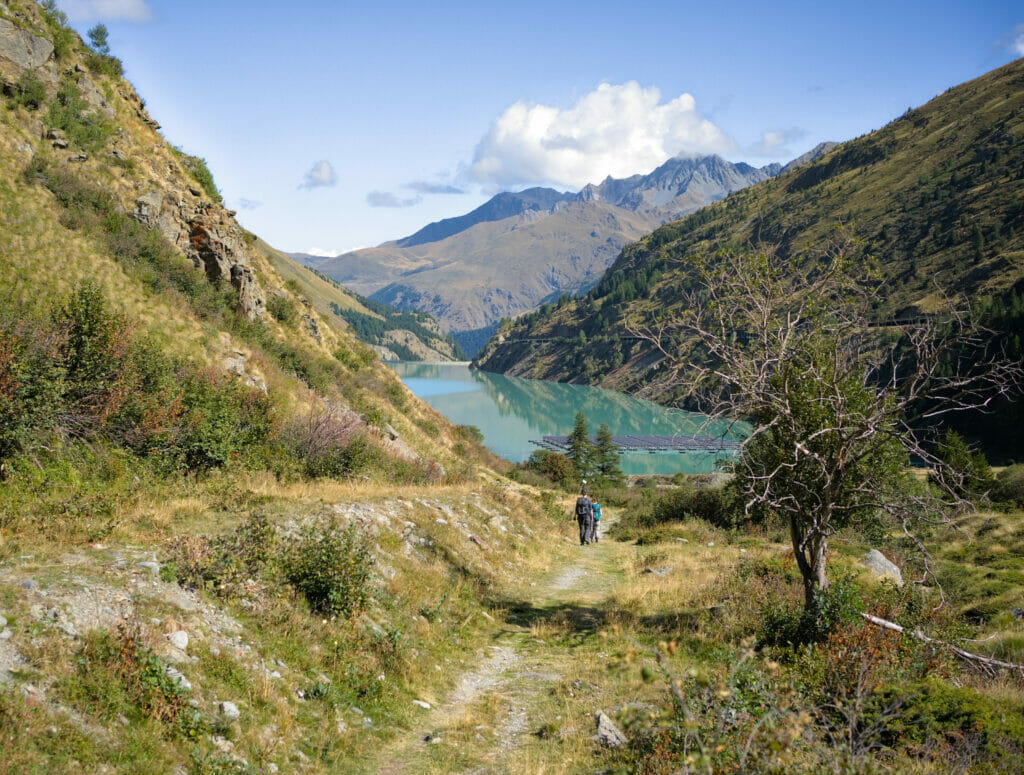
When you arrive at the lake, the first thing you notice is this strange collection of floating solar panels. In fact, this is the very first floating alpine solar park. 😉 With its surface of more than 2000m2, this big “raft” allows to produce about 800 MWh, which is the equivalent in annual consumption of about 220 households.
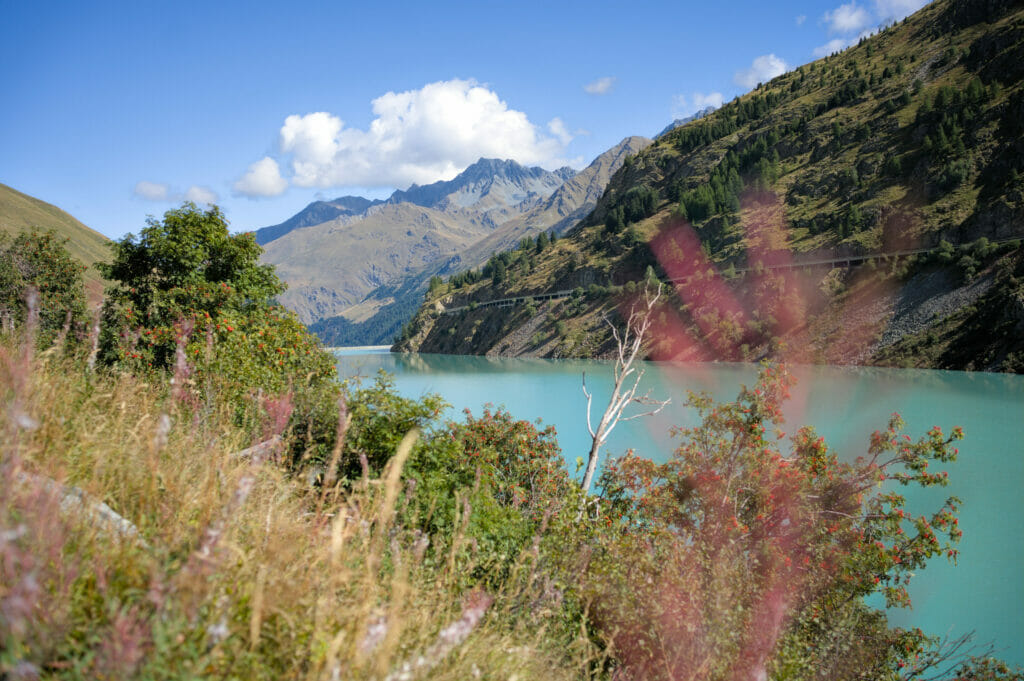
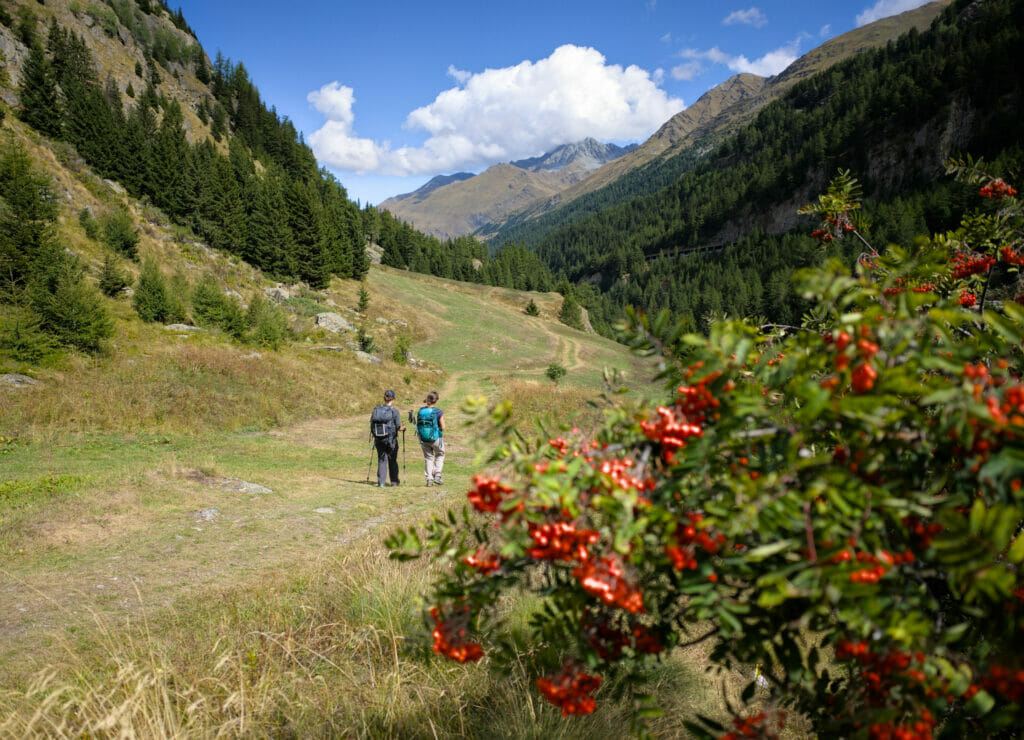
After having followed the lake more or less flat, we plunge then at the foot of the dam and we join Bourg-Saint-Pierre which is approximately 2 km further. We looped the loop as we say! 🙂
Stage details
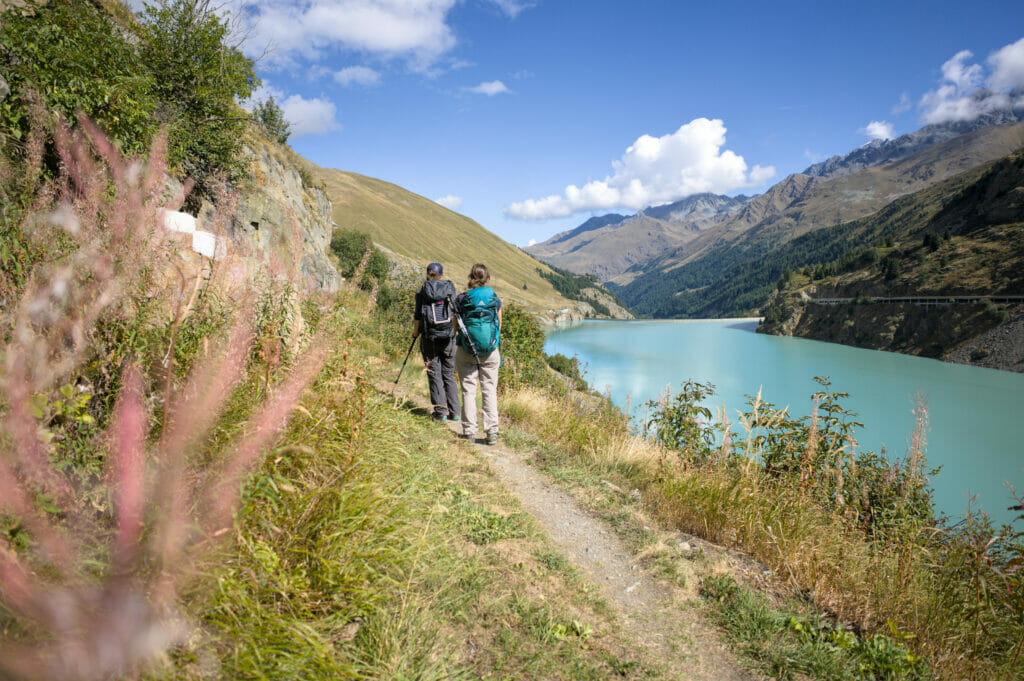
Mainly downhill, the return to Bourg-Saint-Pierre is not difficult at all. It would be possible to spice up this return by going through the Col des Chevaux (pass that we took in 2020 and that you can also see in green on the map below), but as we didn’t know the more direct official route yet, we opted for the latter.
- Start: Col du Gd-St-Bernard
- Finish: Bourg-Saint-Pierre
- Distance: 12 km
- Elevation change: 220m +, 1100m –
- Hiking time: about 3h30
Stage map
Preparing your tour des Combins: the infos
To finish this (long) article, we thought we’d give you a few more practical tips for the road that should help you prepare your hiking tour.
Map of the complete itinerary of the Tour des Combins and markings
In the article above, you can click on the title of the map to then go download the GPX of the stages on Alltrails. If you just want to have the GPX of the complete tour, you can download it via the link below.
Advice: Network coverage is not available at all times. For our part we also loaded the route on the free application Maps.Me. Be careful, for this app you will have to use a KML file instead of GPX.
Note: The GPX and KML above are those of the “official” routes. On day 2 we had followed the variant of the Avouillons pass. Refer to the stage to see the difference in the route.
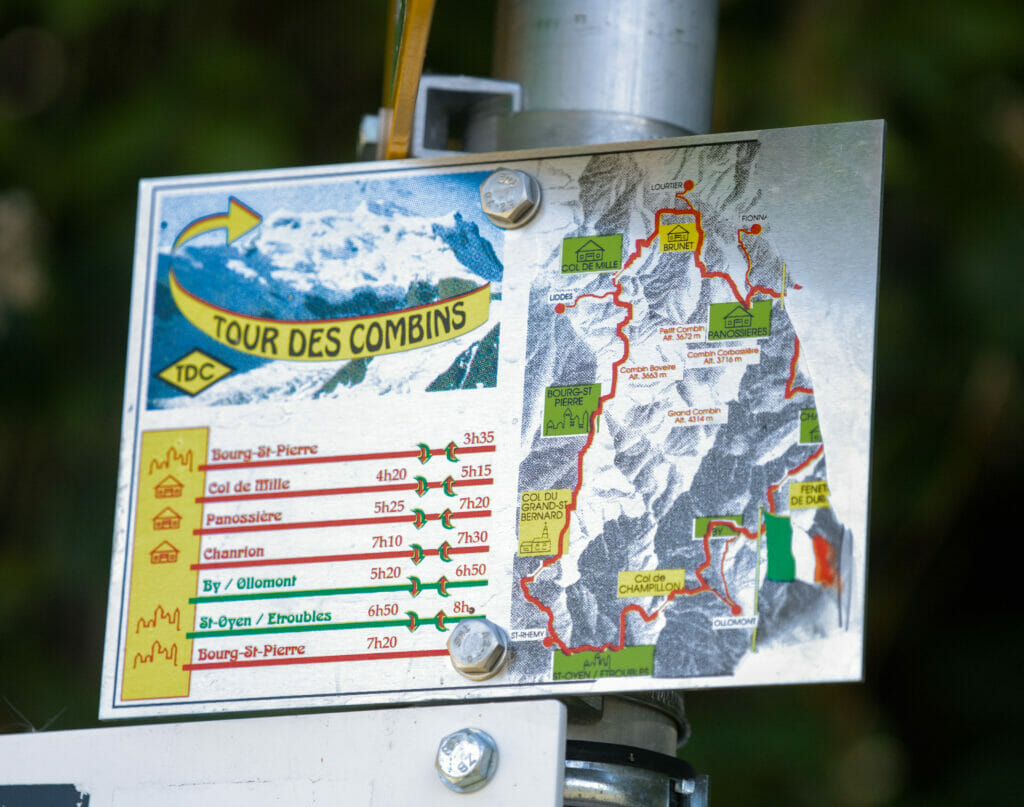
To find your way on the tour itself, it’s very simple: the markings are VERY present. Small subtlety however, they are not the same signs on both sides of the border 😉
- Swiss markings: The destinations are indicated on the yellow arrows. Square (green) plaques indicating the name of the tour are visible at the post.
- Italian markings: The trails are marked with yellow diamonds. The Tour des Combins is indicated by the abbreviation “TDC” inside the diamonds.
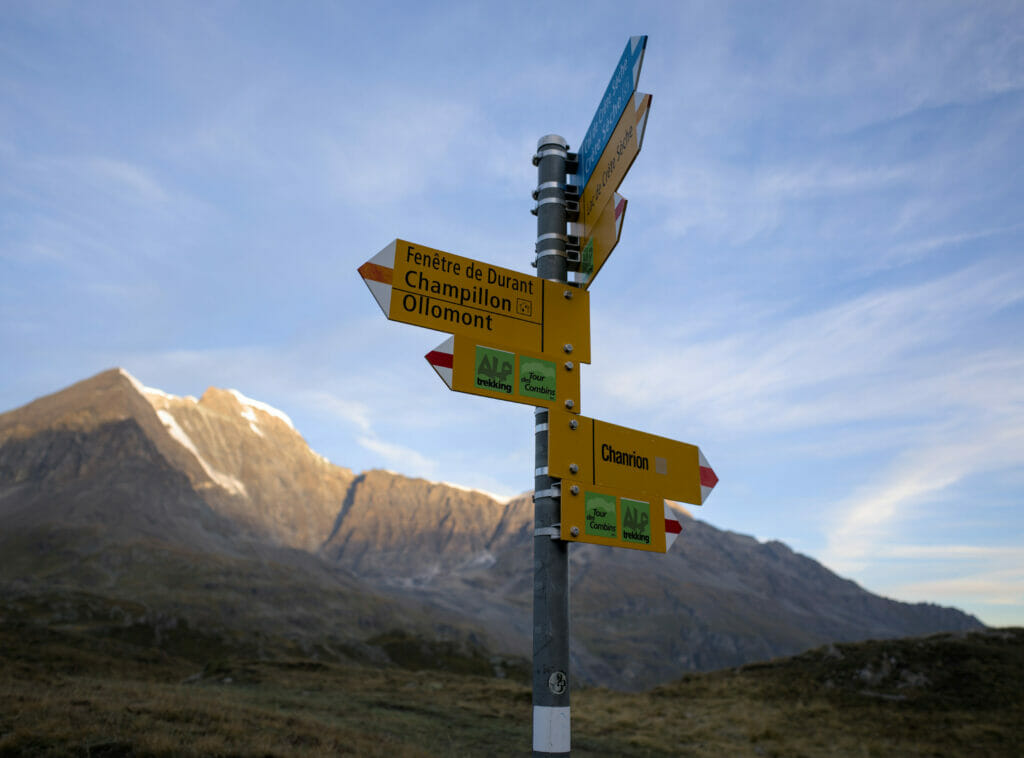
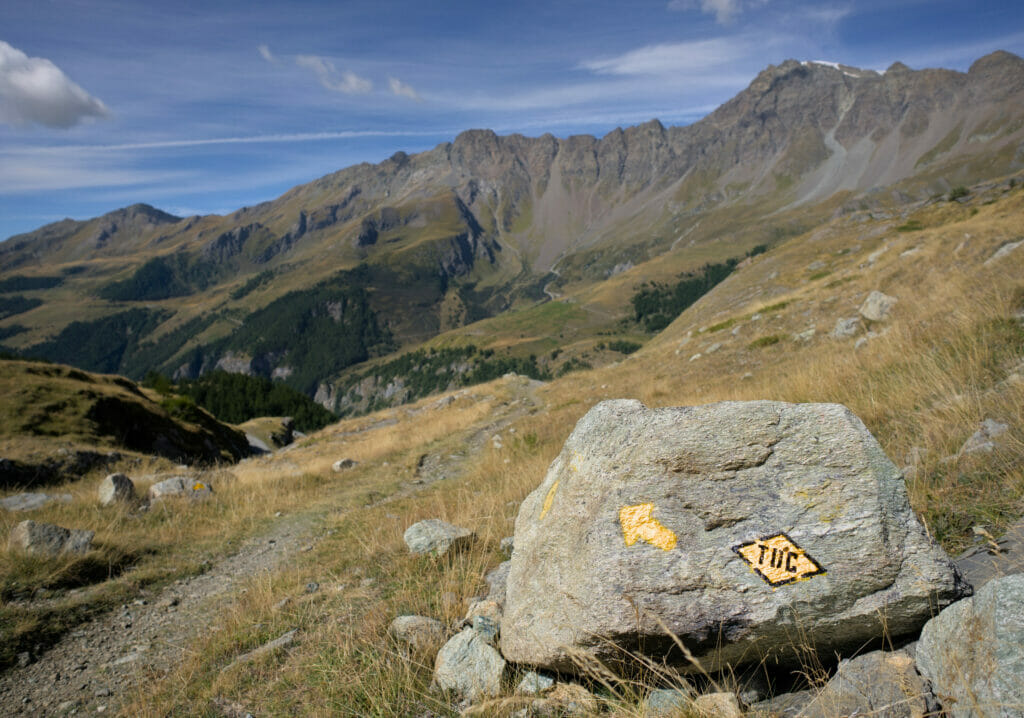
What to bring: what did we have in our bag?
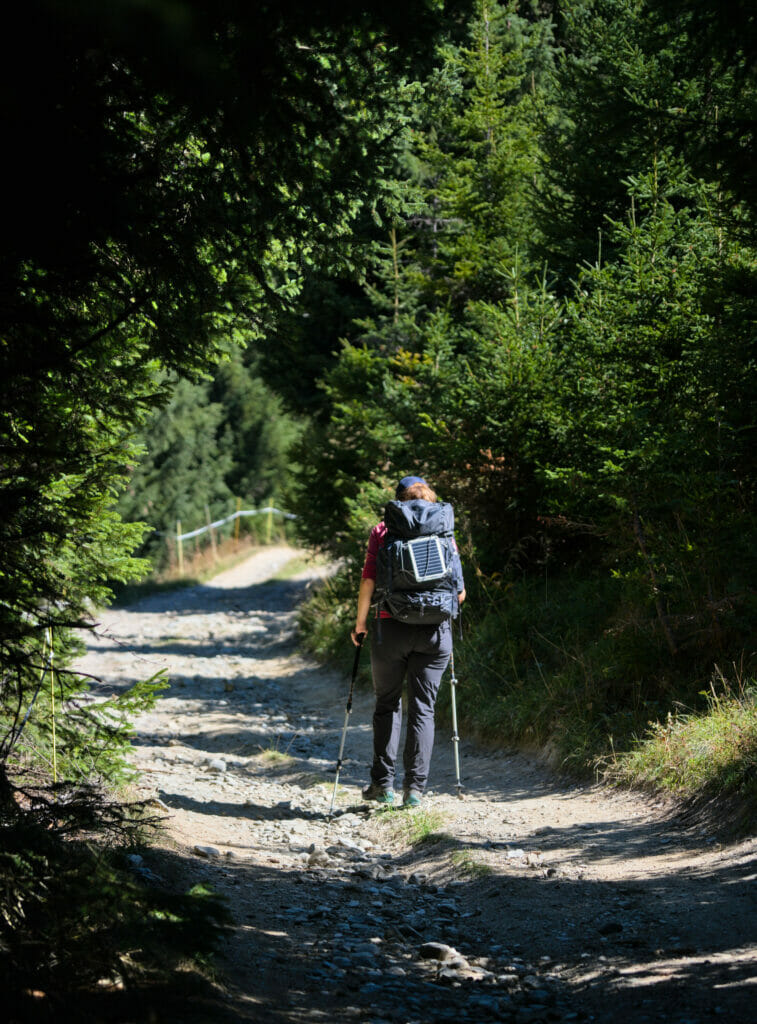
Ahhh the famous question of what to put in the bag! We are great specialists in being “heavy” hikers (helloooo computers always in the backpack) 😉 But for once, we decided to leave with much less stuff and especially, for the first time in a long time, we left our 2 computers at home! In short, in our backpacks we had the bare minimum:
- 1 change of clothes (T-shirt and pants)
- A light sweater
- A small down jacket
- A waterproof windbreaker
- 2 pairs of socks and spare underwear
- A silk sheet for the huts
- A mini microfiber shower towel
- A leggings and a T-shirt for sleeping
- A hat and a pair of gloves
- 1 liter bottle and a filter bottle each
- The Swiss army knife (of course)
- 2 external batteries and a solar panel fixed on the bag to recharge phones and cameras (not used because we could charge our devices in all the huts!)
- 1 mini first aid kit
- All our photo equipment (1 camera, 4 lenses, tripod, osmo pocket)
- Some small snacks for the first day
The result? We both had less than 10 kg on our backs (7 kg for me and 9 kg for Benoit). Well, I can tell you that it changes the situation compared to our via Alpina where we had more than 15kg on our backs each. 😉 Frankly, the huts of this tour are all very comfortable, we ate very well, and could regularly take a shower/wash our T-Shirt, so it’s really not worth to carrying unnecessary stuff.
How to get to the tour, where to park?
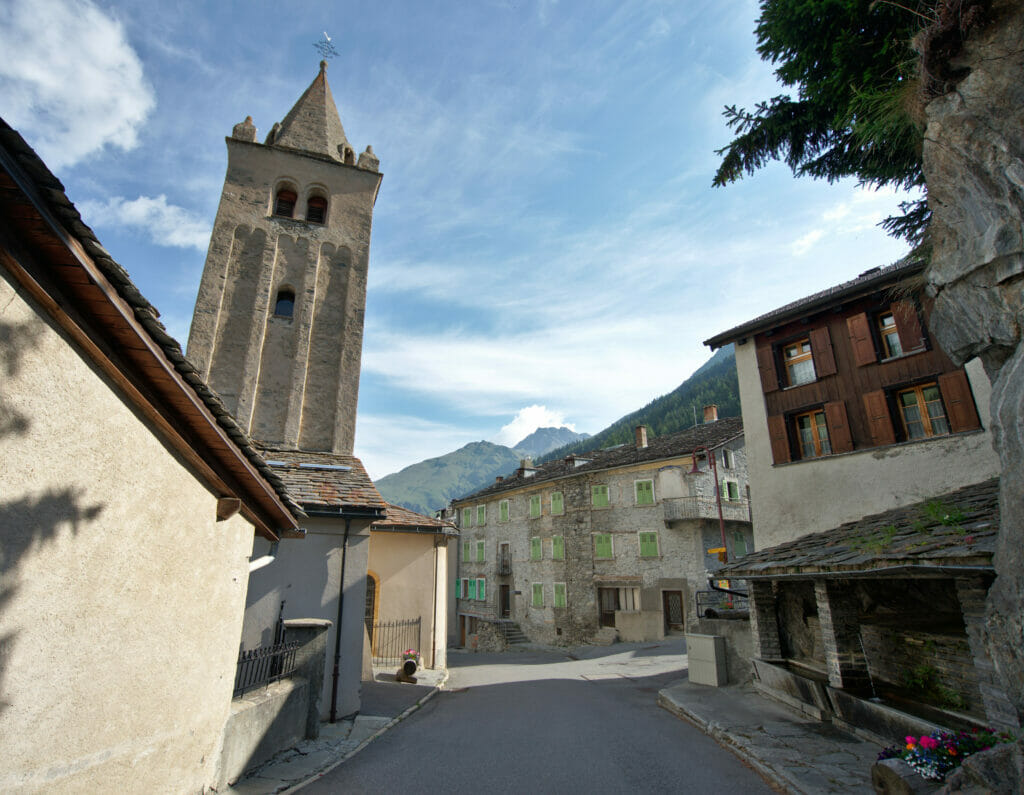
Several stages of the tour are accessible by public transport and by car, so it is possible to plan your itinerary according to the availability of the huts and to adapt your starting point.
The best places to start the tour des Combins would be (according to us)
- Bourg-Saint-Pierre: Accessible by bus from Martigny/Orsières and free parking in the village (near the municipal pool).
- Le col du Gd-St-Bernard: Accessible by road and by bus. Parking available.
- Le barrage de Mauvoisin: Access by road and public transport from Martigny / Le Châble. Parking available.
- La cabane de Brunet: Parking near the hut. Possibility to go up by shuttle from Fionnay during the summer period. More info about shuttle buses
- Saint-Rhémy: The easiest if you arrive from the Italian side. It is also possible to take a bus from the Gd-St-Bernard pass (2 buses per day, line 422)
For our part we chose to start the tour in Bourg-Saint-Pierre because it allowed us to have a small stage the first day and a small stage the last. From a logistical point of view (transport, bringing our dog to doggy daycare) it was easier for us.
Booking huts and hotels
If you plan to do the Tour des Combins, it is strongly advised to book your huts in advance. At the moment, it is not possible to book the whole tour at once and you have to book each night individually.
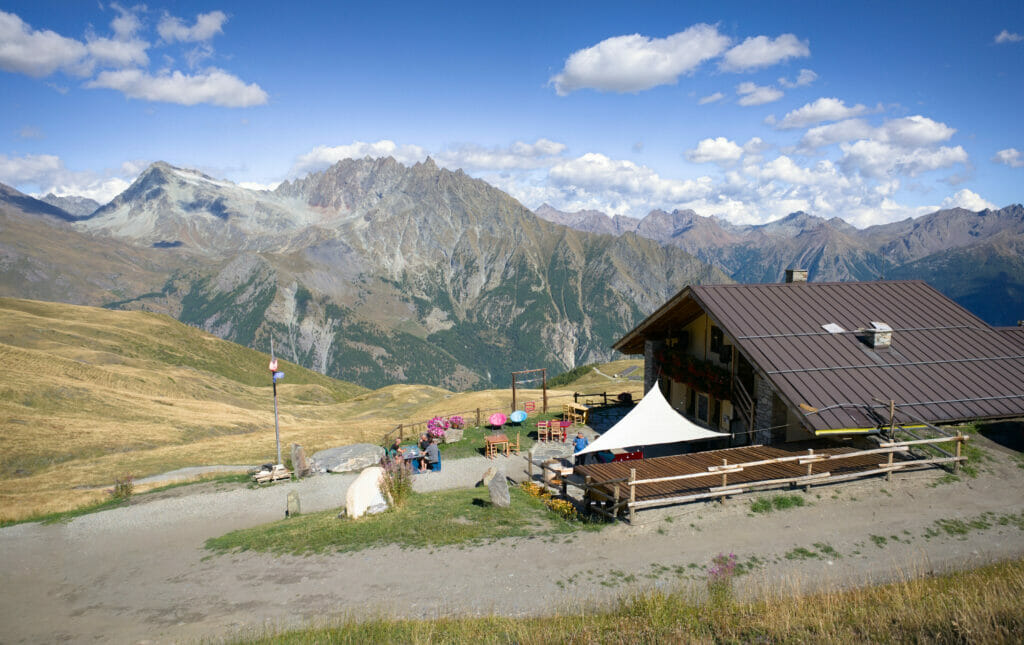
For all the huts/hotels in Switzerland, it is possible to use online reservation systems that display the availability in real time. It is really very practical because it allows you to plan your tour according to the availability of the huts. On the Italian side you have to call the Suisse Hotel or Champillon to make the reservation (or by Whatsapp for the latter). We have put the links and numbers for each accommodation in the description of the stages above.
Good to know: The mountain huts are usually full on Saturday night. Please check the availability of all the huts before making reservations.
The difficulties of the tour des Combins
I’ll be honest, before our departure I had done some research to make sure that the tour was not too difficult for me. Unfortunately, I had found very little information about it, even if I had quickly seen that there were no technical or particularly vertiginous passages. Used to hiking, I’m what you might call an “ex” freaked out by heights in reconversion. I put “ex” in quotation marks because I have progressed a lot, but let’s just say that ladders and cliff side passages are still a challenge for me. On the tour Dents Blanches, I was in tears at the top of the pas au Taureau… 😉
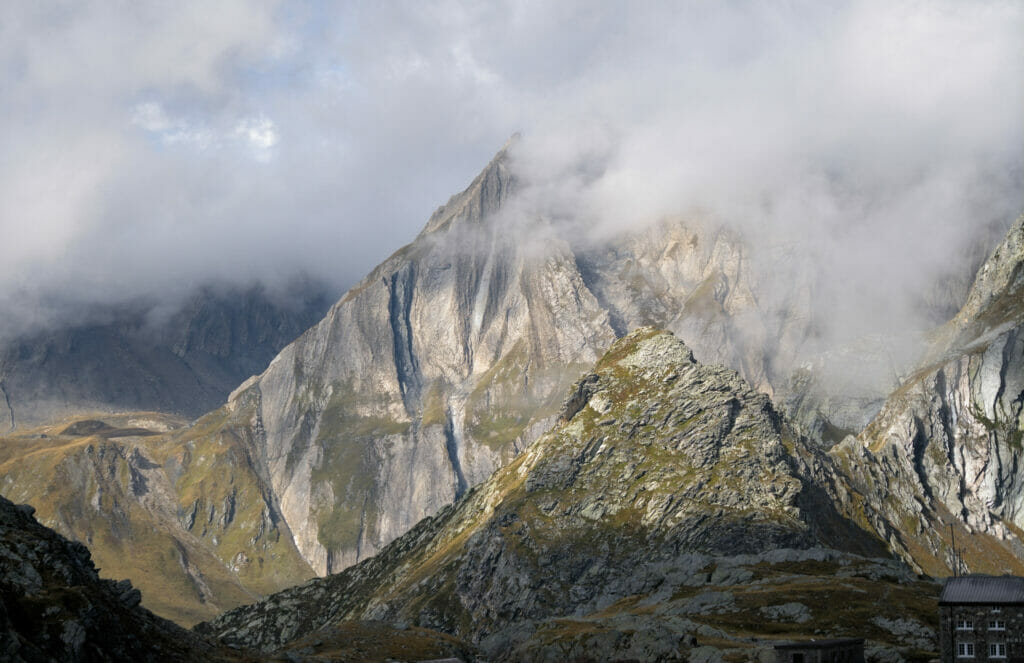
So let me reassure you right away, I didn’t shed any tears on the tour des Combins! 🙂 In fact, I would go even further and say that I was almost surprised by how easy the tour actually is. The landscapes are (very) alpine and yet the trail is really very accessible. The most difficult part of our week was without a doubt the climb to the Grande Chenalette (pointe de Drône), a section that is not officially part of the tour and therefore 100% avoidable by people prone to vertigo.
On the official part of the route, I would say that the most difficult parts are
- The way up to col des Otanes (from Panossière). No technical passage and not particularly exposed to the void either, the end is however quite steep. It’s on the cardio level that is the hardest 😉
- The first 10 meters down from the Tsofeirë pass (between Mauvoisin and Chanrion). The very first part of the descent is very steep and requires to be careful. But I reassure you that it is very short and the path is well made. I personally had no problem there, but other hikers who were doing the tour mentioned it so I put it here.
- The relatively long distance on the Chanrion-Champillon stage. This stage can’t really be shortened. Technically speaking, this stage is without any difficulty. We’ll just say that 23km with a lot of difference in altitude makes your thighs a bit stiff if you’re not used to these distances.

How much does it cost?
The budget for hiking obviously depends on a lot of factors (choice of accommodation, meals, extra drinks, picnics, etc.)
If like us you do the hut tour we advise you to count with something like 100 CHF / € per day and per person to be safe. Overnight stays (including dinner and breakfast) cost on average 65-80 CHF. To this you have to add the price of drinks, possible showers and picnics/snacks.
For our part we made the choice to take the picnics of the huts and not to load ourselves in snack. Over the 7 days we took 4 each. (the picnics are in general so copious that we had systematically leftovers what allowed us to take only one picnic the following day instead of 2)
Important: Although it is possible to pay by card/Twint in some huts, others only accept cash. For a hiking tour, it is best to bring enough cash.
Hiking the tour des Combins with a dog? With children?
On Instagram many of you noticed that for once our “team” was not complete. Indeed, for this hike we decided to leave Winchy (our dog) back home (with someone of course). The reason? Dogs are, in general, not allowed in the mountain huts.
However, the tour itself is quite feasible for a dog. No ladder, no technical passage and no area is forbiding dogs. If your dog is used to walking, this route will not be a problem.
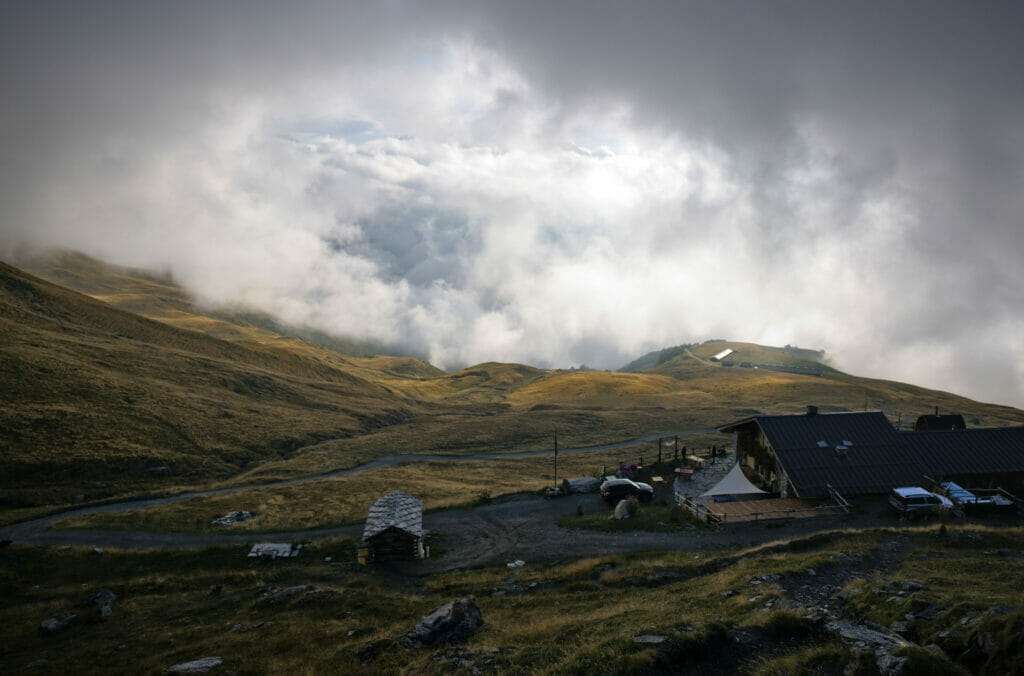
For the accommodation, it is possible to do it with a tent (respecting the prohibitions in the reserves of course). Some huts (Mille for example) allow campers to settle next to the hut for a small financial contribution for the use of the sanitary facilities (usually 10 CHF). The refuge of Champillon told us that they accept dogs if you announce it in advance (they make sure to provide a private room in this case) and dogs are allowed at the auberge du col du Grand-Saint-Bernard with a supplement (we are talking about the auberge and not the hospice).
If you are planning a tour with a dog, the best thing to do is to call the different huts to ask if you can stay near the hut for the night with your tent. Some of them accept with pleasure and even propose to the hikers to come and eat the half-board.
We also received several times the question if this tour was suitable for children… Hmmm… we are far from being experts on the subject I would like to tell you! But spontaneously I would like to answer: it depends! The little ones? No, not really… It’s too long and the dormitories of the refuges are certainly not ideal.
For the slightly older ones, I’d say it depends on the hiking habit. We came across a blog where a family did the tour in 4 days with a 9 year old (up to 30km per day)! Initially, I would not have said that it was possible (not sure that on my side I could have done it)… 😉 So I think that if you are used to it, it is feasible (again, no particularly dangerous passage) but if it is your first experience of trek with your family, I think that it is perhaps a little long 😉
That’s it for today! We hope you enjoyed this article and especially that it will help you to prepare your hike if you decide to go on the Combins tour. 🙂 If you still have questions or if you have suggestions for alternative routes / comments on our route, don’t hesitate to leave us a comment below.
We say to you very quickly for new articles of rando in Switzerland (or elsewhere 😉 )
Pin it
Note: This tour was realized in collaboration with the regions Pays du Saint-Bernard, Verbier and The Aosta Valley. We were paid to do this tour but we were free to choose our itinerary and to present it to you in this article. The whole trip was organized and booked by us and no hut was informed of our coming.

Thank you so much for making such a detailed description! I am a solo female traveler very experienced and accustomed to long treks (I am a wilderness guide here in the USA) considering doing this trek or the TMB.
Questions:
I assume wild camping rules are similar to elsewhere: set up after sunset, leave at sunrise, leave no trace?
Will it be a problem if I only speak English? I’m also fluent in Spanish, but that’s not useful here! Especially traveling solo, I’ll want to know if my lack of French or Italian will be a significant issue.
Finally, would you lean toward recommending TMB or TDC for me?
Thank you – gracias – grazie – merci!
Hey Aimee,
Glad you found these infos useful 😉
To answer you questions:
– You’re right about wild camping rules 😉
– I don’t think your lack of french/italian will be a significant issue… and in any case, google translate can always come to your rescue 😉
– and finally, TMB vs TDC… for me there is no doubt and I would recommend TDC. The main problem with TMB is that it’s too crowded (more than 70’000 per season) and that’s not what I’m looking for when I do this kind of hike. You could also check the tour du St-Bernard that has a stage in common with the TMB and that is also really nice –> https://www.novo-monde.com/en/saint-bernard-hike/
Thanks for your response! Yes, I am always looking for solitude in the wilderness, and do a lot of solo backpacking trips. Crowds are not my thing, but I am thinking for my first trek in a foreign country without speaking the language, and being solo, I might end up doing the TMB. Thanks again for your great trail guides!
Thanks so much for putting this blog together! I’m also planning on hiking the TDC solo later this summer, but wasn’t feeling confident about being able to book everything myself until I read this.
Are you able to provide any more detail about the alternate route from Rifugio Champillon to Col St Bernard, bypassing St Rhemy? Is this commonly done and is it any more technically challenging?
Thanks!
Hey Gillian,
Unfortunately We didn’t do this part so I can’t really give you much more details. But from what I saw on the map I don’t think it’s anything special as on the swiss side it’s indicated as a normal red/white mountain trail. Honestly I wouldn’t hesitate and go for it.
Hope it helps
Hi! Do you need to bring your own towels to the refugees or can you use one there (of hire one). Thanks so much for the detailed day-by-day description. Very useful! 🙂
Hi Elza,
No you need to bring your own towels 🙂
Hi! Based on your detailed initiary my friends and I decided to hike the Tour Des Combins last summer. It was amazing! Do you have any recommendations of similar hikes in Switzerland or another country? Would love to go another hike which is sort of similar to this one 🙂
Hi Elza,
Ohh glad to read you enjoyed this one! It’s really a stunning one!
I would say that the tour du Saint-Bernard is a really nice one too (it overlaps with tour des Combins for one day between Bourg-Saint-Pierre and Col du Grand Saint Bernard though). Otherwise, one we’ve really liked as well is the Tour des Dents Blanches (you’ll find a post on the blog as well) which is between Switzerland and France. It’s slightly more challenging (ladders at some point) but really beautiful as well (and you can add the extension to the Haute Cime by staying 2 nights in Susanfe! highly recommended!)
Last that comes to my mind would be tour du Val d’Hérens. We have a post about it but pictures are quite old (and bad to be honest haha) but the region is really beautiful (it’s where we’re living now). Hike goes from Thyon to Nax in about 4-5 days. I’m pretty sure we’ll update this blog post next summer since we’re planing to do it again 🙂
Hi Fabienne and Benoit,
Thank you for such an elaborate report on TDC.
After doing several mountain circuits (Dolomites, Silvretta massif and an extended version of Tour des Glaciers de la Vanoise with 90k and 5900 ascending meters) my friend and I are considering doing the TDC. The distance in stage 4 frightens us a bit, but if I read well there is a (relatively) flat 7k section which makes it more durable?
I’m trying to compare your data to recordings of my own previous hikes so as to find out if TDC is within our possibilities. Therefore, can you clarify us if your mentioned hiking times include stops along the way or not? In otherwords: are those times registered from leaving one hut untill reaching thenext, or did you pause your timer every time you stopped for resting?
Also, if you stick to the official itinerary without doing any “blue” trails, cane the hike be done on trail running shoes? Or would you advise normal stiff “bottines”?
Thanks for clarifying,
Enjoy your further hikes!
Hi Steven,
Thanks a lot for your message.
Yes, you’re right, stage 4 is quite long, but it’s also on of the easiest one. The flat section is actually perfectly flat because it follows a former water channel that was used for irrigation, thus striclty no elevation change on this whole strech. 😉 For that day, we decided to leave quite early (6.30 am) and made one more longer break en route and it turned out to be perfectly fine (I am by no mean an extremely well trained athlete… I am used to hiking, but I am clearly not the fittest person haha).
As for the hiking time, this is an estimate where we take the total time but take out the longer lunch break. Smaller water breaks or for taking a pictures are included in the total time. But usually, counting lunch break, the total time from hut to hut would approx be the “indicated time + 1 hour”.
For the shoes, I think it’s really a matter of personal preference and what you’re used to. The trails are really well maintened and marked and terrain is not particularily alpine (some short parts yes, but for sure doable with trail running shoes).
Personnally, I prefer to wear higher boots when I am carrying a heavier backpack and hiking for multiple days… But when I think back to each individual stage, there is none where I’d feel high boots are required if I were to do these hikes on day trips.
We wish you a wonderful hike! I can really highly recommend this itinerary, it’s been one of our favorite ones so far! 🙂
Hi Fabienne and Benoit,
Thank you for your post. This is very helpful. I’m very glad to come across your post before doing my trip this summer. I’ll be doing a half loop of the TMB. Then a week after I will be doing TDC. I’m a solo female hiker and this is my first time doing hut to hut in the Apls. I chose the hikes that are not super technical but challenging. I think the distance would be challenging enought for me, but doable. I’m a bit anxious about getting lost in TDC since it is less hikers on the trail. What is your recommendation? Is it easy to get lost?
Thanks so much,
Nikki
Hi Nikki,
Thanks for your message! Honestly, don’t worry at all! The trail is really well marked and signposted. There are specific TDC markings and they are almost impossible to miss. My advice would maybe be to download the GPX and make sure to have it available offline on your phone. And don’t worry, this trail is WAY less busy than TMB (which is a great thing is you ask me) but there are still quite a few people hiking this route every day, so you’ll never be completely alone during an entire day. 😉
Have fun on this beautiful route!
Thank you Fabienne and Benoit. I just read this blog carefully, and will continue studying it, together with my Knife Edge book-Trekking TDC from Andrew McCluggage, to plan my TDC trip this year.
Two questions: Which month did you do this Trip? From the photos, looks like end of August or Beginning of September, all the highland grass turned brown but not the beautiful silver spruce tree. I noticed that the mountain huts open until second week of September.
I read that you only carry one T shirt and two hiking socks for daily change. can I hand wash my day used hiking socks and T shirt in those refuges? Also, those hotels you stayed halfway, do they provide express Laundry service like the hotels in Courmayeur for TMB hikers? Thank you so much.
Hey Yuanfei,
1. Yeah exactly, we did the tour at the beginning of September and the hut are still opened at that time
2. Yeah you can probably wash them with water (if you take some soap with you) but no laundry service is provided anywhere (TMB is a tour with so many people that you can start to find this kind of services on the itinerary but don’t expect anything like this on those less traveled treks)
Thank you so much Benoit for the information. In your video, I also saw a edelweiss picture. my last TMB trekking I didn’t find any edelweiss flowers. I figured out that they grow near the rocky areas rather than grasslands. Wish I would find them next time in TDC.