Almost 1 month since we arrived on the island of Gran Canaria and, as often when we arrive in a new destination, we always start by looking at the hiking options in the area.
We already knew the neighbouring island of Tenerife well and therefore knew that Gran Canaria would also offer us some magnificent landscapes to stretch our legs.
The Way of St. James of Gran Canaria
The Pilgrim's Way to Santiago is a rather mythical hiking trail. Pilgrims travel all over Europe to Santiago de Compostela in Spain. But did you know that there is a miniature version of this trail in Gran Canaria?
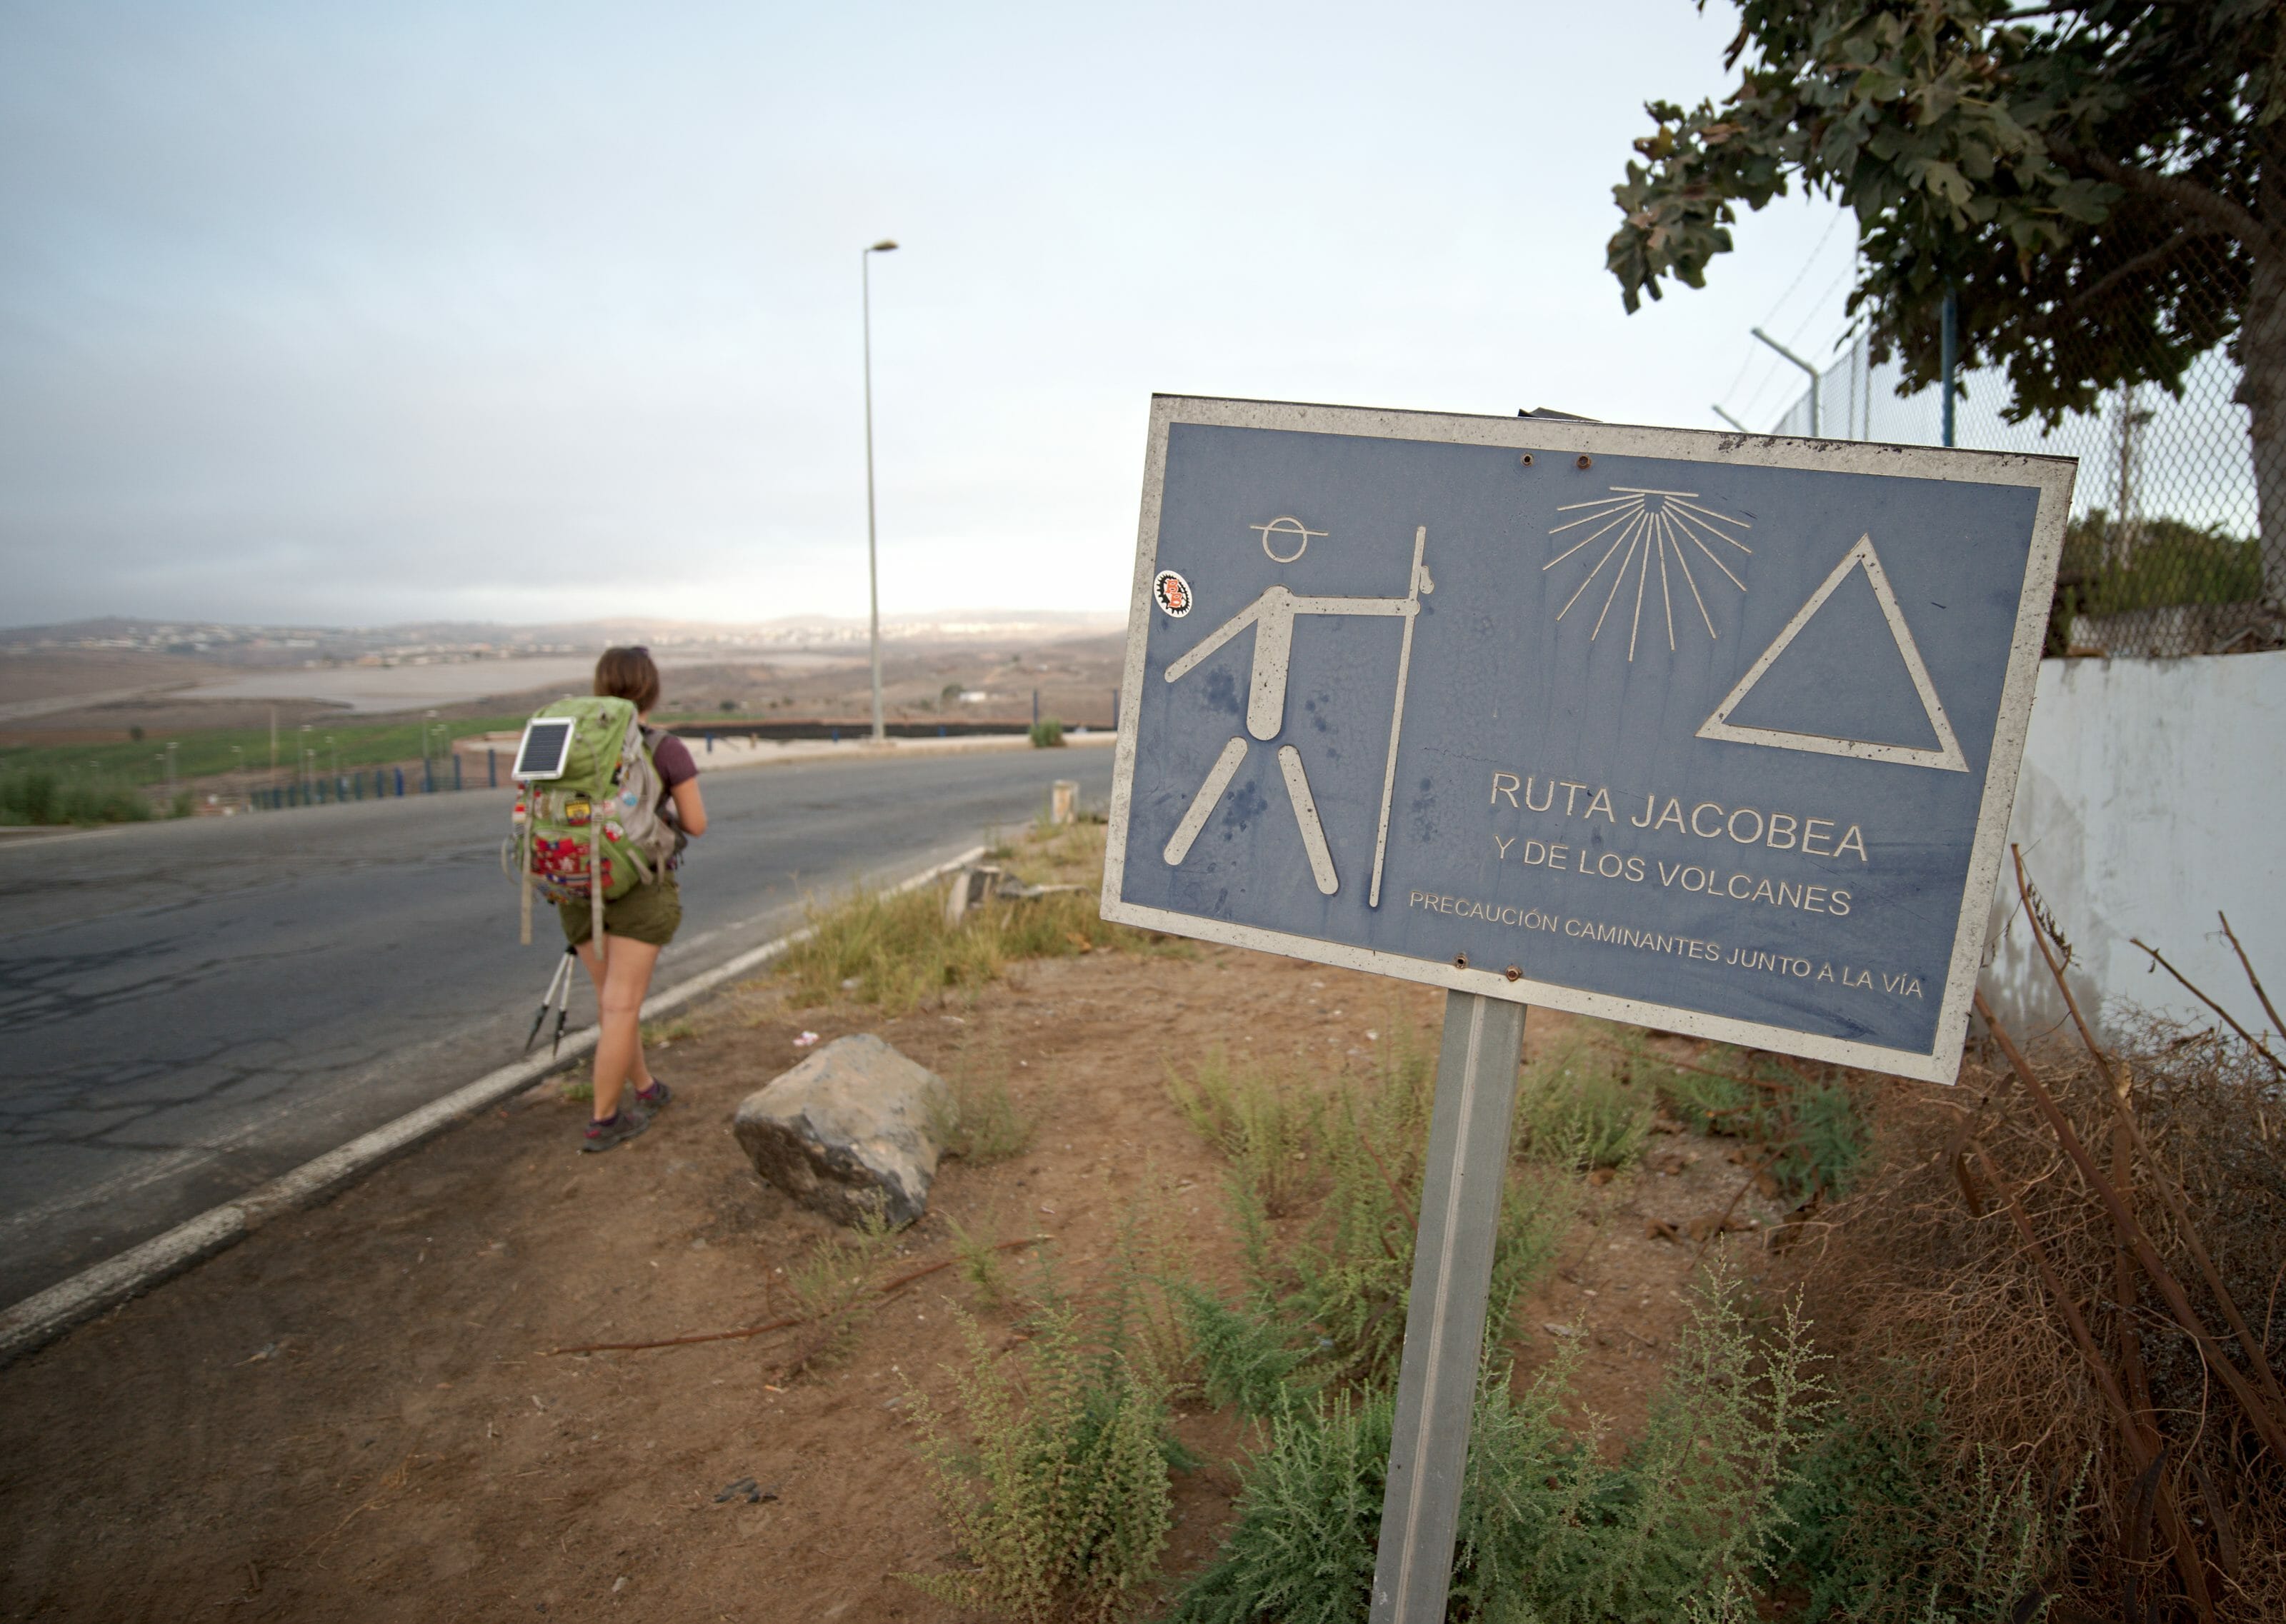
No? Well, now you do! 
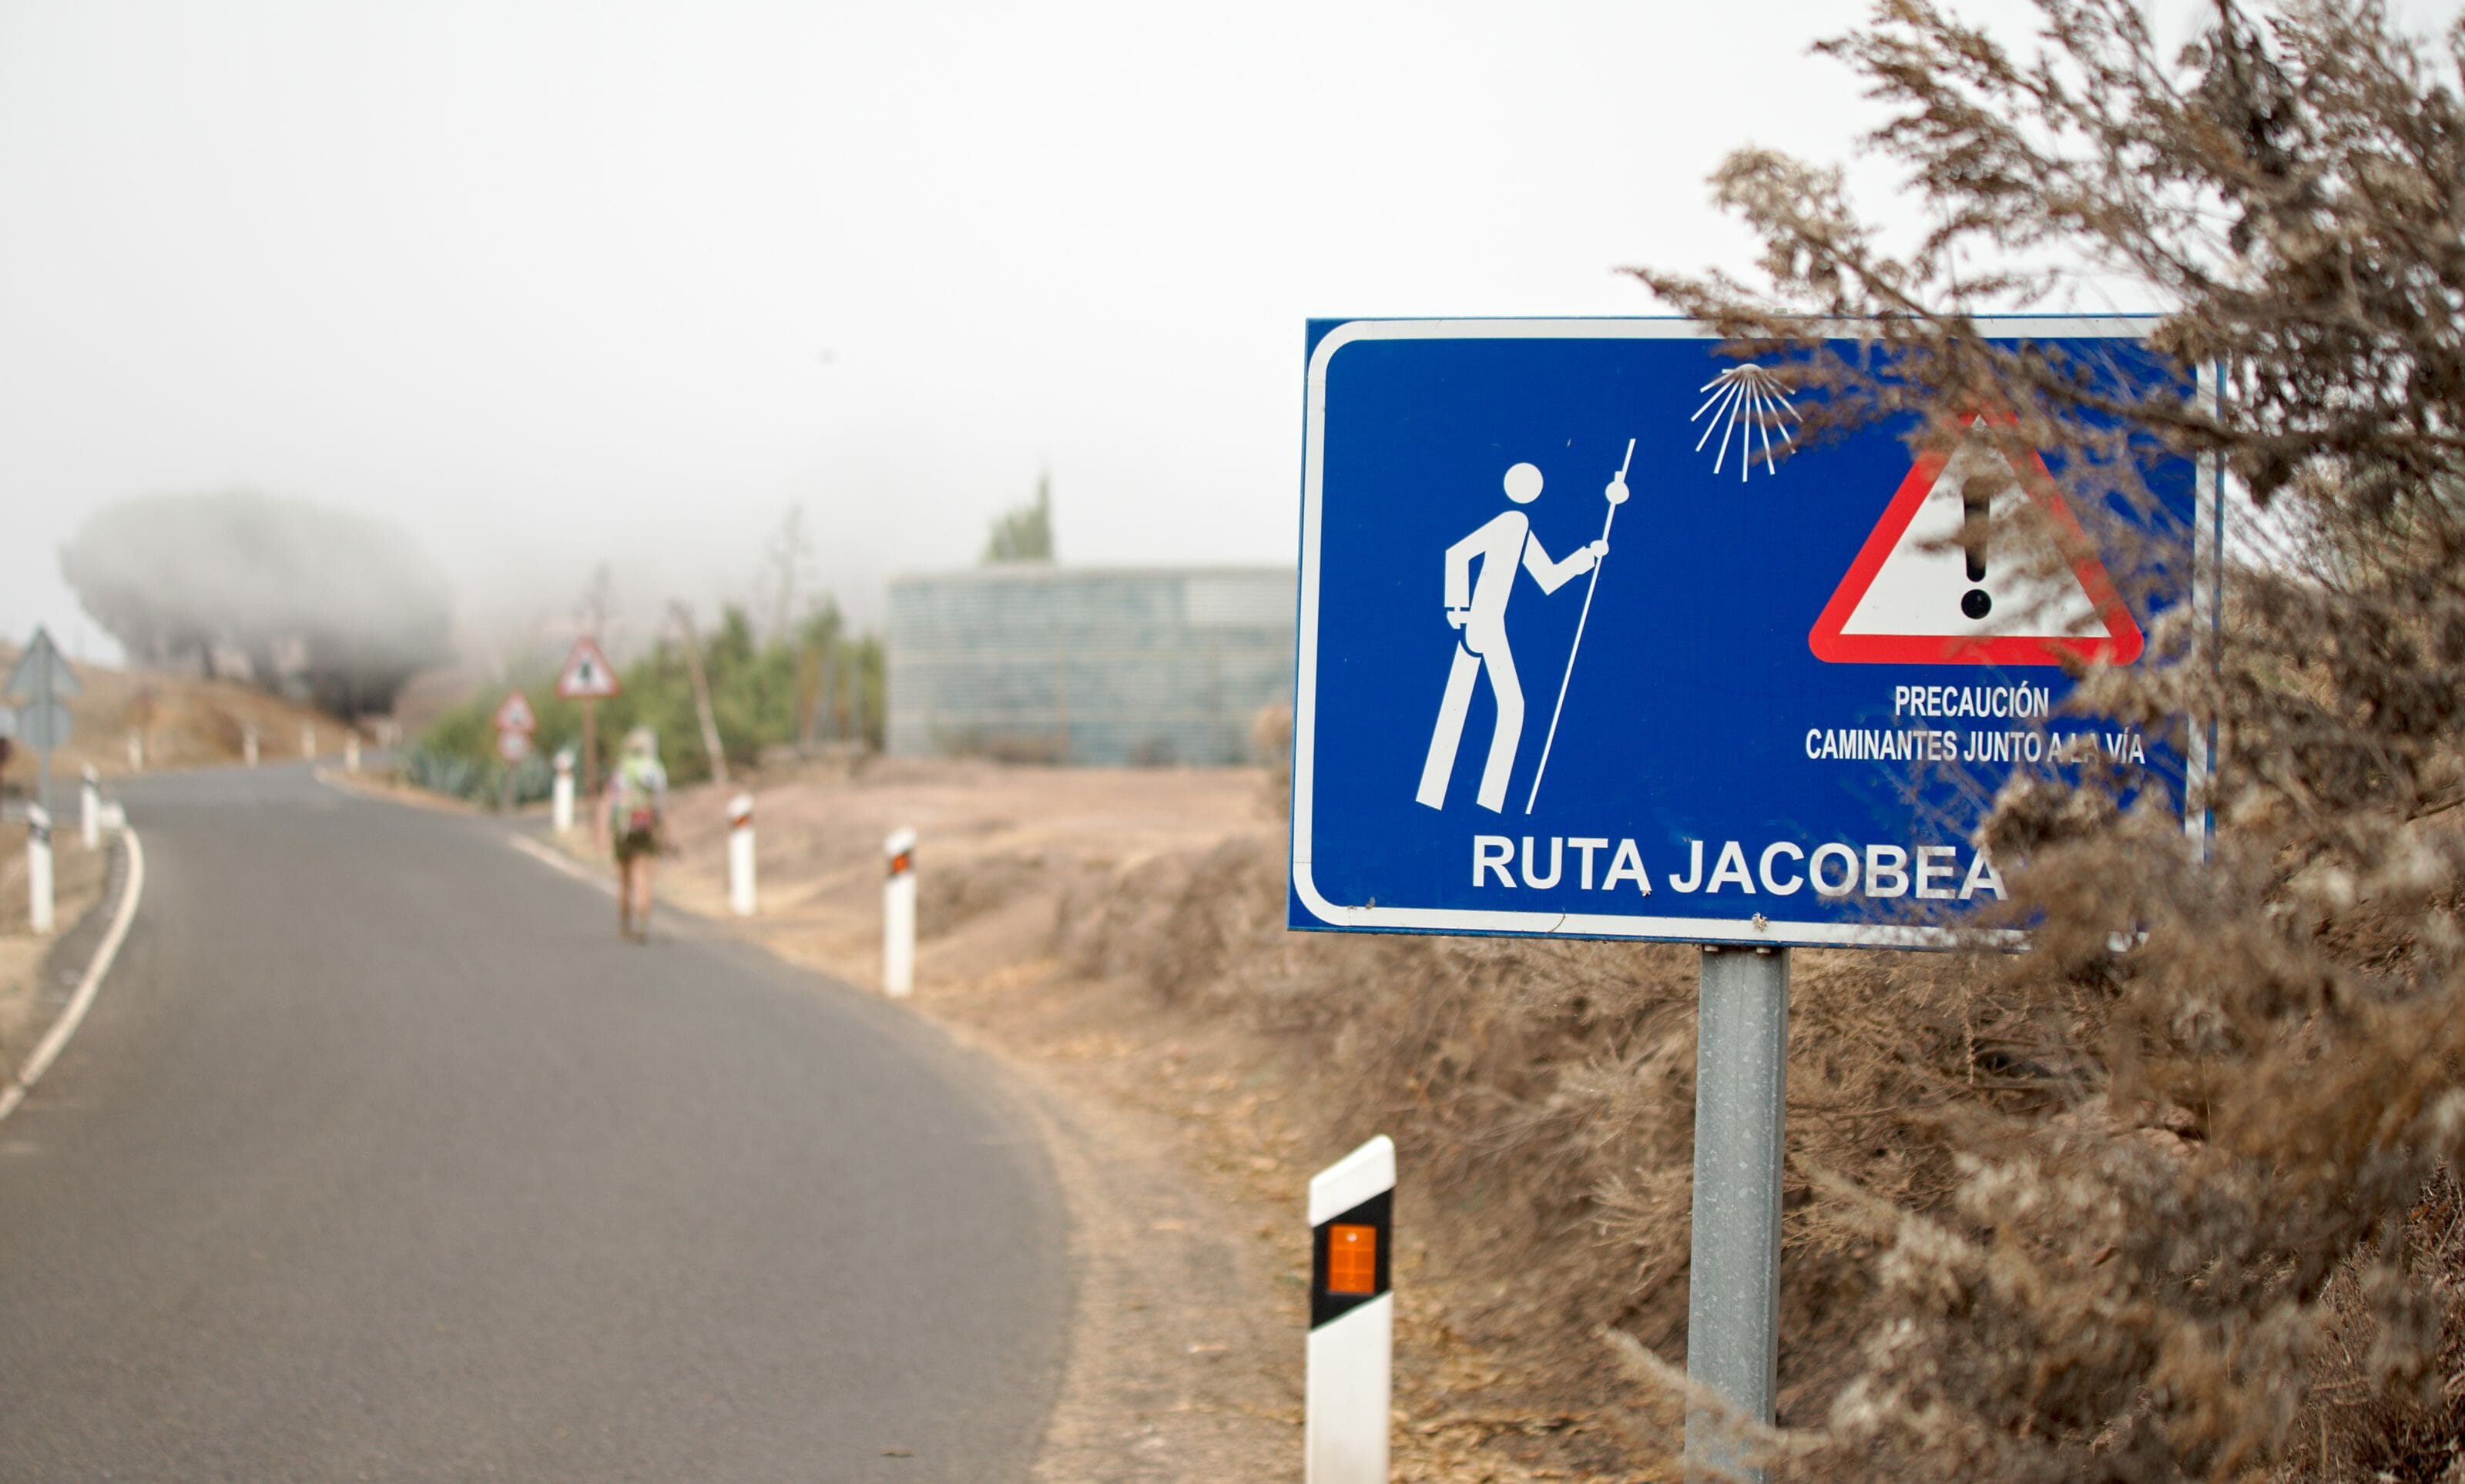
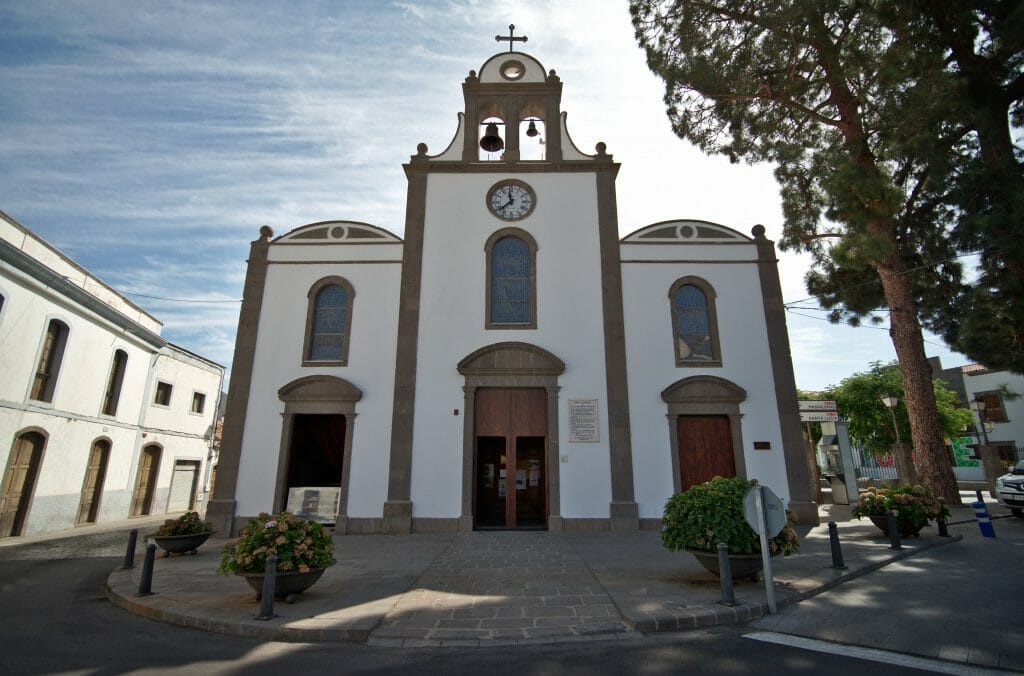
We are not 200% sure that we have understood everything, but the reason why there is a Way of St. James on Gran Canaria comes from the fact that in 1965, the Pope gave Gardal a papal bull (thus placing it on the same level as Santiago de Compostela). And as in Tunte (San Bartolomé de Tirajana) there is another church dedicated to Santiago (there is his statue), it made sense to create an itinerary to join these two churches. The additional section to Maspalomas was later added as a scenic extension (because no, no traces of Santiago in the dunes).
Video of our hike in Gran Canaria
Before going on to the article, the story day by day and all the practical information, we suggest you take a look at this short video we did during the hike:
Day 0: The dunes of Maspalomas
The hike starting in Maspalomas, we thought we would come and spend the night there before our departure.
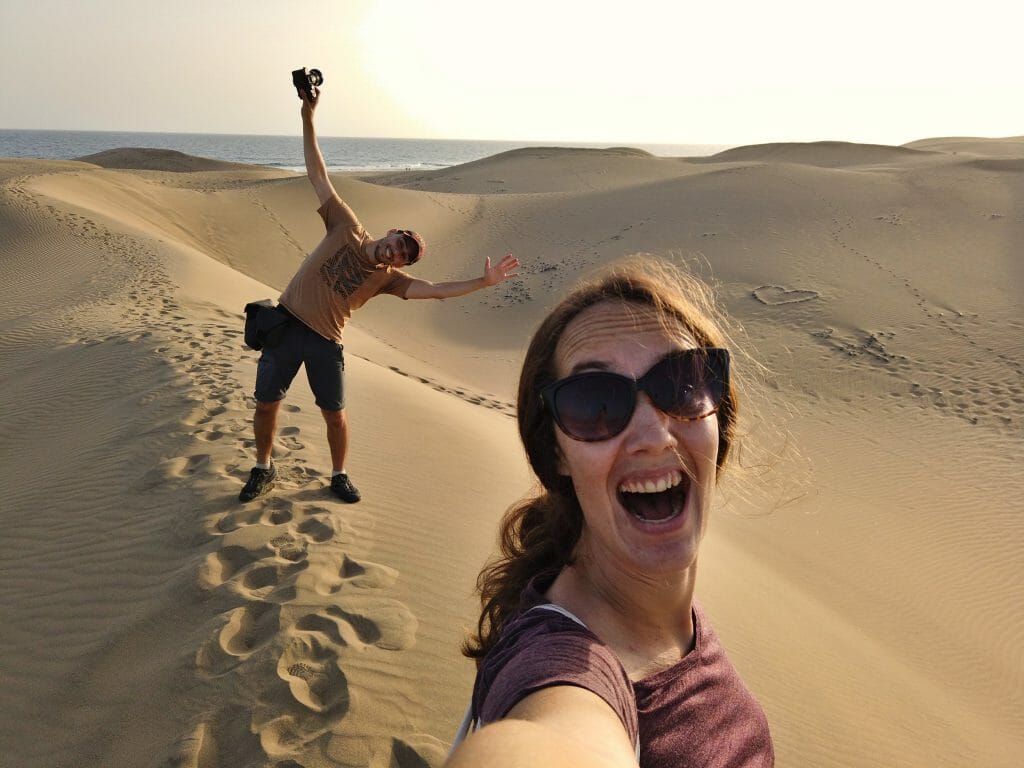
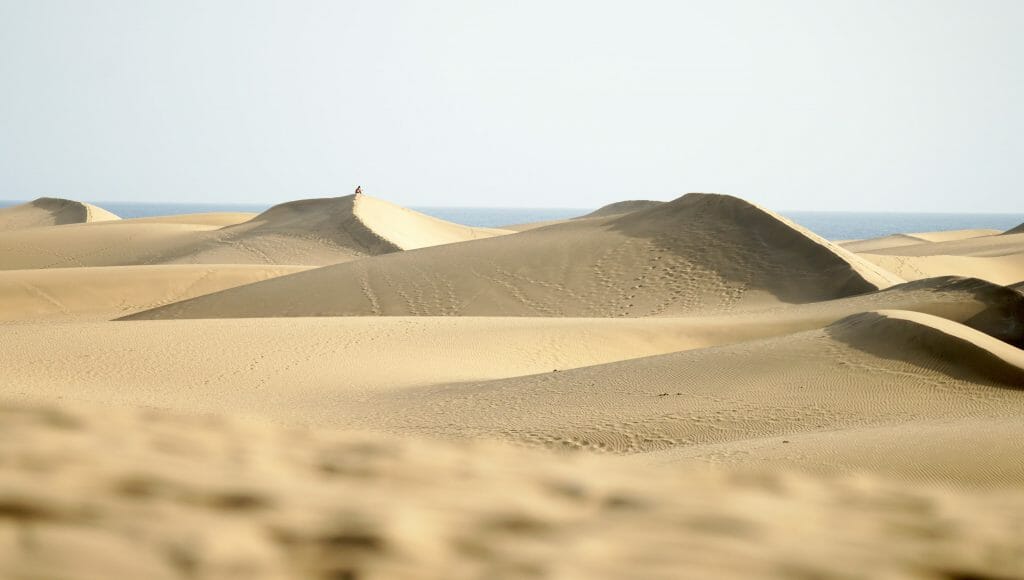
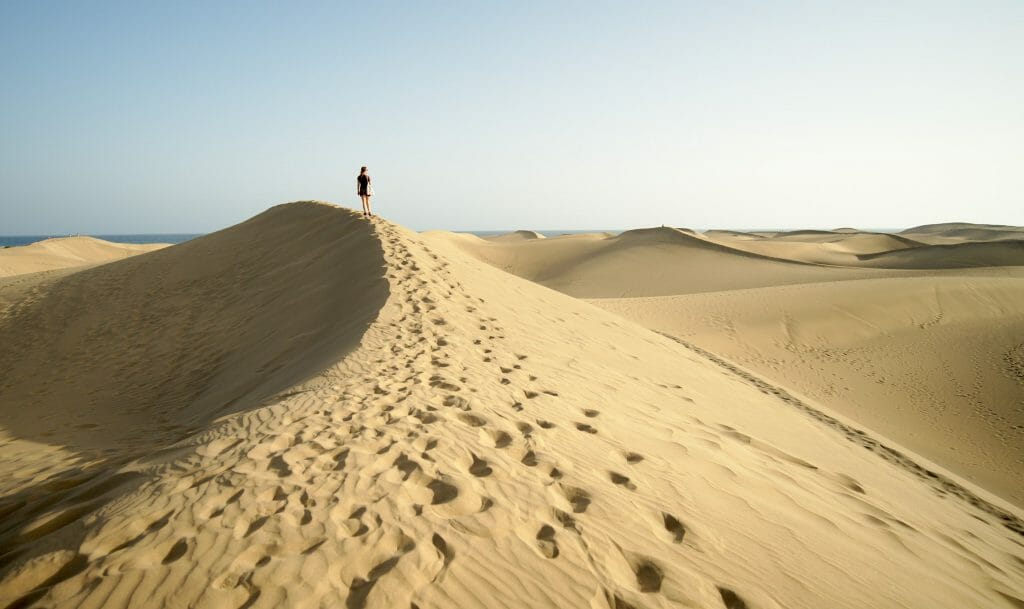
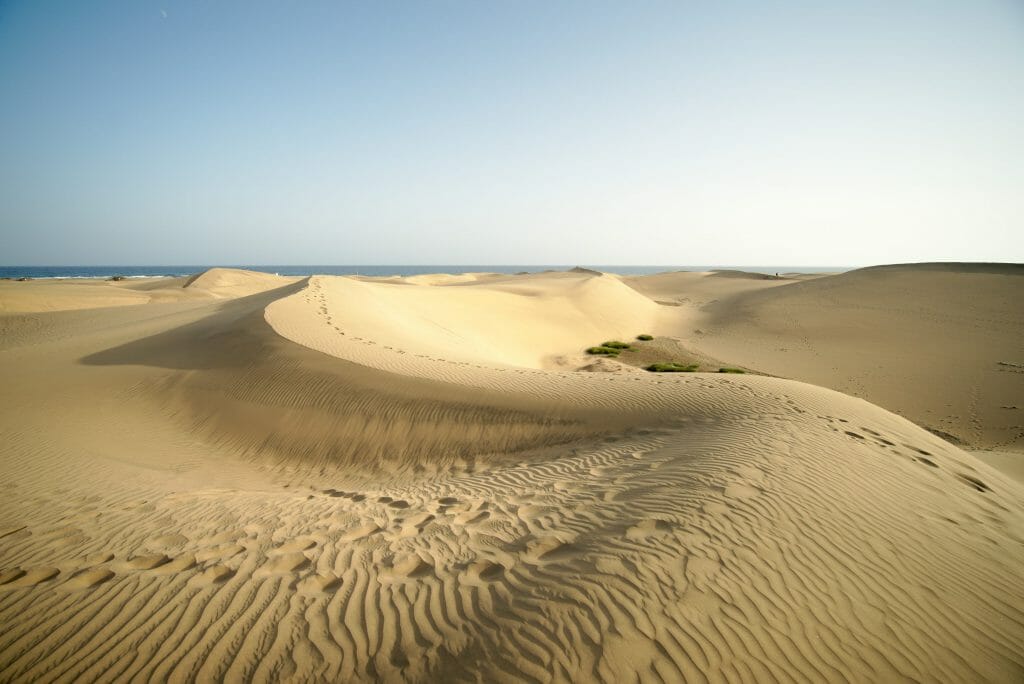
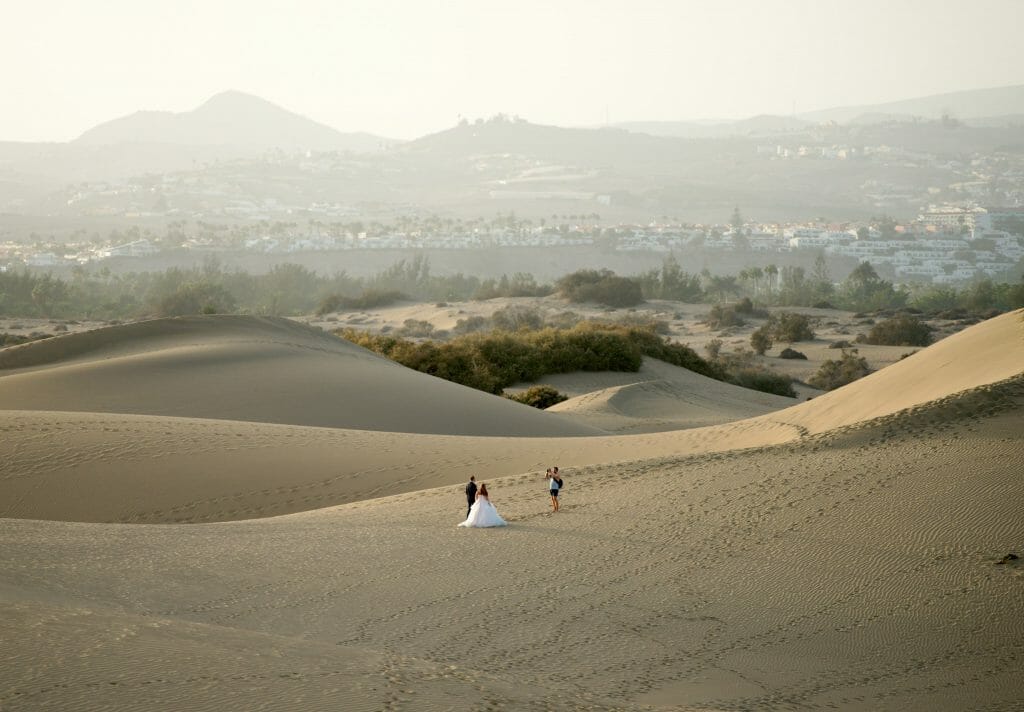
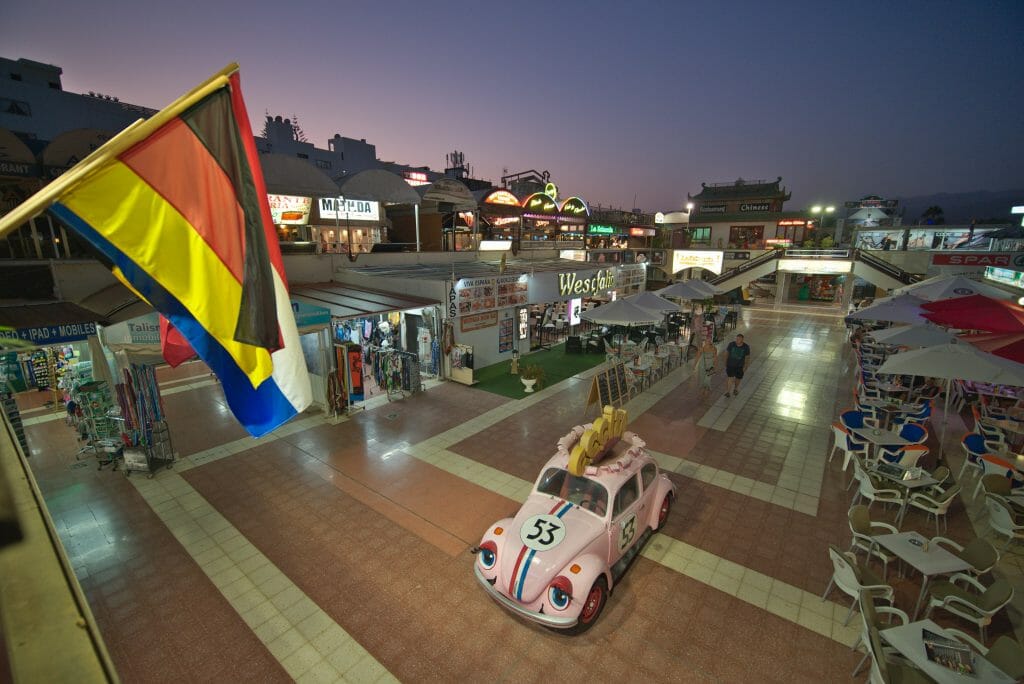
Okay, we admit that this choice was also motivated by the idea of coming to see the famous dunes of Maspalomas at sunset...;) Maspalomas is a seaside resort in the south of Grand Canaria. Very well known and popular, we will admit that we didn't really like it.
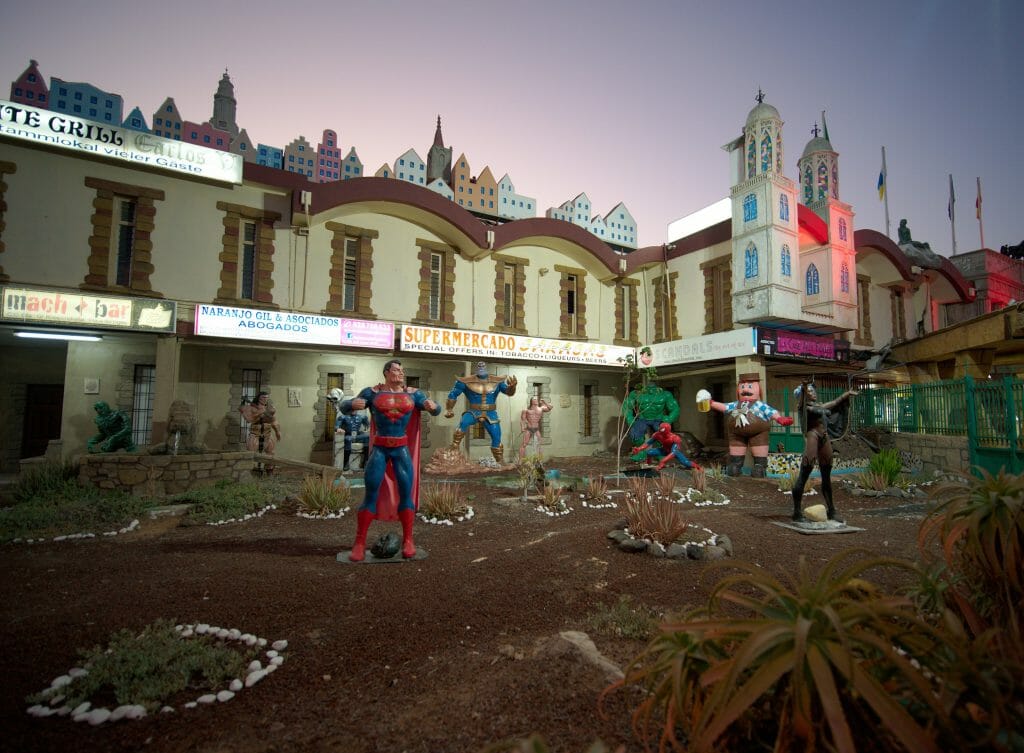
The dunes are certainly magnificent, but the rest of the resort clearly lacks a lot of everything we can think of in terms of Spanish charm and vibe. If you want our opinion, Maspalomas is more of a counter-example of what should be done in terms of tourism development... But hey, there needs to be something for all tastes as they say, but let's just say it wasn't ours.
It is very easy to get there from Las Palmas. As we live near the beach of Las Canteras, we took the bus N°30 from Santa Catalina. This bus is direct. The trip takes a good hour and the ticket costs €6.25.
If you leave from San Telmo station there are more buses. The number 30, but also the number 50. To find the schedules, the route function of Google Maps works perfectly.
Maspalomas also looked like this:
Since there must be about 12'000 hotels in Maspalomas, there is no lack of choice (no... there are not 12'000, but let's say there are almost more hotels than inhabitants, so don't worry). On the other hand we were very surprised to find that everything is quite expensive...
The south of the island is definitely more touristic and this is reflected in the hotels. (In the end, we will have taken a room at someone's house via airbnb. 43€ per night for a night which was "ok" but really nothing crazy.... In short, we recommend that you compare a little bit between Booking and apartment rental sites, but don't expect a crazy price-quality ratio.
To compare the prices on the island you can also use the map below. Use the filters and zoom function to refine your search:
Day 1: From Maspalomas to Ayagaures (more or less)
The hike
We had set the alarm clock early and left as soon as the day was up (ok don't worry... we're not super early birds, it's just that in summer this means 7:30 am in the Canaries 
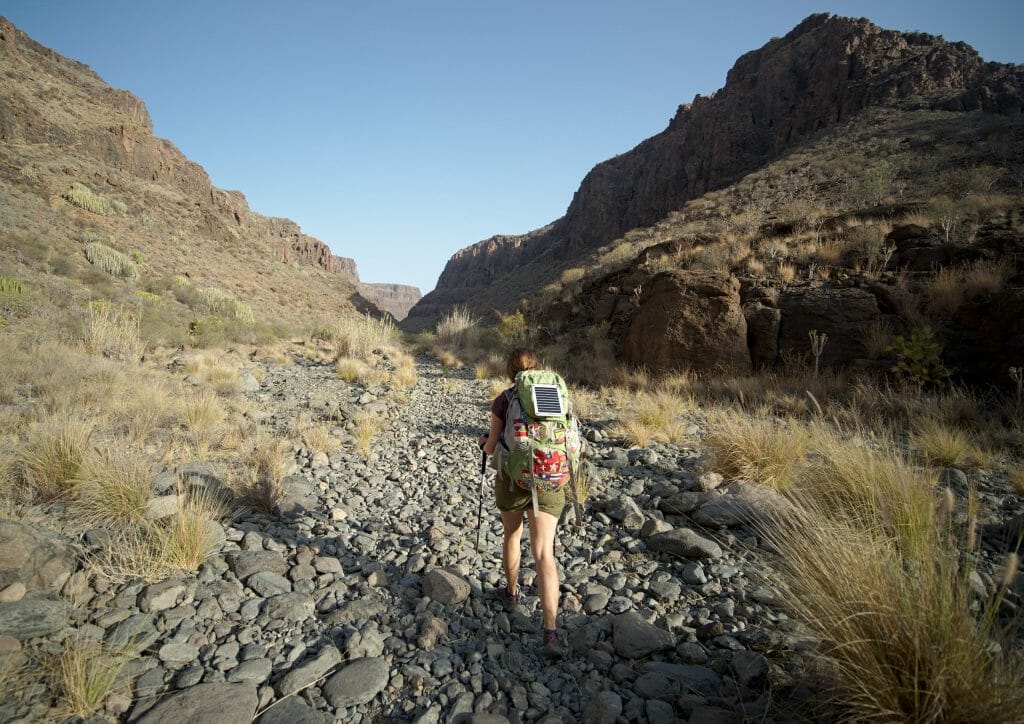
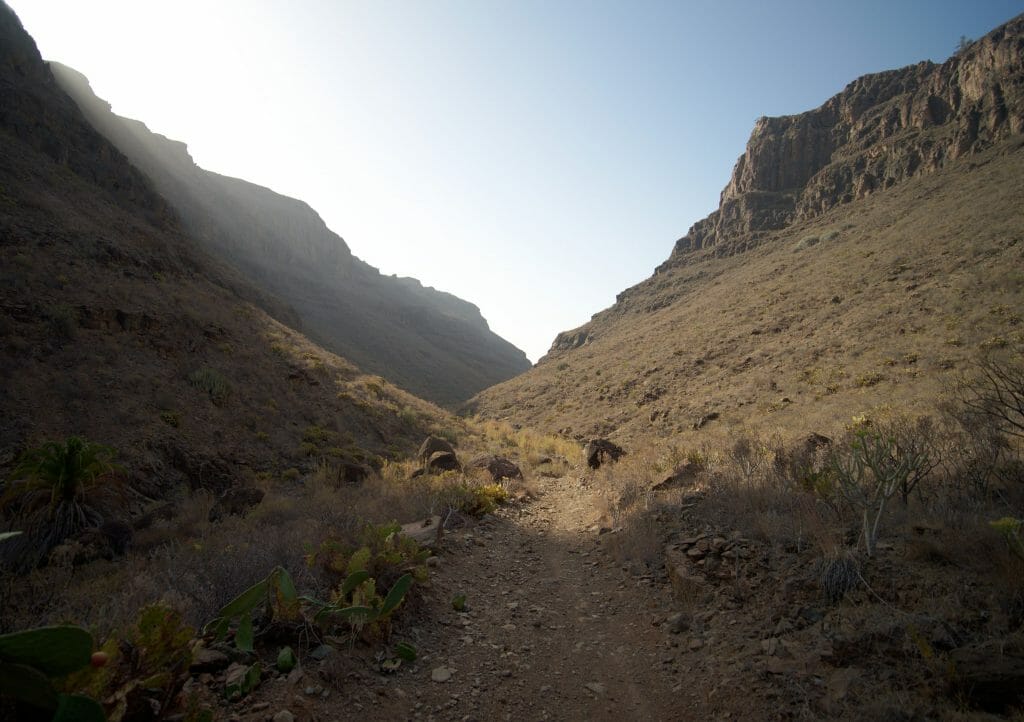
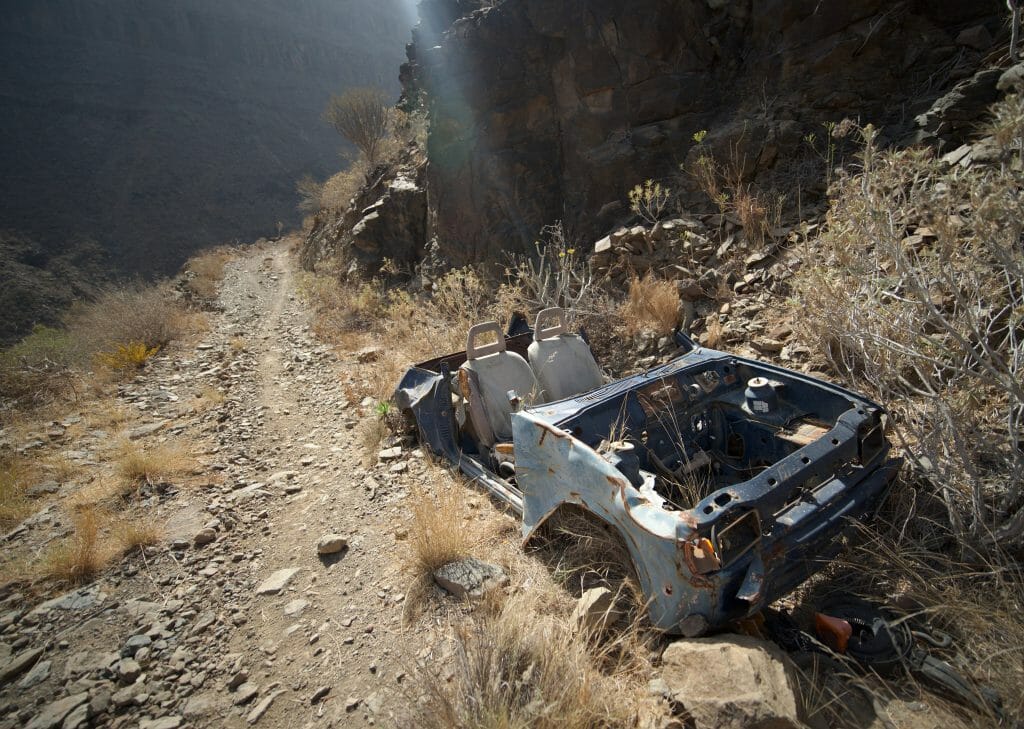
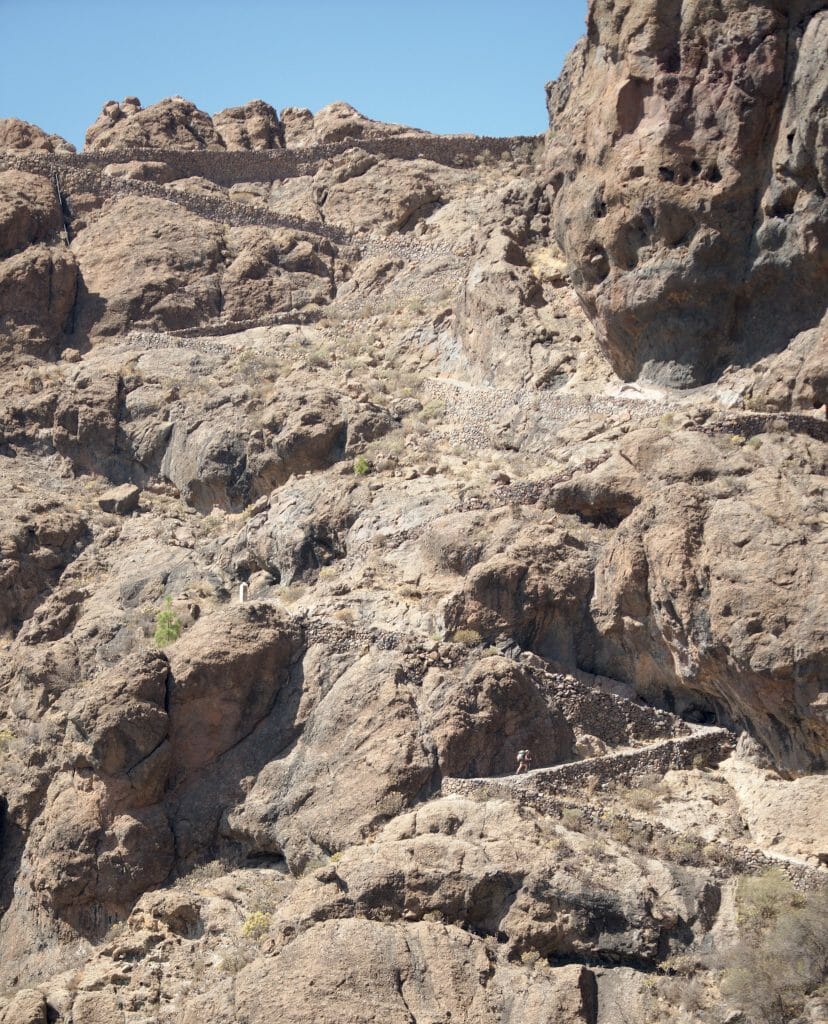
From kilometre 4.5 onwards the scenery changes radically! We leave the concrete roads and enter this kind of huge canyon that we will follow for a good 7 kilometers. The path is not easy, because it is very rocky, but what a pleasure it is to be totally alone in the world in these crazy landscapes.
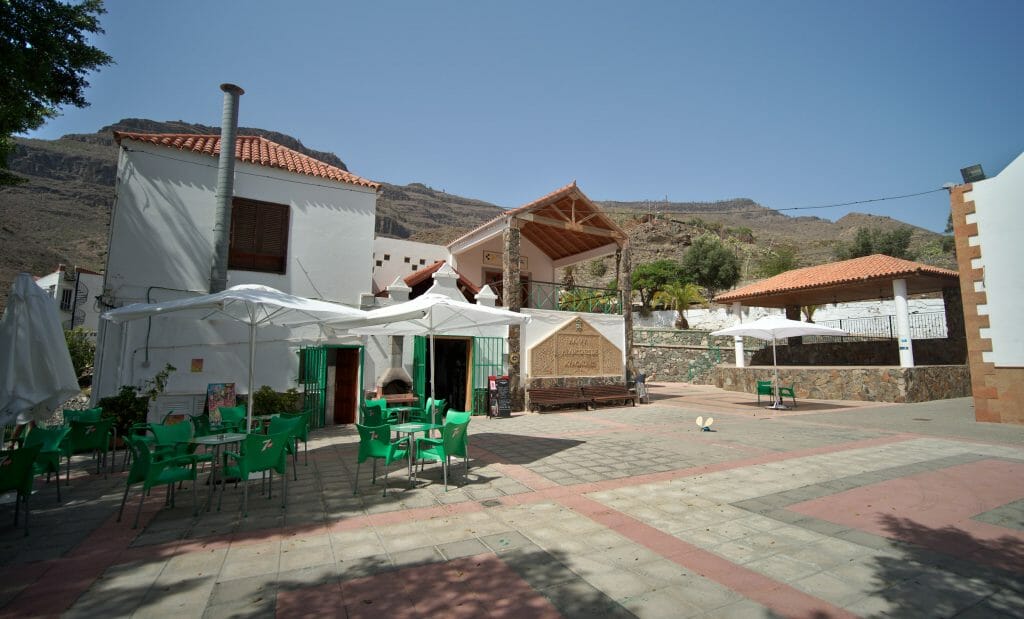
At the exit of the canyon, and after passing the first pass of the day, we went down to the small village called Ayagaures. We ate our picnic in the shade on the village square before having a little coffee for the road in the only bar of the area.
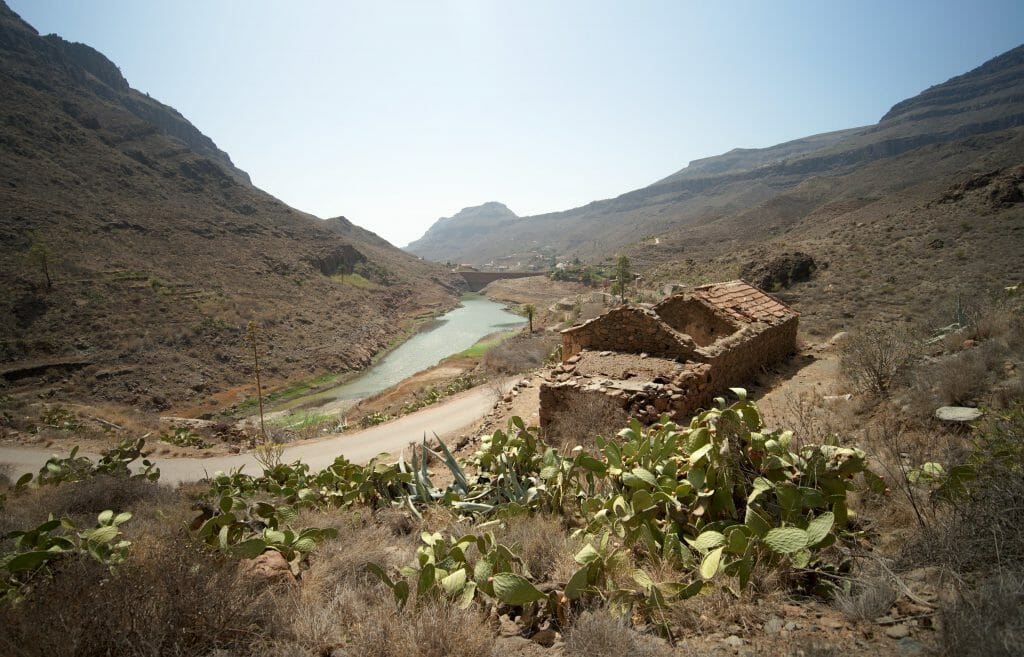
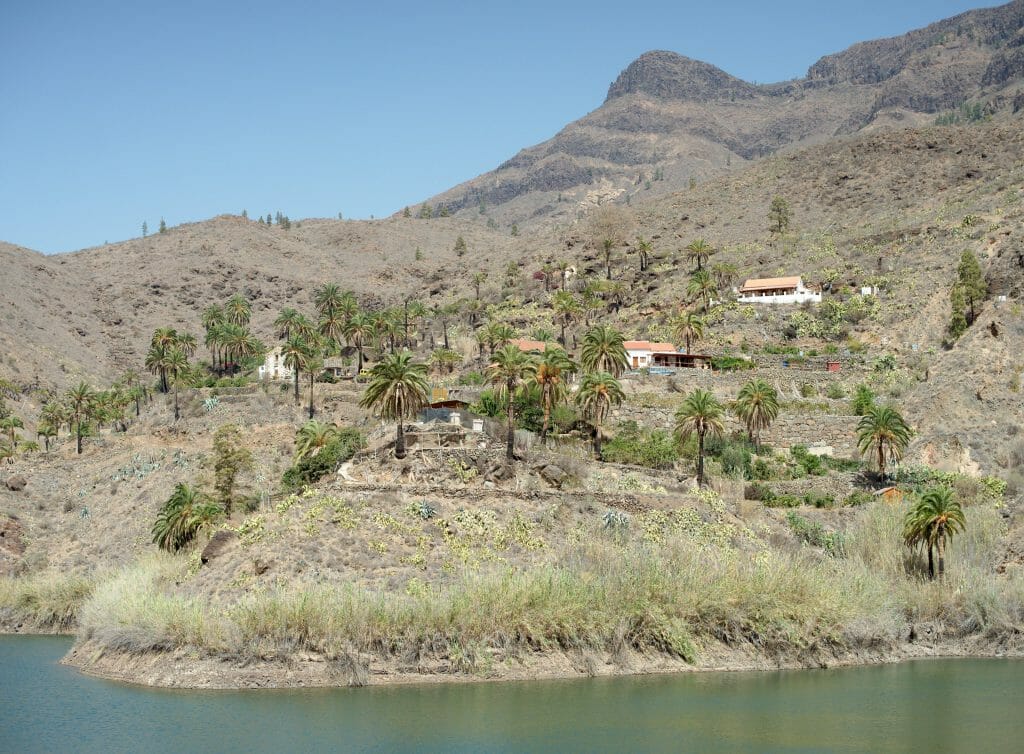
Leaving the village we then passed by 2 artificial lakes surrounded by greenery and beautiful villas. We are in the middle of the afternoon and the sun is starting to cause us serious problems. We sweat, we overheat... and we end up taking advantage of the slightest square centimeter of shade to try to cool the body temperature a little.
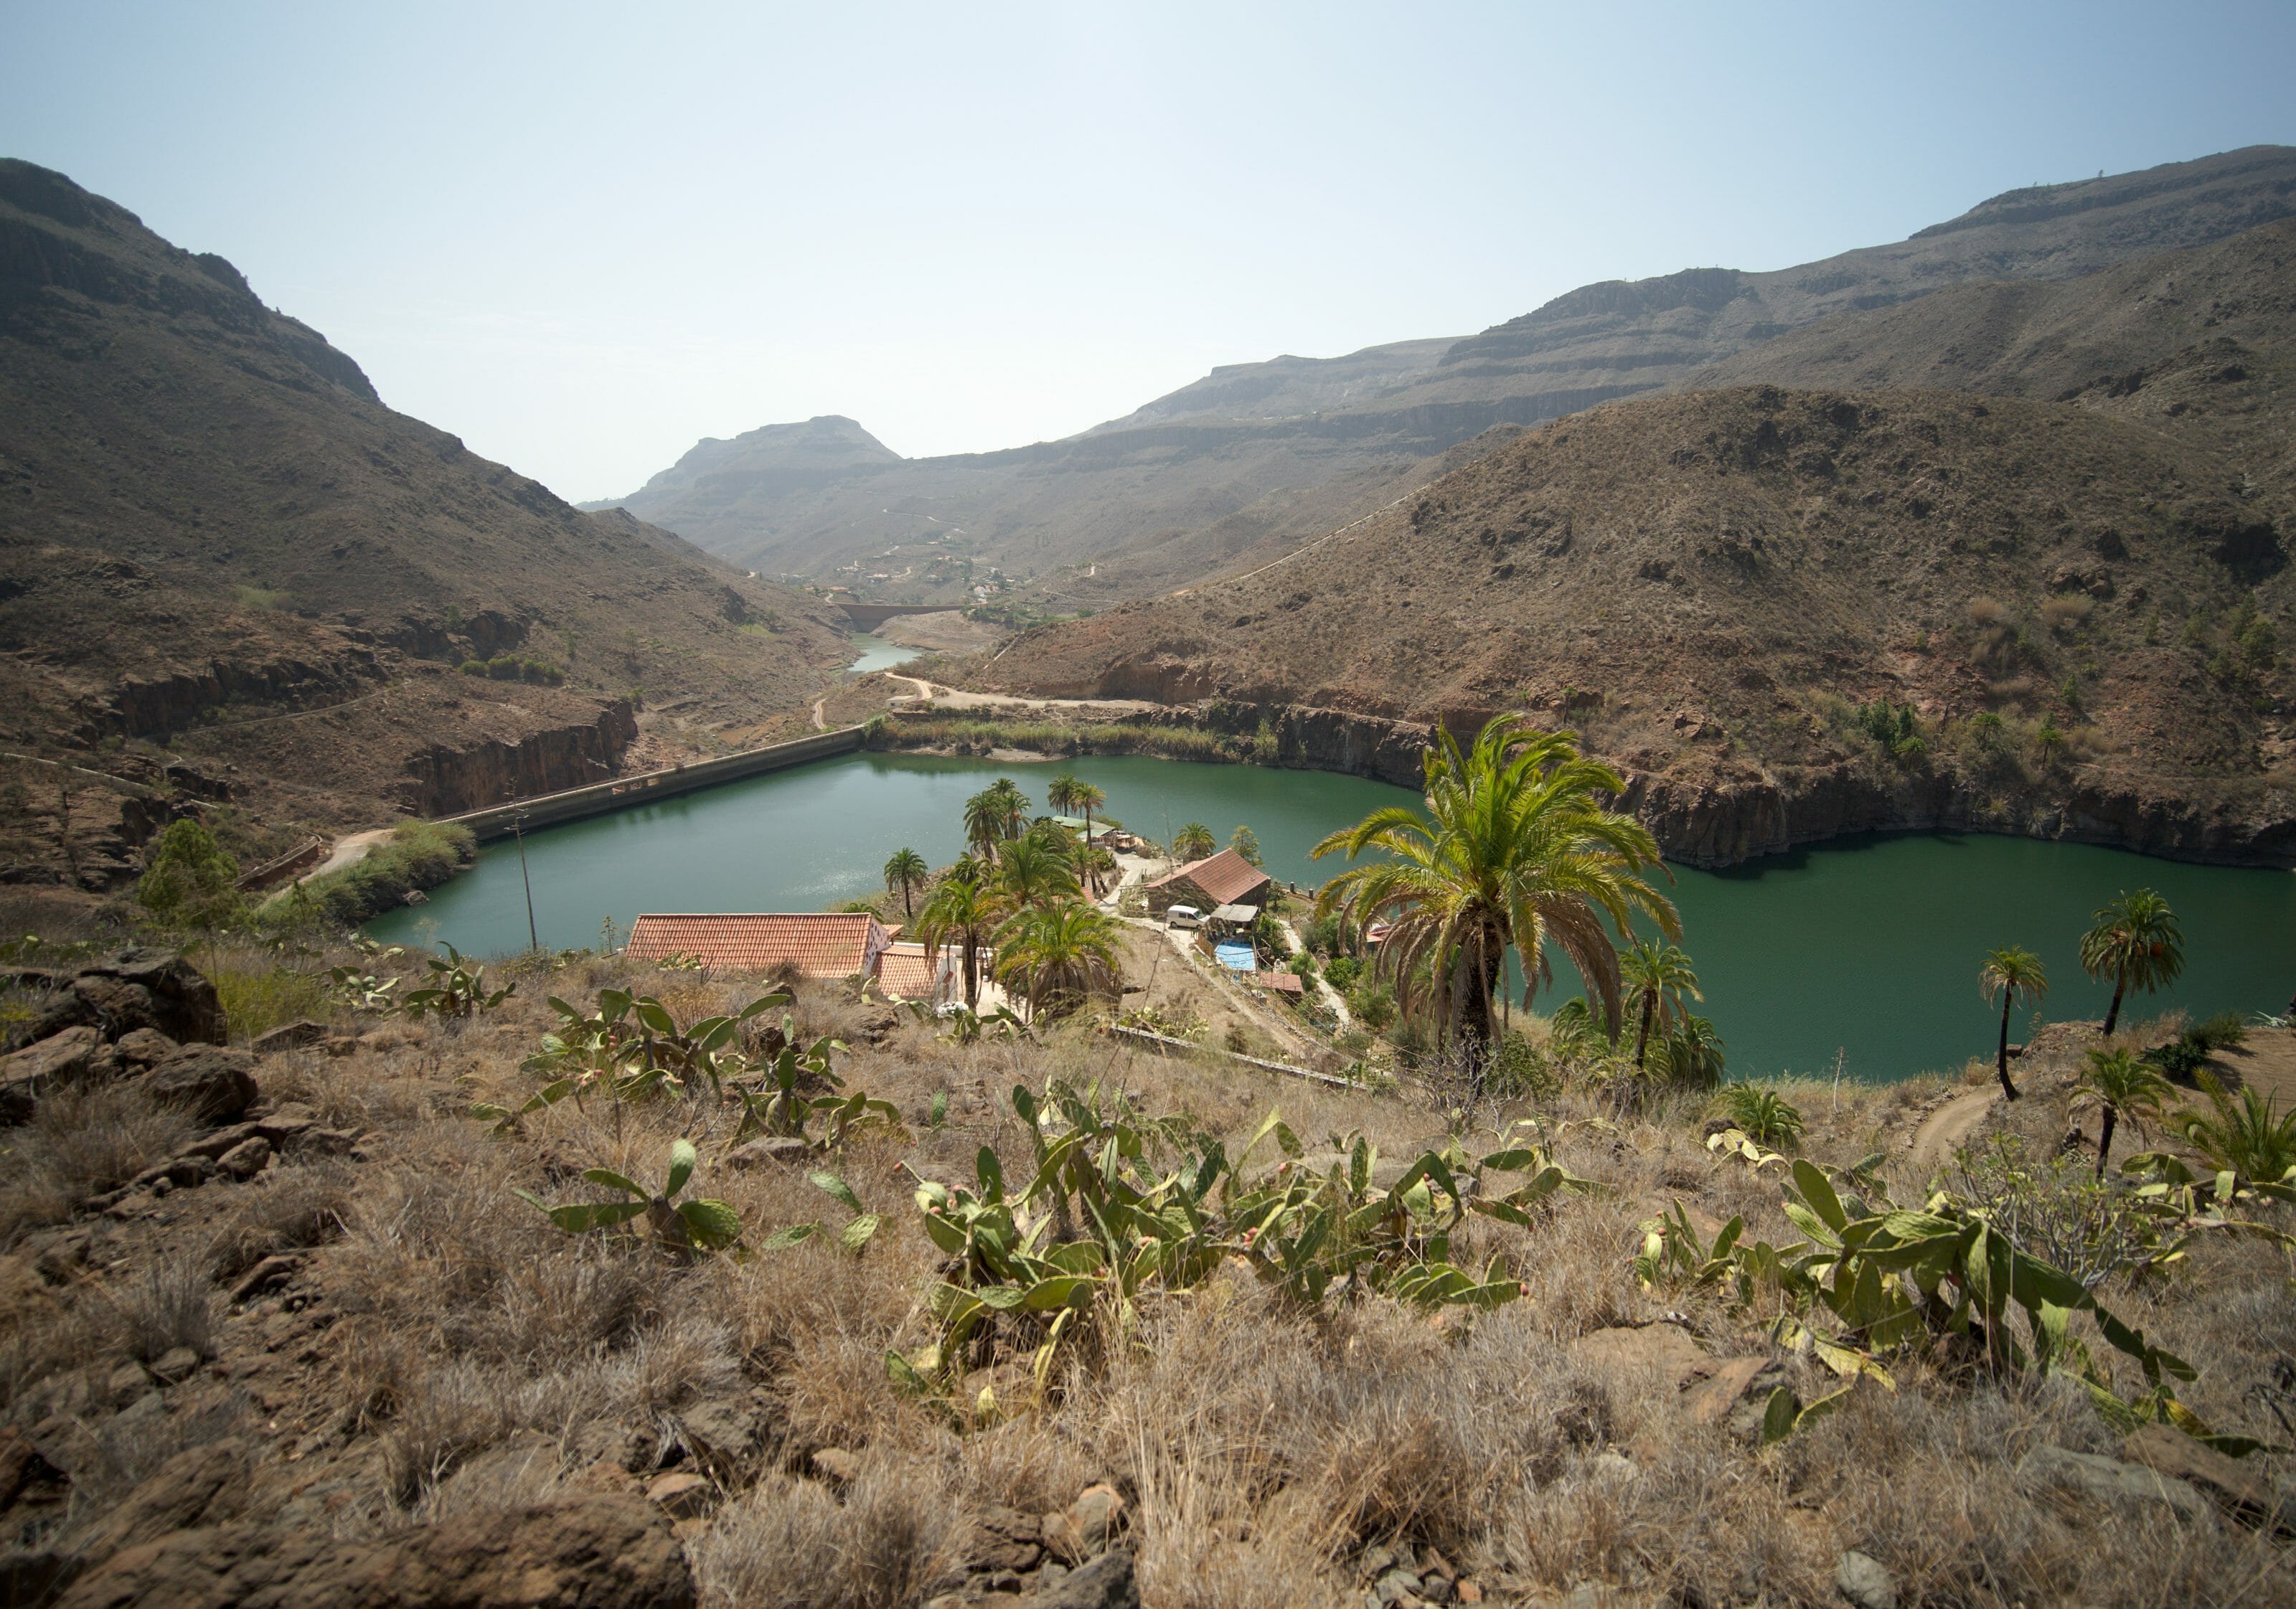
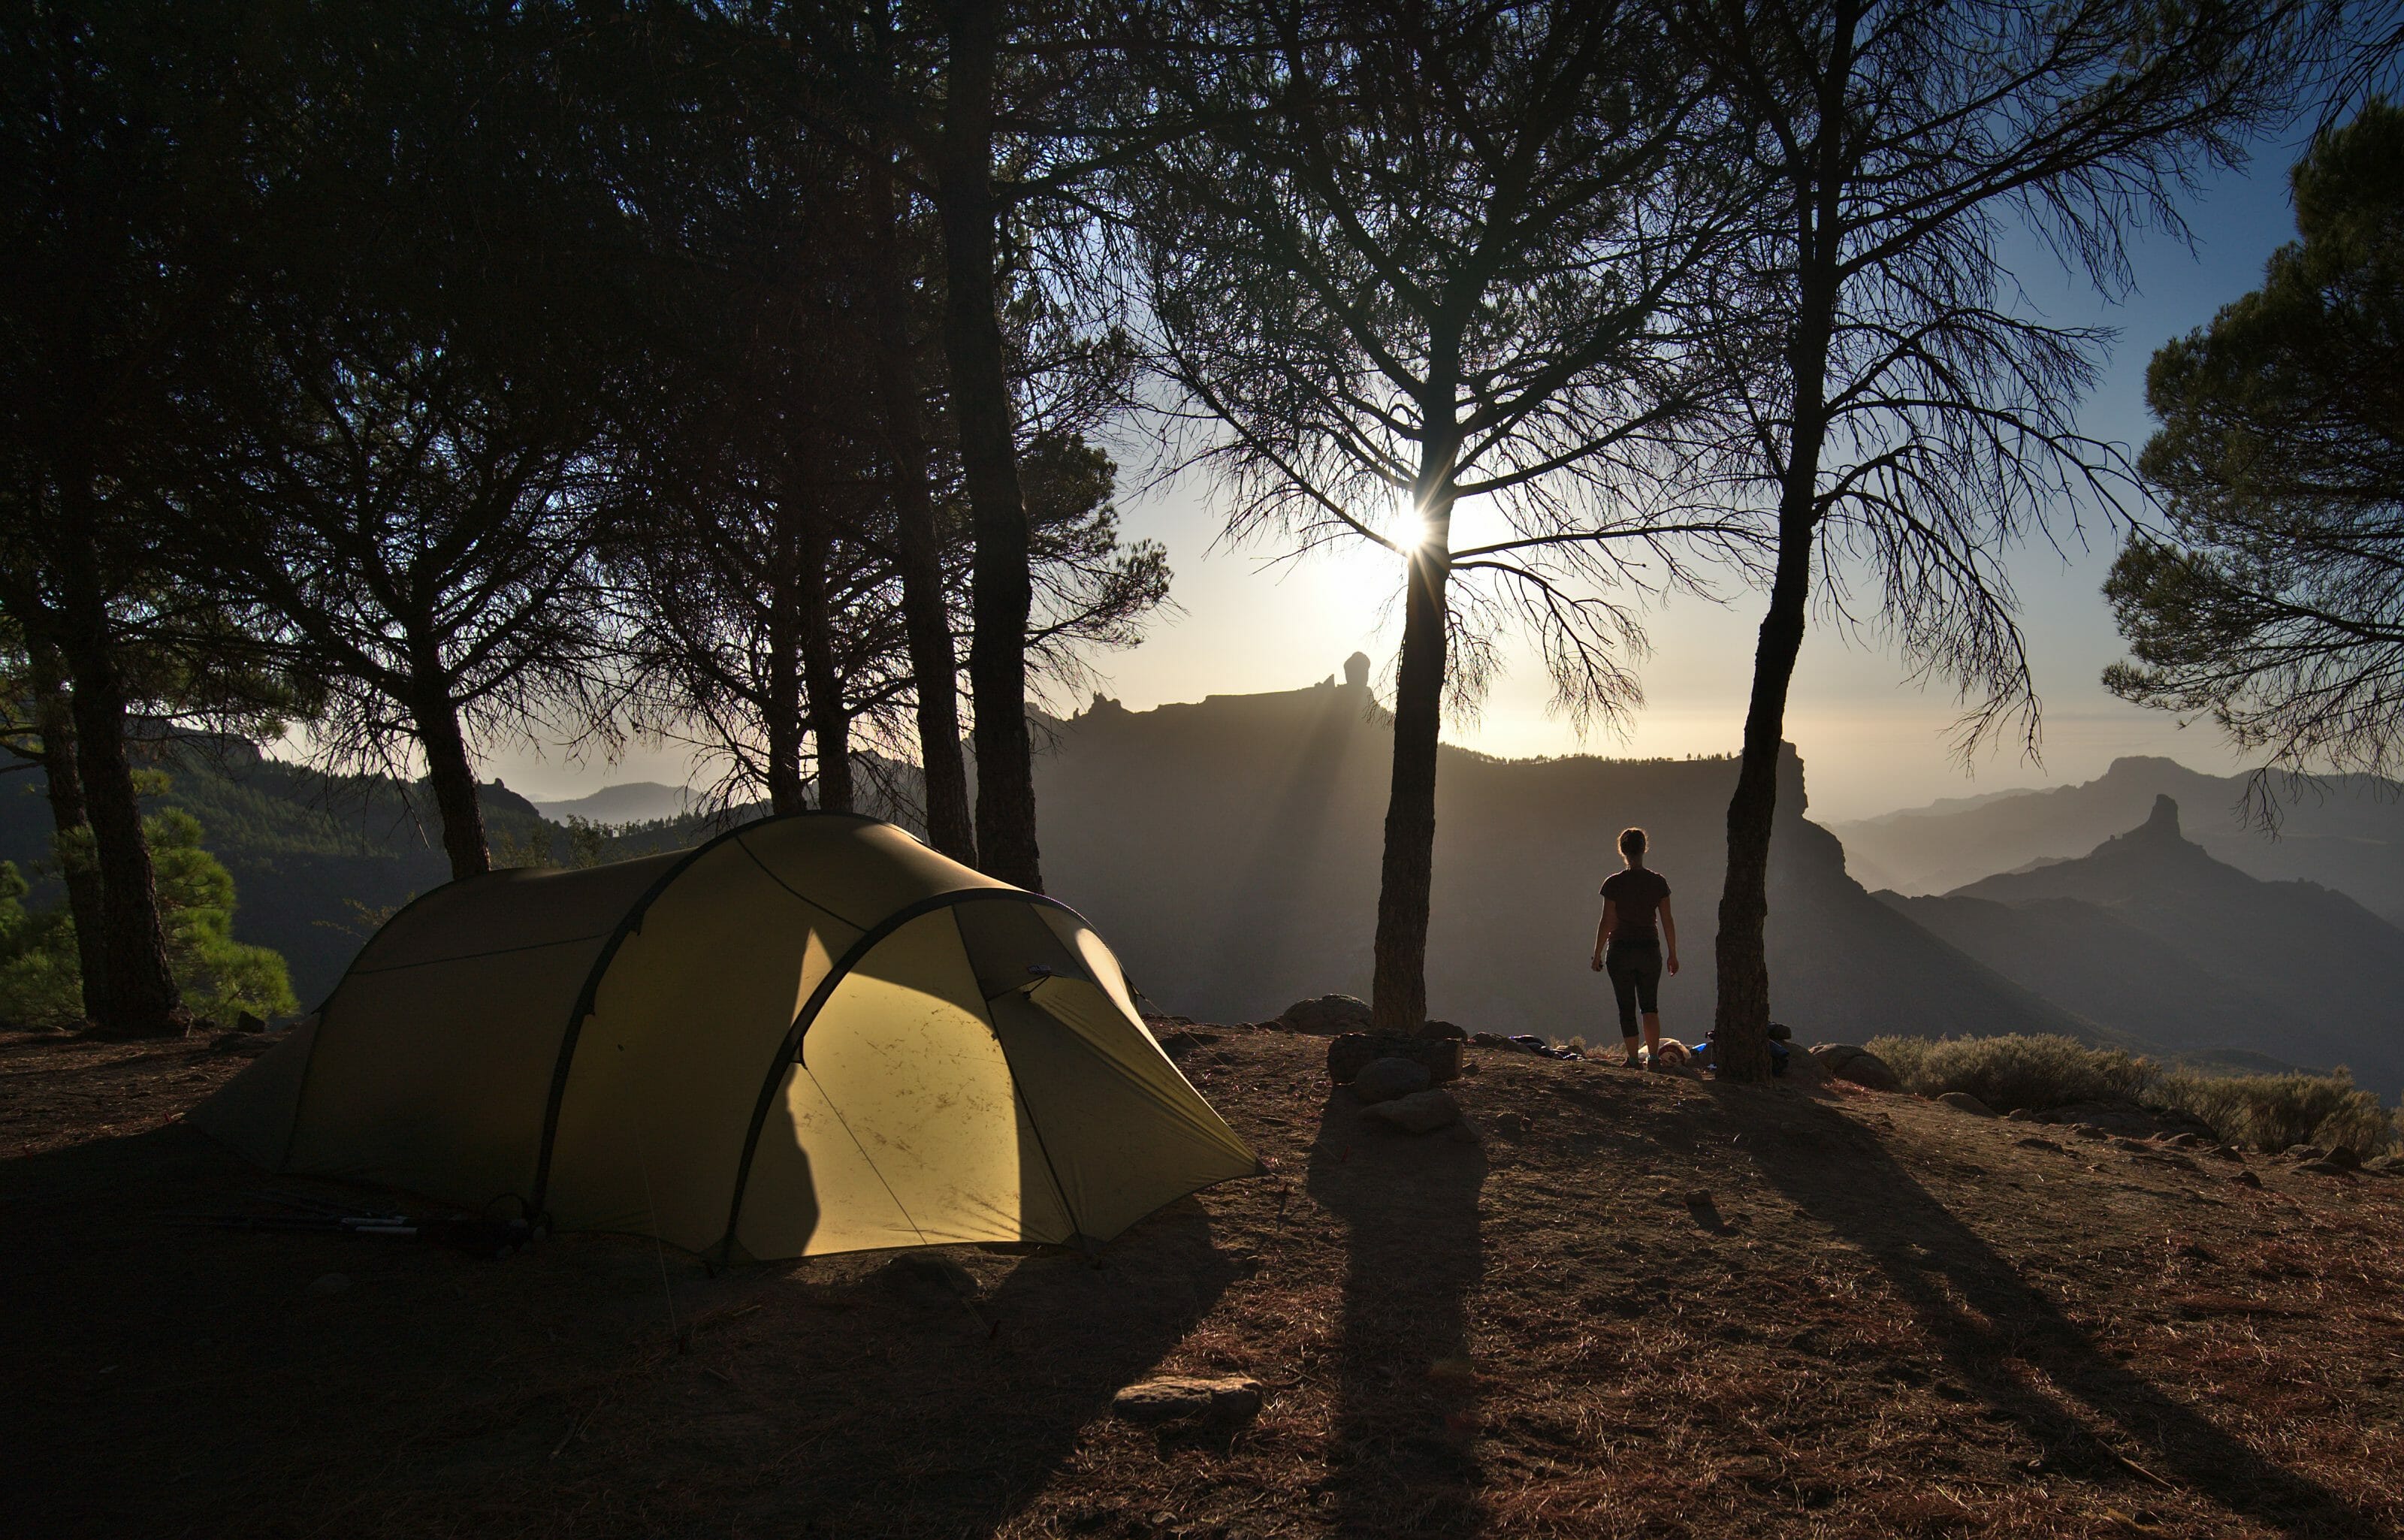
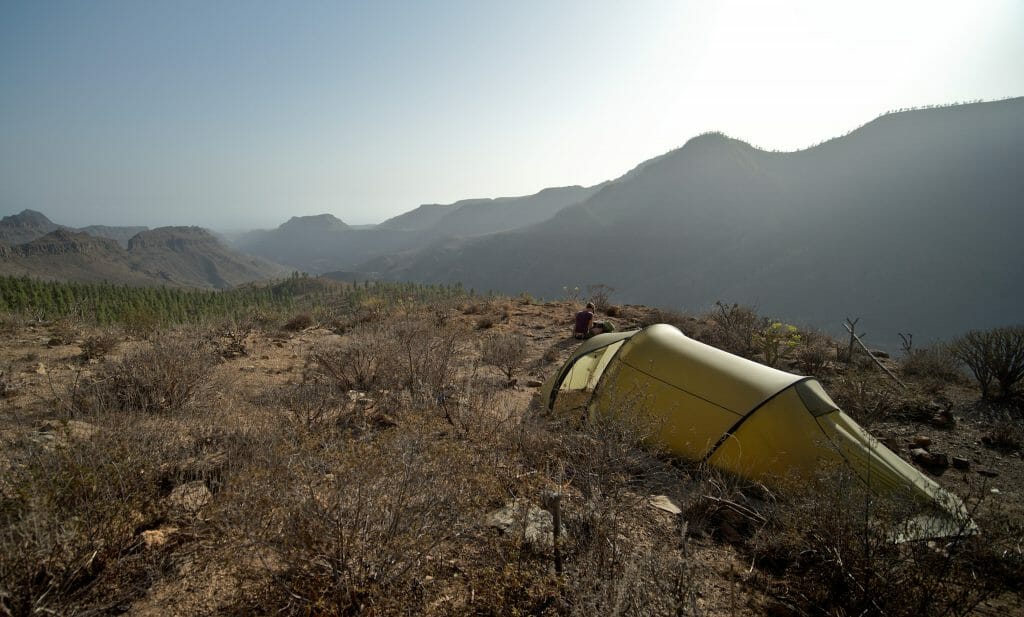
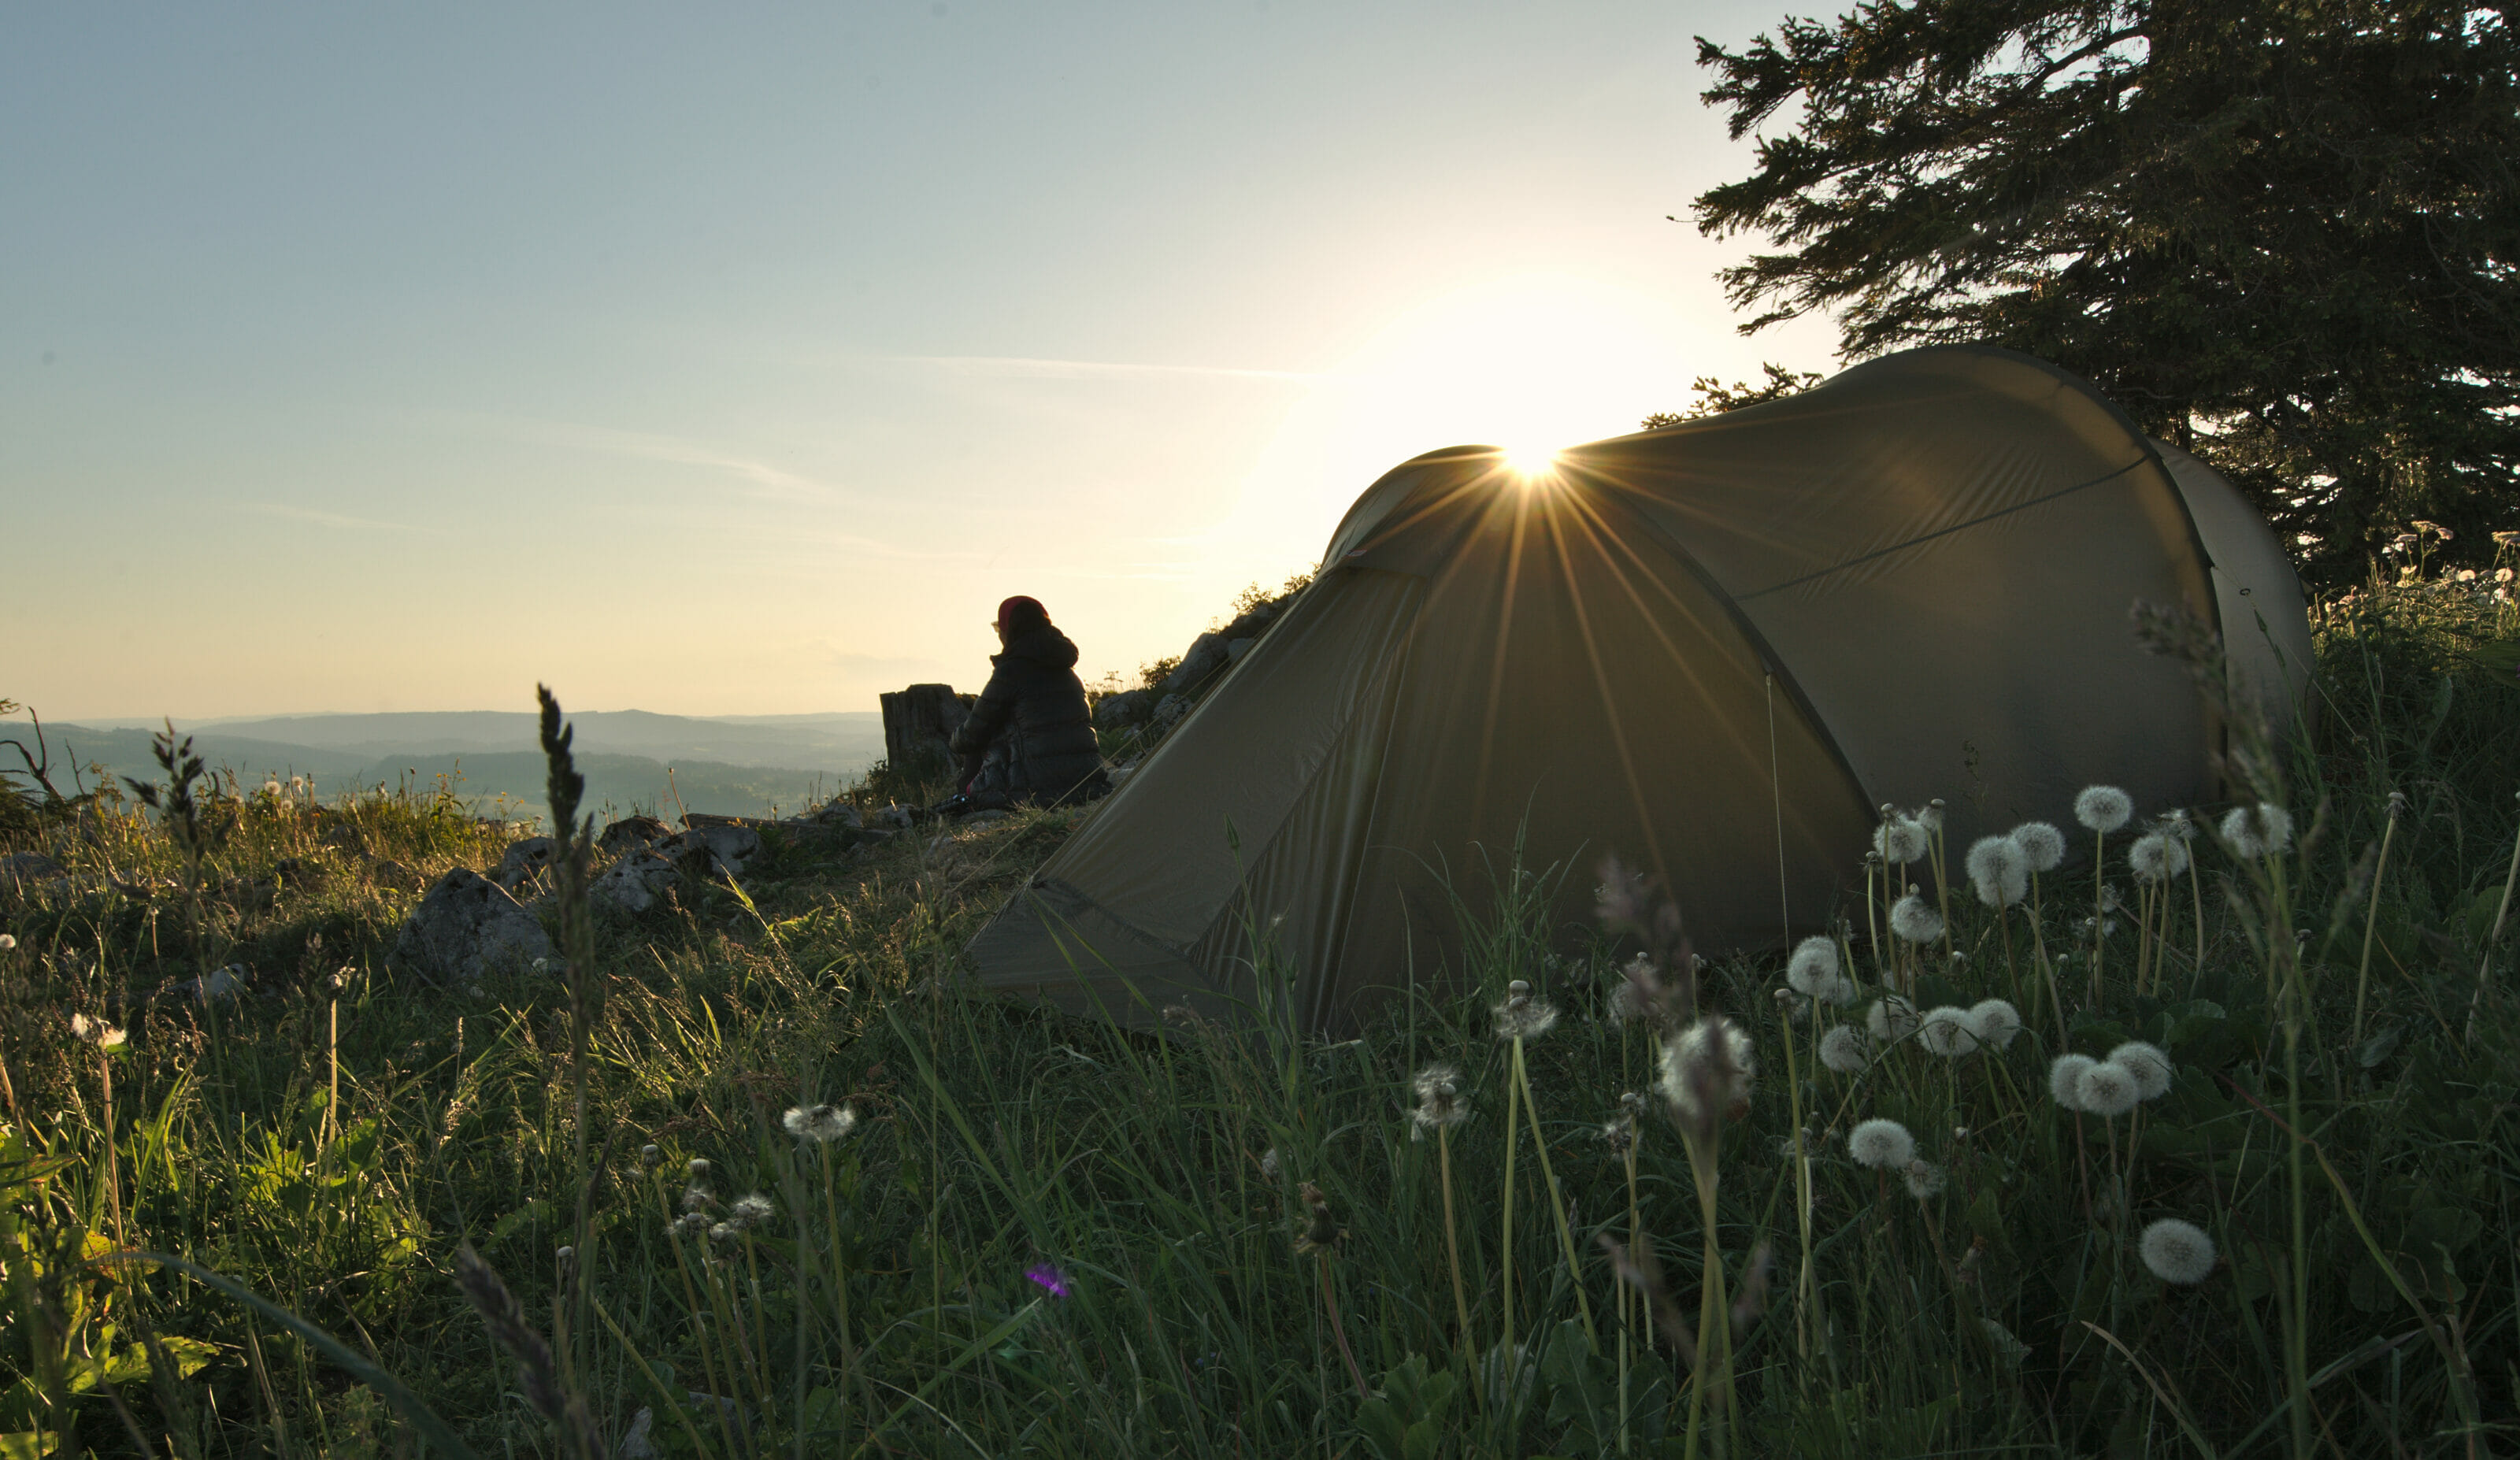
That day we didn't really have a precise objective, we just knew that we wanted to find a bivouac spot after the last houses and before the pass. We will have finally found the perfect spot just outside the small pine forest. An absolutely perfect flat that seemed to be made for our tent (with a great view as a bonus).
Infos Day 1
- Start: The Maspalomas sand dunes
- Finish: Bivouac somewhere above Ayaugares
- Distance: about 21km (about 13,9 miles)
- Elevation gain: 961m (3153 ft)
- Elevation loss: 215m (705 ft)
More pictures from this day
Bivouac spots are not very numerous in the area. We were lucky to find a perfect spot after the forest. If you come around here, be prepared to have to do some research. We choose not to communicate exactly the location of a bivouac spot because it seems important to us to be aware that a bivouac is not an exact science... A spot can be taken, there may have been a landslide, vegetation that has grown in this place...
Read our detailed post about bivouac
The next day we crossed some other spots that could have been nice for a bivouac, but this often meant leaving the path. In short, this area is very suitable for bivouacs (which are tolerated for walkers) but we can't guarantee that it will be perfectly flat.
Day 2: From Ayagaurs to Roque Nublo
The hike
Early in the morning, we started the day with a good climb to the Degollada de la Manzanilla. Once at the pass, we take a short break before starting the descent to Tunte. That's were we met a local hiking club. It was very nice to meet people from Gran Canaria who were totally passionate about their island and its trails and incidentally it was also an opportunity for us to practice a little more our Spanish (because no, in our coworking we don't practice so much... the official language between nomads is mostly English).
From the pass we could have continued more or less flat from the pass to the pass of Cruz Grande. But as we were starting to run out of water, we really had no choice but to go down the 300m drop to the village of Tunte (and then up again).
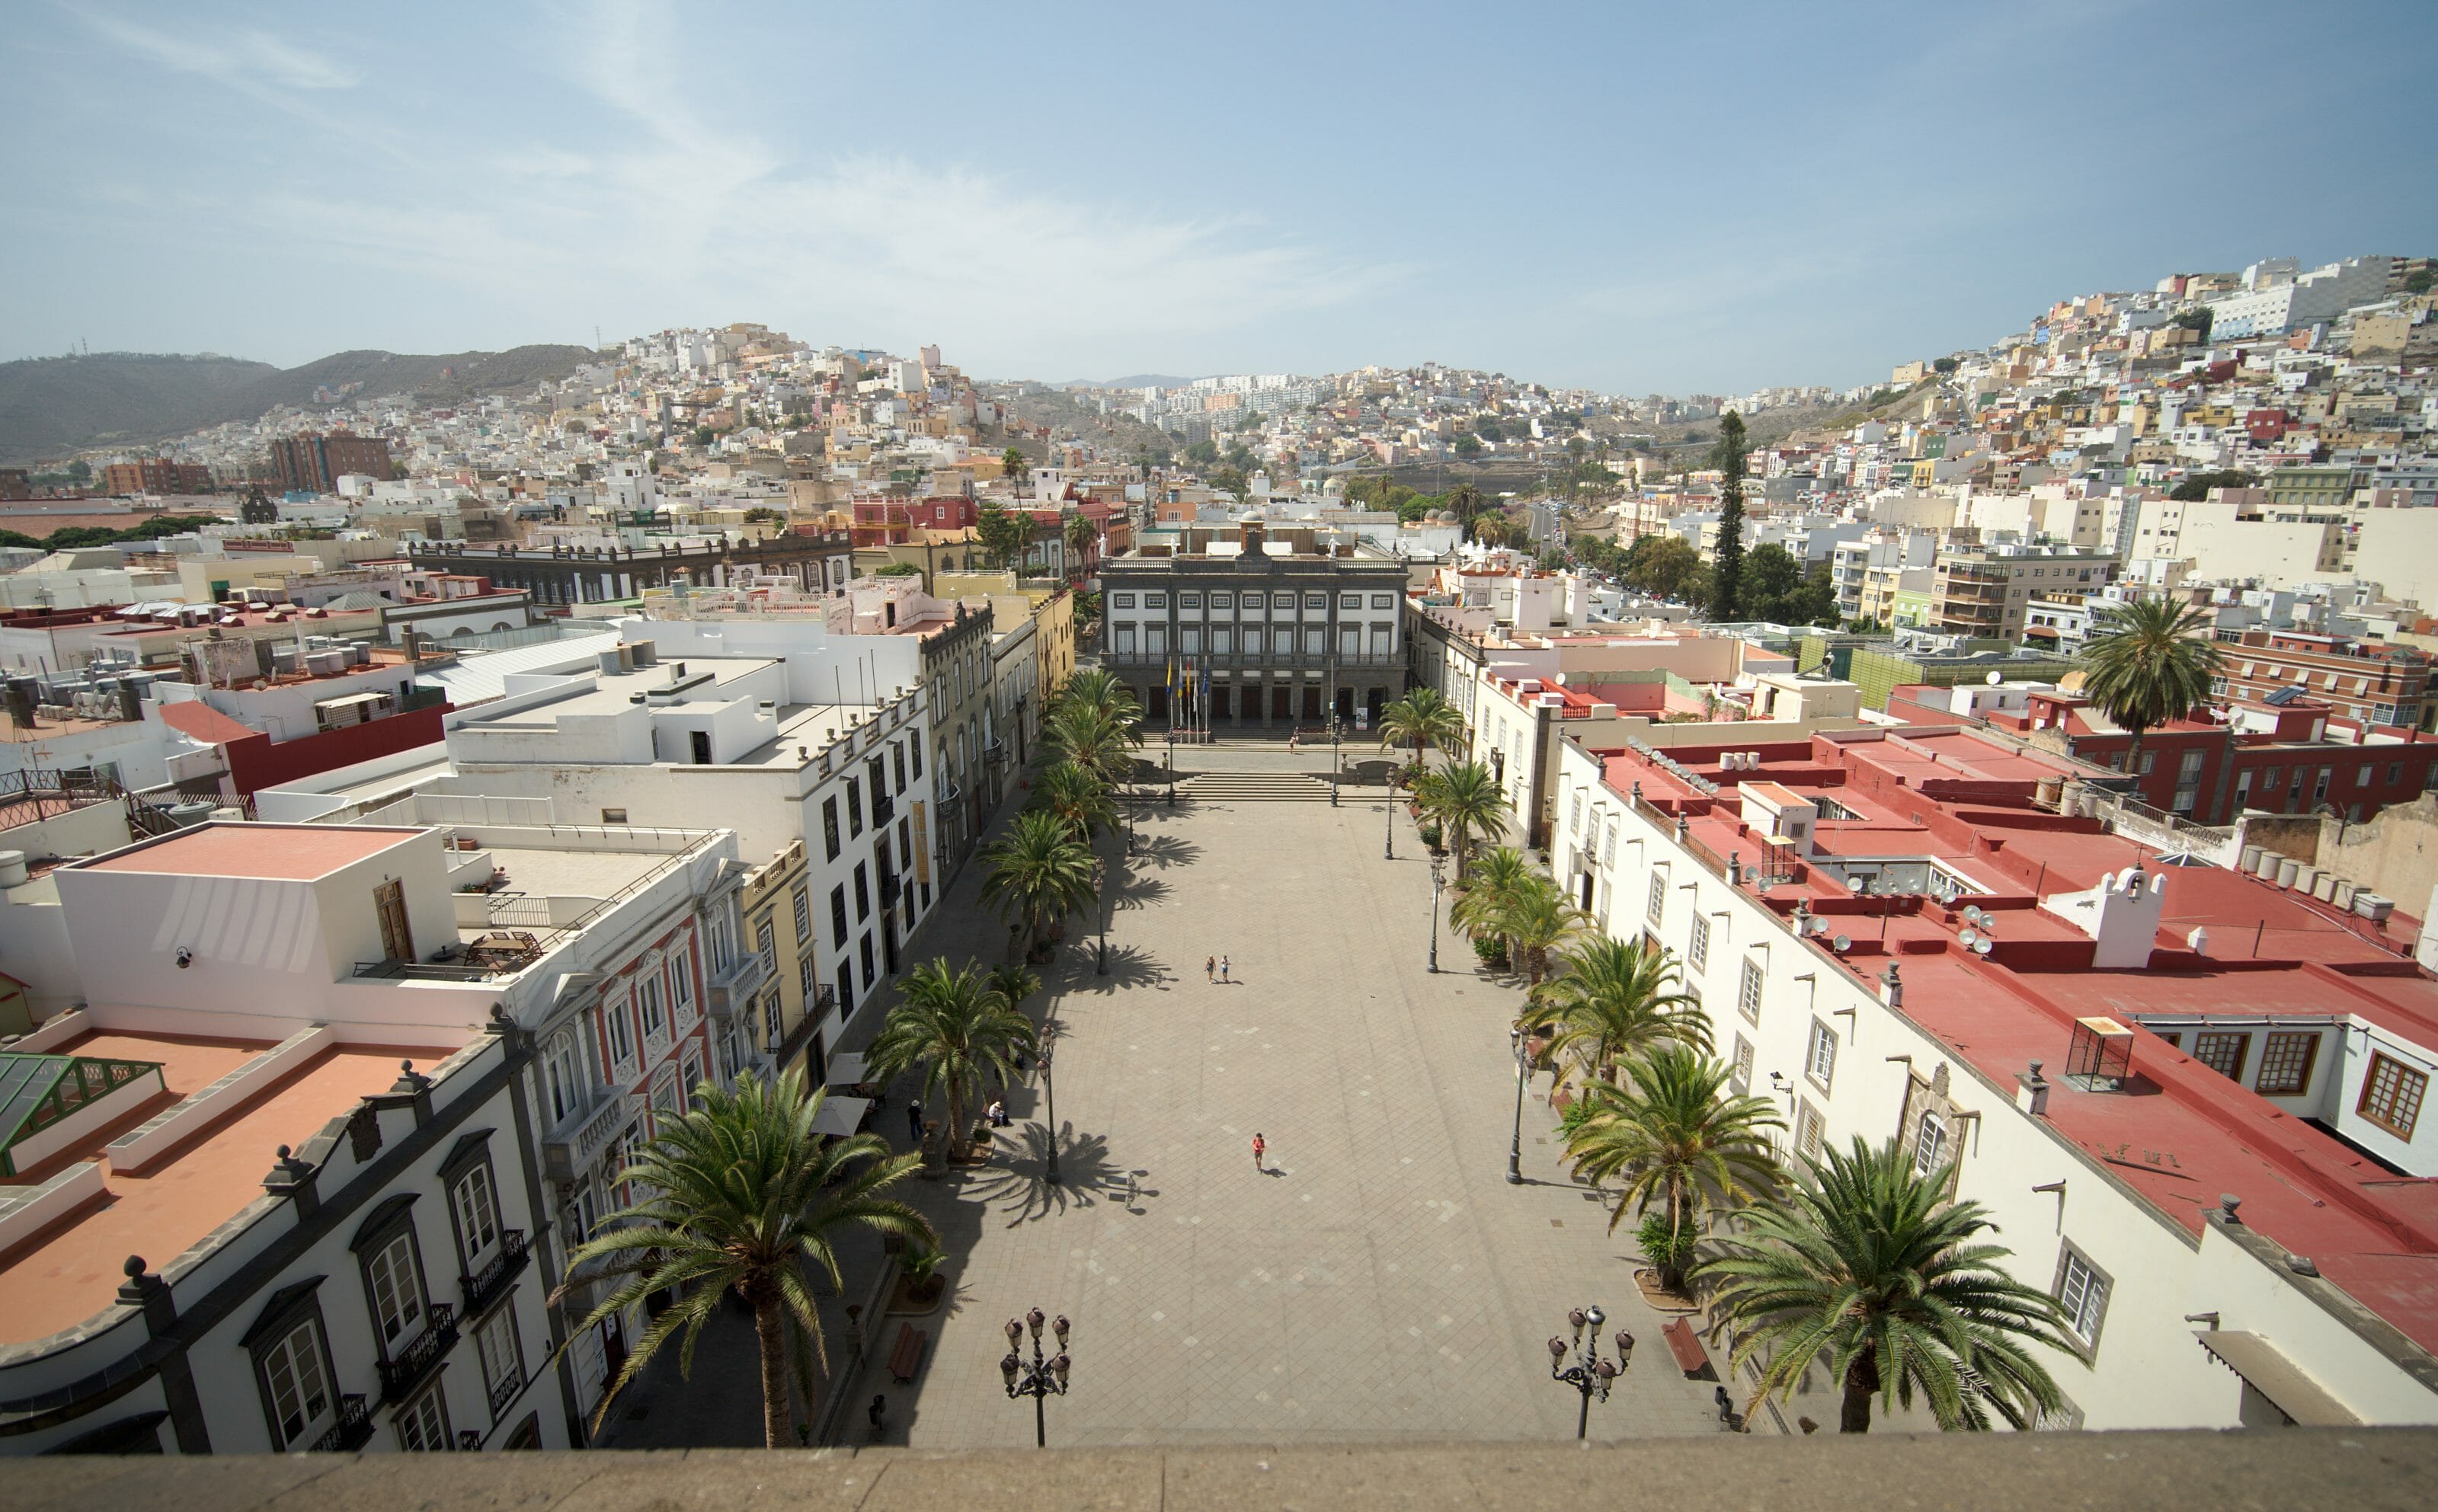
But in the end, we are very happy to have made this little "detour" because Tunte is really a village that is worth a look. We have not yet visited many villages on Gran Canaria, but Tunte is definitely one of the most charming. All the houses are white with the ochre roof and the small ultra narrow streets dotted with small terraces and shops.
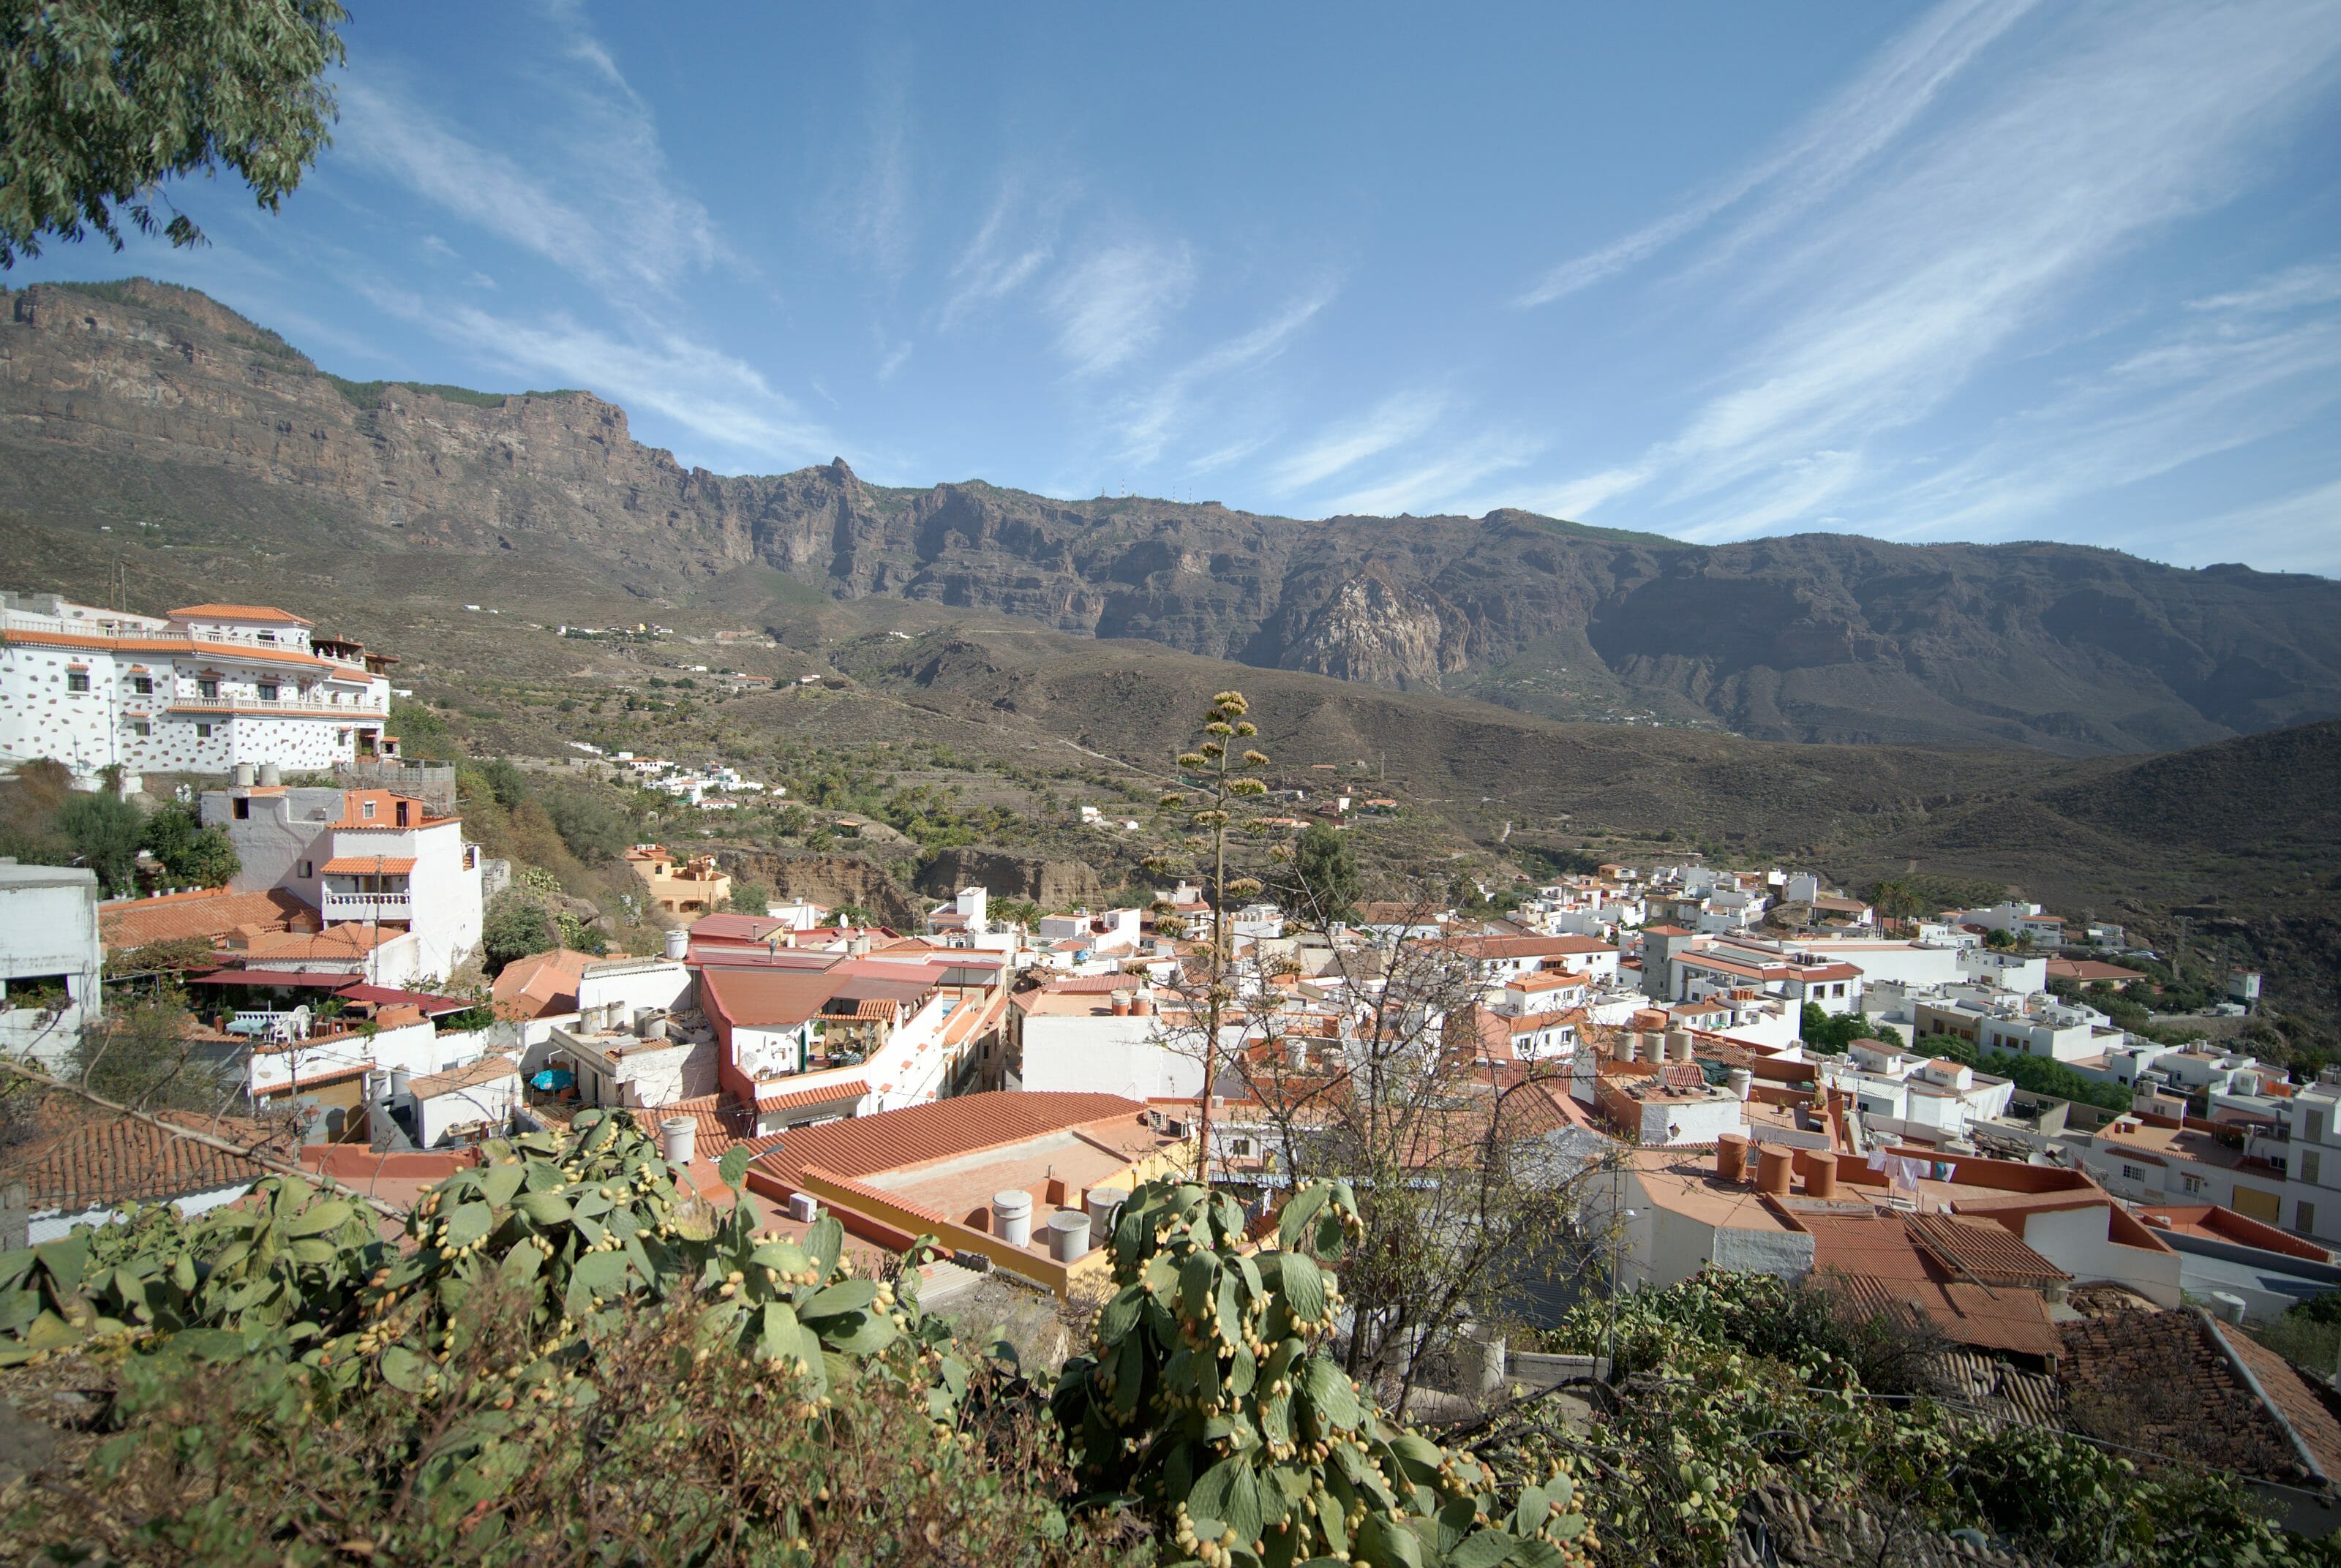
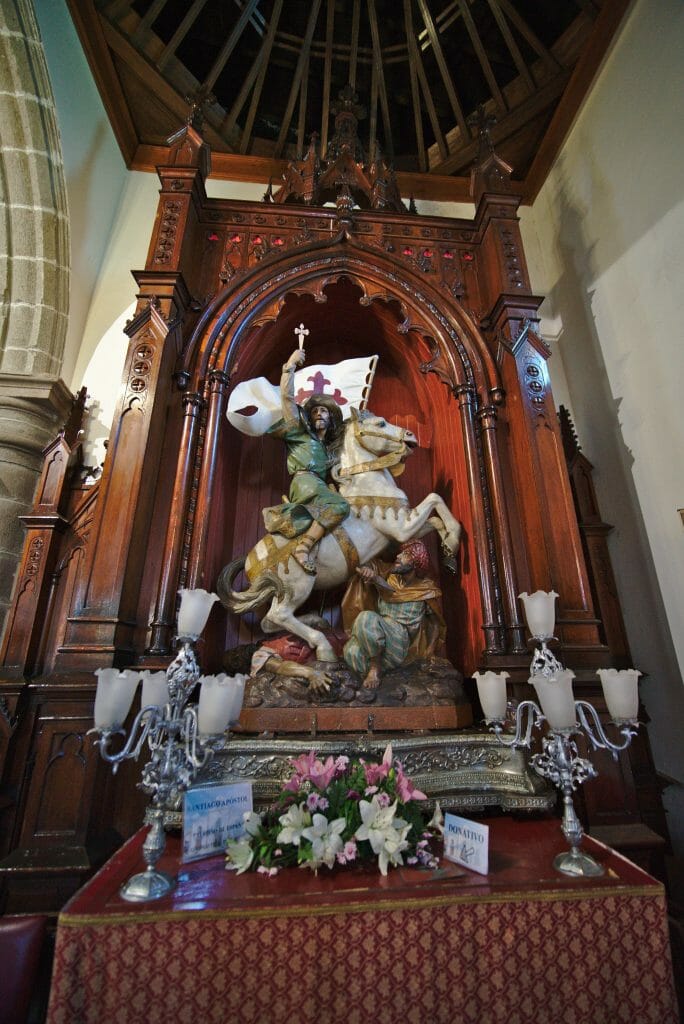
Incidentally, Tunte is also an obligatory passage for those who are on the way to Santiago because, as I said earlier, it is in fact here that the statue of Santiago is located and it is therefore the "official start" of the path.
Good for us the statue of Santiago was not the main motivation, but we went to see it once we had bought a 5L water canister can to fill our bottles and a small sandwich at the excellent bakery in the village.
From Tunte the hike leaves little suspense.... It goes up, and up again, and again... 900m of altitude difference awaited us after the lunch break. Pfiouuu.... We were still under a blazing sun, and with our bags again loaded with water we started taking more and more breaks.
The part that killed me? The laces that go up to the viewpoint above Cruz Grande! These endless, steep laces will have almost killed me under the blazing sun. But as usual, the higher you go, the more beautiful the view!
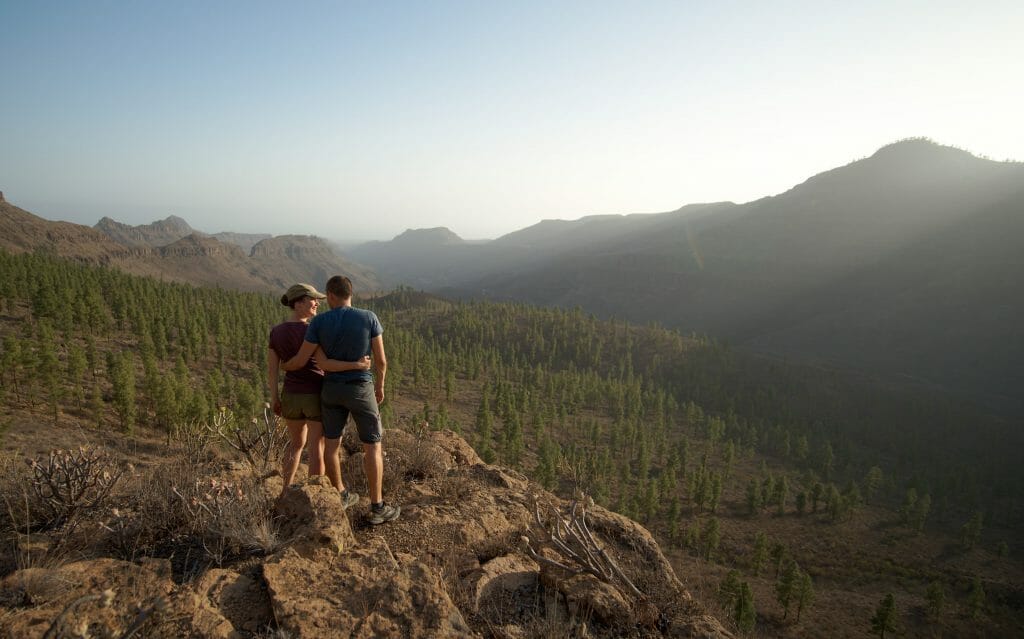
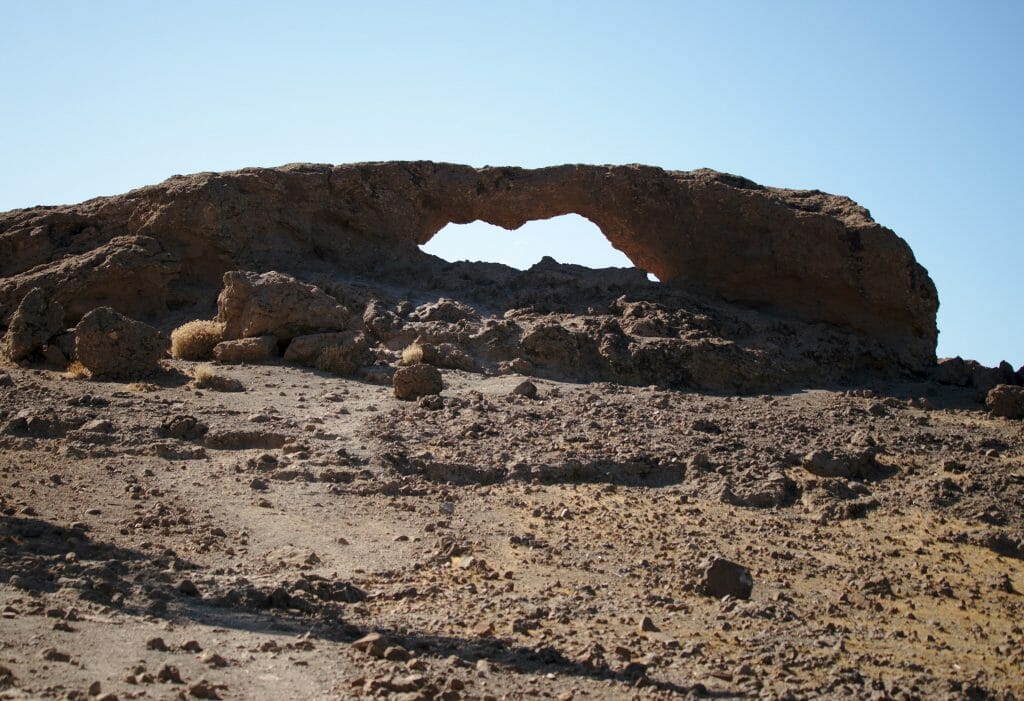
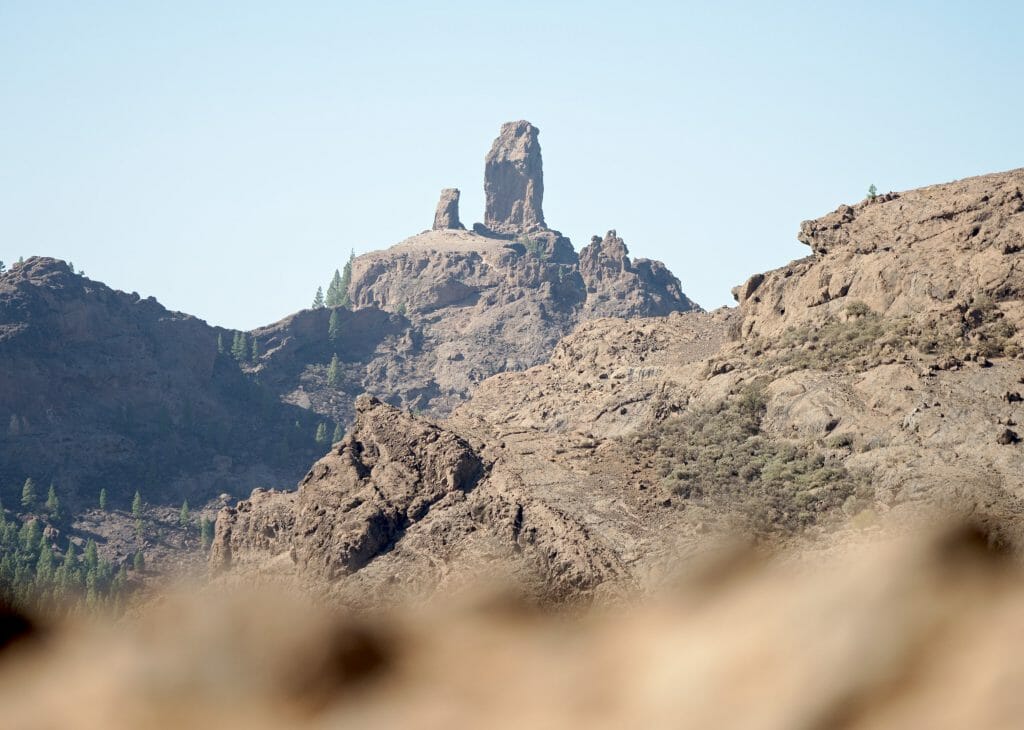
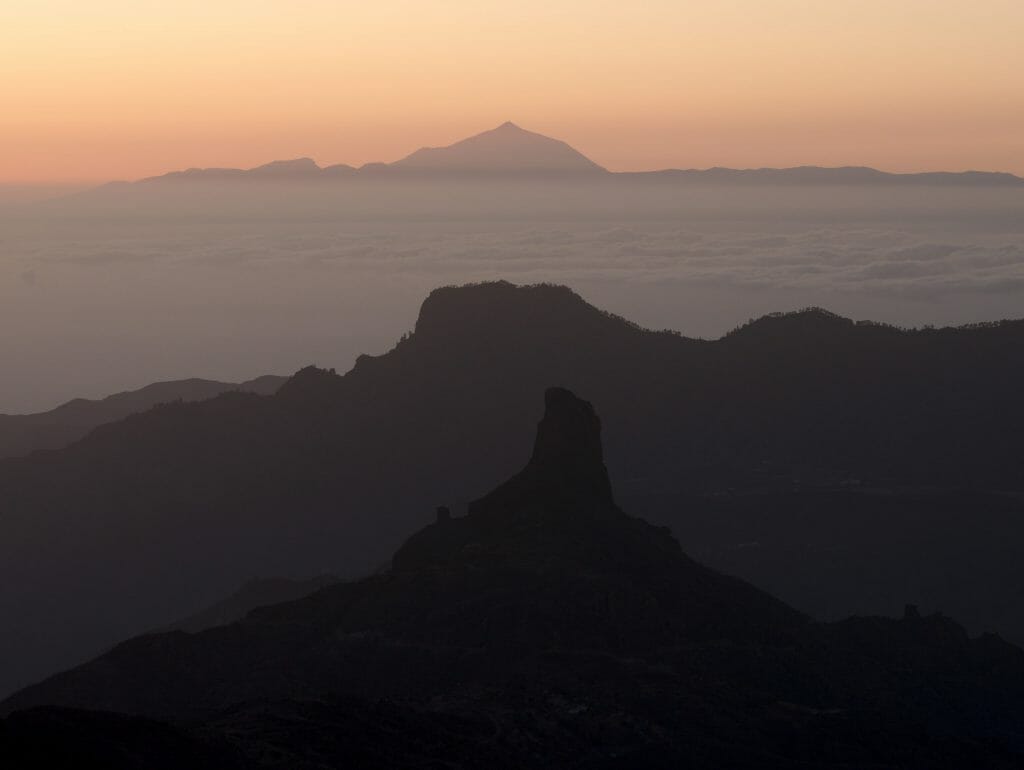
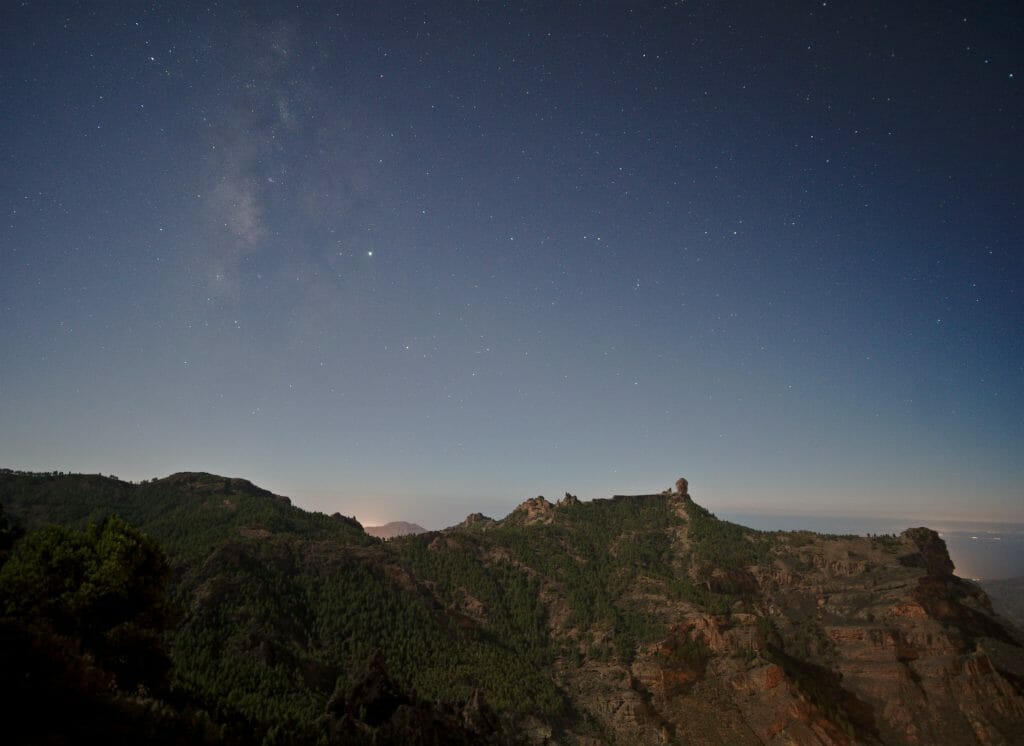
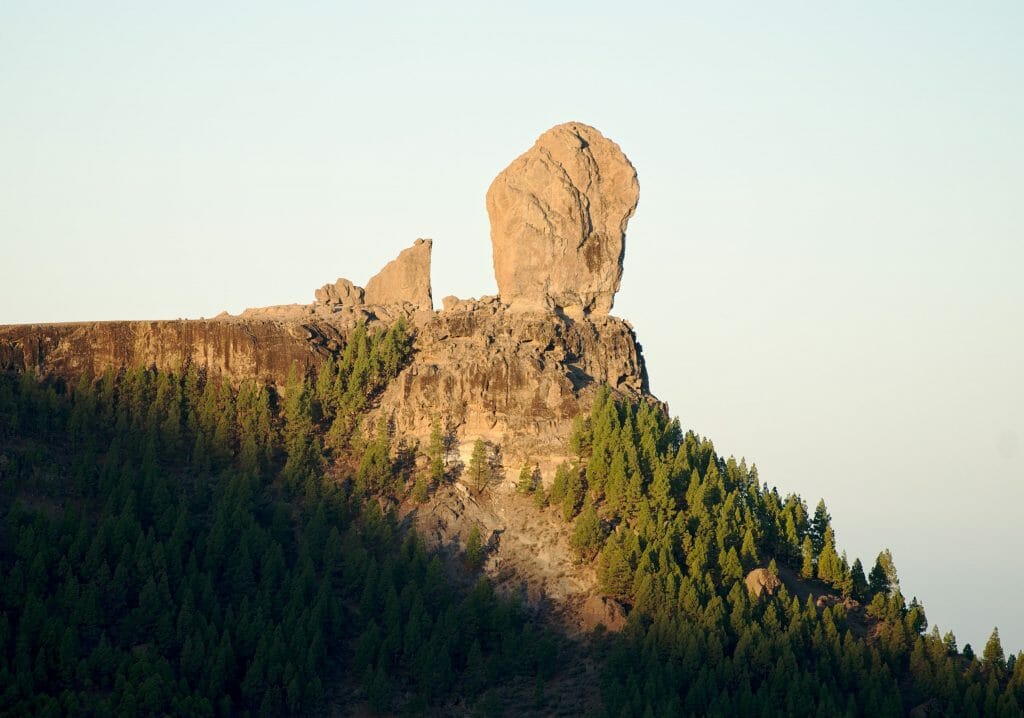
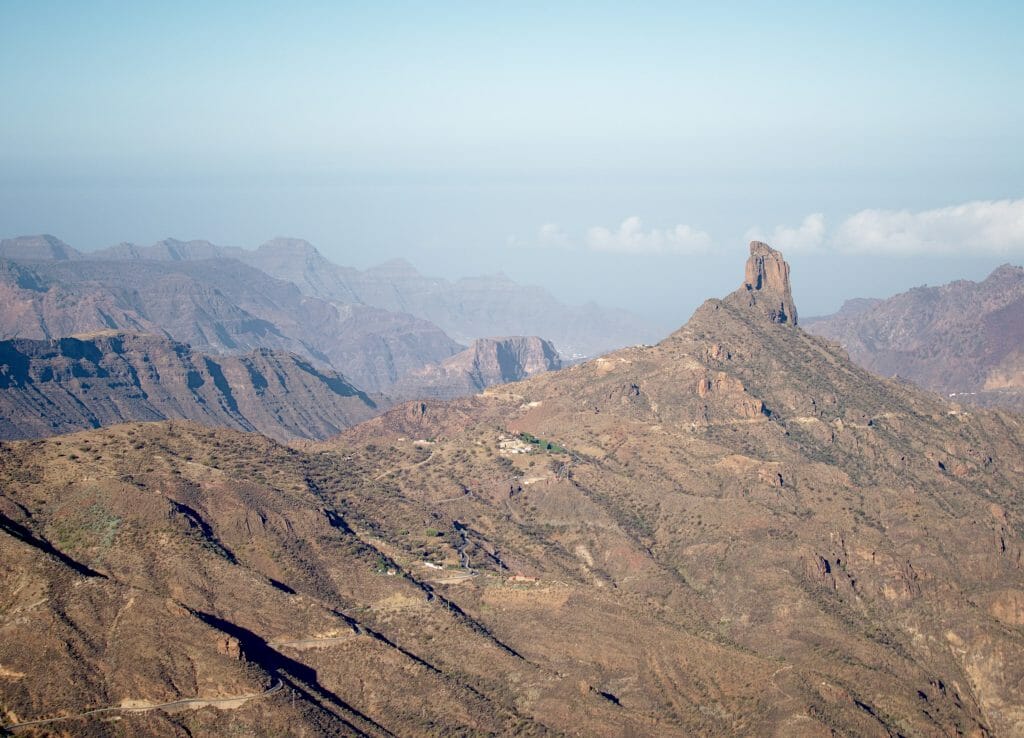
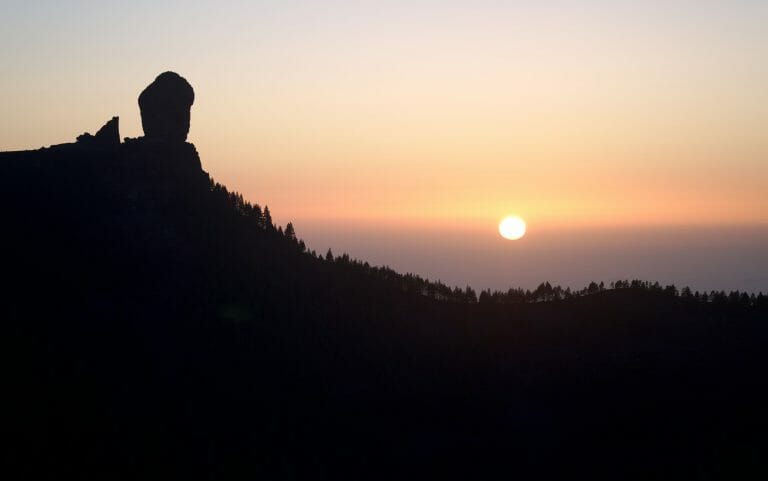
The top of Gran Canaria is no exception to the rule! Moreover, if you come here, we recommend you take the small detour that passes through the "ventana del Nublo", an arch through which you can observe the Roque Nublo!
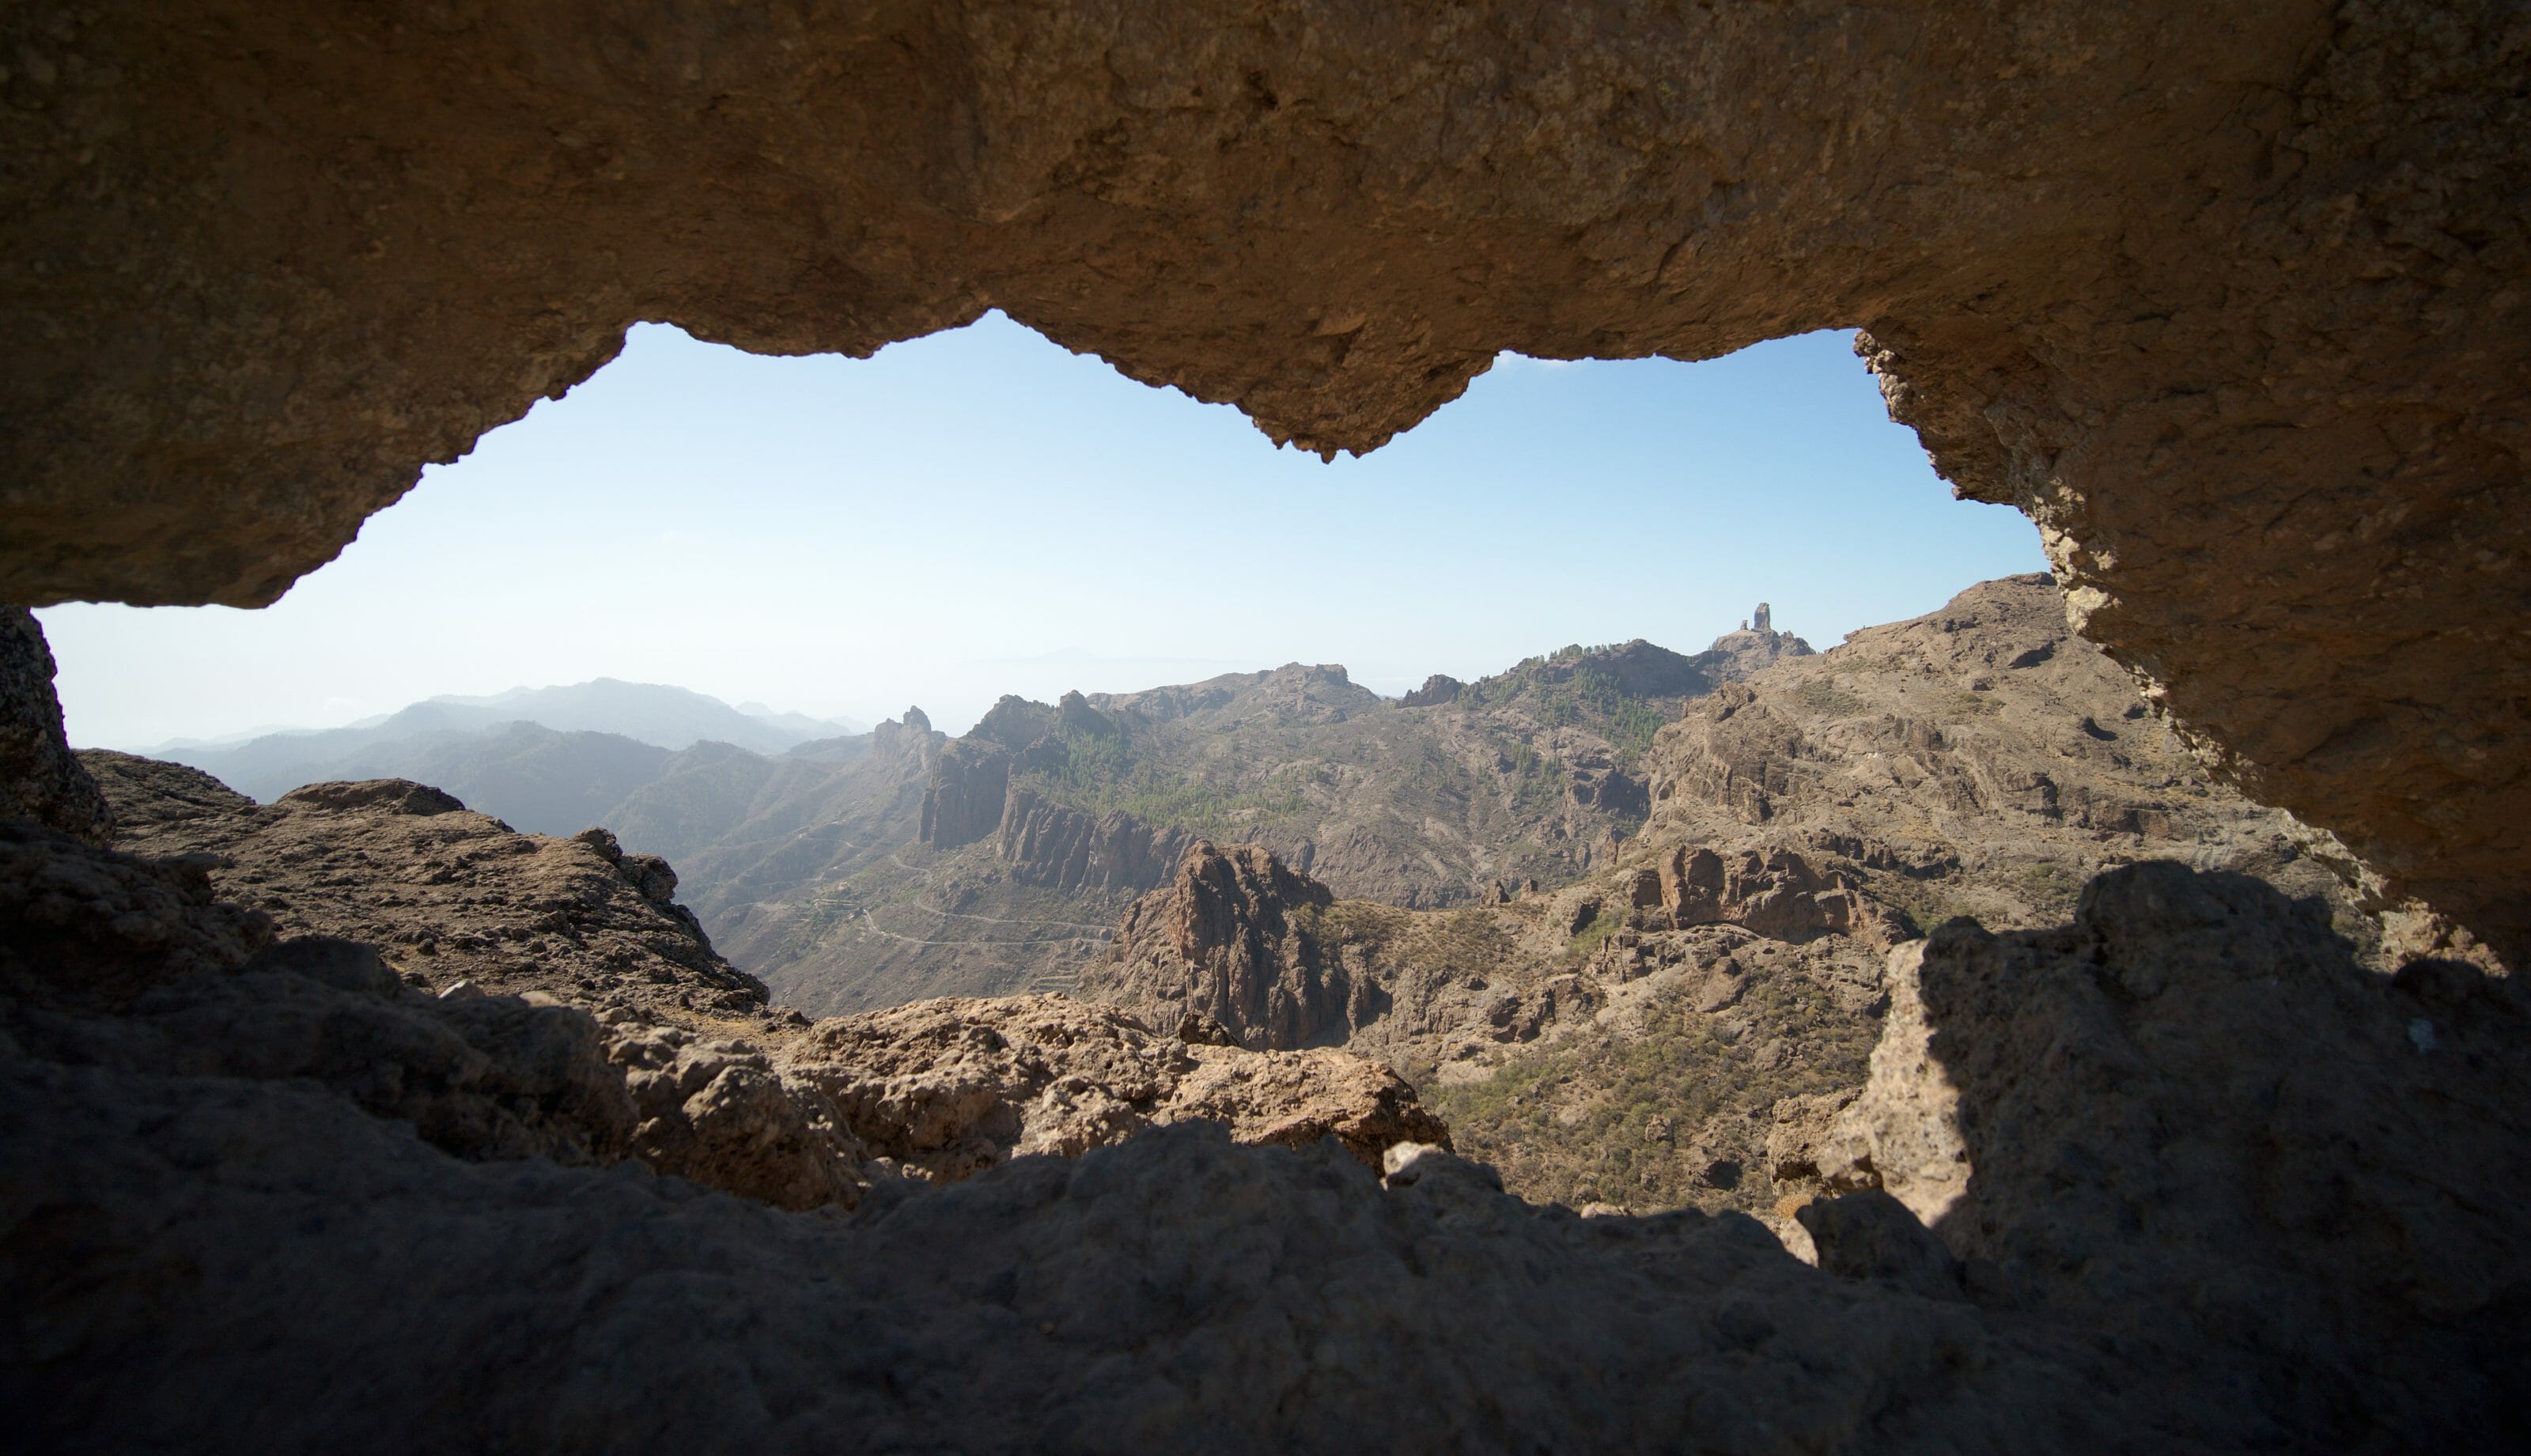
Once on the high plateau of Gran Canaria we started looking for a good bivouac spot. Unlike the day before, it's very easy here! A large number of areas are specially designed for campers with bins at their disposal. We passed by a first spot (Bailico) and after considering it for a few moments we thought we could probably find a little better than this wooded area located right next to the road.
I think I can say that this last minute decision was probably one of the best of our trek! About 2km later, we reached the "Zona de Acampada Corral de los Juncos"... And how can I put this... we were a little better than by the side of a road. I mean... look at the view we had from our tent!!!
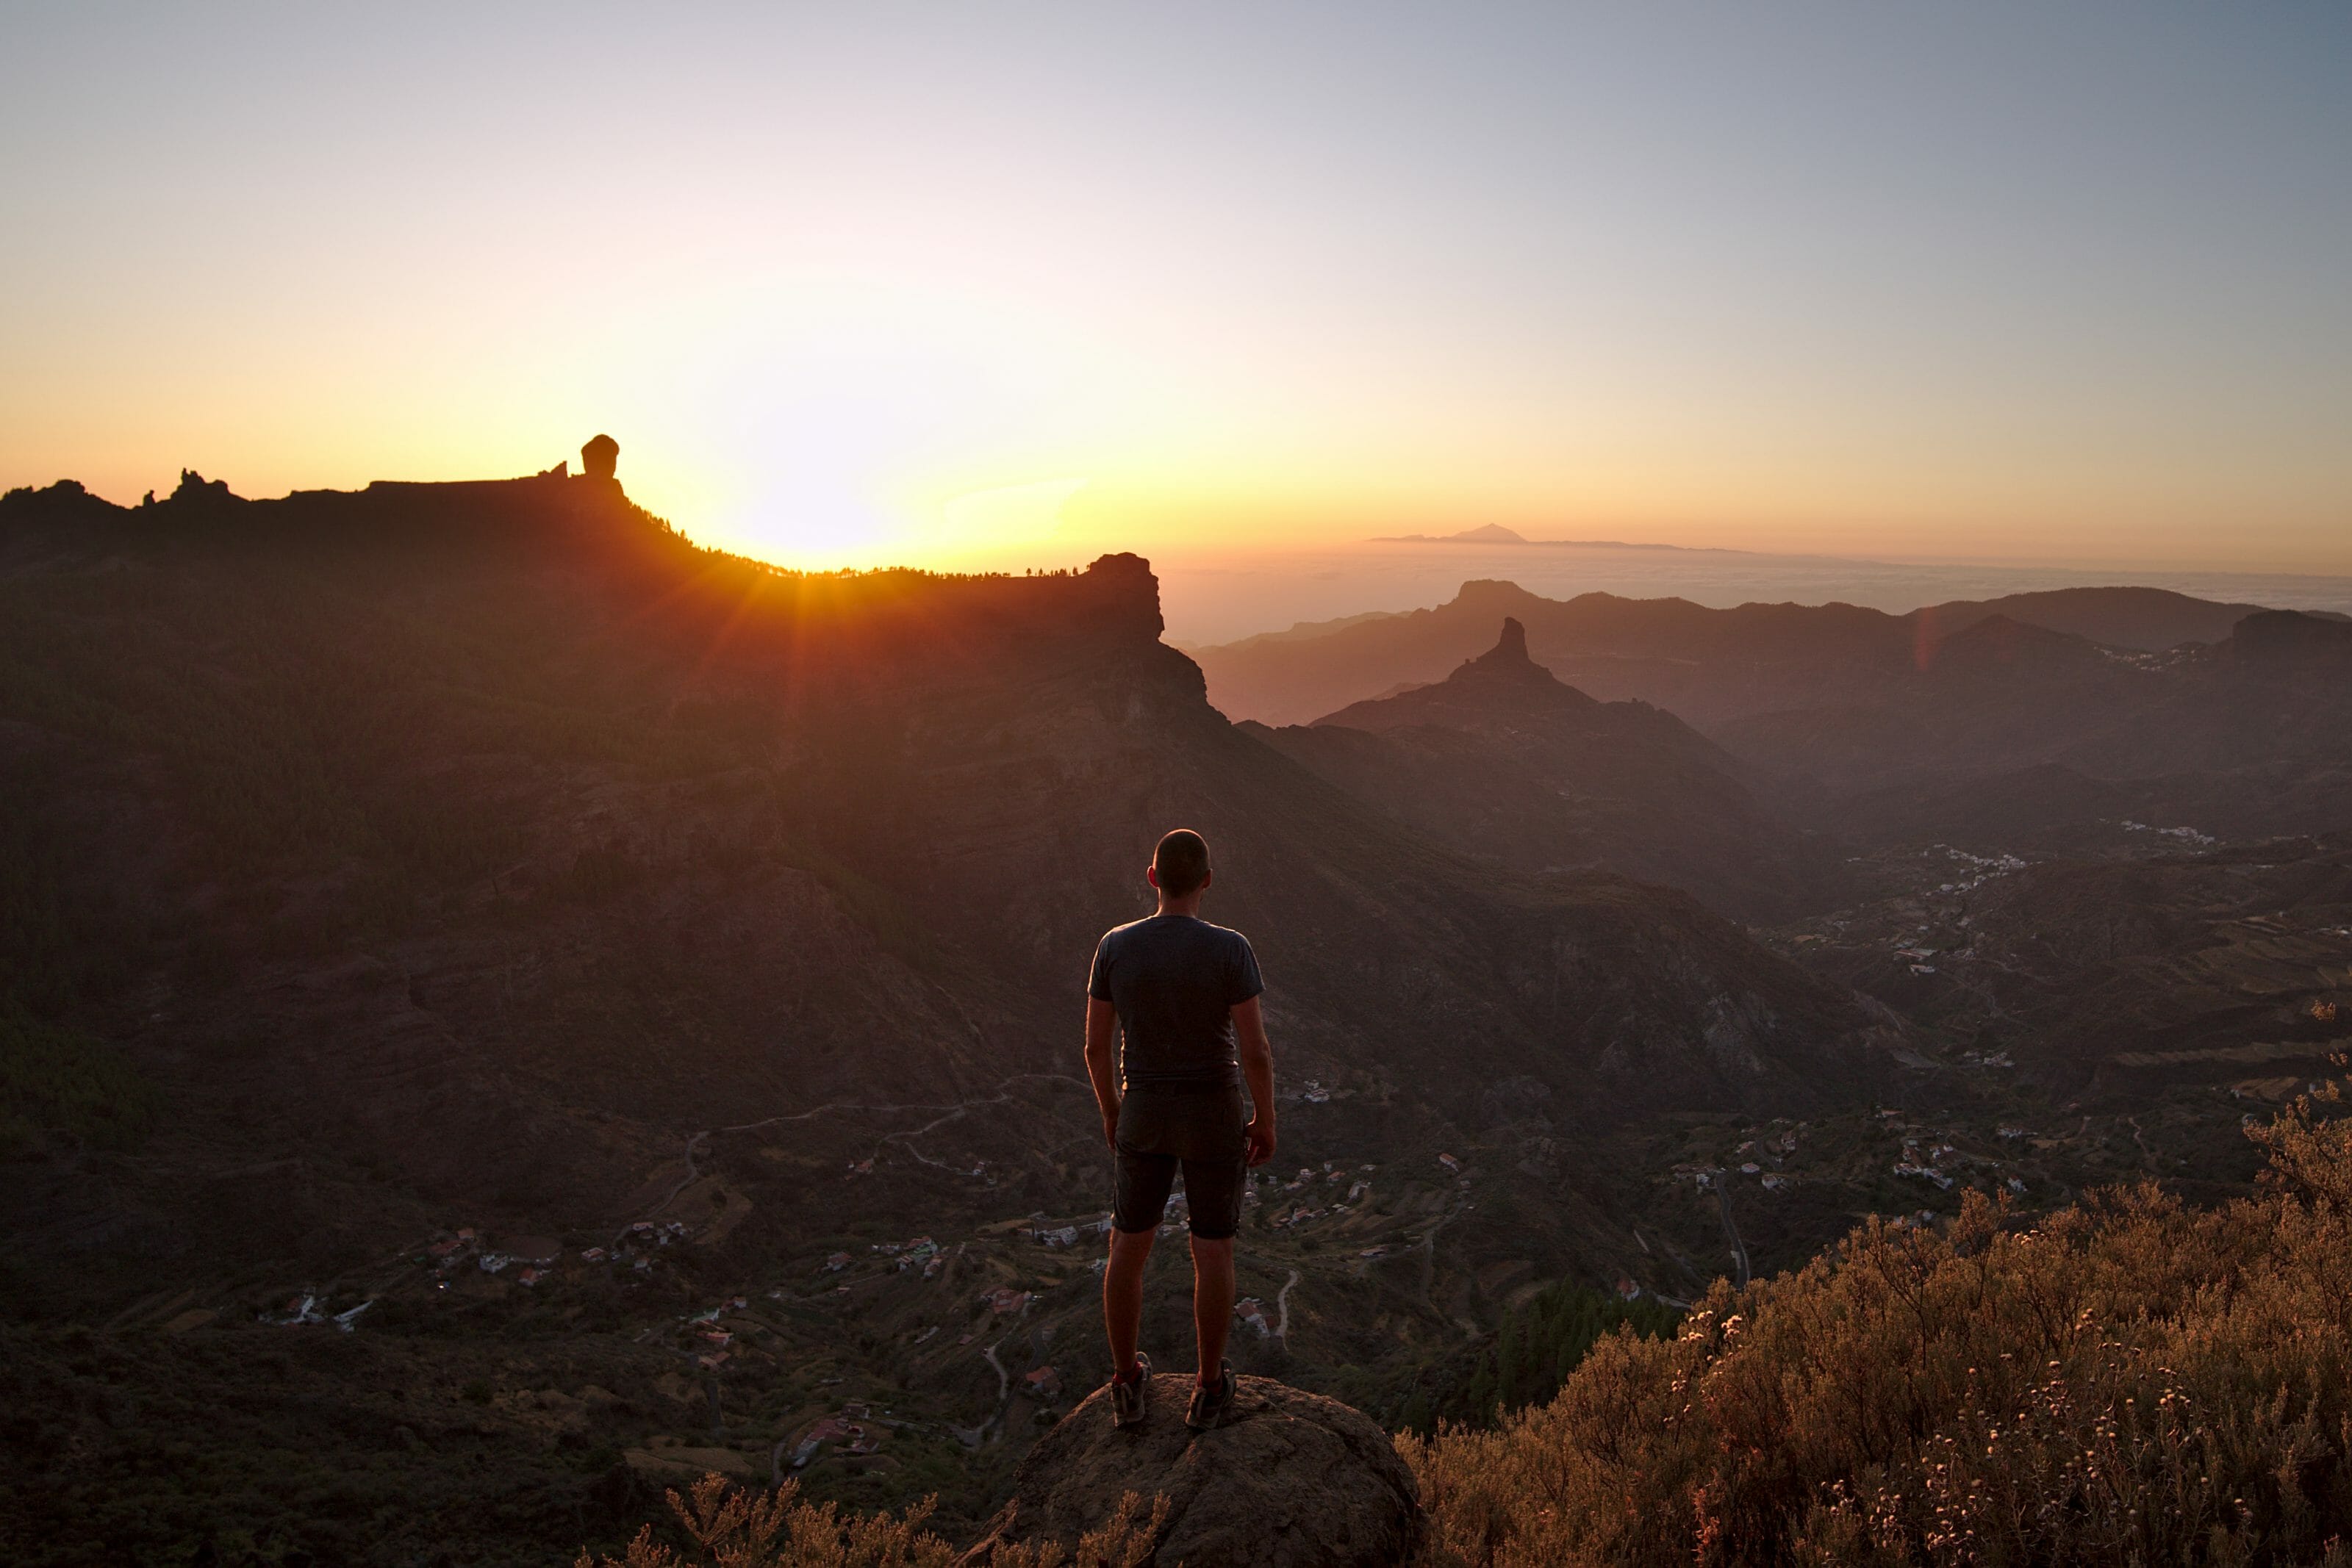
Infos Day 2
- Start: A bit above Ayagaures
- Finish: los Juncos camping area
- Distance: about 19,4km (13 miles)
- elevation gain: 1339m (4400 ft)
- elevation loss: 404m (1325 ft)
More pictures from this day
Day 3: From Roque Nublo to Galdar
This last day we admit that we were a little apprehensive (especially me). The program was simple: 26km of walking with more than 2000m of negative altitude difference! I can't tell you exactly why, but I've always found that the descent tends to tire me more than the ascent... Or let's say I know that in general my aches and pains are much worse after a big descent than after a good climb.
Early in the morning we started by heading to Cruz de Tejeda, the place where we knew we could get water (and we clearly needed it). This first section was magnificent because the trail is actually a kind of balcony walk with a view to fall on Roque Nublo all along.
Arrived in Cruz de Tejeda, we had barely done 4km but we took a well-deserved coffee break (in reality I have a hard time starting in the morning until I have had my coffee).
It must have been 10:30 when we got back on the road. After a nasty last climb that I had "overseen" by reading the map, we officially attacked the endless descent to Galdar.
Fire in Gran Canaria - images of a disaster
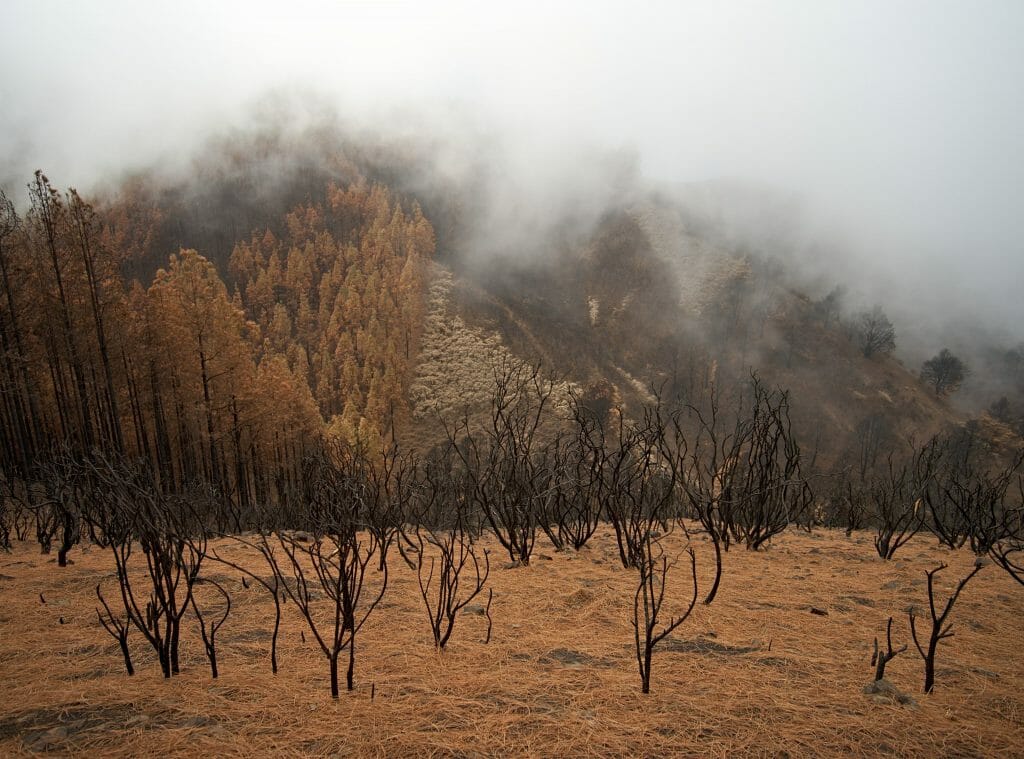
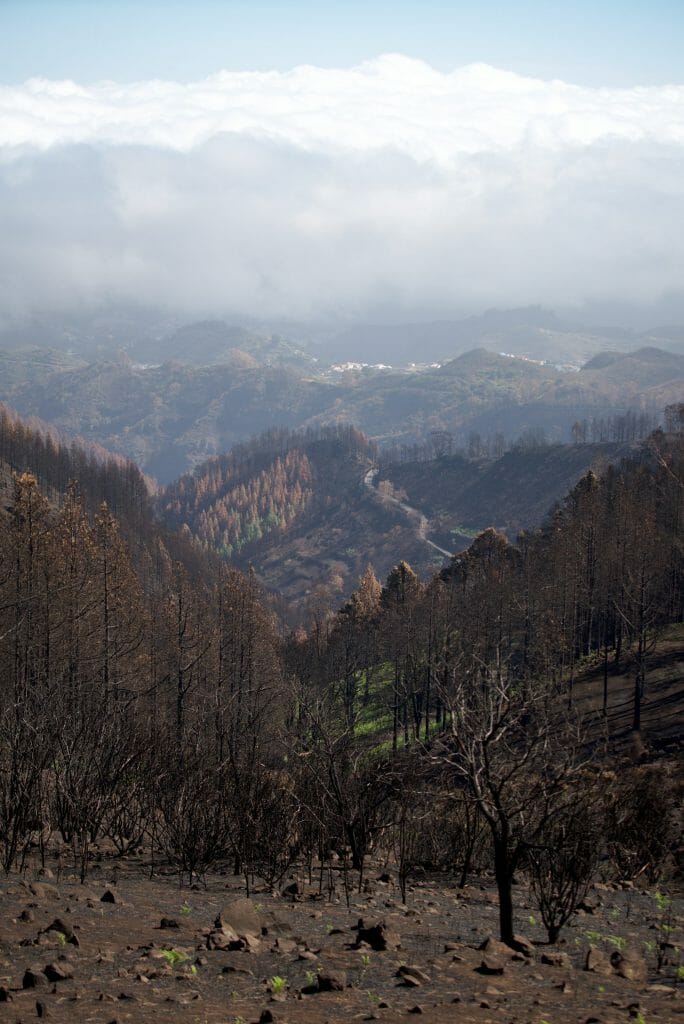
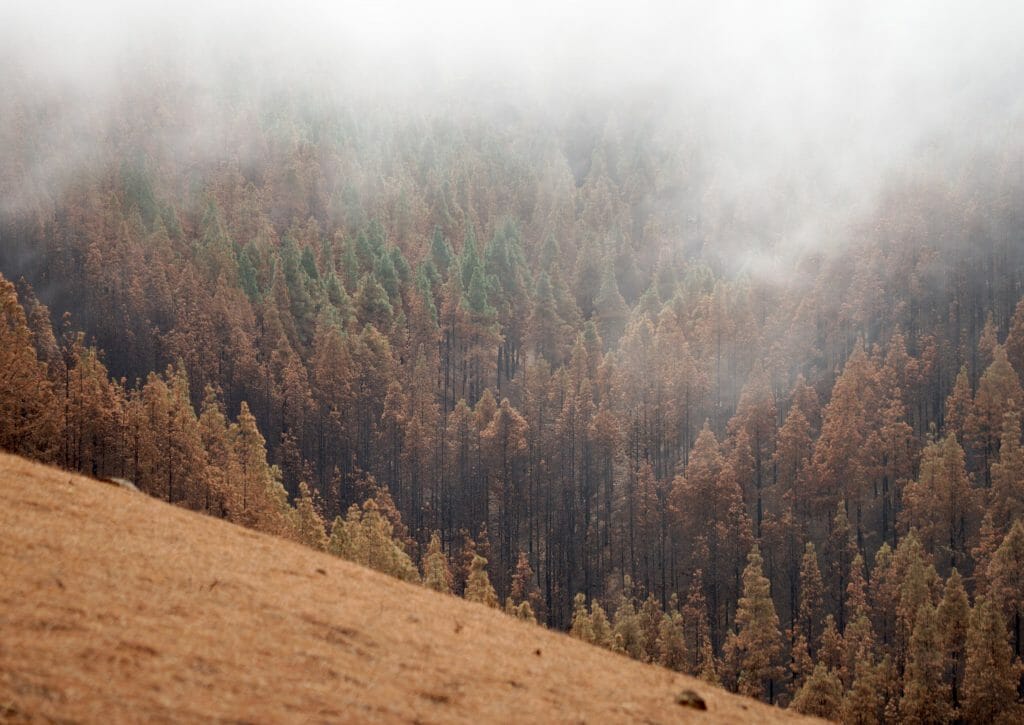
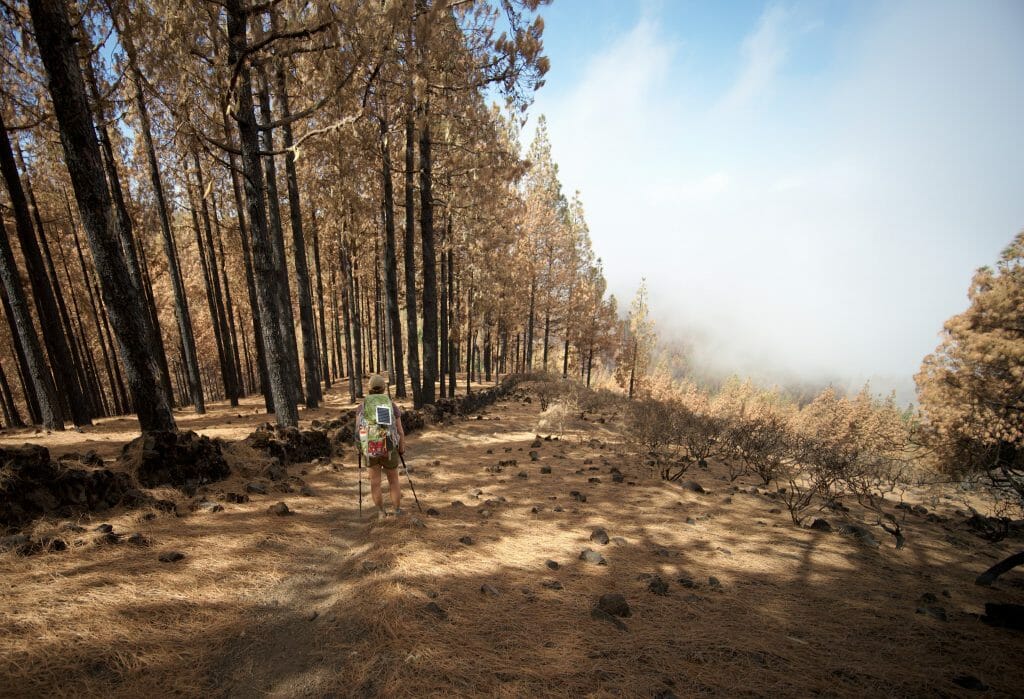
After Cruz de Tejeda we arrived in the area where fires ravaged Gran Canaria in August 2019. This fire had been in the headlines all over the world.... And for good reason: in the space of ten days or so, nearly 8% of the island's surface area disappeared. More than 10,000 hectares of vegetation and pines gone up in smoke.
When you pass through such landscapes you immediately have much more understanding for the bans on making fires on the island. This particular fire would have started with a welding device, but that could very well have been a badly extinguished barbecue. In short, if you come to the Canaries, be really careful and respect the prohibitions!
Descent into the ashes
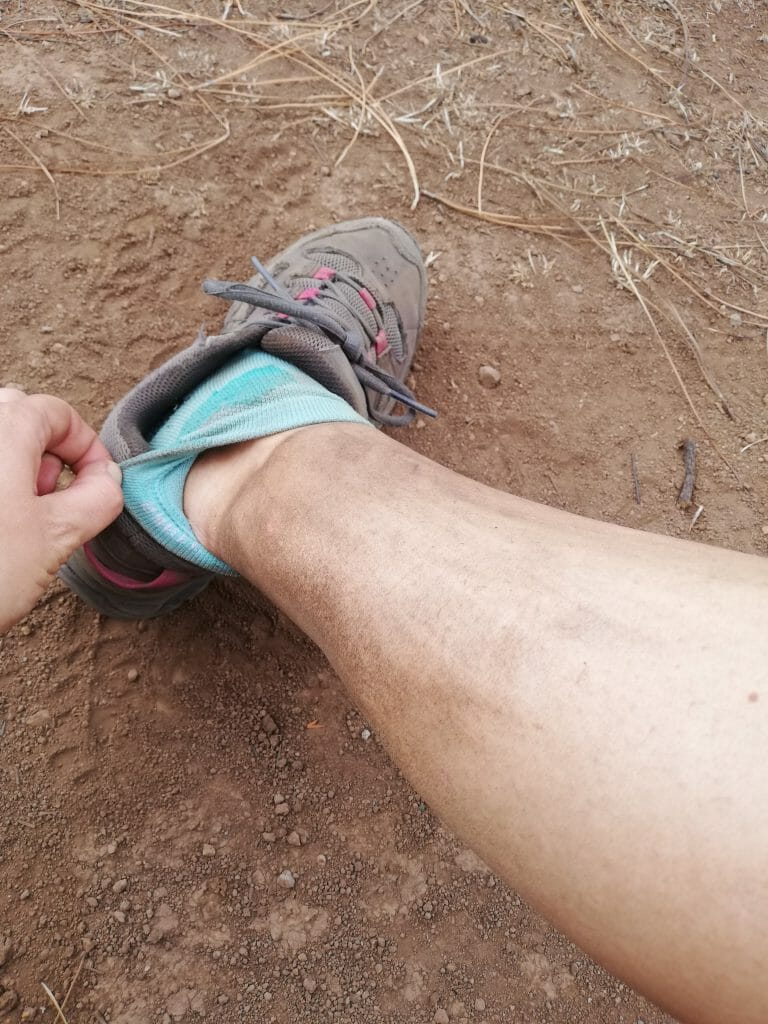
The fire being recent, there were many traces left on the trails. The most notable? The impressive amount of ash that covered the ground and the still charred trees that left their black marks on us as soon as we touched them. When we left this area we were literally covered with ash and soot!
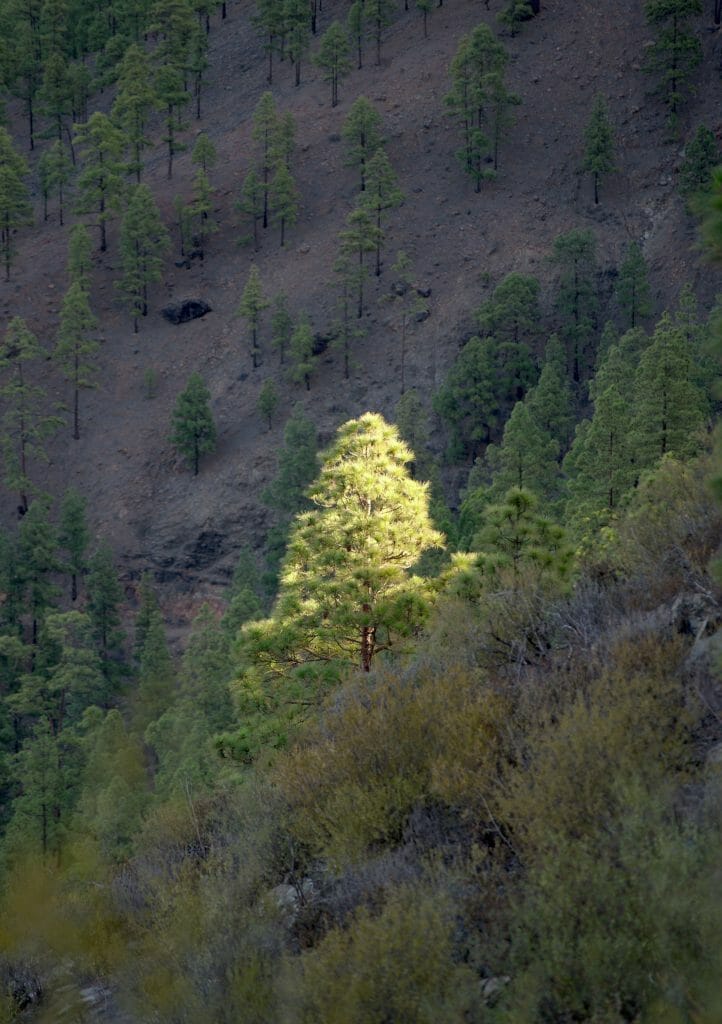
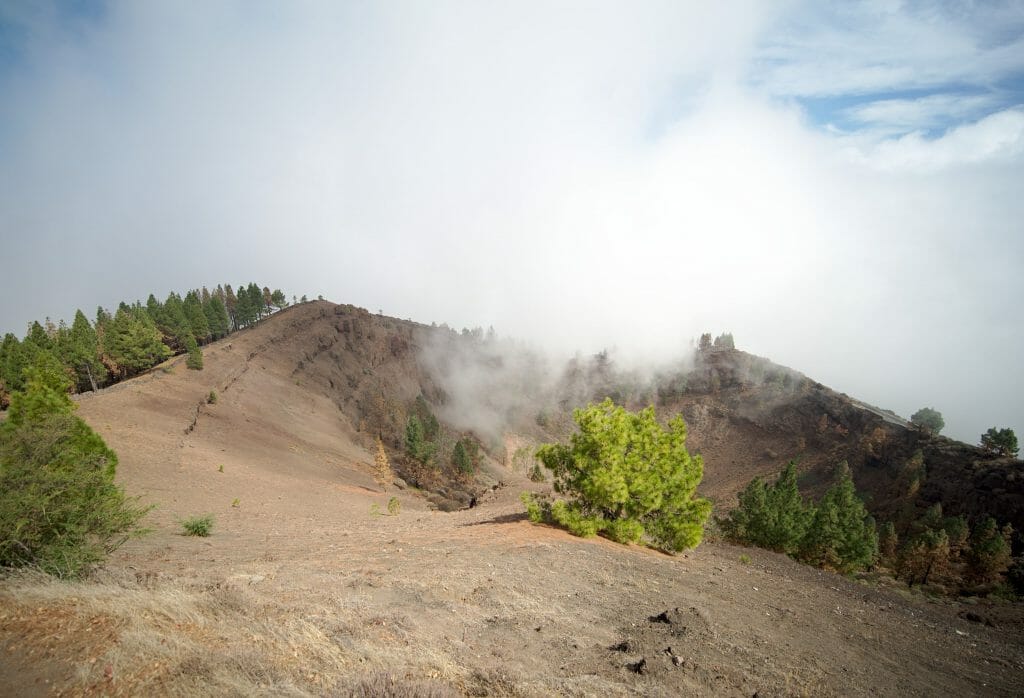
But despite the ashes, the first part of the descent is absolutely splendid! We pass near an old volcanic crater, dive almost vertically through the pines by sliding in the volcanic sand and especially enjoy some amazing views from the ridges.
A less "glamorous" end of the hike
All good things have an end and on this hike I would say that about 12km before the end the fun has faded a little. I am not saying that the landscapes were no longer there, but let us say that we quickly felt that we were on the verge of returning to civilization. The last 10 kilometres we alternated between ends on tracks, sections on asphalt roads and passages in small deserted localities (and unfortunately with a lot of waste in their surroundings). Add to that the fact that we were seriously starting to feel our legs no longer (or a little too much in fact), well we were very happy to see the goal coming.
Note: we found afterward an end of the hike that is much more scenic! We share this alternative itinerary with you at the end of the article.
Getting to Galdar - totally exhausted
It was around 6pm that we finally arrived in Galdar. The village looked cute, but let's be honest, we no longer had the strength to play tourists. Our only objective was to reach the Plaza de Santiago to enjoy a well-deserved ice cream before taking a bus back to Las Palmas (and take an even more deserved... and necessary shower!)
Infos Day 3
- Start: The los Juncos camping area
- Finish: Galdar
- Distance: about 26,3km (16,6 miles)
- Elevation gain: 440m (1445 ft)
- Elevation loss: 2009m (6500 ft)
More pictures from this day
Practical information for crossing Gran Canaria
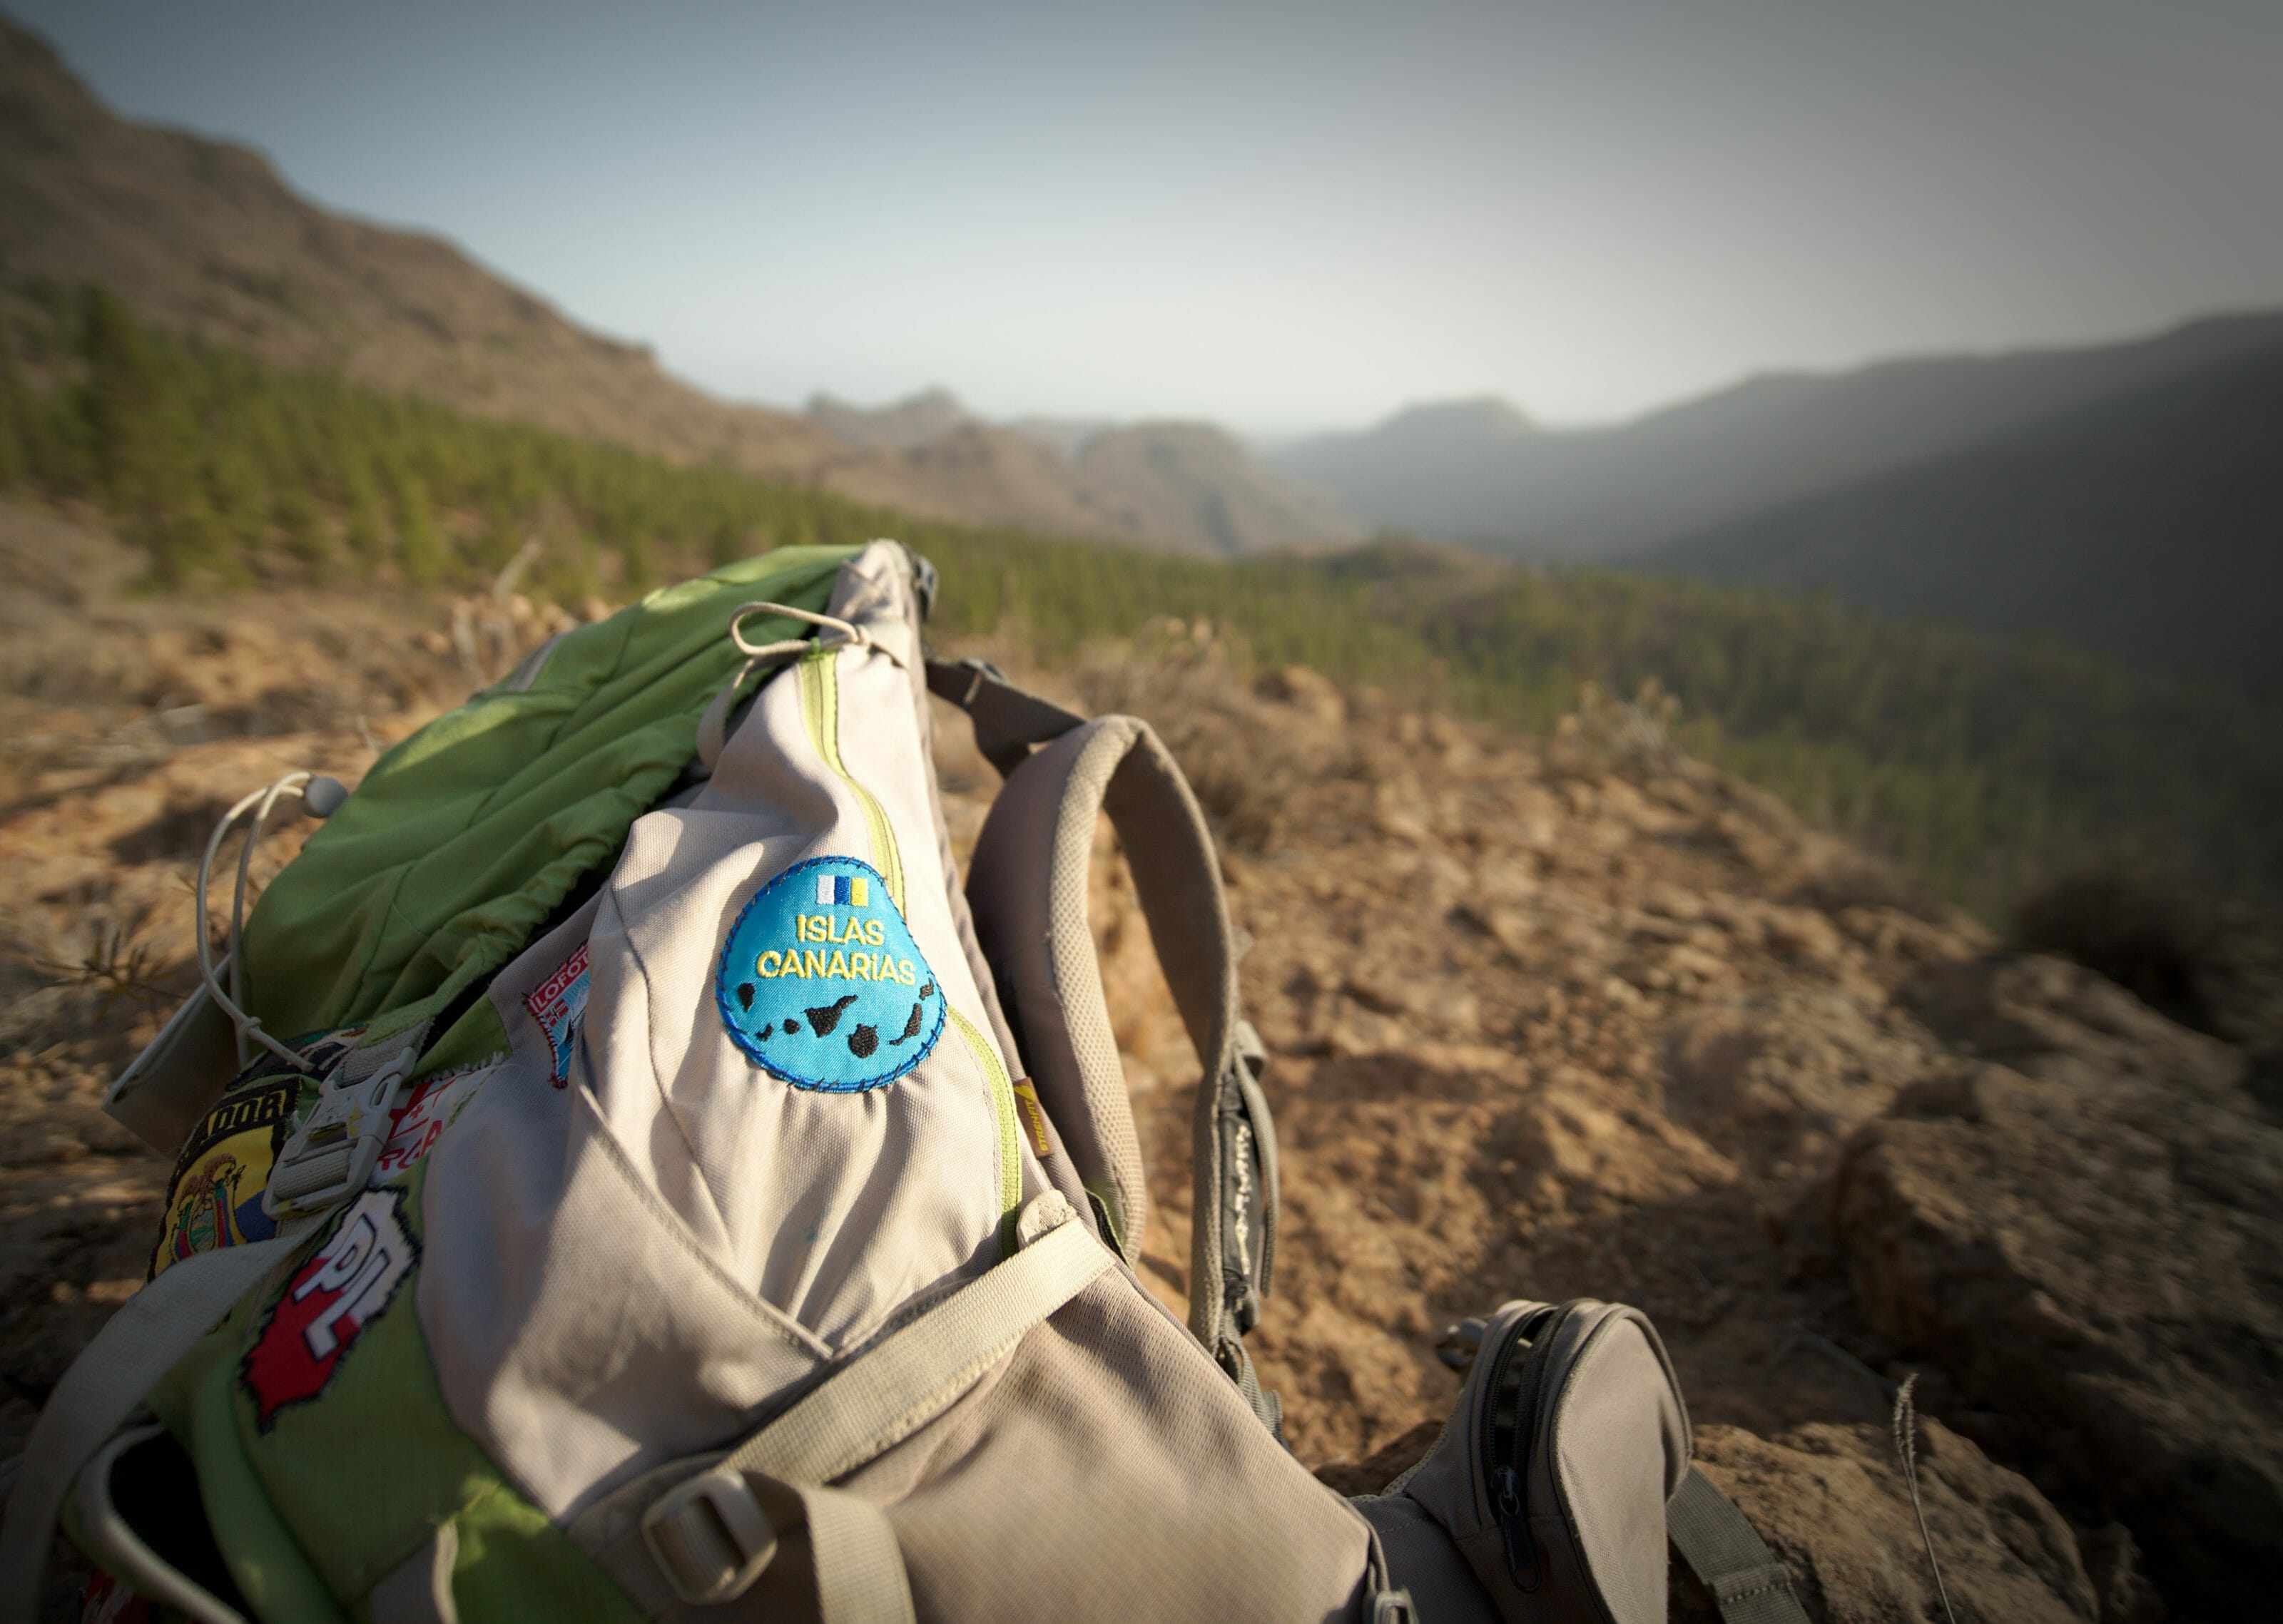
In this section we will try to give you all the information you may need to do this hike. If you feel that any information is missing or if you have any questions, please feel free to leave us a comment at the end of the article.
Key figures for this hike on Gran Canaria:
- Distance: 64,5 kilometers (about 40 miles)
- Duration: 3 days (or 4 days)
- Elevation gain: 2685m (8800 ft)
- Elevation loss: 2579m (8460 ft)
- Difficulty level: Average
Hiking Map
We advise you to bring a map accessible offline for this route. For our part, we have a subscription to AllTrails+ which allows us to follow a track even without a network. If you want to test AllTrails+, you can do it for free during 7 days. Then, by going through our link, you have a 30% discount on the first year (20,99€ instead of 29,99€).
If you already have an app that you use, you can also simply download our track and import it into your app. To download a track you just need to create a free account on the app and you will have access to more than 30 download formats (GPX, KML, Garmin, etc.)
Here is the exact route we followed during our crossing:
Do the hike with a tent or staying in hotels?
One of the big positive points of this hike is that it can be done with a tent (as we did) as well as by staying in hotels/guesthouses. This last option is more "relaxed" in the sense that the weight of the bag will logically be lower and above all you sleep in a real bed at night.
Afterwards, you just have to be aware that there are not accommodations everywhere... On the itinerary you can sleep at these places (but the accommodation is quite expensive overall):
- Ayagaures - kilometer 15. There is no hotel, but a few guest rooms. We read that it was not always easy to find something
- Tunte (San Bartolomé de Tirajana) - Kilometer 27: one hotel that can be booked online. There are also some guest rooms that are not on the internet, but as we haven't tried to sleep there, we unfortunately won't be able to tell you if/how they are available. Note: there are also some options available on airbnb
- Cruz de Tejeda - kilometer 43,5. A (luxurious) hotel and a guesthouse. See the Guesthouse
Bivouac is obviously a much more economical option. 
The main difficulties of this trek
From a trail point of view this trek is really not difficult: the paths are clear, well maintained and there are no technical passages at all.
The second big advantage of the Canaries is that there are no animals that are dangerous to humans. No snakes and no spiders or creepy ramping things that could hurt you.
Nevertheless, some difficulties may be added:
- The TOTAL lack of water. In Gran Canaria, water is really not very present. It seems that in the spring there may be a little bit of water in some lakes or streams, but honestly don't count on it. During our hike (October 2019) there was absolutely no possibility to get water except in the villages
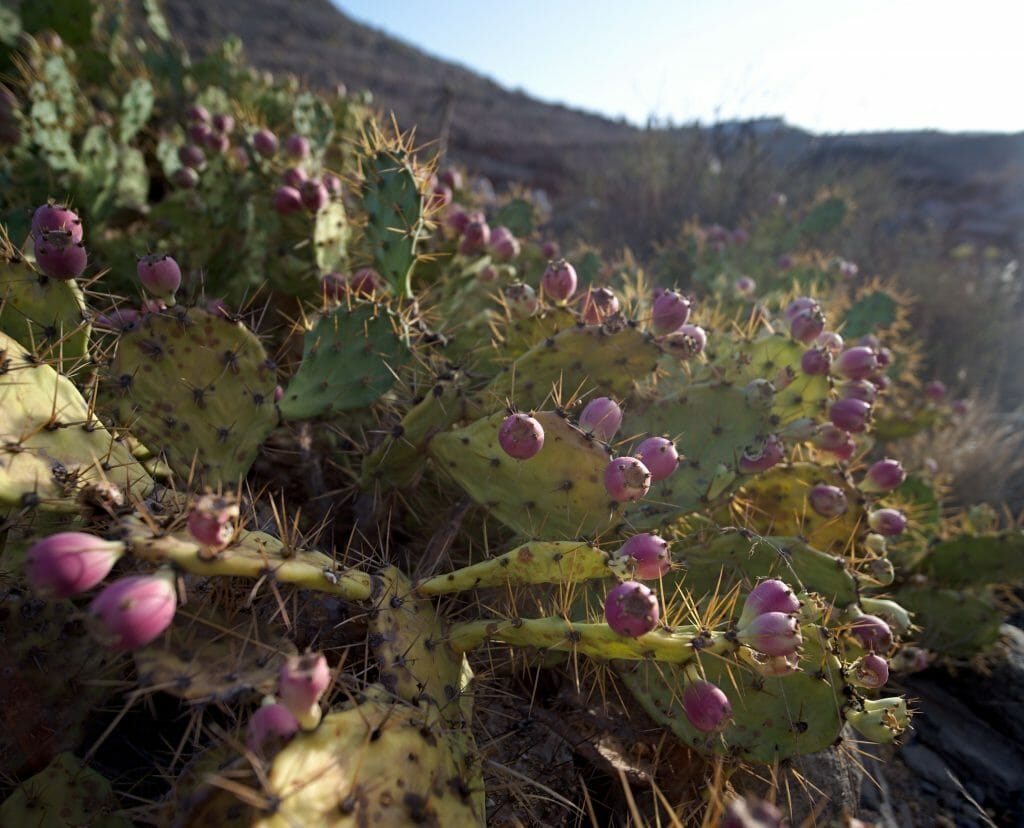
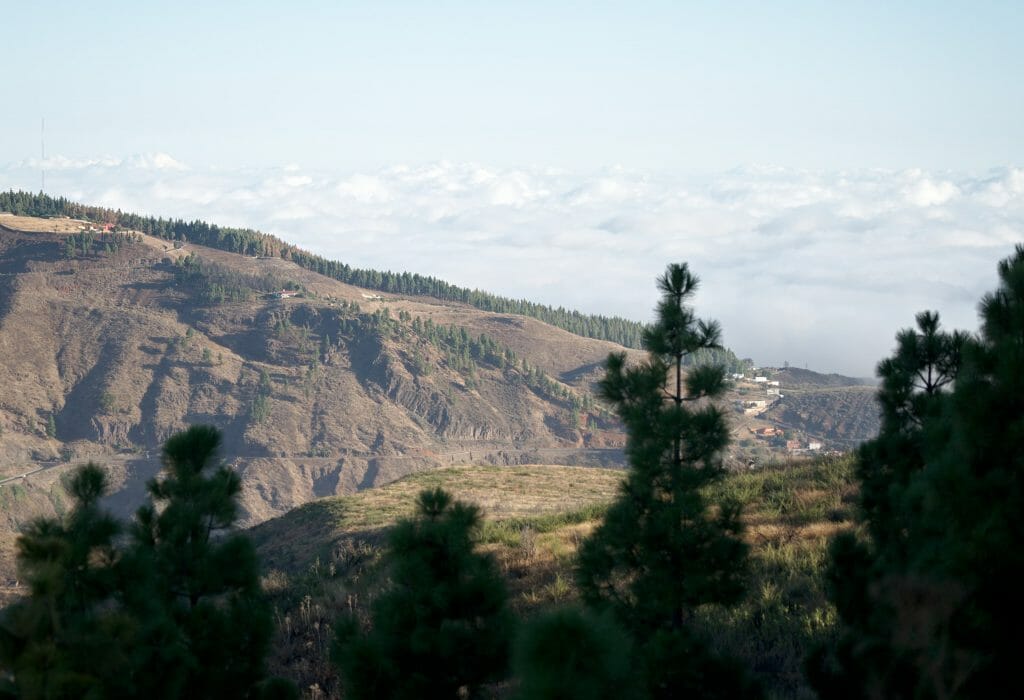
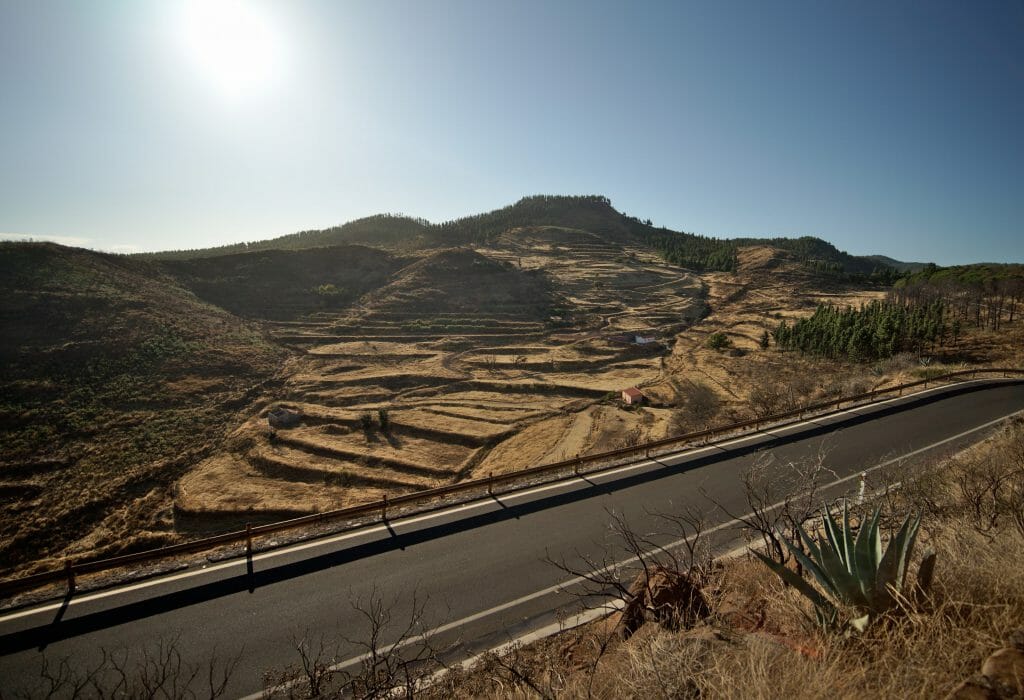
 The sun is strong! Very strong even.... And when you say lack of water, you also mean little or no vegetation. The direct consequence of this drought is that there are hardly any trees and therefore no possibility of shading for a good part of the days.
- We're back to the water once again, but be sure to plan your supply very generously. We drank about 3 litres of water per person per day (and that was clearly not too much).
What equipment should I bring for the hike?
The equipment will depend a lot on whether you want to do it with your tent or by stying in hotels, but as we did in a bivouac we will give you the answer for this option (even if in the end it is similar to do it by staying in hotels, but just a bit lighter)
Note: We also wrote a detailed blog post about the gear we take on multi day hikes if you're interested
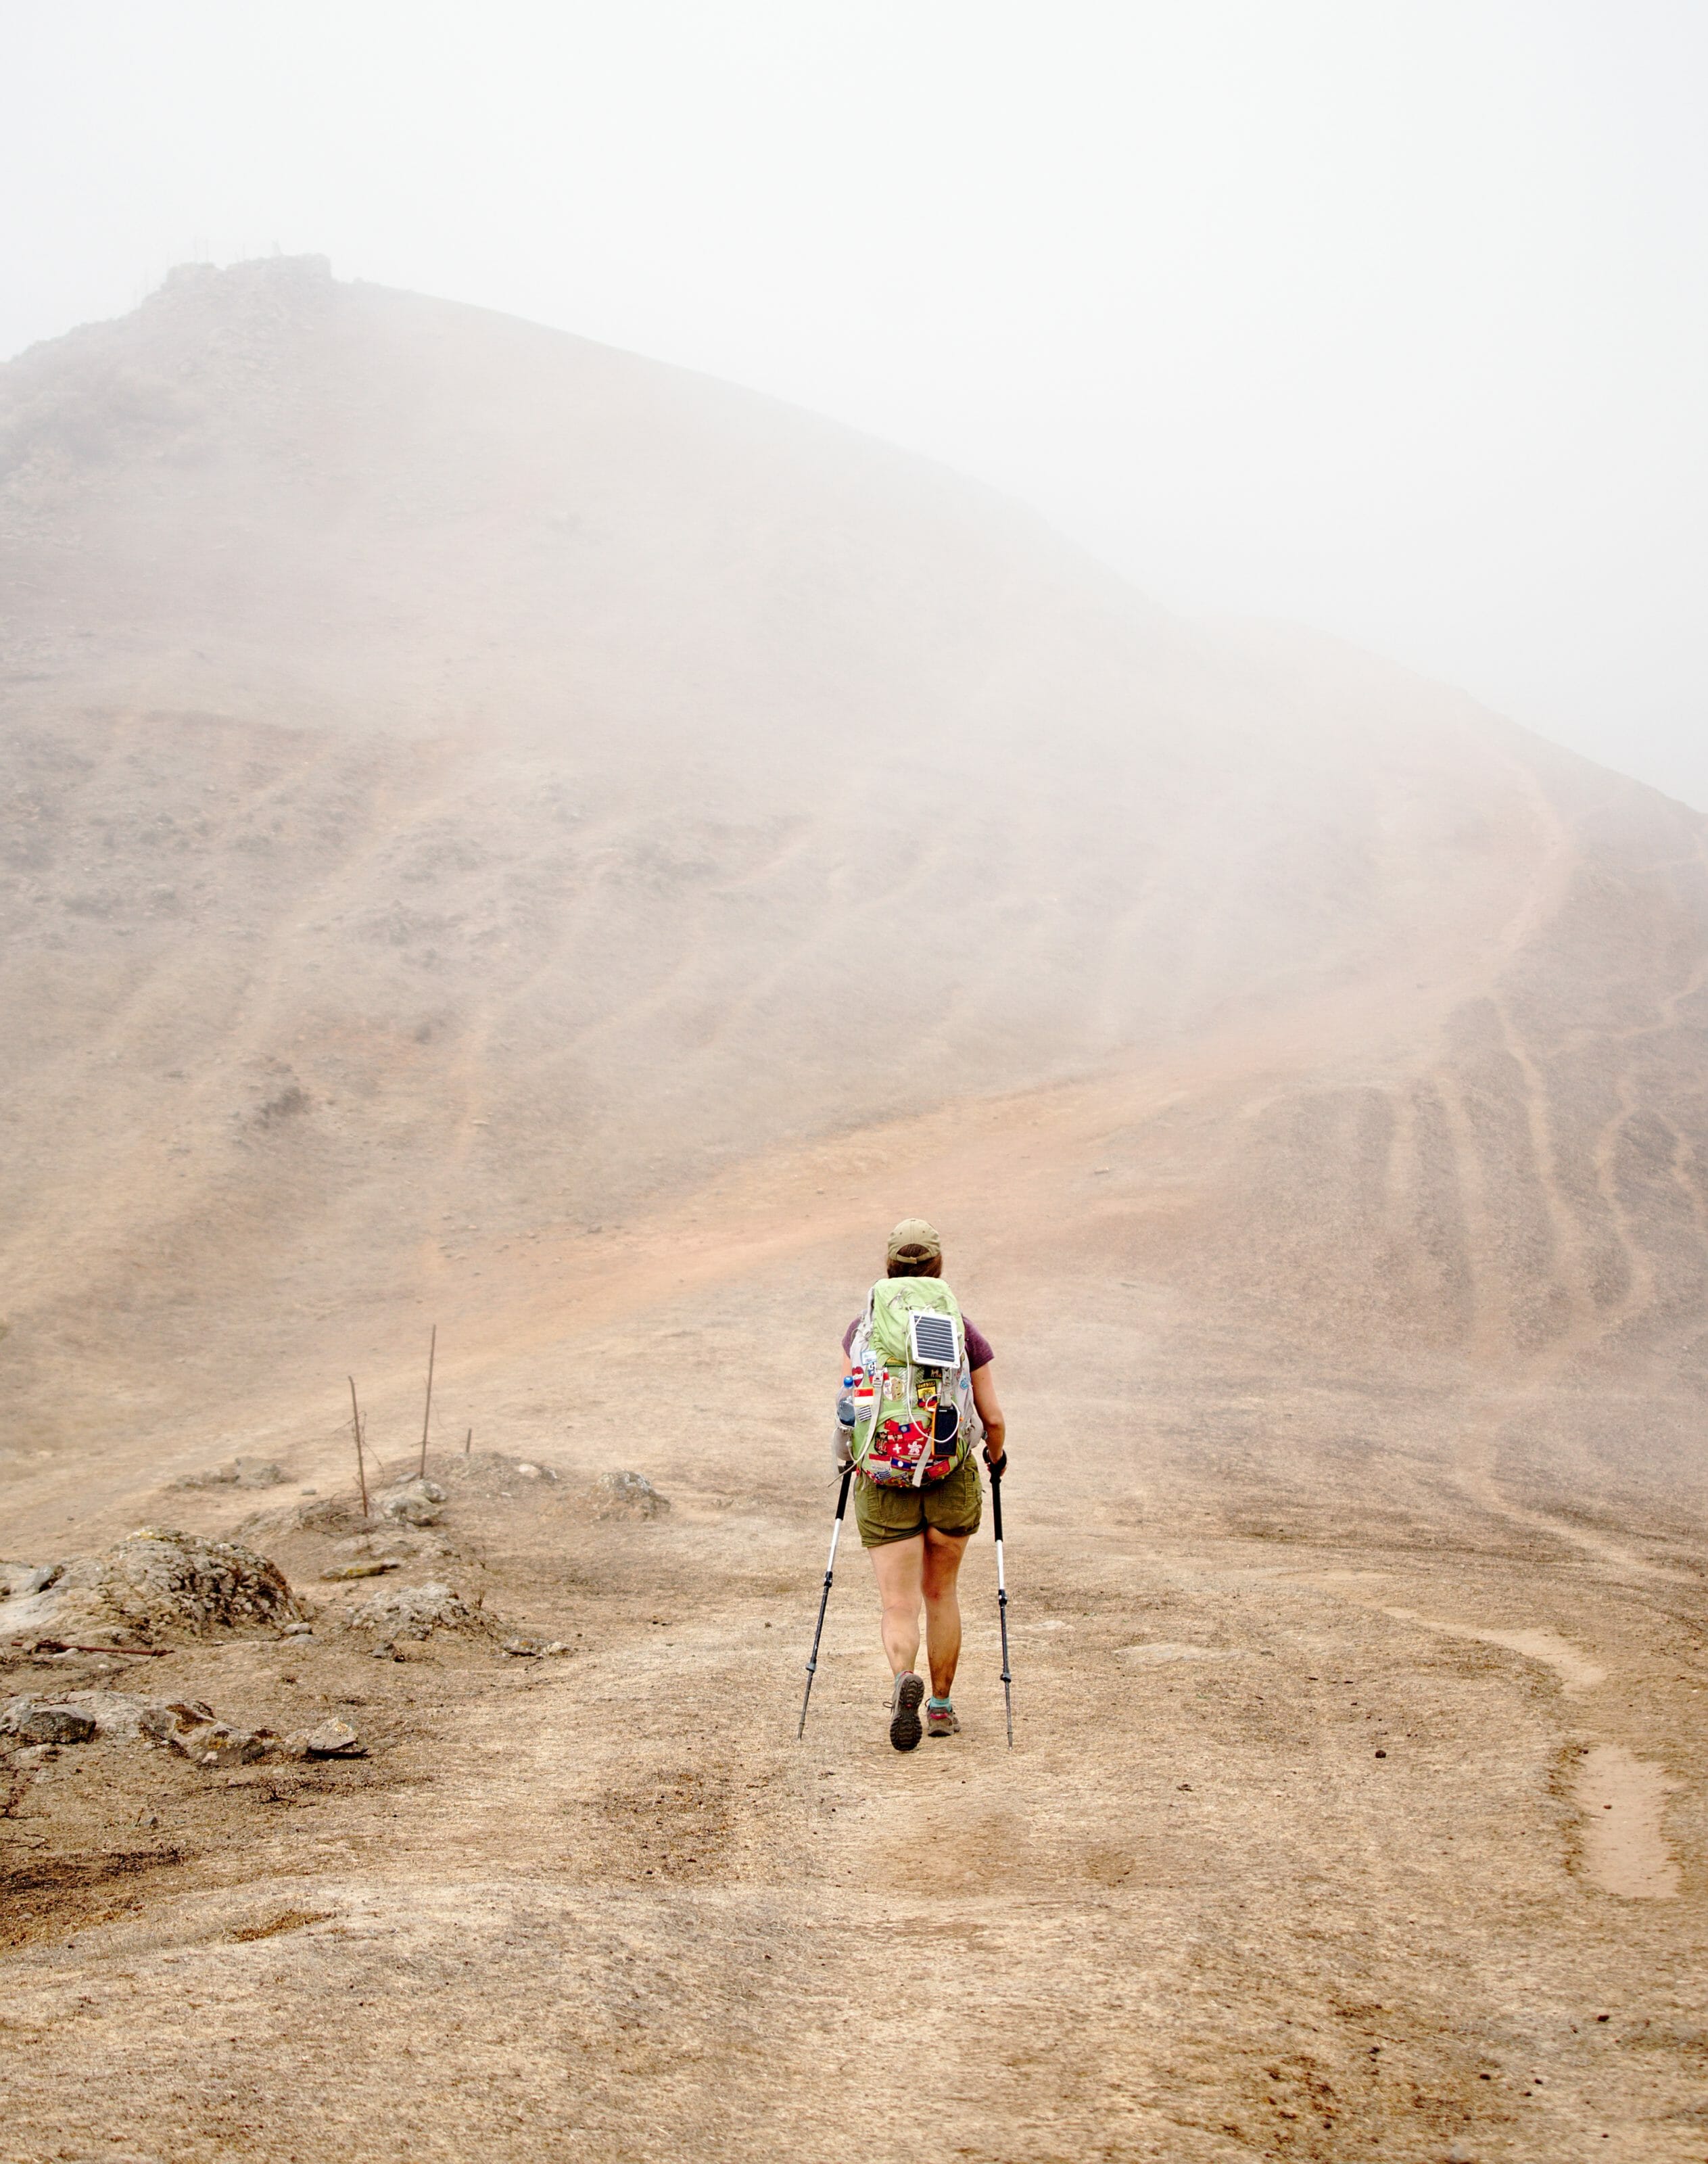
Camping gear: Nothing special to report here. We had our 3-seater tent, our light mattresses, our sleeping bags (note: we had those for a comfort temperature of -5°C and we obviously had much too hot... a comfort temperature of +10°C seems more than enough to us). We also had a headlamp and a roll of toilet paper
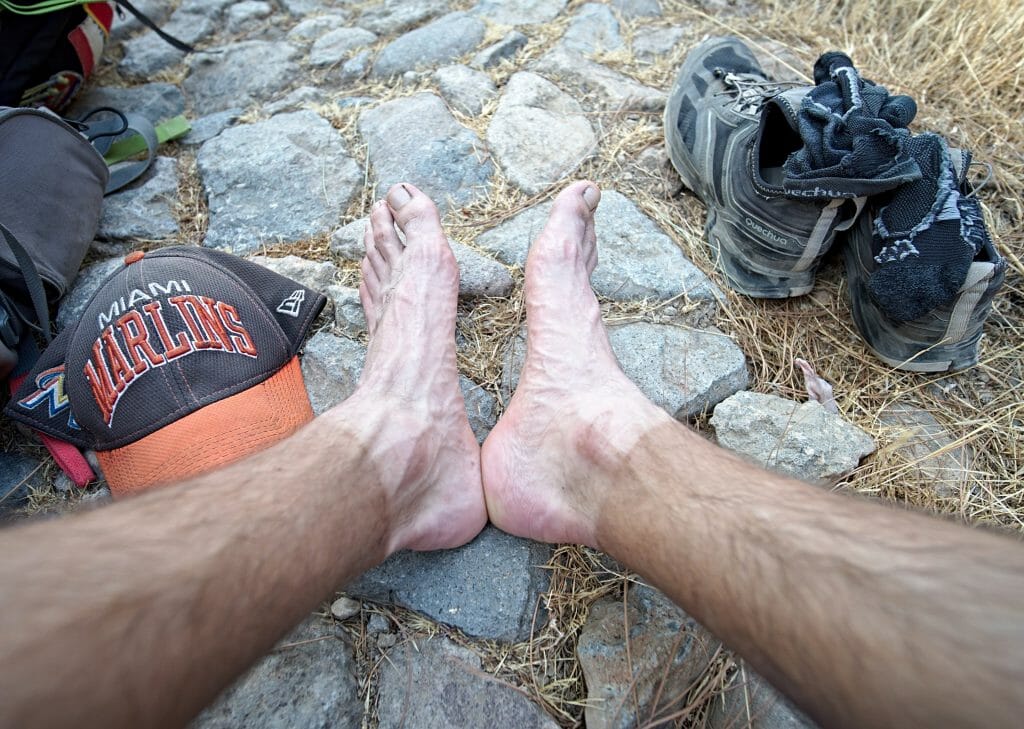
Hiking gear and various: Our backpacks, hiking poles (essential with the weights of the bags), trail running shoes, a spare T-shirt, a sweater and a rain jacket (which we thankfully did not have to use). Otherwise we also had our toothbrush, toothpaste, sunscreen and a cap (essential!).
Meals: We had planned exclusively cold meals (salads, wraps, sandwiches and snacks). We did some shopping in San Bartolomé de Tirajana (Tunte).
Attention: due to the extreme drought on the island fires are totally prohibited!!!!! And this also includes gas or petrol stoves. If you want to eat a warm dish from time to time you can stop at small restaurants on the way.
Water: we drank a total of 10 litres per person over the entire hike. Of course, this is too heavy to carry everything at once. The villages on the way where it is possible to get water are: Ayagaures (km 15), San Tunte-Bartolomé de Tirajana (km 27), Cruz de Tejeda (km 43).
There are some additional places, but they might not be open all the time.... For water it is clearly better to plan enough!
When to do this hike?
The Canary Islands have a fairly constant climate throughout the year. As a result, there is no season that is really better than another.

The only slightly more humid period would be January-February (although...). Let's say that it is during these 2 months that it rains the most statistically speaking (30mm of rain per month, which corresponds roughly to the rainfall we know in France in July, which obviously means: not so much)
The alternative end to this hike: finish in Agaete
You will have noticed that on our last day of walking we followed a lot of roads and tracks. To tell you the truth, the last 10 kilometres before arriving in Galdar were by far not the most scenic.
If you don't care about the spiritual side of Santiago, then we would advise you to finish your hike in Agaete. We have identified this alternative route (different for the end of the route only) which seems to be much more scenic.
We came across this trail because after our crossing, we came to the Agaete area to hike. We didn't make the whole route, but a good part of it! And believe me, this trail is much more scenic and "wild".
Here is the map of this alternative route:
This route is 5km longer. If you don't feel like doing it in 3 days (we admit it's starting to be quite a long hike), it's quite possible to cut the last step again.
- If you do it in a hotel: there is a possibility to stay in Artenara
- In bivouac: there are many bivouac options on the descent (especially towards the Montaña Bibique)
That's it, this time I think you know (almost) everything there is to know about this hike. With hindsight, we would probably have done the second variant, even if we don't regret our itinerary at all!
We send you salty kisses from the Canaries and we'll see you very soon for a new 100% canary article.
Note: this article contains affiliate links. By using our links to make a reservation you obviously pay nothing more, but on the other hand we will receive a small commission. We only recommend services and sites that we also use on a regular basis and with which we are very satisfied.
Pin it
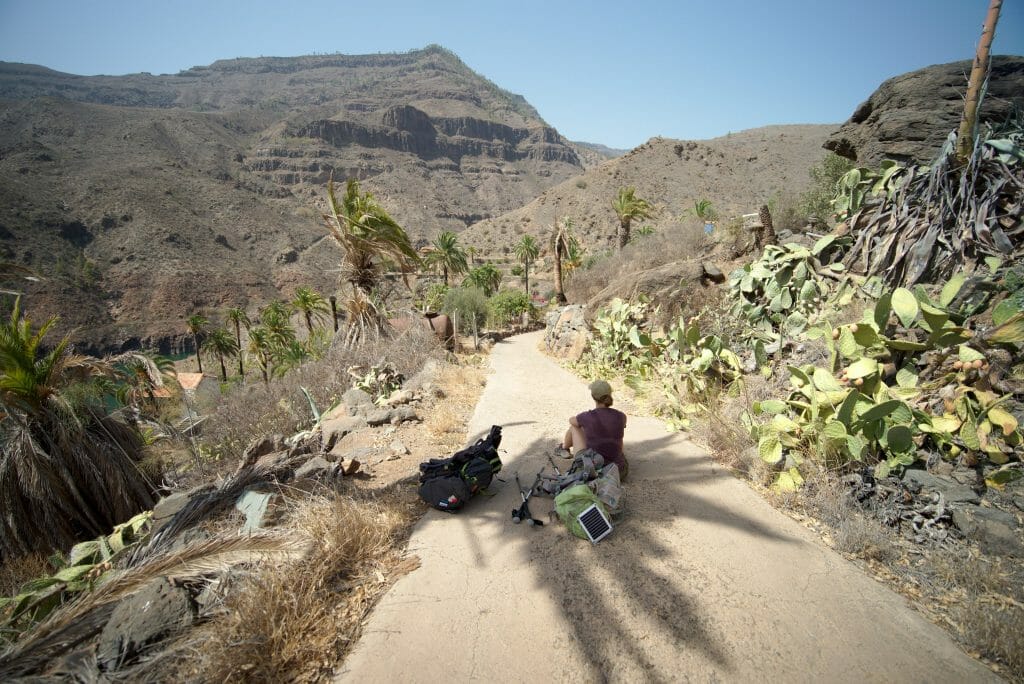
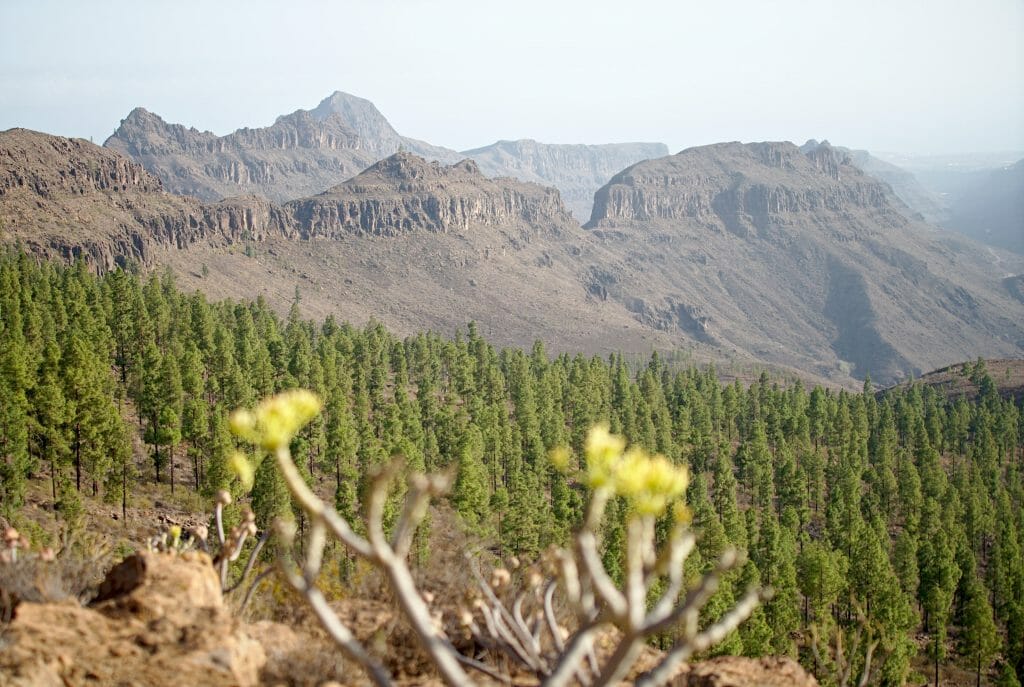
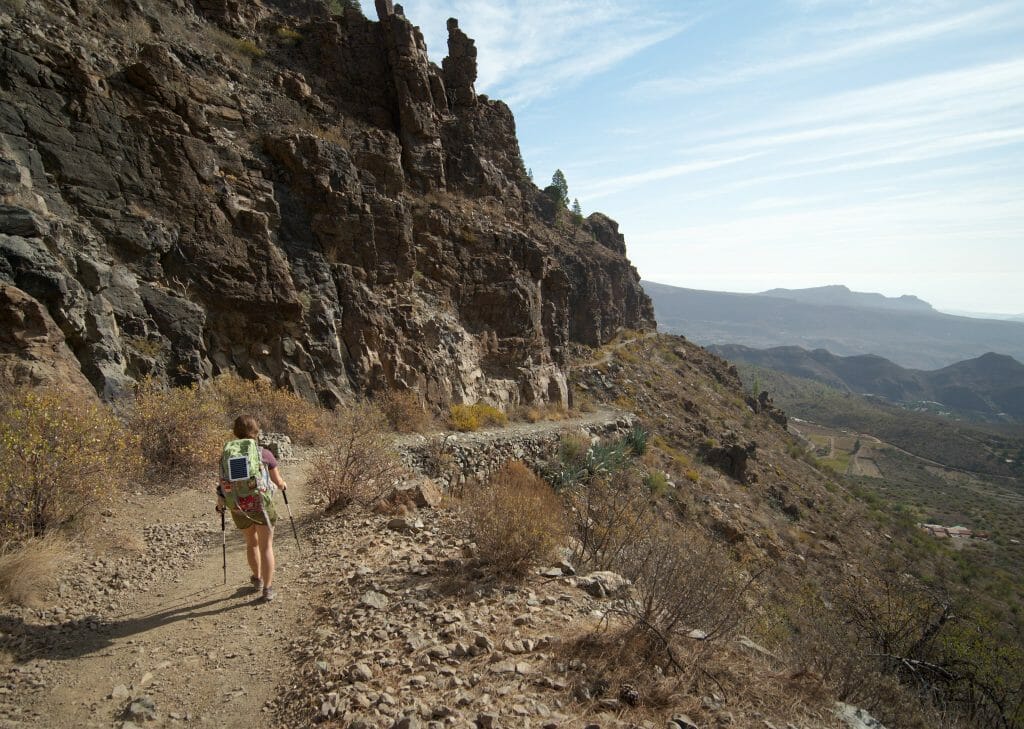
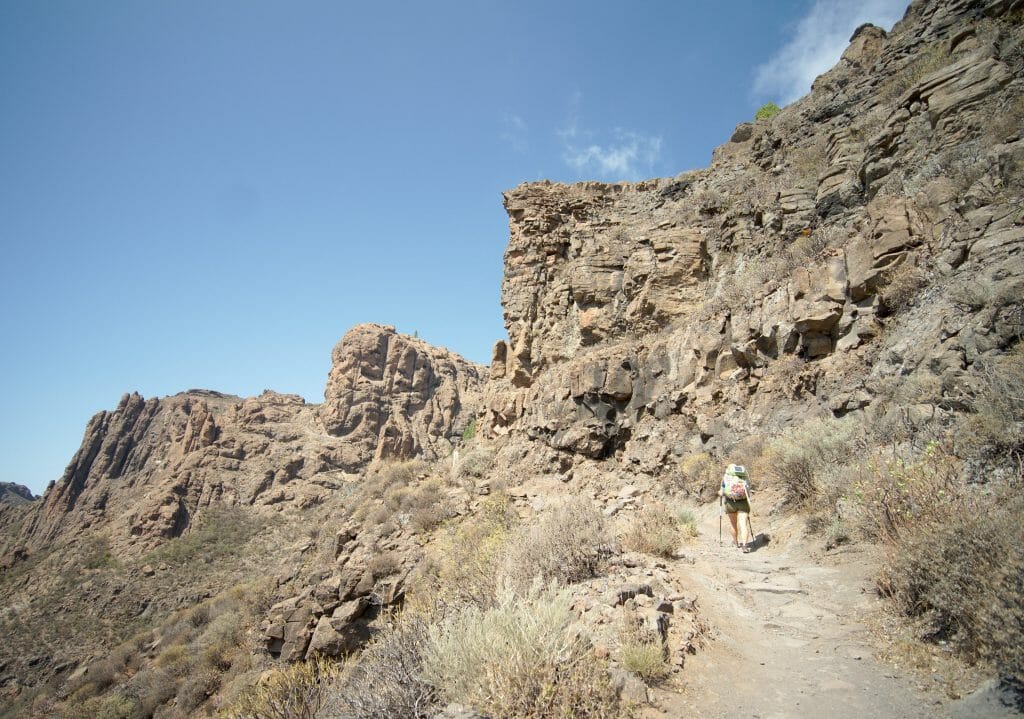
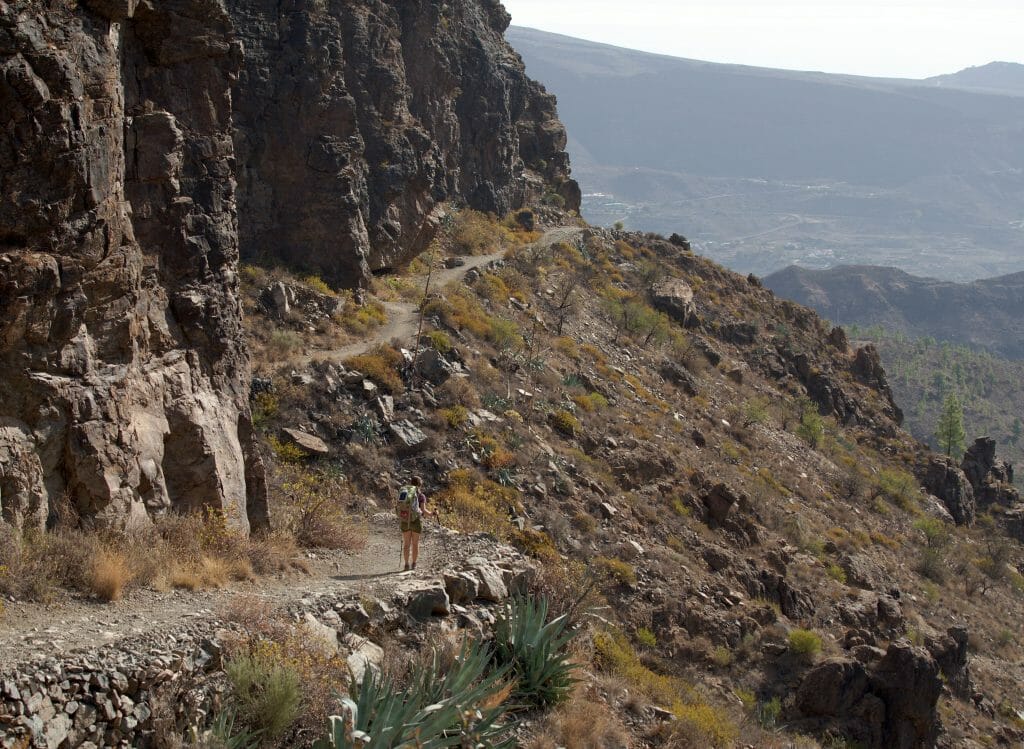
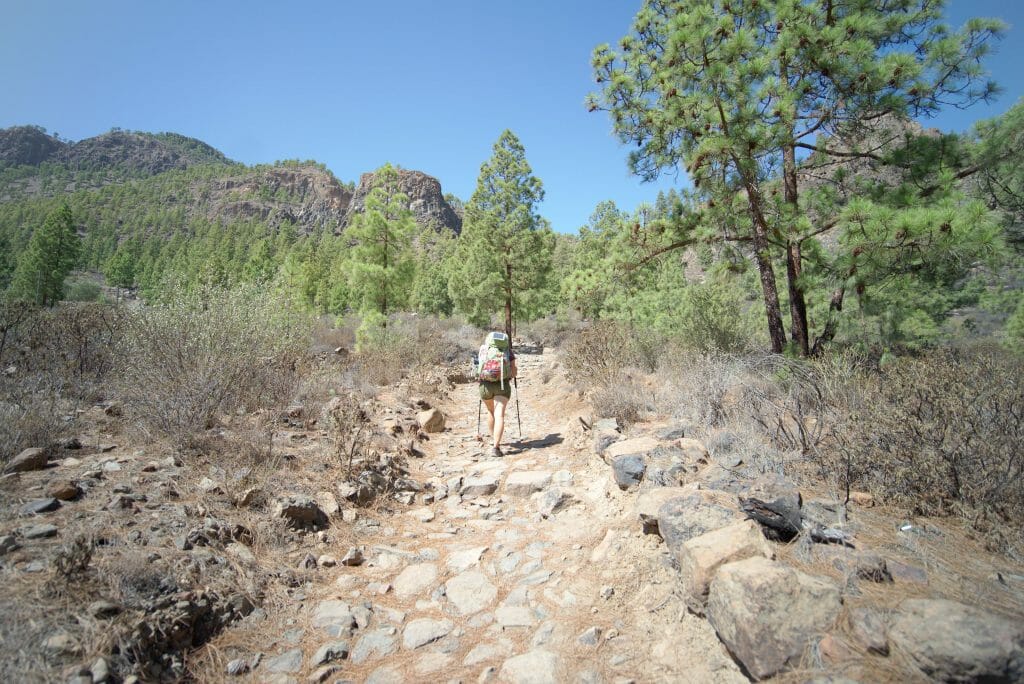
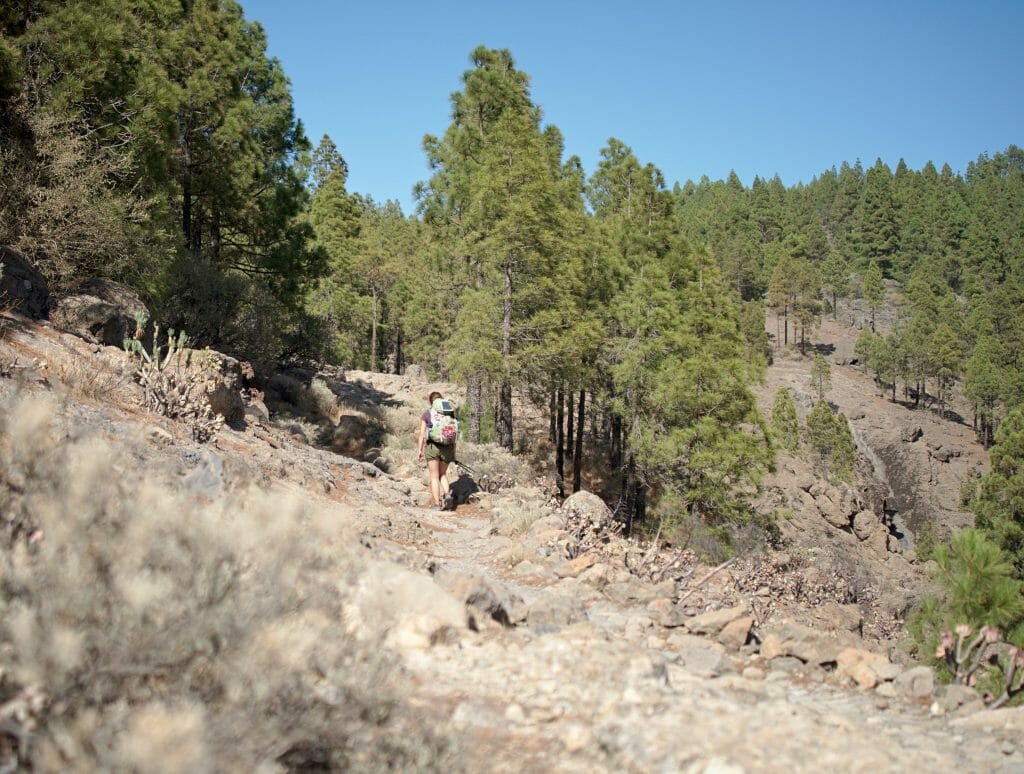

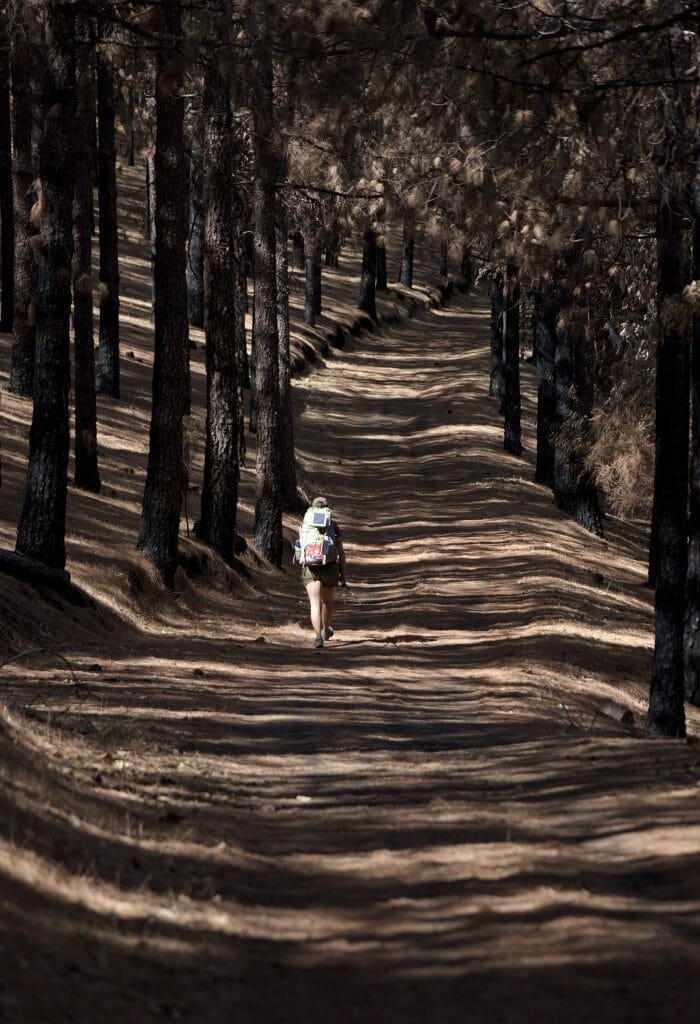
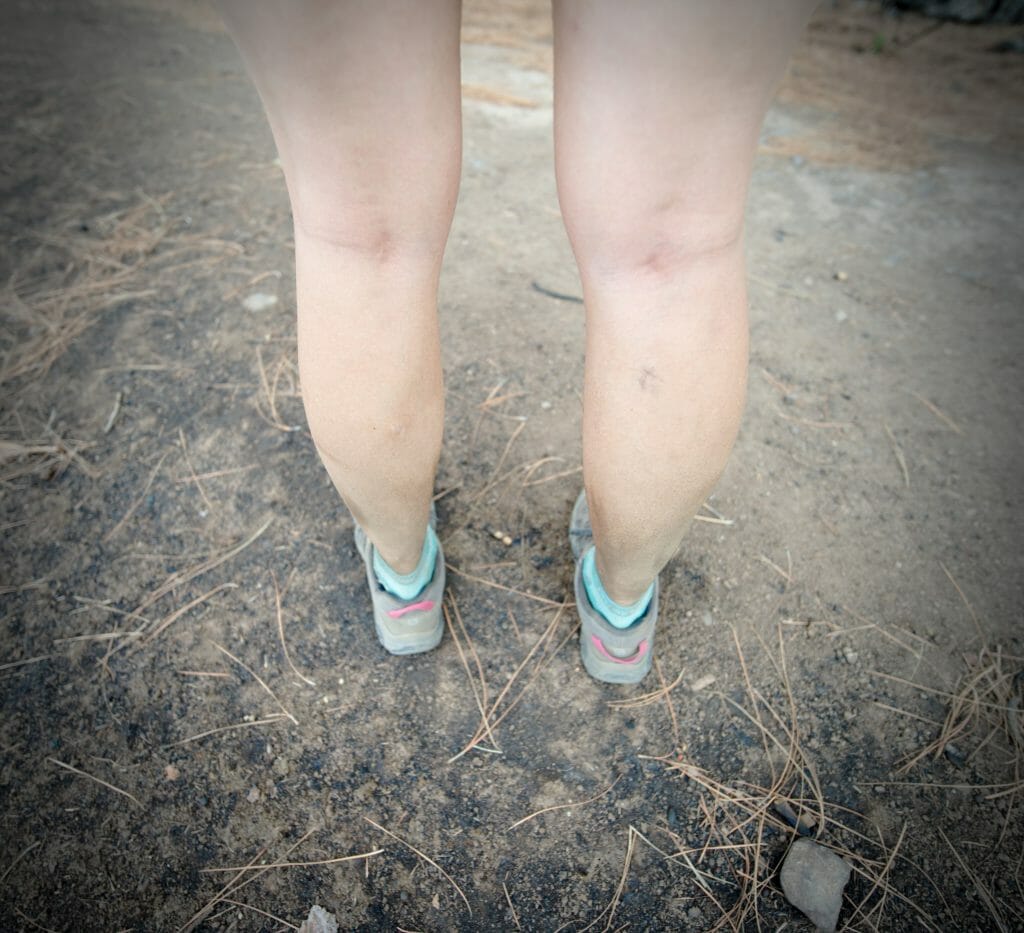
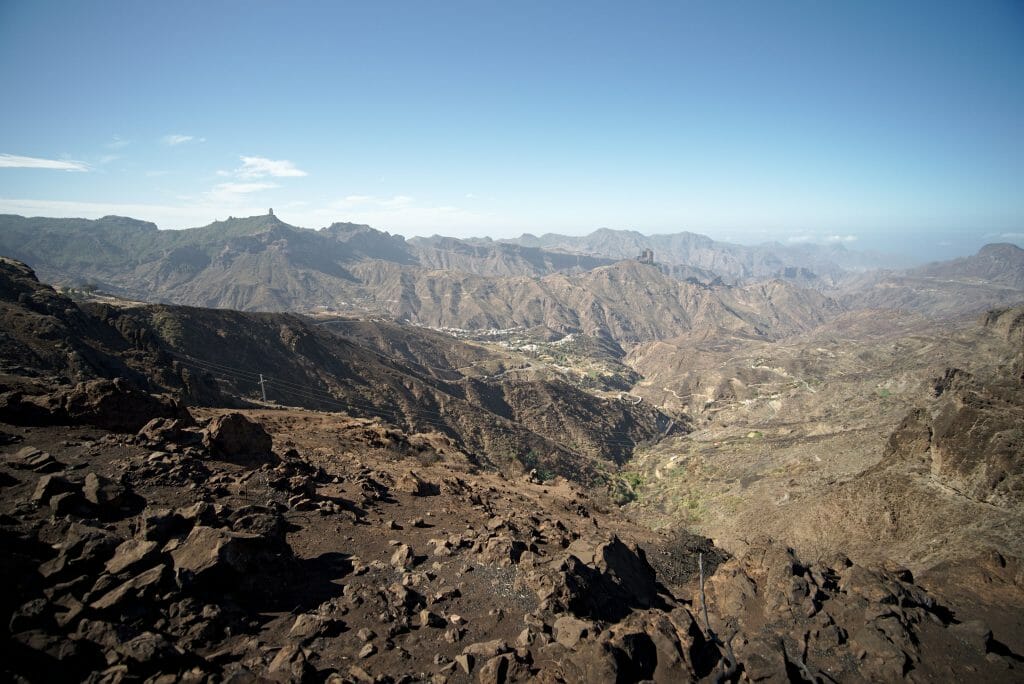
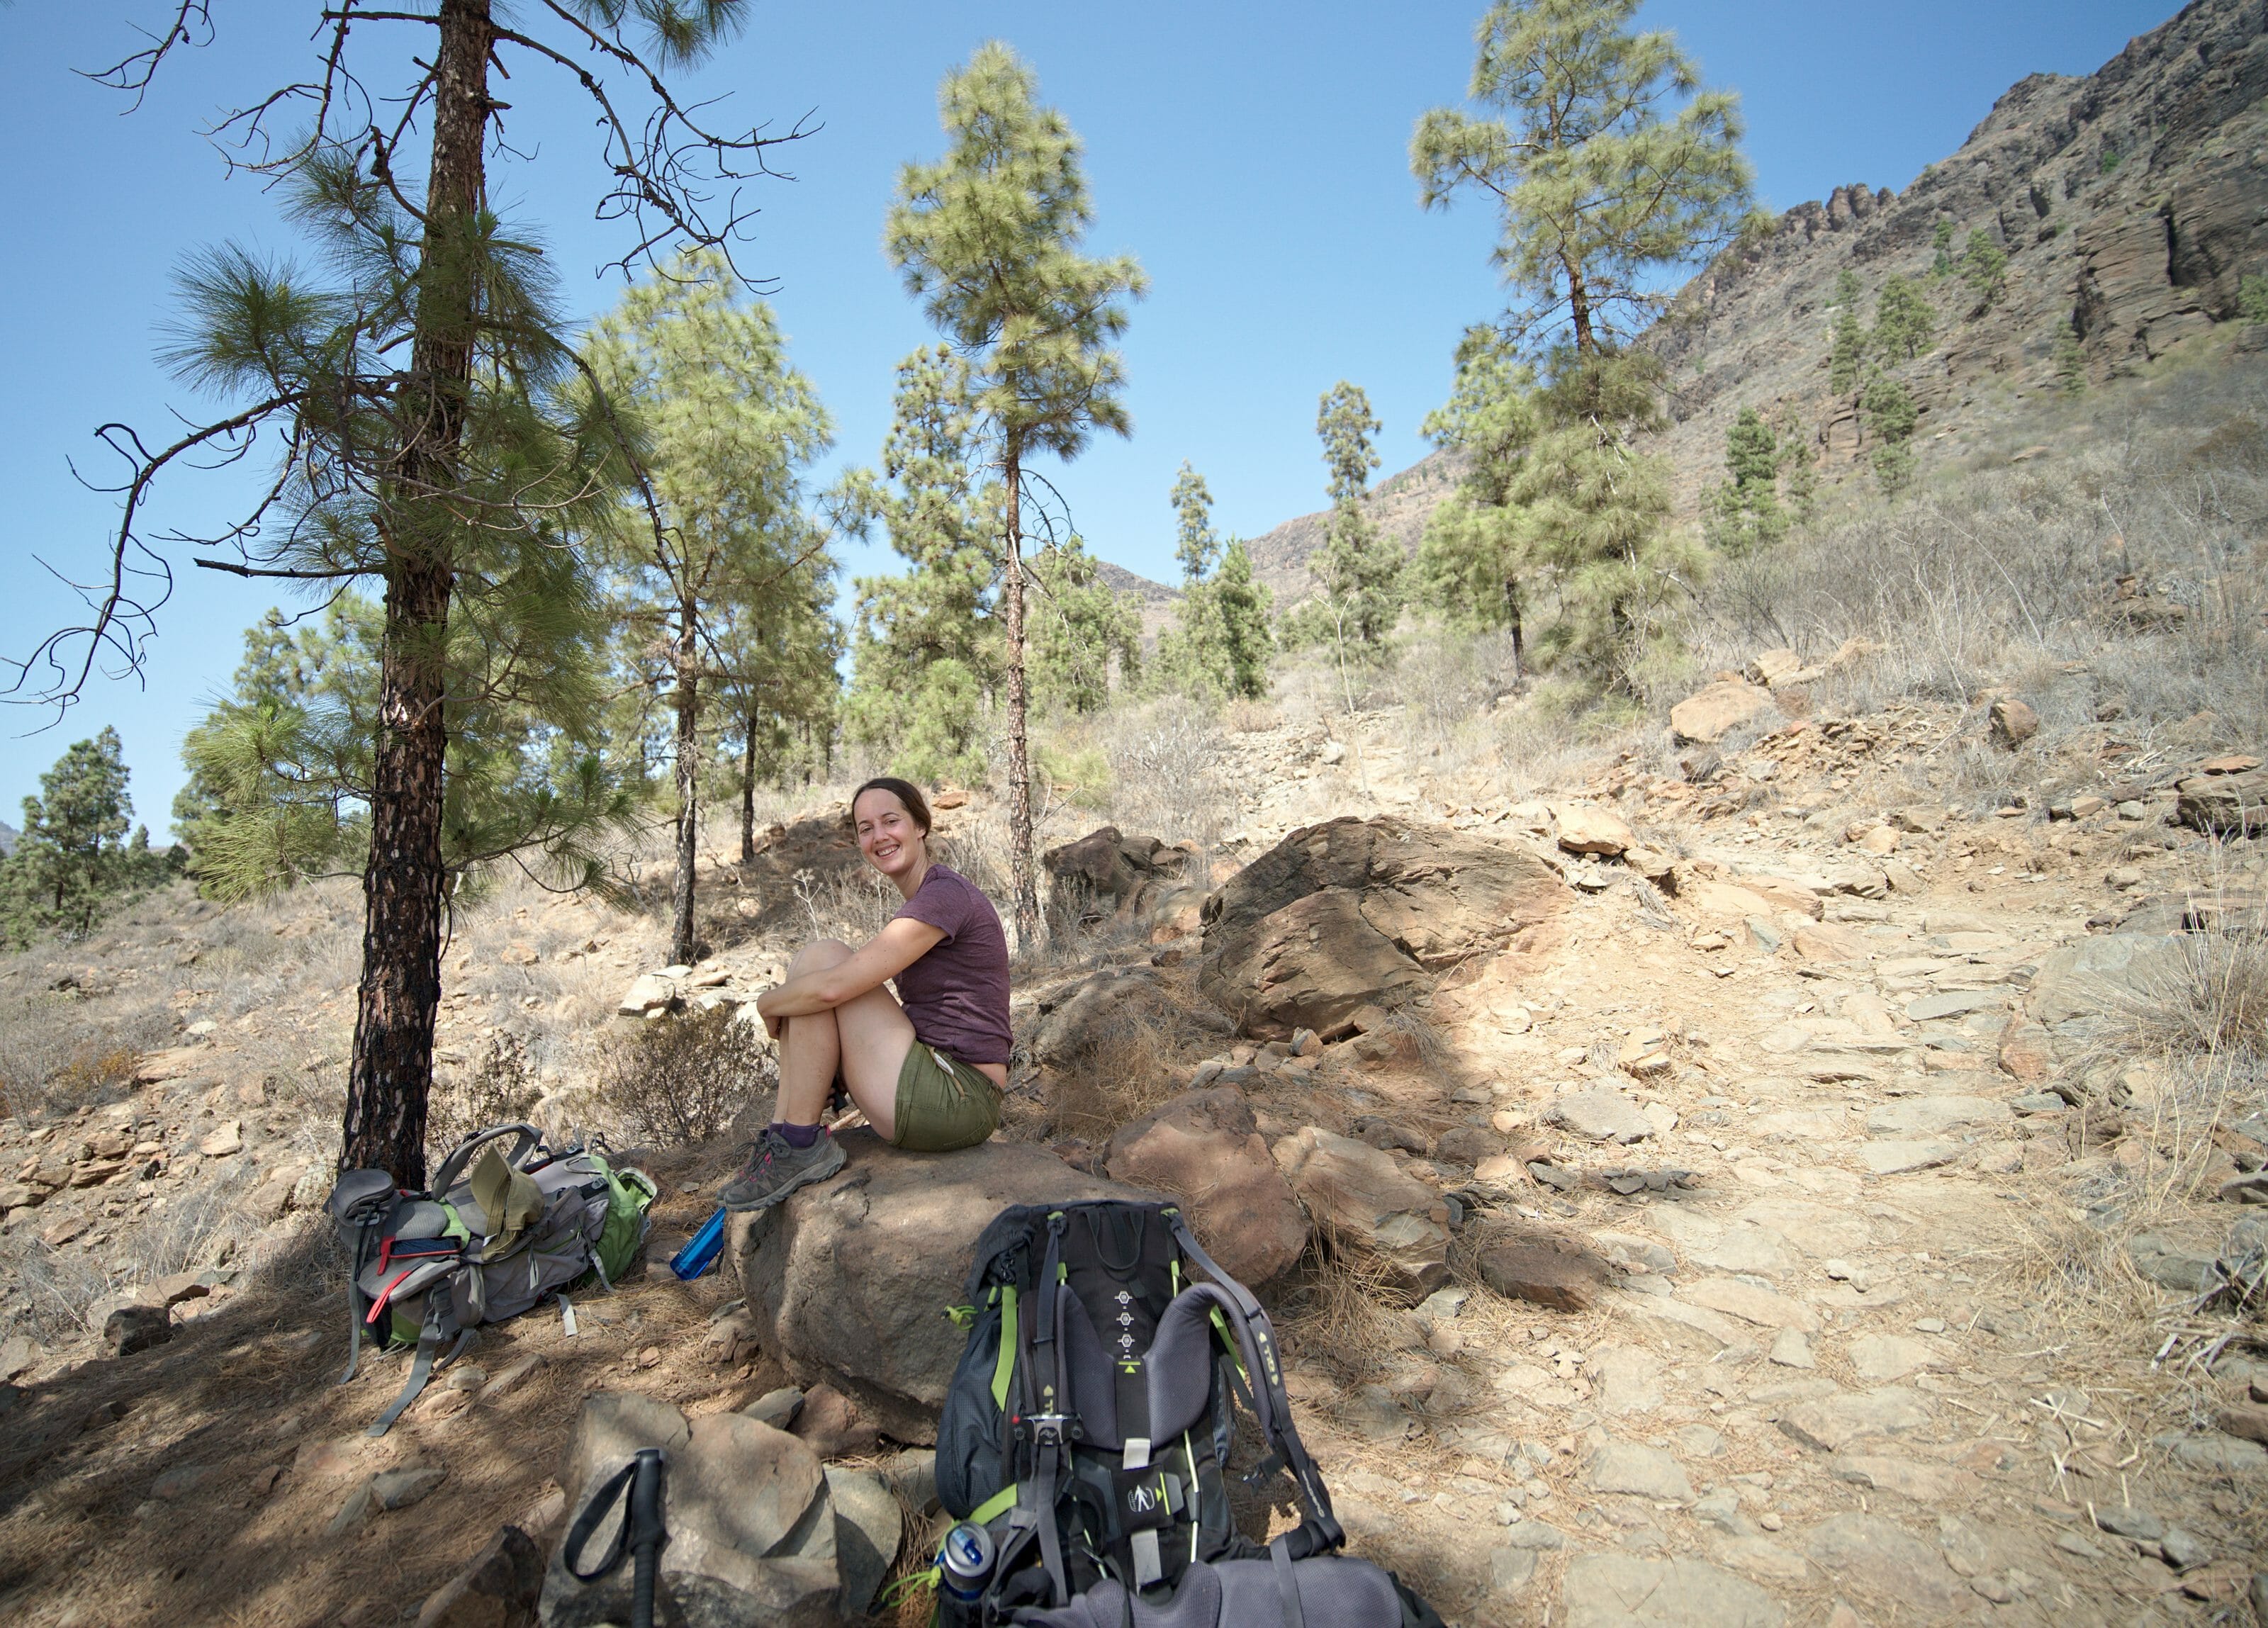 The sun is strong! Very strong even.... And when you say lack of water, you also mean little or no vegetation. The direct consequence of this drought is that there are hardly any trees and therefore no possibility of shading for a good part of the days.
What a great adventure! Thanks for all the info. I dream of doing this myself. I was wondering, do you think it is possible to find places along the way to hang a hammock to sleep in for this hike? Or would tent be better? I read some place that camping outside of designated areas is illegal, did you hear anything about this?
Hi, Hmmm no nothing special. I mean obviously one should not “camp” close to villages or houses nor stay for ages, but arriving late in the afternoon and leaving early morning should not be an issue (at least we did not have any and we met members of the Gran Canarian hiking club and they did not seem suprised by seeing us with our tent and they did not mention anything).
Regarding a hammock to be honest I am not quite sure what the requirements are in terms of tree size since we’ve never used one. But in both spots where we camped there were trees and I imagine this would be possible. Only the last part (where we did not camp) where everything burnt recently is obvisouly not suitable since most trees are calcinated/fragilized.
We hope you’ll have a great time on this hike!
Thank you so much for this informative post! It helped immensely in planning a last minute hiking trip to Gran Canaria over Christmas. We did not want to carry a tent and did the hike over 7 days for the sake of our feet and also because some accommodations required at least a 2 night stay. We could not find a hotel in Ayagaures so decided to do the first part of the trip via Fataga, which is a definitely worth a visit. We stayed overnight in Playa del Ingles, Fataga, Tunte, Cruz de Tejeda, Artenara and Puerto de Las Nieves. Like you indicated, the hike between Tunte and Cruz de Tejeda was by far the best part of the trip. Would love to go there again!!! The last day descending to Agaete/Puerto de Las Nieves was quite brutal and definitely not for people with knee problems. Places worth visiting along the way are Tejeda (we did a small day trip from Cruz de Tejeda, the Dulceria there sells amazing baked almond sweets!), Artenara (stayed overnight in a ‘cave lodge’) and Roque Faneque (2 hour detour between Artenara and Agaete).
Thanks again for the great description. Do you have any suggestions for other hikes perfect for December/Januray?
Thank you so much for your comment, we’re glad ot read that you liked the hike. Doing it like you did seems to be a great alternative as well.
For other hikes in December/January around Europe we would recommend the neighbour island of Tenerife. We’ve spent two winters there already and the hike options are almost infinite (Teide National Park, Anaga). You’ll find lots of posts about our favorite hikes on our blog if you want to take a look. Even though for Tenerife I would rather suggest doing day hikes since there this not an official “long” trail that would allow for overnight stays.
Other thant that I could also recommend you take a look at the Lycian way in Turkey. We did only a small part of it last spring (70km from Fethiye to Patara Beach) and we really loved the experience. Some parts of the Lycian way (the longer version) might be covered in snow in january but the lower parts where we were should be save.
Another hike we’ve not done yet but that we are considering for next winter would be the Via Algarvia in Portugal, this looks stunning!
Just a reminder that it is illegal to camp on Gran Canaria anywhere else except on official campsites and you have to obtain permission. Camping is free but permission is mandatory.
Thanks for sharing this – I did the Maspalomas to Agaete route and the first 70km was fantastic. At that point, the Alltrails route you provide takes you off the footpath and sends you down through a rather dangerous ravine below an old dam – I discovered later that if you stay on the footpath there is a much quicker and easier path down. I would strongly advise changing the recommended route. The ravine is dangerous and slow to get down – particularly with a heavy backpack at the end of a long hike and I didn’t reach Puerto De Las Nieves until well after dark.
Hi James,
Thanks a lot for your feedback. I would love to include the changes you mentioned… but it would help a lot if you could be more specific or even send us a gpx track at contact@novo-monde.com . Cheers
Thanks for this article. I’m just wondering what your thoughts are in doing this hike in reverse, ie from galdar or agaete to maspalomas? Would be more convenient for my itiniery, but wondered if the trails/steepness is OK in reverse. Thanks
Hi,
Oh I think this would totally be doable as well! We picked this direction, because it was the “official” one from the Camino, but I don’t see any reason why this would not be ok in reverse. The trail is fairly easy and there are no particularily steep parts which would not be doable the other way round. Enjoy your hike