It's almost certain that if you're setting off on a round-the-world trip or a long-term journey for the first time, you're not quite sure what to pack in your backpack. You might even wonder if you're going to travel with a backpack at all! Yes, you could also go with a suitcase, for example. So, before leaving, we felt like we would never be able to fit everything into our backpack. We were also afraid of forgetting clothes or equipment that could be important during our backpacking trip. In the end, we worried a lot about nothing!
With the experience we now have, we're going to go over all the gear you'll take with you during your round-the-world trip: backpack, clothing, accessories, electronic equipment... We'll also give you our opinion so that you can leave with only the backpacking essentials.
Ready to take inventory to optimize your gear?
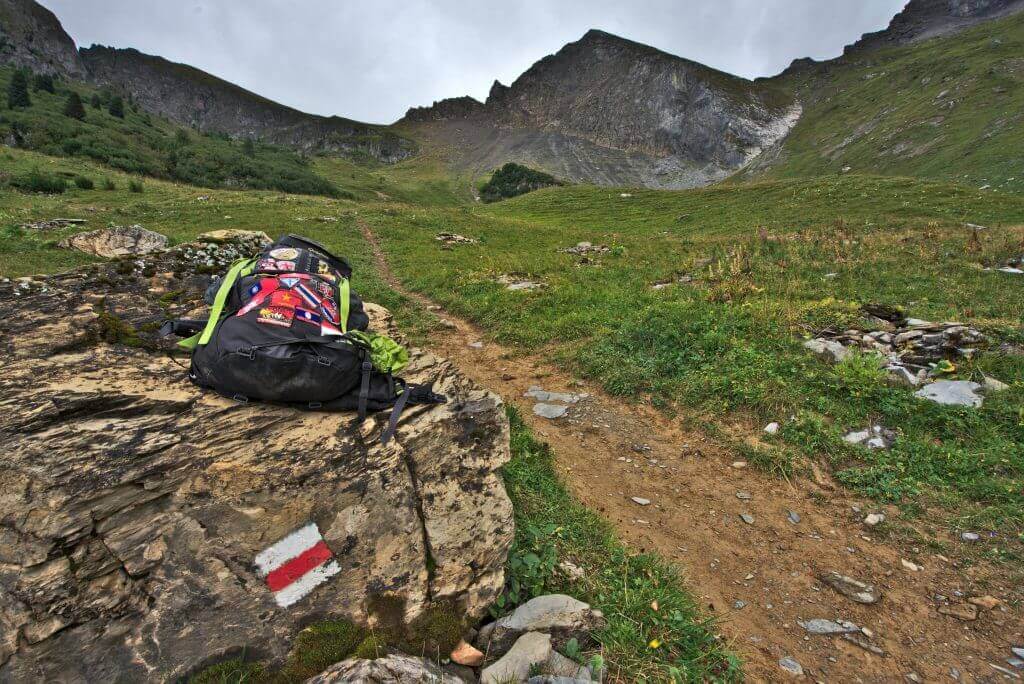

You are currently reading the sixth chapter of our free ebook How to travel the world, in which you will find all the necessary advice and preparations for your trip around the world!
In addition to the version on the blog, there is a PDF version to read it peacefully on your computer, smartphone, or tablet, or to print it 🙂.
Backpack or suitcase for traveling?
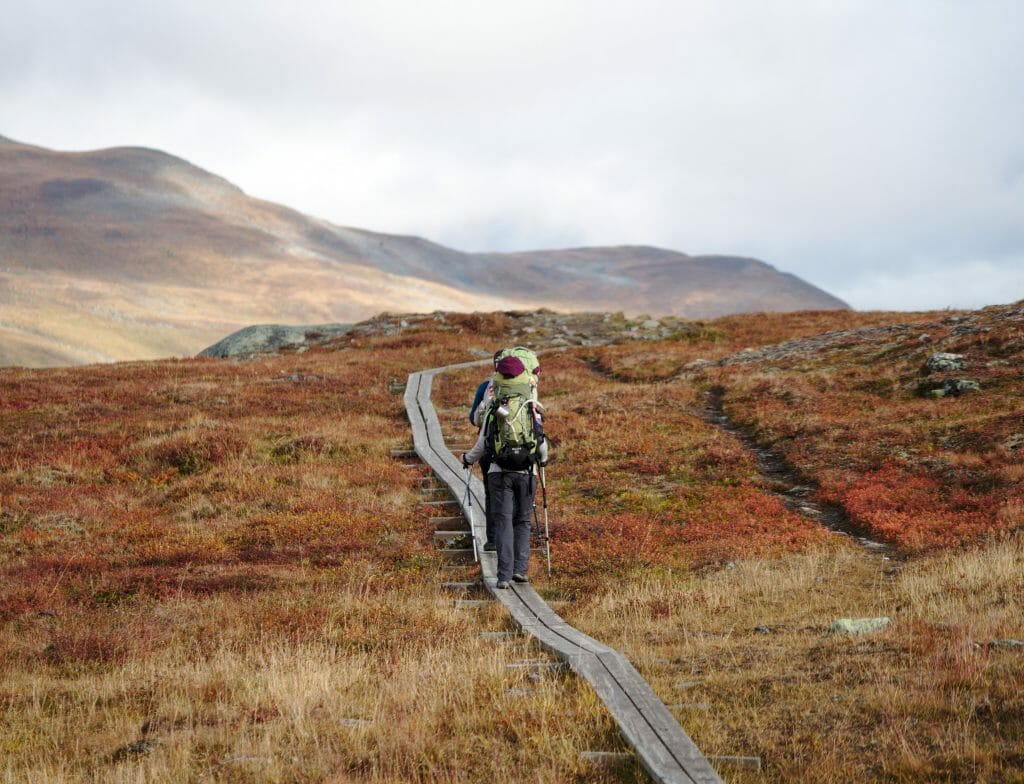
For us, this question didn't really arise. With the type of trip we planned - lots of walking and hiking - it was obvious that we were going to leave with a backpack, but that's not necessarily the case for everyone…
The suitcase: pros and cons
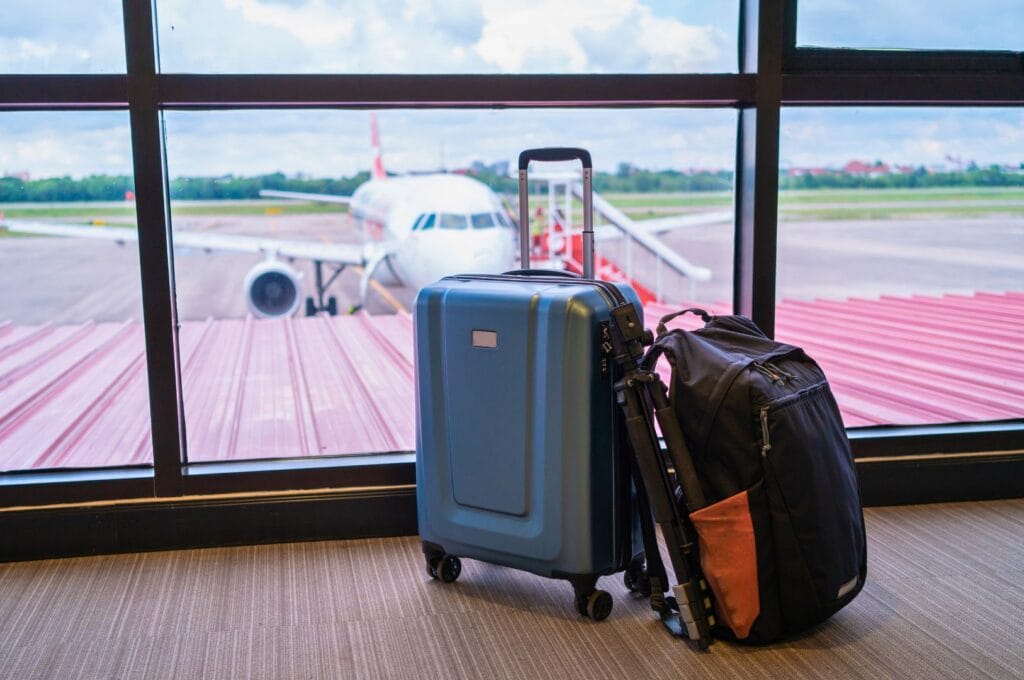
If you're going to a fixed location and don't plan on moving regularly, you can consider taking a suitcase. However, keep in mind that paved roads are not everywhere in the world! So, try to imagine yourself pulling your wheeled suitcase on a dirt road, with rocks, or worse, a muddy path!
Doesn't scare you? Then why not?
Personally, I prefer to take a suitcase when, for example, I'm going by car for a week in a rented house. Clothes are less wrinkled, and you have a better overview of its contents. But as soon as I know I'll have to walk for more than 5 minutes, then it's automatically the backpack that wins!
Just for volume and practicality, the classic backpack wins. Can you imagine yourself with your suitcase on your knees in a crowded minibus where the luggage compartment is nonexistent? Plus, with a suitcase, it would be more tempting to take unnecessary things just because there's space.
Conclusion: backpack forever ❤️
And backpacks with integrated wheels?
I admit, I found the idea of a wheeled backpack wonderful at first! The idea of being able to pull my backpack on paved roads and not having to carry it all the time to relieve my back between hotels excited me. But I quickly became disillusioned. This type of backpack seems to be a good compromise, but in our opinion, it's a false good idea. Here are the reasons why we say this.
Firstly, once the backpack is on your back, the comfort leaves much to be desired (we may be wrong) and the wheels tend to be more of a hindrance than anything else. But the main disadvantage is the weight. This type of luggage is heavier than a simple backpack when empty. Let me tell you, if you aim to leave with less than 13-14 kg, then the additional kilo (or more) of wheels and reinforcements is really not worth it! And if you also plan to use your backpack for hiking or treks during your round-the-world trip, I promise you'll be glad to have the lightest backpack possible! In terms of volume, we also lose space due to the structure with wheels.
A wheeled backpack would be practical at the limit for families and people who don't plan on hiking or who plan to take more touristy routes during their round-the-world trip. Otherwise, we don't really see any advantages to this kind of backpack.
Well, we agree, right? It'll be a classic trekking backpack for the round-the-world trip!
What backpack for a round-the-world trip?
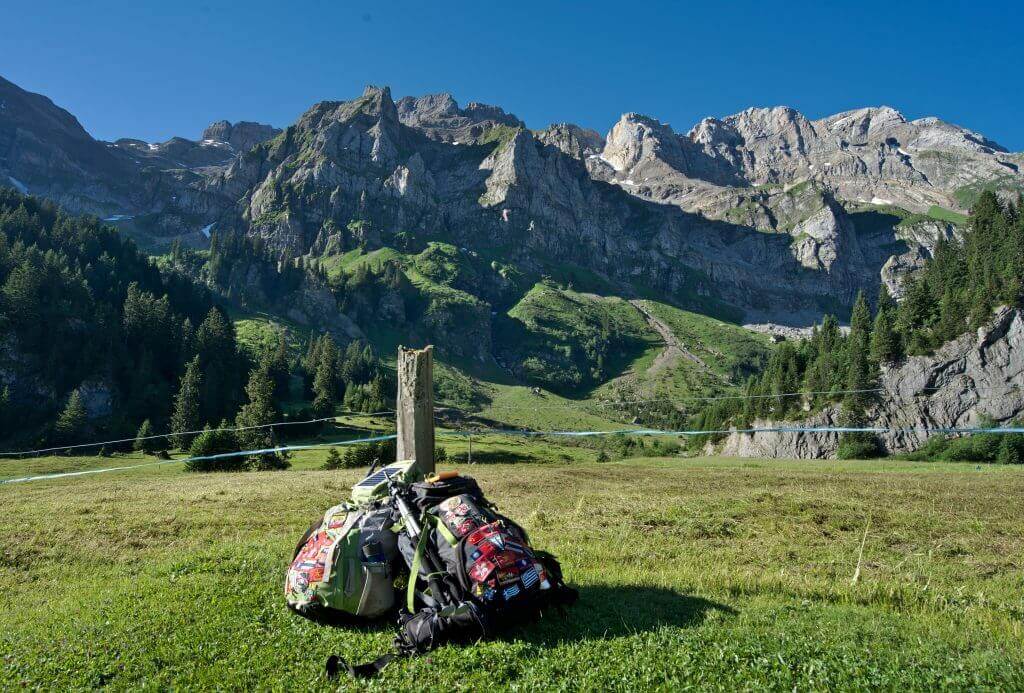
A good backpack still needs to meet certain basic criteria. It will contain all your gear for the round-the-world trip, and you'll be carrying it for several months, so it might as well fit you perfectly! In addition to its characteristics, your choice will also depend on your use during the journey but also afterward, for your next adventures!
Criteria for choosing your backpack
Volume
One of the first criteria to consider is the volume of the backpack. Between 45 and 70 liters, these packs will help you carry everything you need to travel the world. However, keep in mind that the more space you have, the more non-essential items you'll likely pack! The usable volume will also depend on whether you plan to bivouac during your journey. Some world travelers set out with the bare minimum, enough to fill a 30-liter backpack! That's really extreme. In short, 50 liters seems to be a minimum for us.
Size
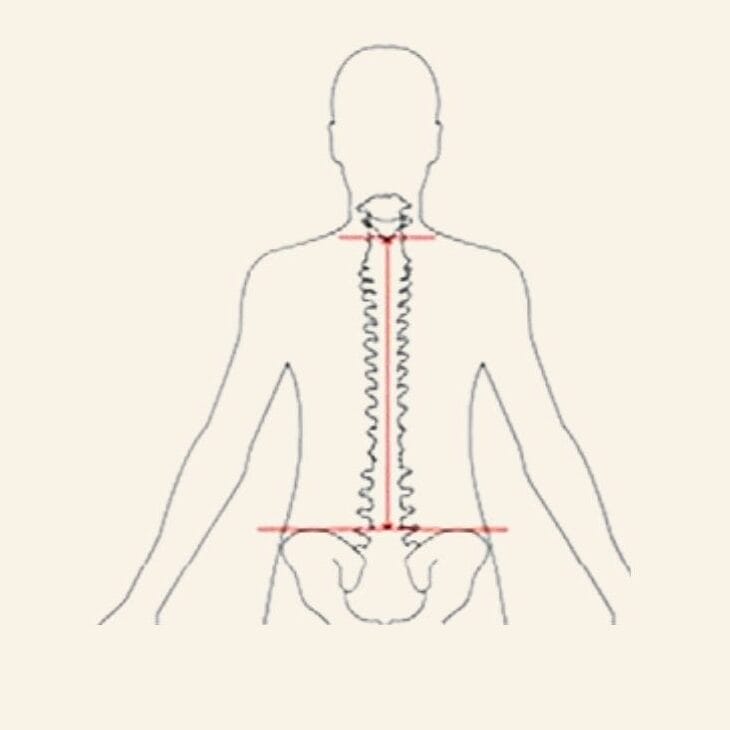
When it comes to volume, size matters! Even if some brands offer a one-size-fits-all option, almost all backpack models designed for world tours or long hikes come in multiple sizes that depend on your back size.
Measuring it is quite simple. (It's even easier if you do it with someone else.) You need to measure the distance between your 7th cervical vertebra (C7) and your iliac crests. Huh? Don't panic, we'll help you.
To find C7, stand up straight, tilt your head forward, and touch your chin to your chest. C7 is the bump you feel at the base of your neck. The iliac crests, they're your hips, the bone you feel on each side of your pelvis, below your ribs. Imagine a line connecting the two (or wear a belt at that level) and measure from C7 to where the line of the iliac crests intersects with the spine. To choose the right size, the size guides are specific to each brand and are indicated on the product sheet of the backpacks.
Some manufacturers like Osprey have developed adjustable backpack heights. It takes quite a few adjustments to find the perfect position, but once found, you'll be one with your backpack!
Net weight and maximum weight of the backpack
Another parameter to consider is the net weight of the backpack. Depending on the brands and models, it ranges from 1.3 to 3 kg for a volume of 50 liters and 1.8 to 3.2 kg for a volume of 70 liters, whether for men or women.
When talking about the net weight of the backpack, it also means the weight of the filled backpack! And the latter should be proportional to your own weight. The recommended total weight of a backpack should not exceed 20% of the weight of the person wearing it; 15% is optimal (although we admit we haven't always followed this rule, especially during self-sufficient hikes 😉). For this reason, you need to balance the contents of your backpacks if you're going on a world tour with others! For children, you can imagine that this rate will be lower, so we're talking about a full backpack weight equivalent to 10-15% of their weight.
Accessibility
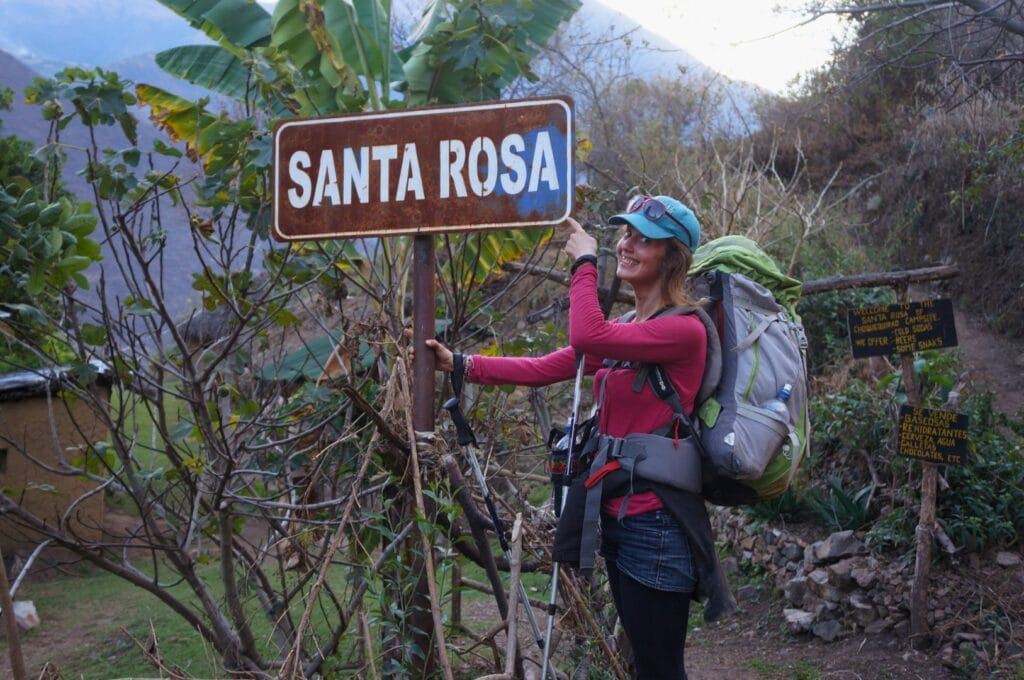
Backpacks often have two separate internal compartments that are individually accessible, with the top 2/3 usually separated from the bottom third. This is ideal for good compartmentalization and better access to equipment.
Access to the main compartment is typically frontal, thanks to one or two additional zippers in addition to the top opening. For some models, you can only access the main compartment from the top. In other words, you have to empty your bag or bravely plunge your hand to blindly find what you're looking for at the bottom. Some backpacks also offer zippered suitcase-style or U-shaped openings, a compromise between the full opening of a suitcase and the practicality of a backpack.
The secondary compartment often has a large front zip, and on some models, you can also access it through the central compartment thanks to the perforated mesh that serves as a divider.
Organization
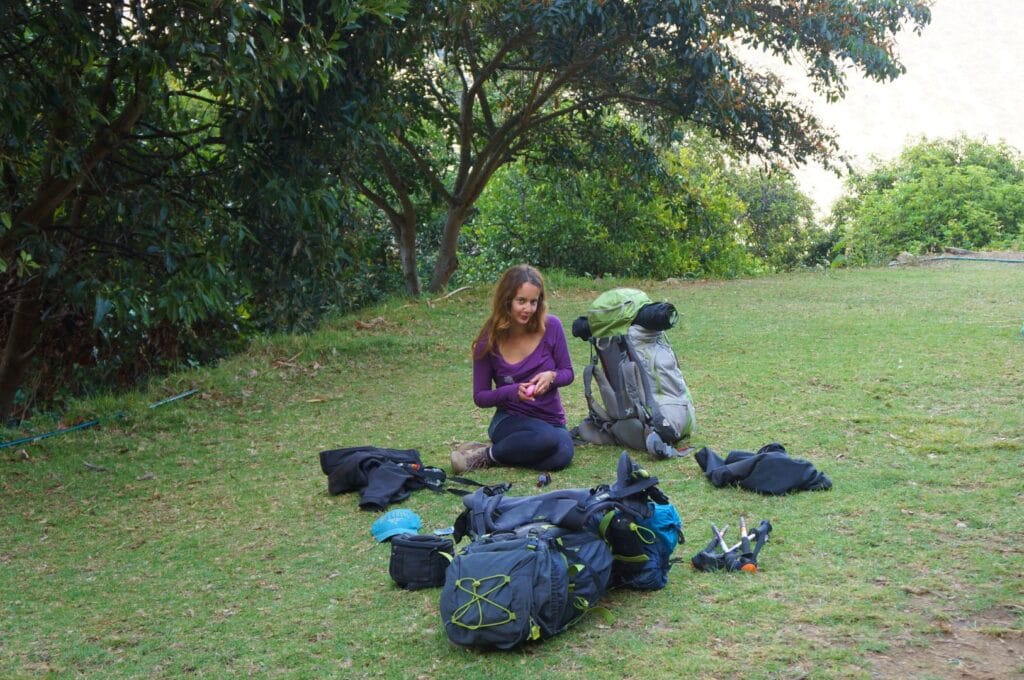
External and internal pockets are the greatest allies of a well-designed backpack and good organization. The most practical pockets and storage spaces are:
- those in the hip belt for quickly accessible small items (phone, stick, snacks...);
- the flap pockets to slide in the rain cover, papers, sunglasses, headlamp, sunscreen, etc.;
- mesh side pockets for water bottles, water bottles, or flip-flops;
- the large pocket against the back inside the main compartment, perfect for a laptop or a water pouch (Camelbak);
- straps for hiking poles;
- the main compartment contains everything that is not needed at all times such as clothing and toiletry kit;
- underneath, the secondary compartment is ideal for putting shoes, provided you haven't brought 5 pairs 😉
You'll find that after a few days, your storage will be optimized according to your routine, and you'll know the location of each item! Don't miss our tips for saving space in your backpack at the end of the article.
Comfort and ergonomics
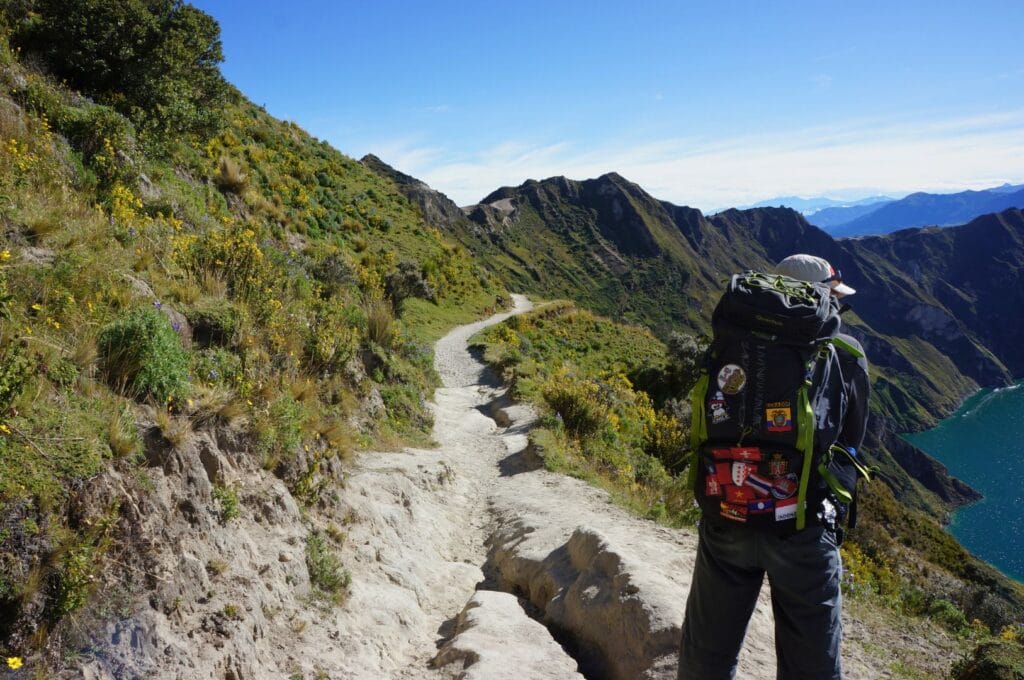
Yes to a lightweight backpack with plenty of storage, but no to a backpack whose comfort leaves something to be desired, especially if you plan to go trekking with it! A good backpack should be ergonomic and perfectly adapted to your body shape.
- Ventilation: Brands have made a lot of effort in this regard because there's nothing worse than putting on a backpack when you're sweating on your back. Today, the majority of backpacks feature a rigid mesh for a ventilated back thanks to the space created between the backpack and your back. Sometimes, this mesh extends to the hip belt for more comfort. Practical in Southeast Asia or Latin America!
- The back is rigid and adjustable.
- Shoulder straps: they must also be optimal. Pay attention to their width, reinforcements, height, and depth adjustments.
- Straps: perfect for compressing the contents of the bag and adjusting it properly. If you plan to camp, make sure there are straps at the bottom of the bag, at the level of the secondary compartment, to accommodate a sleeping bag or a sleeping mat.
- Weight distribution: when you try on your backpack, remember to try it on empty but also with weight inside! This will help you feel if the loads are properly distributed: the hips should carry almost all the weight, unlike the shoulders. Also, you'll feel if the reinforcements at the level of the shoulder straps and hip belt are sufficient for you.
Tip: when testing your backpack, also try wearing it with and without a jacket! I made this mistake and it turned out that in a T-shirt, the waist circumference of the backpack was too big. As a result, I carried everything with my shoulders… (With a few extra kilos, I didn't have this problem afterward haha.)
Durability
It would be a shame if your brand-new backpack gave out on you after 2 months! Well, let's reassure ourselves, that's unlikely given that brands have adopted new materials and systems that are increasingly resistant to the contingencies of travel. Still, pay attention to the quality of the zippers.
Rain cover
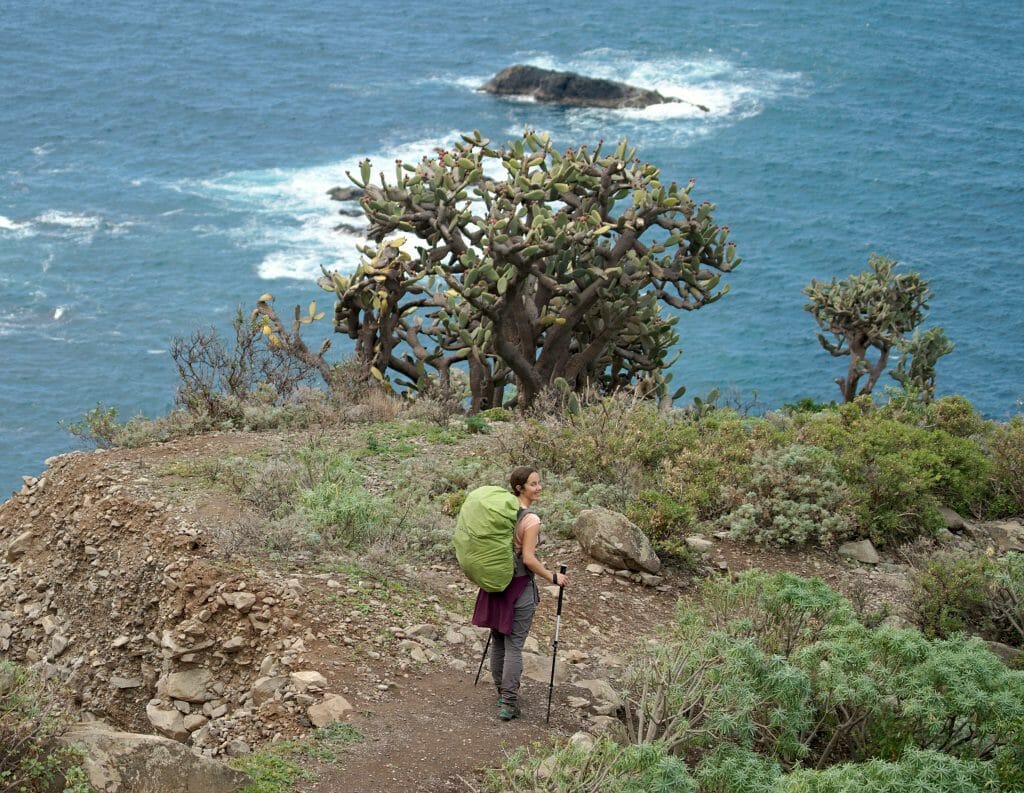
The rain cover for a backpack is an essential element to counter bad weather during your trip around the world or a long journey! Most backpacks include it, but if yours doesn't, buy one. A downpour can happen quickly, and you'll probably have better things to do than dry all your soaked belongings 😉. In short, always have a rain cover with you!
Recommended backpacks
In terms of budget, backpack prices vary widely: between 60 and 300 euros depending on the brands and associated gadgets. Rather than recommending a single model, we present in this section the two types of backpacking trips around the world (or long-term travel) to guide you in your search for your faithful backpack.
One backpacking trip and that's it
Not all world travelers are necessarily seasoned adventurers. Before leaving, we hadn't really done any treks or bivouacs. So, we had to buy everything before hitting the road, and we wanted our equipment to be effective without breaking the bank. In short, we wanted basic backpacks and gear, not too technical, and with a very good quality/price ratio for our first long journey around the world, and that was more than enough for us! We didn't need to invest much, and they remained unfailing after all we put them through.
Our selection
Our advice: if you find yourself in this profile, opt for a versatile, no-frills backpack that's practical and reasonably priced. Here's our selection of backpacks that will accompany you on your adventures.
- The Forclaz 60 l backpack for me and the Forclaz 70 l for Ben: these two backpacks meet all the criteria mentioned above (and much more) for an absolutely unbeatable price. The Forclaz models don't have very sophisticated features, but they are lightweight and versatile. If we had to buy backpacks now for our first backpacking trip, we would choose these without hesitation! We detail the specifics in the next section.
- The Forclaz Travel 500 50 l for women and the Forclaz Travel 900 70 l for men: these backpacks have been specifically designed for long-term travel with plenty of very intelligent storage options and even a small integrated daypack! Honestly, they have everything to please, but all these features still come at a price: the net weight of the backpack is quite heavy, which isn't ideal for hikes. Additionally, I find that the shoulder straps are a bit thin, so the carrying comfort isn't optimal. But hey, the additional features could convince some of you, and their price is still really reasonable.
- The North Face has managed to make an affordable 55 l trekking backpack with a very decent empty weight. It's the Terra model. With its U-shaped opening and multiple straps/storage options, it's a good choice for a first backpack!
Our Decathlon bacpacks
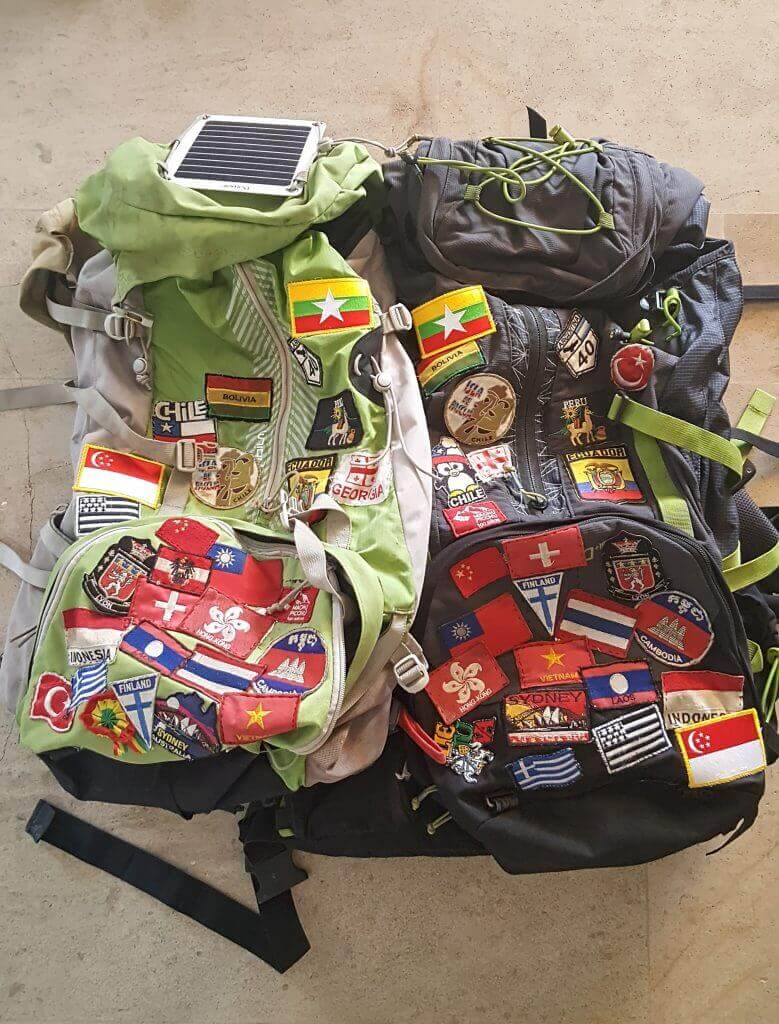
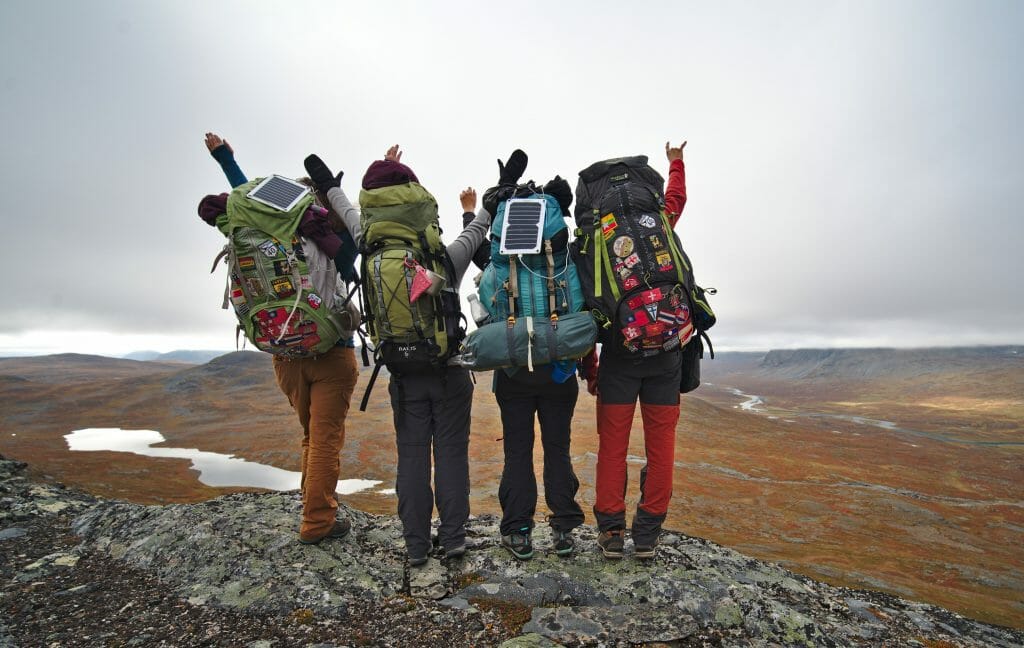
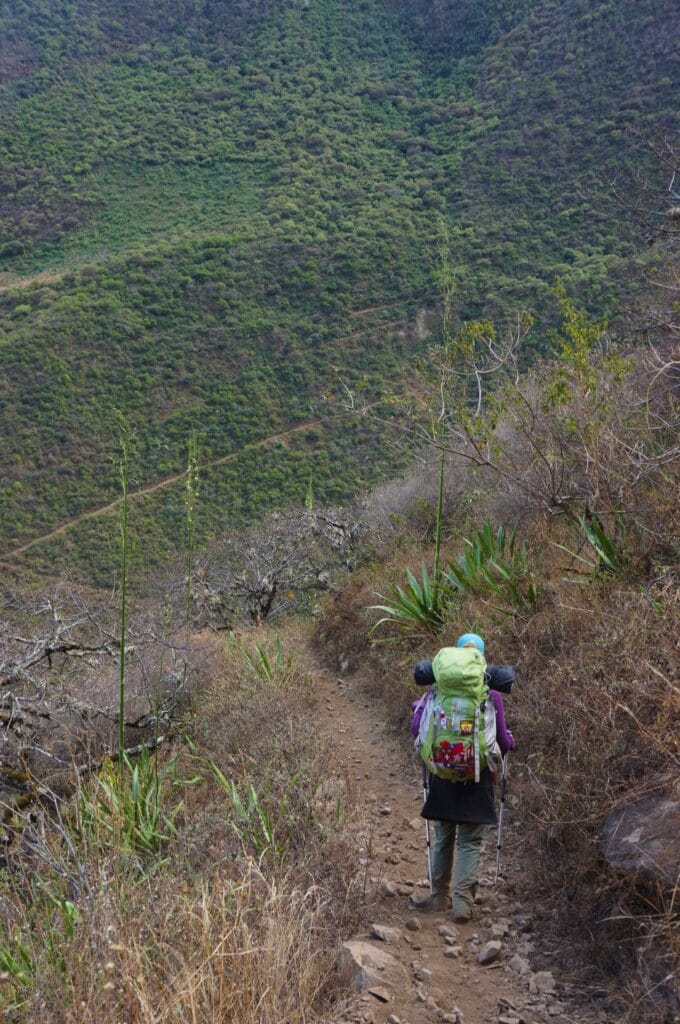
Ben went with a Decathlon men's 70 l+10 backpack, and I went with a Decathlon women's 60 l backpack. We'll admit, it was the price that convinced us to buy them, and we were a little curious about how it would go on the road.
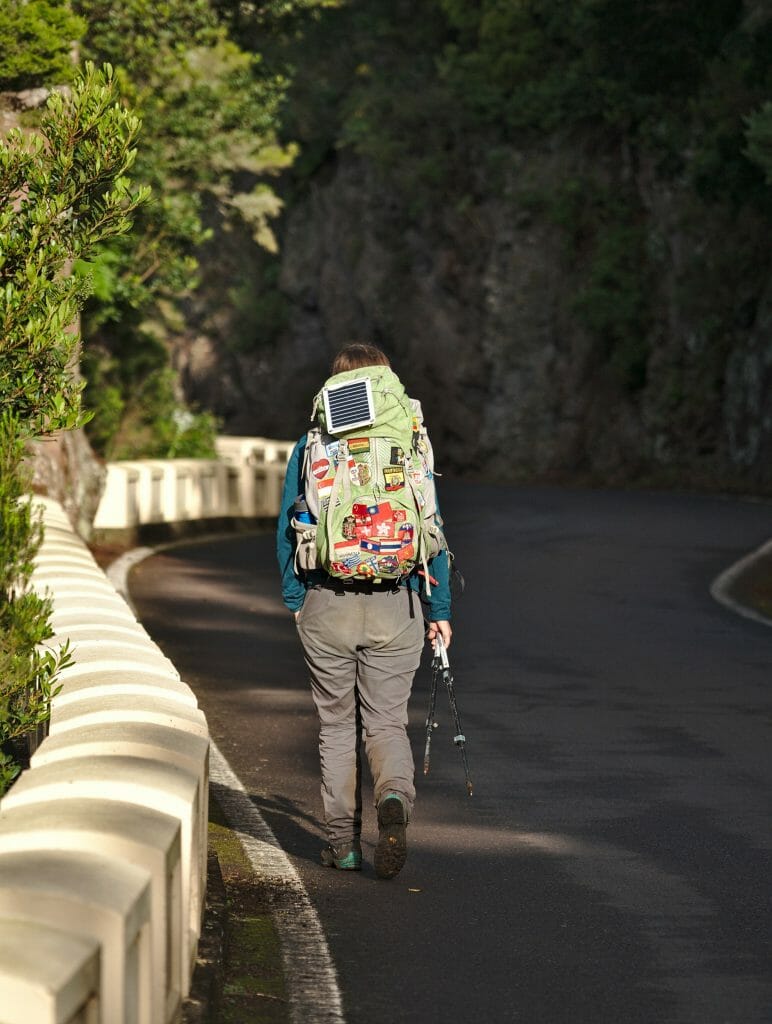
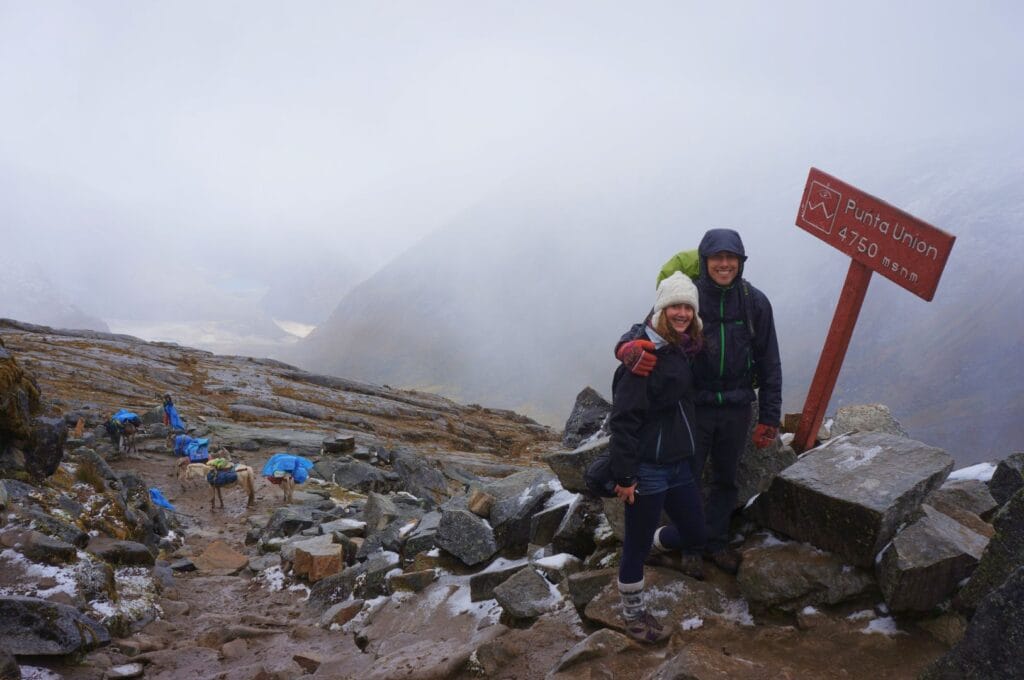
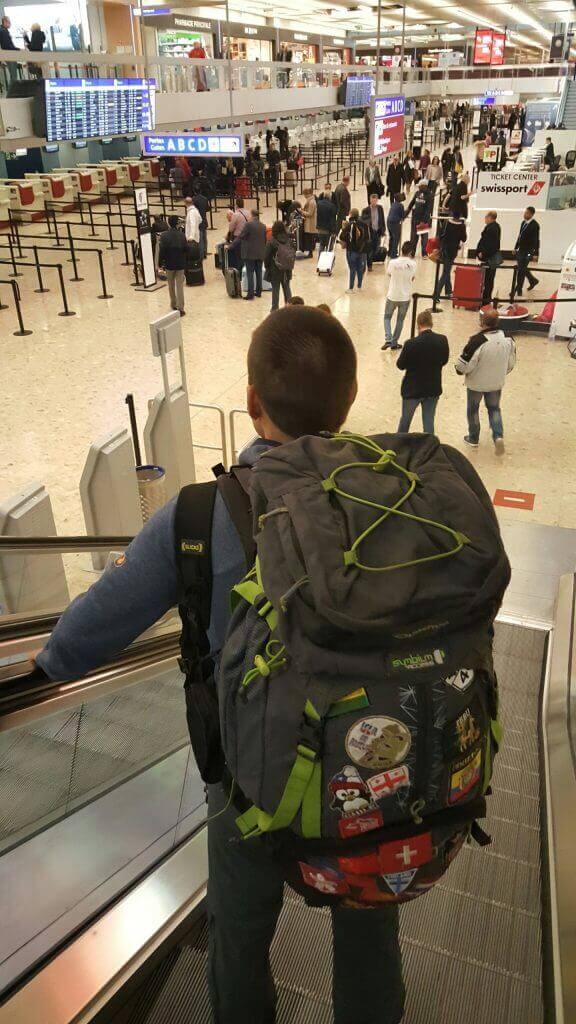
Our review after 19 months of backpacking around the world and a few years later? We still have these backpacks and we are very sentimentally attached to them. They are still in good condition: the zippers are still like new, but as for the color, that's another story... Ben had the good idea to choose a black backpack, so no problem on his side! As for me, I opted for a light green backpack; well yes, it was so much cuter! Hmm... Now, my backpack is more of a green color dragged through dust and mud, but hey, it's no worse for wear!
The strong points of Decathlon backpacks:
- The price obviously: they are unbeatable in terms of quality/price ratio, and we haven't found anything better in that regard.
- The resistance of zippers and closures.
- The durability of the fabric: no holes or tears to report in almost 10 years of travel, not bad, right?
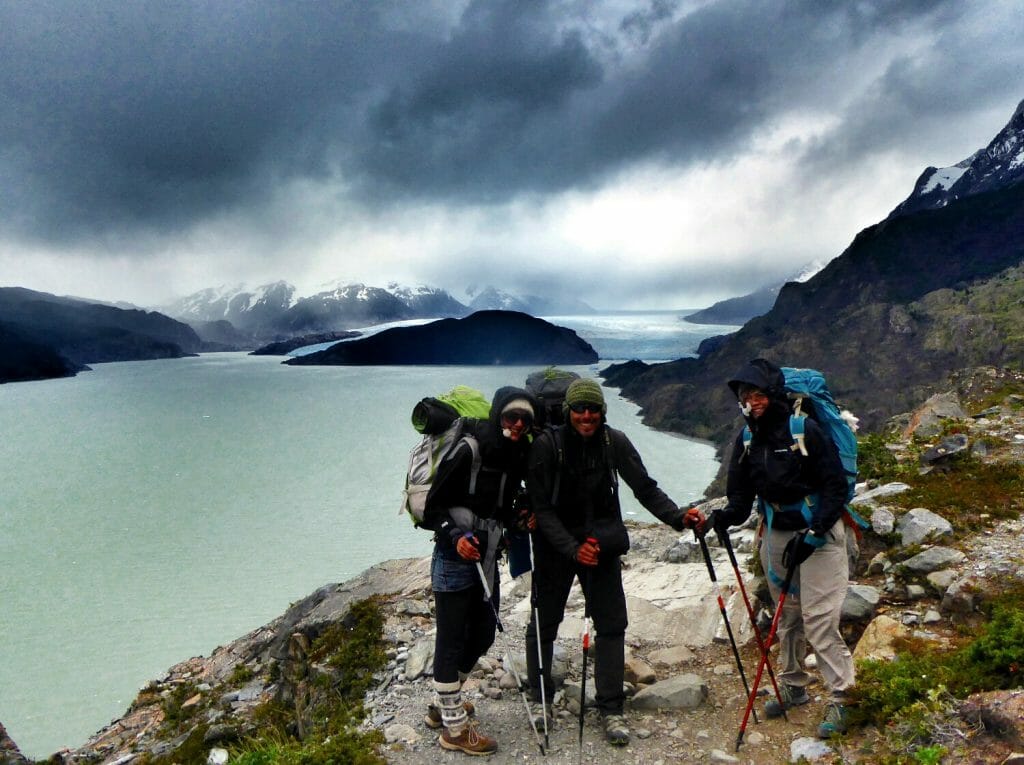
- The comfort of the backpack is decent for the price: we even did multi-day treks self-sufficiently with no problems! The trek to Machu Picchu, Torres del Paine, and we also used them for our 23-day hike across Switzerland!
The downsides of Decathlon backpacks:
- On older models, we found that there were missing side straps to properly balance and secure the gear in the backpack when it was full. So, we had to use 2 additional small straps to attach objects to the outside and to properly tighten the backpack. From the latest models, it seems they have solved the problem.
- The women's version of the backpack was too big for me around the waist... Result: the backpack fit perfectly when I was wearing a jacket; however, in a T-shirt, it was another story! (Well, since then, I've gained weight and no longer have this issue haha!) But it seems that the new version of the backpack no longer has this problem.
- For Ben's backpack, the shoulder strap adjustment was a bit limited. Even tightened to the maximum, it just wasn't enough. Yet, my man has good arms... What, I'm not objective? Maybe! But here too, the latest versions may have solved the problem.
In the end, all these negative points seem to have been corrected in the new versions of these backpacks, as they have made a lot of effort in terms of ergonomics and practicality in recent years.
Conclusion: don't bother looking elsewhere than Decathlon for backpacks and trekking equipment if you're starting from scratch. It's not worth it because the quality/price ratio of their gear is unbeatable.
A rtw trip, bivouac, treks…
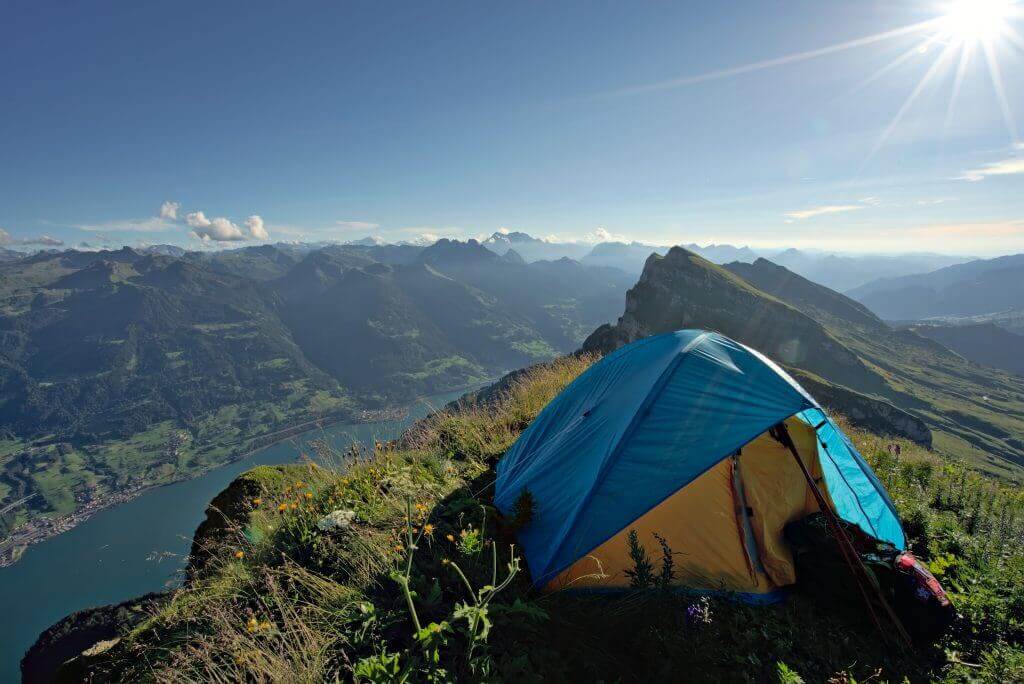
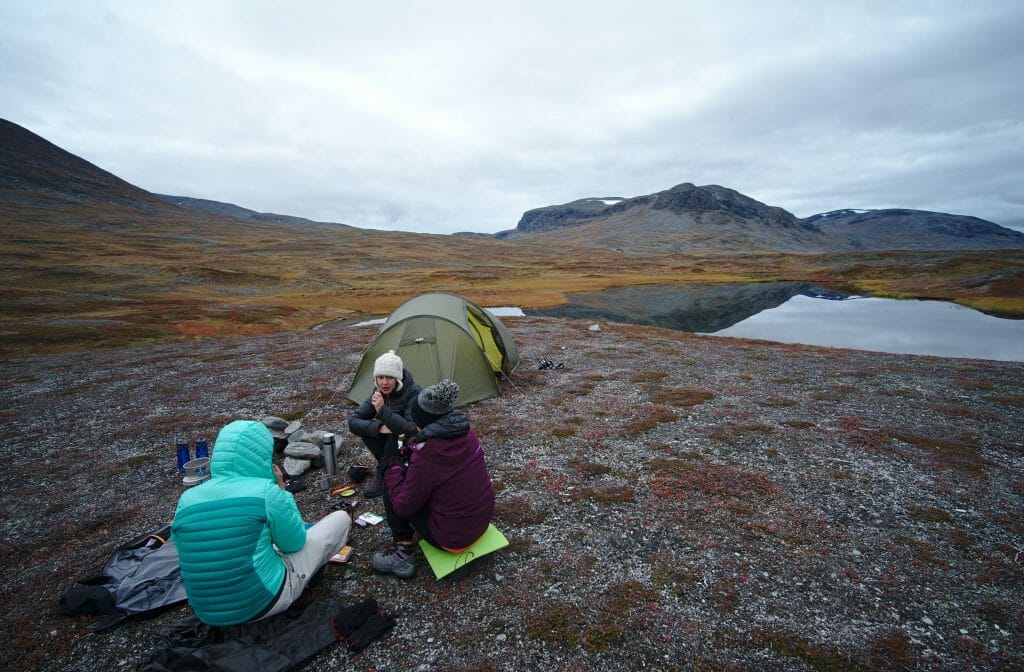
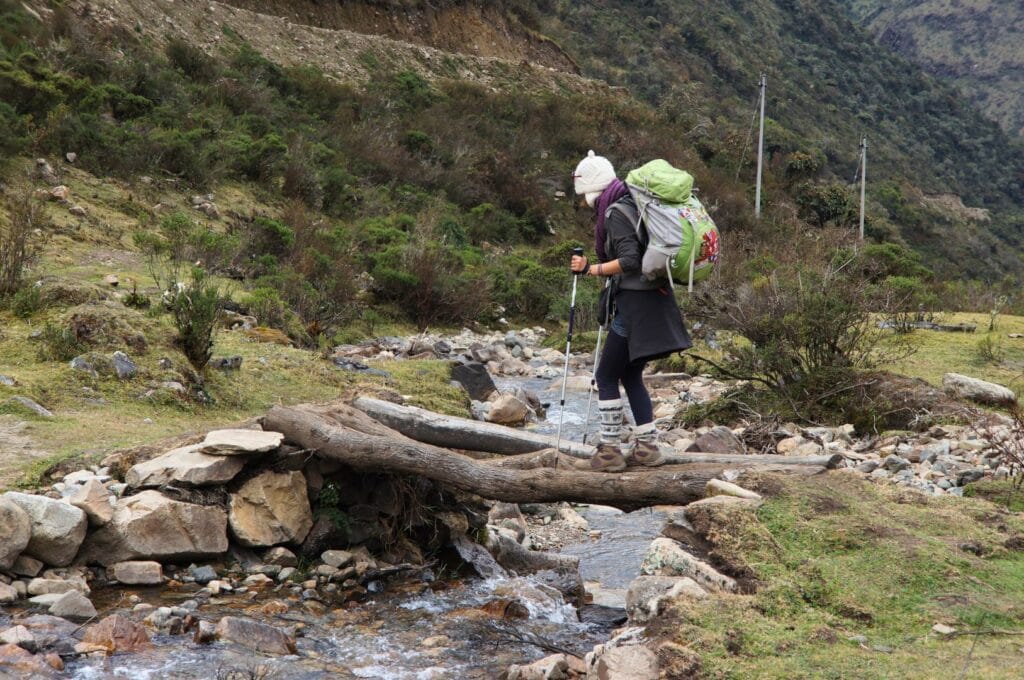
Upon returning from the rtw trip, if you've been following us for a while, you know that backpacking trips have continued, as have treks and bivouacs. No doubt, we've caught the backpacking bug! As a result, our gear has evolved over the years, our needs have become more refined, and if we were to leave tomorrow for a second trip around the world, we would take our current Osprey backpacks, the ones we use for long hikes and bivouacs. They are more technical, lighter, and comfortable, but more expensive. According to us, the investment was worth it compared to the treks we've done where every kilogram counts!
Our selection of backpacks
If you're already an outdoor enthusiast and plan to camp or hike for several days during your backpacking trip, it makes sense to take a more technical backpack for your upcoming activities. Brands that have proven themselves are Osprey, Deuter, and Gregory. For these reasons, we recommend these higher-end backpacks.
- The Osprey Kyte 66 and the Osprey Aether pro 70 are our current backpacks for treks and bivouacs. We detail all the good things we think about them just below. In short, they are lightweight, versatile, and extremely comfortable!
- Still with Osprey and in a smaller size, the Osprey Aura AG 50 for women and the Osprey Atmos AG 50 are more suitable if you want to travel around the world without camping gear, but with hikes. These backpacks feature Anti-Gravity (AG) technology for a fully ventilated back and optimal carrying comfort. They will be your ideal companions, especially in warm countries!
- Deuter needs no introduction, and you'll see many backpackers with one of their packs on their backs. Their 2 flagship backpack models for this type of journey are the Aircontact Lite and the Futura Air Trek. (For women, the models are the same with the addition of 'SL' in the name.) The differences between the two are minimal. On one hand, the Aircontact Lite model focuses on lightness for a good volume/weight ratio. On the other hand, the Futura Air Trek emphasizes practicality with adapted storage and openings, as well as optimal back ventilation.
- Finally, the last backpacks in our selection are the Baltoro (Deva for women) and Paragon (Maven for women) models from Gregory. Again, they can be compared to Deuter models. Baltoro and Deva prioritize comfort and storage, while Paragon and Maven are lightweight, less expensive, and adjust perfectly to your morphology to become one with you.
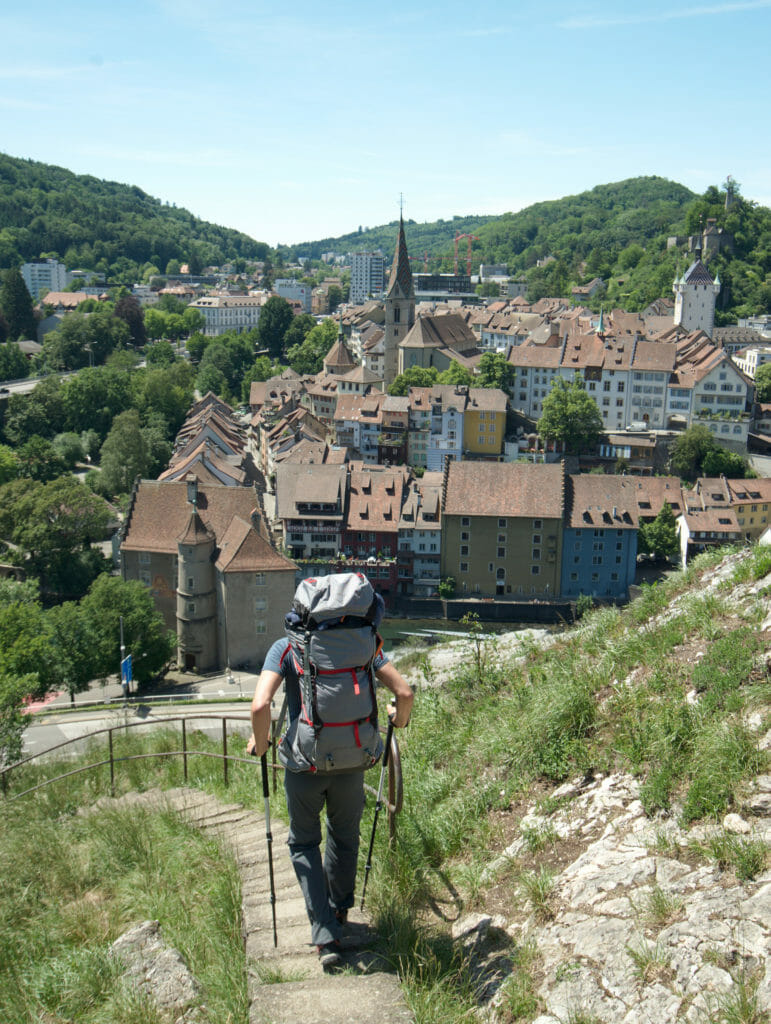
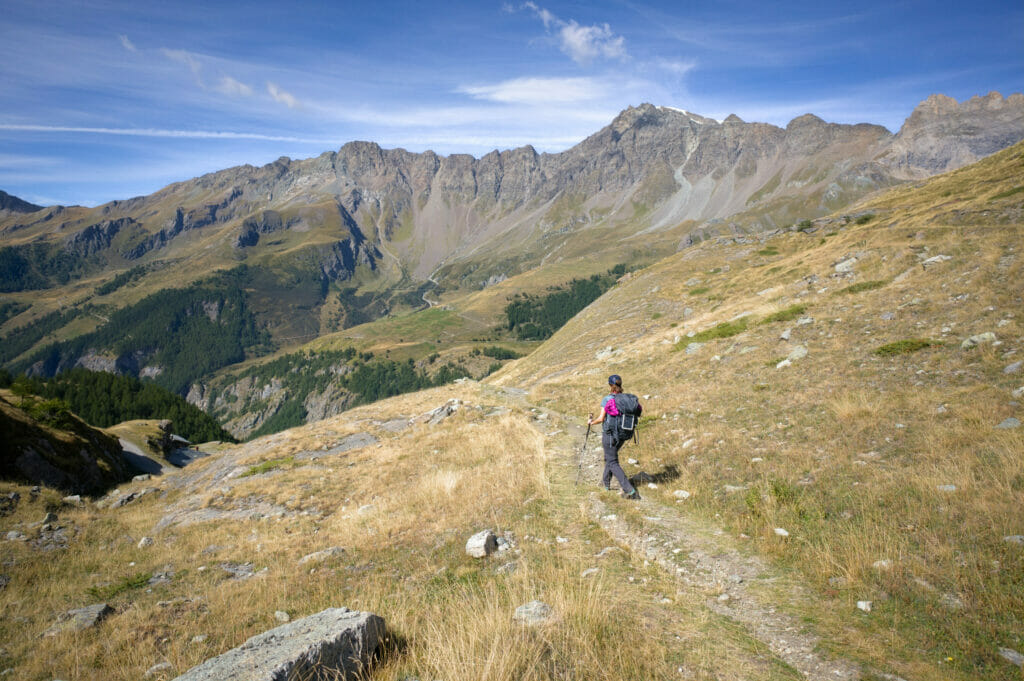
Our Osprey backpacks
Ben has an Osprey Aether pro 70: a comfortable, minimalist, modular, and very lightweight hiking backpack (by removing certain parts, you can reduce the weight to 1.5 kg empty).
On my side, I have an Osprey Kyte 66, a backpack that's a bit less minimalist but with more storage pockets for a weight that remains very reasonable (2.1 kg).
The strengths of Osprey backpacks:
- Comfort! We found the Decathlon backpacks quite comfortable, but that was before we had the Osprey ones! For this reason, we advise you to test Decathlon bags first, then others, to compare their level of comfort.
- Weight: With similar features, Osprey backpacks are a bit lighter (even though Decathlon has improved a lot in this regard).
The downside of Osprey backpacks:
- The price but if you're (or become) trekking enthusiasts, it will quickly pay off as it will make your life easier!
This article contains affiliate links to partner sites. When you use our links to book accommodation, a car, or an activity, you don’t pay anything extra, but we get a small commission. This helps us to offer you free, independent, and ad-free content. Thank you for your support!
The small backpack
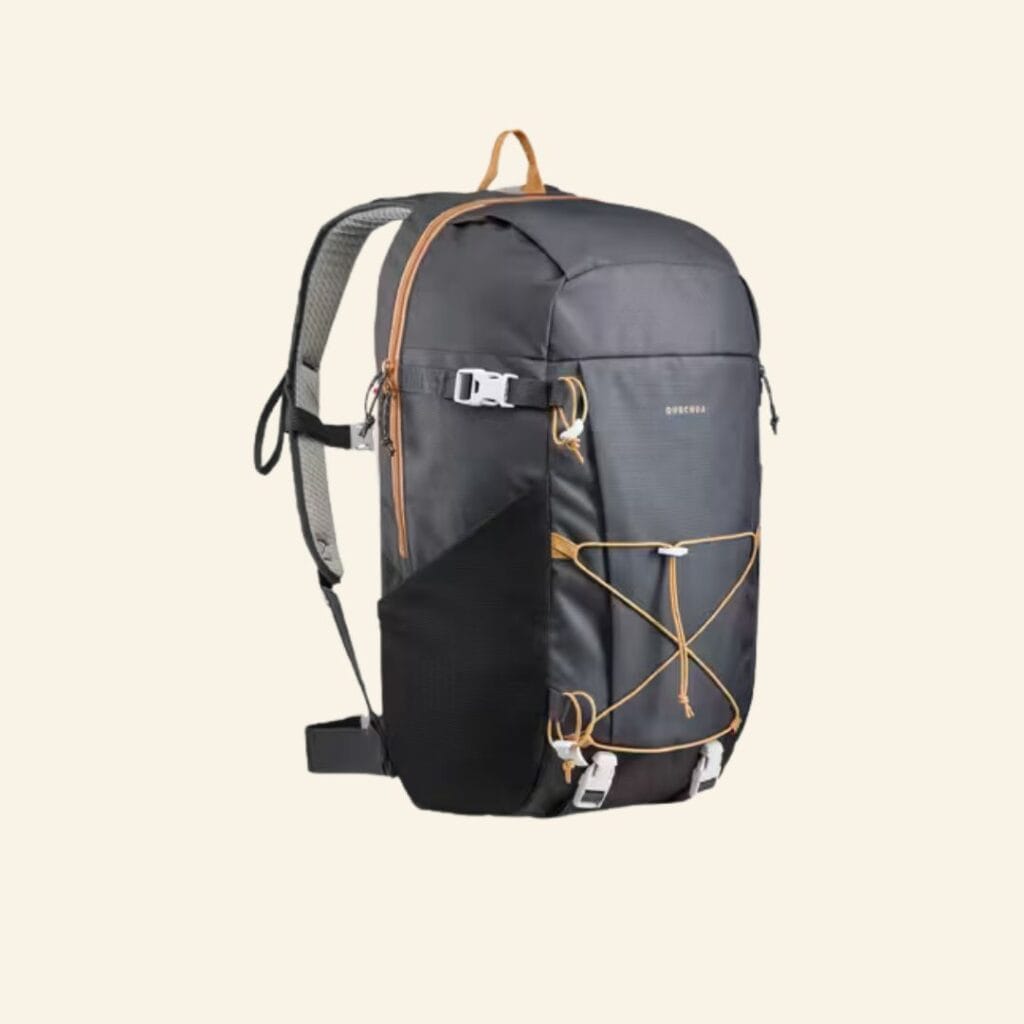
In addition to the trekking backpack, we also have a small 30-liter secondary backpack that is lightweight and foldable while taking up very little space and easily fitting into the 70-liter one. It's very convenient for short hikes or city walks when we leave the big backpacks at the hostel, or even as carry-on baggage on planes and buses. In transit, we always kept our documents, computers, and cameras in it. It's also the backpack we wear in front when we have all our gear on our backs.
Our selection at Decathlon
Obviously, Decathlon is also unbeatable for this kind of backpack: 30 liters volume with a 10-year warranty, all for a small price!
Our selection of more technical secondary backpacks
- The ultralight backpack from Sea to Summit: we really like this brand which combines lightness and durability. For this secondary backpack, you won't find anything lighter: 72 g for a volume of 20 liters! As a bonus, it's ultra-strong and folds up easily as it fits in the palm of your hand!
- For short hikes that require a backpack with more carrying comfort, Gregory also has its Nano backpack. With its breathable back, straps, and multiple pockets, it will be a good, compact companion on your journey.
- Osprey has a wide range of backpacks, perfect to complement your trekking pack. For a practical, comfortable, and versatile backpack, we can only recommend the Talon (Tempest for the women's version).
The backpack travel cover
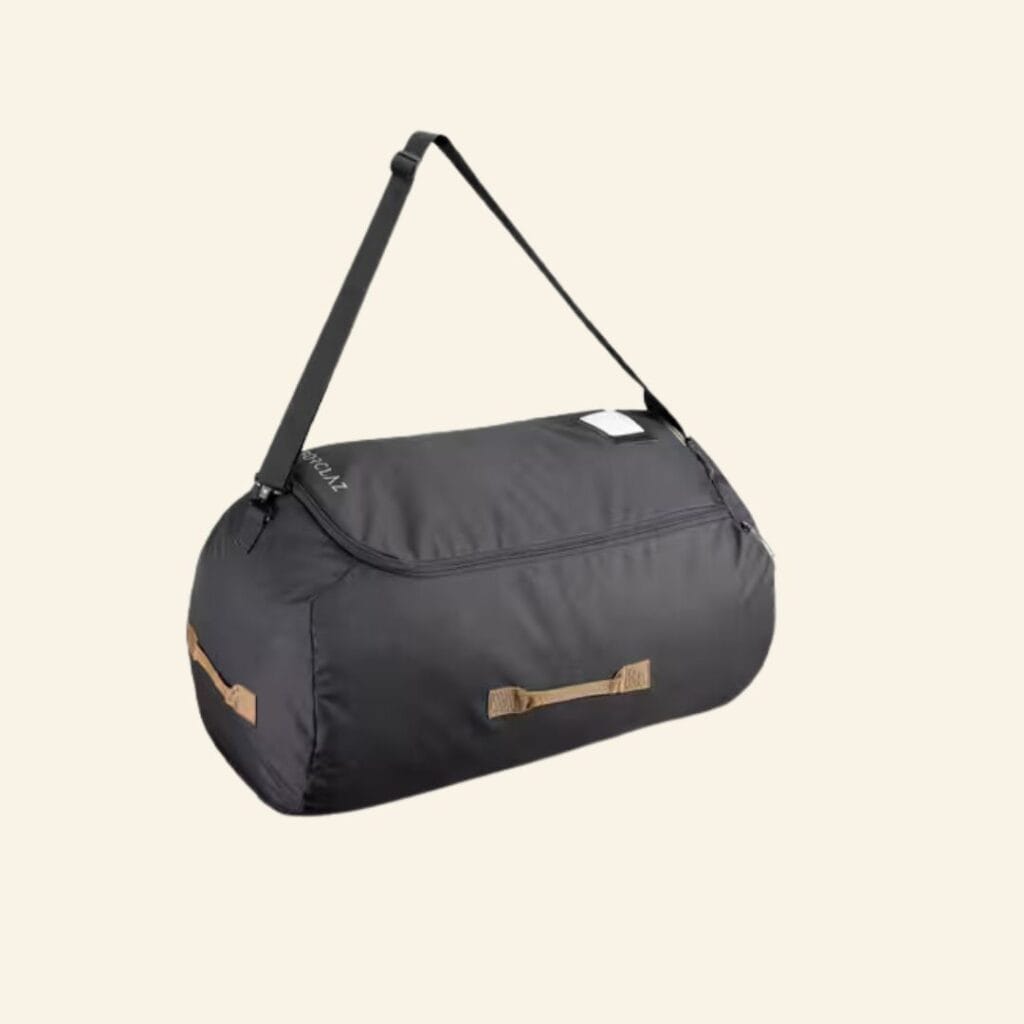
We also invested in a backpack travel cover to protect it during transportation. Online opinions were online about its usefulness, but we decided to test it anyway because it's quite light (about 600 g). For us, the main advantage is being able to slide our entire backpack inside it, and then close it all with a simple little padlock.
Bingo, the backpack is protected from prying eyes! It somewhat deters thieves from simply opening the backpack to see the contents. Of course, the cover could easily be opened with a simple knife, but we think it still diverts attention...
Furthermore, on a plane, it also secures items that are attached outside the backpack like the tent or hiking poles. A little tip to double protect these: put the rain cover on your backpack before putting your backpack in the transport cover. This way, everything will remain securely attached during transit.
Believe it or not, we also used them a lot when we went trekking with our backpacks. We simply put all the things we didn't need in the covers, put the padlock on, and then deposited the whole thing in the luggage room of our guesthouse! Honestly, it's as important as the rain cover in our opinion!
And considering the condition of the covers after more than 5 years of travel, I think we can say that it's money well spent! Our backpacks are still (almost) like new, but they have clearly been spared by these protective covers! Without them, they would certainly have been more damaged and stained than they currently are.
Clothing for a backpacking trip
Before presenting our clothing choices for backpacking around the world, let's explain our selection logic. Also, you'll find what we packed as well as our post-trip remarks for each item in the backpack and options for the 2 types of rtw trip (best value for money and the more technical version). You prefer a list of gear without details? We've created a checklist of backpack contents for a backpacking trip at the end of the article.
Layering clothes
When embarking on a trip around the world, the idea is to bring the most versatile clothing possible to be equipped for the variety of climates encountered during the journey. Therefore, it's best to think of clothing in layers to wear the minimum when in hot climates and simply add layers when temperatures drop. This is called the onion technique or principle (don't worry, you won't cry this time!). To visualize, imagine the layers of onion peel when you cut one. Essentially, to apply this technique, you need multiple garments.
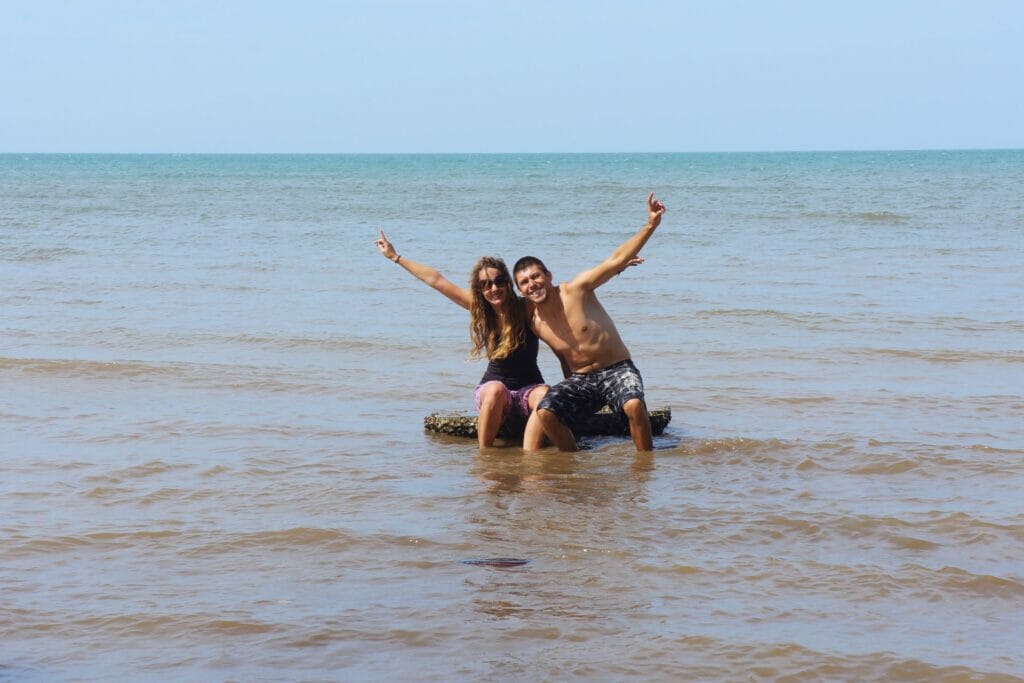
The first base layer
You'll never take off this layer! The idea of this second skin is to quickly wick away sweat to avoid cooling down. In terms of material, forget cotton, which absorbs sweat without wicking it away because it takes time to dry. Instead of synthetic (polyester), which often retains odors, opt for more natural fibers like Tencel (or Lyocell) and merino wool. The latter controls odors, allows the body to regulate its temperature, and dries quickly. For the cut, prefer a T-shirt and/or a long-sleeved T-shirt depending on your itinerary. Find below our selection of base layers to stay dry!
The second insulating layer
You'll put on or take off this layer depending on temperature variations. Its function is purely thermal to retain body heat. But keep in mind that it still needs to be breathable, or else you'll lose the benefits of the base layer. For this intermediate layer, you have the choice between fleece, a down jacket, a sweater, a softshell… In cold weather, you can add insulating layers, like a softshell over a fleece, for example. We've provided a selection of layers to stay warm just below!
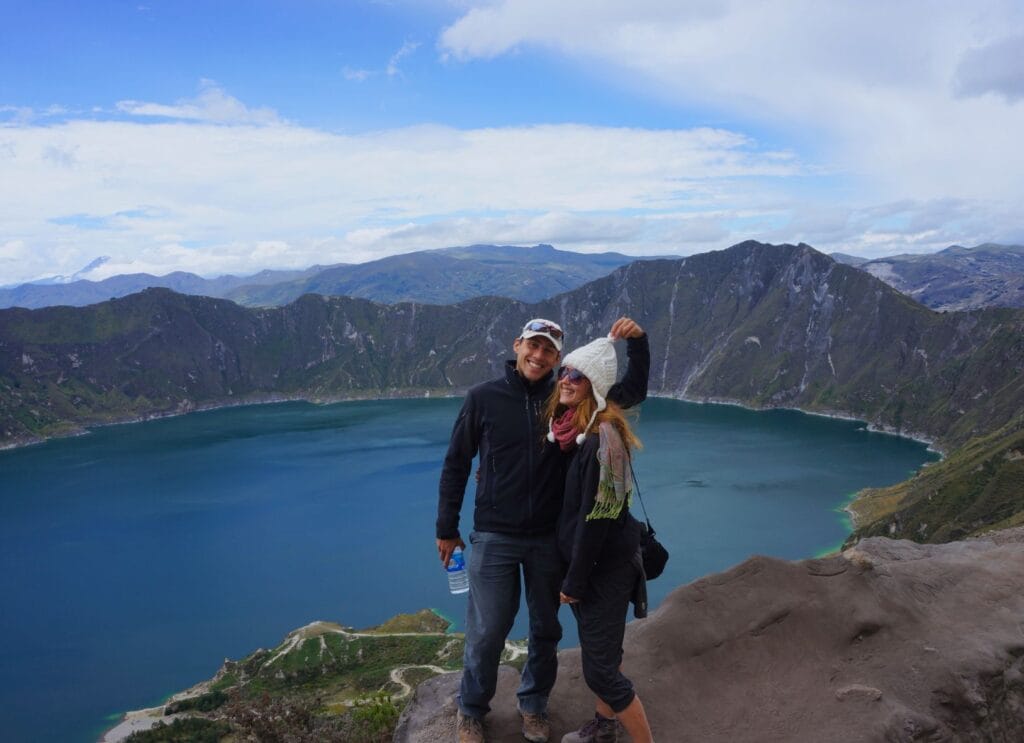
The third protective layer
This final layer will help you face weather conditions. To counter rain, snow, and wind, it's this jacket that will keep you dry. So it must be breathable (to keep the benefits of the other layers), waterproof, and windproof. The ultimate material is undoubtedly Gore-Tex, but the downside is that it often inflates the price of jackets. You'll see in the list below that there are models for every budget.
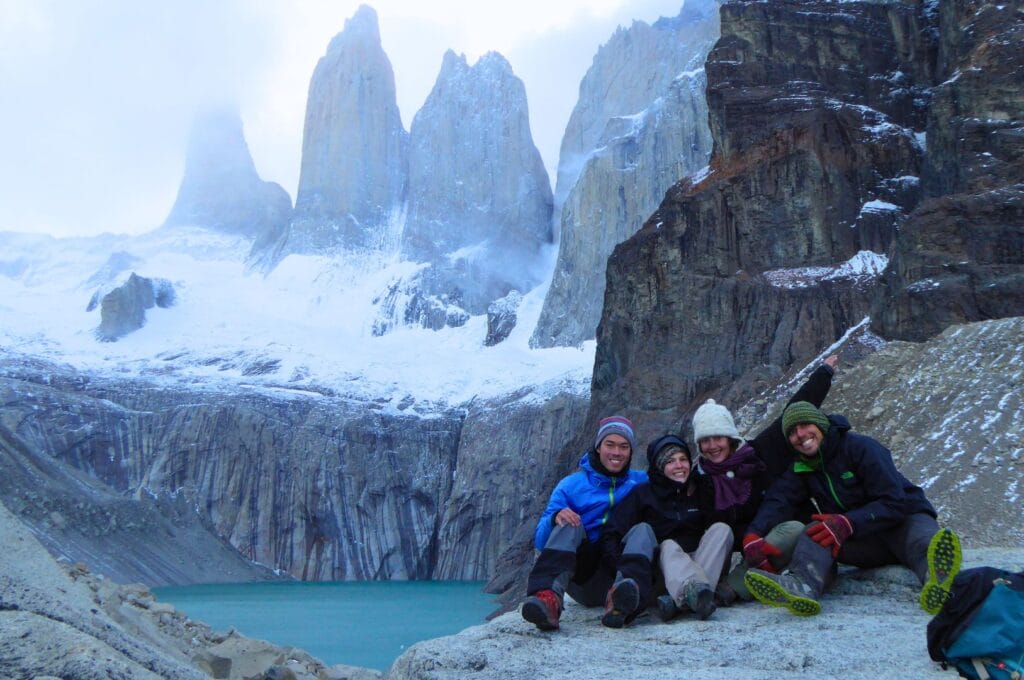
T-Shirts
As base clothing layers, we each brought 4 T-shirts (2 synthetic and 2 cotton), 1 long-sleeved T-shirt, 1 lightweight hoodie. As we mentioned above, choose breathable and lightweight clothing. You'll understand that if we were to do it again, we'd ban cotton but keep the same number of T-shirts, favoring merino wool or Tencel, and we wouldn't take a hoodie.
Our selection of base layers:
Decathlon's short and long-sleeved T-shirts: Decathlon now offers merino wool T-shirts for a very good value for breathability and lightness! However, we find them a bit fragile over time.
Jackets
For the second insulating layer, we took a not-too-thick fleece and a warm, windproof softshell jacket. This way, we could combine them when it was really cold. I took this model, and Benoit took this one. Some models are 2-in-1, jacket + fleece, which are detachable, which can be practical. Honestly, we used them a lot during our backpacking trip. We traveled to regions with different climates, and they were very practical and sturdy.
However, today, we would only take one intermediate layer, namely the down jacket! So, forget about the bulky ski-style down jackets, brands have made huge progress, and recent models are lighter and less bulky than before, which is significant for trekking! The 5.0 down jacket is lightweight, warm, breathable, and ultra-compact. One downside: they are a bit more fragile than softshells.
Our selection of down jackets:
- Decathlon's down jackets will do just fine for everyday use. If you're going through colder regions during your world tour, we recommend this one (women's model) and this one (men's model).
- For a more upscale and durable version, the ultimate down jacket is Patagonia's Nano Puff. Lightweight, compact, and very warm, it's a perfect ally when temperatures drop.
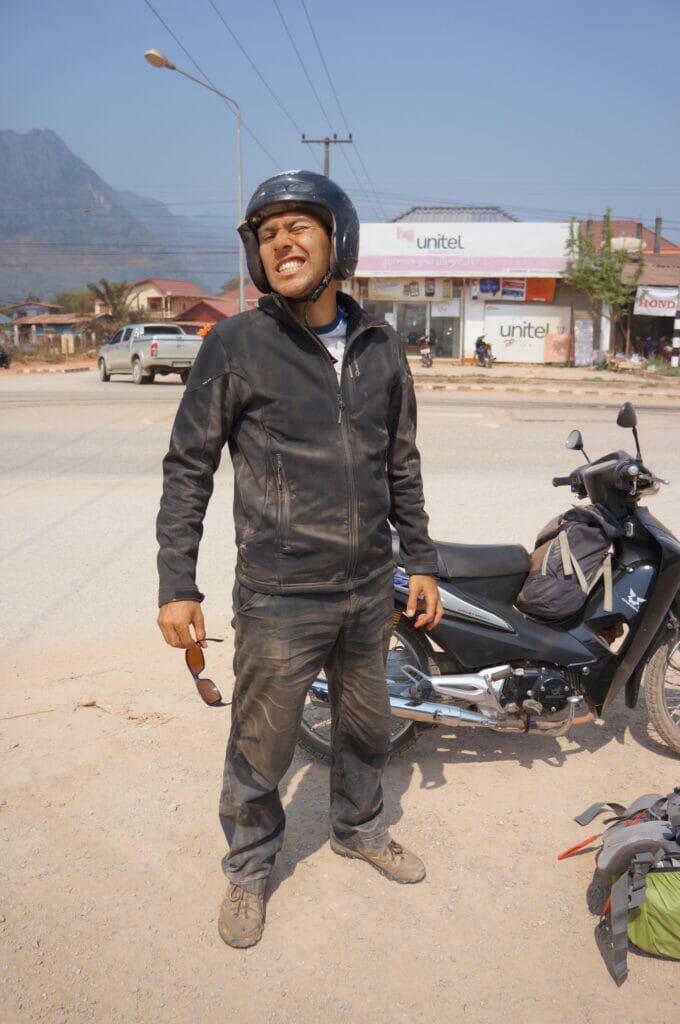
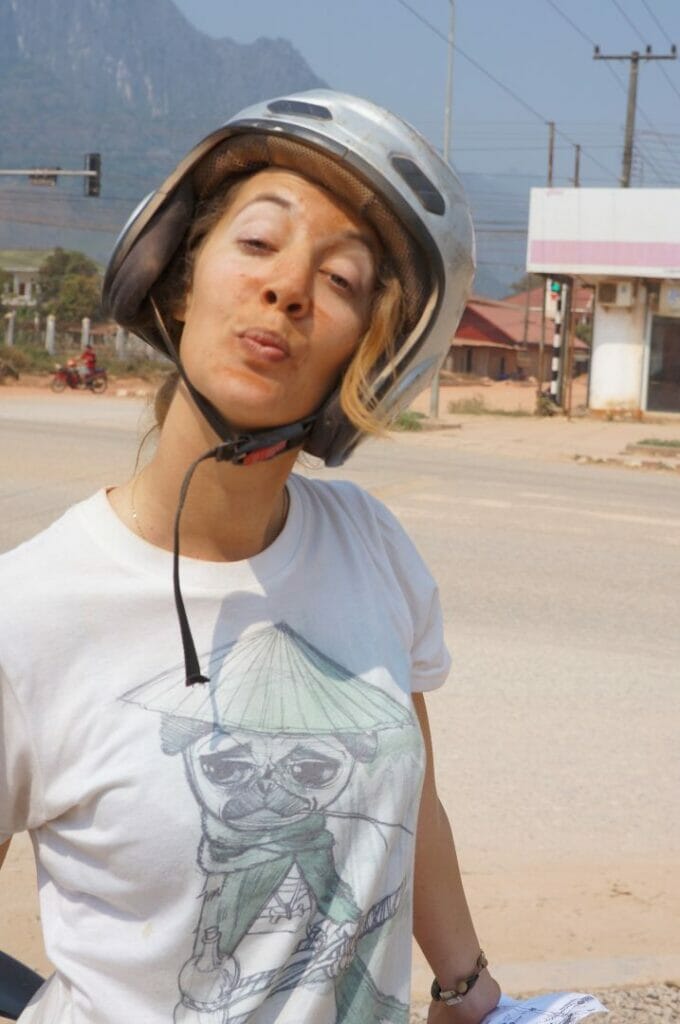
Hardshells
As the ultimate protective layer, we opted for a lightweight and waterproof jacket, wide enough to wear over other clothes, and with a hood. It was rarely used in Asia but proved to be an indispensable garment for protecting against wind at altitude in South America, as well as for trekking. After our various trips, we invested in a more technical jacket for a good reason. After facing many weather conditions, we really realized that it's the layer not to be neglected for proper protection.
Our hardshell selection:
- When we set off on our backpacking trip around the world, we took waterproof jackets from Decathlon: this one for Ben and this one for me. These are the new versions of these jackets because at the time they weren't as lightweight as they are now!
- Today, we have Arc'teryx's Beta LT jackets in Gore-Tex. The price may make you think twice, but honestly, if you're an outdoor enthusiast, you won't regret this investment. We are really happy with them: always dry after years of use for minimal weight (300 g)!
- For an intermediate budget, Patagonia offers a windproof, lightweight, waterproof, and breathable third layer: the Torrentshell model that will protect you wherever you go in the world.
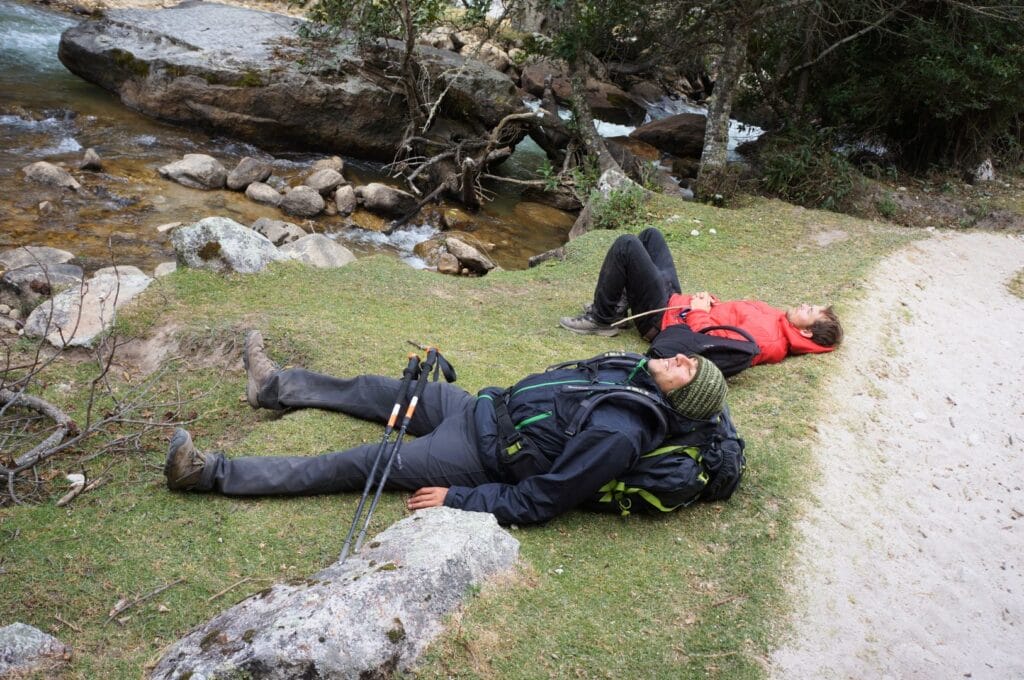
Convertible hiking pants
A lightweight, breathable hiking pants for long walks is a must-have in any respectable traveler's wardrobe. Plus, if you're heading to South Asia, pants are essential for entering temples. While hiking, they protect from the sun, wind, and whims of the weather.
Even though the model itself is of little importance, we must admit that Decathlon has again come up with a great range of pants designed especially for travelers. Here are the men's and women's models that we own. In this case, we won't give a technical alternative because these pants perfectly fulfill their functions and we have no complaints! Affordable, durable, versatile... They tick all the boxes!

Leggings
So, it might seem a bit odd to bring leggings, and I wasn't convinced at first. Once on the road, I quickly changed my mind! It's not the most glamorous, but:
- it keeps you warm under pants;
- it's super comfortable when combined with shorts for a night bus ride with AC;
- it serves as pajamas for dormitory nights...
It's so practical that even Benoit bought one in South America. That says it all! For models, you can find basic leggings at Decathlon for a small price!
Shorts
We took 2 shorts, making it 3 including the convertible hiking pants. Here, you're free to choose what you want. Nowadays, you can find ultralight and very comfortable sport shorts that will serve you almost every day.
As a former shopaholic, I had to make concessions to fit everything in my backpack. The key is to only take clothes that ALL go together! So don't take that cute little top that only goes with that one pair of shorts… No, each top should go with each bottom! Otherwise, you're guaranteed to take too many clothes.
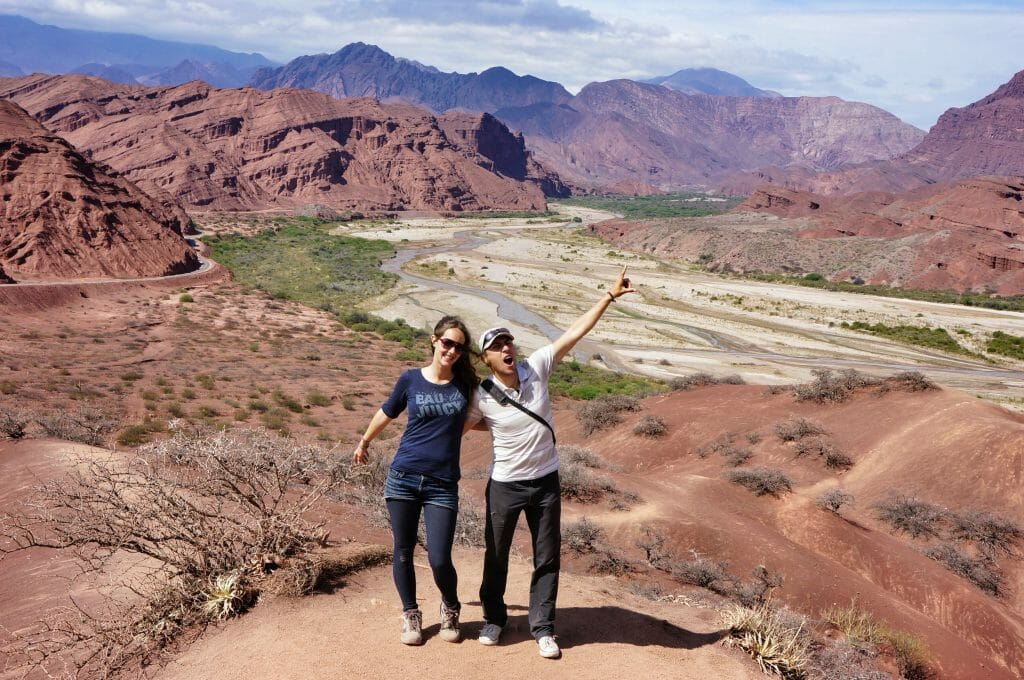
Underwear
In our backpack, there are 4-5 panties/boxers, 4 pairs of short socks, 2 pairs of hiking socks, and 1 bra.
Today, as with base layers, we would choose technical underwear in merino or Tencel for all the qualities mentioned above. As for bras, ladies, you can instead take a bikini top (in addition to the swimsuit) or a sports bra if you prefer the practicality and quick drying compared to classic bras, more "lingerie".
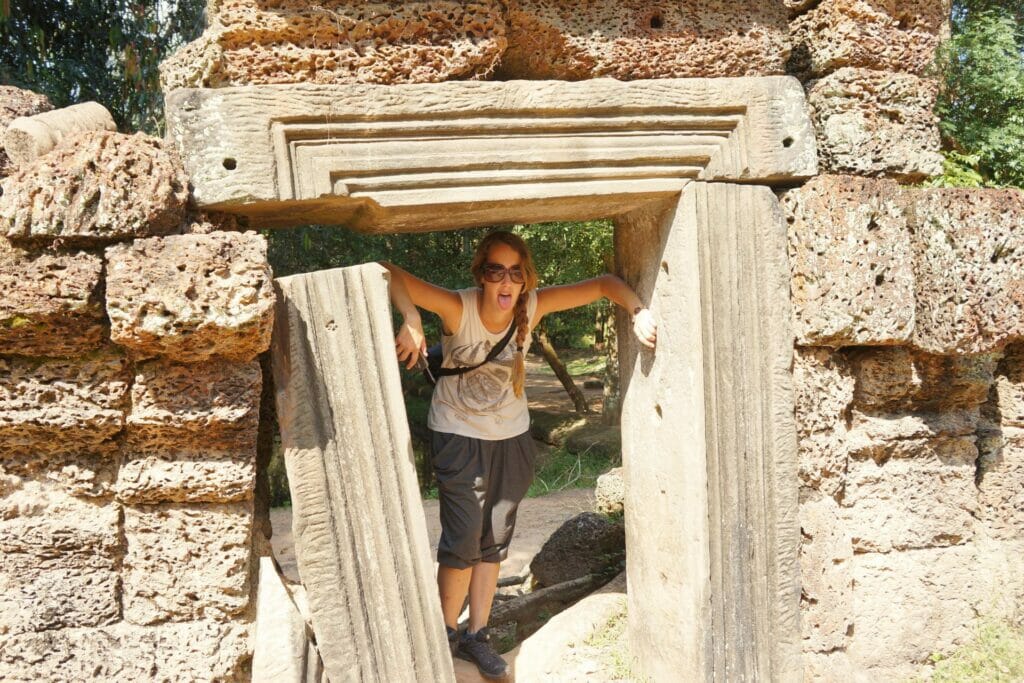
A smart outfit
You might think it's trivial, but I promise it feels good to leave behind the hiking shoes and clothes for an improvised evening or stroll around big cities from time to time. We were delighted to swap them for more dressed-up clothes to go to a fancy restaurant in Hong Kong! Benoit wore a polo shirt, and on my side, I chose a dress and jeans. Yes, you read that right! Everyone advises against including jeans in their luggage when embarking on a backpacking trip around the world: they're heavy, don't dry well, and blah blah blah. But I wanted to bring jeans because I like them! And you know what? I always have a pair of jeans in my backpack when traveling! #jeansgirl
This example proves that you shouldn't rely solely on what you read; consider your desires while being reasonable!
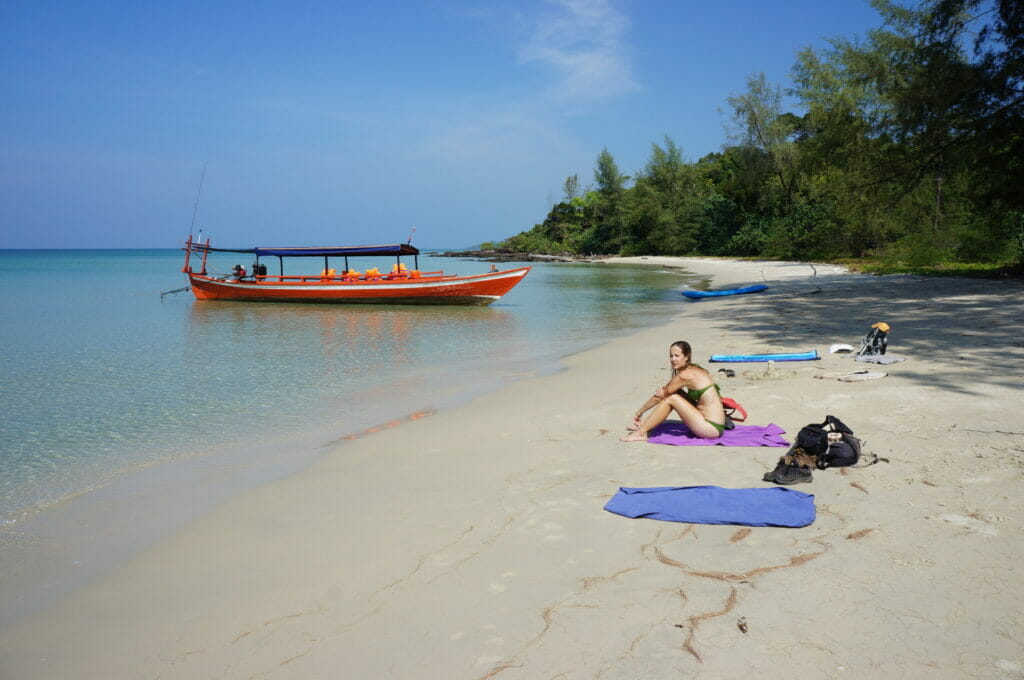
Swimwear
No need to explain, but we're pretty sure you'll take a dip at some point, whether it's in hot springs, a pool, or the sea… For women, a bikini top can double as a bra when it's very hot, which is very practical but varies for each person.

Cap
A cap (or any other hat) will be welcome throughout the journey to protect you from the sun. Opt for lightweight models that dry quickly and wick away sweat rather than a cotton cap, which is more complicated to wash and takes longer to dry.
Beanie, gloves, neck warmer
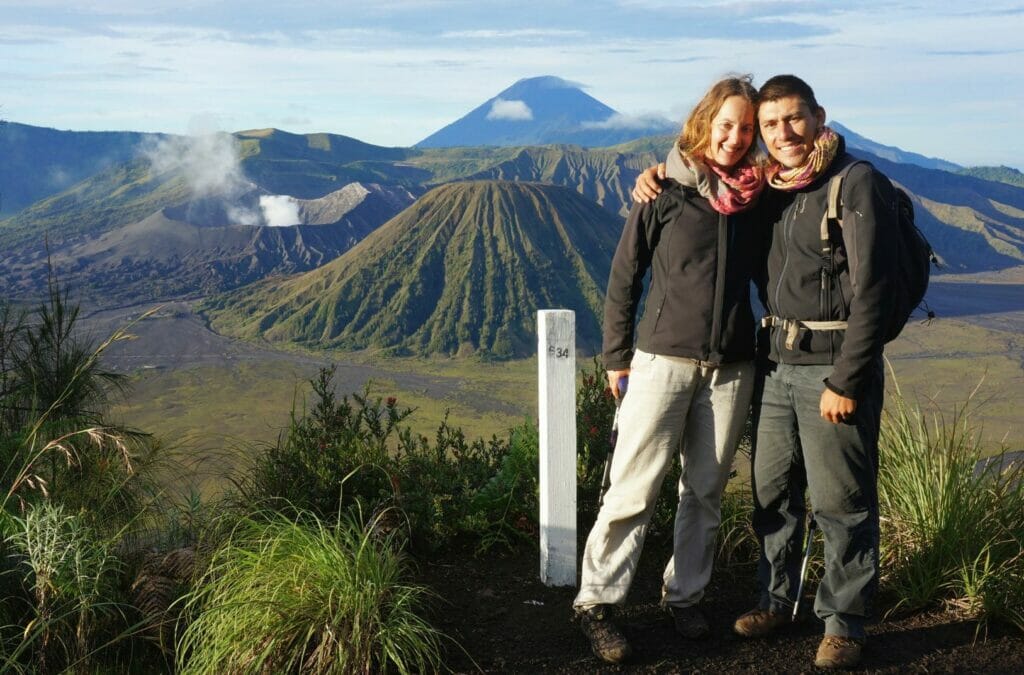
If your rtw trip itinerary includes New Zealand or South America, or if you're planning to travel at altitude, a beanie, gloves, and neck warmer will be your best friends against the cold. However, we recommend buying all or part of your warm clothes locally, especially if you plan to travel through Asia or countries where the temperature rises. It doesn't take up much space, but it's still weight and volume saved. And given the price of these items, you won't break the bank by buying them at the right time. In the worst-case scenario, your loved ones can send you items thanks to Poste restante.
Shoes for a trip around the world
We left with 3 pairs of shoes in our backpack: low trail shoes, flip-flops, and casual sneakers. For Asia, trail shoes are perfect! Once we arrived in South America, we tested hiking boots, and the choice between the two was difficult.
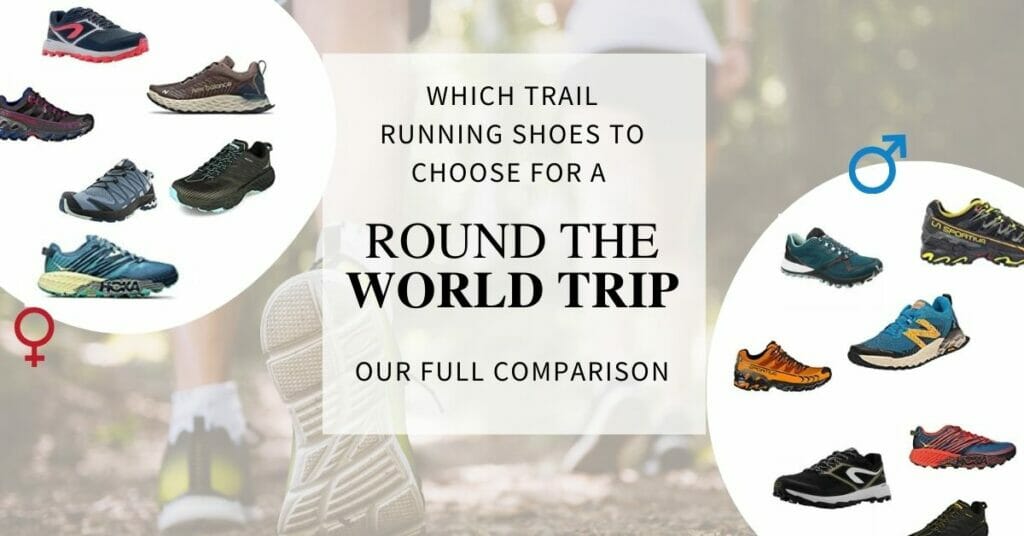
Since that rtw trip, we've tested many models (trail shoes, hiking shoes, sneakers), and in the end, we always come back to low-cut trail shoes. They are the most versatile shoes and are sufficient for practically every situation: hiking, trekking, city (for most models). Plus, the models are relatively lightweight compared to traditional hiking shoes. However, don't try to save money on shoes because you'll wear them every day and need protection! We've tried different brands: Salomon, Decathlon, La Sportiva, etc., and we've even written a comprehensive comparison of the best trail shoes for hiking and traveling.
We also brought an extra pair of sneakers to occasionally switch out of hiking shoes. It's convenient for transportation and urban walking in temperate countries like New Zealand or South America.
In Southeast Asia, flip-flops will do just fine! Since it's hot and you need to remove your shoes before entering temples, they're very practical! They double as slippers in accommodations, and you can slip them on in the bathroom for a shower in case of dubious cleanliness... In short, embarking on a backpacking trip without flip-flops is as unthinkable as embarking without trail/hiking shoes!
Gear for backpacking around the world
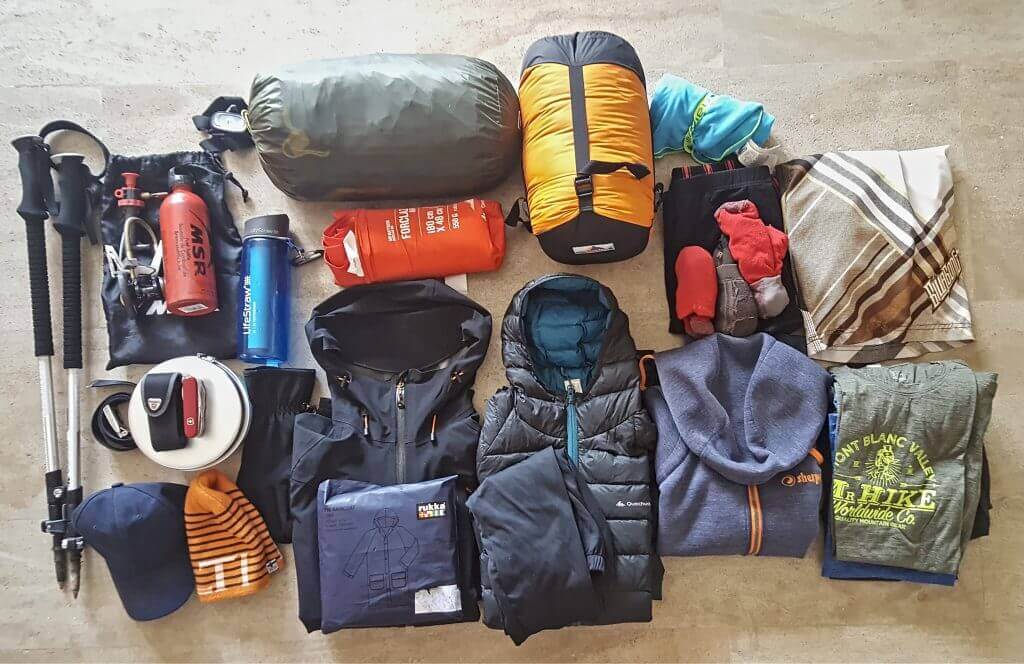
Here's the list of useful items we decided to bring with us. Again, you'll find most of these items with excellent value for money at Decathlon. Like clothing, we'll provide two versions depending on your budget and profile.
Camping Gear
Thought before departure
"Should you take a tent and a sleeping bag on a backpacking trip?" is probably the big question we receive most often when it comes to gear. All in all, it represents 7-8 kg, to be divided among you if you're traveling in a group. That's not nothing! To decide, ask yourself a few questions:
- Do you plan to do several treks with camping?
- Would you like to camp if it saves you some money on accommodation in expensive countries? I'm thinking especially of Argentina and Patagonia.
- Do you have the habit of organizing independent treks or is it something you're keen on?
If the answer is yes, then take your camping gear with you! You'll clearly be more comfortable with your equipment, and having it with you will surely encourage you to embark more on hikes than if you have to rent gear every time!
However, if walking isn't particularly your thing but you plan to take on 2-3 challenges during your world tour - like climbing a volcano in Indonesia and trekking in Peru - then I would advise you to spare yourself this extra weight and use agencies that will rent you the gear.
Weight depending on gear and type of trip around the world
At the time, we had no idea what to expect, and clearly, our equipment wasn't ideal. We left without a tent but with sleeping bags rated for a temperature rating of 15 °C. In the end, we ended up buying a tent along the way as well as new, warmer sleeping bags when we did treks in Latin America.
Not having an infinite budget once we left and especially facing a limited choice in stores, our gear turned out to be extremely heavy! Over the years, our equipment has changed a lot, and today, we've found a combination that suits us. So, for those who plan to make the most of this trip by trekking independently and camping outdoors, we'll show you what we would take if we had to leave tomorrow.
Tent
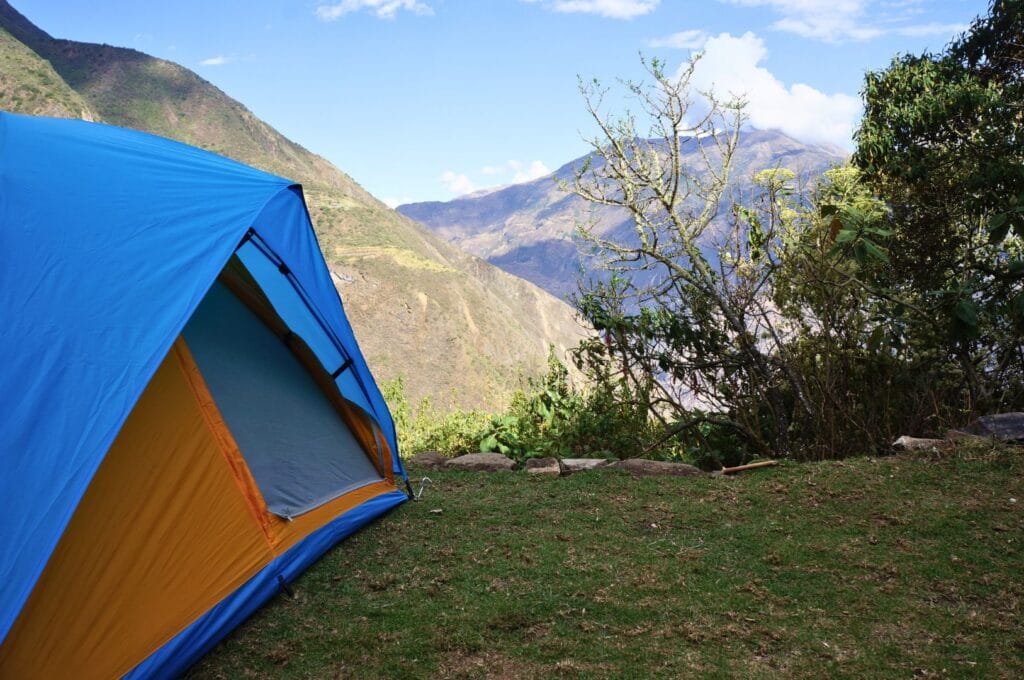
For this one, we recommend buying it before you leave because it's difficult to find a lightweight and quality tent along the way. Since we've been doing a lot of independent treks, we decided to invest in a spacious, super waterproof, and ultralight tent (our first real estate investment!) from the brand Helsport. We have the Fjellheimen Superlight 3, and again, it's a significant investment that isn't necessarily essential for everyone.
You can find cheaper tents that are still of good quality; they're just a bit heavier. Decathlon now offers two models of tents that are quite interesting in terms of quality/price ratio: the MT900 ultralight 2-person tent and the MT900 ultralight 3-person tent. We have a preference for the 3-person tent to have room to store backpacks inside.
For more information, check out our tips for choosing the ideal tent for camping.
Sleeping bag
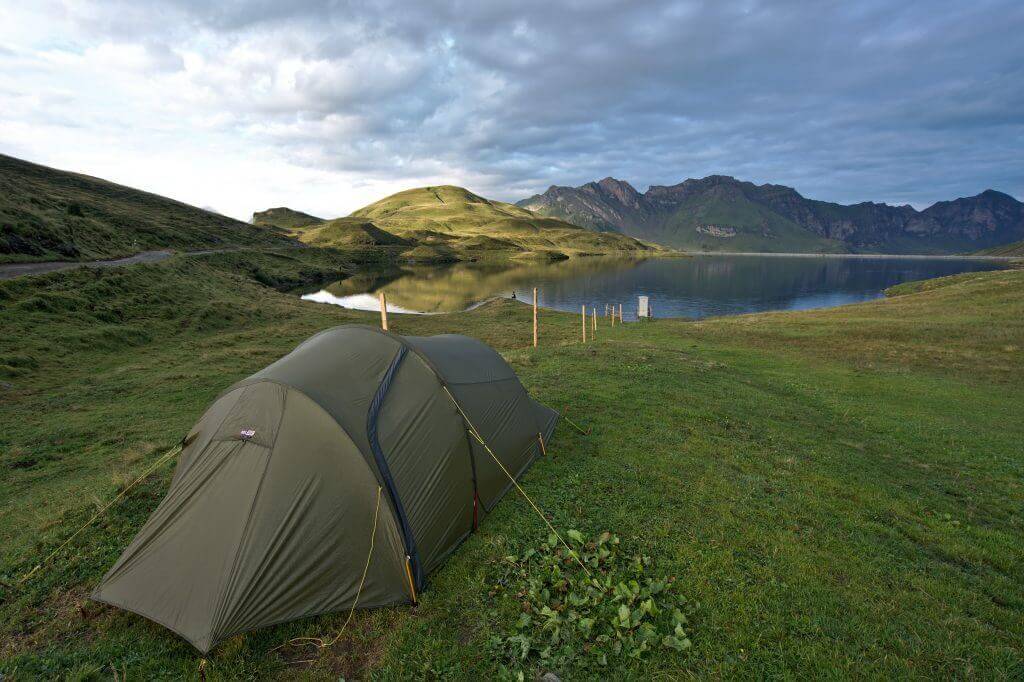
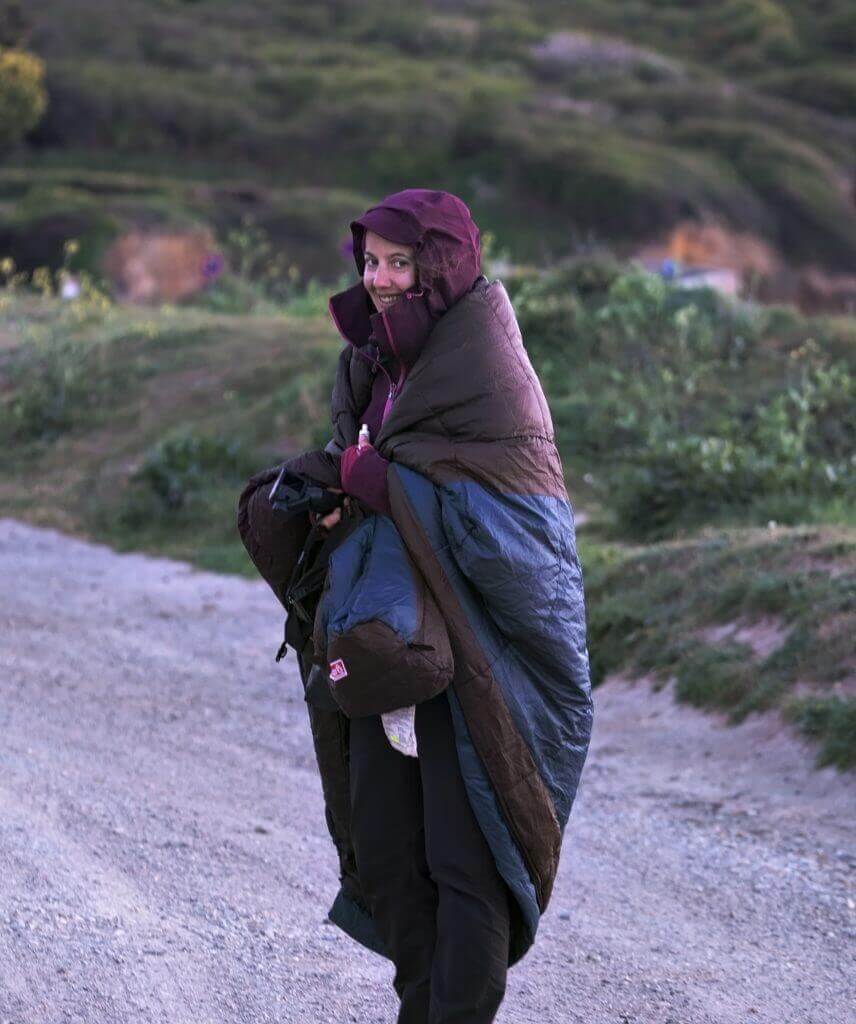
This is essential for any camping traveler. We left for Asia with an ultralight sleeping bag suitable for temperatures of 10-15 °C, and it was perfect! Well, honestly, we used them quite a little in Asia because we only camped once during our week of biking in Taiwan. In South America, we quickly switched to warmer sleeping bags, with a temperature rating of 0 °C. Moreover, over there, we struggled to find ones that weren't too bad.
Our selection of sleeping bags:
Currently, we have a sleeping bag with a comfort temperature of -5 °C that weighs only 900 g, which we take with us everywhere: it's the Valandré Swing 500. So, it represents a significant budget, but the weight/heat ratio of this type of sleeping bag is unbeatable. For a good quality/price ratio, the only model from Decathlon that we think is worth it is this one.
Well-insulated sleeping pad
Here too, the sleeping pad is a must-have for camping gear. We prefer pads with multiple tubes that inflate lengthwise. Once inflated, they are thicker and more comfortable, and when empty, they are less bulky than conventional inflatable mattresses. If you plan to camp in fairly cold temperatures, pay attention to the insulation quality of the pads: this is called the R-value, or thermal resistance. In fact, the pad can retain body heat. The higher its value, the more the pad insulates from the cold ground. Between 0 and 2, the sleeping pad is perfect for summer; between 2 and 3, you can use it in spring, summer, and fall; between 3 and 4, the pad is four seasons; beyond 4, the pad is suitable for extreme camping conditions (altitude, poles…).
Our selection of sleeping pads:
Quechua pads can easily do the job on a backpacking trip. If you plan to trek in temperatures below 5 °C at night, a slightly more insulated pad is very useful. For our trek in Sweden and in Switzerland, we bought Therm-a-Rest Trail Lite pads for a great quality/price ratio with an R-value of 4.5.
Cooking equipment for camping
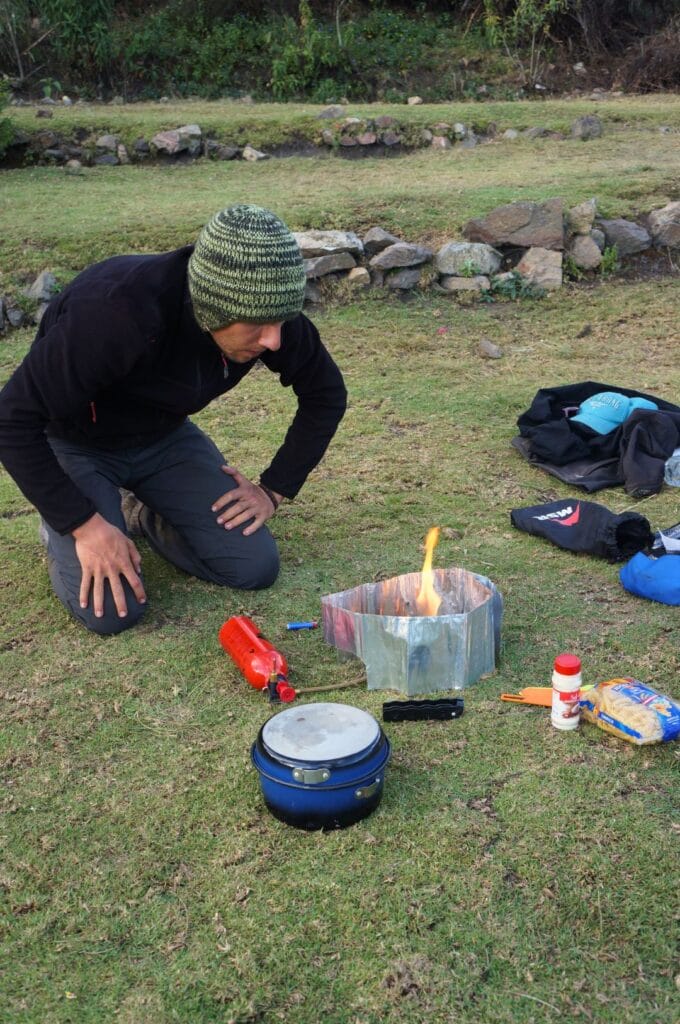
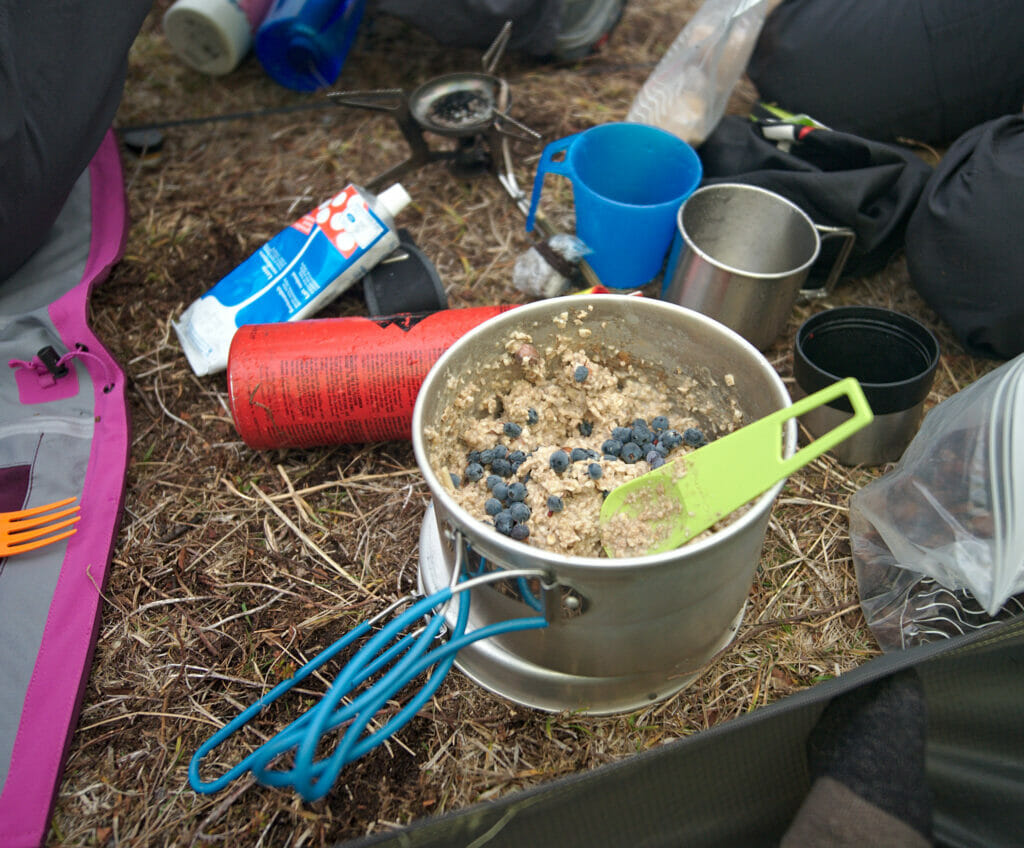
- 1 lightweight MSR gasoline stove and 1 lighter. Don't take a gas burner because the nozzles of gas canisters vary from country to country, we've experienced it! However, you can always find gasoline. However, it's better to use clean fuel than gasoline from gas stations. Even if it works, it still clogs the system quite a bit. A good tip to save money: instead of buying white gas in camping stores, go to a hardware store! Painters use it to strip walls. It's the same product but simply sold cheaper to painters than to hikers 🙂. Anyway, we're very happy with this versatile burner!
- 1 mini set of pots for 2, with lids that double as plates, cutlery, and glasses for camping and independent trekking. One of our small pleasures when traveling with a backpack is making ourselves coffee in the morning or cooking ourselves. That's why we lug around this cooking set.
Are you starting your backpacking trip with 3 months of camping across Europe? Once in Asia, you may find accommodations so cheap that your camping gear may no longer be of much use except to overload your back a little… So sell, give away, or send a package to your loved ones!

Practical daily gear
Filtering water bottle
The filtering water bottle is an ultra-handy item when backpacking. In fact, they never leave us during our escapades. You're no longer dependent on plastic water bottles (and thus stores) while traveling the world. Plus, you save money while ensuring you don't get sick thanks to water filtration. It's a bonus!
Travel storage bags
We found these 3 travel storage bags of different sizes to be super convenient for compartmentalizing things in the backpack. No regrets about taking them; we used them throughout the journey! Plus, by compressing them to remove air, you can save space. If you prefer to skip them, we recommend at least having a laundry bag, the one you usually use to wash delicate clothes in the machine. This will help you see more clearly between your clean and dirty clothes without having to take everything out.
Microfiber towel
Each of us took a large microfiber towel that takes up little space and dries quickly. It must be admitted that it doesn't absorb water on the skin as well as a standard towel, but it's much more compact and lightweight! The size/weight ratio is so good that we would take it with us, even though we're happy when hotels or hostels provide real cotton towels 🙂
Clothesline
For doing laundry while backpacking around the world, there are two schools of thought: those who do their laundry by hand and those who prefer to entrust their laundry to hostels/hotels or laundries. Truth be told, we're more of the second type; we only had to do our laundry by hand once in 19 months… Giving your clothes to be washed is cheap, they come back clean and smelling good! However, we know that many long-term travelers include handwashing laundry in their daily routine. And where there's washing, there's drying! To hang your clothes, this clothesline is perfect: ultra-compact, lightweight, and durable. As for detergent, hotel soaps work just fine, as does your body soap (yes!). There are even all-in-one soaps (body-hair-laundry-dishes) that are ideal for travel.
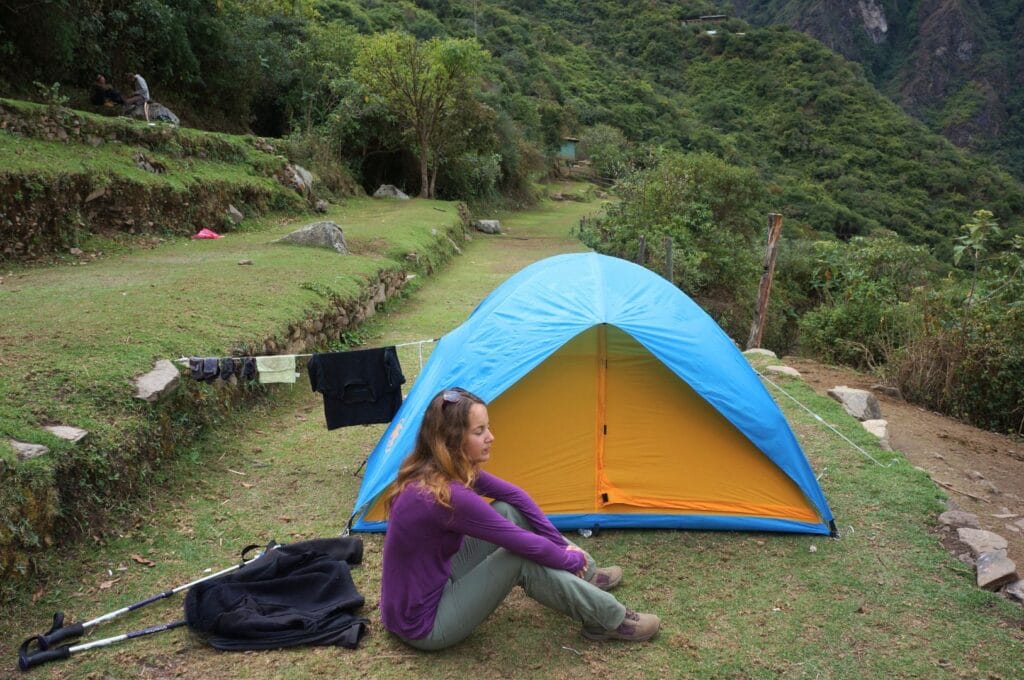
Sleeping bag liner (or silk bag liner)
The sleeping bag liner has many advantages, whether you're a camper or a fan of hostels and hotels. For camping, the silk bag liner is perfect for protecting the sleeping bag and avoiding further heat loss. But it can indeed be duplicated with the sleeping bag, especially if you camp very often. In hostels, the sleeping bag liner serves as a sheet in warm countries but also when the cleanliness of the places is more than doubtful. We've experienced it! On our side, since we travel a lot in bivouacs, we don't feel the need for them and we wouldn't take them. But if it's your first backpacking trip, it's equipment to consider. Here, we only offer you a 100% silk model, which is lightweight, comfortable, with an excellent quality/price ratio!
Hiking poles
Few world travelers take them, but hiking poles are a must-have to help you on your various hikes around the world, especially if you have fragile joints! I have knee problems, and they help me a lot on descents.
Sunglasses
No need to explain why you need to bring a pair of sunglasses 😎. You'll constantly have them on your nose, protecting you throughout the journey. For the case, don't hesitate to change it for a lighter and less bulky case, especially if you have prescription glasses to carry along. Remember to put a cloth to clean dust and smudges.
Money belt or security hip pouch
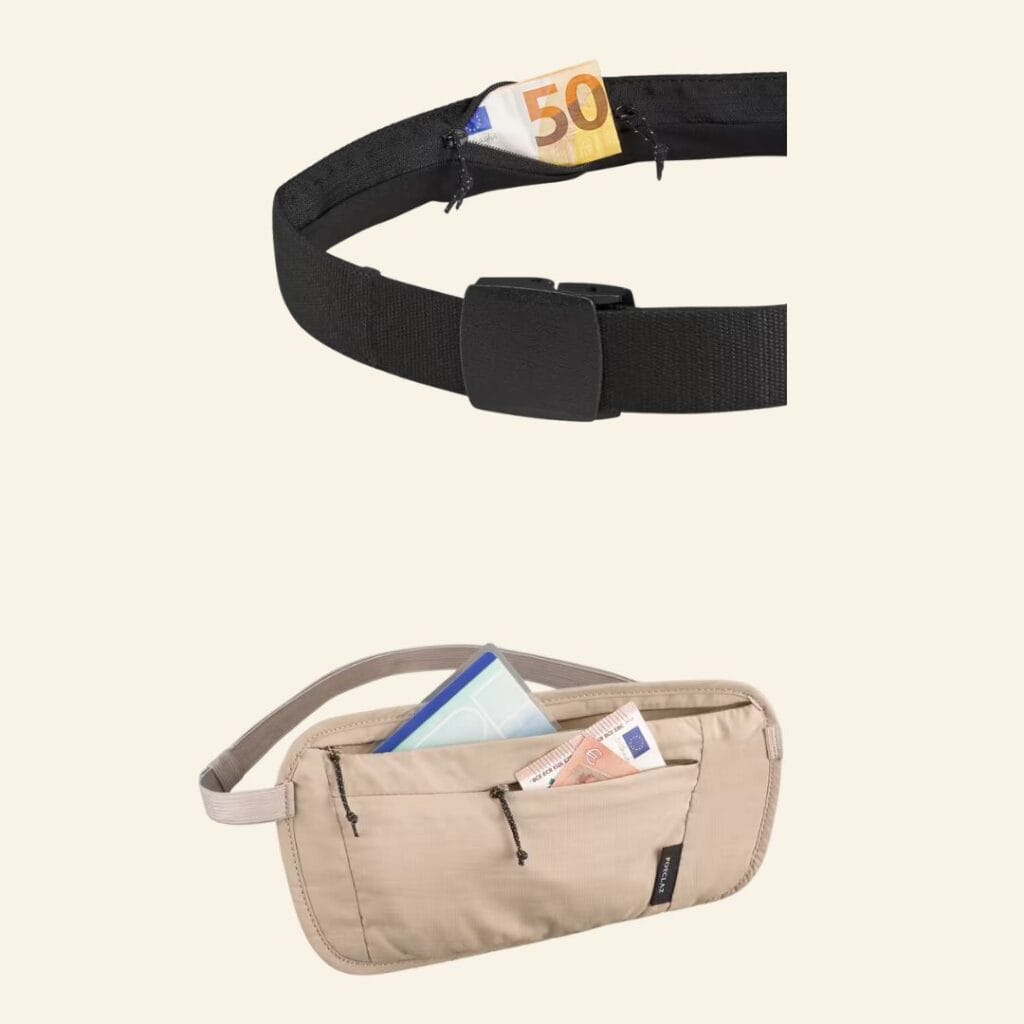
The money belt almost ended up in the “we wouldn't take it again” category that you'll find a little further down. It's worn like a regular belt and has a zippered pocket inside to slide in bills. It's very practical, but it requires folding the bills into sixths. Often, currency exchange agents or administrations prefer intact, unfolded bills. In my case, I hid bills throughout the round-the-world trip in my bra! Well, don't necessarily do the same, but it's a solution like any other!
For these reasons, we would opt for the travel secret ventral pouch instead. It has the style of a fanny pack but is much less bulky for carrying passports, and flat bills while ensuring RFID protection. You wear it around your waist, directly on the skin under the T-shirt for total discretion. When you're not wearing it, it prevents you from scattering your papers or important items in your bag.
Padlock
To lock the tent or the backpack travel cover for plane journeys or when you have to leave belongings in a guesthouse during treks, a padlock is very useful! We don't recommend combination locks, at least not Decathlon's… One of mine won't open anymore! Plus, it's easy to crack the codes: when you reach the right number in the combination, you hear a clear and precise click. I even managed to crack my own lock that had a code change buried at the bottom of my bag! Plan on one per person.
The sleeping kit for backpacking around the world
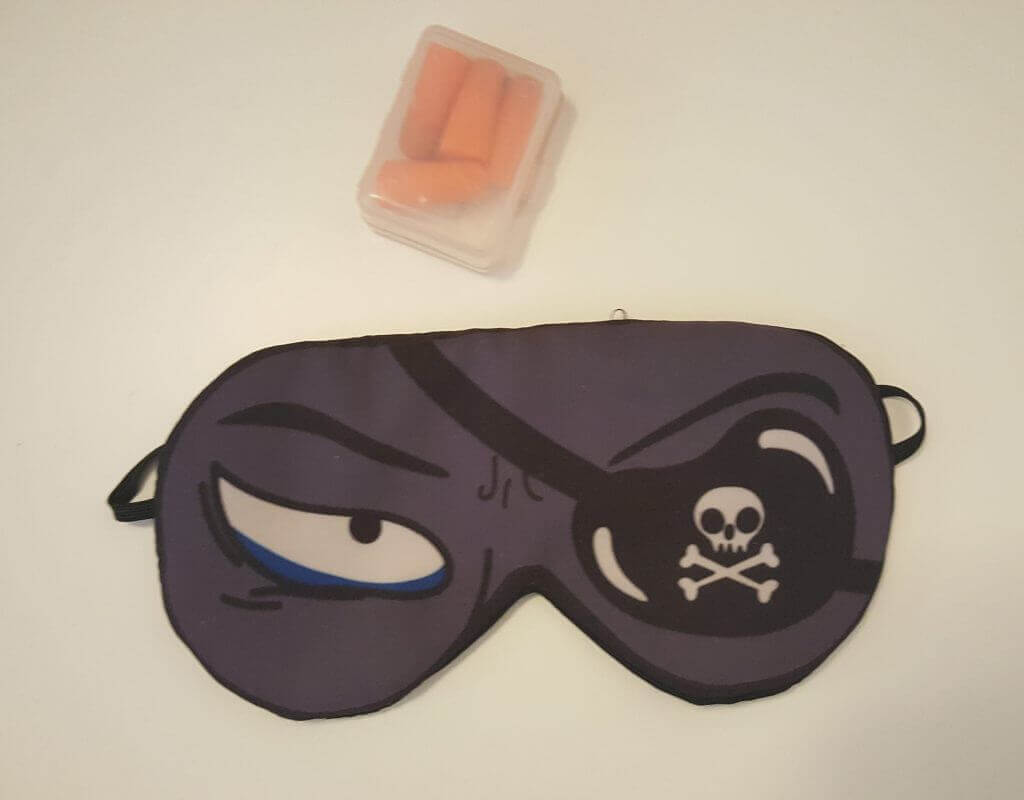
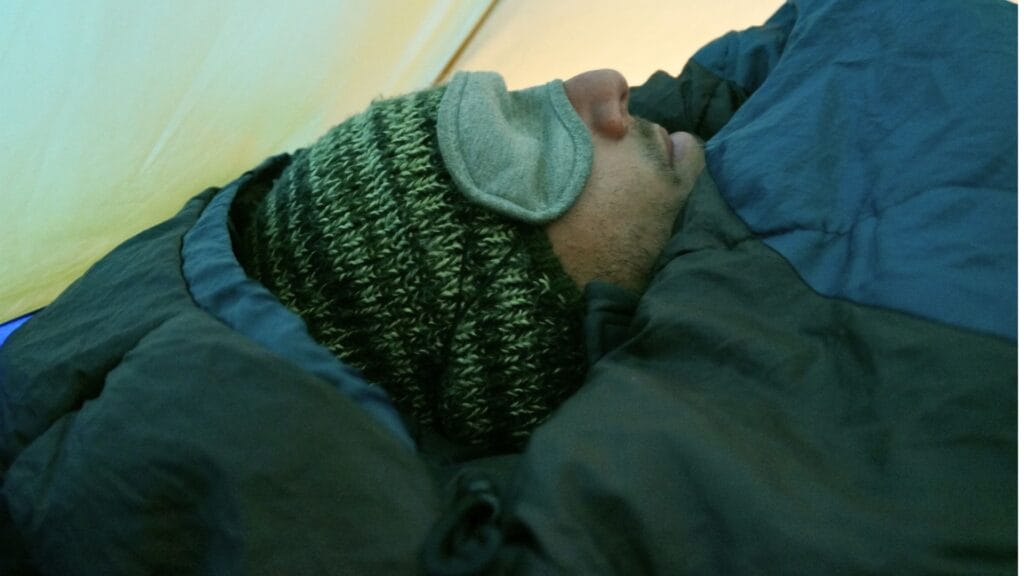
Sleep is personal to everyone. I can fall asleep in any condition, whereas Ben needs his gear to sleep. A neck pillow and an inflatable pillow aren't essential unless you plan to camp for the latter. Let's say it can bring some comfort on overnight buses or when the pillows in accommodations are completely worn out. It takes up very little space and is lightweight, so if your neck needs support, we recommend it to save your nights. Take earplugs and a sleep mask if you're sensitive to disturbances. Remember that "just in case" items are to be avoided when planning your gear 😉.
A mini sewing kit
This isn't the first item we put on the world tour list, yet we've used it quite a bit. Correction, I've used it quite a bit! When Benoit has something to mend, he gives me his panda eyes!
Toiletry bag and hygiene
Before discussing the contents, let's talk about the container. Today, there are ingenious models of toiletry bags with an integrated mirror and a hook. This allows you to hang it in the shower or bathroom, avoiding putting it in dirt or water. Here's the inventory of our backpacking travel toiletry bag:
- Solid soap (practical, doesn't leak, multi-purpose)
- Solid shampoo
- Deodorant
- Toothbrush
- Toothpaste
- Dental floss
- Comb/hairbrush
- Nail scissors/nail clippers
- Moisturizing cream
- Lip balm
- Oriculi to replace Q-tips
- Tweezers
Check out our article on health while traveling around the world, where we discuss vaccines, medications, periods, contraception, etc.
For everything like soap, shampoo, toothpaste, and so on, you'll always find small convenience stores or larger stores that offer basic hygiene products. For sanitary protection, it's a bit more complicated… We've written a whole section on how to manage periods while traveling.

Girl stuff
At the time, I had to choose to take the bare minimum for makeup and hair styling while traveling.
For makeup, I brought:
- 2 nail polishes and wipes soaked in nail polish remover. Verdict? I had to apply nail polish 3 times in 19 months...
- A small eyeshadow palette, a black eyeliner, and mascara. Result, I wore makeup occasionally, and I must admit it felt good, but mascara alone can suffice in my opinion.
- Concealer. Concea-what? Pfff, it remained untouched in my toiletry kit!
For hair, I took hair clips and elastics to style my hair according to the conditions. I must confess I even considered taking a hair straightener... I even bought a mini one. But I had no regrets about leaving it at home, to the point that I've never used it since our trip.
Conclusion: less is more on a backpacking trip around the world!
What if this round-the-world trip was an opportunity to think about how you consume? Minimalism is part of the zero-waste philosophy, and it's perfectly possible to reduce waste, even when traveling! For an overview of the world's waste and some practical tips, read our article on going zero waste when traveling :).
First aid kit
Since Ben's mom is a pharmacist, we had the whole deal. Rather than listing the contents again, we refer you to the article about how to take care of your health when traveling, especially on the list for a complete first aid kit for a backpacking trip.
Papers
For all administrative matters before leaving, we discuss all the procedures here. In summary, you should always have with you:
- Your passport (+ copy)
- Your credit cards
- Your international driving license if you've applied for one (+ copy)
- Your national driving license (+ copy)
- Your vaccination certificates (+ copy)
- A travel insurance certificate
- Passport-sized photos
Miscellaneous
- 1 headlamp, always useful, and the battery lasts looooong.
- 1 notebook and 1 pen to keep track of your journey if you're leaving without a laptop, write your thoughts, keep your accounts, etc. I often use it for small notes or drawings. It's also in this journal that I wrote down all our expenses, which helped us draft budgets by country.
- 1 tote bag: for shopping, going to the market, strolling in the city without backpacks… We would definitely slip one into our backpack today for a round-the-world trip.
- 1 tupperware: it can serve as additional storage, but in a zero-waste travel approach, it's useful in night markets in Southeast Asia where food is served in several layers of plastic or polystyrene… Plus, it keeps leftovers for your next meal. Again, we would each take one.


- 1 deck of cards: It's nice for breaking the ice in the evening on organized treks, in youth hostels, or passing time as a duo while waiting for the bus or train.
- 1 Swiss Army knife for 2: As proud Swiss, we would never dare to criticize our national pride. We love, even adore, this knife that serves for everything.
- 1 book: If you prefer reading in paperback, take along a single book that you can exchange for others you find in little free libraries or hostels/hotels.
- 1 audio splitter Jack: it's an adapter for 2 Jack plugs to connect 2 earphones/headphones simultaneously to a phone or computer. If you're traveling as a duo and want to watch or listen to the same thing, it's possible with this little accessory. It prevents each of you from having only one earbud, being 20 cm away from each other, unable to move much for fear of pulling on the cable and yanking out the earbud (you know what I mean 😉).
The gear we wouldn't take again
For some items, we clearly regretted taking them. And for others, we would hesitate to take them again... It's up to you to decide based on your actual needs.
- Vacuum storage bags: we took 2 to compact warmer and bulkier clothes or those we didn't use. But we can still imagine other uses for these pouches: storing liquids, food... They were useful at first, but they quickly tore, and we didn't replace them. In the end, we didn't miss them at all!
- A mosquito net: we strongly considered taking a hanging mosquito net. Result: we're very glad we didn't take one. In regions of the world where mosquitoes rule, accommodations all have mosquito nets, even in Asia.
- Straps to attach bags to a motorcycle, fix sleeping bags outside the backpack, or attach things to the backpack. In the second case, it wouldn't be necessary anymore since the bags have plenty of straps now. For the motorcycle, it was handy when we took moto-taxis. If you've indulged in shopping along the way, a strap will help you attach what doesn't fit in the bag, but well, the idea of a world tour isn't to be overloaded all the time. So why not, but it's not essential.
Electronic gear while backpacking
On this point, we probably don't fall into the average traveler category. Back during our backpacking trip, we set out heavily equipped, and since then, things have clearly not improved! We have quite a bit of gear, and it weighs a ton!
Here's all the electronic equipment we've taken on our travels.
Photo and video
For this part, it depends on what you want to do. You can easily manage with just a smartphone and a compact camera. It's just that, over time, we've become interested in photography. Today, we'd take these with us:
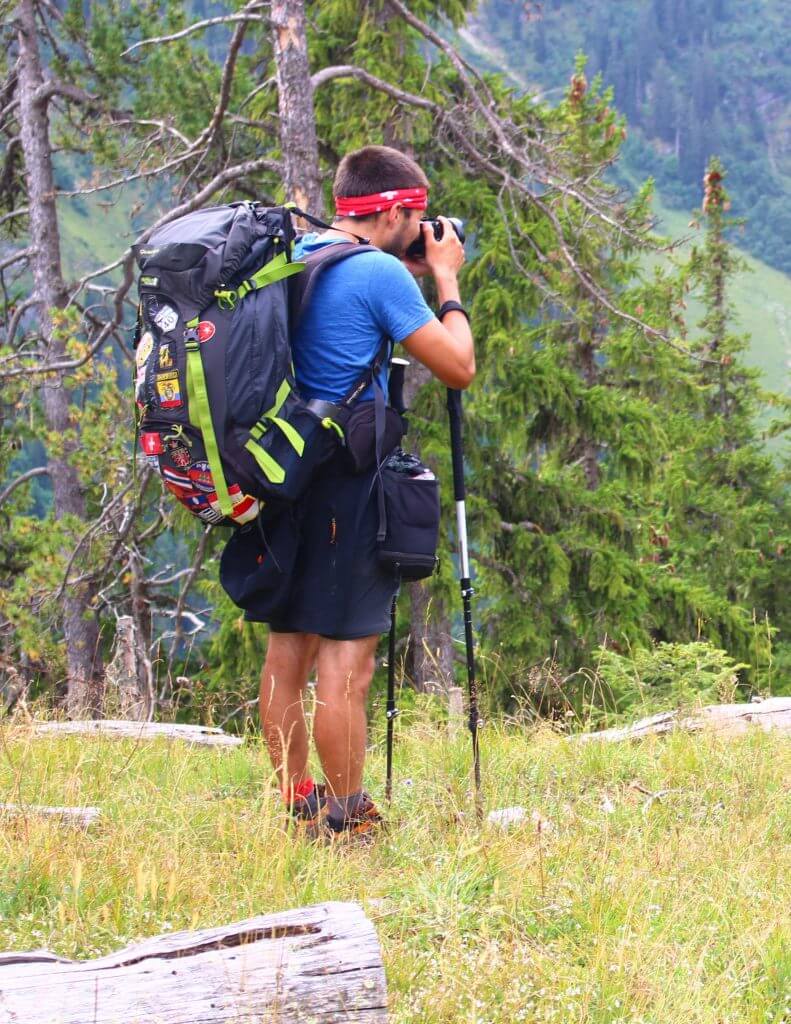
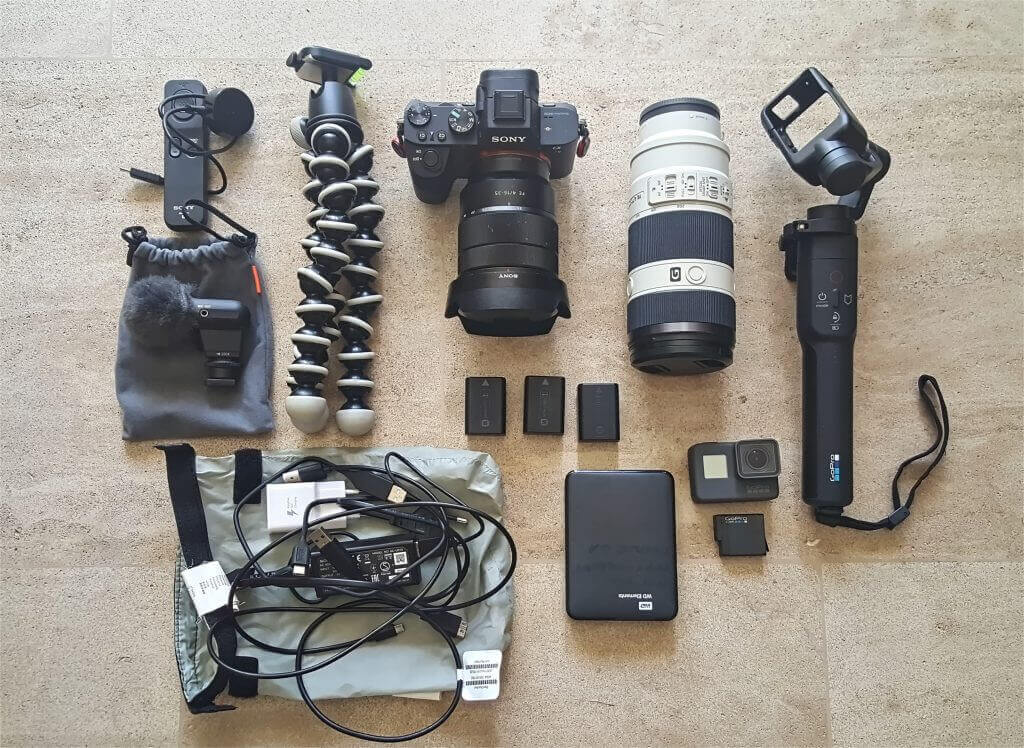
- 1 hybrid camera and 3 lenses: back then, we set out with a Sony Nex 5N, with a 16mm lens and an 18-55mm lens. We chose a hybrid because it's much less bulky, it looks less professional, it's more discreet, and it still allows you to do a lot. In the end, it was a great camera, and we were really happy with it! But since then, we've invested in the Sony Alpha 6000 and the Sony Alpha A7 II (replaced by the Sony Alpha A7 III), which we consider excellent cameras for long-term travel. But since choosing a camera for traveling isn't something that can be summarized in a few lines, we've written a comprehensive guide to help you choose your camera based on your budget and expectations. We've detailed the photo equipment we currently use here.
- 1 video camera: we're not big on video, but we like to capture some footage from time to time. During our backpacking trip around the world, we bought a low-end GoPro knockoff in Hong Kong. Well, we regretted it! Now, we have an Osmo Pocket camera that we're very satisfied with!
- 1 tripod, the JOBY GorillaPod: this tripod is handy because it can be attached anywhere thanks to its flexibility. For example, we had it with us when we spent 23 days hiking autonomously on the trails of the Via Alpina in Switzerland. It's a very good tripod, and even though it's less stable than a more standard one in windy conditions, we'd still take it for a long-term trip.
Computing
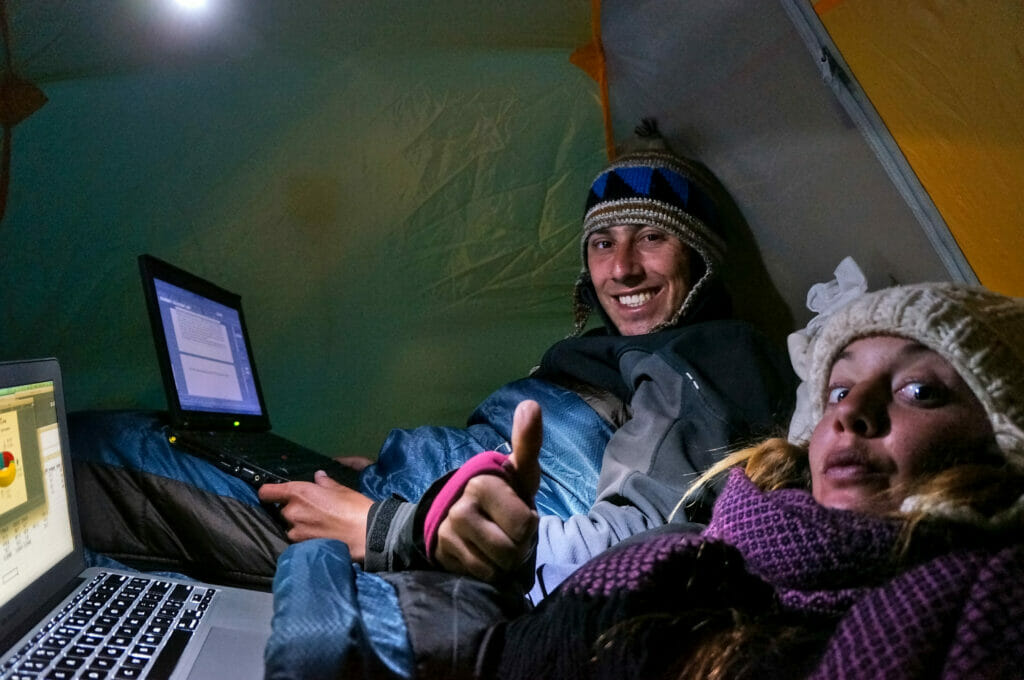
- 1 laptop each. For the sake of our relationship, we are REQUIRED to have 2 laptops. Ben has always had a Lenovo ThinkPad. Small, light, powerful, and sturdy, he loves this computer! On my side, I had a very light netbook, but it was a real piece of junk. To give you an idea, it was impossible to read an email with Excel open at the same time! Anyway, while passing through Hong Kong, I invested in a Macbook Air and I'm thrilled with it! Since then, nothing has changed, Apple and Lenovo are still our favorites.
- 1 smartphone each. On this, we're not very picky since we mainly take photos with our cameras. We've had an iPhone and Android phones. Now, we opt for moderately priced ones because they are more than sufficient for our needs: calendars, reservations, maps, social media…
Various electronic gear
- 1 external battery to charge the phone during treks.
- 1 self-powered mini hard drive of 700 GB which turned into a 4TB hard drive a few years ago.
- 1 universal adapter for 2 to recharge your devices in all the countries you visit.
- 1 power strip for 2: we don't necessarily think about it, but when there's only one socket in the room and you need to plug in 4 devices, it's a real hassle!
- 1 e-book reader: its advantage is that it can hold hundreds of books; enough to read for months with minimal bulk.
Tips and tricks for saving space in a backpack
When backpacking around the world, one of the crucial points is traveling light. Your backpack will be your daily companion, and you'll be carrying it almost all the time, whether it's taking transport, looking for a hotel, or simply when you're stuck waiting in a city or airport!
Now, I won't hide the fact that I'm not a fan of going with just 2 T-shirts, 2 pairs of underwear, and shorts and seeing what comes. Some world travelers make this rather extreme choice, but as you've read in this article, I like to maintain a certain level of comfort and take a minimum of things. But know that some simple tricks will save you a lot of space and a few grams. We always keep in mind the famous advice:
Take only what you need!
(Advice which, by the way, I find quite ridiculous, but so true!)
- Remember to remove all packaging from your medicines and products. For the dosage, simply note it with a permanent marker on the medicine blister or on a small post-it.
- Store your clothes in travel packing cubes. Not only will you maintain a certain order in your belongings, but they'll also stay dry! An alternative to bags is to roll your clothes instead of folding them. This saves a lot of space!
- Always pack the big items first in your bag (tent, sleeping bag, stove, shoes), then fill the gaps with socks and underwear.
- Always wear your hiking/trail shoes when you're moving with the backpack. This saves space and your knees will thank you. Carrying a backpack weighing more than 10 kg with sandals is often a bad idea, especially over long distances.
- We mentioned it in the toiletry kit: prefer solid shampoos and soaps. They take up less space, don't leak, and last much longer. I was skeptical at first, but my solid shampoo has become my number-one ally!
- We didn't do it, but a friend advised me to: shorten your electronic equipment cables! A charger for your phone, camera, computer, e-reader, and so on, represent a jungle of cables in your backpack and a significant weight. A 30 cm cable is enough, no need to have 1 m for each gadget!
- Are you traveling with others or as a couple? Take only one universal adapter and bring a power strip to charge all your gear at once, which will save space in the backpack.
- Make sure you don't have duplicates: tweezers, nail clippers, a sewing kit, a first aid kit, a Swiss army knife, etc., for 2 people, it's more than enough.
The ultimate packing list to prepare gear for an rtw trip
Well, I think we've covered all the gear you'll take in your backpack for an rtw trip. To make sure you don't forget anything and have a packing checklist at hand, we've prepared a PDF with all the items from the article. This will give you an idea of what you already have and what you need to buy before you leave.
To give you an overview of everything you need to do before the big day, we've put together a printable checklist with all the steps you need to take before you leave.
What do you think of this packing list? Feel free to give us your opinion or advice in the comments section! We're slowly coming to the end of our round-the-world preparations. The penultimate chapter is devoted to the risks of travel.
Download our free pdf E-book!
Subscribe to our Newsletter and get a free E-book with more than 100 pages to help you prepare your trip around the world

Pin it


Join the discussion